
I know your pain. I had to drill out like 5 bolts on my water pump for the Audi. That sucked.
Sent from my Pixel 2 using Tapatalk
-
Ive been drilling that sucker already. I have an extractor that has failed and the dremel didnt help the situation either.
shes taken some drilling already and it shows lolLeave a comment:
-
-
I dont think I have any left-hand drill bits... that could work thoughLeave a comment:
-
I was thinking the same thing. Can't you drill that out? The reverse bit?
Sent from my Pixel 2 using TapatalkLeave a comment:
-
A 50 year old Japanesse lady: SRL311 01228
Small left hand drill bit, as you drill it will come right out. I think you should find stronger hardware/ heat treated.
& buy a rethread kit as sometimes dirt and rust can cause these things even if thread is good as preventative. It’s a must do for my line of work now.
Sent from my iPhone using TapatalkLeave a comment:
-
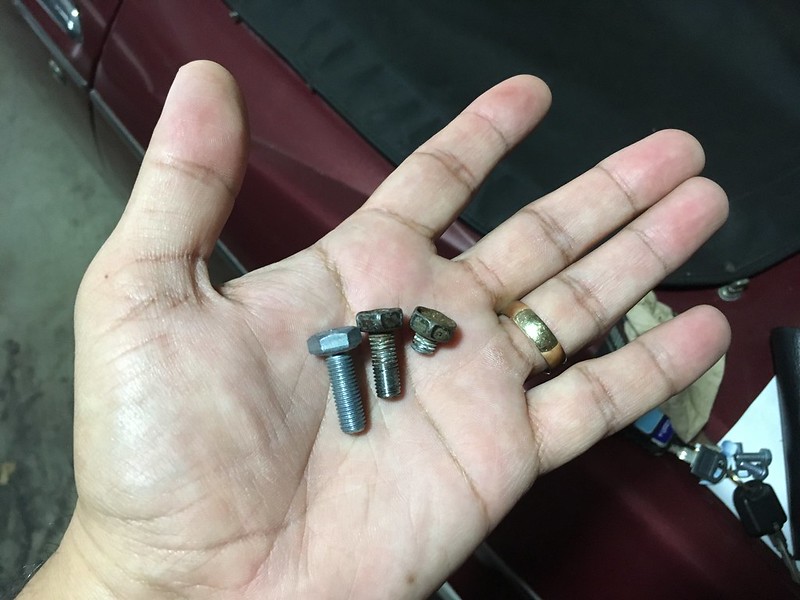
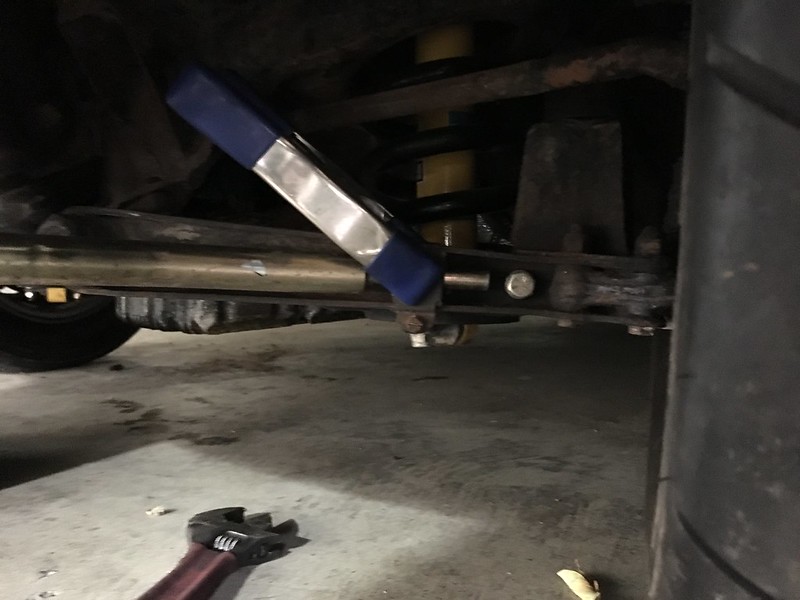
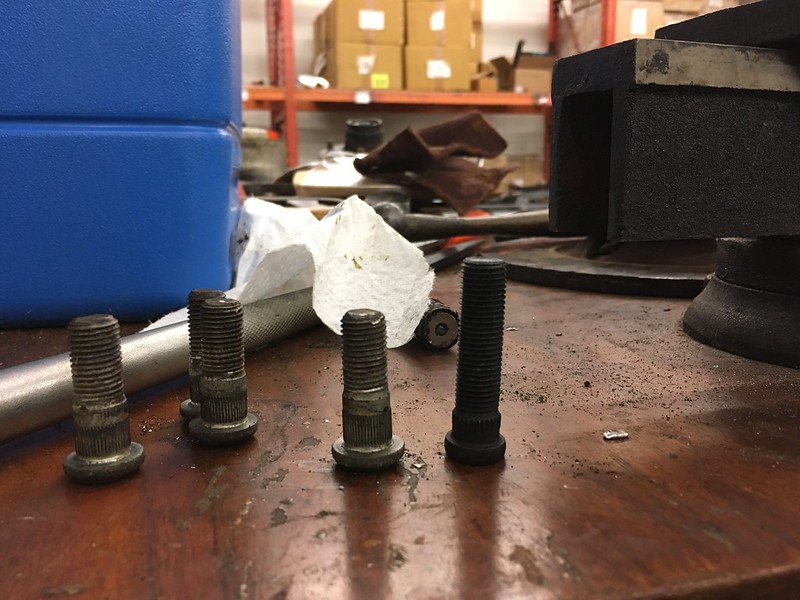
so that swaybar install went perfect, until it didnt. last bolt I was tightening down decided to snap on me, even though I wasnt really cranking it down. Really annoyed because thats weeks that I lost doing more relevant stuff on the car. Instead, here I am over 2 weeks later and I still havent had a chance to fix it. I sourced replacement bolts last week, got 4 Grade 8 bolts since I figure the other 3 are going to be a disaster waiting to happen. Heres the collection...
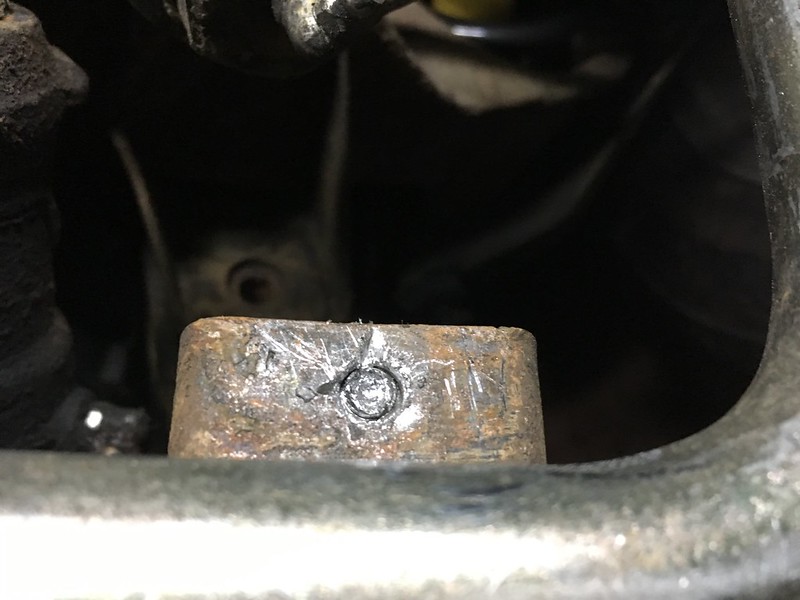
Weekend off from school, but filled with Honey-Do's meant I couldnt spend more than a random hour on Friday night to frustate myself with it. Honey-Do's took priority over Simon-Do's so I didnt get to it yesterday either, but today after work I was determined and got about an hour and a half in before I was called in by my wife. I think in total I got about 4 turns of the screw. Not much left to go, but a combo of destruction tools isnt getting this sucker out. Theres just nothing to bite to to get it turning. My Craftsmen extractor bits are useless and I couldnt get a nice flat cut onto the broken bolt without cutting through the mount, so its been slow and VERY frustrating. I would love some hands-on assistance if anyone is willing to head out to Inglewood... Id offer to drive to you, but with no day time availability and no working headlights, you'd have to come to me and see my situation firsthand.
Still no power in the garage, but luckily I have extension cords, so heres how it was setup to get started...

and about 100 minutes later, still looks like sh!t
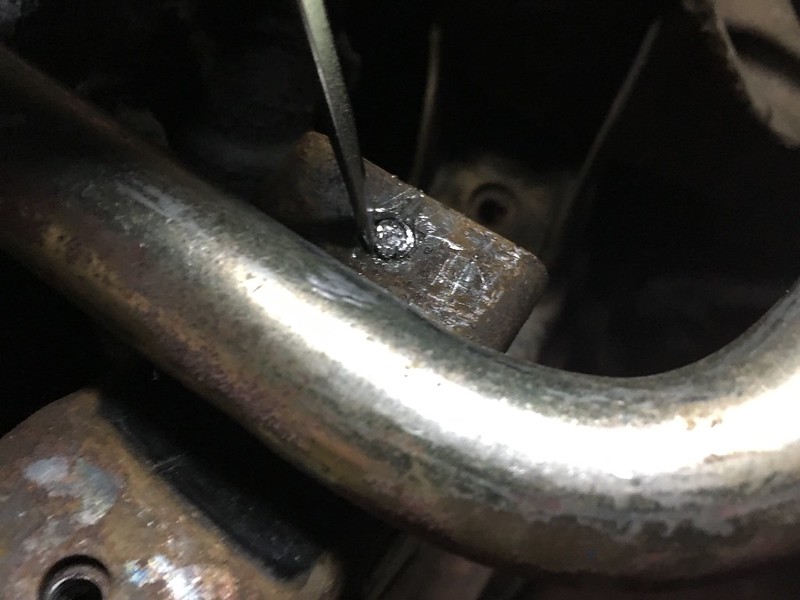
I think I have about 3 turns left to get it totally out, its fully recessed into the captive nut and Ive destroyed most of whats come out the other end in my attempts at cutting a grove that I can use to remove it.Leave a comment:
-
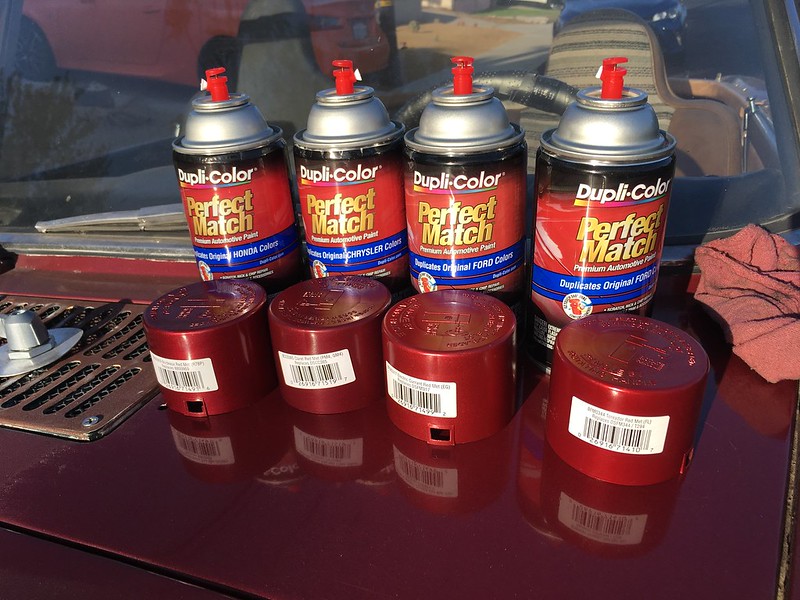
I would look into having an auto paint supply store making your color. The can will cost like 18$ or so, but it is worth it if done right.
Sent from my Pixel 2 using TapatalkLeave a comment:
-
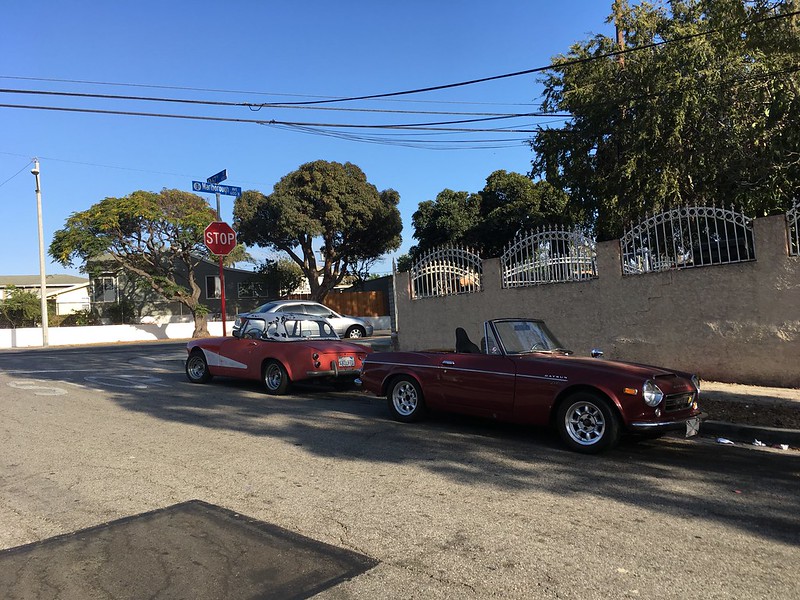
Got a chance to finally drive the car, and low and behold what do I see right around the corner from my house!...
Was determined to get the swaybar completed today and had to get a little creative with a few things to make sure I could button it up...
Another thing Im working on ...My jack hole covers were not a color that matched, and with plans down the road to get a BRE airdam, I figured I could grab a can of "paint-match" ... easier said than done.
ummm....
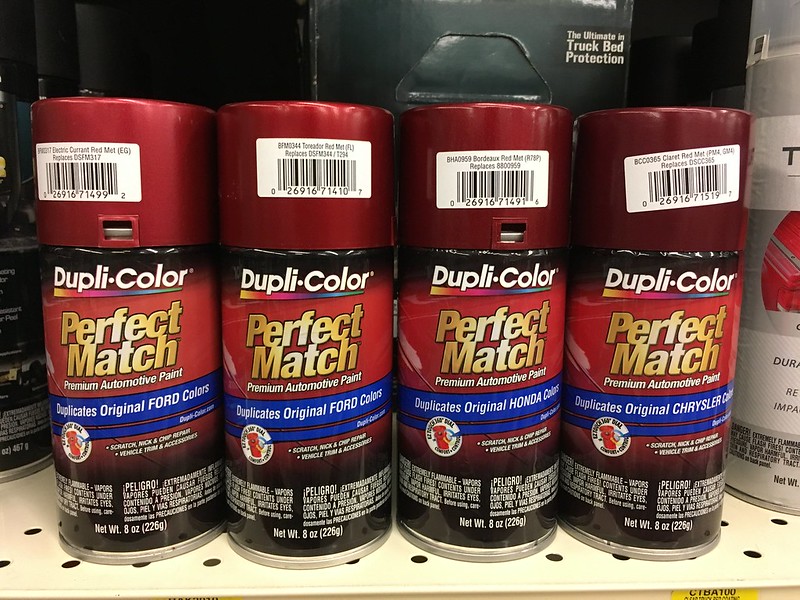
so much for this being easy...
Leave a comment:
-
Lights at night seem to help driving conditions I've noticed. lol.
Love the studs. Wish Germans were as big of fans as Japanese when it came to those.
Sent from my Pixel 2 using TapatalkLeave a comment:
-
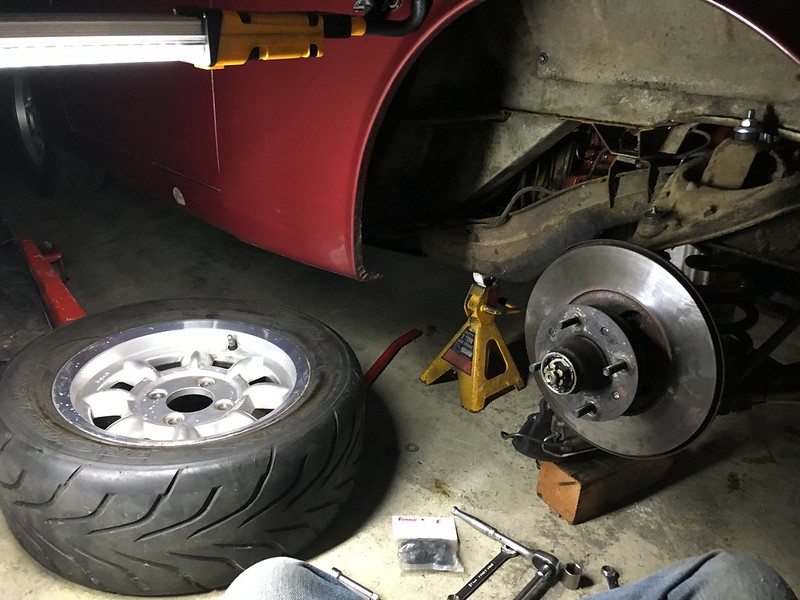
I got something done that I have been itching to do. Plan was to do new wheel bearings and extended studs and new lugs. With Harlans help (and some annoying circumstances) I was able to get it done fairly quickly. Couldnt get the car to his shop, so thanks to some intelligent thinking (not mine) I just pulled the hubs and took those with me...
The only parts I had on hand, Harlan sourced the nuts, studs and everything. Cant thank this man enough
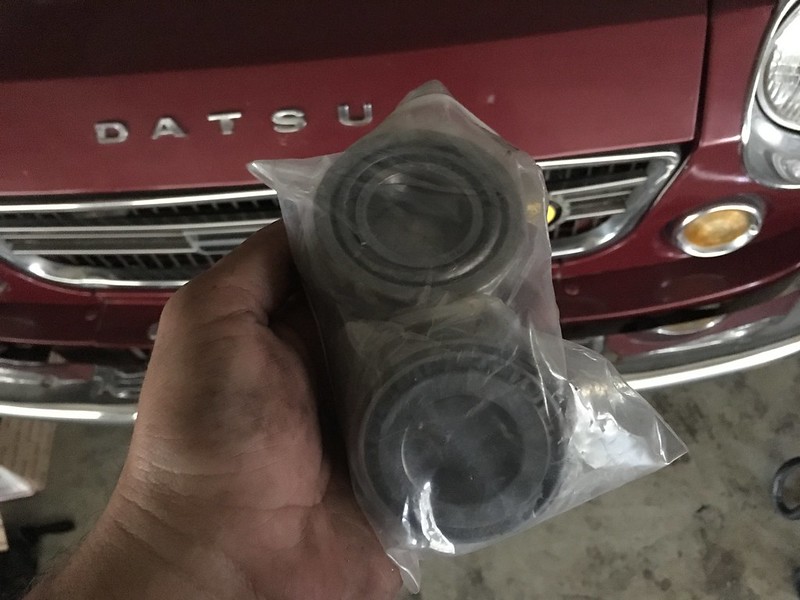
Heres the before
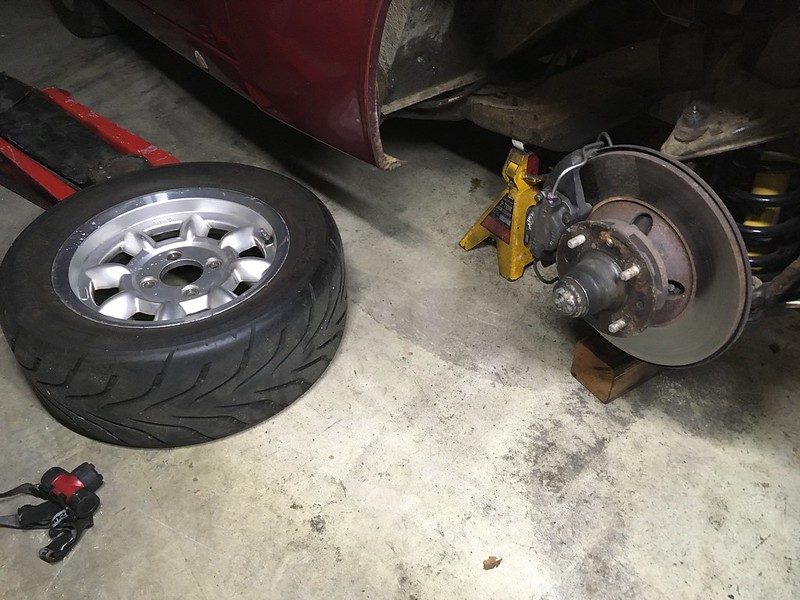
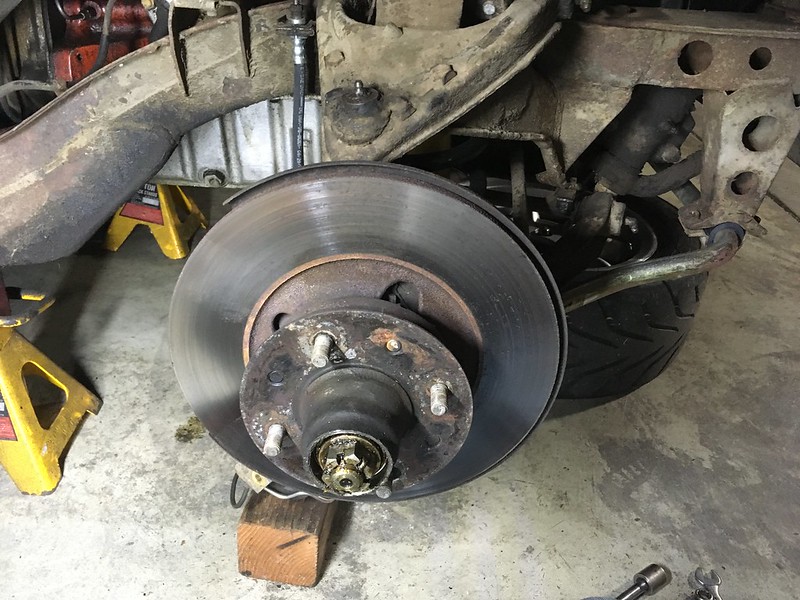
it came off surprisingly easy, and the bearings still had plenty of grease. Good sign so far
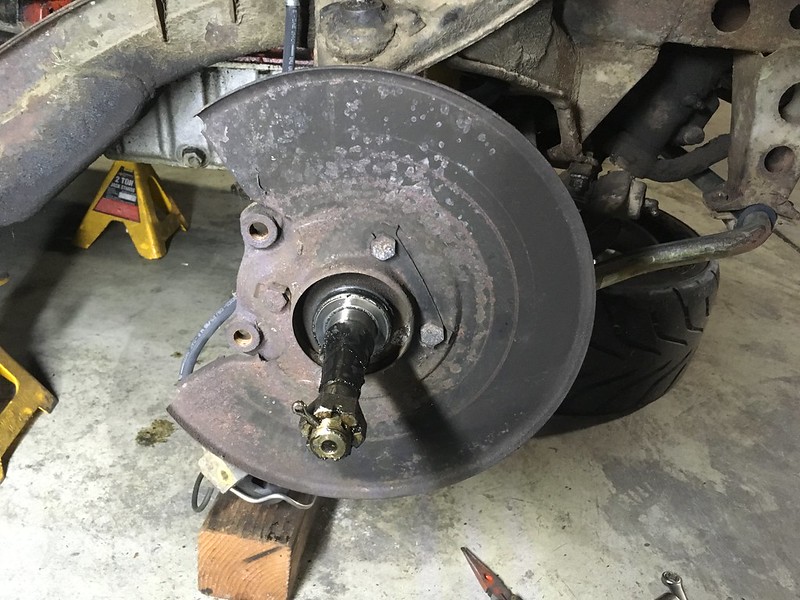
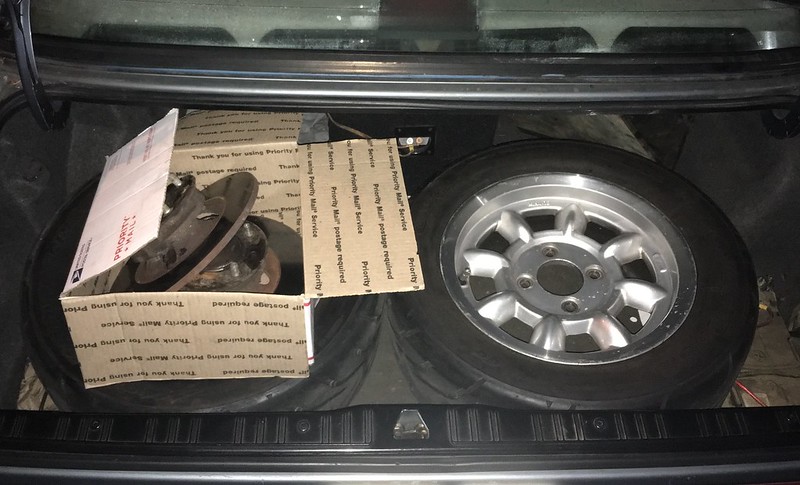
within an hour, I had the car loaded and ready for the next day to head over to the shop
Over at the shop, heres the only pic I took.
and now back together... not as exciting, but good and quick
finally, some threads that extend through the wheel..
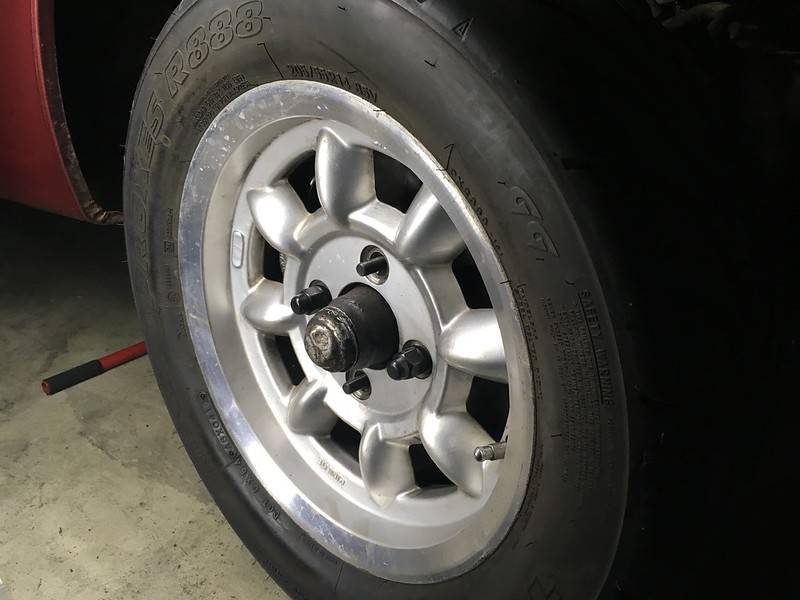
Now to properly torque the wheels down and go for a drive!... which I will need a 20mm deep socket to do... bummer. the drive will have to wait another day it seems. maybe this will give me motivation to get my lights going so I can actually drive at night if I choose to!..
until next timeLeave a comment:
-
HUGE pain in the ass!... but I get a more private garage space, and eventually a totally private spot once I get some electrical work done in the garage so I can close the door. Then it will be exciting!.. I have repeatedly warned my wife that the garage space is mine, so Ive given her a small space to store stuff, but Im hoping she will reduce the clutter and organize stuff so that the garage is all mine.
More importantly, I hope to get the garage setup properly with a ton of garage art that Ive been holding on to for a long time, a cool stereo, a garage computer and hopefully my welder.Leave a comment:
-
Congrats on the move! That can always be super stressful.
Sent from my Pixel 2 using TapatalkLeave a comment:

Leave a comment: