
Yes! Im going to pull the seats, clean all the interior down to bare metal and POR15 all of it. Hopefully there wont be any holes, just surface rust in the corners that Ive seen.
I have an aggressive plan to have the car ready for VARA-U and pay for it all through by selling car parts Im not using/ dont need. It works best, but if it gets close and I need to swipe the plastic I just might because I am missing 2 track days that I had planned to do with the Alfa club, but it was due to school. And now I dont even have anything that I can take anyways haha
-
Por15 all the things!
Also, you doing VARA-U this year? With the datsun?Leave a comment:
-
I know exactly where you took that picture! Haha I grew up in San Jose. I would usually glance at the big building to catch a rolling view of myself lol
These cars are so much fun and still undervalued. It will be great when I get to really enjoy it in the track with all the other 50+ year old carsLeave a comment:
-

Spotted on 680 near cal state east bay. Def not you (about 8 hours too north Lolol) but thought it was for a split second! Gave him a wave. Sweet build!
Sent from my iPhone using TapatalkLeave a comment:
-
haha I promised the guy who donated the shifter that I would leave it on until after the Solvang annual Roadster show which is in April. Maybe by then I will another option, but for now this is it haha
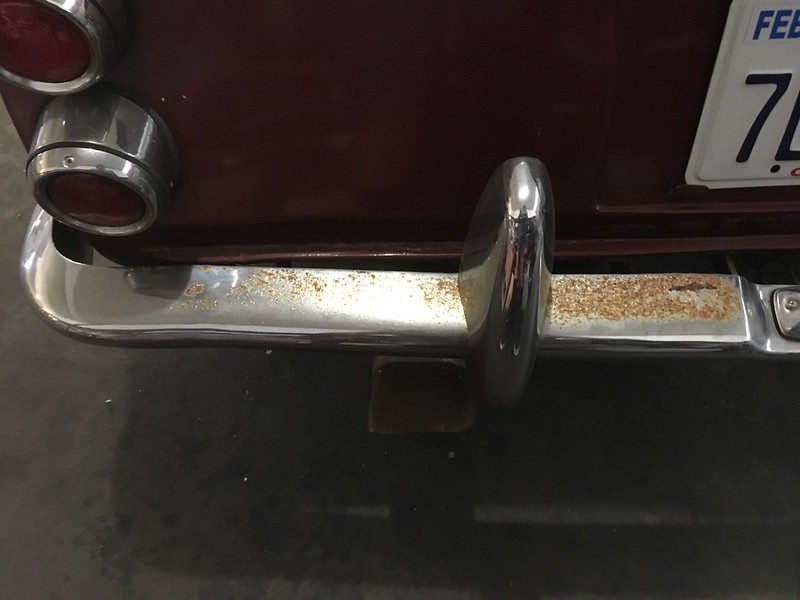
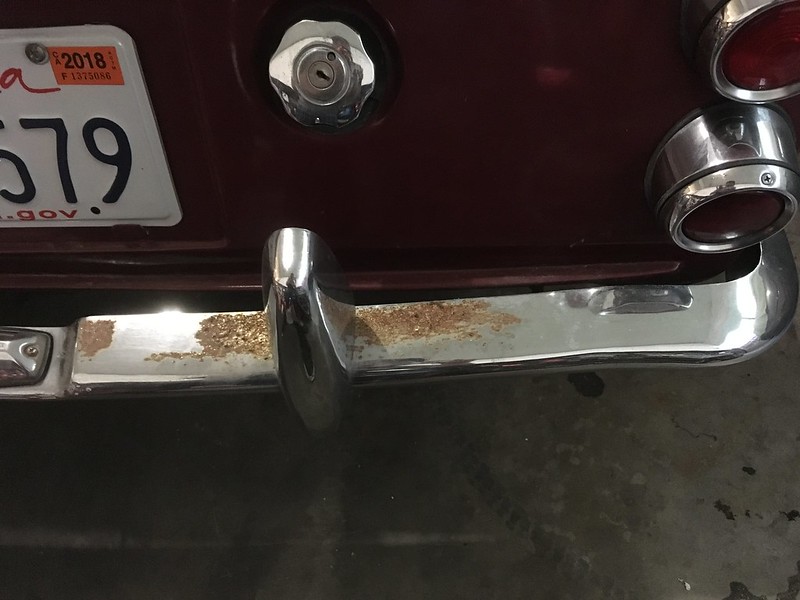
These bumpers dont have much hope anyways, so I just wanted to try it and see what would happen. It definitely cleaned some up but it wasnt ever going to make the bumpers look new, nor did I care that they didnt...
Good news is that today I sold the convertible top and the overriders so I can move forward with the purchase of Bilsteins for the front, and hopefully soon I can order the rears to go with it. Im eager to get the front done because I have a lot of parts I want to install up front and freshen things up. The rear shocks will be a quick and easy swap while the front will be quite involved. Its time to get this thing ready for VARA university in January. It will be a tedious process to iron out the little details but if I can sell a few more of these parts Im not using, I should be able to have most of the major components to be ready.Leave a comment:
-
Never had much luck with the coke trick. However, a few gallons of white vinegar, a couple large bottles of lemon juice, and a pound of table salt all mixed together should give you some results. The problem is that you will need a container big enough to soak them in for a few days. You will also need a stiff bristle brush to scrub the rust off every few hours while it soaks.Leave a comment:
-
-
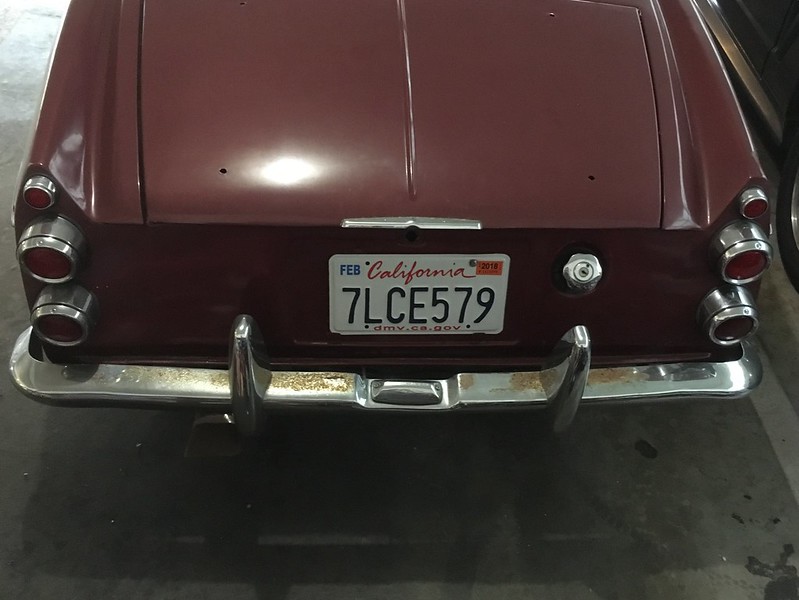
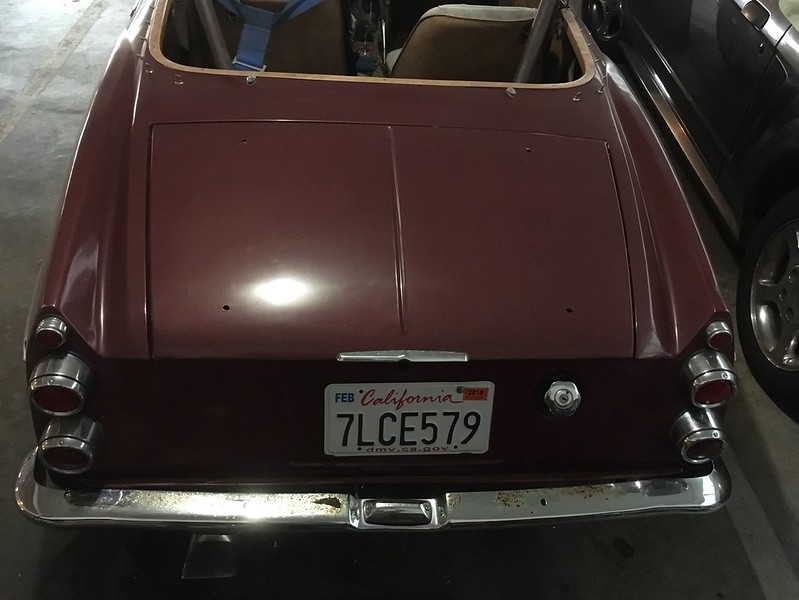
Been a little too long for an update, but getting my daily driver to be a solid reliable car halted the progress, but only temporarily. Ive been collecting my change and am close to buying some Bilsteins for the car. You might have already seen the other thread about the upcoming front end refresh. Plan is to install the suspension and see what can be taken care of at that time, and to plan for the future. But today I actually got my hands a little dirty on the Roadster and did a small mod that I wanted to do since I first bought the car: remove the rear overriders. The fronts were already gone, and Ive never really been a fan, so it was time. I also had been reading up on the coke trick on the chrome. Mine was pretty well pitted, but I figured it wont look any worse. Went and bought a coke and got ready to go.
Heres what I started with.
 Shine bright by 2mAn
 Shine bright by 2mAn
 Shine bright by 2mAn
Lets get those overriders off and clean up the dirt...
 Shine bright by 2mAn
and heres the "chemicals" & tools of destruction
 Shine bright by 2mAn
and lets go!
Overall, not much of an improvement, but Im glad I got it done. The exhaust tip actually cleaned up the best but I couldnt get a good pic, not that it matters. If you look really closely, it got rid of some of it... and some chrome too haha
 Shine bright by 2mAn
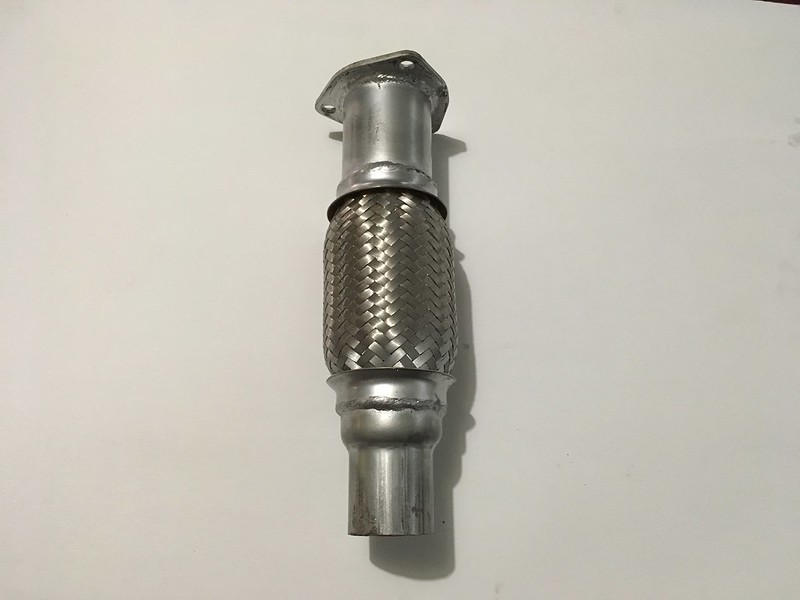
I also met up with Linda last weekend to get this much needed flexpipe from her that she wasnt using anymore. Hope to address this soon, but Im worried there wont be much solid metal to weld to. We'll see what the exhaust shop says when I get around to it.
 Shine bright by 2mAn
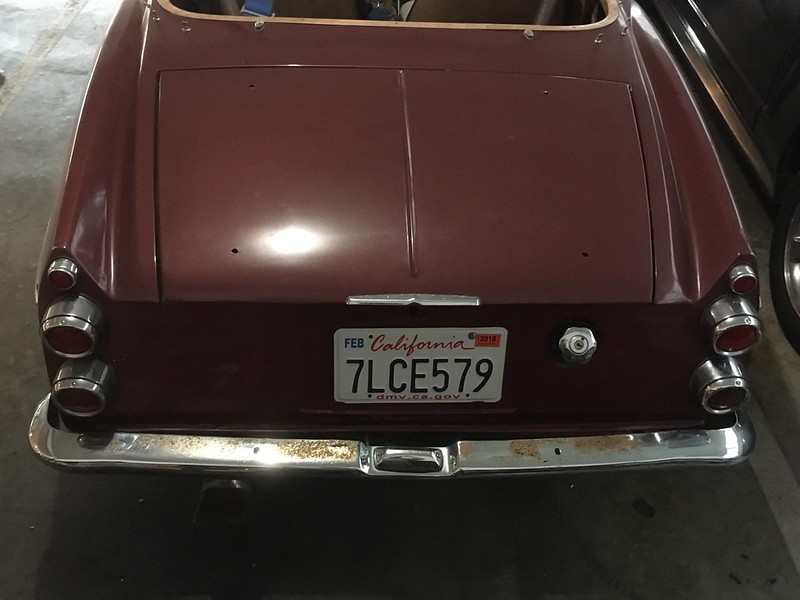
PS The overriders are for sale because I have zero intentions of putting them back onLeave a comment:
-
Clean looking, about hour and half from me via back roads if someone needs it looked at.Leave a comment:
-
Thanks, its an improvement from what it was before and it feels good. Im sure there will be another phase of this steering wheel evolution...
Figured its about time I get under this car and see whats it all look like. Grabbed the PB Blaster and the jack and got to work...
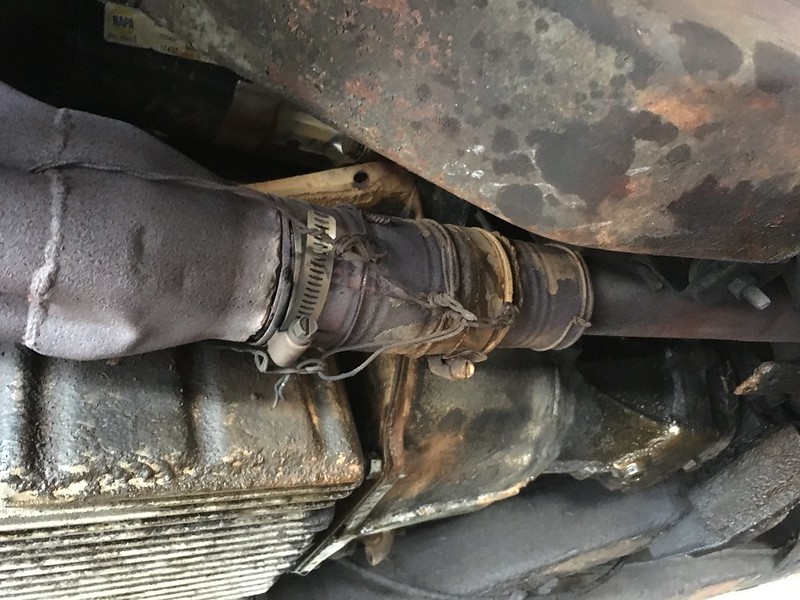
Once under the car, I located the seat mounting studs and nuts (though a few nuts were missing). Sprayed them liberally with the PB Blaster, as well as some other pieces that I will probably be tugging on soon. While the penetrating fluid was penetrating I figured I would look at the exhaust and see what that looked like. Noticed one spot that mounts to the frame had a stud going through, but again, not nut to tighten it down. Played with that until I found something that would work and tightened it down. After that I was curious to see what the leak looked like... bad, though Im sure it was worse and Will probably did some of this to try and tighten it up until I properly can get it fixed. At least I know that the flexjoint will be after the collector, afterall.
 Cleaning by 2mAn
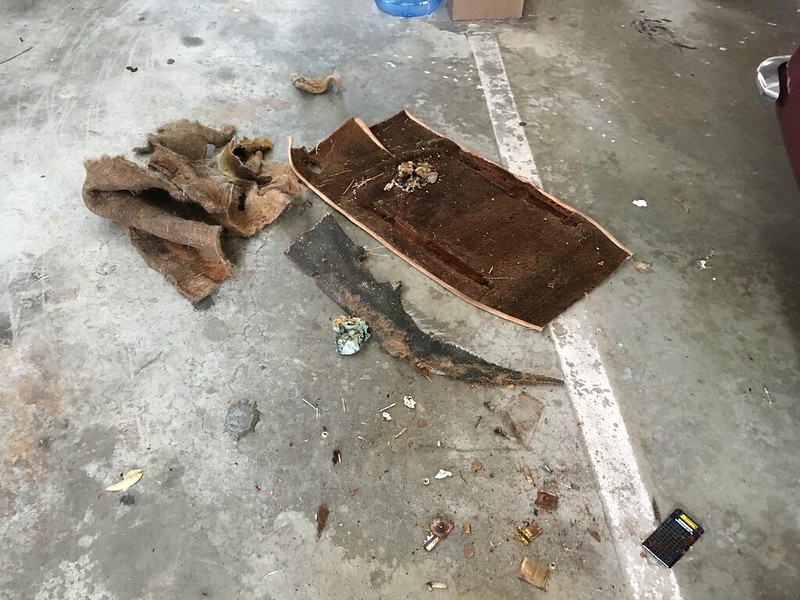
Now that this part was over, I figured I should try removing the pass seat, especially since it only had two nuts holding the seat down. They came off quite easily and I pulled the seat out and got all of the carpet out which came it out along with the seat... ugh gross stuff down there. This was the leftover mess. Kept the carpeting, but the rest went into the trash. The PO from the 70s was a smoker too and the car had a bunch of butts under the seat. Shocked that it wasnt all burnt up.
 Cleaning by 2mAn
Noticed that she has a new battle scar, Im pretty sure this happened on the maiden voyage home from Northern California
 Cleaning by 2mAn
Leave a comment:
-
That doesn't look terrible.
Sent from my SM-G920T using TapatalkLeave a comment:
-
-
-
Hit up josh battles on facebook he is on the r3v facebook page too he re does steering wheels and does good work. He might be willing to take it on.Leave a comment:


Leave a comment: