
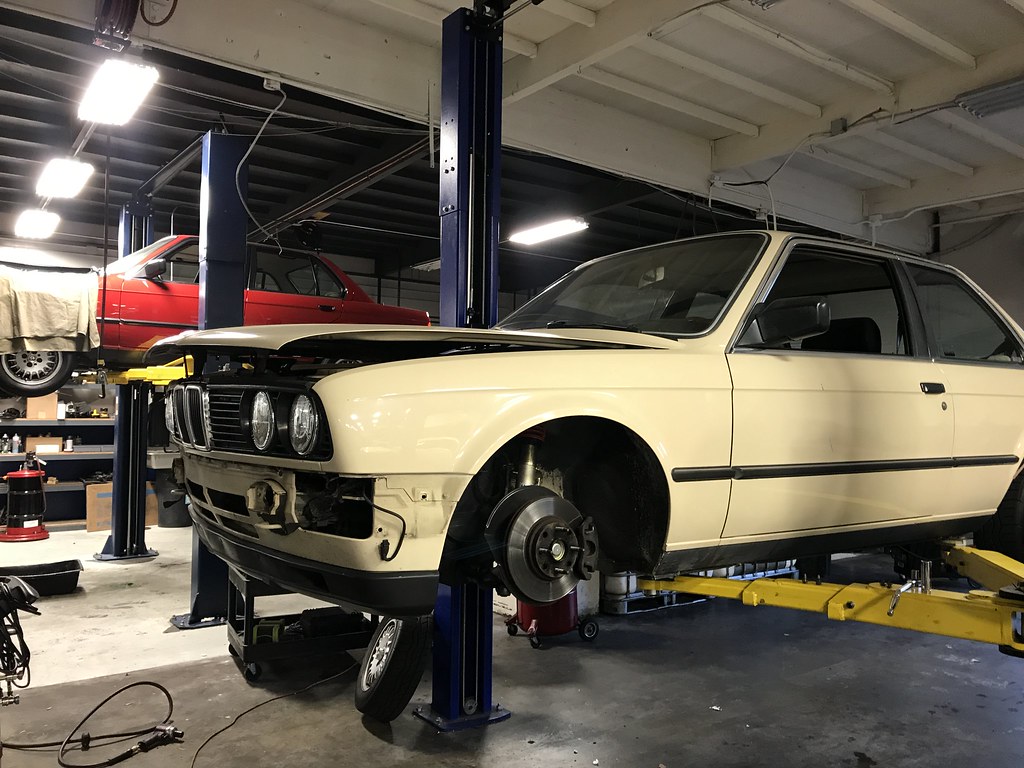
So we left off with cool wheels on an ugly car, so next step was to make the car match the wheels. Step one: strip off the ugly

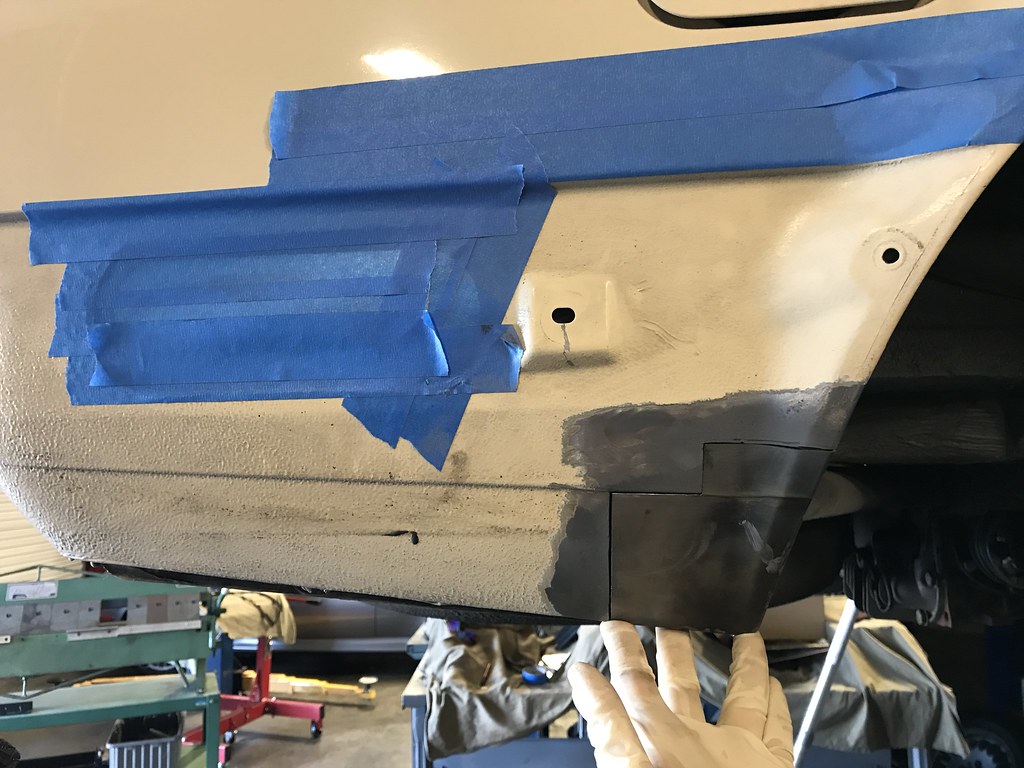
This exposed issues I knew were there but had been concealed by the ugly. Both corners of the rear valence had rust, and there was some bubbling underneath the trunk gasket. The rest of the car was rust free, so I couldn't have these blemishes tarnishing the rest of the car.
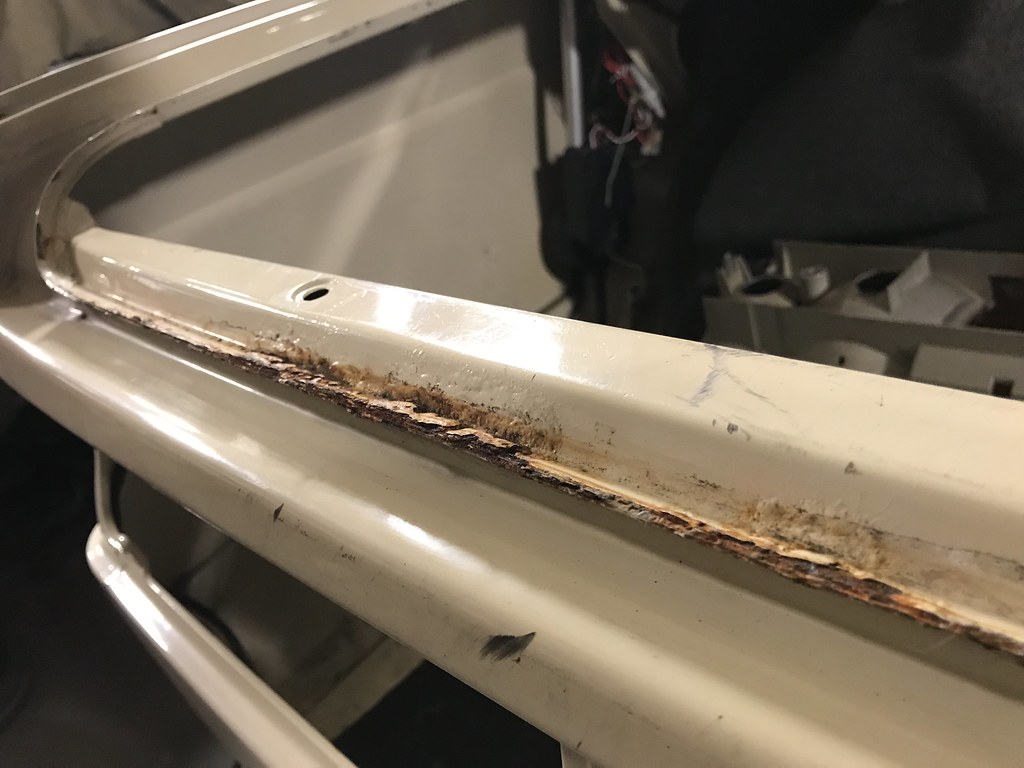

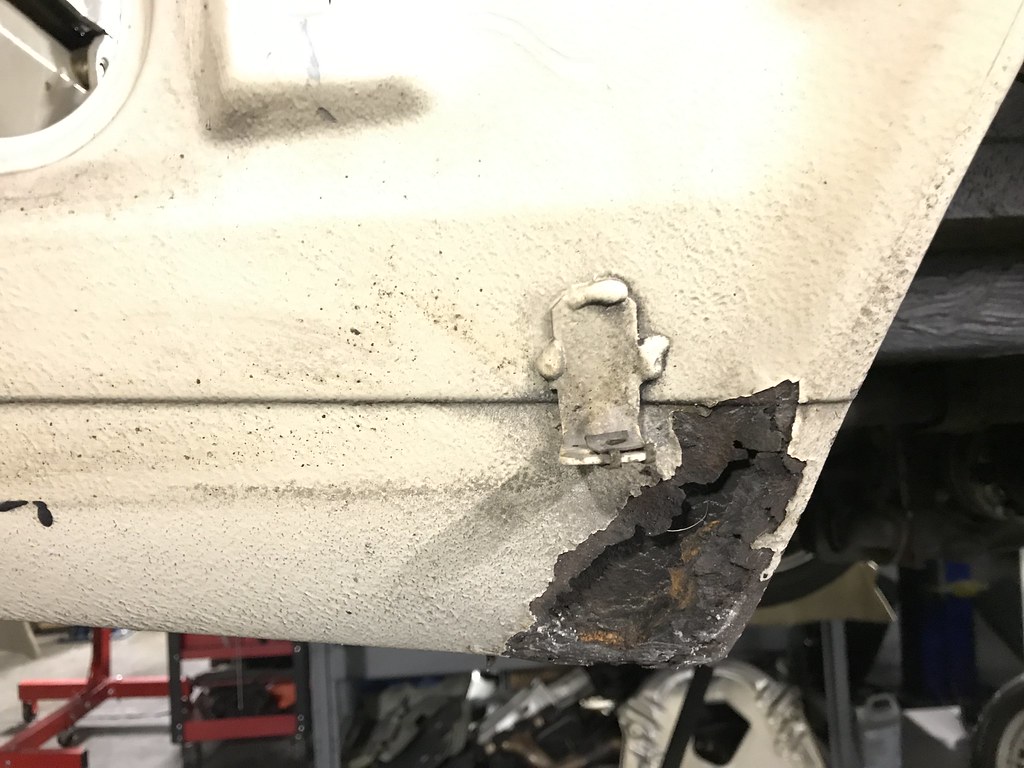
Found a spot behind the taillights too

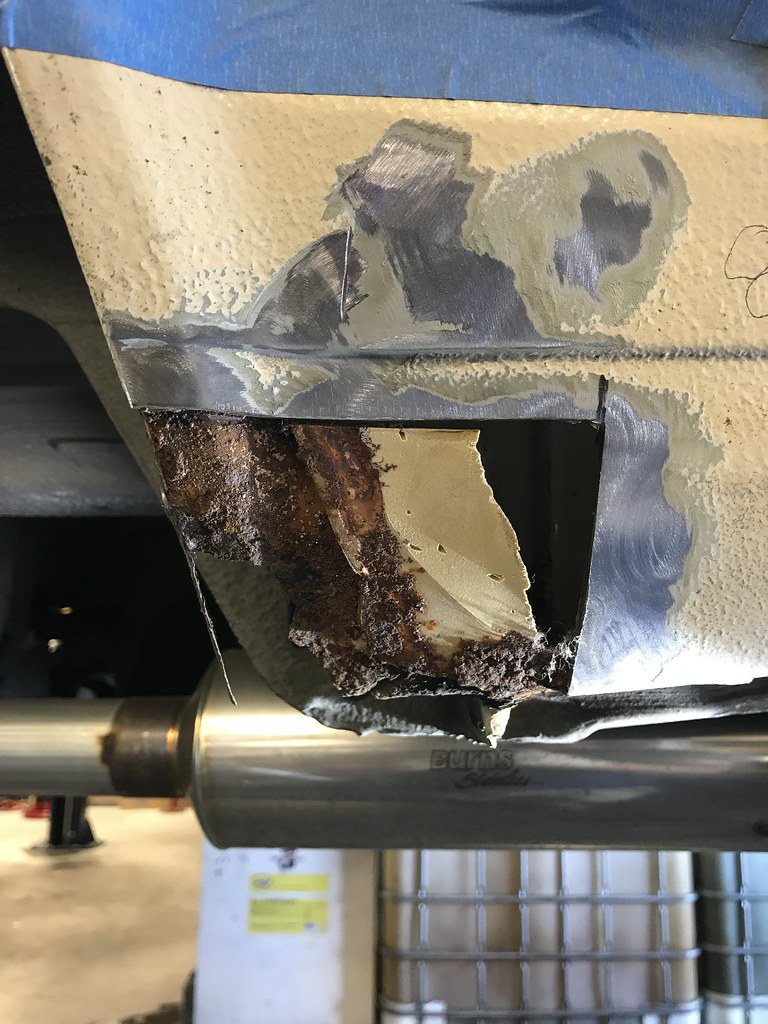
Stripped back the undercoating and paint to see how bad it really is

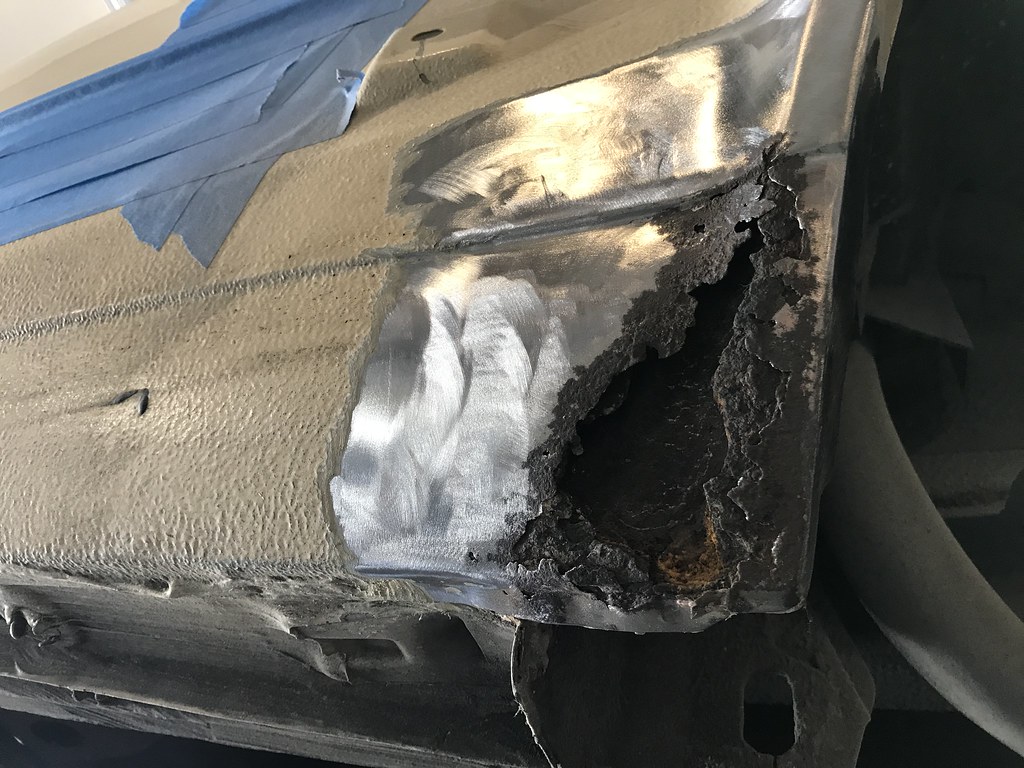

Pretty bad. Also, I'm realizing now how much of a pain Flickr is. It uploaded all my photos in random order, so I have to go searching through ~140 photos to get these in chronological order. I'm only going to post major things because of it. I know! Blame Flickr (and photobucket), not me.
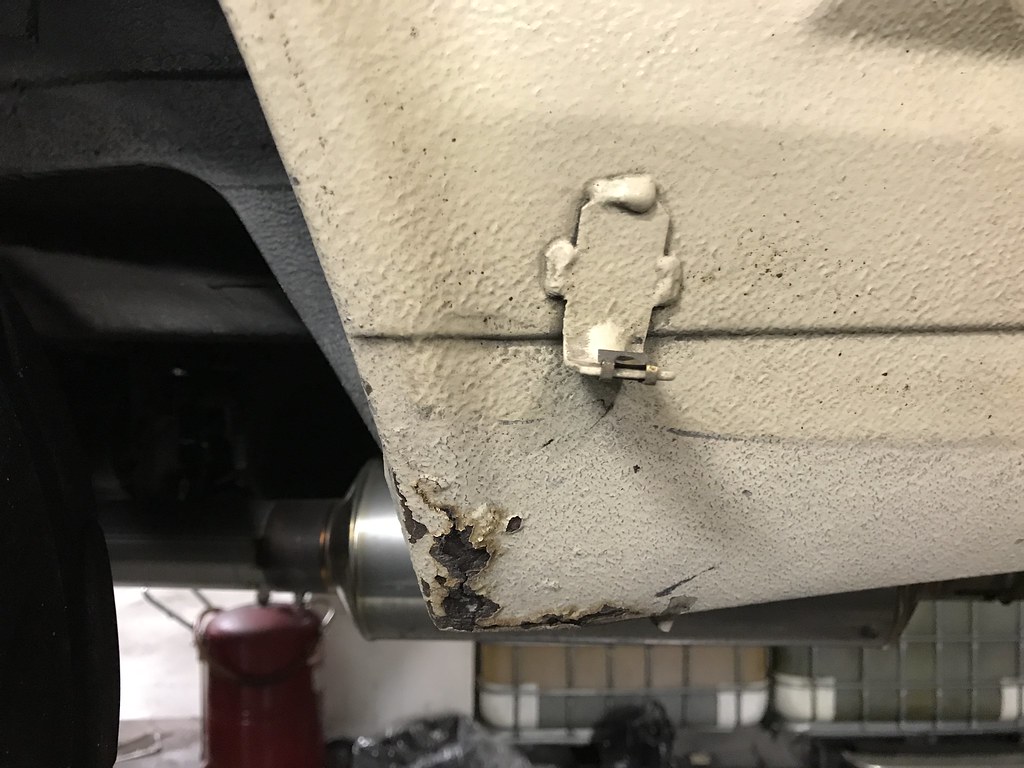
So I cut away all the roached metal and attempted to make new pieces to replace it, but quickly came to the conclusion that I'm not that good at metal forming yet, so I went on a hunt for some rust-free corners from junkyard cars. I got one for the passengers side from an 87 vert, but quickly realized that there is a difference between early and late diving board valences. The corner didn't match up perfect, and took quite a bit of work to get lined up. I luckily found another 84 car in a yard for the drivers side, which made work go much faster.
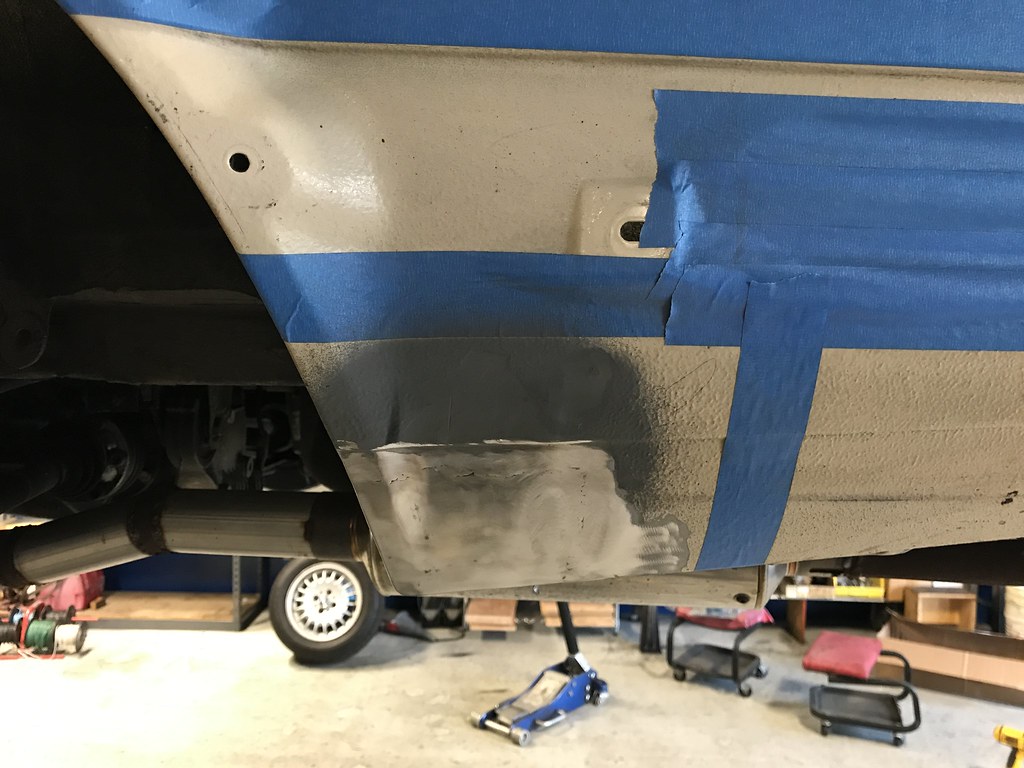
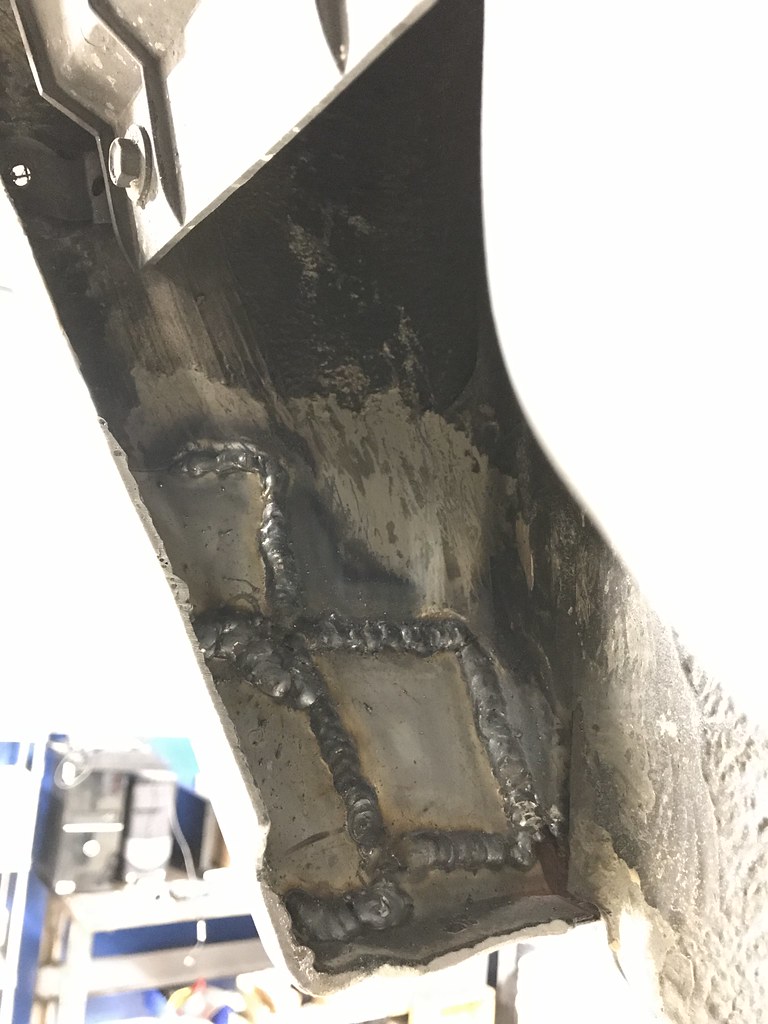
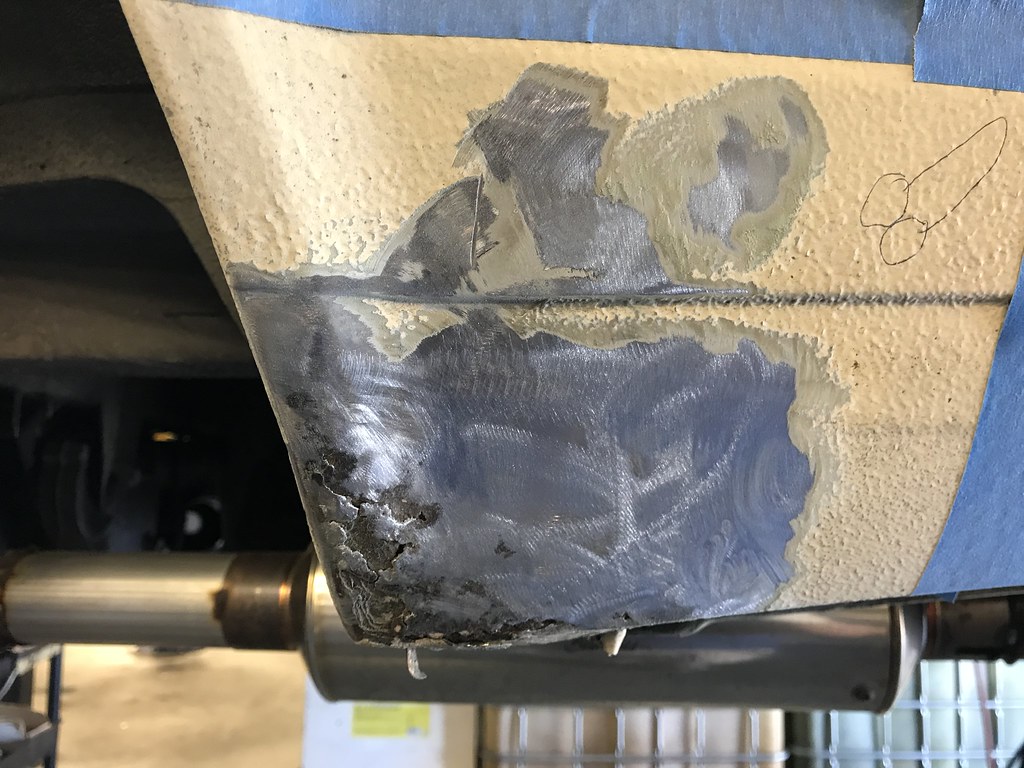
Got it pretty smooth, but not perfect. Nothing a little bit of body filler couldn't fix.
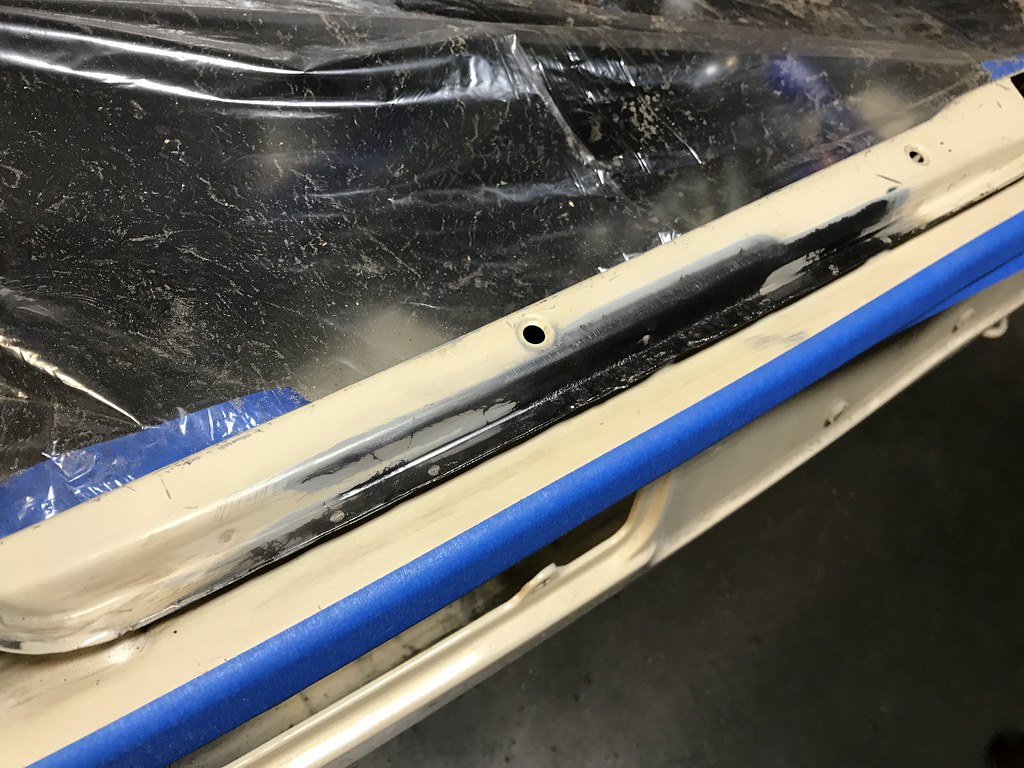
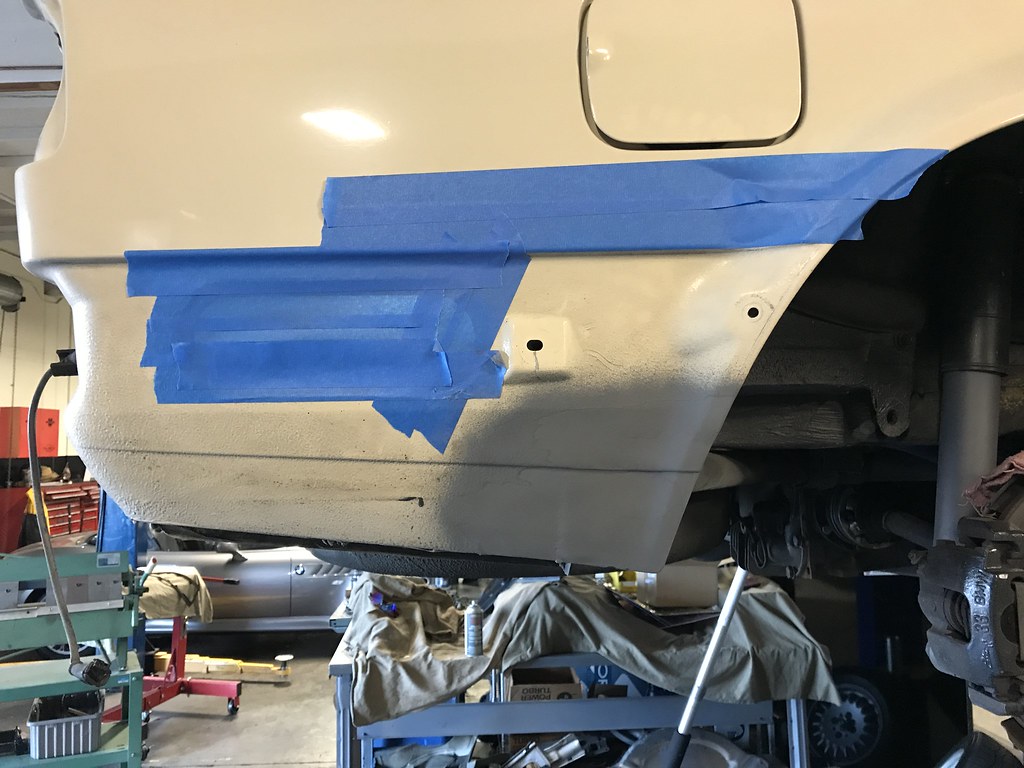
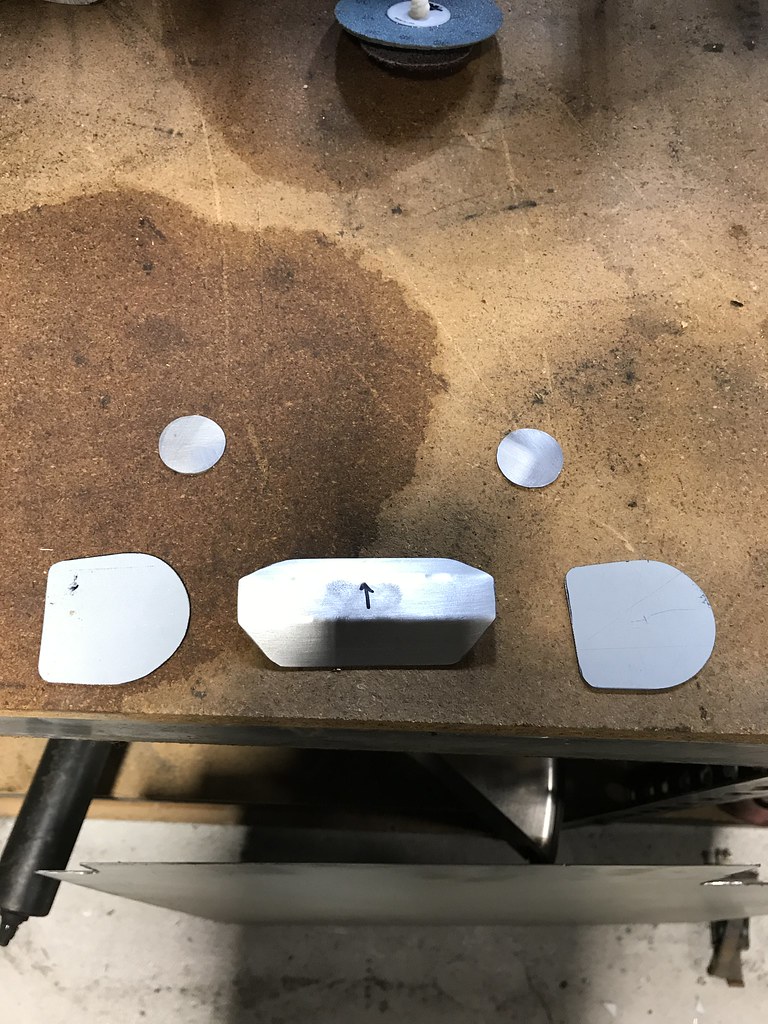
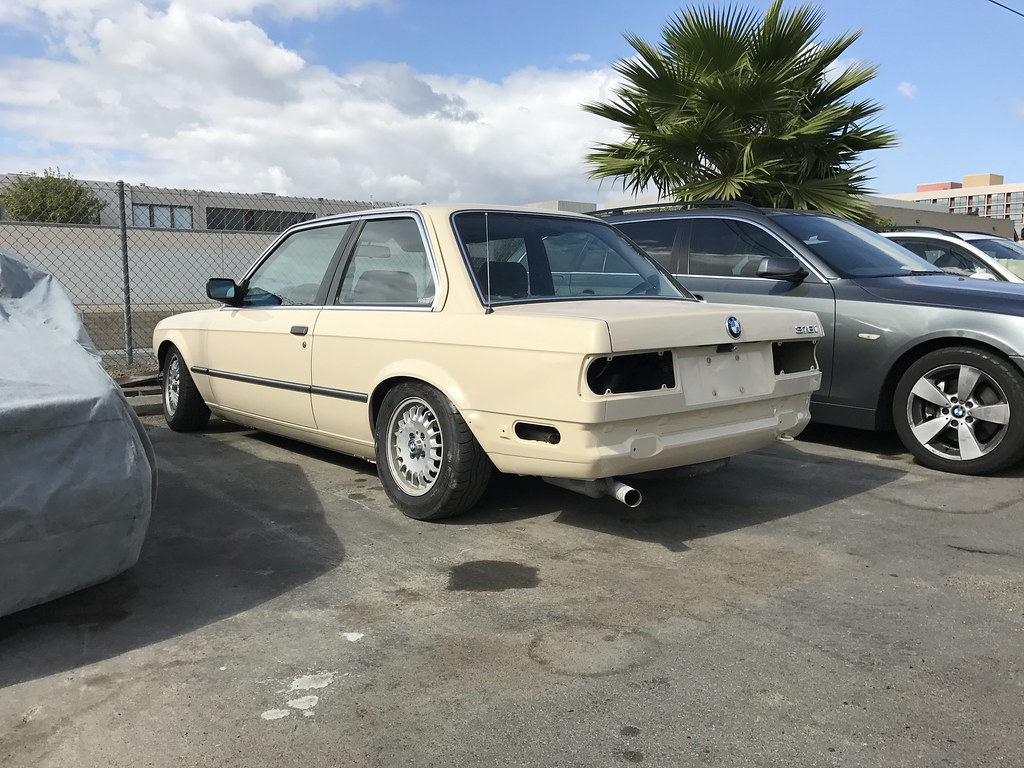
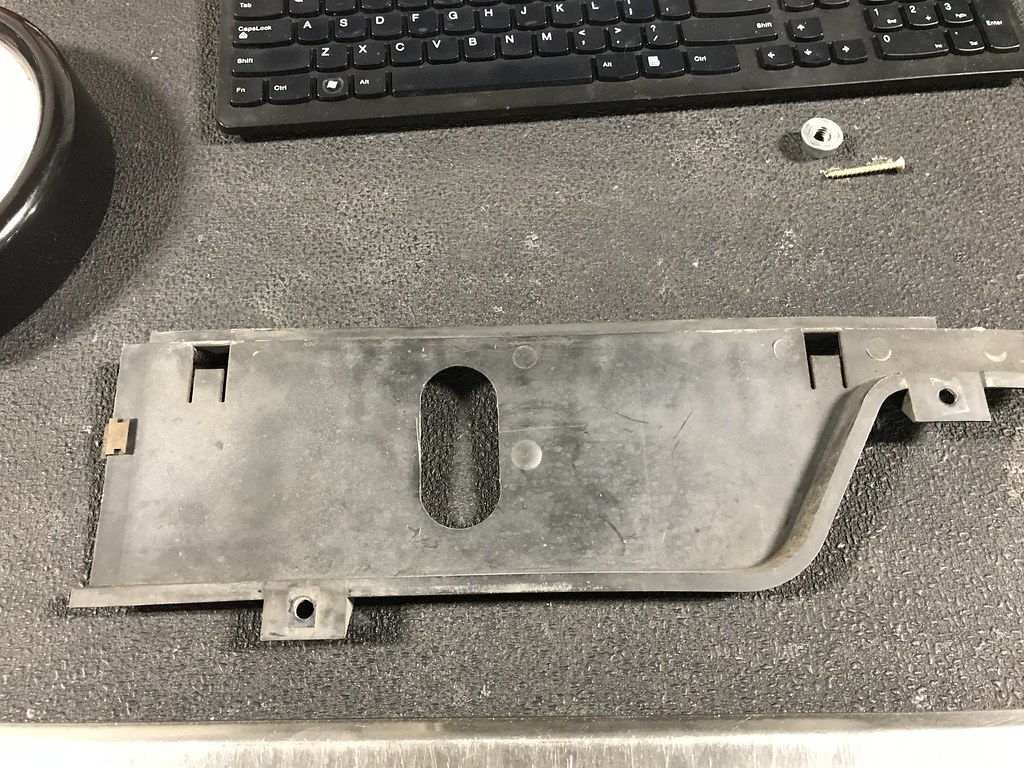
I had ordered some Euro bumpers from ECS Tuning back in February 2017, and they finally showed up around this time (September). I had a friend in the UK send me a new late-early front valence to match, and I was able to get the lip and foglight blanks here through the dealer. There are a bunch of holes left open when converting the rear end to euro, so I went about filling in the holes while I was back here. I think there were 13 total.

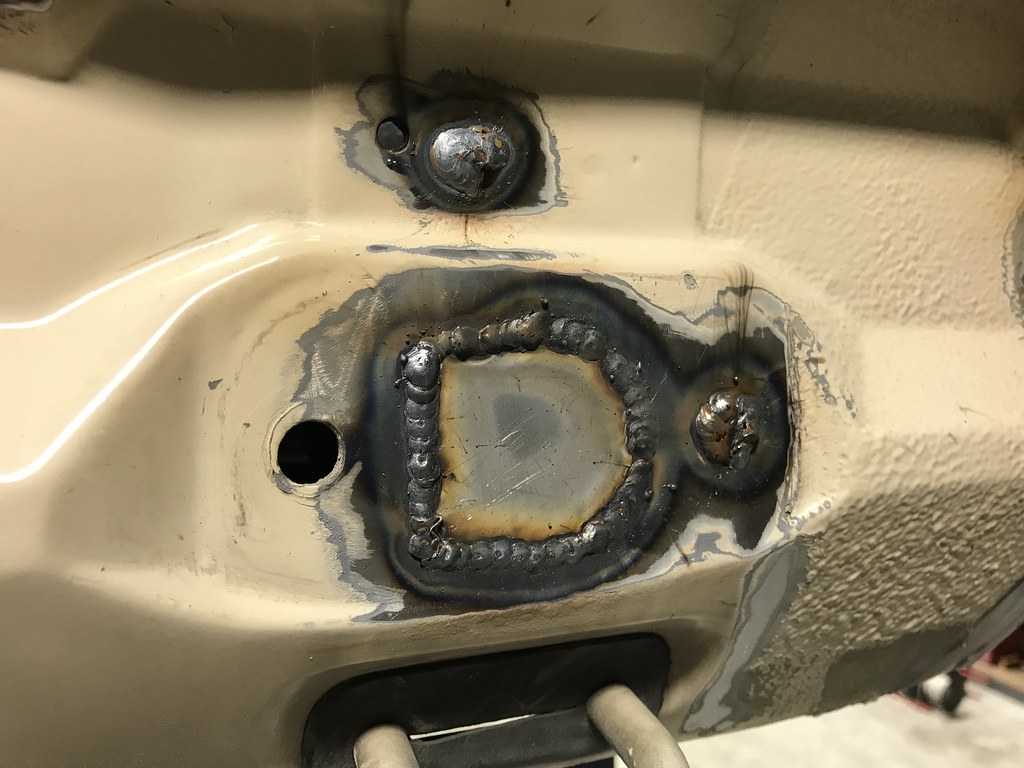
Then ground them all down smooth. I also ground and filled the body seam weld between the sides and back of the rear valence, as I wouldn't be using any undercoating after paint.


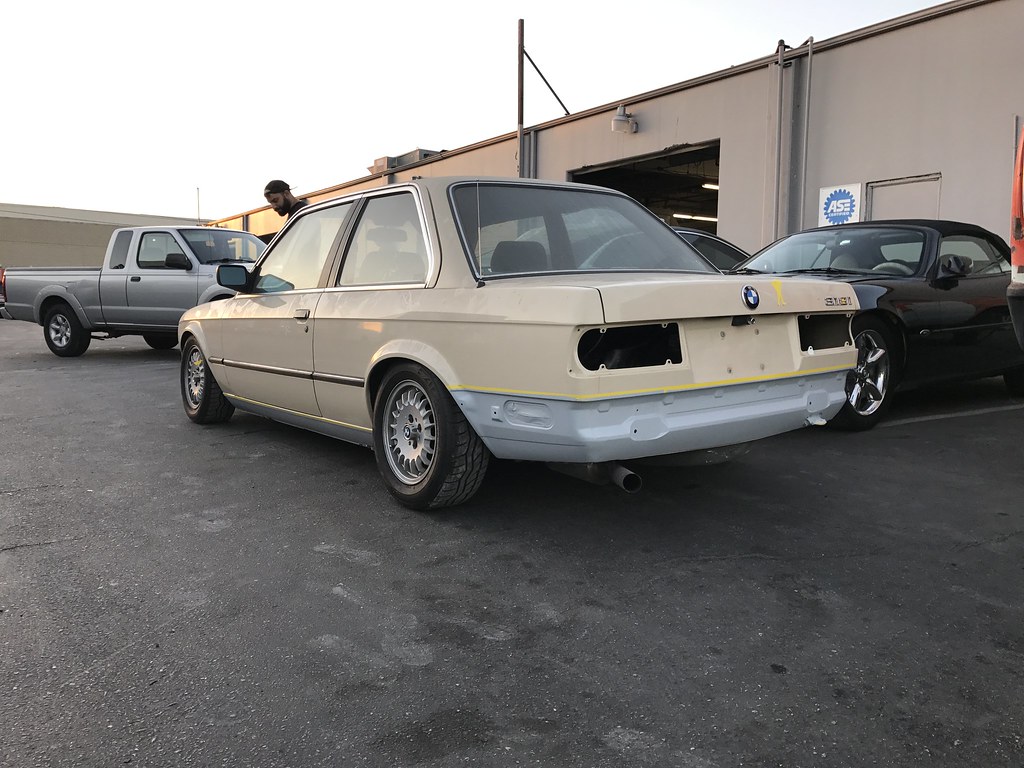
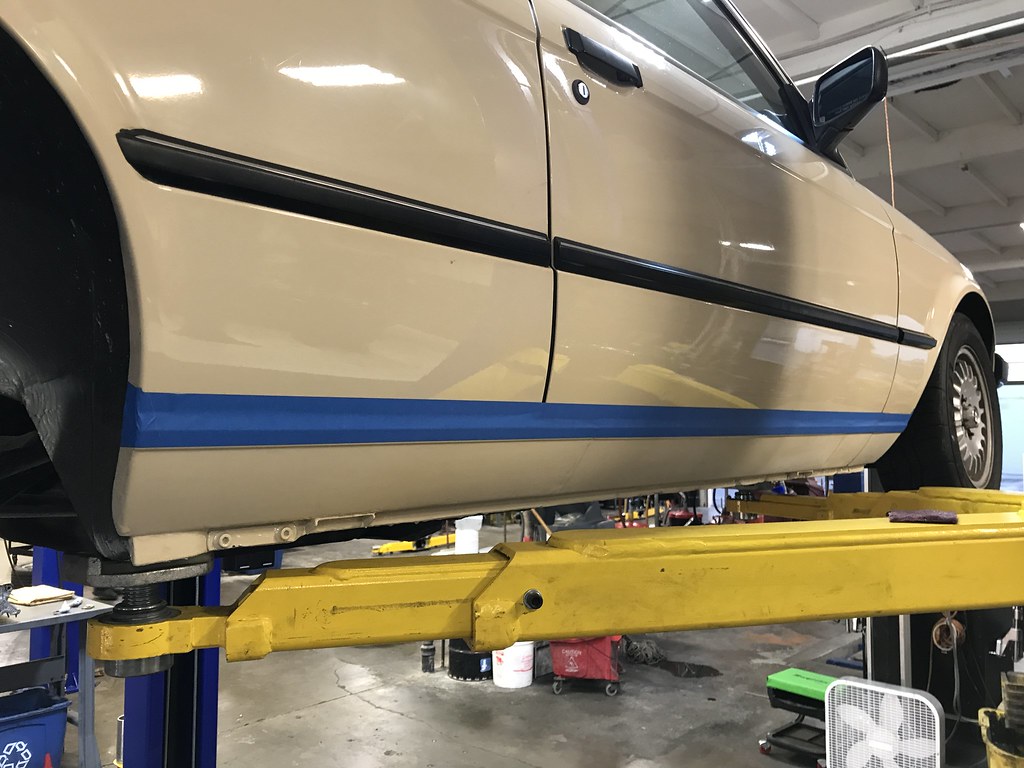
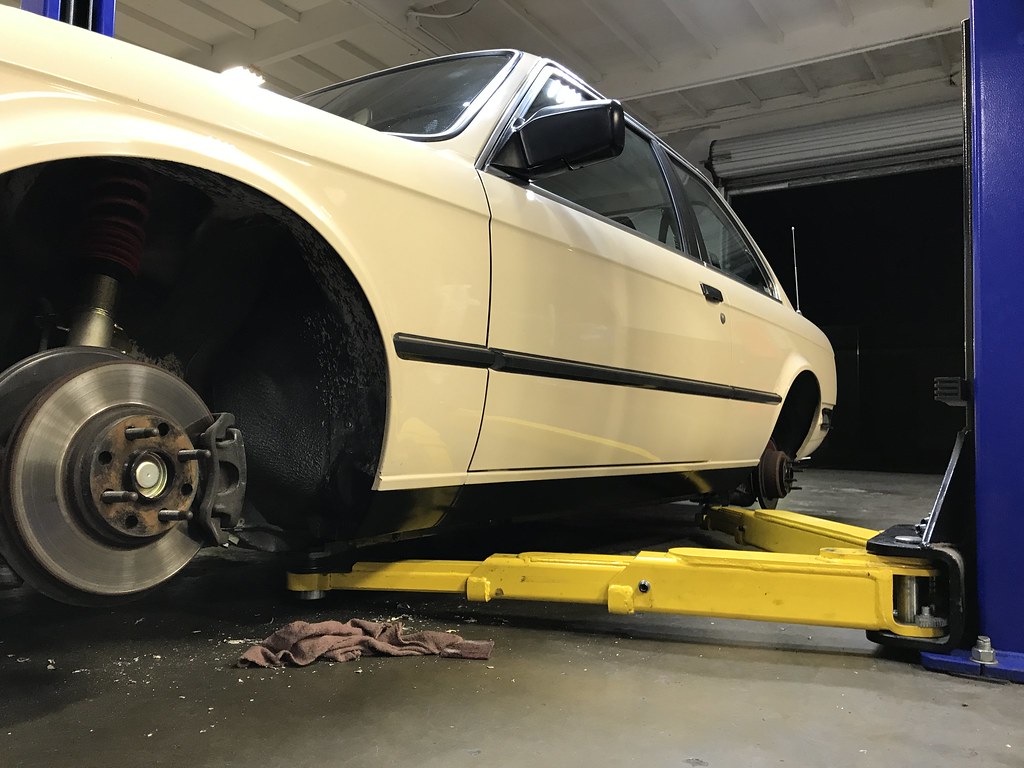
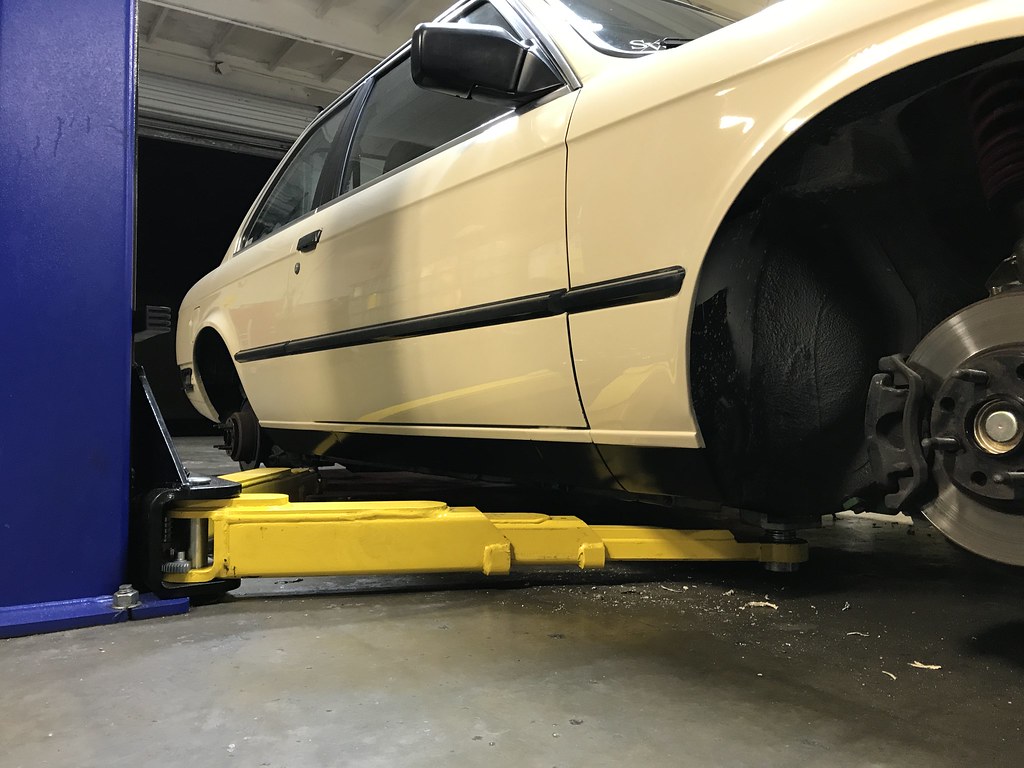
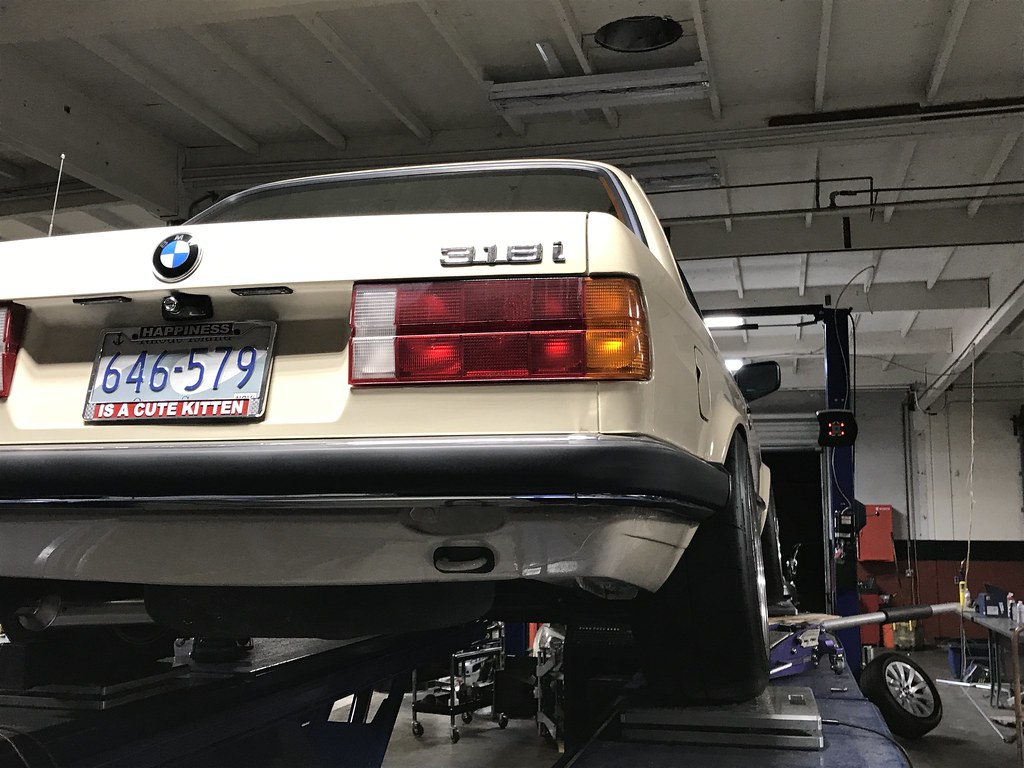
Then I dropped it off at the bodyshop. I asked them to strip off the rest of the undercoating on the rear valence and to smooth out any issues with the welds. I also had them strip the rocker panel undercoating and repaint it black, touch up a small spot in the passengers front fender, and paint the new front valence. I didn't get pictures, but I had them touch up the spot under the taillight and respray the trunk gutter too.
Dirtiest the car has ever been
Got it back with the front and rear valences done nicely, but the rockers painted tan. Told them they were supposed to be black and they argued with me but agreed to fix it. Left it over there for a few more weeks and nothing got done so I took the car back and did it myself. Once I got it back and into the air, I found that they had crushed the rocker panels in multiple areas and there was overspray over nearly the entire underside. It looked like they tried jacking it on the rocker, it folded, so they moved the jack and tried again, rinse and repeat. My rockers were in perfect shape before, so I was pretty pissed, but I wasn't about to bring it back to them to have them do more damage. I ended up getting them pretty straight again with a hammer and dolly, but if you get down there and look you can still tell.

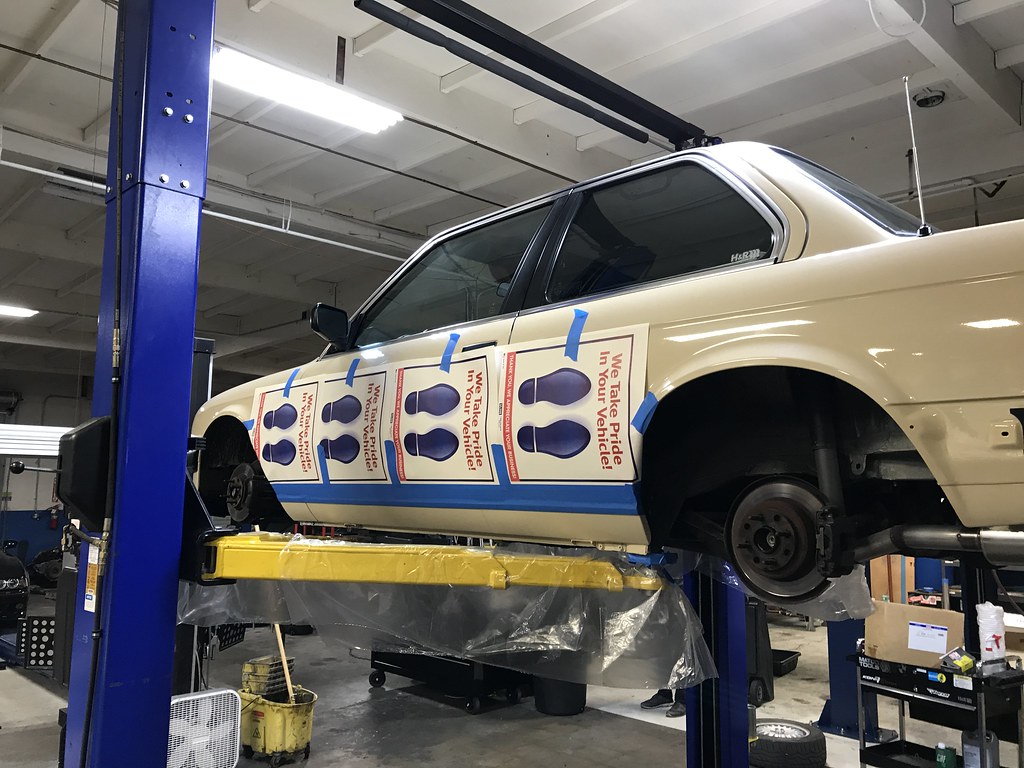
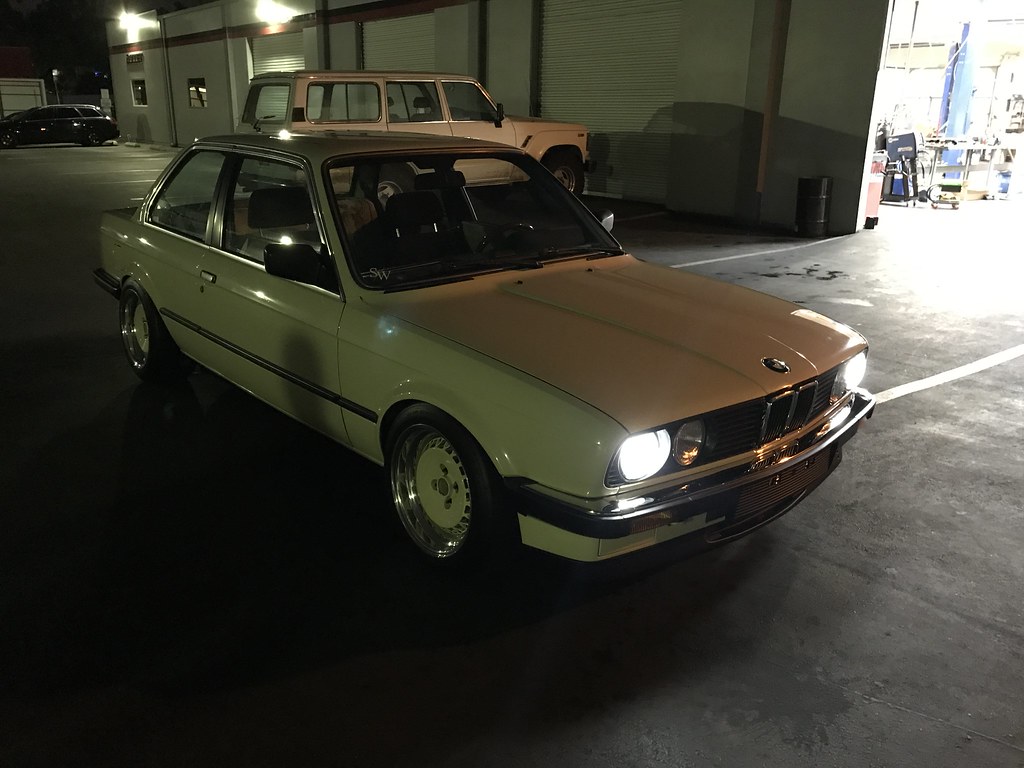
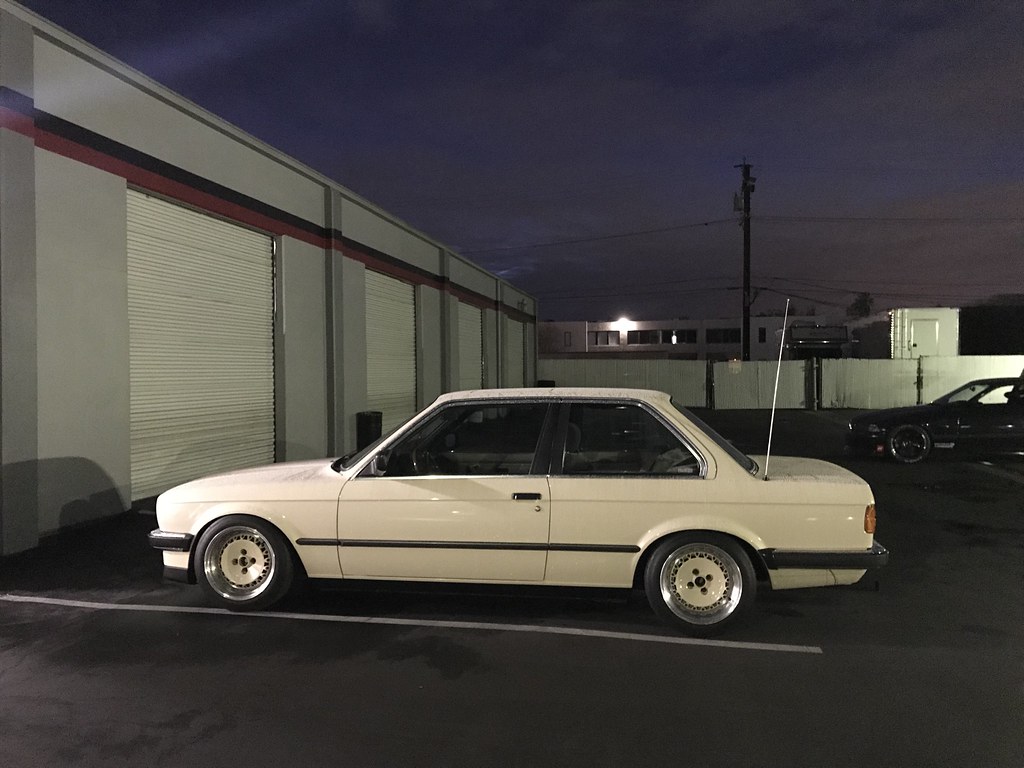
Got the car all back together with new gaskets and seals and everything, threw the wheels on, and managed to make it to SoCal Vintage the next day

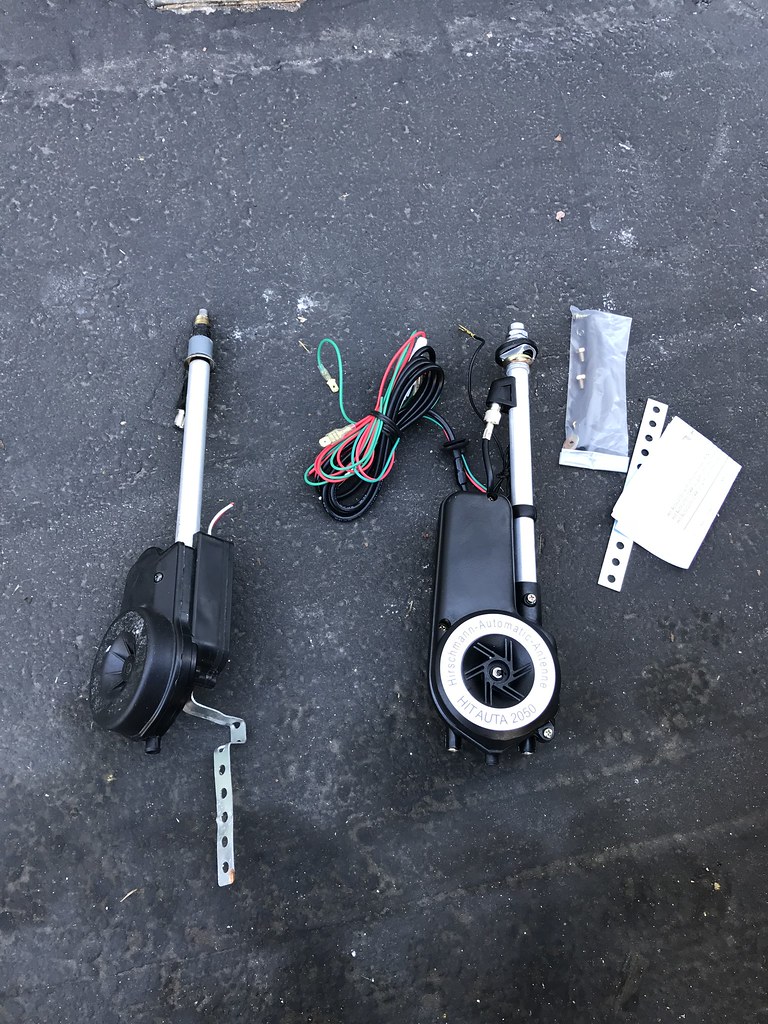
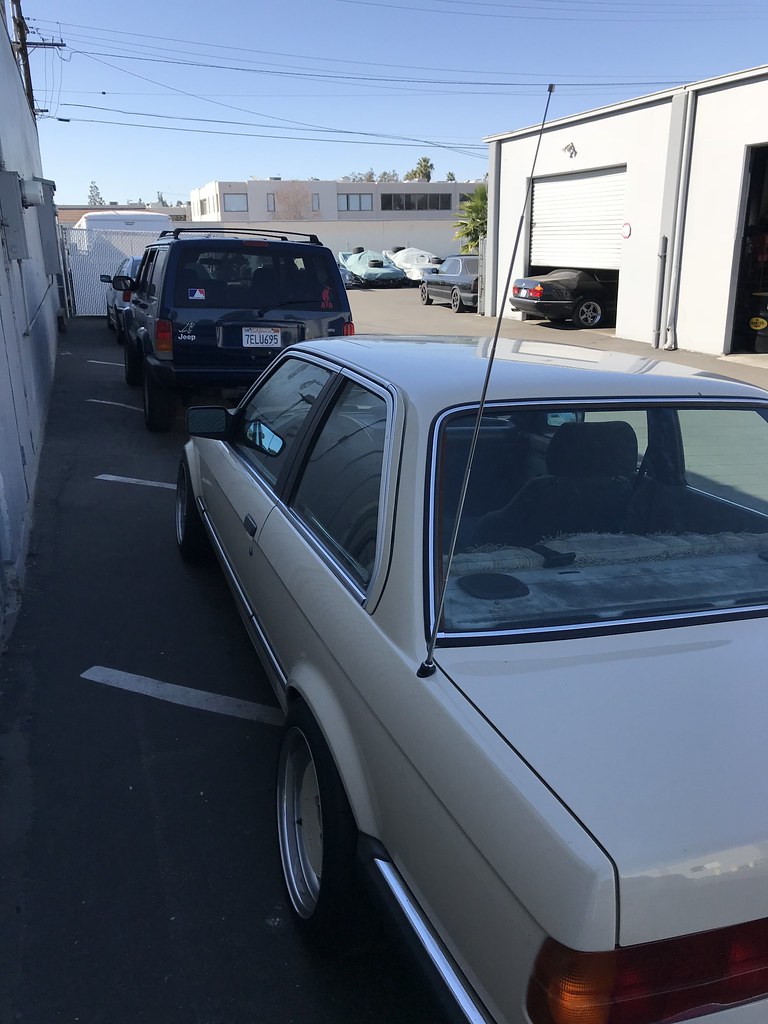
After the Vintage, I started addressing little things that were still wrong with the exterior. The power antenna was broken partway up, so I replaced it with a new Hirschmann. I also put a Continental headunit in at the same time, since my old one had been dead for about 2 years. It looks like an RC car now with the antenna up.
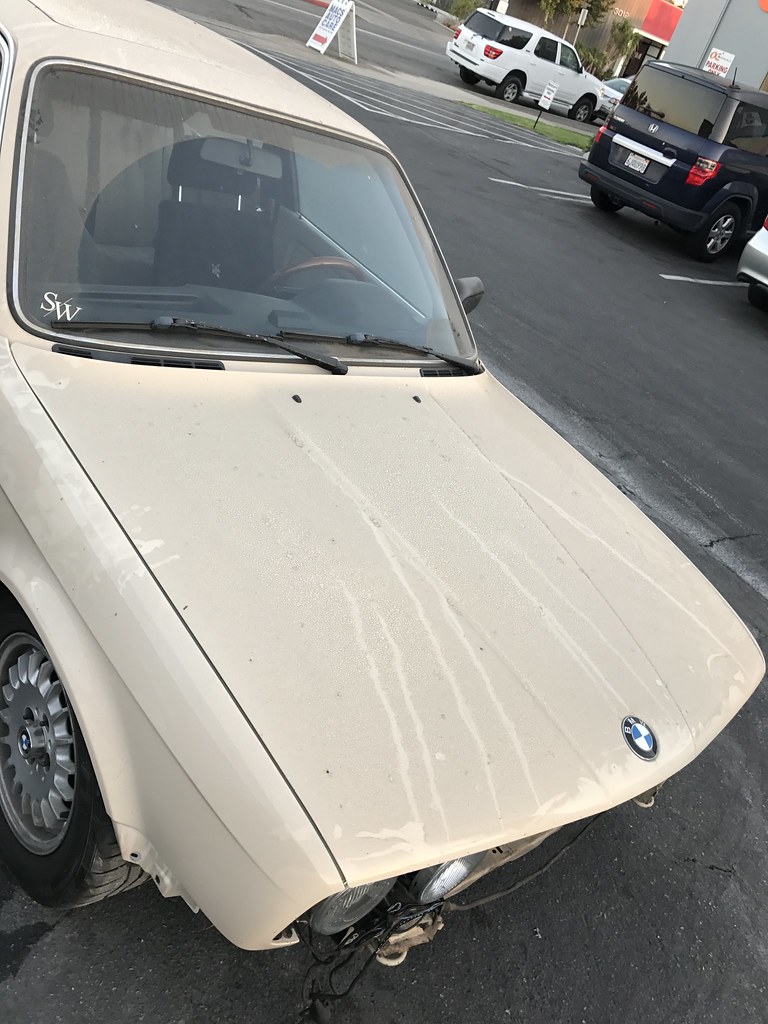
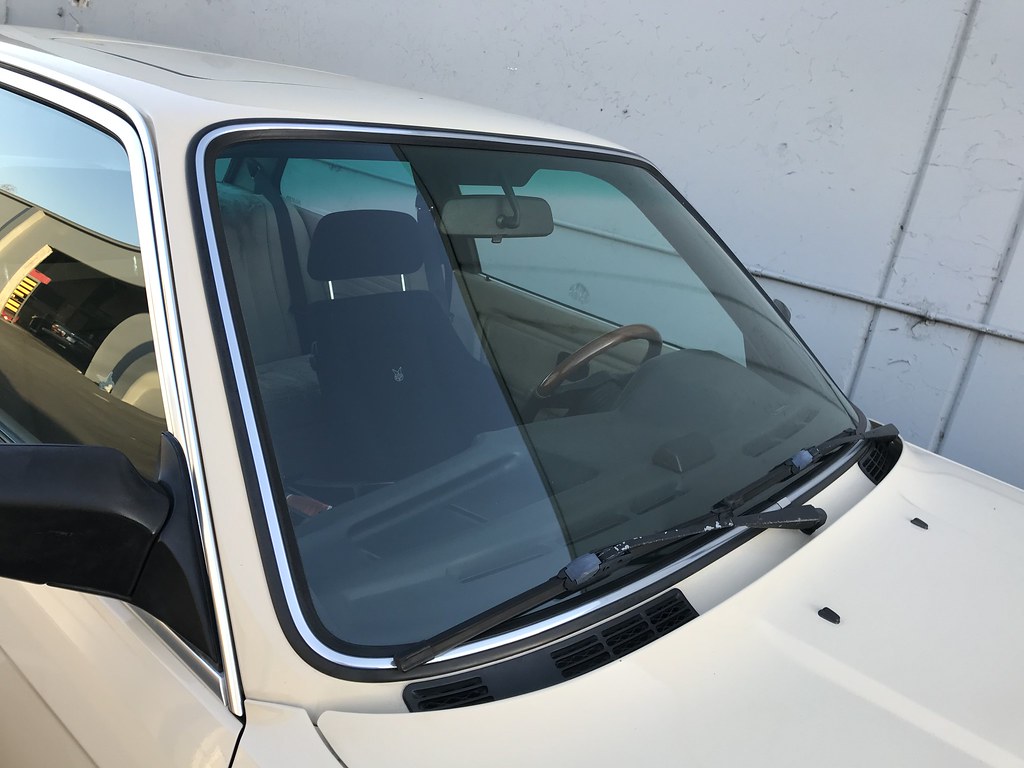
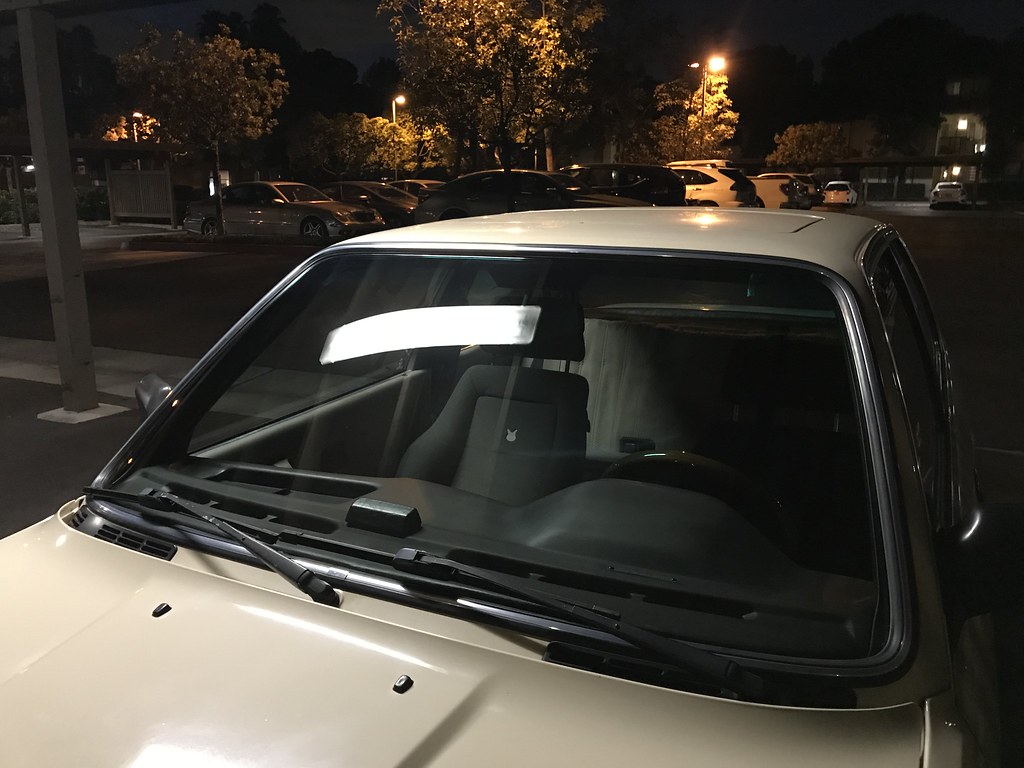
My front windshield trim had already started fading too, so why not use this opportunity to replace the whole windshield? I was able to get one of the last OEM windshields in the country.
need new wiper arms now :facepalm
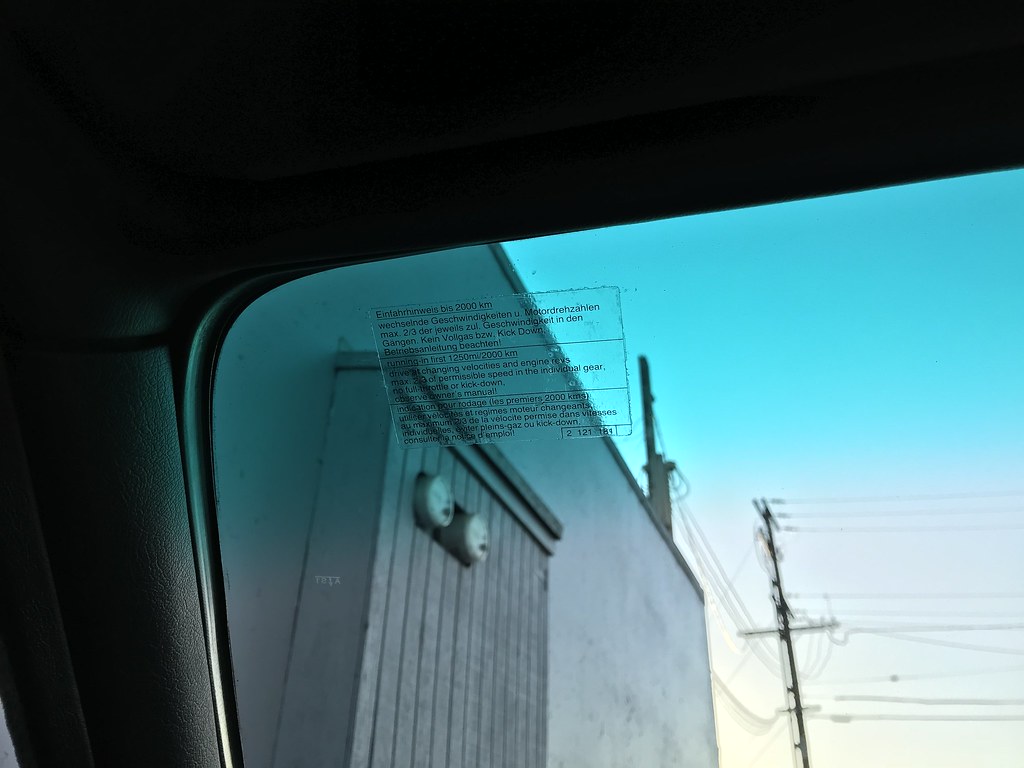
My car still had the original windsheild, with the original break-in sticker still applied. I tried swapping the sticker onto the new windshield, but it came out like crap. Wouldn't you know, the sticker is still available new from BMW! As soon as I saw it I was like, I have to have it!
That was right after installing it, I managed to get it cleaned up a bit more and smoother.
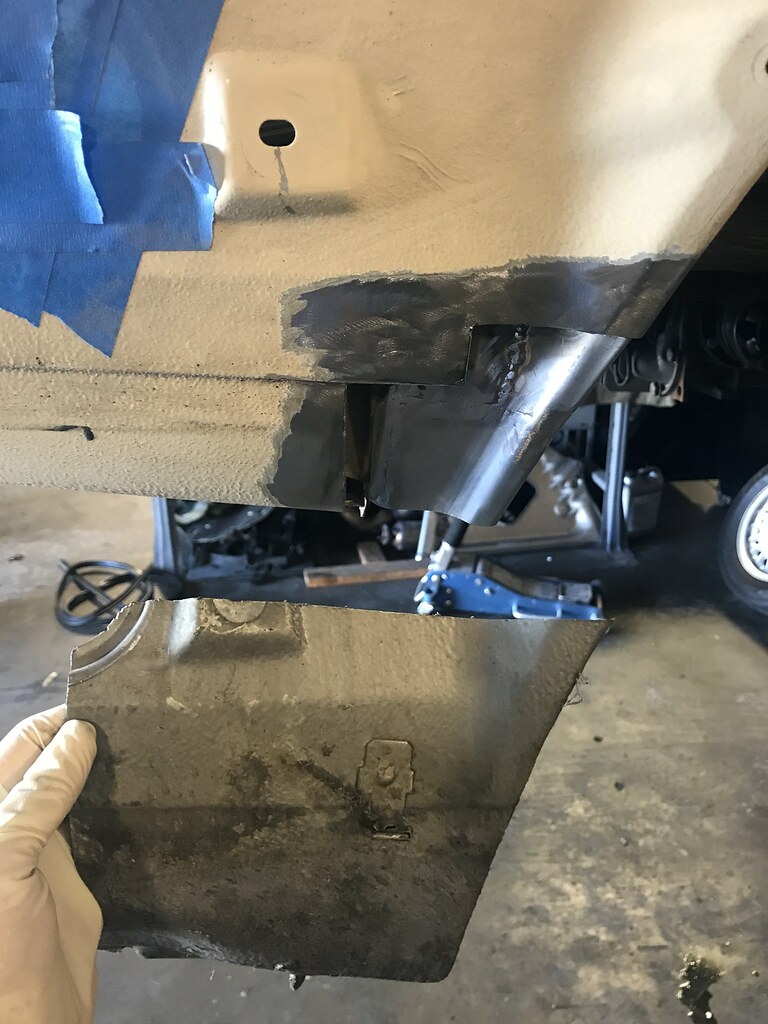
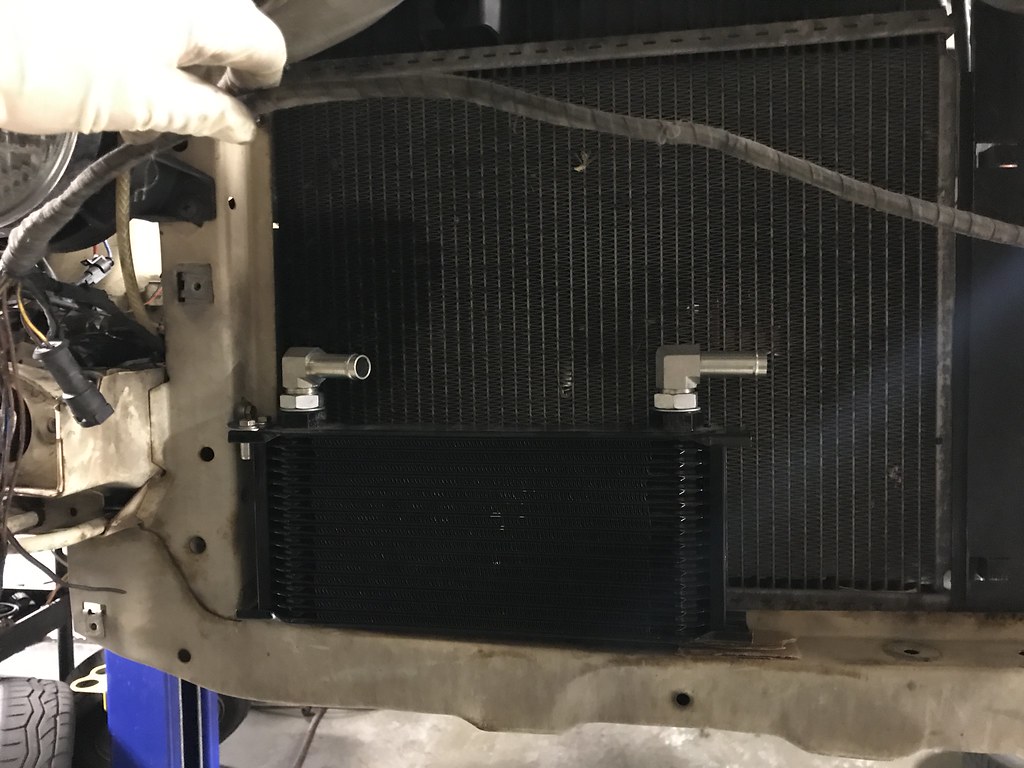
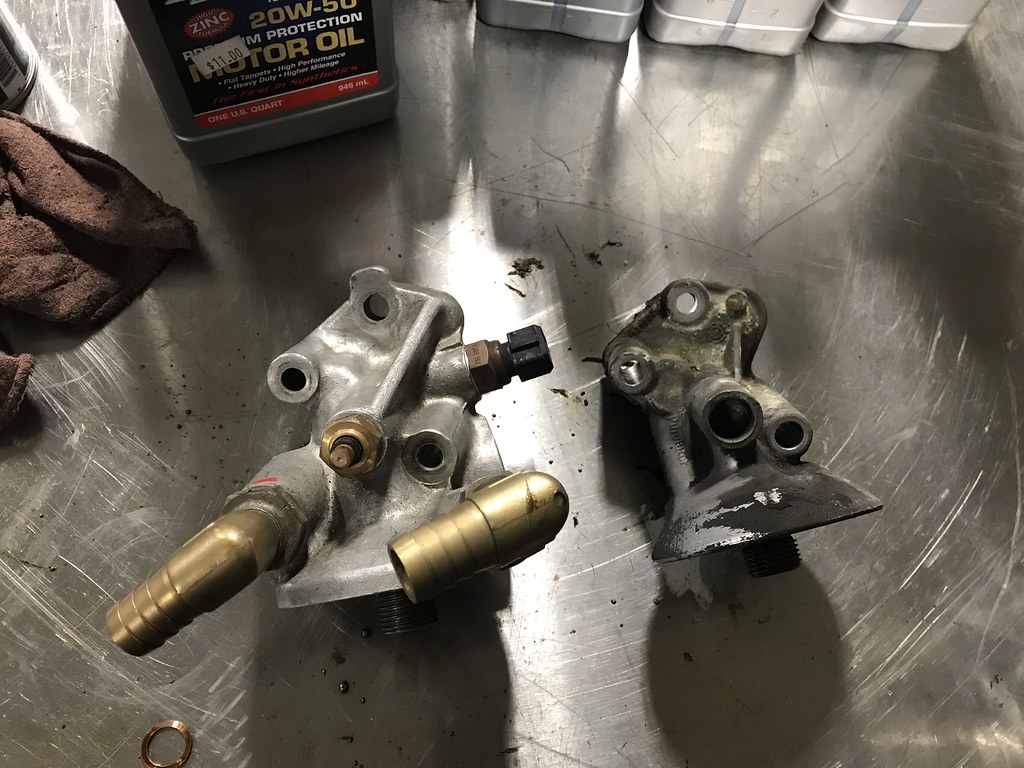
Going out of order a bit here (thanks Flickr), but while I had the front end apart for the bumpers, I installed the oil cooler I've had sitting around for a while. Used an M3 oil filter housing and had new lines made for it.

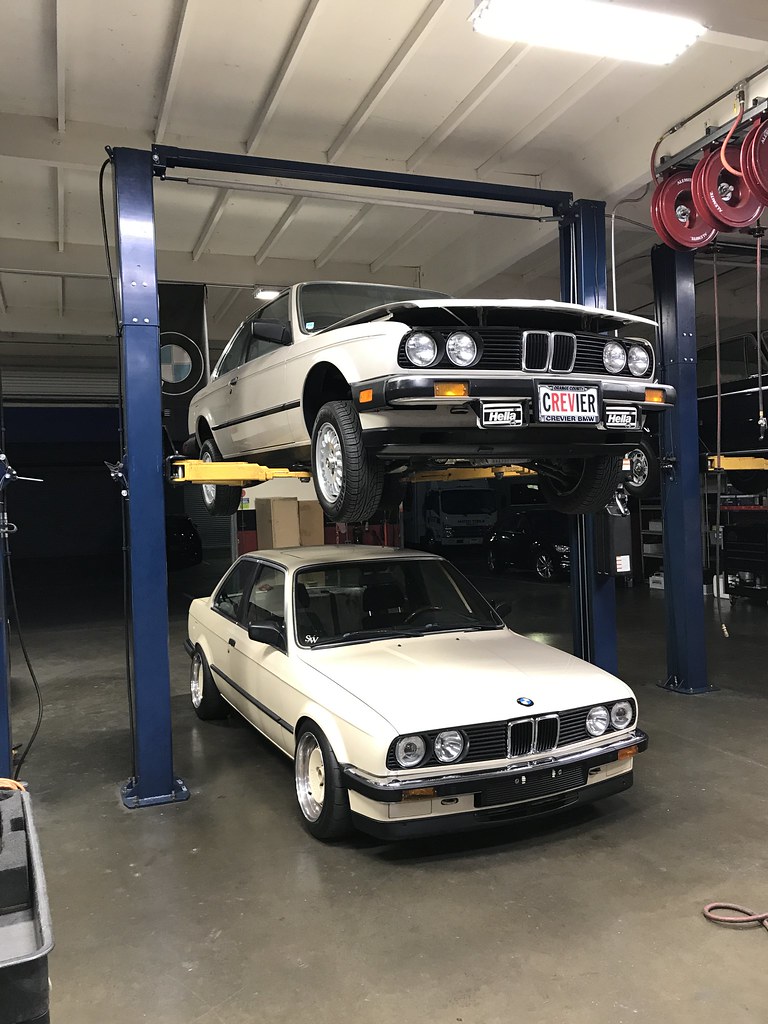
Weighed the car to see if early 318's really were as light as I hoped they were
Verdict? Yeah, they're pretty light. I have full interior and 3/4 tank of gas for this.
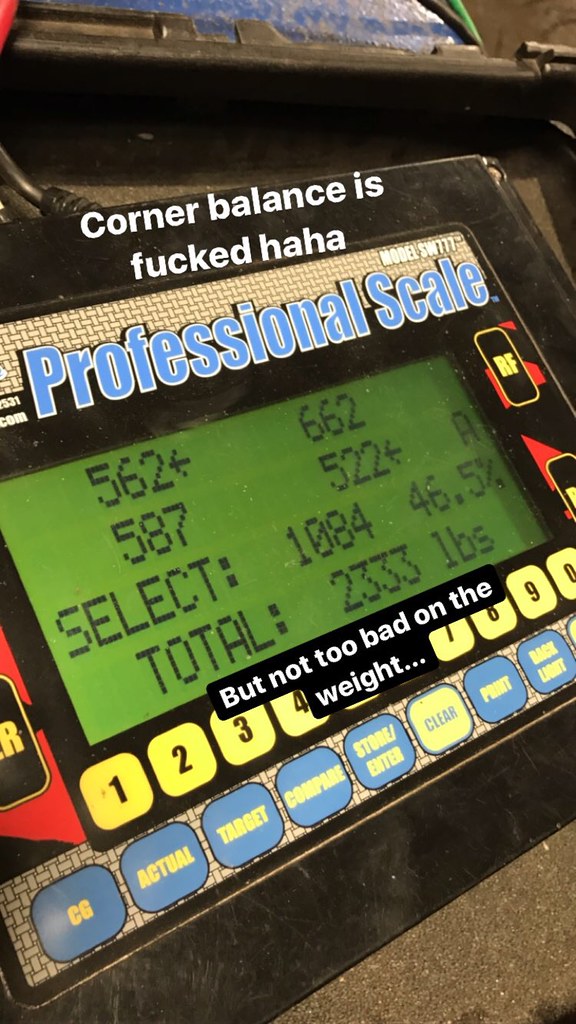
I'm hoping to be able to get the car down under 2200lbs (1000 kilos) with the addition of some lightweight parts. It'll still have a full interior though.
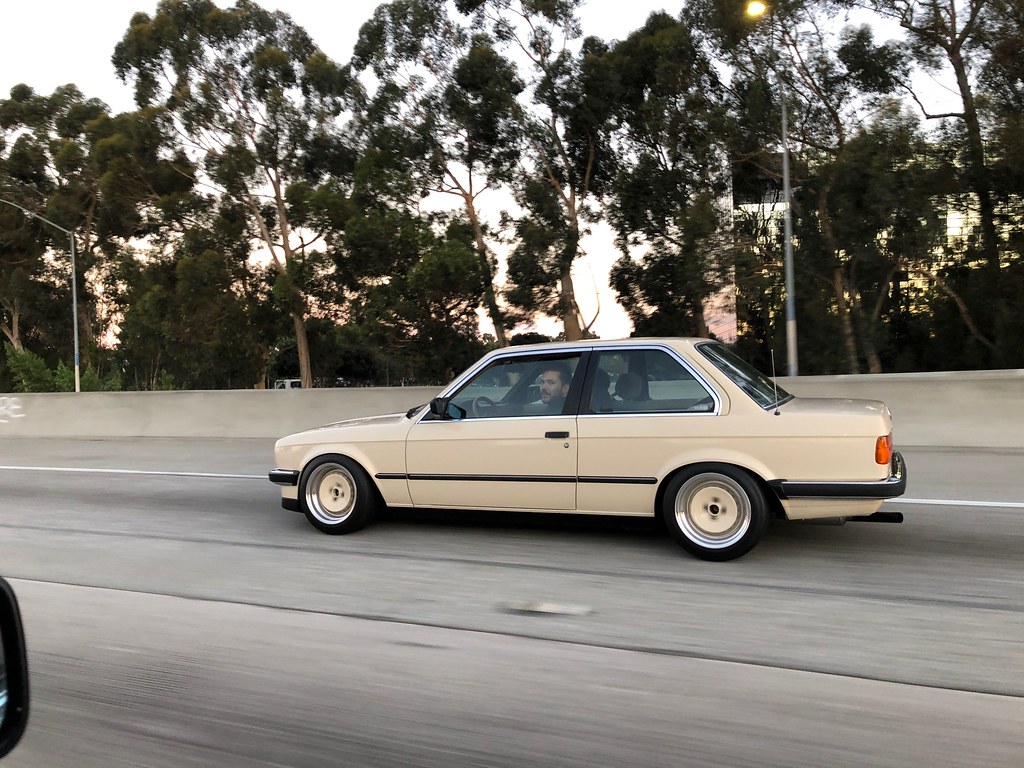
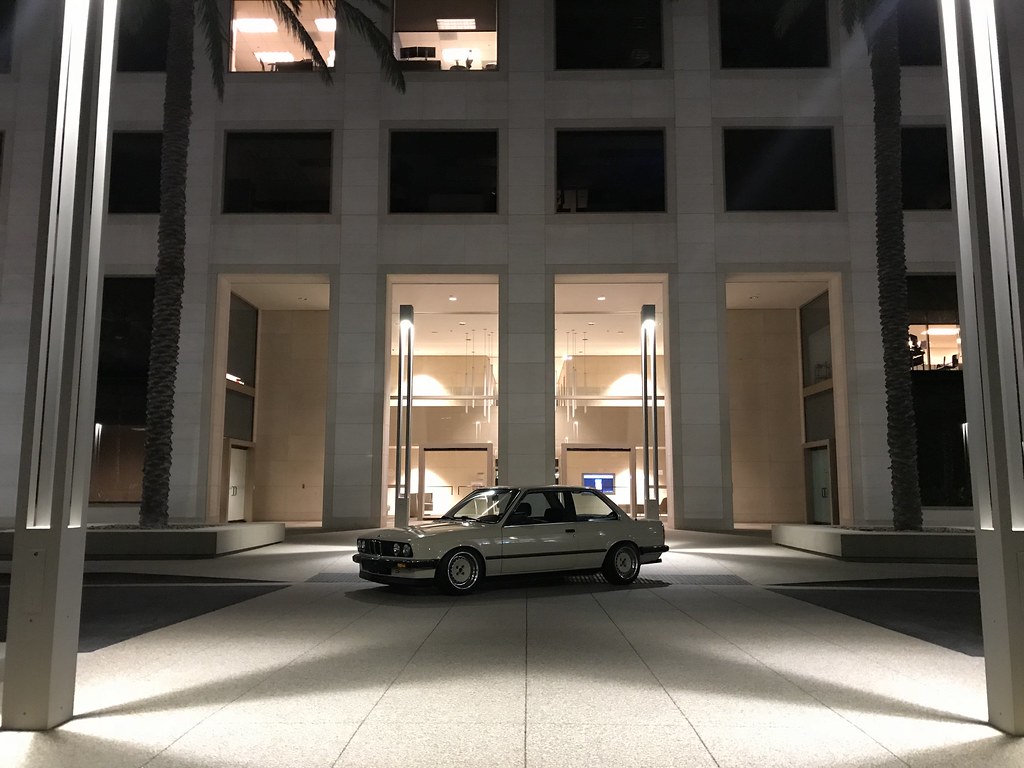
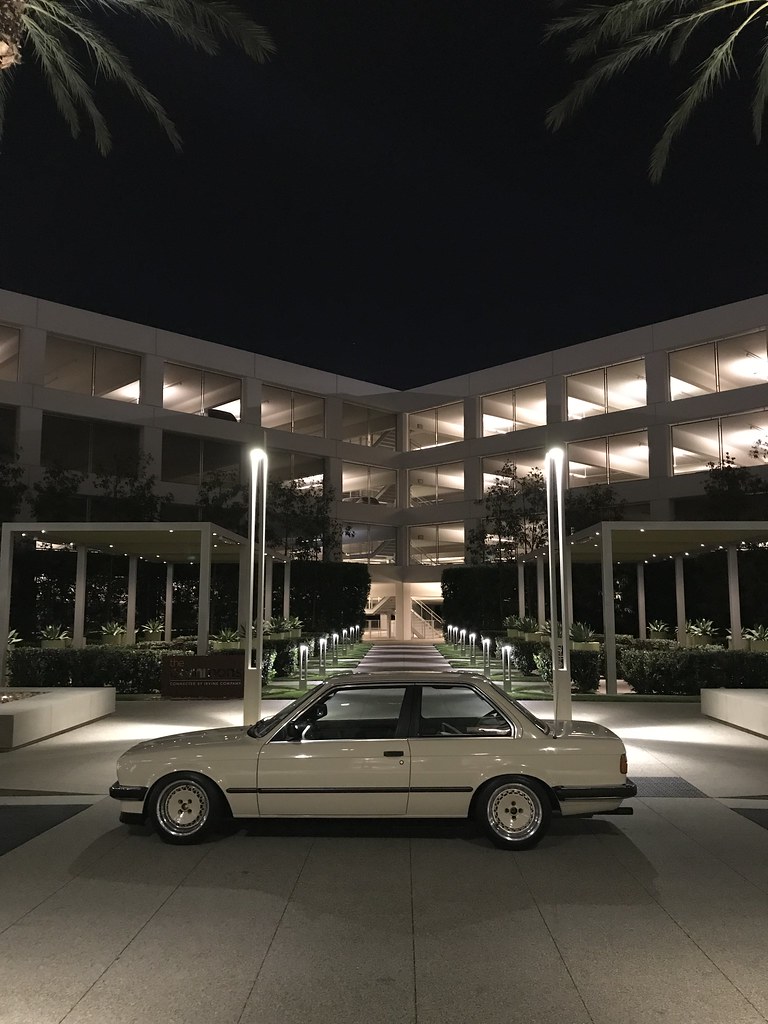
And now I realize how late it's getting, so I'll leave you with these photos of the car until I can catch us fully up to speed.


Leave a comment: