
Z3 Rack and 370mm rack is a great combination. That's what I run in mine.
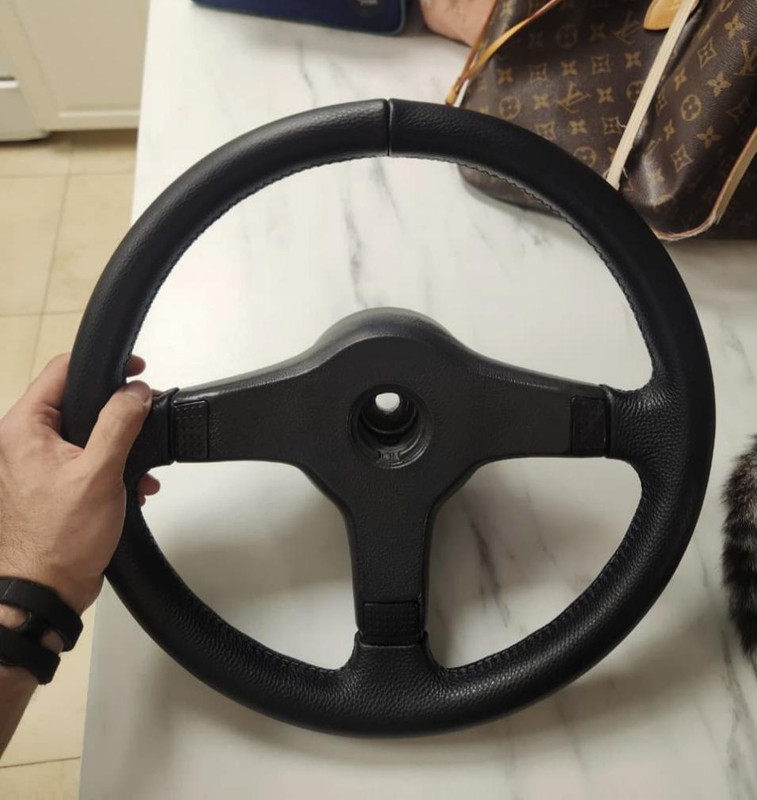
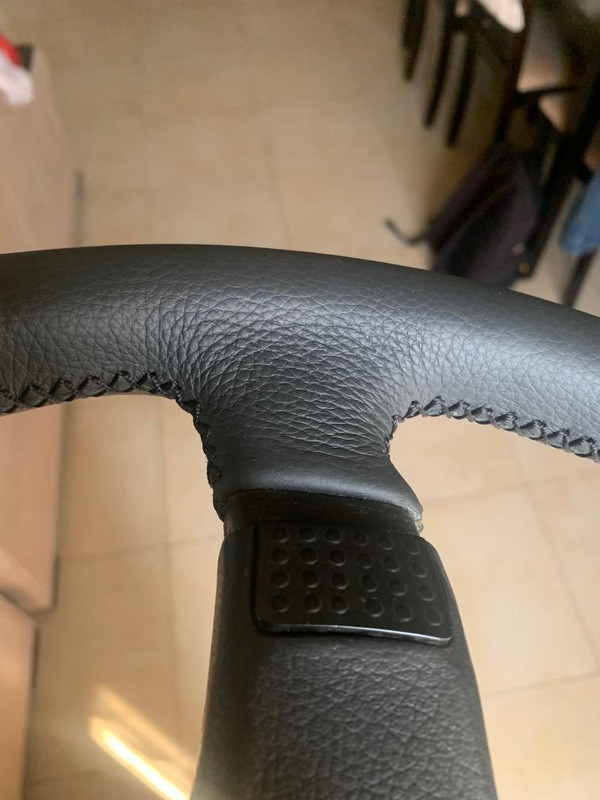
Steering wheel looks okay, but having that top stitch line uncentered would drive me nuts!
-
Summer 2025 update:
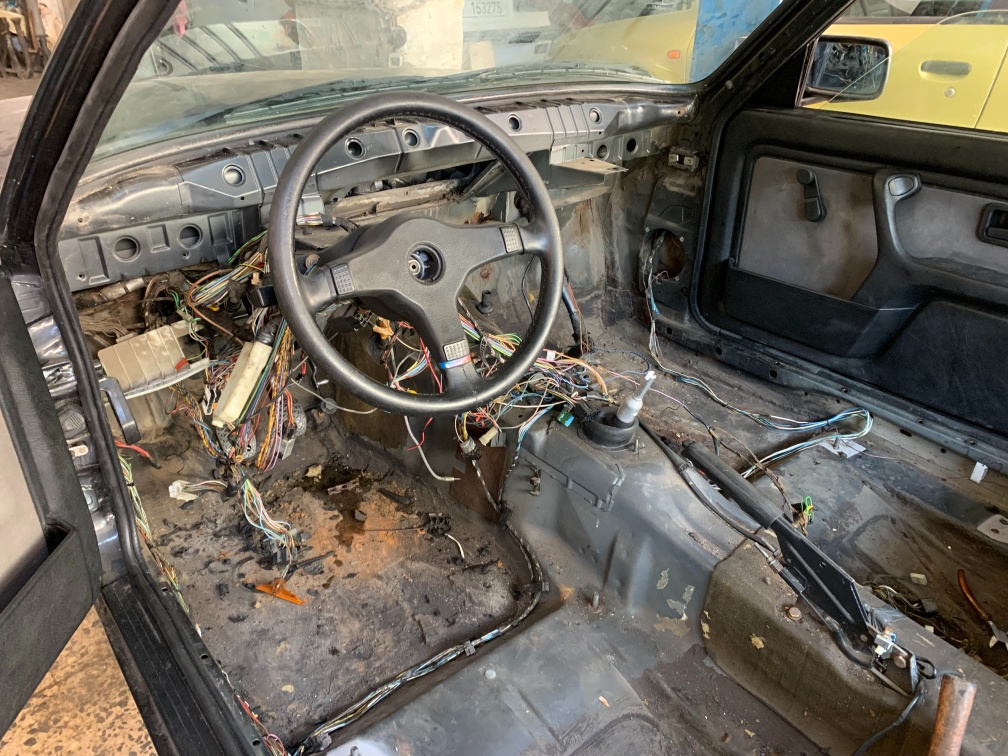
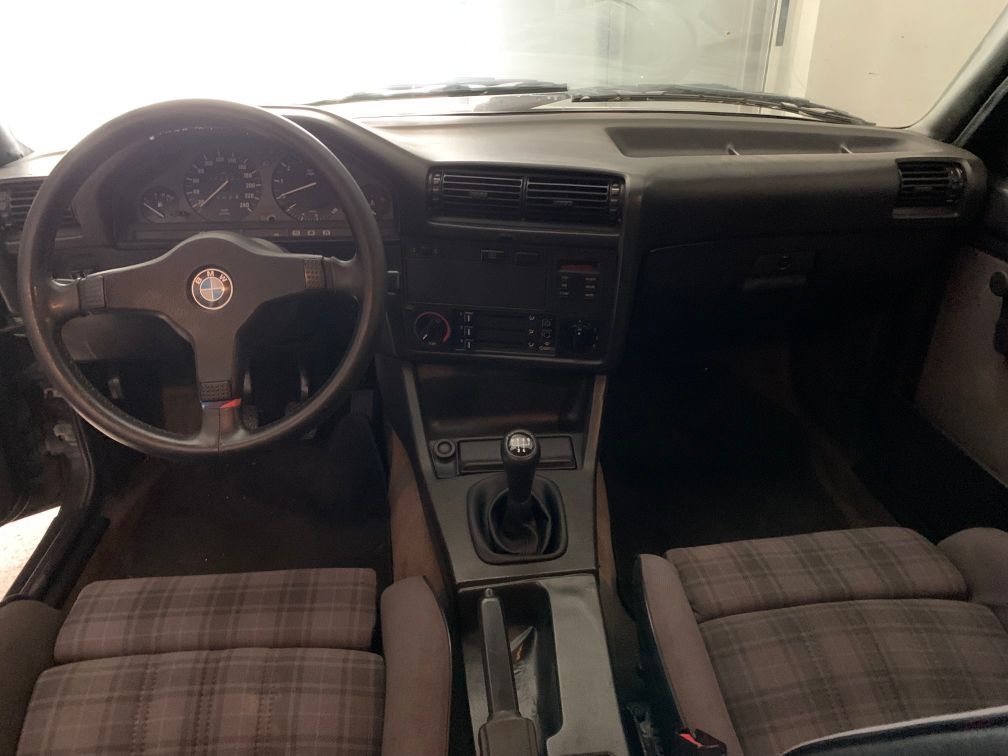
During my vacation, I have assembled back all the interior and sorted out the electrical issues I was facing before:
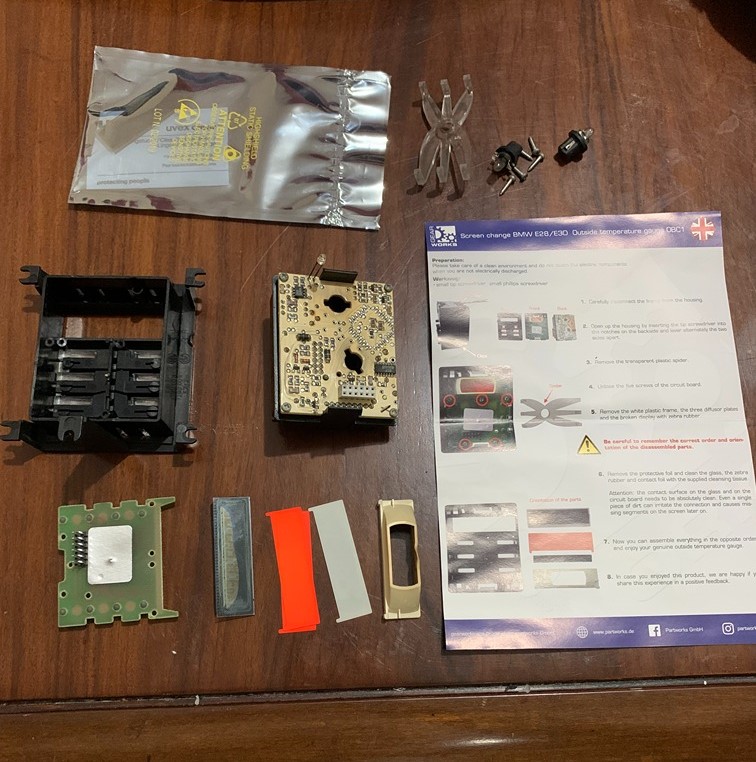
- All of the center console / dashboard lighting was not working, it turned out to be a broken headlight switch rheostat, I used this nice guide to fix it:
- The wiper arm was not activating the washer water pump when pulled in, the problem was a dirty contact inside the switch itself: there is cutout where you can spray contact cleaner and use a tiny file/sandpaper to clean it.
Finally it was the time to do the steering rack upgrade: 5 years ago I got a new Z3 rack from China for around $ 300 shipped from AliExpress (https://a.aliexpress.com/_c3QiKjTV), I believe it's the same unit sold in the US under the AAE company name model 3111N.
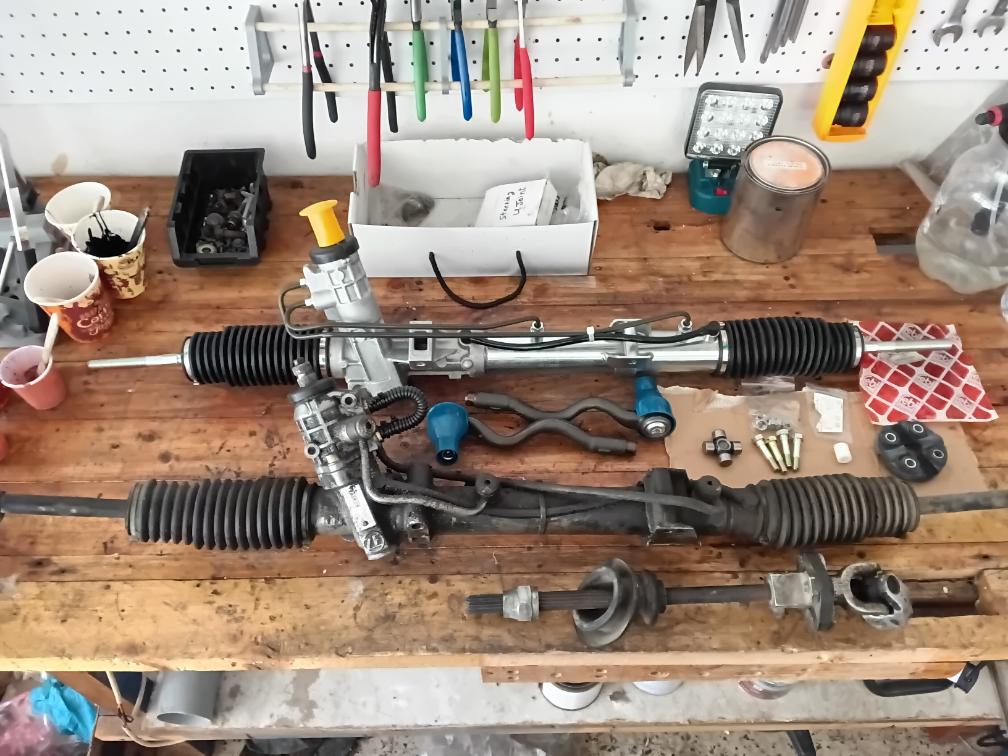
The conversion was the hardest job I've done so far, with me under the car pushing the new rack up in while dad was inside the car to mate the male splines of the steering linkage to the female splines of the steering shaft coming from the steering wheel.
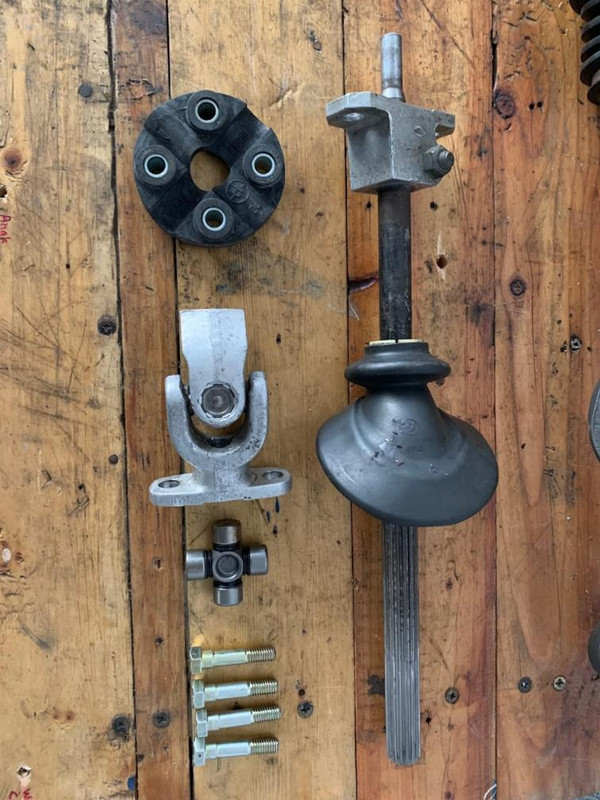
The steering knuckle u-joint cross bearing was also replaced with a new one (model # ST1540), with new rubber guibo and plastic guide pin as I was having lots of bumps and vibrations in the steering wheel whenever I go over a bump on the road.

The steering was installed without the hydraulic assist, and after driving the car I felt it was a little heavy at slow speeds, so maybe will consider putting it back the hydraulic part in the future.
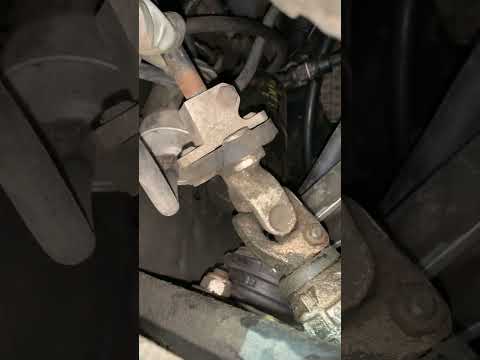
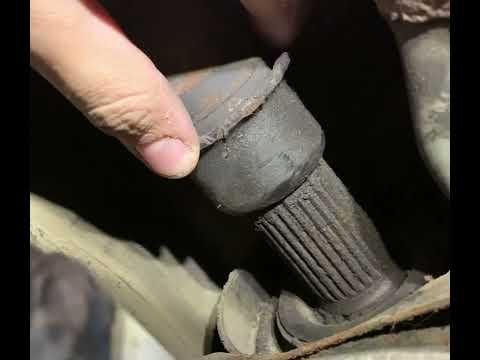
The below video shows the amount of play that was present in the knuckle before:
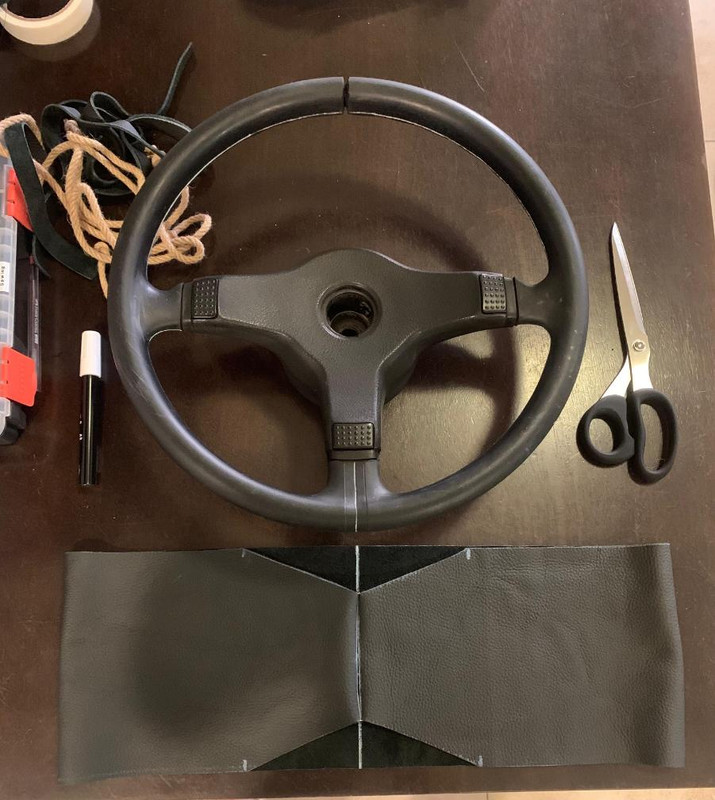
And the conversion is not complete without a newly re-upholstered 370mm small steering wheel that I did myself using this guide as reference:

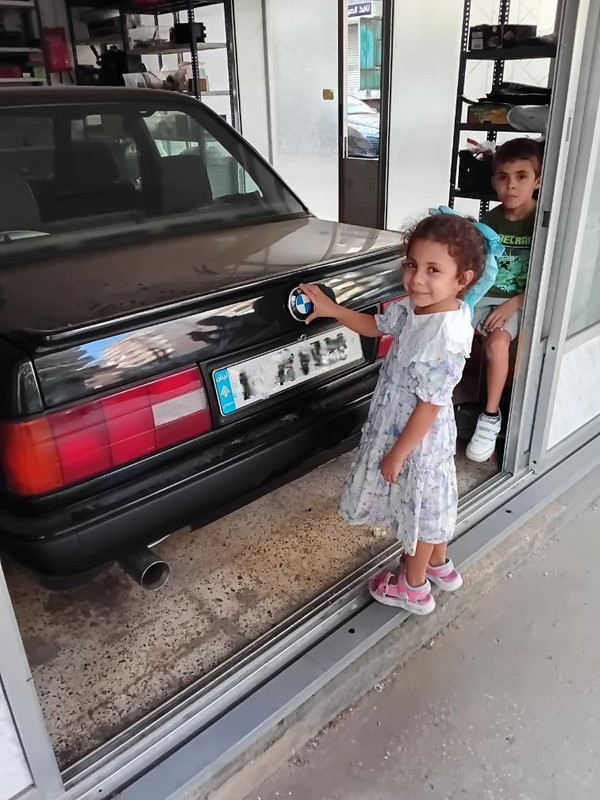
Here are my kids adding the rear emblem as the final step in the assembly before driving the car:
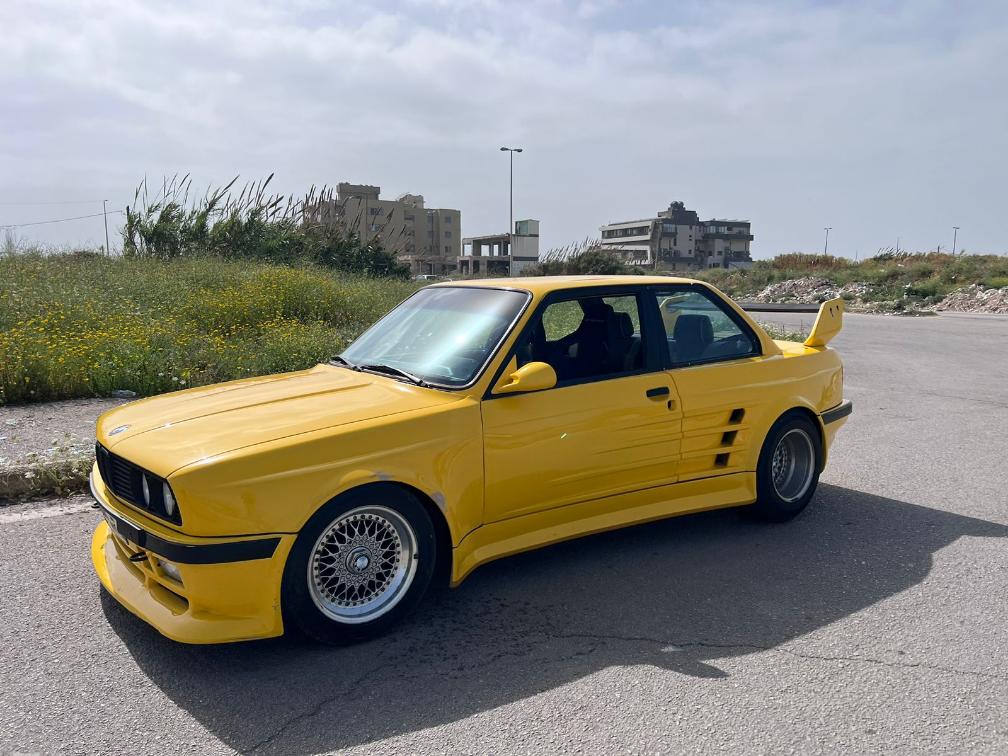
Bonus content: my brother-in-law's E30 with the rare Folger wide body kit
Thanks !Last edited by kenshin86; 11-03-2025, 10:51 AM.Leave a comment:
-
Love comeback stories like this. You're running out of things to replace / restore so I guess that means it's time to enjoy it
Leave a comment:
-
-
-
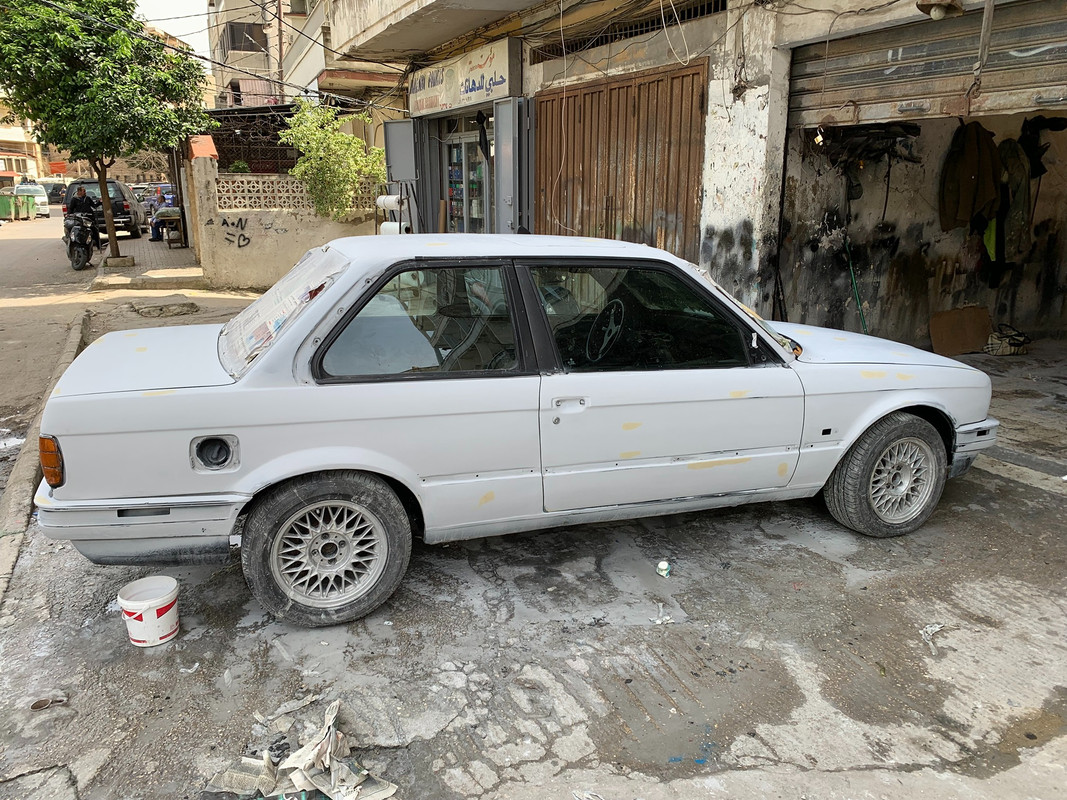
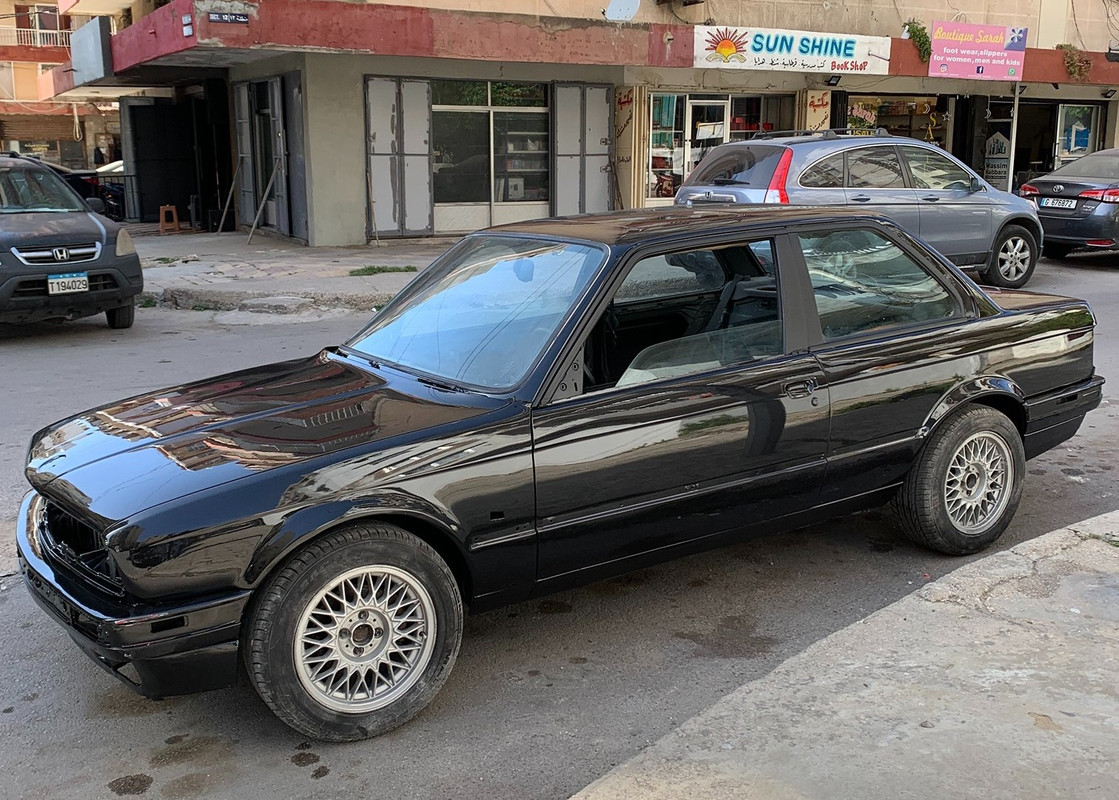
Thanks ! Honestly I was not expecting this degree of black although it is the correct original color Diamantschwarz metallic.
Maybe the previous paint was faded away due to age and I was perceiving it more as dark grey when the sun was shining as you can see in this old photo:

Last edited by kenshin86; 04-23-2024, 03:42 AM.
Last edited by kenshin86; 04-23-2024, 03:42 AM.Leave a comment:
-
Update Spring 2024
During this visit I decided to do a full body paint since the whole process will not cost you more than $ 500 in Lebanon.
It took around 4 weeks to finish and below are the results:

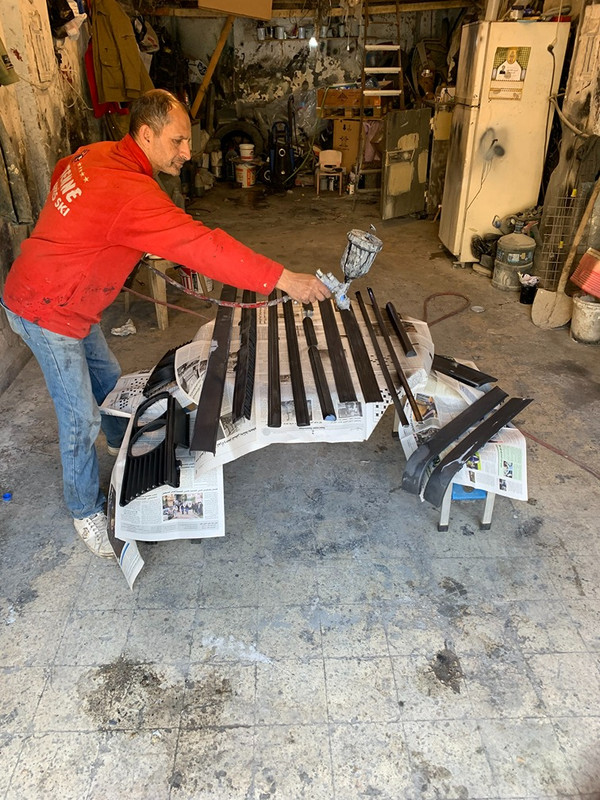
Coming out of the spray booth:
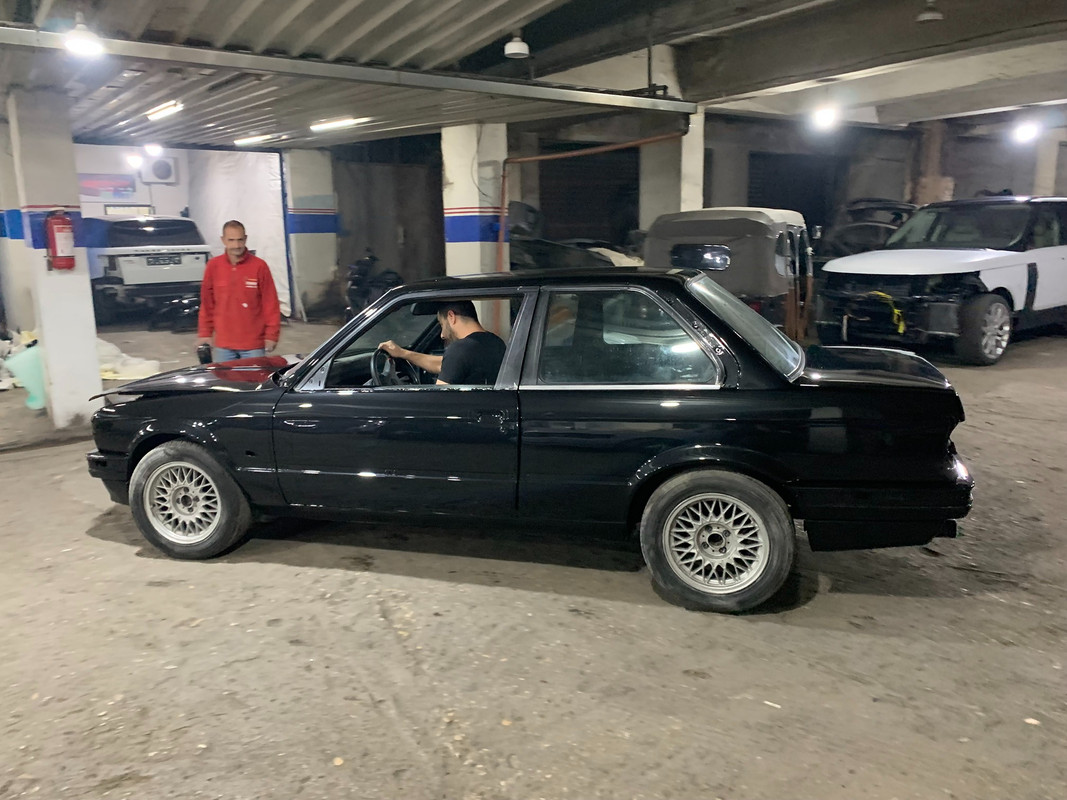
Reached my garage:
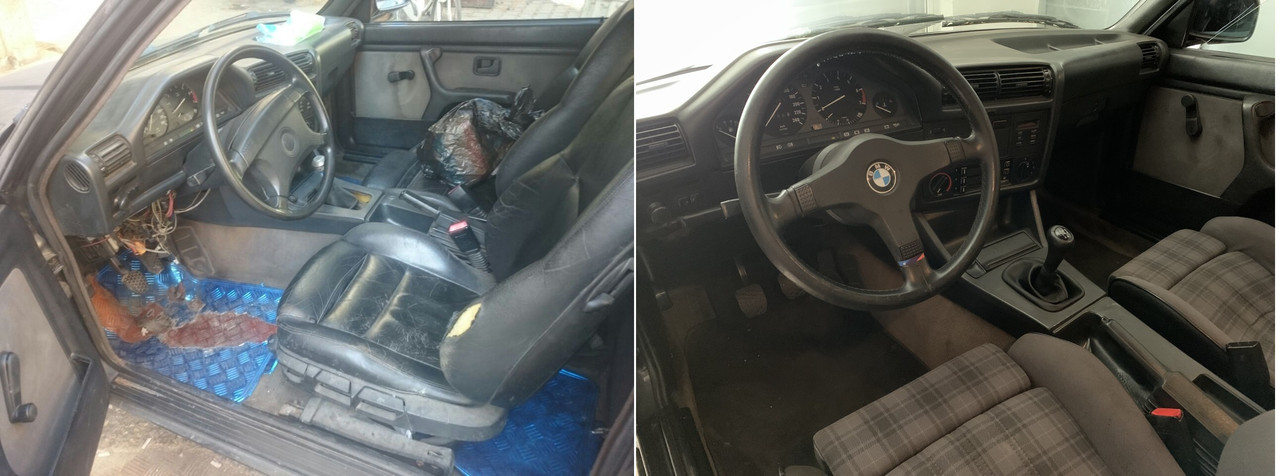
Identifying all chopped and sliced wires with a help of label machine and crimping in new connectors for the headlights:

Replacing OBC damaged screen:
Next visit in God's will should be the re-installation of the interior/dashboard/seats and hopefully I can get all the wiring sorted out.
Last edited by kenshin86; 04-22-2024, 11:10 AM.Leave a comment:
-
-
-
Summer 2023 update
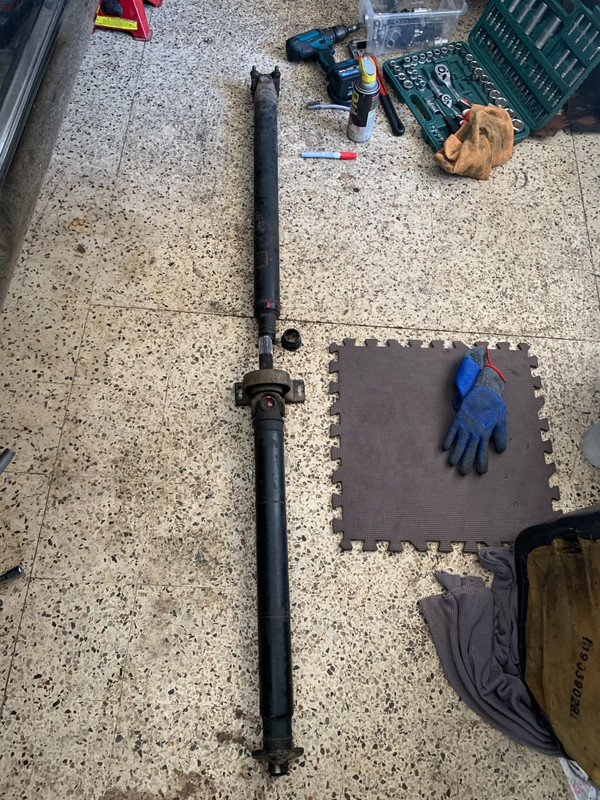
- Driveshaft vibration
Recently I started to notice a thumping rotating noise coming from the driveshaft, the center support bearing is solid but I there is a play in the center locking nut: the plastic inside it might be worn or it may need more tightening.
After driving the car more, the problem was was only observed during on/off throttle or when engaging the clutch.
As per the Bentley manual troubleshooting table this is most likely caused by a siezed sliding coupling, and indeed upon further inspection the gunk on the splines were baked in so hard I had to use an angle grinder with a brush wheel to clean them.
In addition, the plastic teeth of the central locking nut were gone, that explains the play in my last video.
With a new nut and fresh moly grease, the vibration is now gone !

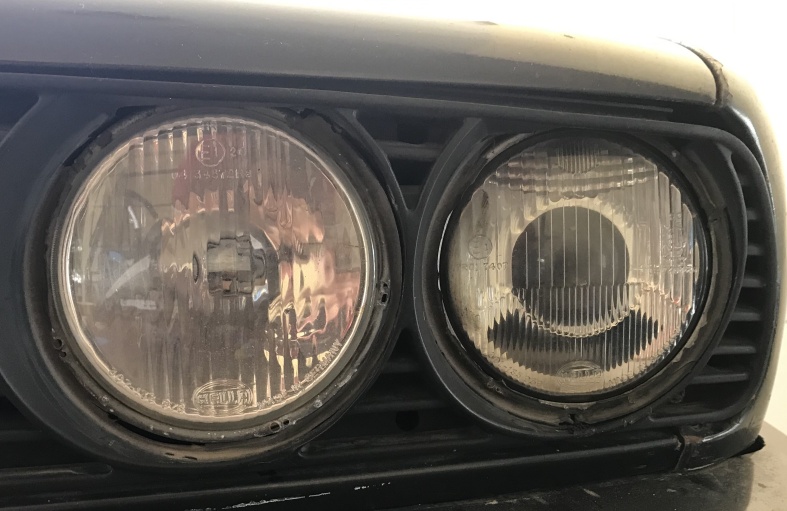
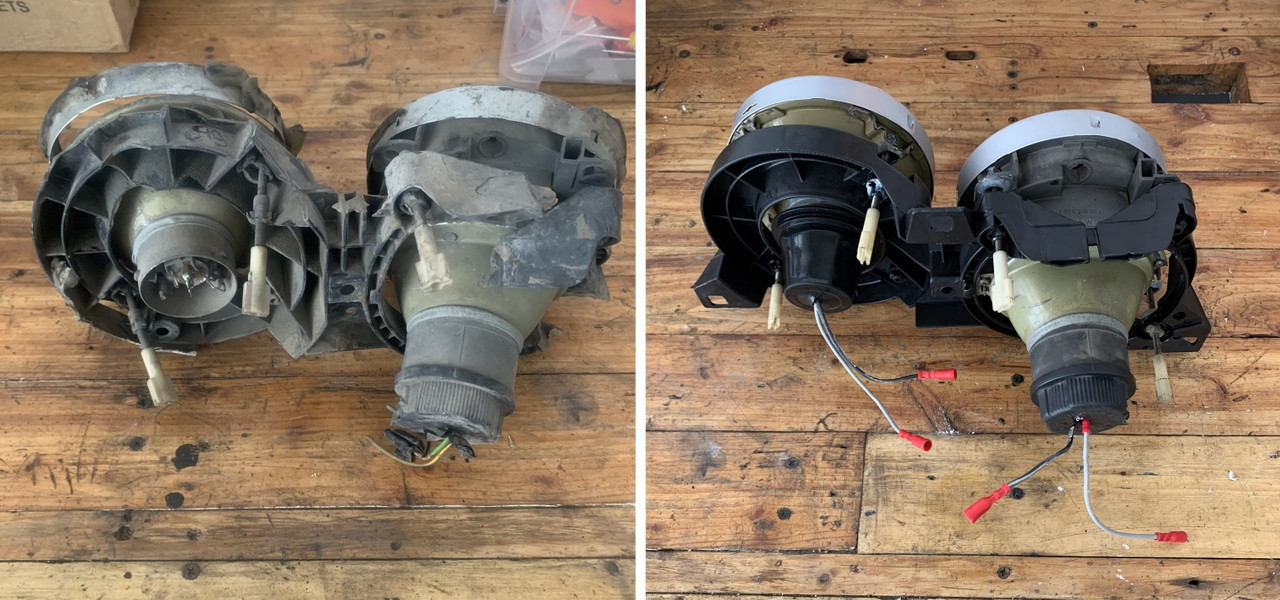
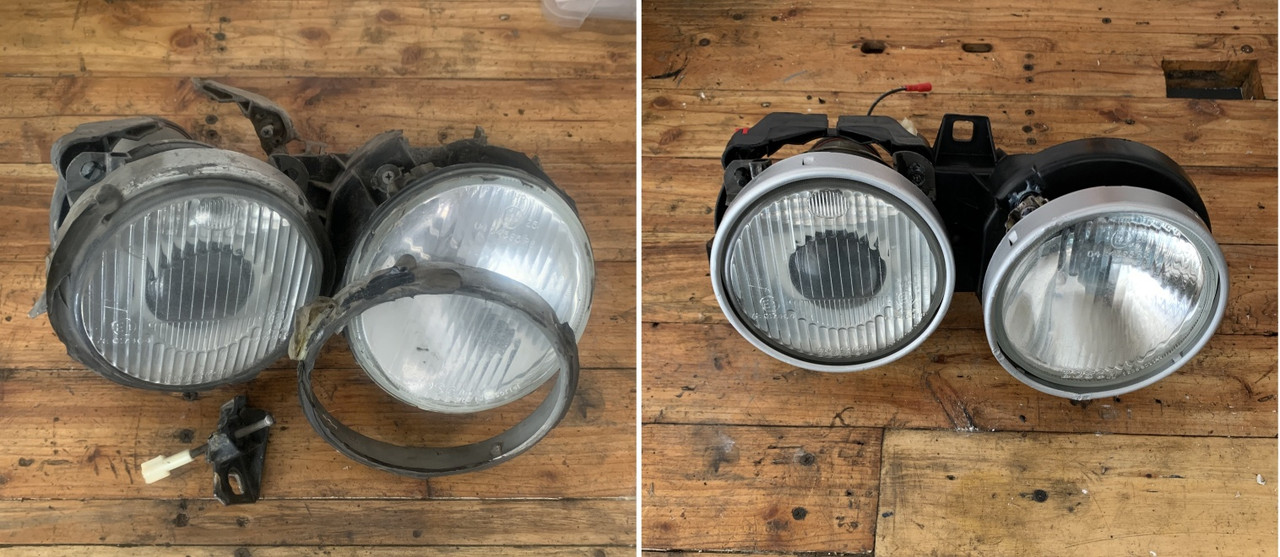
- Headlight restoration
The plastic frame of my headlights were broken beyond repair, and the light assembly was glued onto the front grill using silicone to hold it in place.
So I got new frames, 3D printed the broken plastic bits of the adjusting screws, crimped some bullet connectors to the wires instead and painted the metal rings.
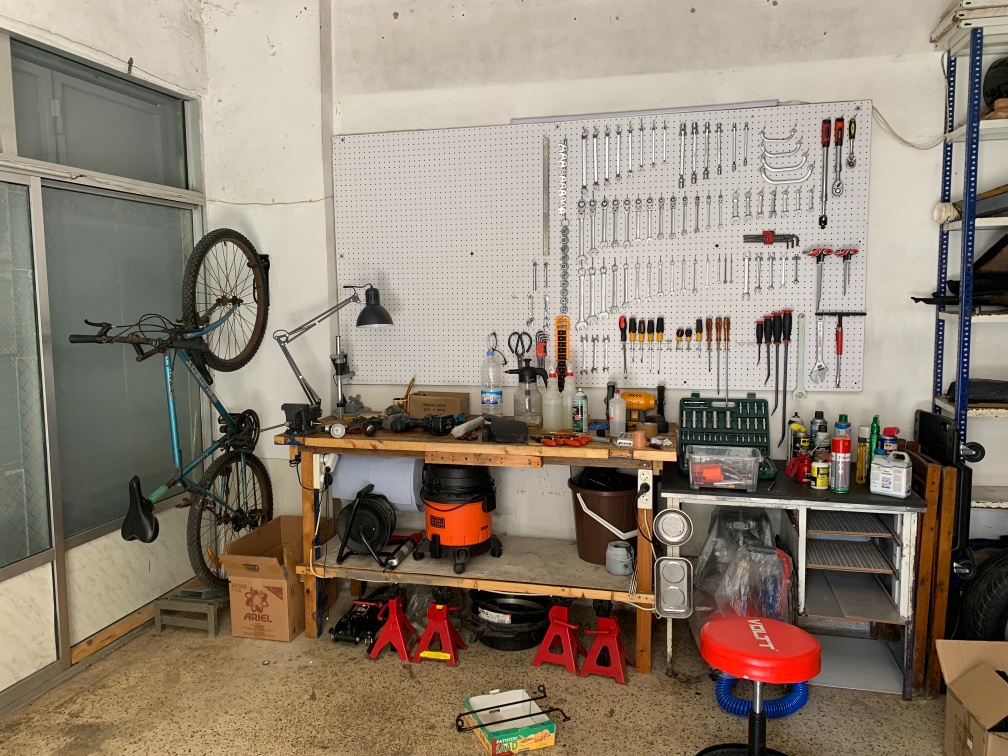
- the work bench
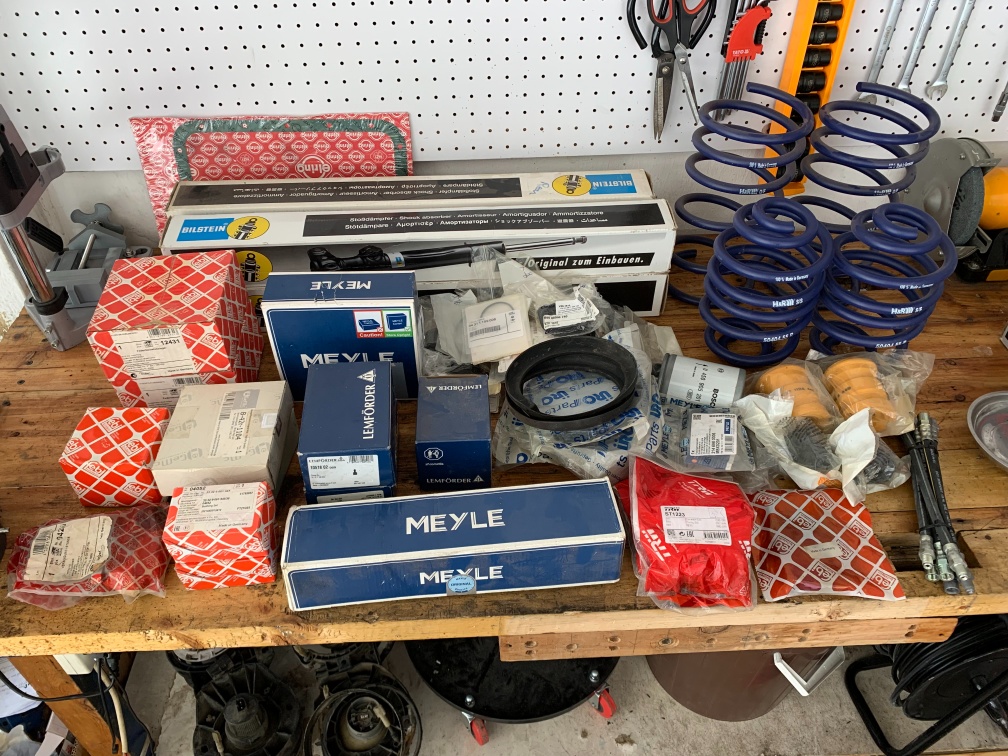
- remaining parts to be installed
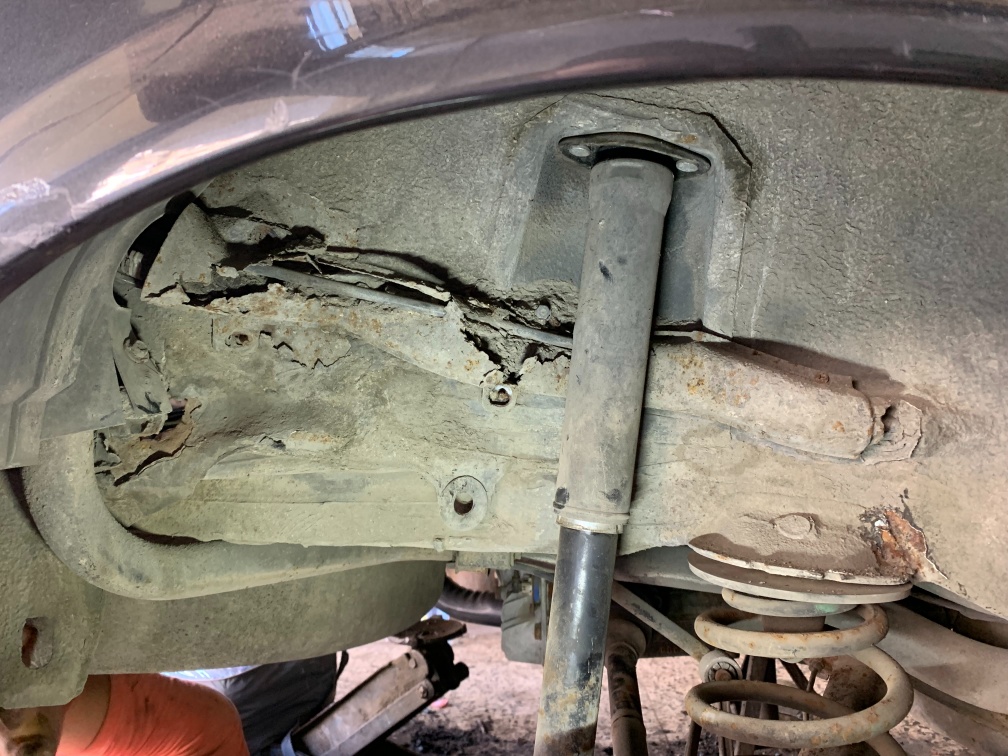
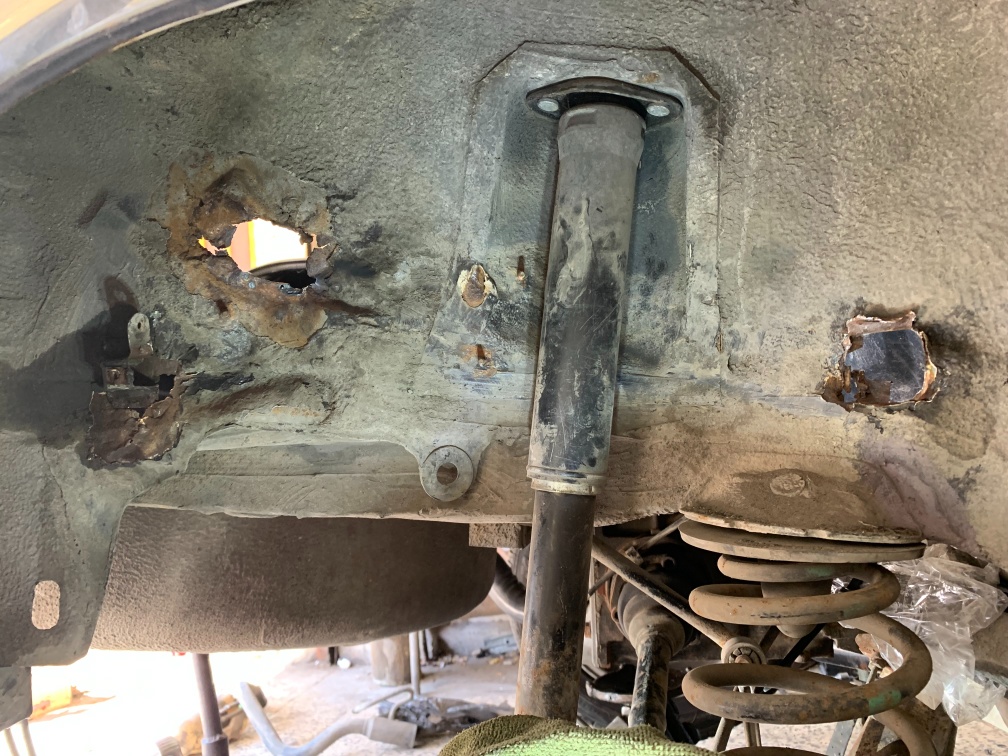
- rust repair
It was finally the time to do what should have been done from day one: welding work. At the start of this journey 7 years ago I didn't have the knowledge, and was not aware of the common rust locations, and I dreaded the work because of the limited time I can spend in each visit (2 weeks max), so I took the car to a local body shop to uncover the below
dashboard removed
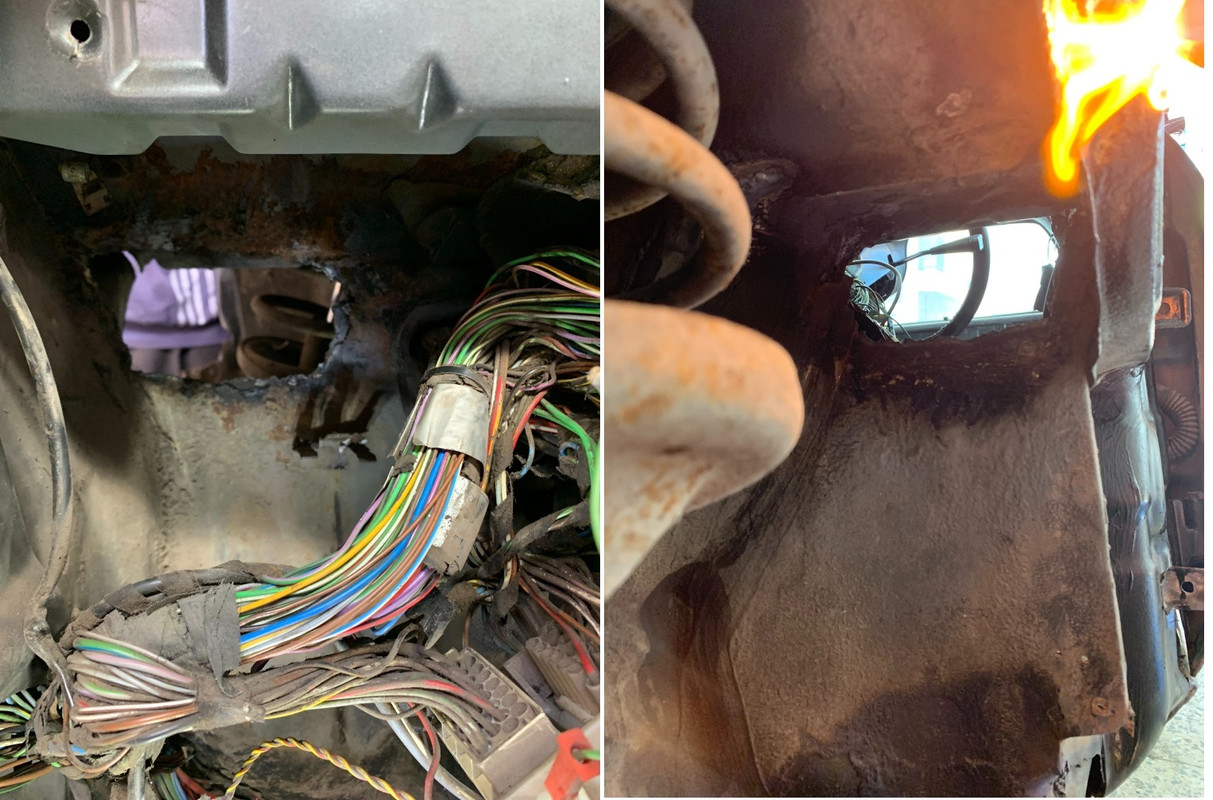
scuttle area
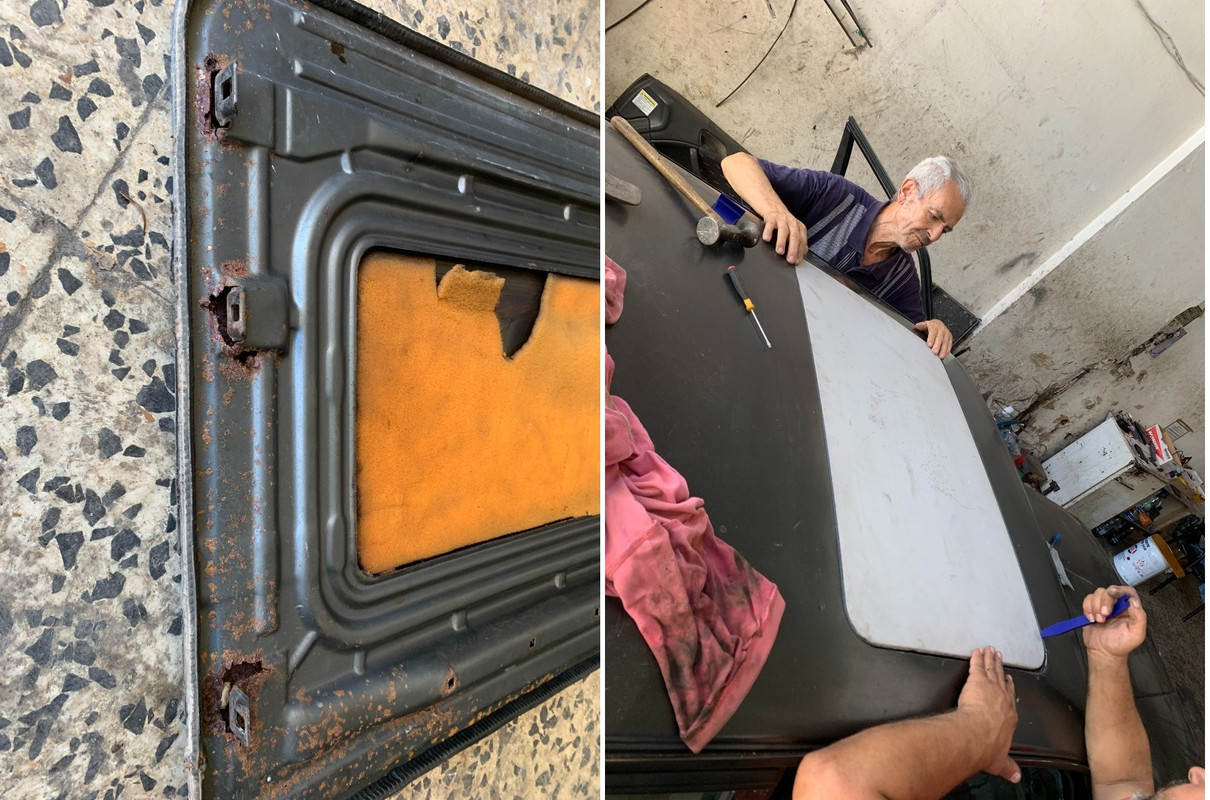
new sunroof
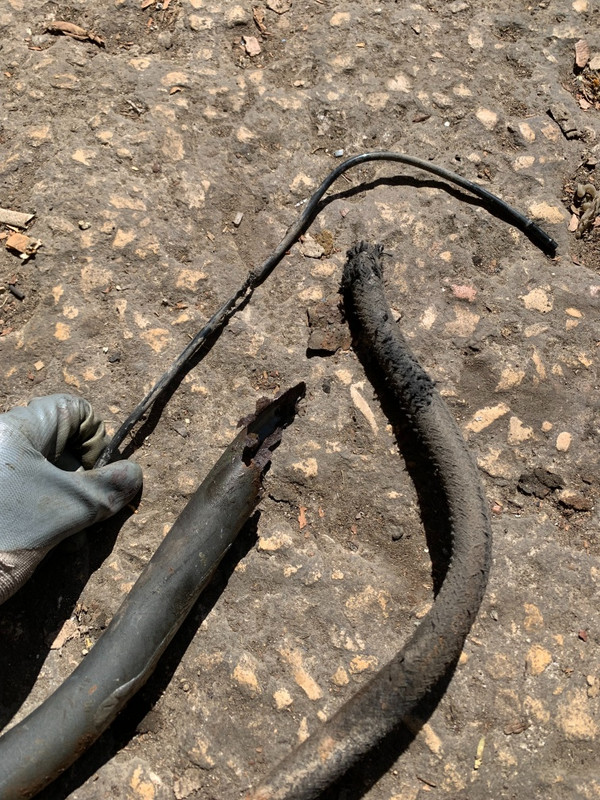
behind rear wheel, all the fuel hoses were rotted
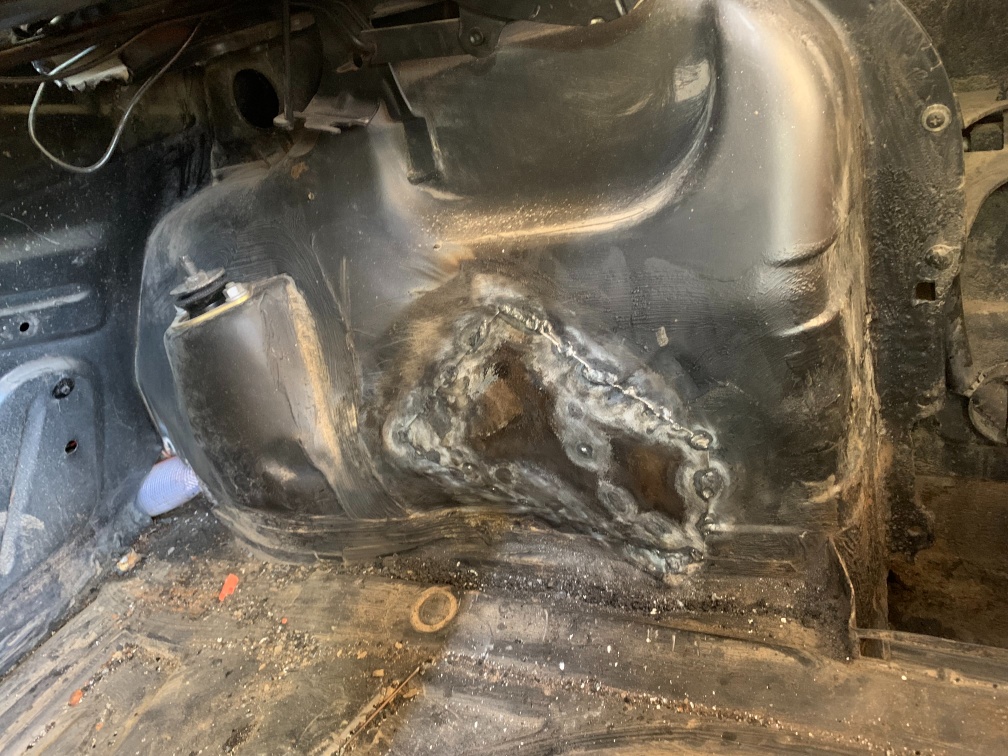
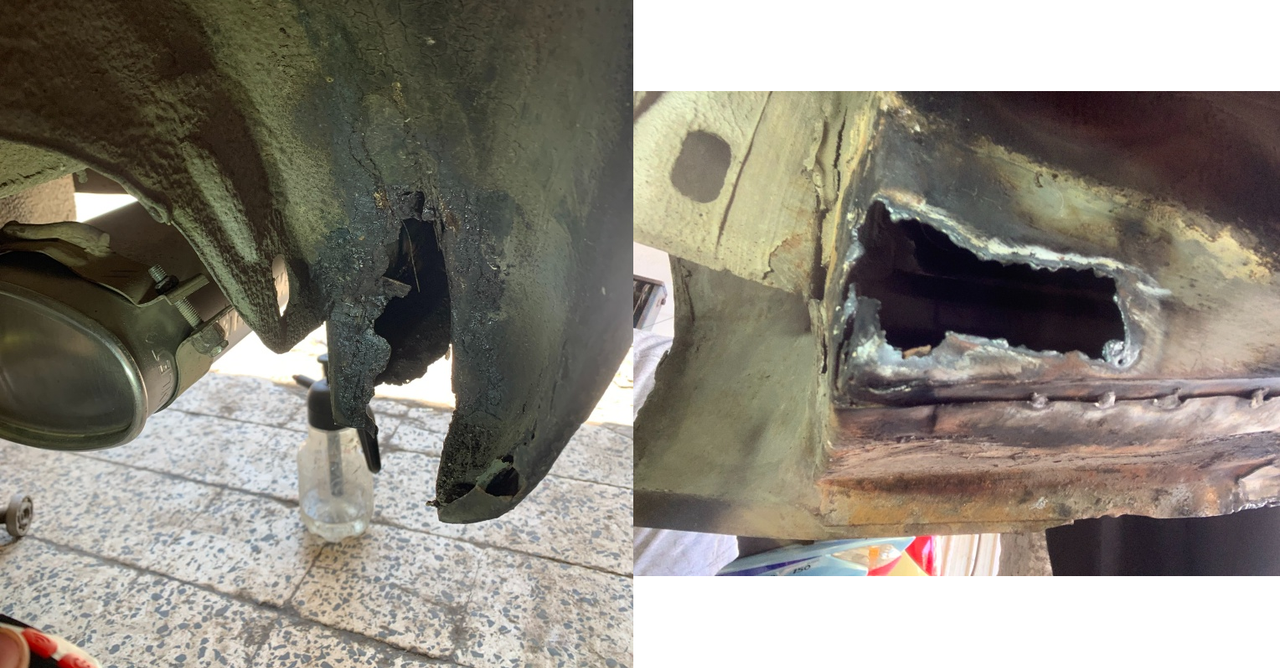
new sheet metal was welded on top and covered with fiberglass putty and then epoxy primer.
Hopefully in the next spring the car will be fully painted.
Until next time.Last edited by kenshin86; 04-21-2024, 04:53 AM.Leave a comment:
-
Spring 2023 update
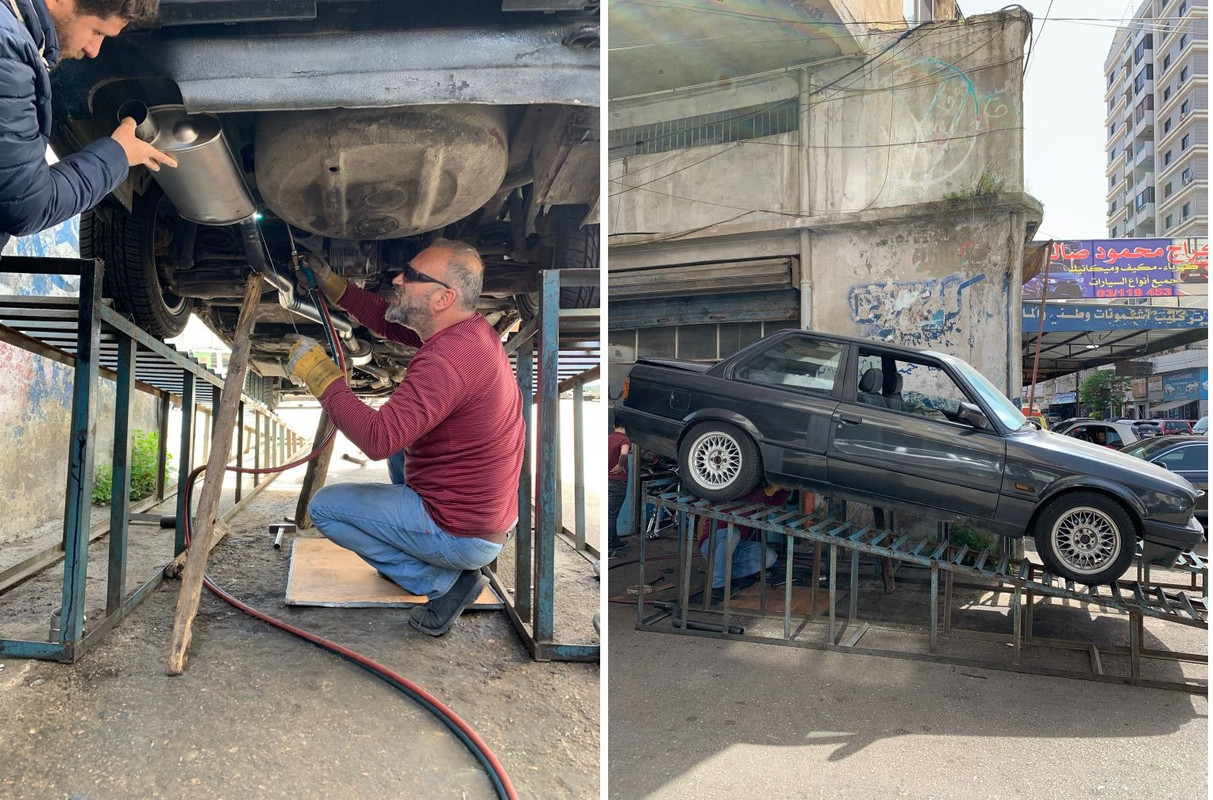
Without a catalyzer or middle resonator, the exhaust was loud, so I got a new Walker resonator and Quite-Flow SS muffler.
The existing exhaust was completely rotted and also in the wrong size: 2" pipe was welded after the manifold instead of the standard 2 1/4" for a 318is as seen in the below picture.

New stainless steel muffler and resonator with correct 2 1/4" pipe.
The old muffler fell off during removal.

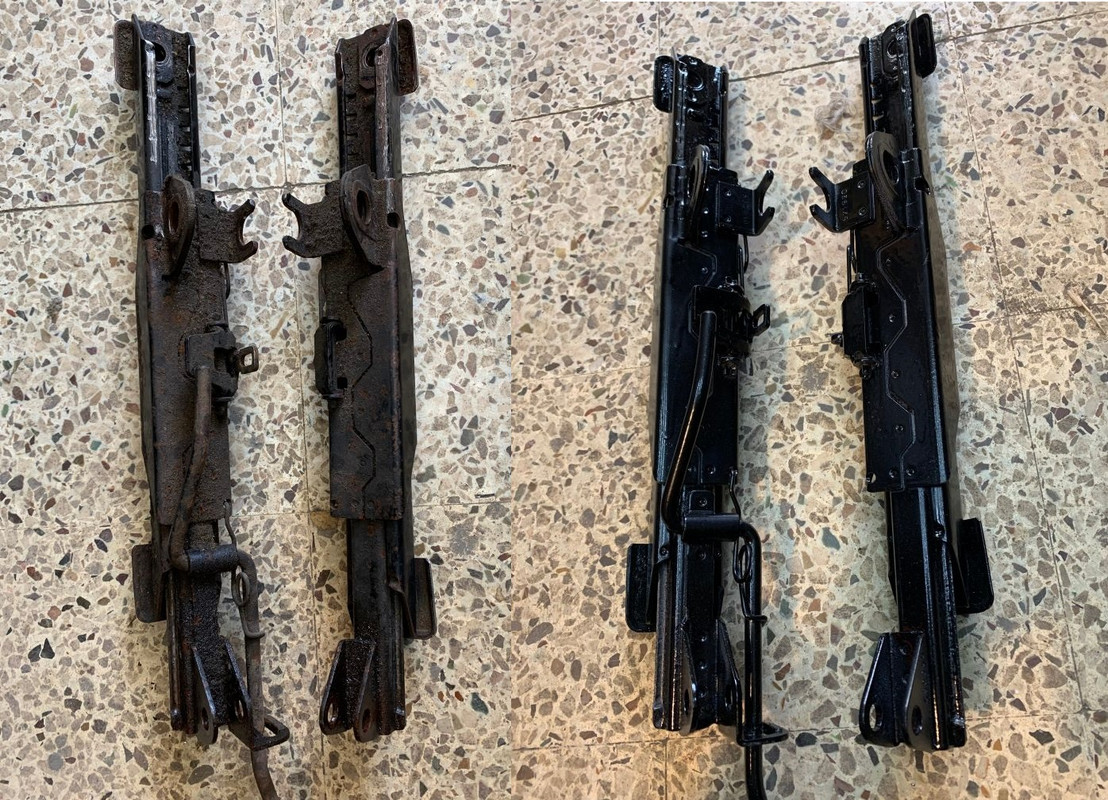
Finally managed to get iS seats instead of the existing E36 leather seats, and after a lots of cleaning and sorting out small things below are the results:
seat rails sanded, cleaned, painted and lubed.
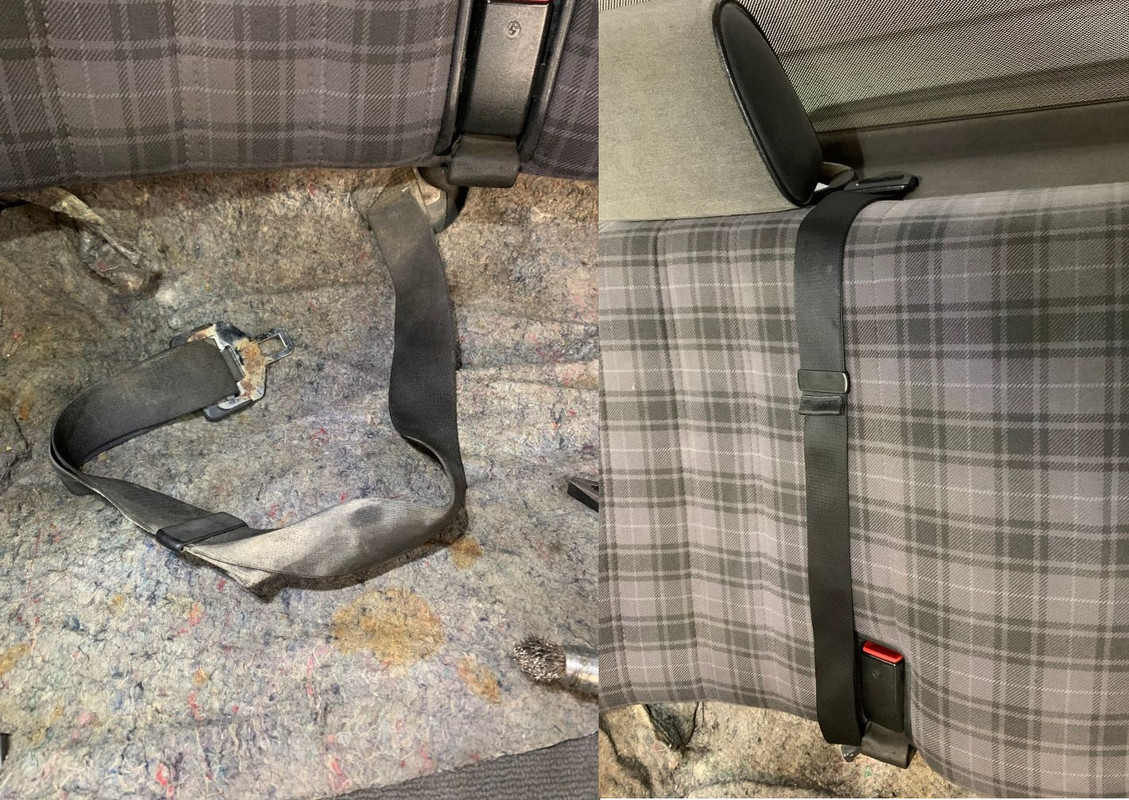
3rd seat belt was hidden under the rear seats.
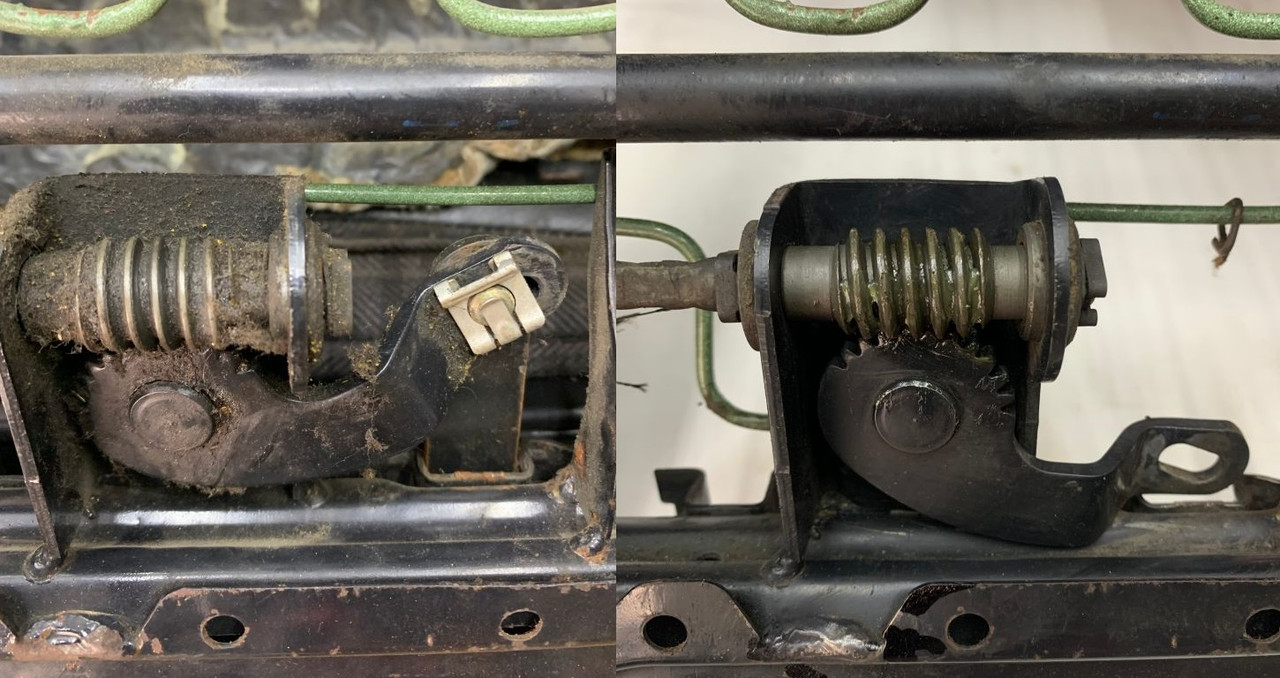
knee pad worm gear.
cloth cleaning

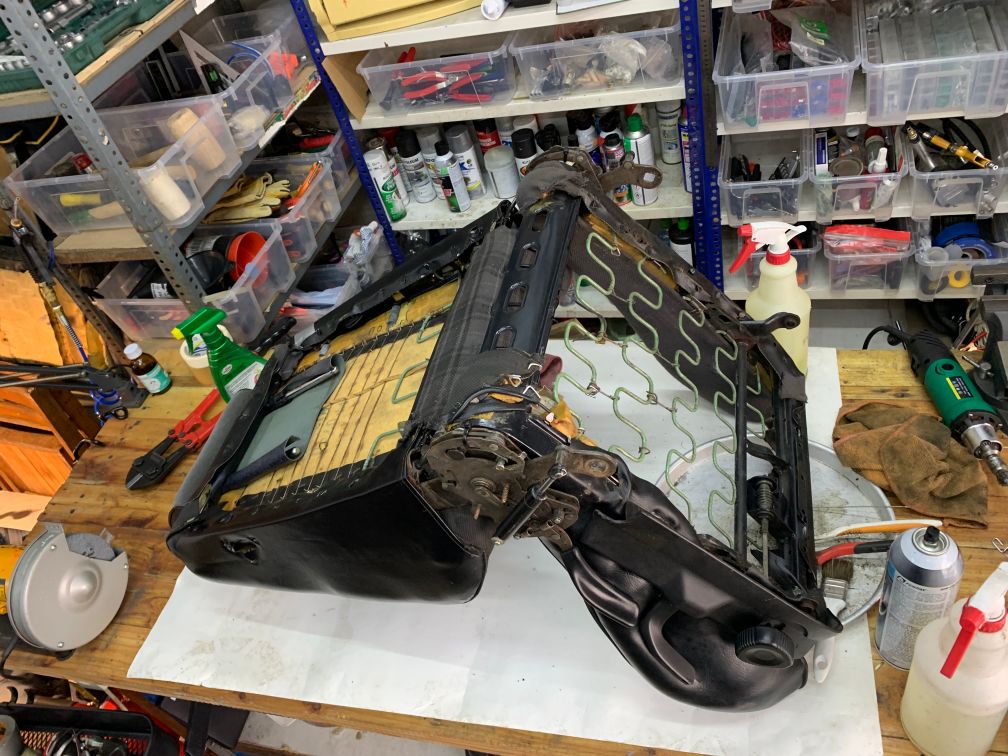
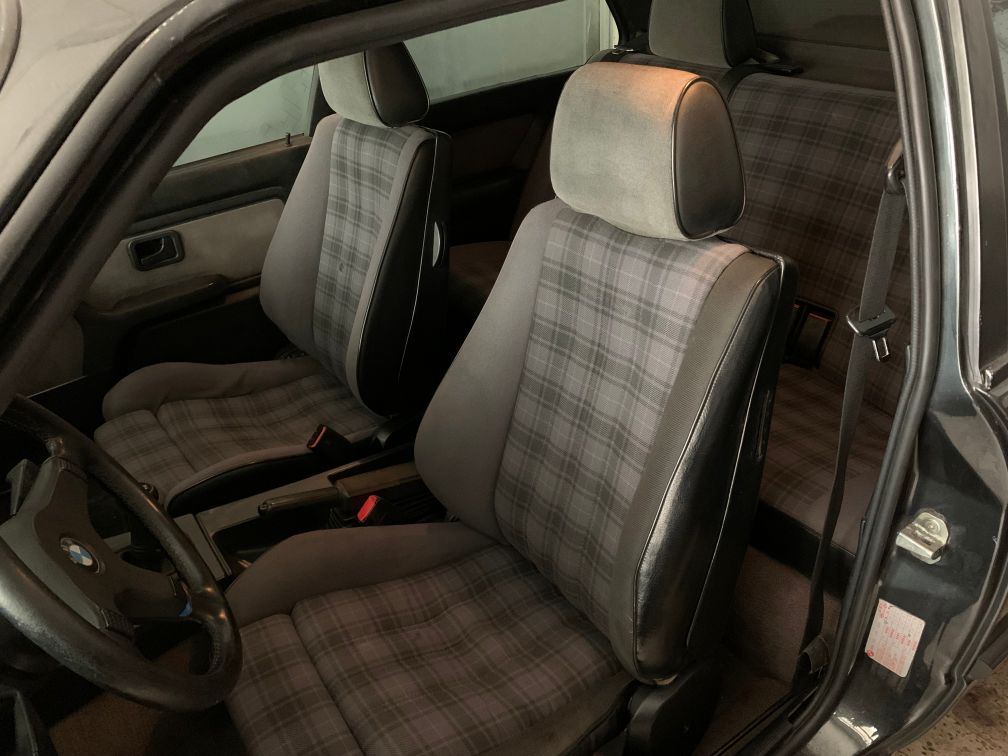
Before and after:
Until next summer.

Last edited by kenshin86; 04-21-2024, 05:00 AM.Leave a comment:
-
That is a great shot with the sun hitting the side of the car.
Great updates too, really bringing this E30 back up!Leave a comment:


Leave a comment: