
Been waiting on the software update to post some progress. Still getting used to the new layout but it's starting to grow on me.
Anyway, after getting all the timing belt work done I started working on refreshing the Getrag 260:

Just a few of the new goodies going into it. I ended up replacing the input, output, and selector rod seals, new reverse switch and wiring, new shift plate mount bushings and bolts, upgraded to a UUC DSSR and Z3 1.9 short shifter, all new shift lever bushings and hardware, new clutch fork and pin, new slave cylinder and lines, new giubo, and new foam pad/rubber boot. Essentially eveything but the internals.
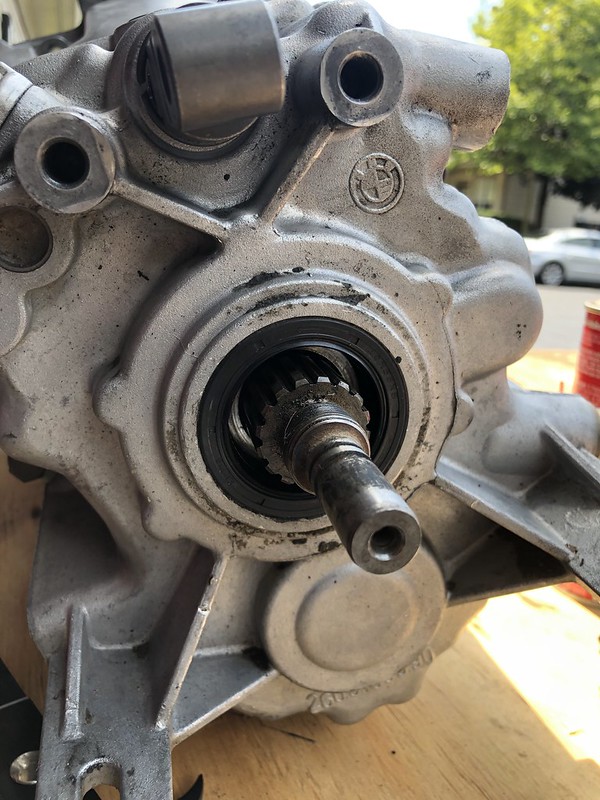
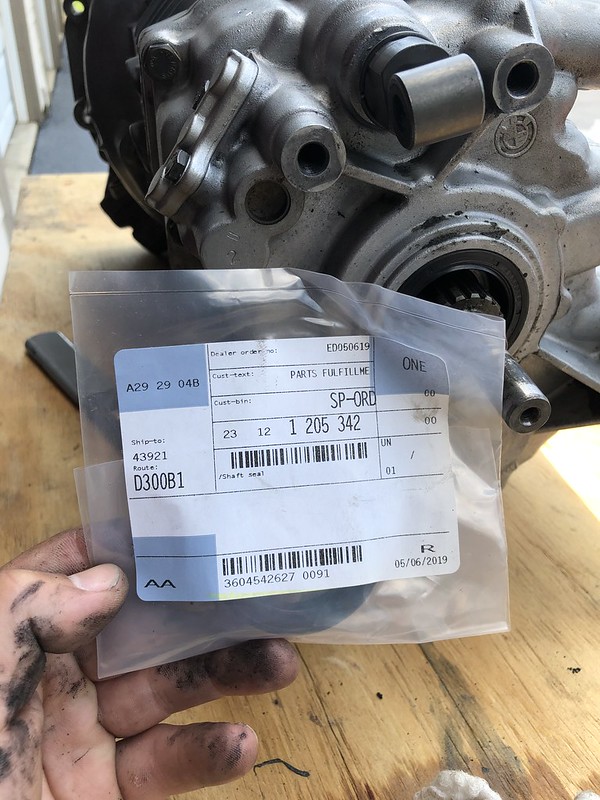
I started by doing the input shaft seal. I finally found the manufacture stamp:

An EARLY early model.
A few of the lubricants/sealants needed per the Bentley, quite pricey and rather difficult to find:

I started by draining the trans, definitely some metal shavings in there:

The remainder of the fluid aside from the drain plug was pretty clean so hopefully I'm still in good shape.
The Getrag 260's came with a two-piece guide sleeve, start by removing the outer 6 bolts:


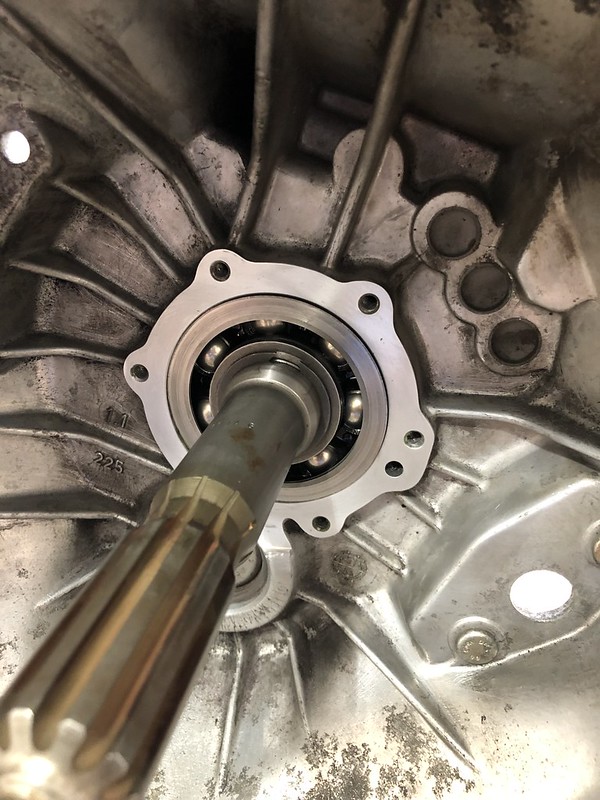
The Bentley states NOT to separate the two-piece sleeve, however if you try and drive the new seal in from the front side with them together you'll ruin the seal as there's a lip on the outside. Ask me how I know...
Therefore, separate the inner sleeve from the outer plate, there's 4 bolts:

Here's the lip:

Here's the seal:

Tap it in from the back (hey now )
)

Now you'll need to reseal the two halves back together using the Loctite 573:

Next, you need to align the lubrication detent tab on the guide sleeve with the oil circulation hole on the bellhousing and seal the sleeve to the housing:
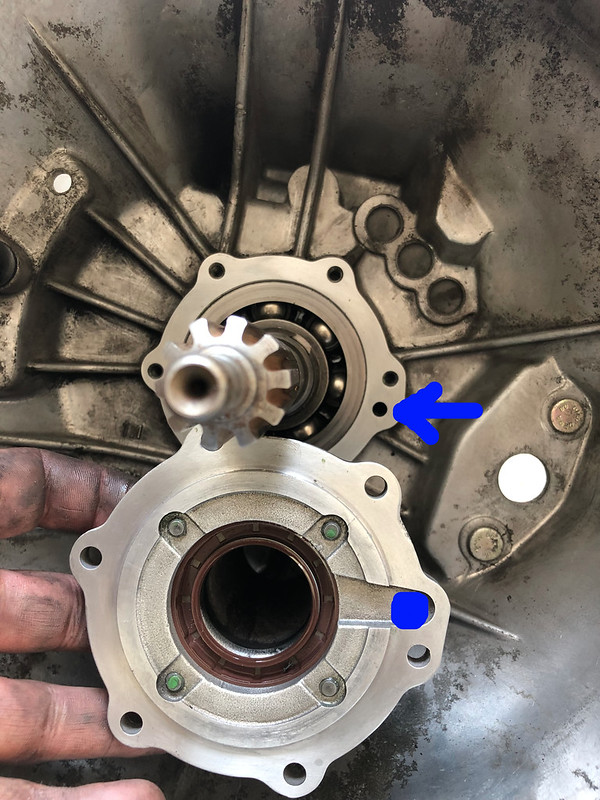
Lightly lube the input shaft collar and slide the sleeve over making sure the input shaft seal goes on smoothly without folding under and torque down the bolts:


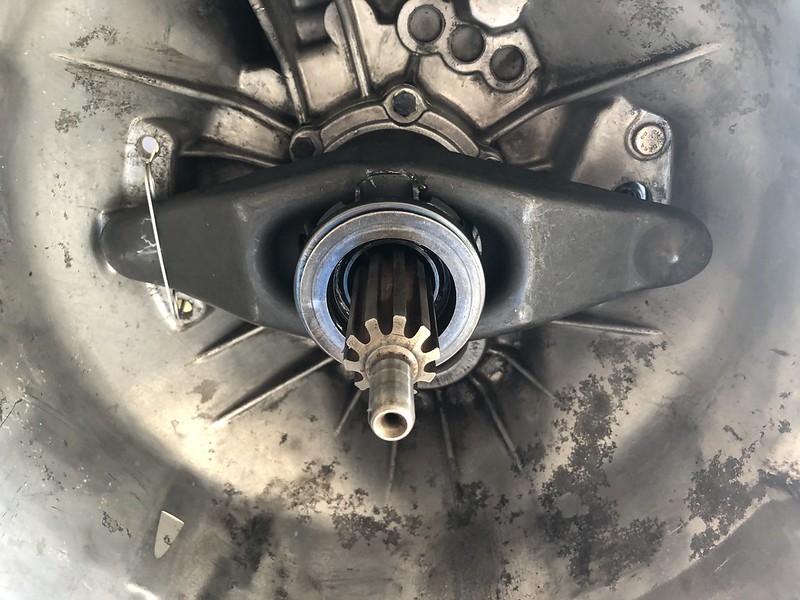
Molybdenum disulfide grease on the shift fork and throwout bearing:

Moving on to the back, the old shifter plate bushings were shot:

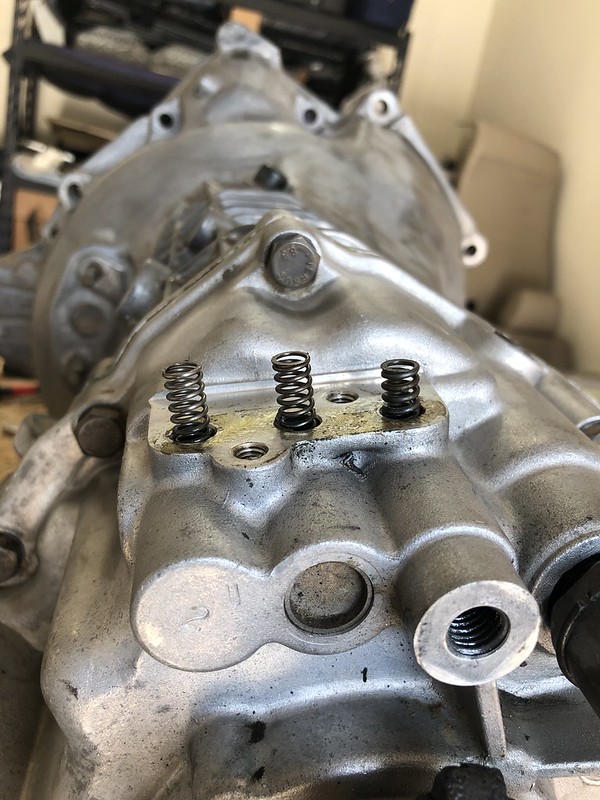
I replaced the detent spring cover as BMW updated the cover for later models. Note the orientation of the 2 longer and 1 shorter spring. I was going to replace these as they can break however the longer springs are NLA, and while I bought a new shorter spring mine were in good shape so I left them alone:

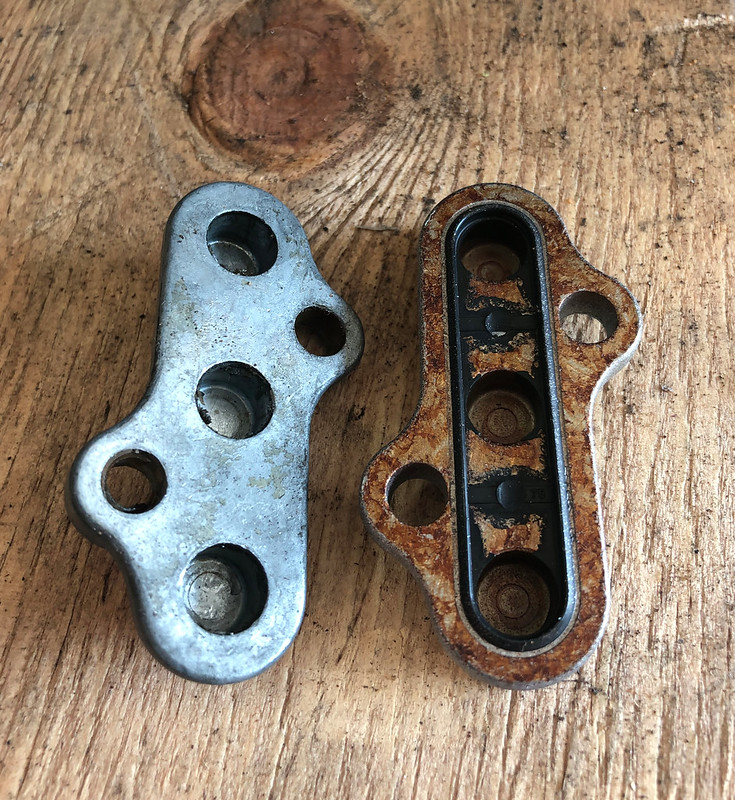
Old cover on the left, new on the right, the difference is how it seals to the housing:

Old cover is sealed using liquid sealer, the newer cover has a built-in rubber gasket. Not sure why the underside was so tarnished but don't think it will matter:
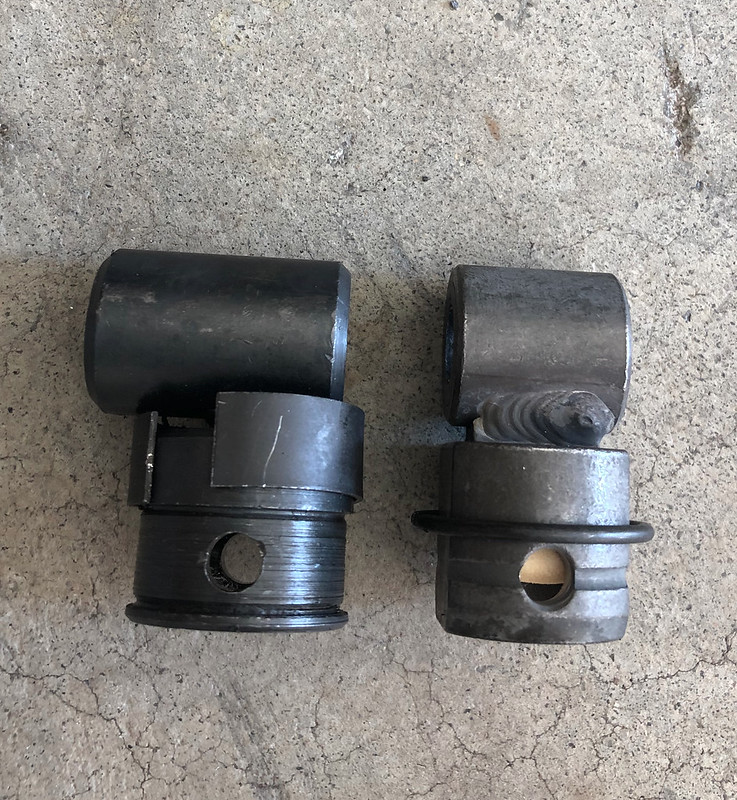
If you plan to upgrade to a DSSR, you'll need to switch to the E36 style shifter rod joint (Part # 25117503525) as it's centered and narrower to accept the DSSR. The old-style, single shear joint is offset and wider:

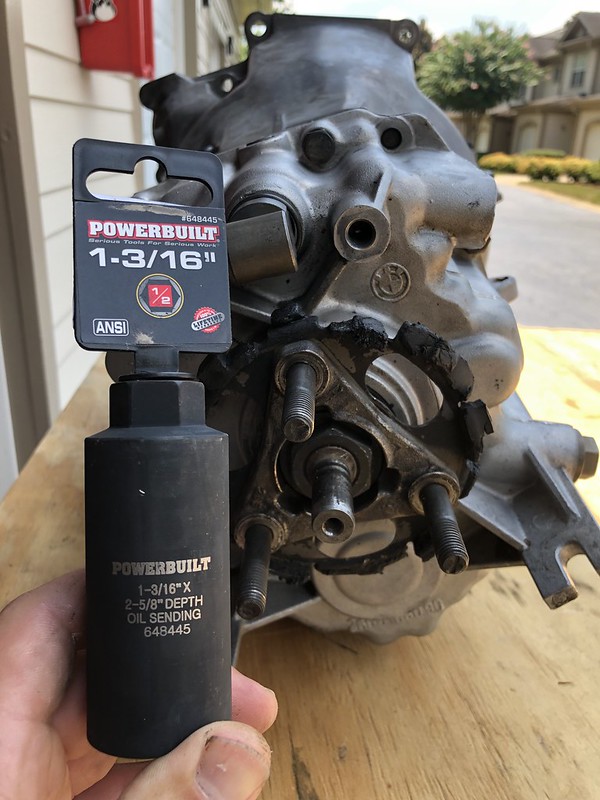
After doing the selector rod seal I finished up with the output shaft seal. To get the collar nut off, you'll need either a thin-walled 30mm impact socket (expensive and tough to find) or you can purchase this 1 3/16" example (about $10 and delivered next day via Amazon) instead. My regular 30mm impact was too thick to fit between the nut and flange:
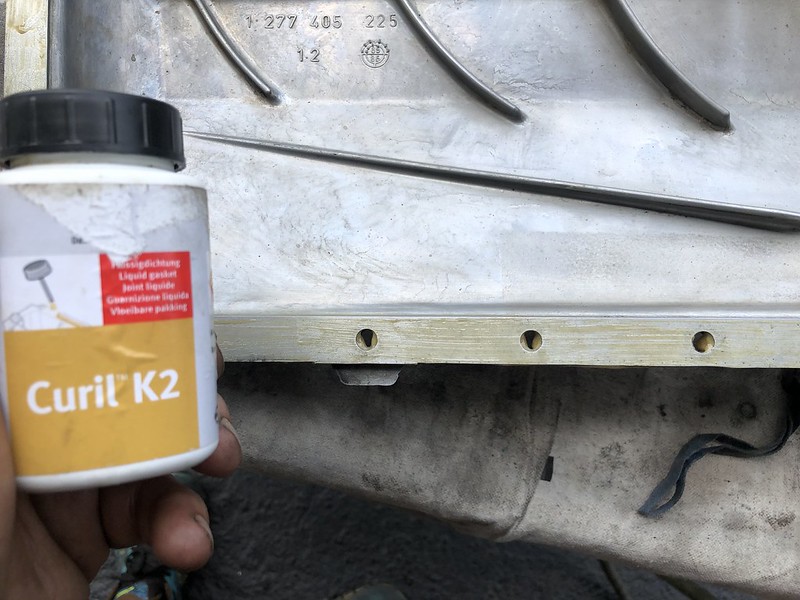
Pop the old seal out, tap the new seal in until it's flush with the housing (It's possible to drive it in too far past the edge and into the housing), then put the flange back on and seal the collar nut on using Curil K2:

Torque the nut down in 2 stages: first torque to 125 ft/lbs, loosen it up, then retorque to 89 ft/lbs. Add a new lockplate and you're done sealing the trans:


Ended up finally tracking down the plate-style shifter mounting bracket, on the right:

That piece to the left, listed as a "bow" on RealOEM is actually not needed for the early model shift carrier despite being listed in the pictures as well as in the Bentley. It is used for the newer, rod style shift carrier.
New shift carrier with upper and lower bushings, spring, and circlip. In order to get the upper shift lever bushing to slide over the ball on the end of the shifter, I had to make a slice in it with a razor blade so that I could stretch it over the ball. I then glued it back together. Some have felt that this ruins the integrity of the bushing, but it sits within the shift carrier pretty snugly and is held in place by the spring and circlip. Along with gluing it, I feel there is no way the bushing could fail and it feels very smooth and solid shifting through the gears. I apparently didn't take pictures of this, however I have the old bushing and shifter and could post pictures up if anyone needs a better explanation.

Refilled with Redline MTL, all reassembled:


Now enjoy your freshly sealed 5-speed, and clean garage floor!
Anyway, after getting all the timing belt work done I started working on refreshing the Getrag 260:
Just a few of the new goodies going into it. I ended up replacing the input, output, and selector rod seals, new reverse switch and wiring, new shift plate mount bushings and bolts, upgraded to a UUC DSSR and Z3 1.9 short shifter, all new shift lever bushings and hardware, new clutch fork and pin, new slave cylinder and lines, new giubo, and new foam pad/rubber boot. Essentially eveything but the internals.
I started by doing the input shaft seal. I finally found the manufacture stamp:
An EARLY early model.
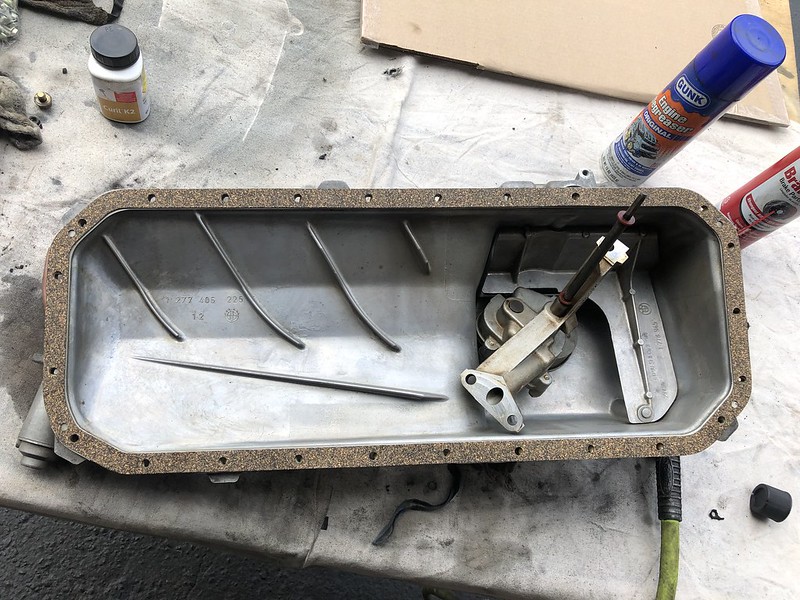
A few of the lubricants/sealants needed per the Bentley, quite pricey and rather difficult to find:
I started by draining the trans, definitely some metal shavings in there:
The remainder of the fluid aside from the drain plug was pretty clean so hopefully I'm still in good shape.
The Getrag 260's came with a two-piece guide sleeve, start by removing the outer 6 bolts:
The Bentley states NOT to separate the two-piece sleeve, however if you try and drive the new seal in from the front side with them together you'll ruin the seal as there's a lip on the outside. Ask me how I know...
Therefore, separate the inner sleeve from the outer plate, there's 4 bolts:
Here's the lip:
Here's the seal:
Tap it in from the back (hey now
Now you'll need to reseal the two halves back together using the Loctite 573:
Next, you need to align the lubrication detent tab on the guide sleeve with the oil circulation hole on the bellhousing and seal the sleeve to the housing:
Lightly lube the input shaft collar and slide the sleeve over making sure the input shaft seal goes on smoothly without folding under and torque down the bolts:
Molybdenum disulfide grease on the shift fork and throwout bearing:
Moving on to the back, the old shifter plate bushings were shot:
I replaced the detent spring cover as BMW updated the cover for later models. Note the orientation of the 2 longer and 1 shorter spring. I was going to replace these as they can break however the longer springs are NLA, and while I bought a new shorter spring mine were in good shape so I left them alone:
Old cover on the left, new on the right, the difference is how it seals to the housing:
Old cover is sealed using liquid sealer, the newer cover has a built-in rubber gasket. Not sure why the underside was so tarnished but don't think it will matter:
If you plan to upgrade to a DSSR, you'll need to switch to the E36 style shifter rod joint (Part # 25117503525) as it's centered and narrower to accept the DSSR. The old-style, single shear joint is offset and wider:
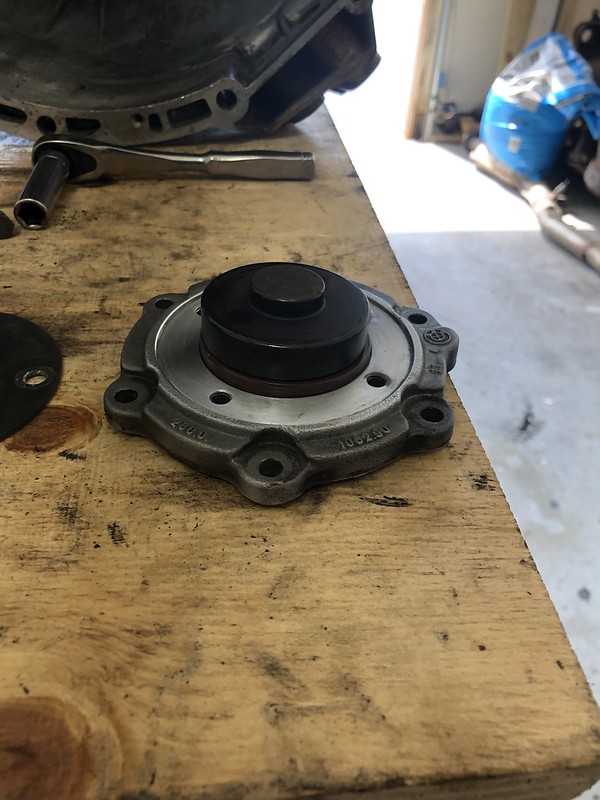
After doing the selector rod seal I finished up with the output shaft seal. To get the collar nut off, you'll need either a thin-walled 30mm impact socket (expensive and tough to find) or you can purchase this 1 3/16" example (about $10 and delivered next day via Amazon) instead. My regular 30mm impact was too thick to fit between the nut and flange:
Pop the old seal out, tap the new seal in until it's flush with the housing (It's possible to drive it in too far past the edge and into the housing), then put the flange back on and seal the collar nut on using Curil K2:
Torque the nut down in 2 stages: first torque to 125 ft/lbs, loosen it up, then retorque to 89 ft/lbs. Add a new lockplate and you're done sealing the trans:
Ended up finally tracking down the plate-style shifter mounting bracket, on the right:
That piece to the left, listed as a "bow" on RealOEM is actually not needed for the early model shift carrier despite being listed in the pictures as well as in the Bentley. It is used for the newer, rod style shift carrier.
New shift carrier with upper and lower bushings, spring, and circlip. In order to get the upper shift lever bushing to slide over the ball on the end of the shifter, I had to make a slice in it with a razor blade so that I could stretch it over the ball. I then glued it back together. Some have felt that this ruins the integrity of the bushing, but it sits within the shift carrier pretty snugly and is held in place by the spring and circlip. Along with gluing it, I feel there is no way the bushing could fail and it feels very smooth and solid shifting through the gears. I apparently didn't take pictures of this, however I have the old bushing and shifter and could post pictures up if anyone needs a better explanation.
Refilled with Redline MTL, all reassembled:
Now enjoy your freshly sealed 5-speed, and clean garage floor!


Comment