-
They were cleared of the major grime in a parts washing tank at the shop, then bead blasted to remove the baked on crud, then vapor honed to restore the smooth surface sheen. -
What is your process for cleaning pistons? I need to clean some and wasn't looking forward to all the scrubbing.Leave a comment:
-
Leave a comment:
-
So you are getting eaually incredible body work from this? There will be a thread on that too?Leave a comment:
-
Right on John, just let me know, I'm not in a rush.
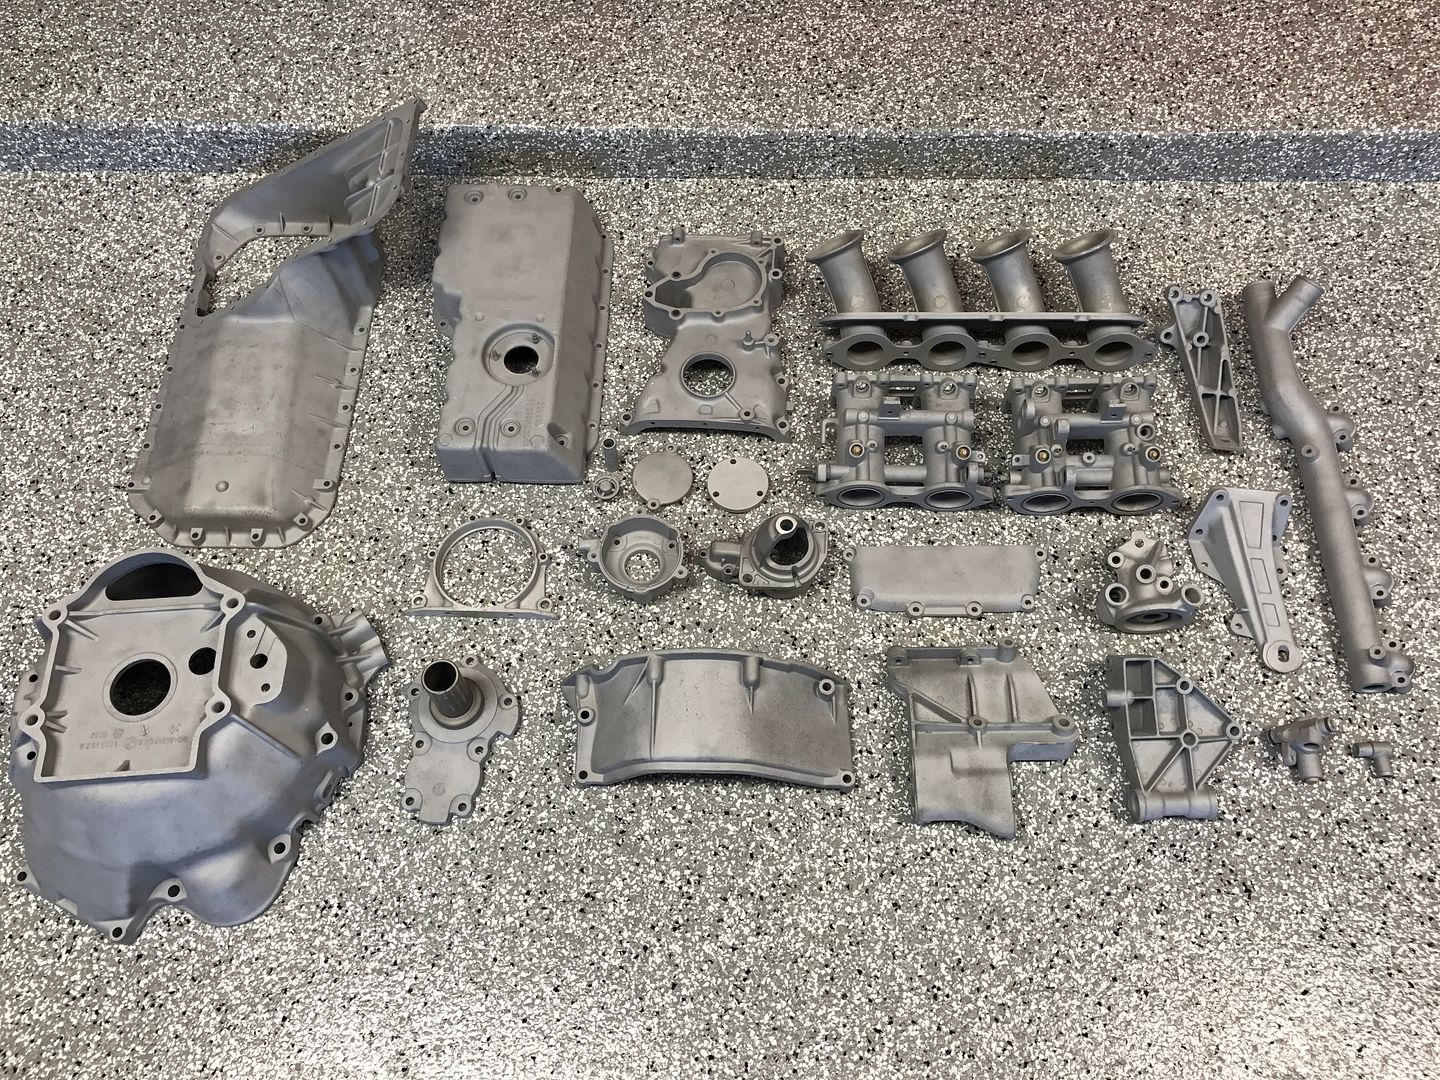
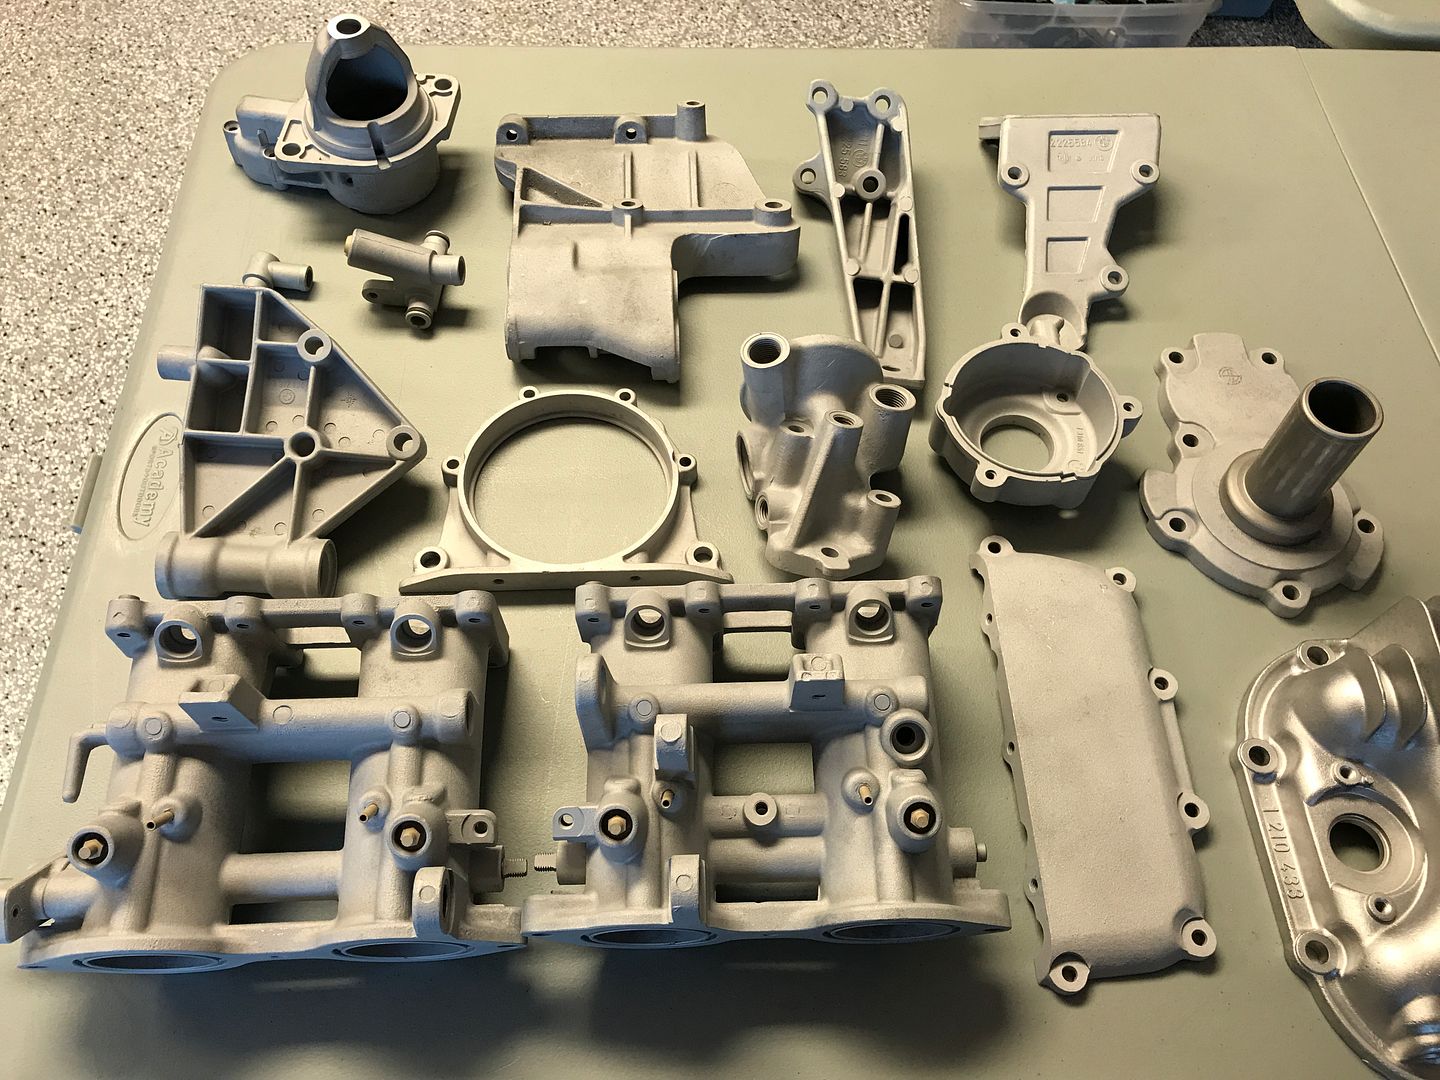
Spent several more hours today glass bead blasting the rest of the aluminum castings to prepare them to be vapor honed.
Leave a comment:
-
I am sure I have an eta baro replacement for ya. Bear with me a few days, but it's yours for the cost of shipping. If you like, it can even be pin to pin wiring, but I am inclined to ask why not just use fresh wire snaked through the conduit and re-pinned to avoid a mid-harness splice?Leave a comment:
-
A few things today. First off the engine harness came to him missing some connectors, why someone would lop them off is beyond me but yet here we are.
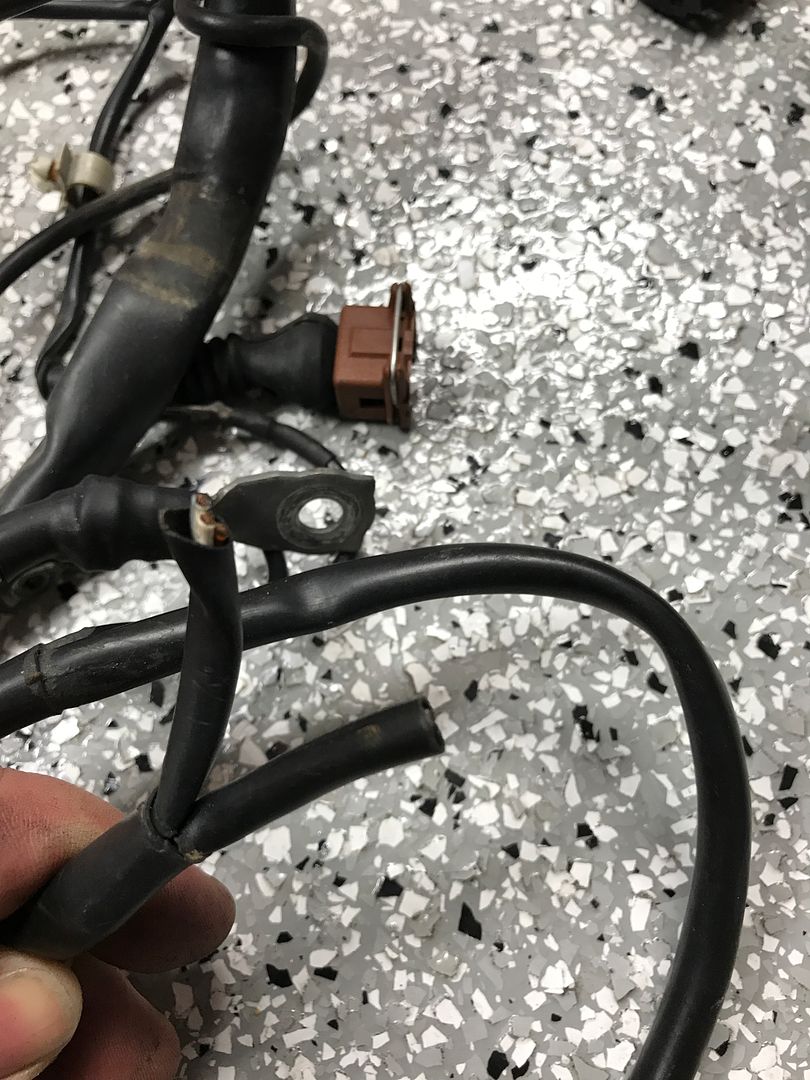
A few minutes looking at wiring diagrams and confirming with my Fluke showed me these were the AFM and Barometic pressure sensor connectors. If anyone has a junk old 325e or 318i harness they can cut these off of for me that would be fantastic. Need them cut back into the harness as far as possible so I can properly repair and conceal the repair.
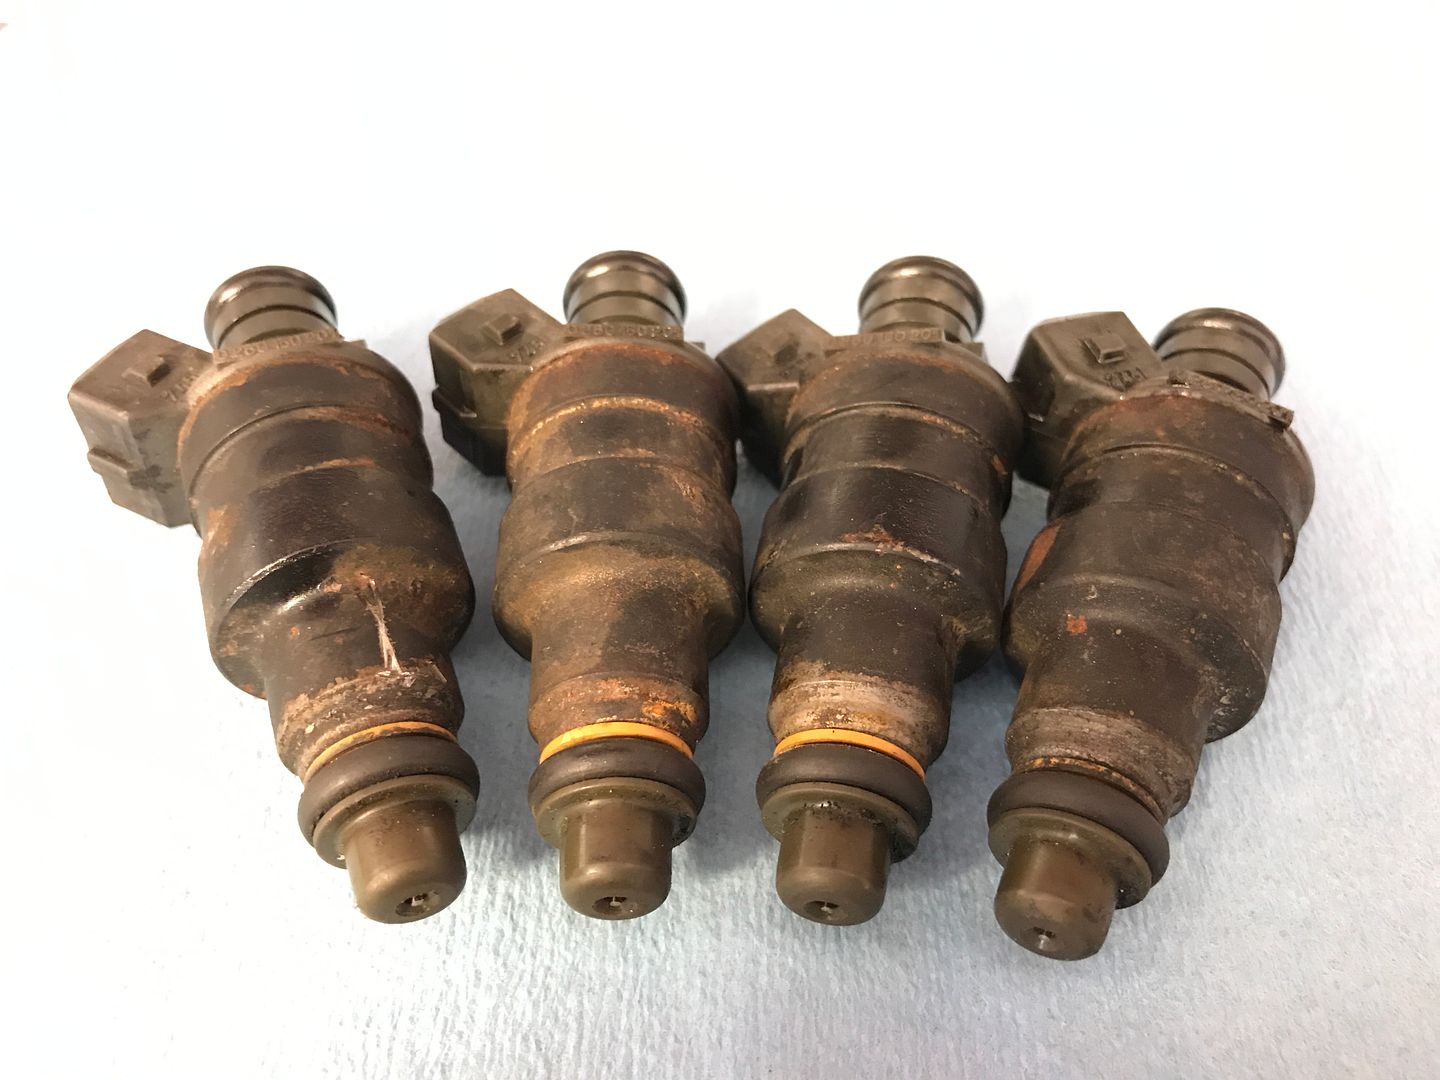
Crusty old fuel injectors are going to get a few hours in a ultrasonic bath to loosen them up.
Vapor honing leaves a wonderful finish on aluminum, but its also extremely gentle with almost no abrasive nature. Even light surface corrosion, let alone anything else, won't get cleaned by the process. This means everything must first be glass bead blasted. I did a big batch today, more to follow tomorrow.
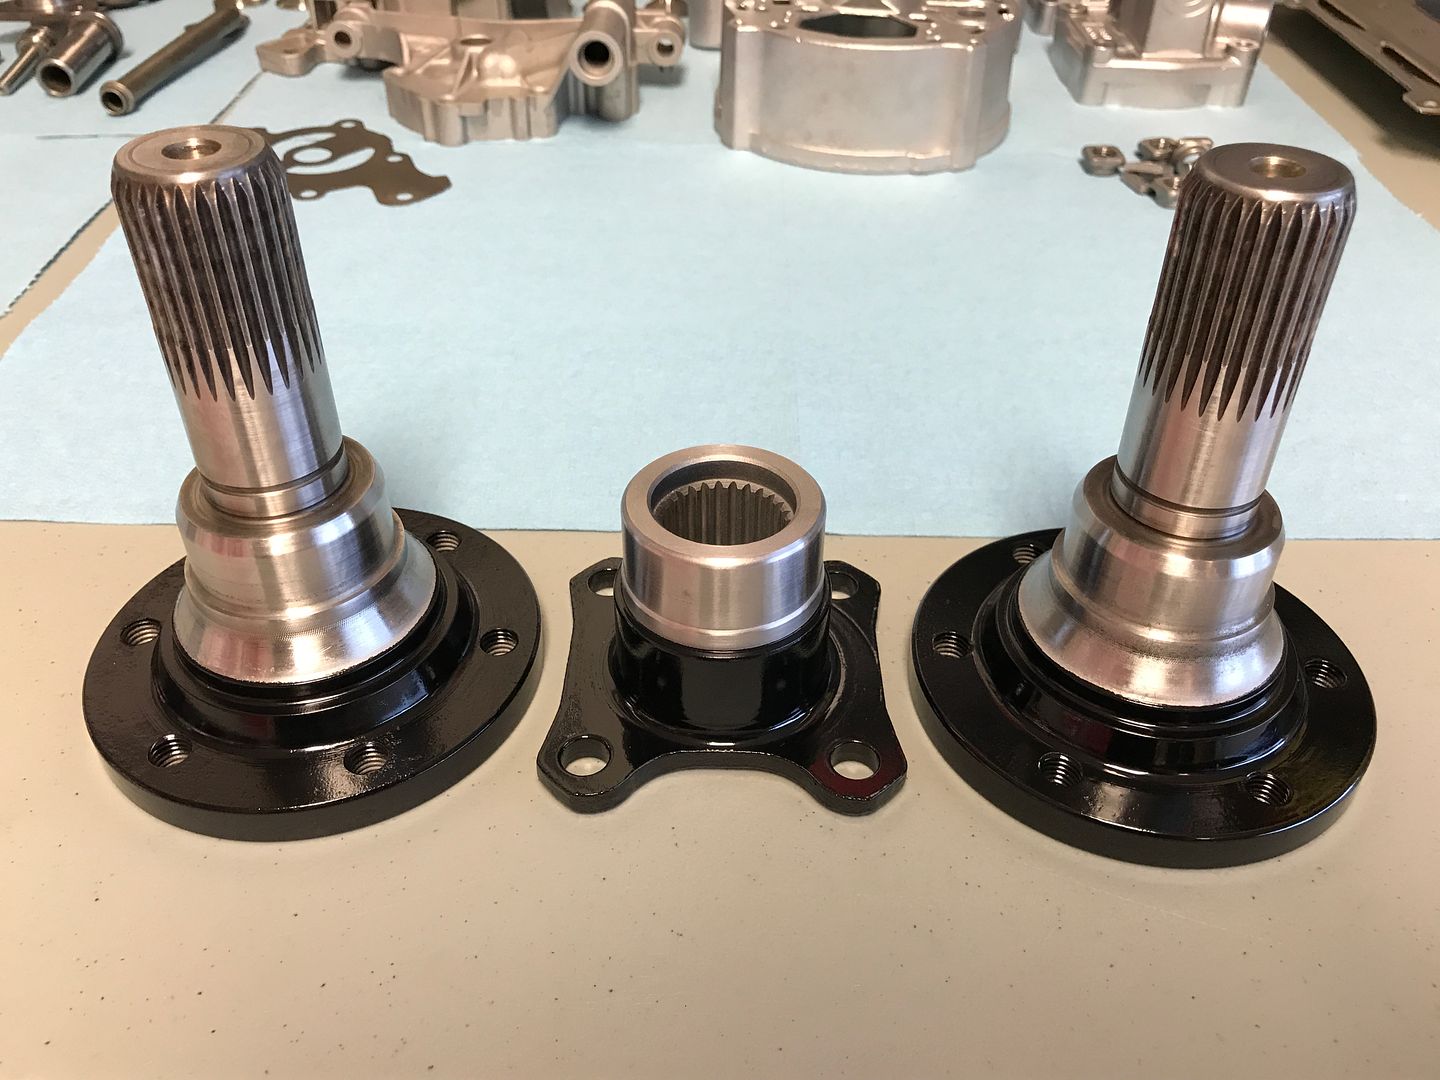
I bead blasted the differential input and output stubs while I was at it, then polished the sealing surfaces and gave them a fresh coat of semigloss black.
I thought I'd have a look at the clutch slave cylinder I'd pulled off earlier. It looked pretty shitty once I popped the star clip and picked the boot out.
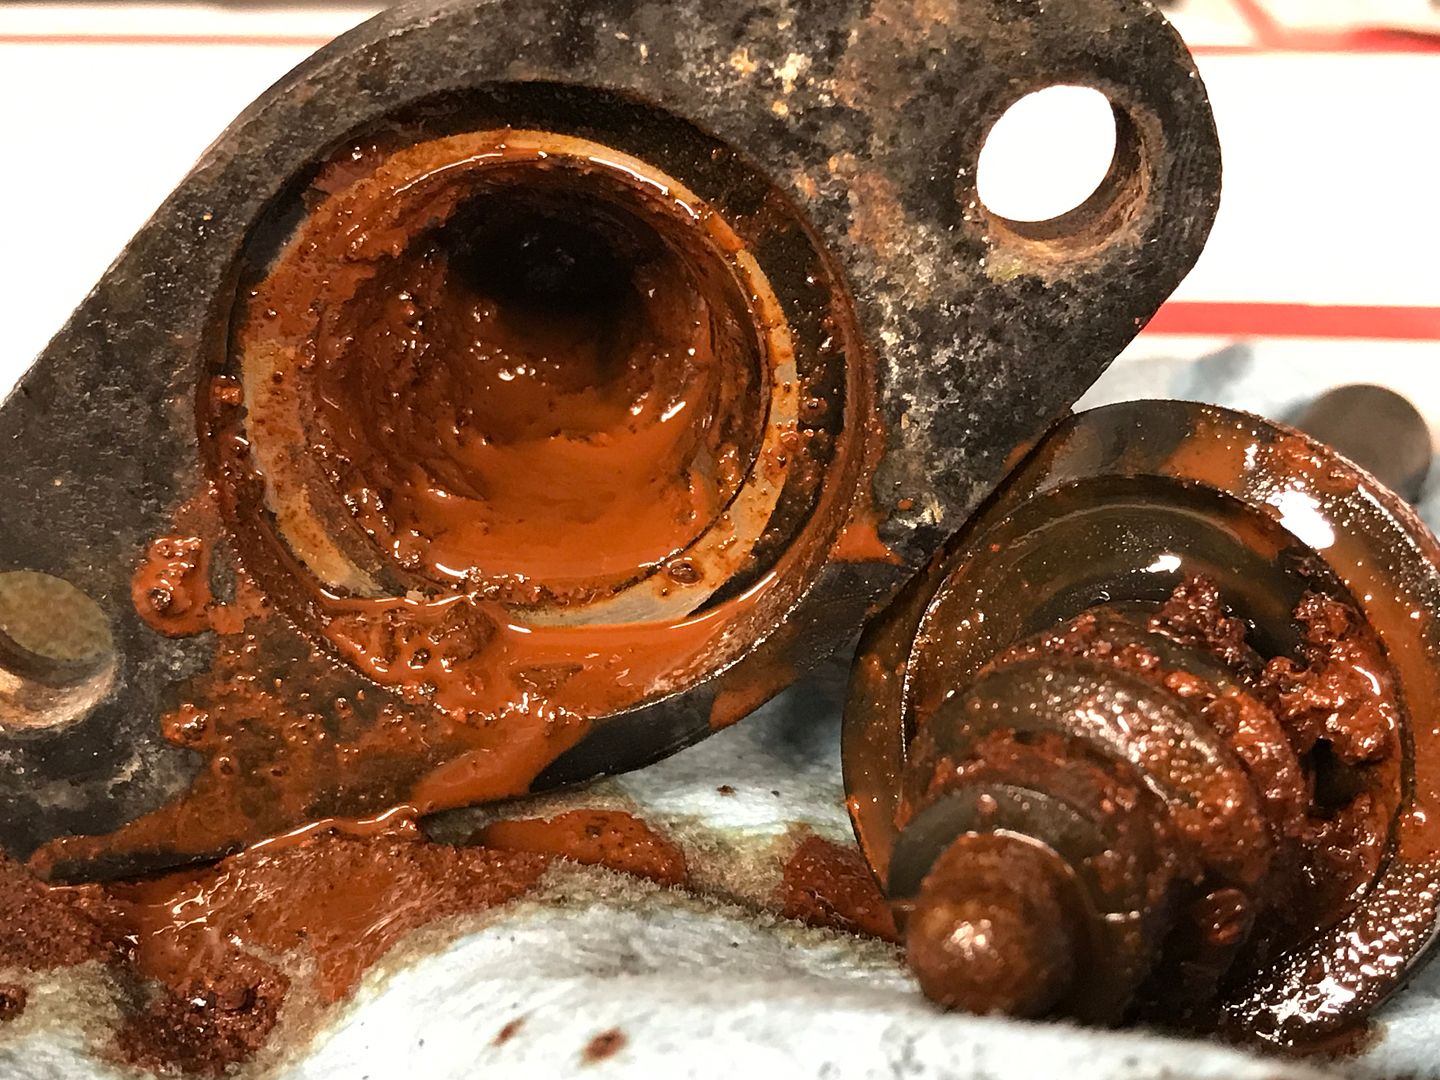
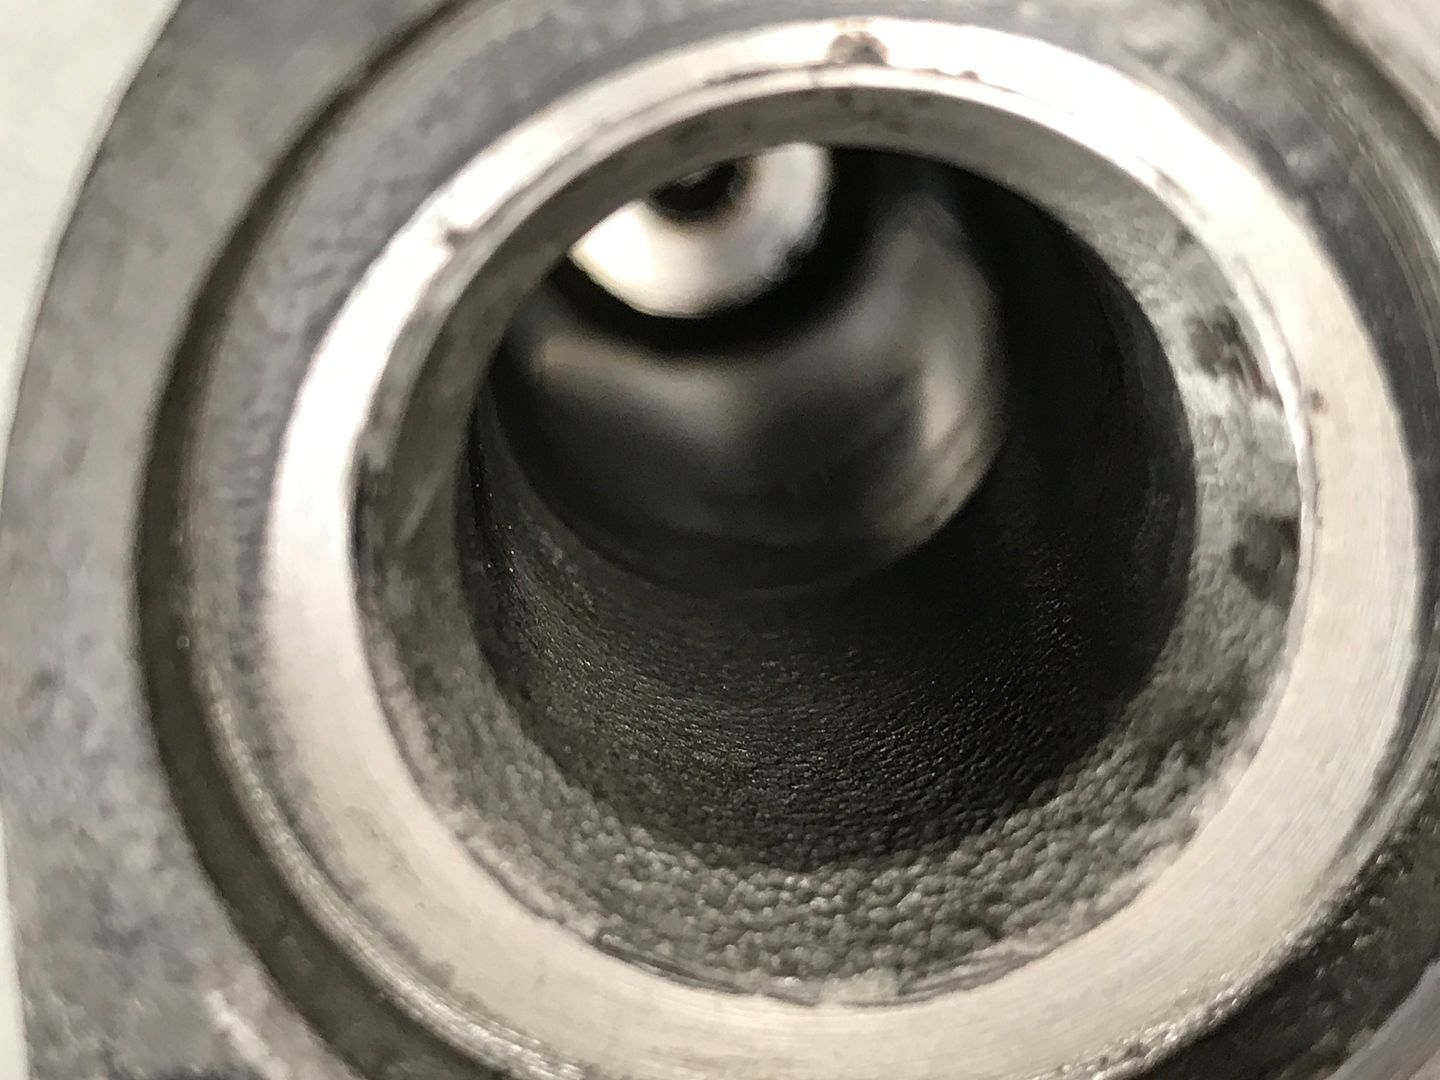
Regardless I'd hoped I could save it, since its the original unit and all. Alas while I managed to free up the seized piston and blow the whole thing apart the cylinder bore is badly pitted in front of where the piston has been at rest. I'm sure s soon as someone depressed the clutch the boot would prolapse with fluid pissing past the piston seal.
Leave a comment:
-
Linkage on this car is still nice and tight, no slop or axial play. Car only had 40k on it before it was left neglected for 12+ years in a barn.
I ultrasonically clean them to start with, then chuck each one of them in a hand drill. I use varied grits of sand paper followed up with WD40'd scotchbrite to achieve the final finish.
I do so enjoy this sort of work, being able to do it in trade towards the extensive body and paint work my own car needs is fantastic. Make no mistakes about it rebuilding a S14 is not cheap, and there will be hundred of labor hours involved in this through the final product. I'm at just over 40 hours to this point.
Not much to report as I'm waiting on parts, and more time with the vapor honer. Engine/rotating assembly is at the machine shop.
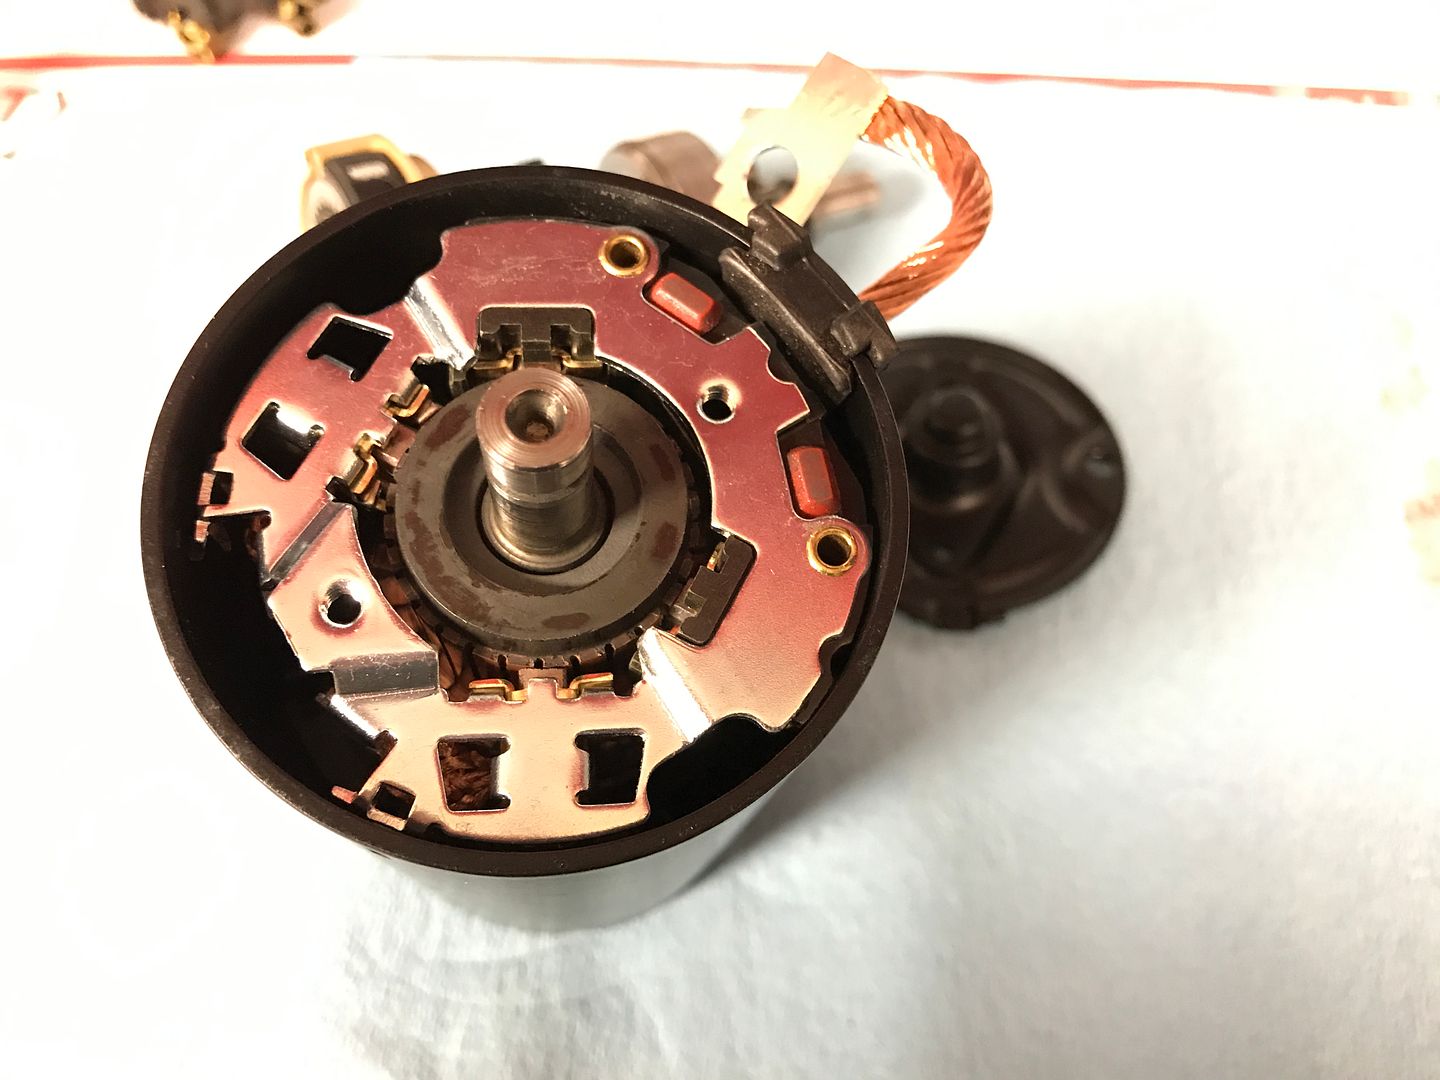
New brushes for the starter motor came in tonight so I dropped those on. Still waiting on the new bronze bush set to be able to finish assembling it.
Leave a comment:


Leave a comment: