
Honest question.
How long did you stand and stare at it thinking; "Fuckyeah." ?
Excellent work man, thanks for taking the pics, making the thread, and sharing this with us all. Was a pleasure to watch.
-
Yes, absolutely. I'm headed over to his shop today to pick up some painted parts of my car and drop off the transmission, axles, and a few oddments to him. The engine will likely go up to him next week some time, and he is eager to get it installed so I'm sure I can have some updates once its dropped in.Leave a comment:
-
Great conclusion to a great project. Thanks for sharing!
Perhaps when the M3 is complete you'll be able to snap some photos of the engine in its new home? :DLeave a comment:
-
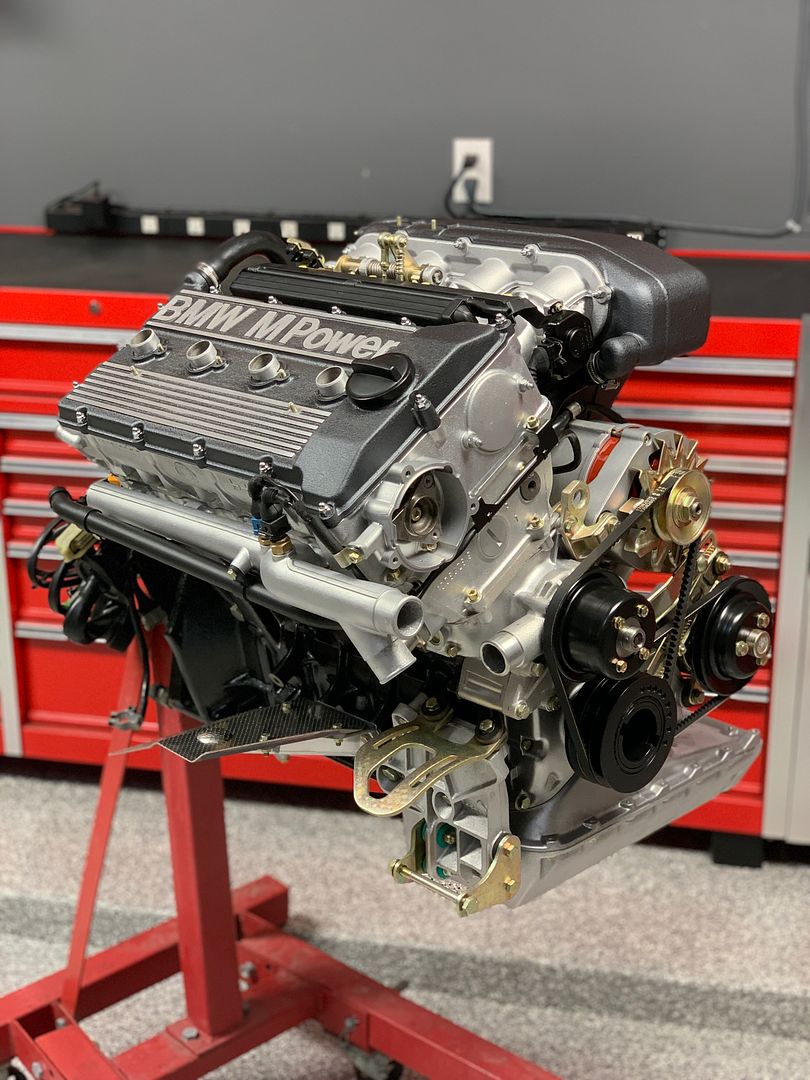
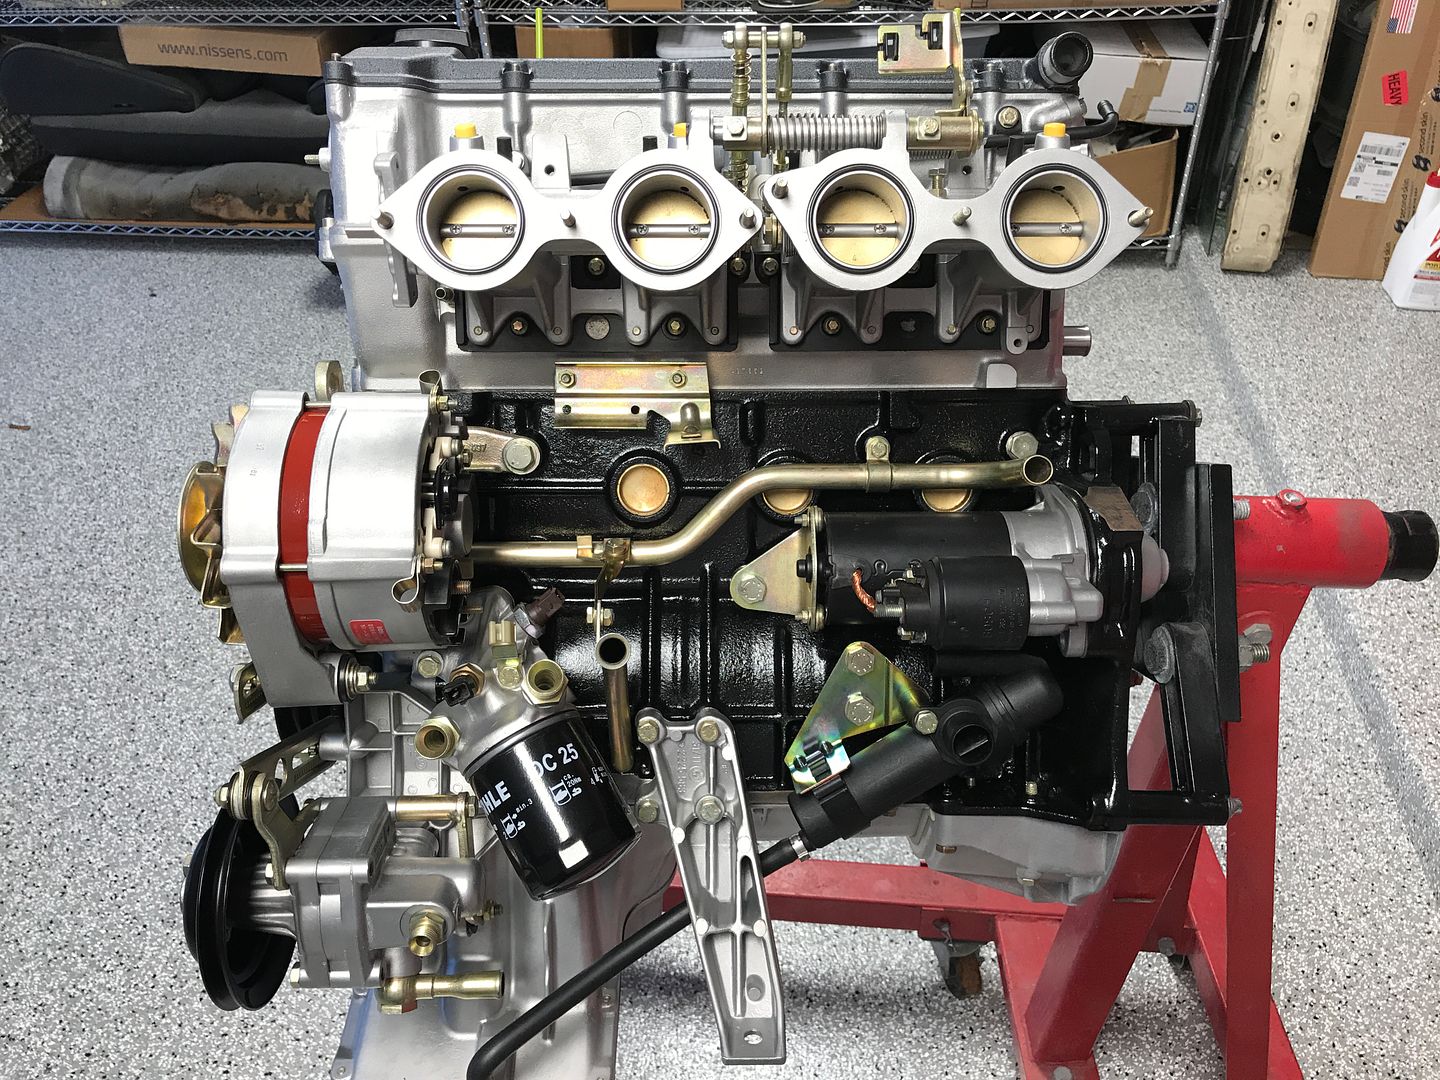
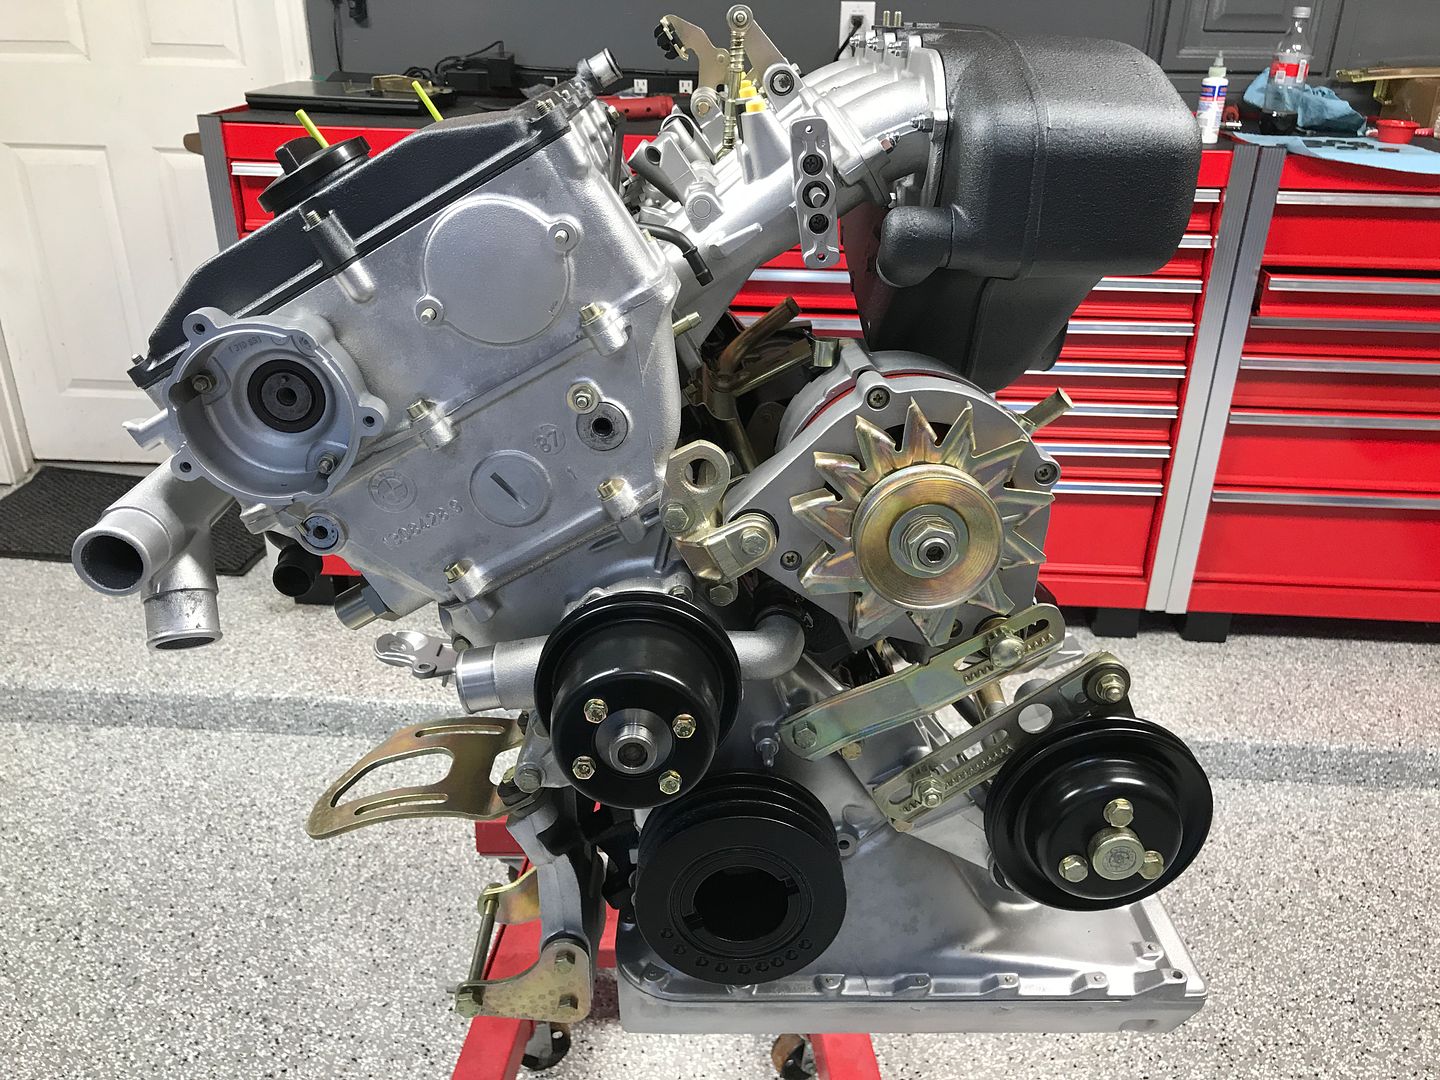
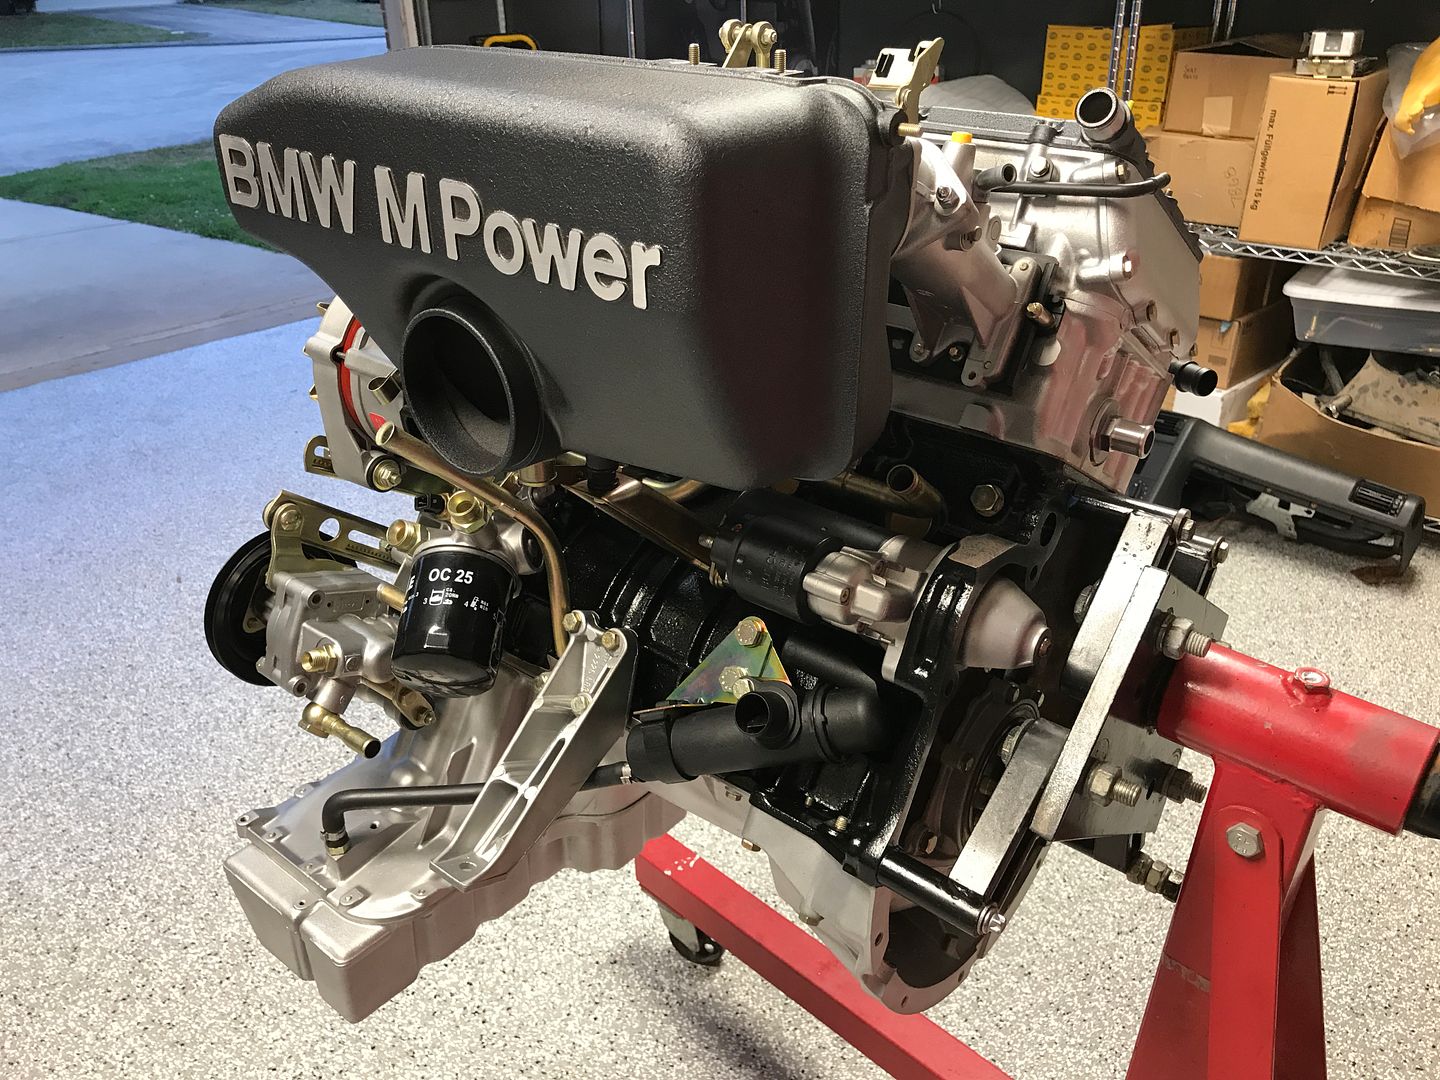
Alright, this will likely be the past photo update in this thread as I've wrapped up the engine for all intents and purposes.
Measured for valve adjustments needed and ordered 16 new shims, installed and buttoned up the valve cover. Its ready to go off to its owner and get installed in his super clean M3!
Leave a comment:
-
-
Amazing build! Very informative. Thanks for posting the build. The owner is one lucky guy.Leave a comment:
-
There are products to apply to aluminum that will keep it from oxidizing over time. I've never used them, so I don't know how well it would work. Clear coat would likely be a cheaper/easier way, but is viable for many surfaces. Really you just have to accept that it will eventually oxidize.Leave a comment:
-
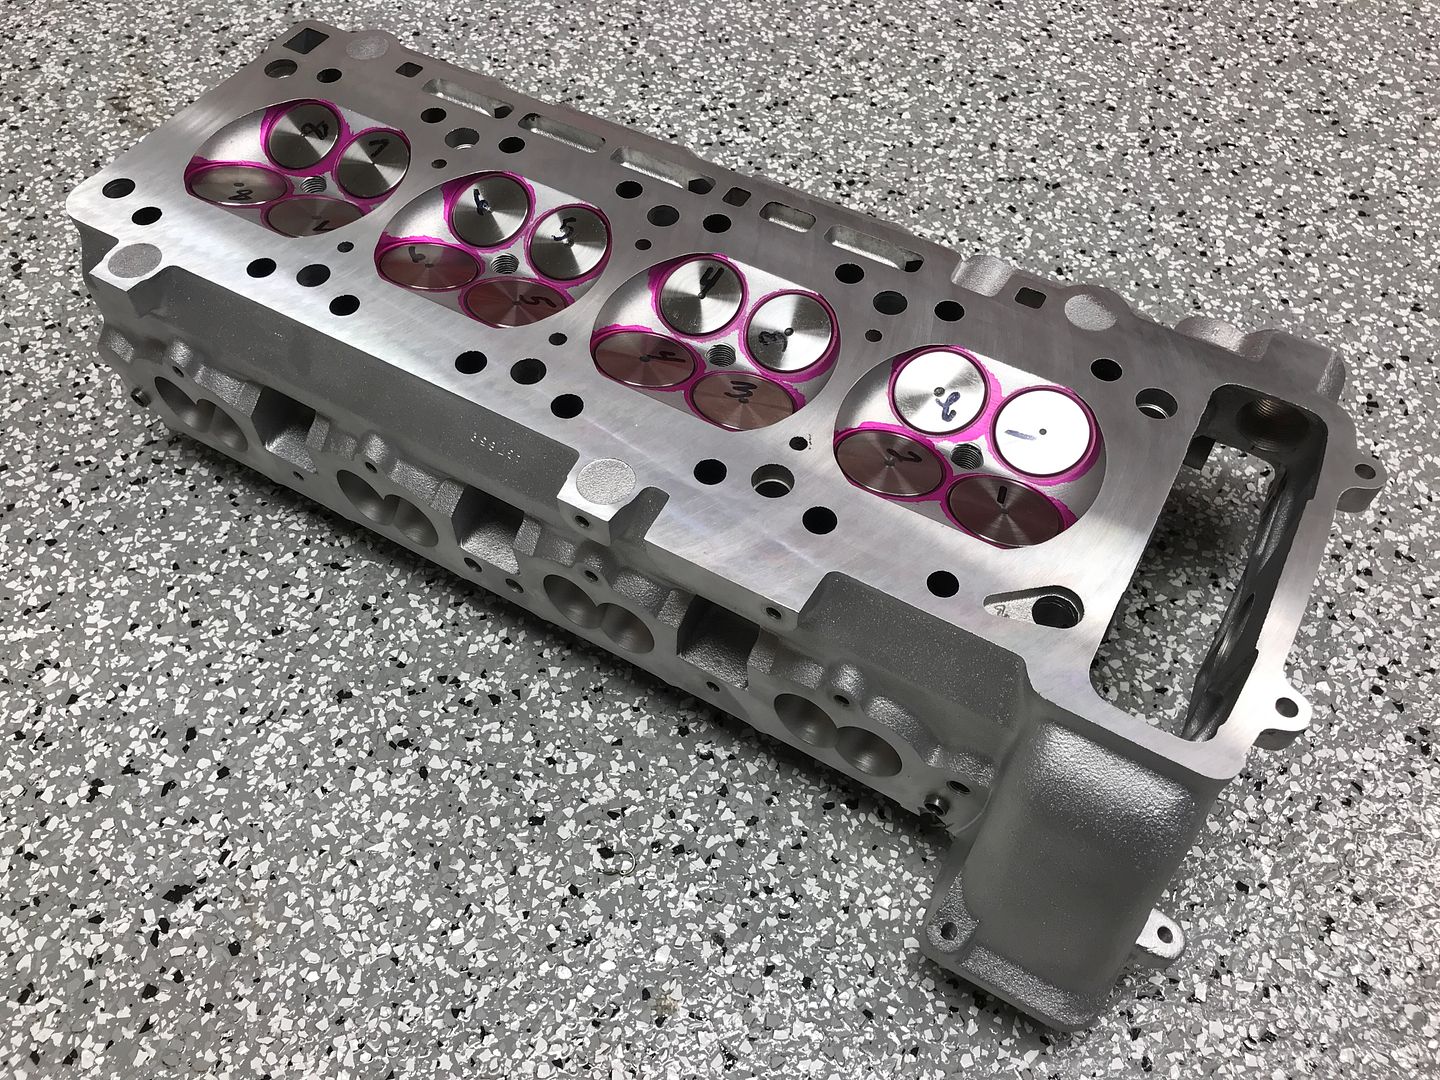
The cylinder head finally came back from the machine shop yesterday, and with that means a productive weekend.
Headgasket in place
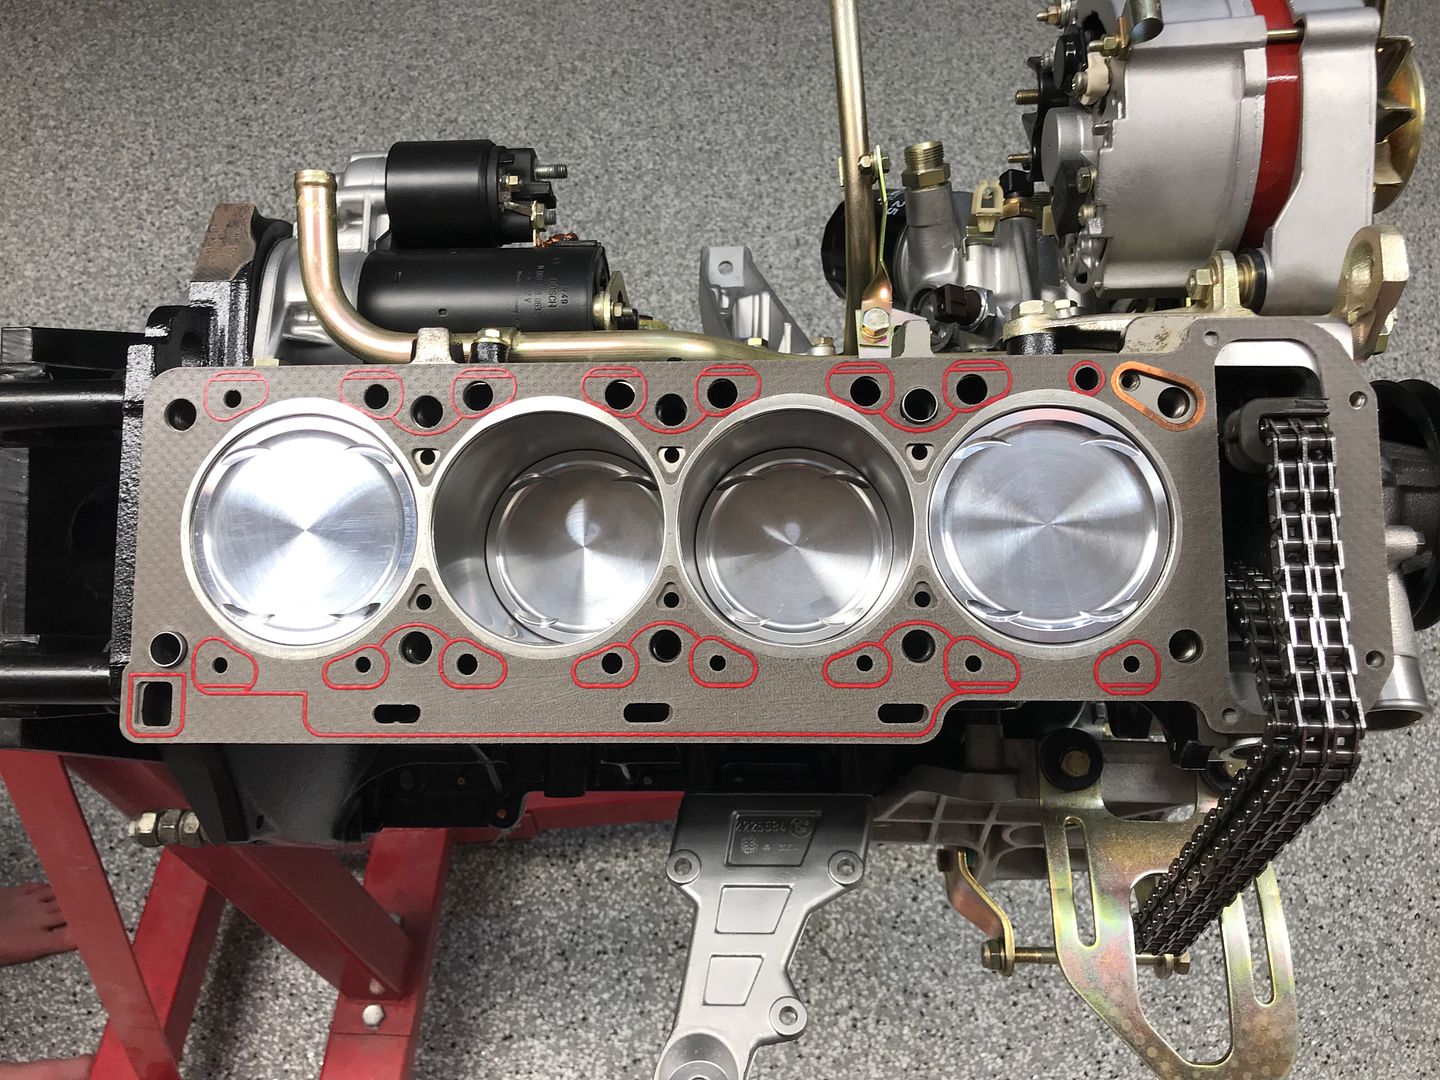
Head set in place, bolts torqued.
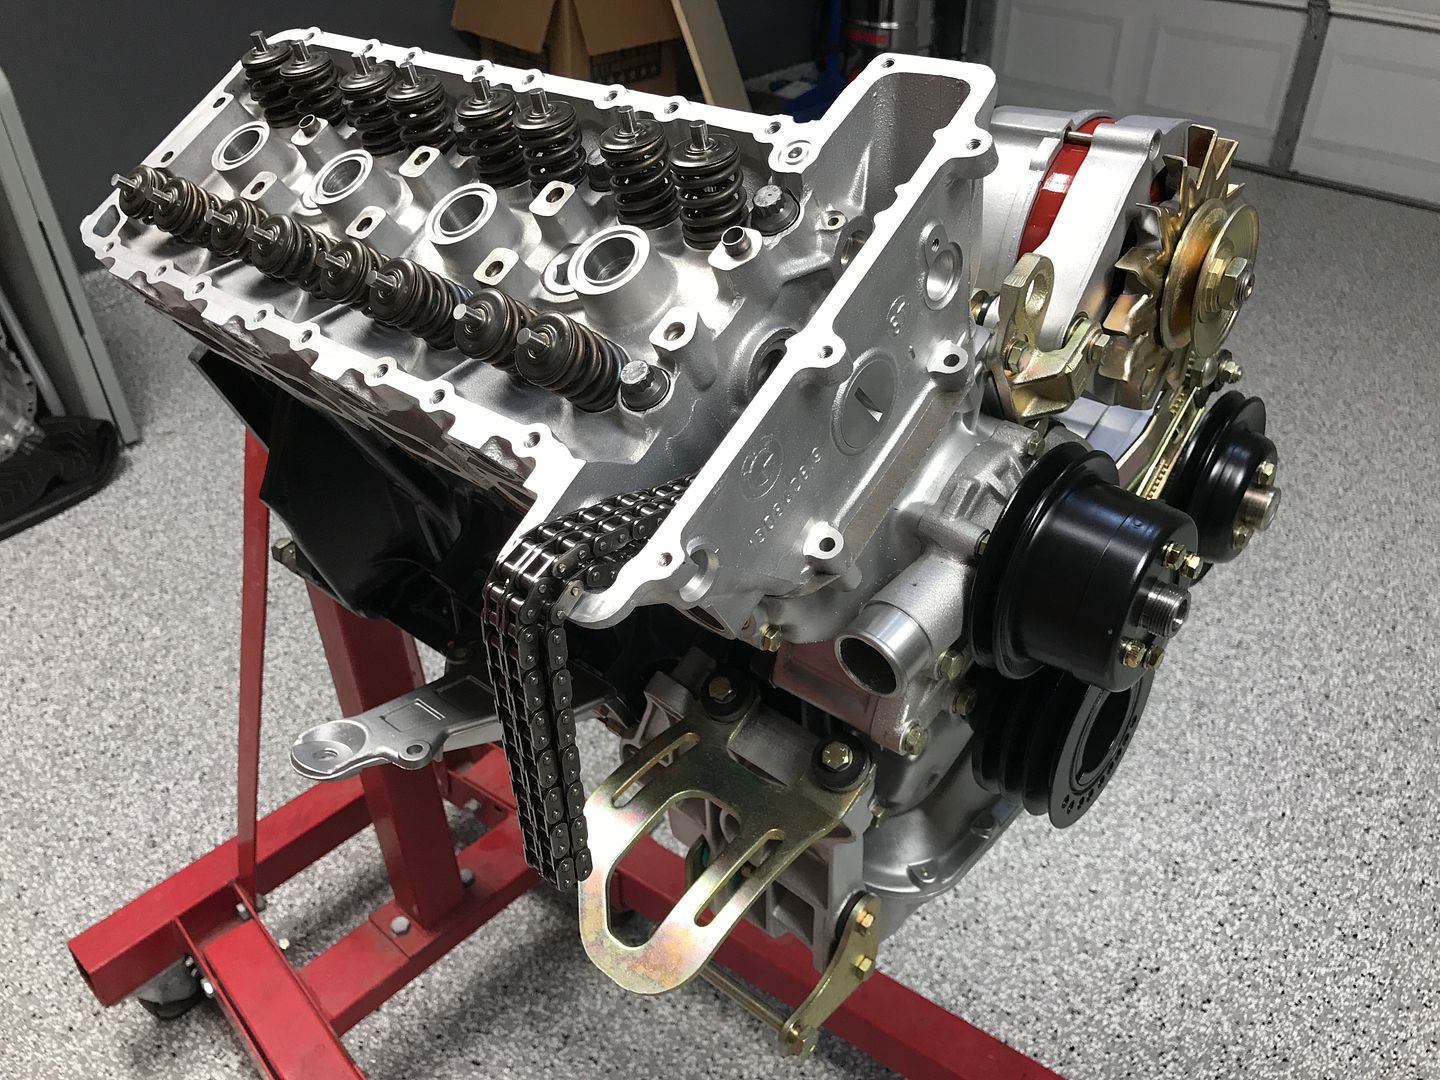
Cam tray set in place, torqued down.
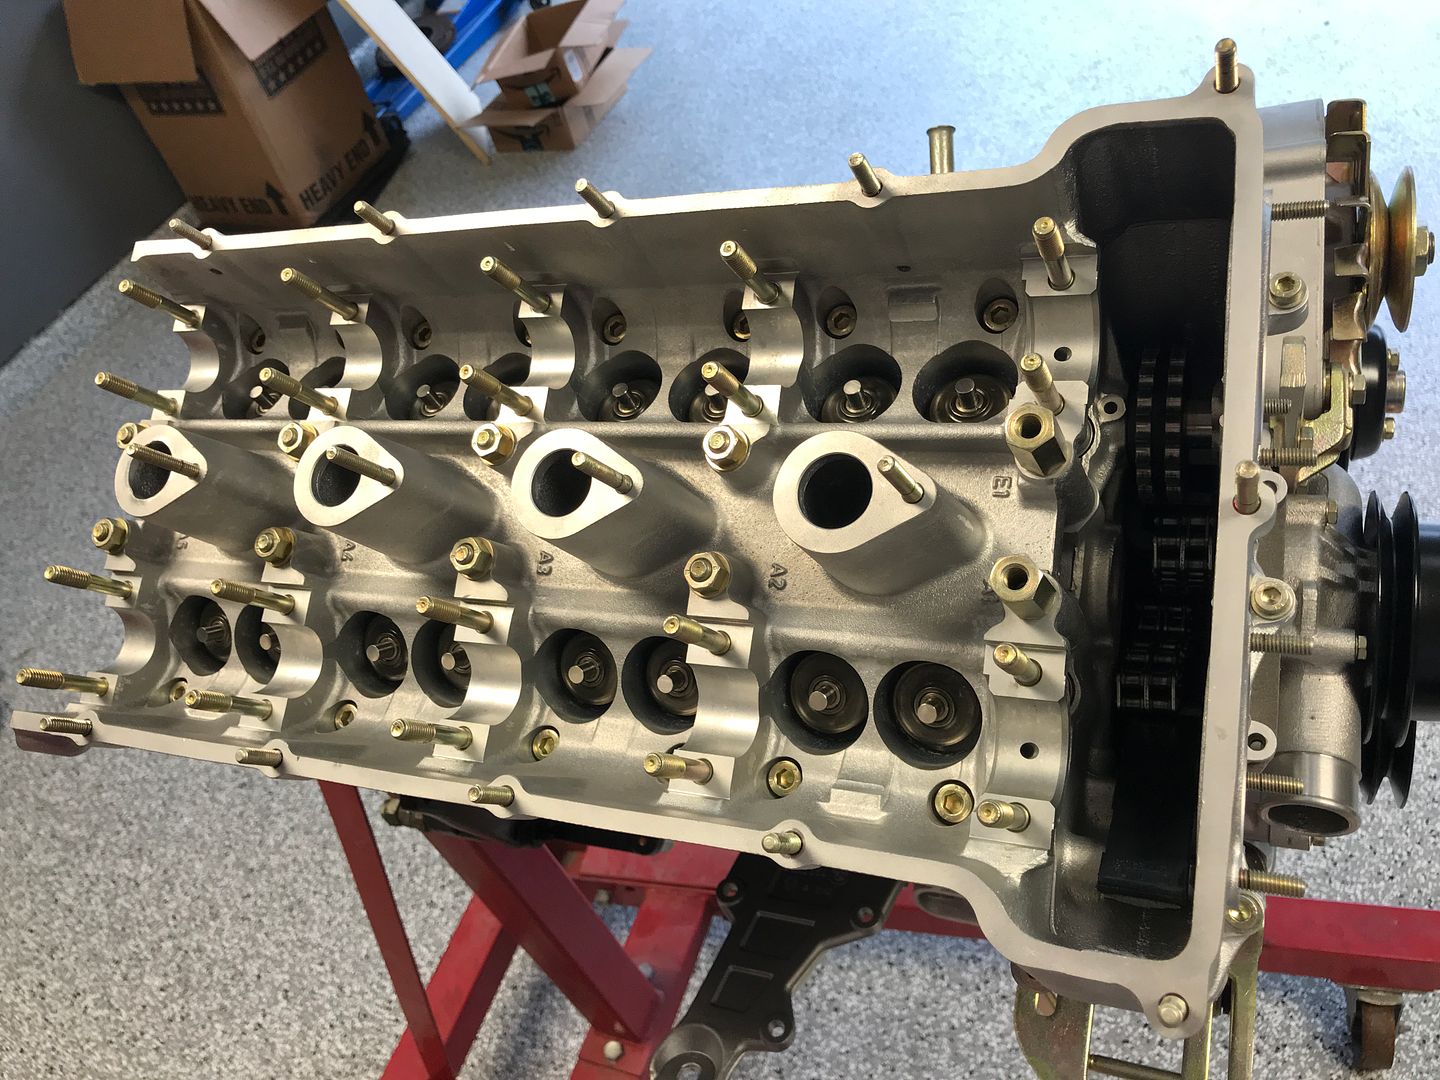
Camshafts installed, engine timed.
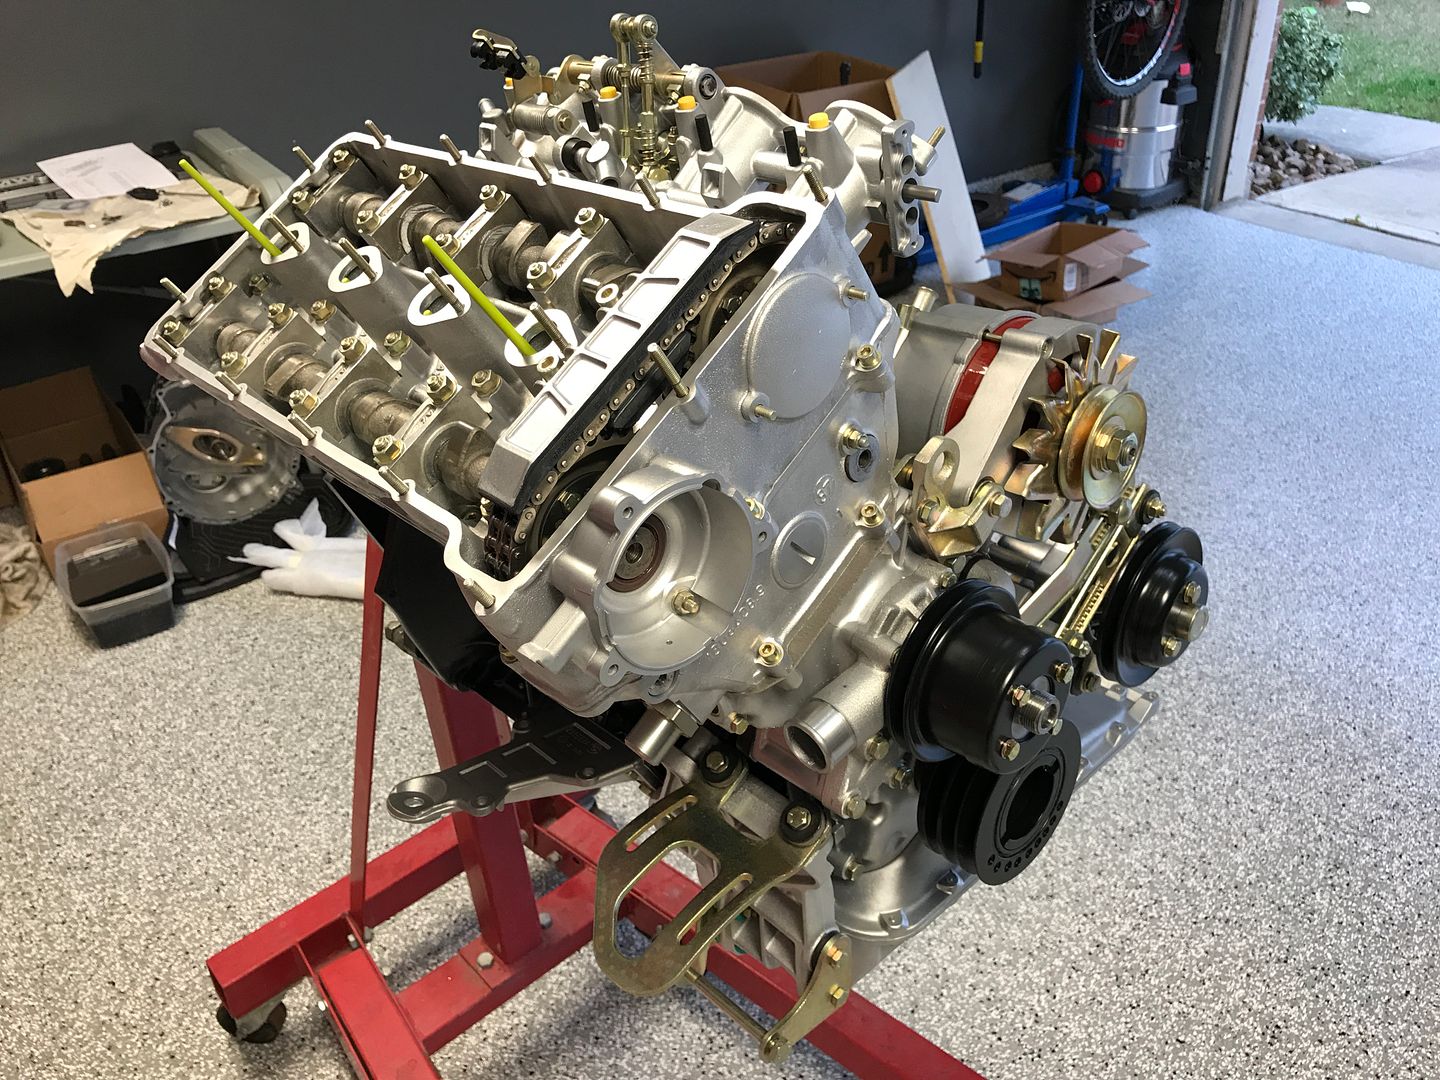
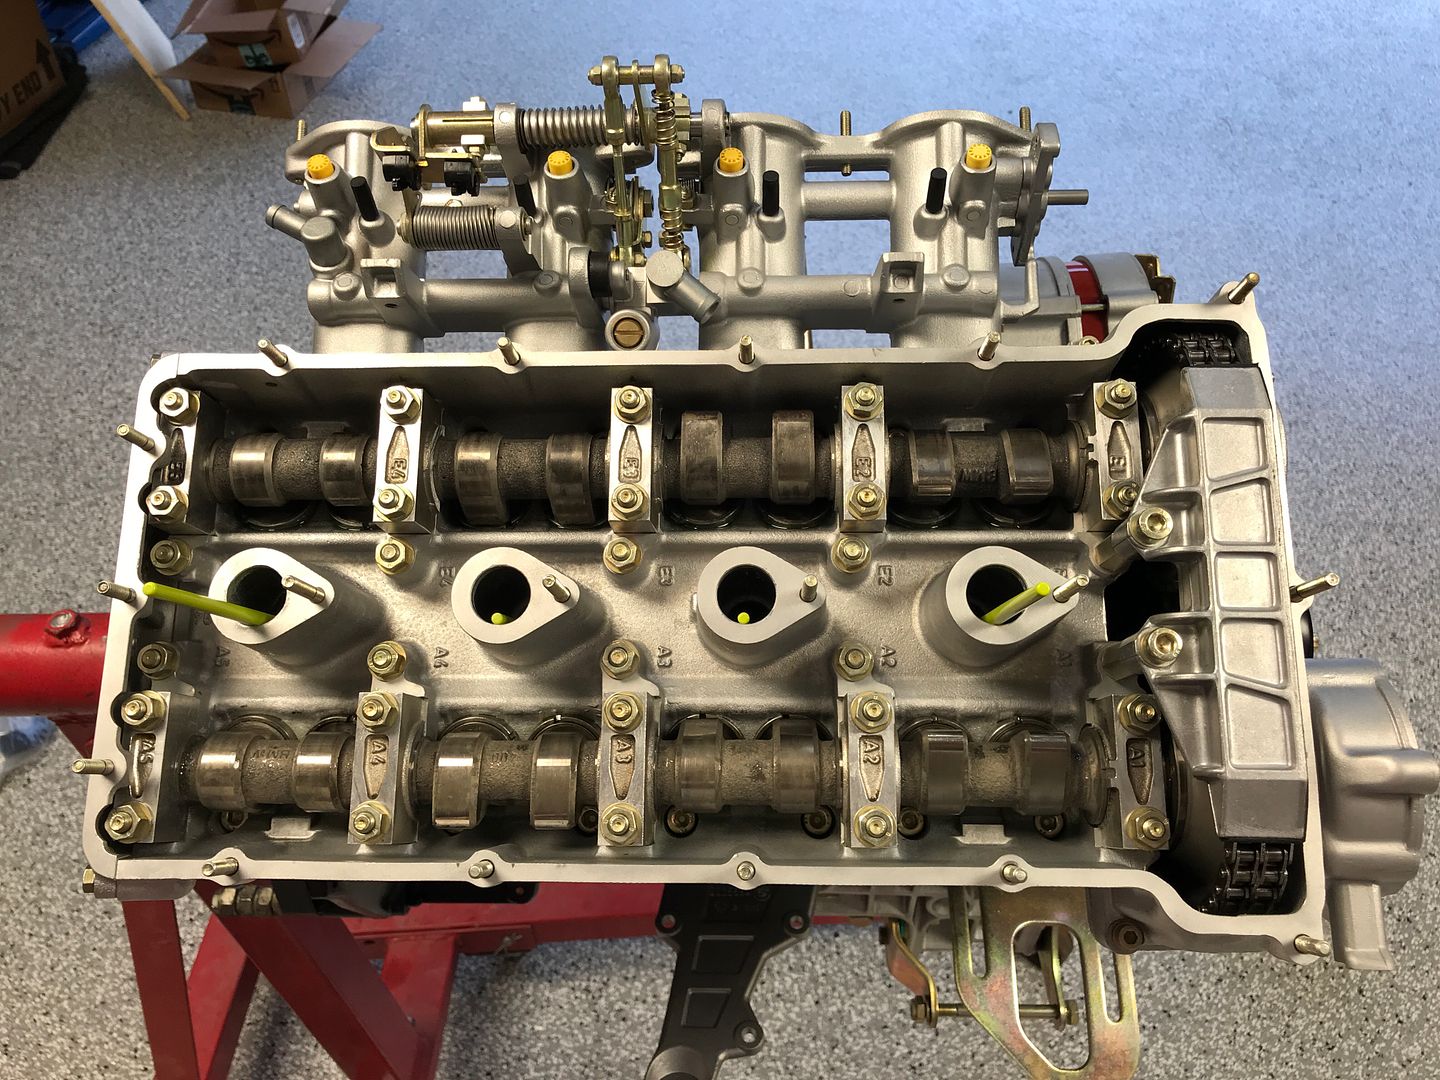
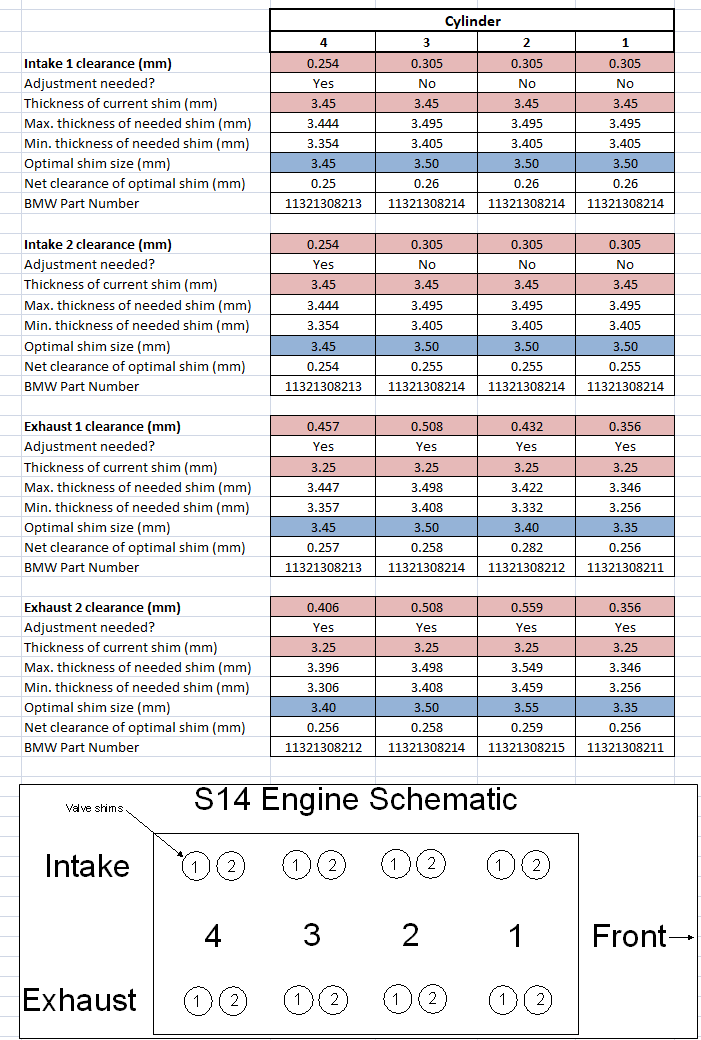
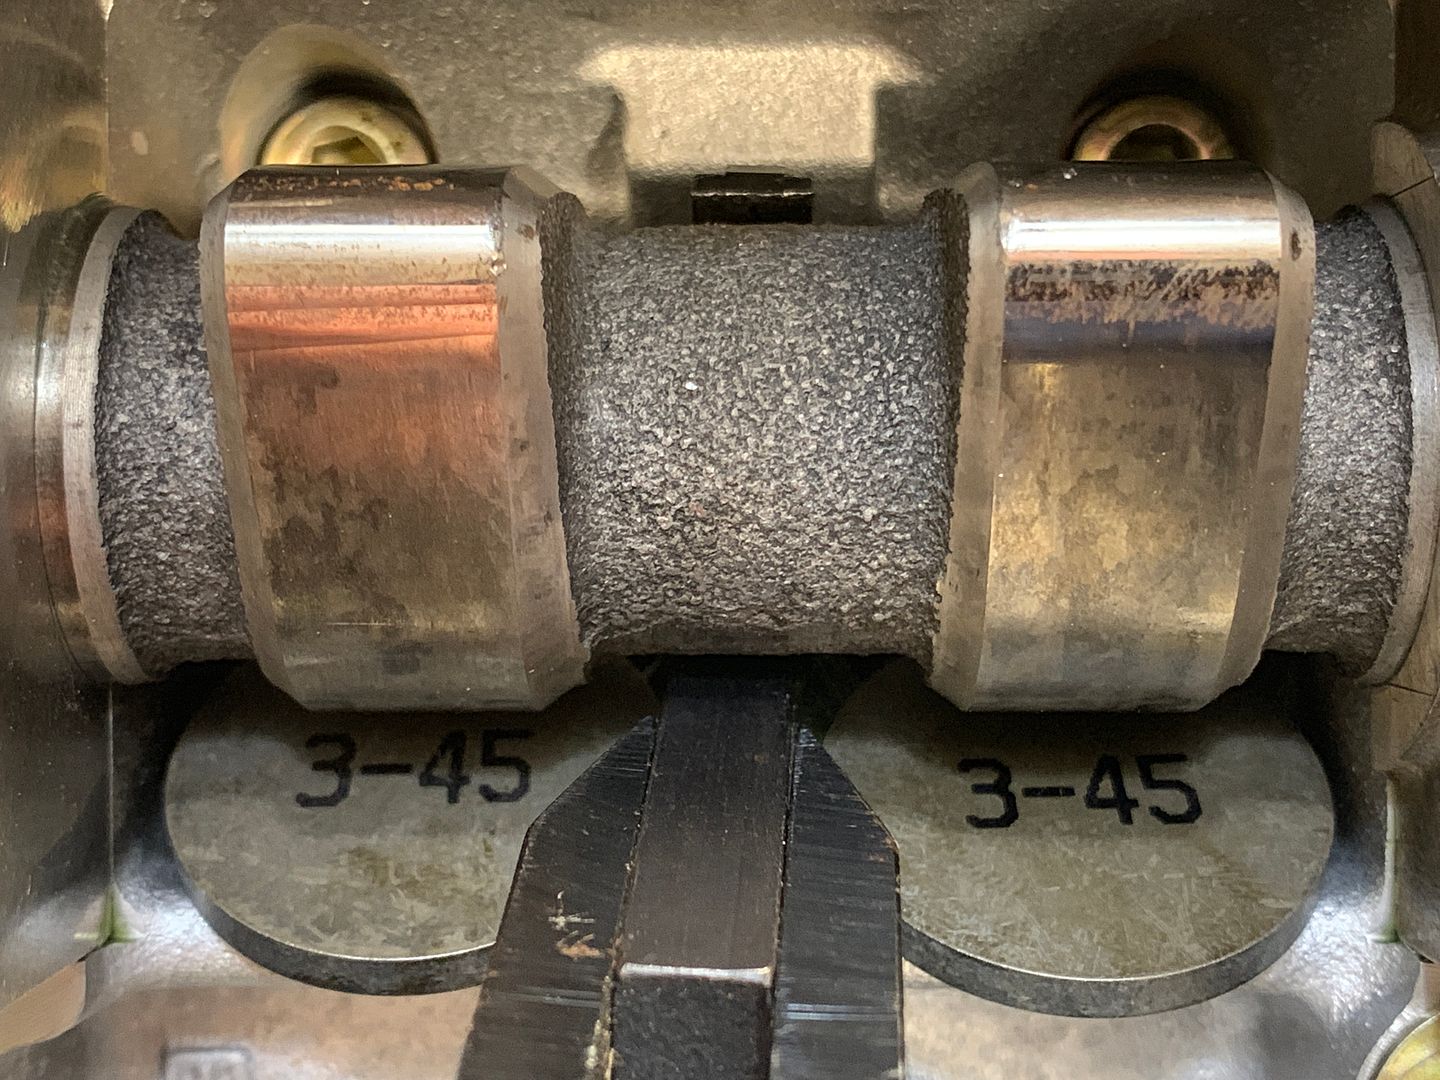
Once the engine was timed I started measuring the valve lash, oh what a joy this was. All of the original shims were far too thick now so I ground one down until it fell into the correct range for adjustment and then checked it against all of the intake valves. Once done and recorded I moved to the exhaust side and then did it again.
All of the original shims were in the 3.65mm - 3.80mm range. I ground one down to 3.45mm and then to 3.25mm to be able to take measurements at each lobe, both of which will be discarded.
The table used to determine the optimal shims to order and keep track of where they need to go once they come in. Target lash is .026-.031mm.

If anyone wants the active spreadsheet you can download it here: https://www.e30gruppe.com/wp-content...ent_m3guru.xls
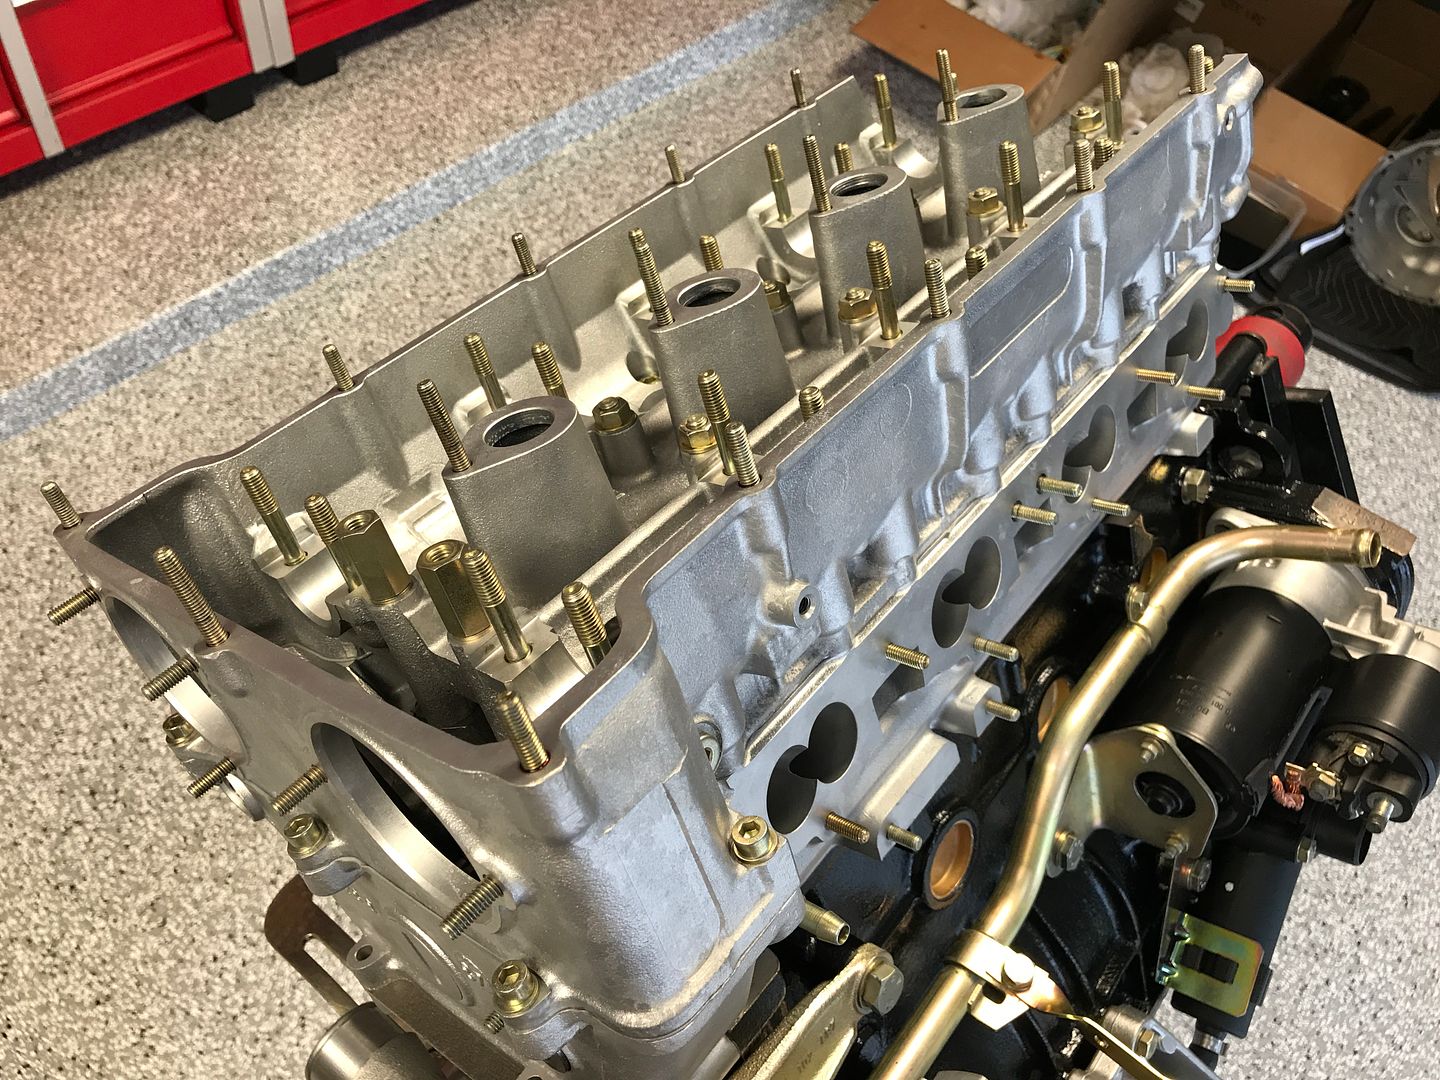
While I wait for the shims I can continue to assemble everything else as its easy enough to drop the shims in with just the valve cover loose.
Leave a comment:


Leave a comment: