-
...
Well i got a few things done on the car these past couple days.
I put the facelift bumper clips in
Bolt the new one in
Other side do the same
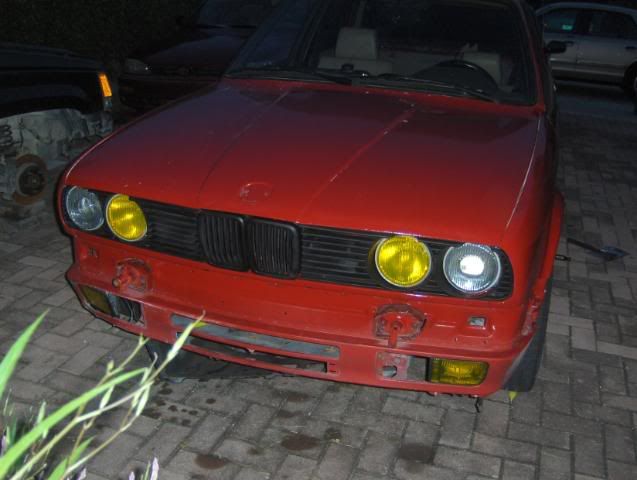
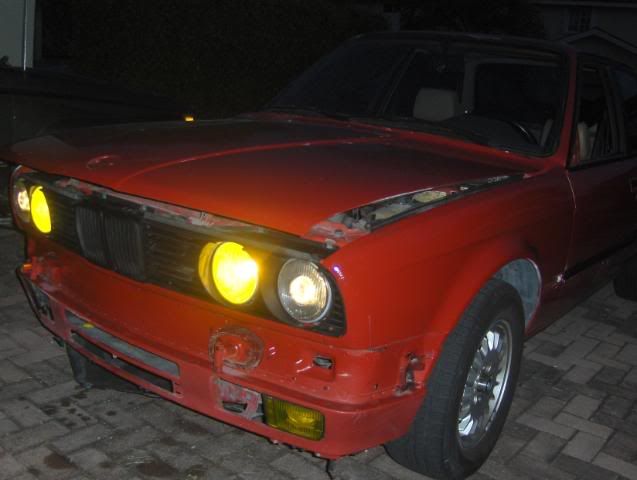
I mounted the fog lights

WTF?? You tell me
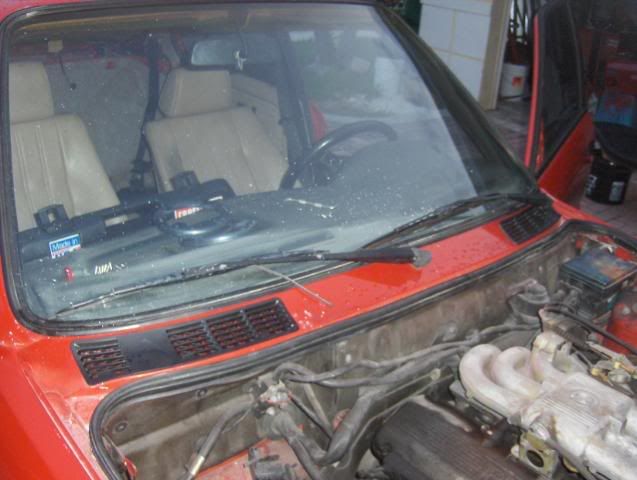
Mounted the windshield wipers
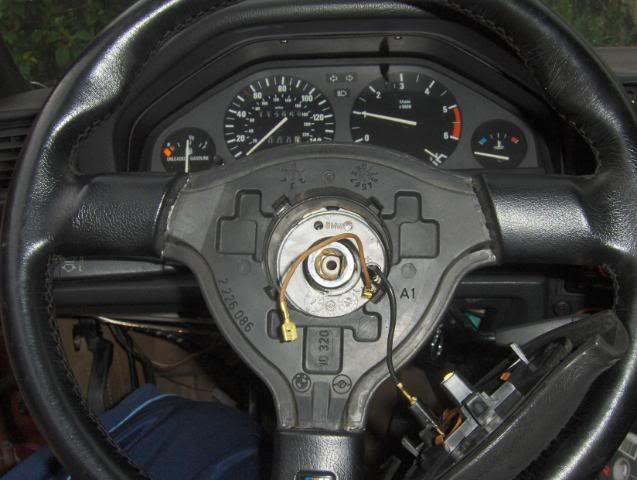
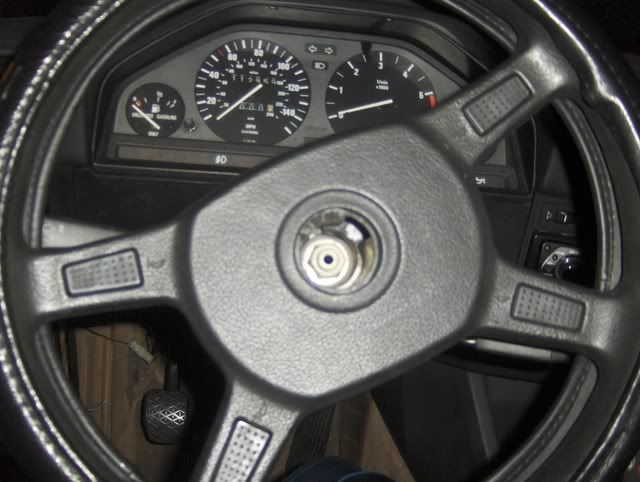
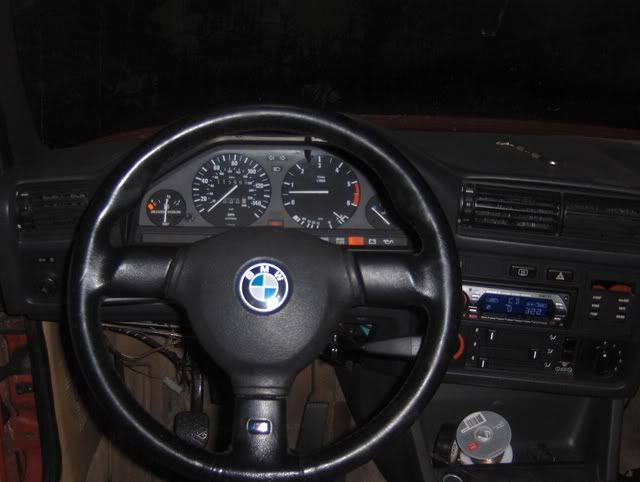
Fixing the shakey wheel. It turns out to be a missing washer
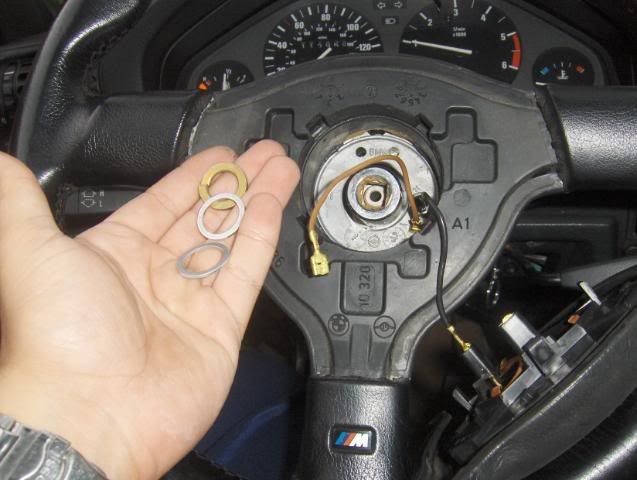
The washers i had to choose from. I went with the gold one.
Washer in
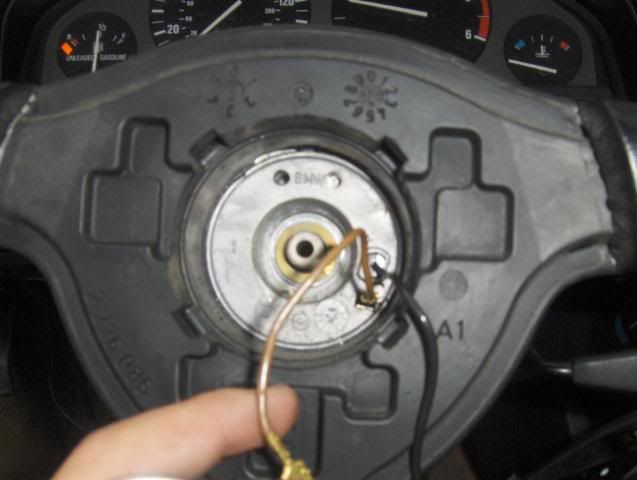
Bolted back up
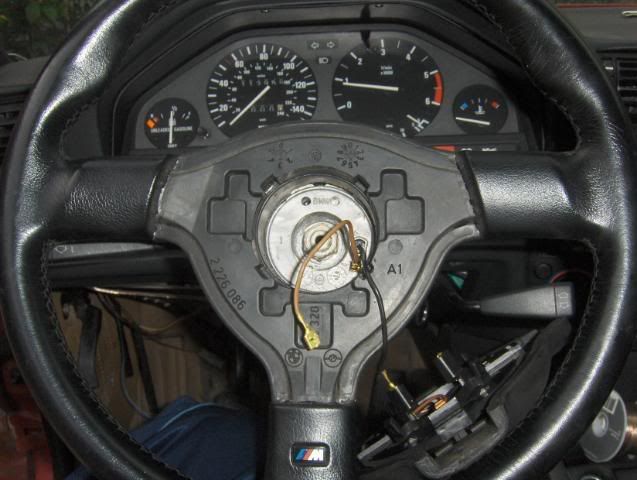
Put the cover on
It feels good, it is just not centred. When the car is strait the wheel is almost fully turned.
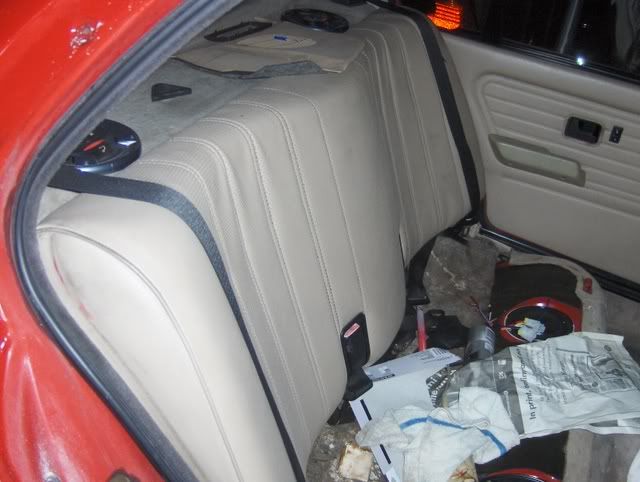
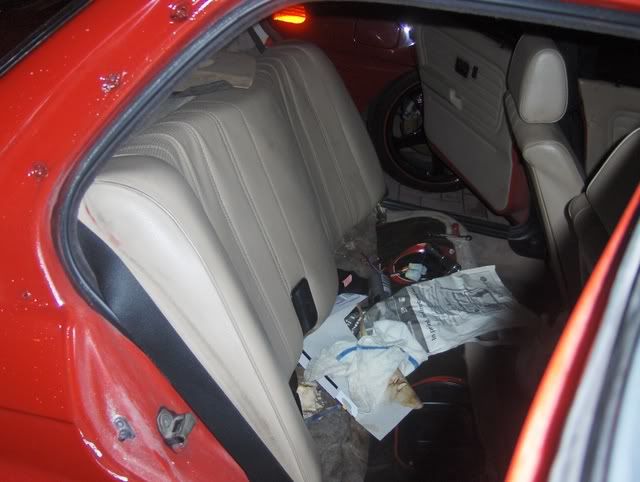
I got more progress on the back seat, but it needs more to be complete.
Before
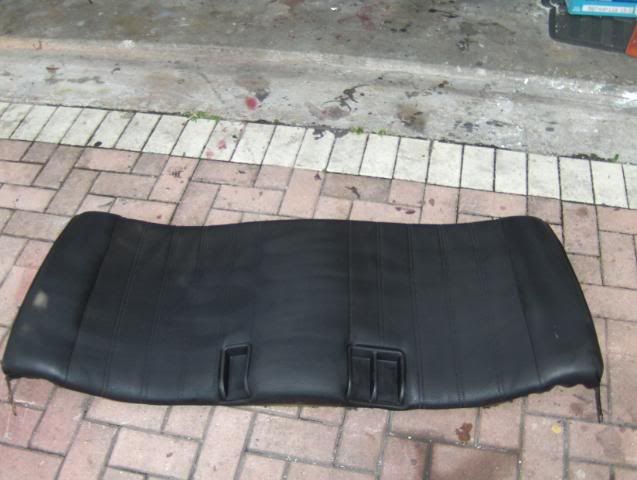
After
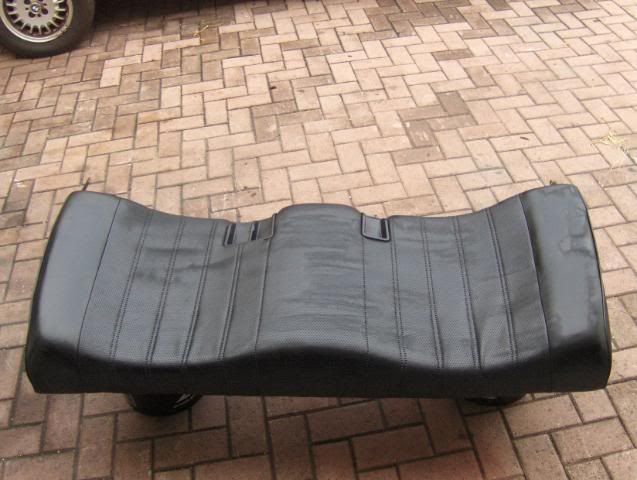
The color is still not consistant
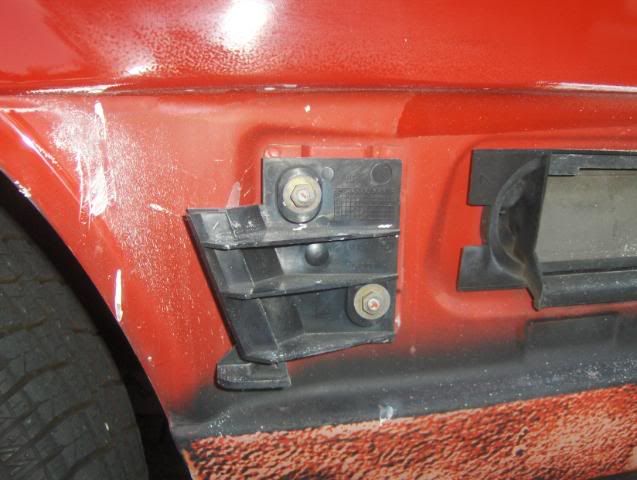
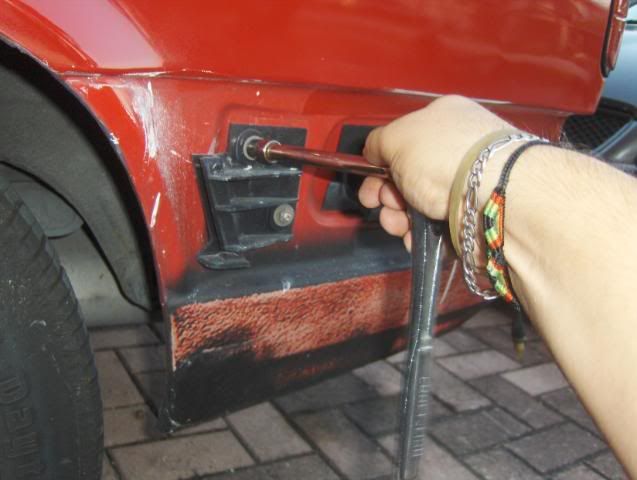
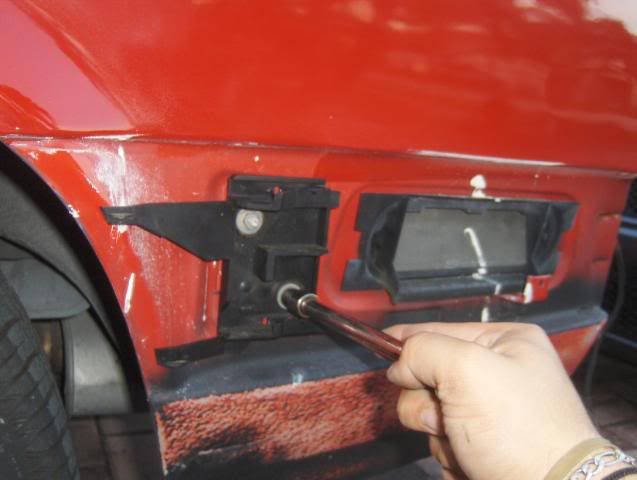
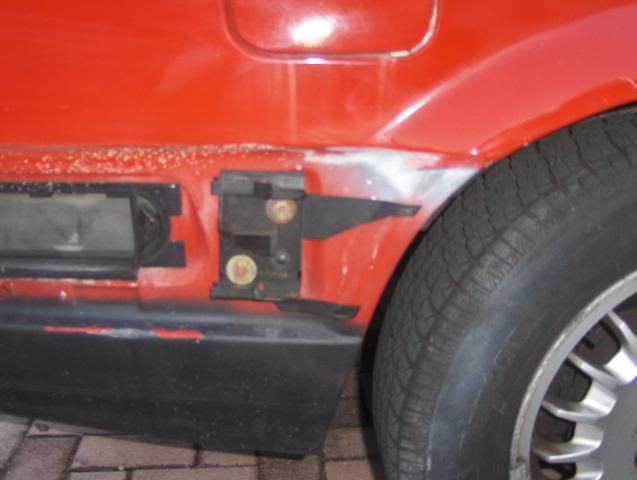
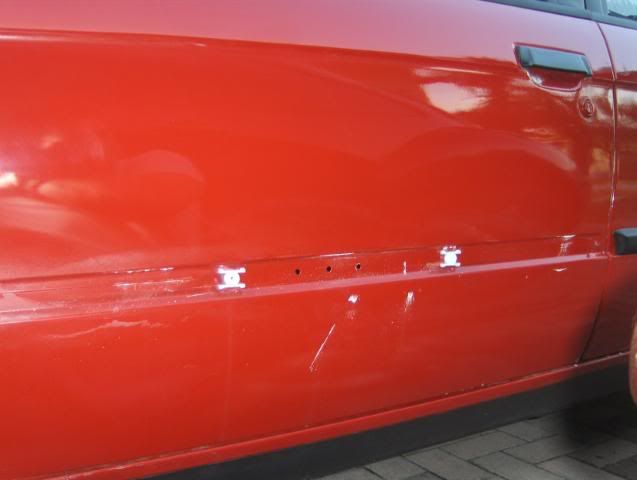
Mounting the side moldings
Put the clips on
This is how you do it. Take out the little plastic dowel
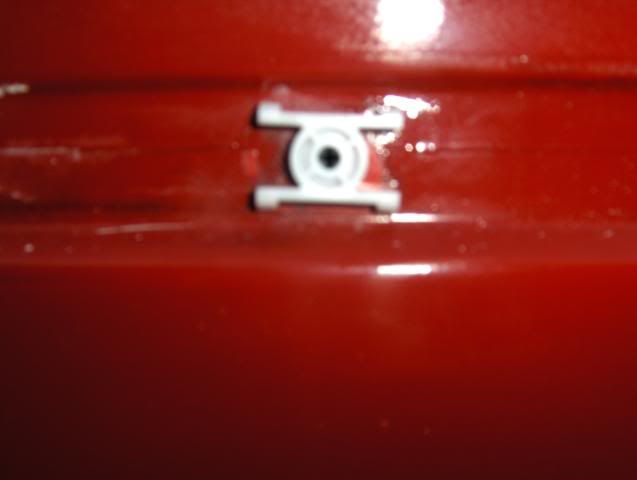
Put the dowel in and bang it into the clip

I was missing some clips, and i am not waiting two weeks for some special order clips
I added one here

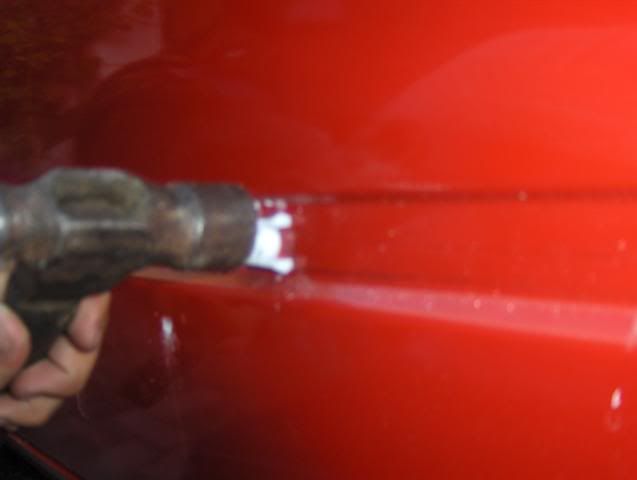
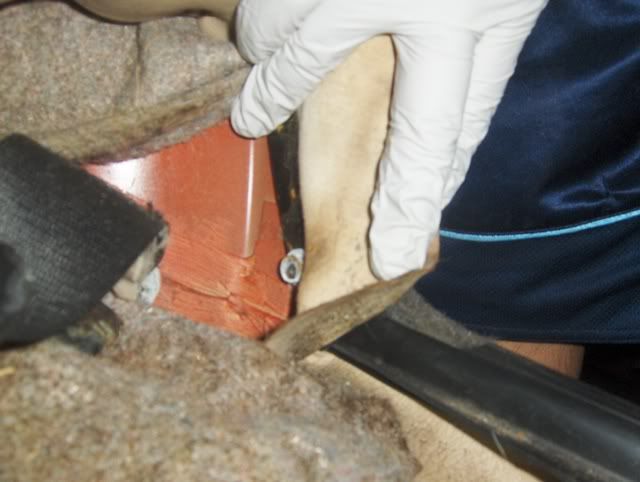
Then i had to drill my own hole
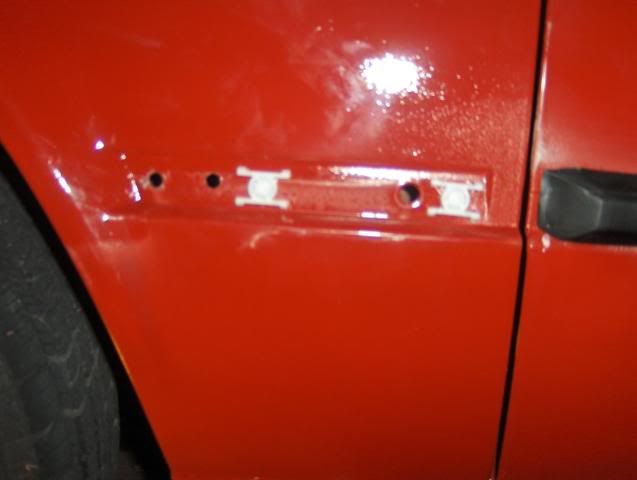
Now mount the strip
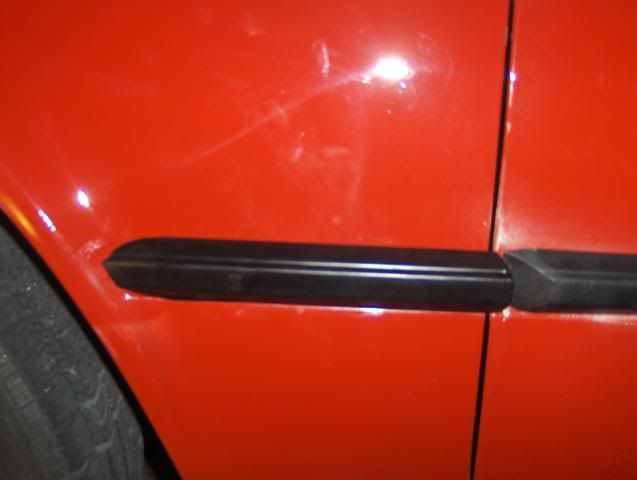
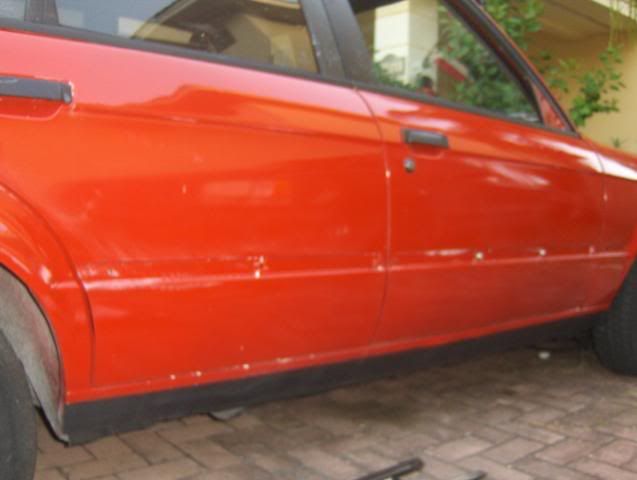
Done
Thats it for today.Leave a comment:
-
...
So i got a lot of little things done today.
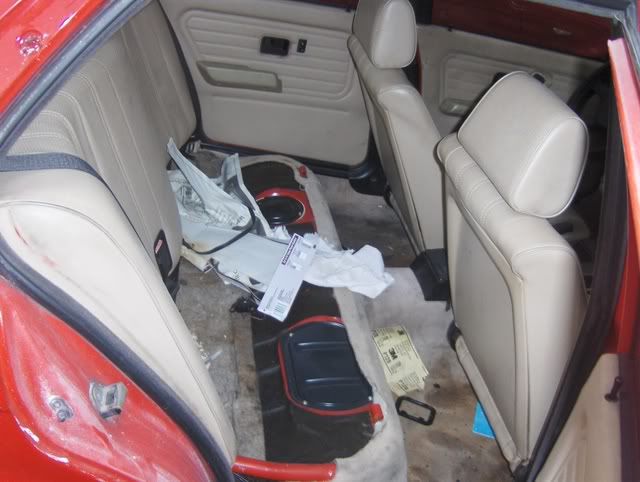
I started off with removing the back seat.
The bottom is just pulled up.
The seat back has 2 bolts, one on each side on the bottom.

Then just lift up
And pull it out.
More on this later...
I had to remove the old speaker tray
4 speaker screws held it in. The rest were just clips
Then pull it out, but this can get tricky due to the 3rd brake light.
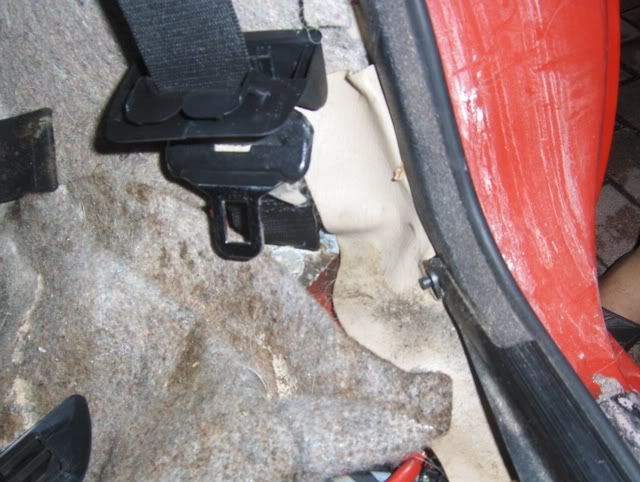
First you have to unbolt the seat belt
Then its out
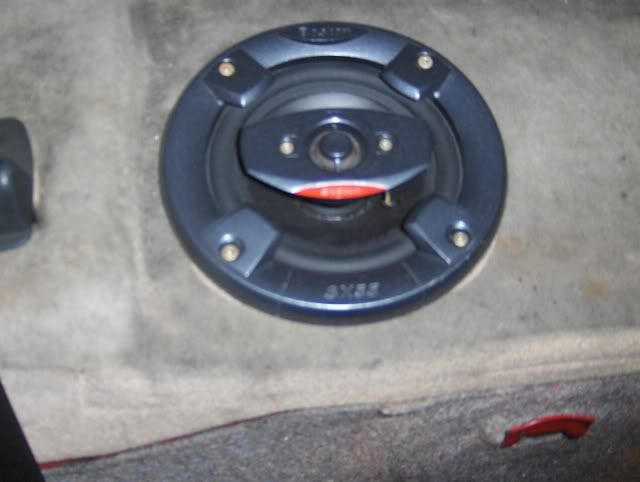
Now to wire the rear speakers.
Strip the wire
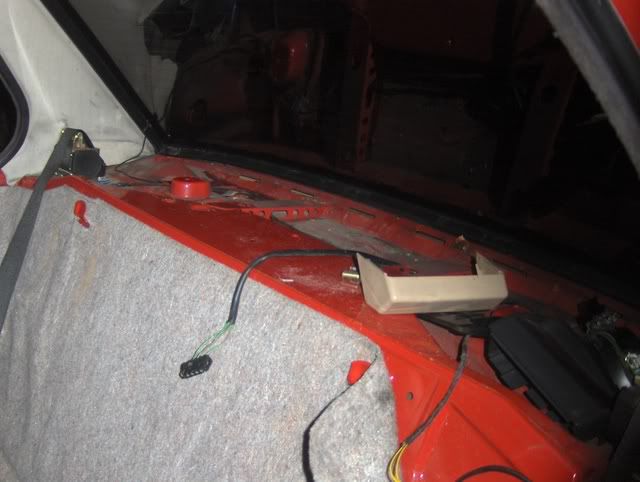
I was working by myself, so i couldnt take all the pics. But you have to run the wire to the front of the car. I ran it by the edge of the carpet.
You end up here
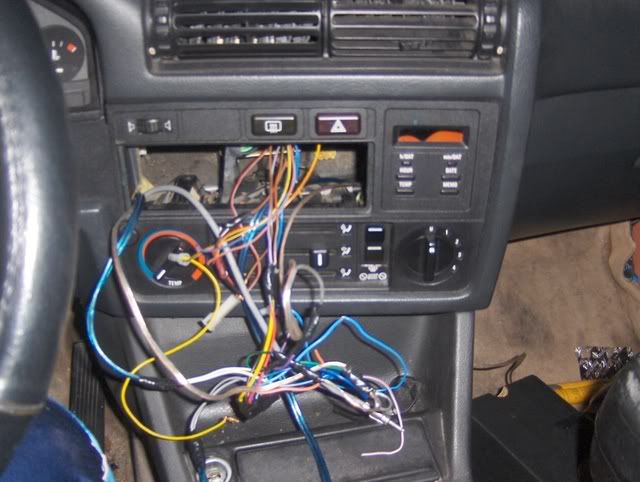
Connect the wires, and add the metal sourround to the radio
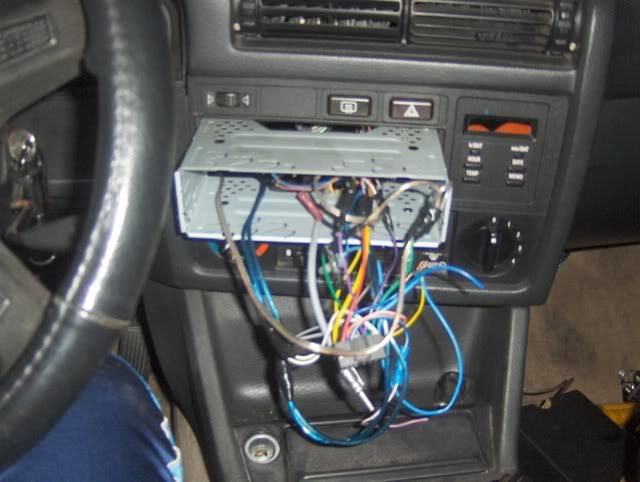
To get it to stay in you need to crimp some of these down with a screw driver.
Finally the radio in full function order. Now i could jam whileworking on the car

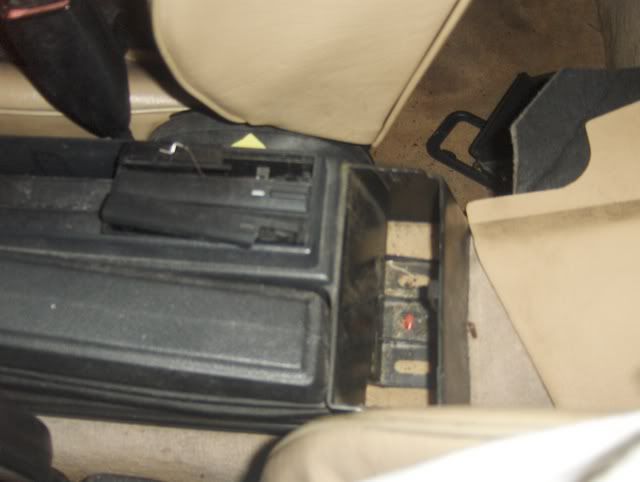
One rear nut and remove the rear centre console.
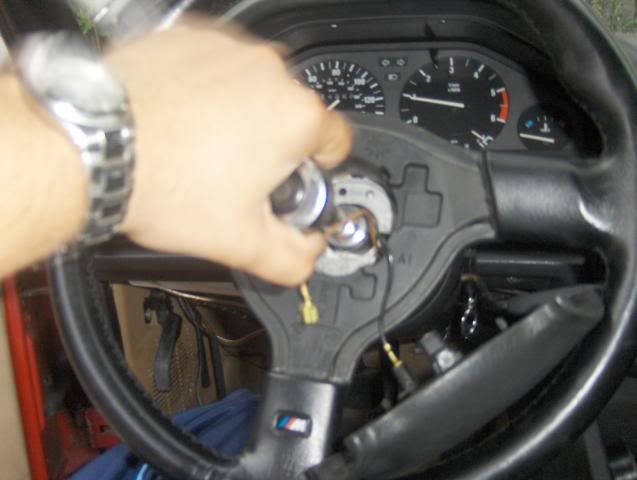
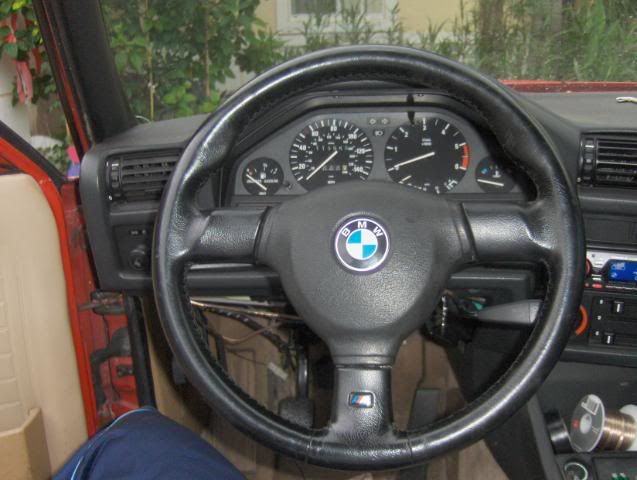
To get the steering wheel off you must have the key in to unlock it.
Then loosen this nut
Take it off and you end up with this.
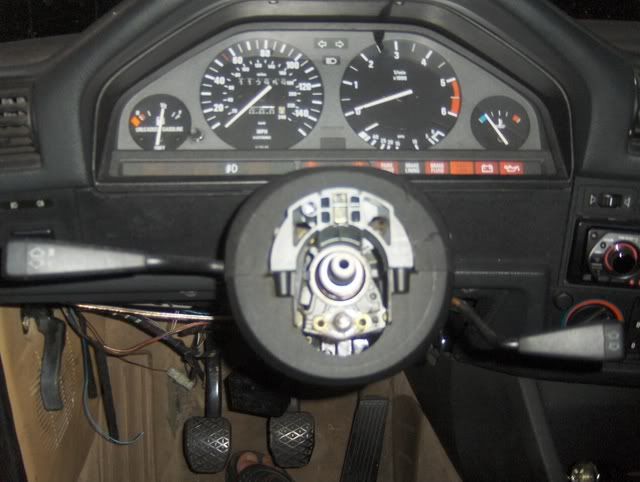

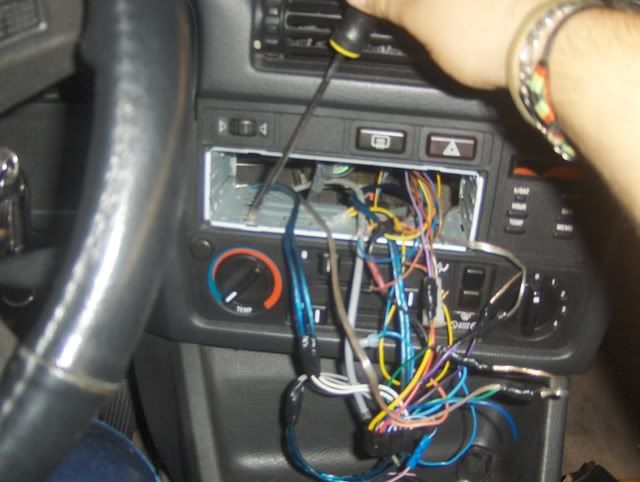
I also ran the windshield wiper switch
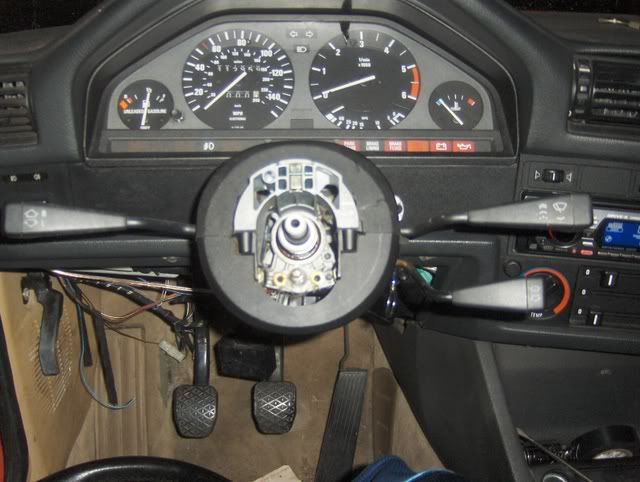
And you end up with this. I am missing a washer so th wheel shakes a little bit.
I started to paint the rear seat to see how it comes out. No one will sit back there. The car will be too low, and with 0 offset wheels it would rub too bad. I can justify spending 150 on a rear seat in a budget build, for something tht wont be used
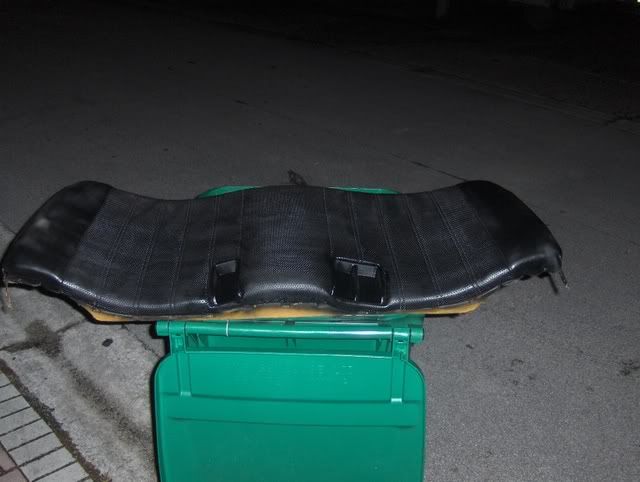
It came out suprisingly nice, but needs more coats. I used Vinyl paint from advance auto
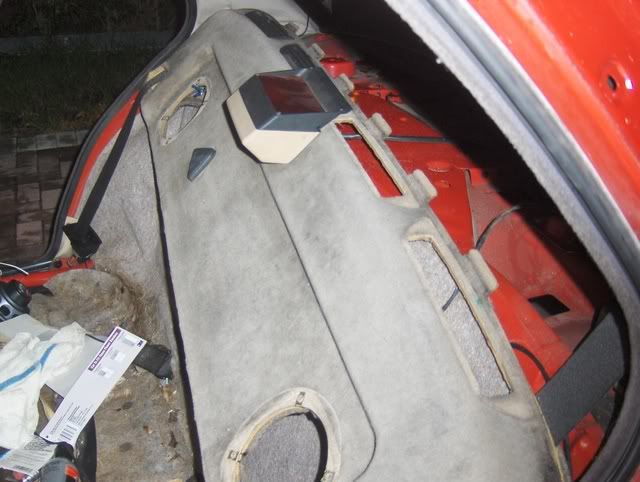
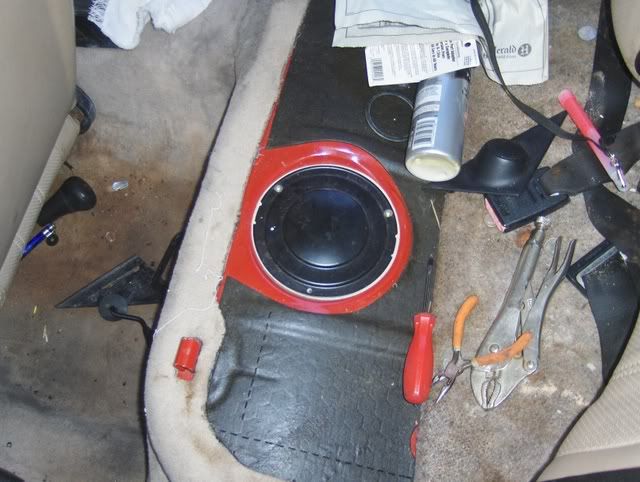
Now the rear speaker shelf. I have to finish this tommorow. I have to wait for the glue to settle.
Before glue
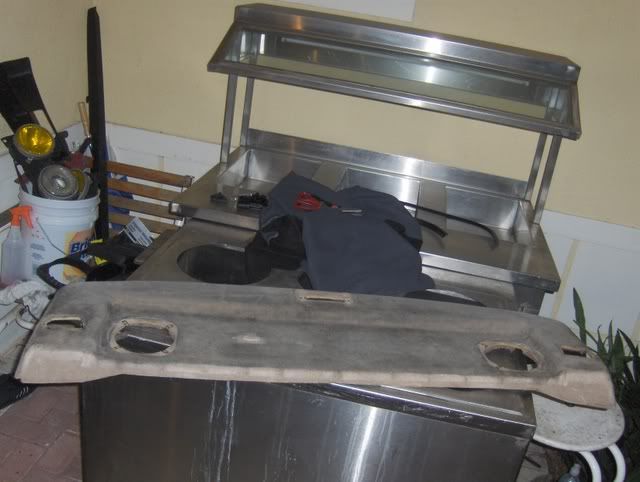
After glue
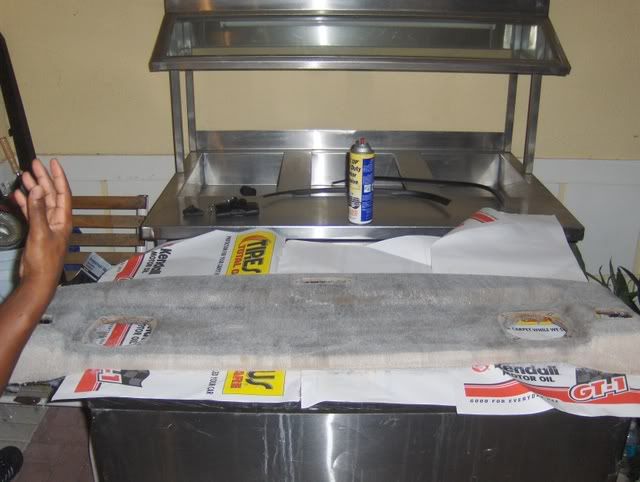
Lay the faux suade and rub it in gently
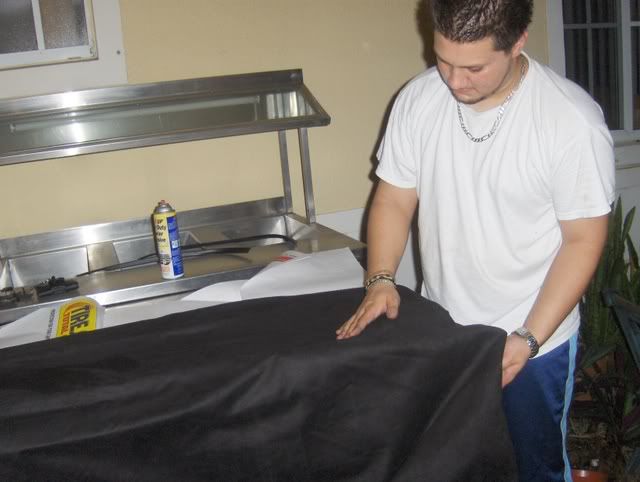
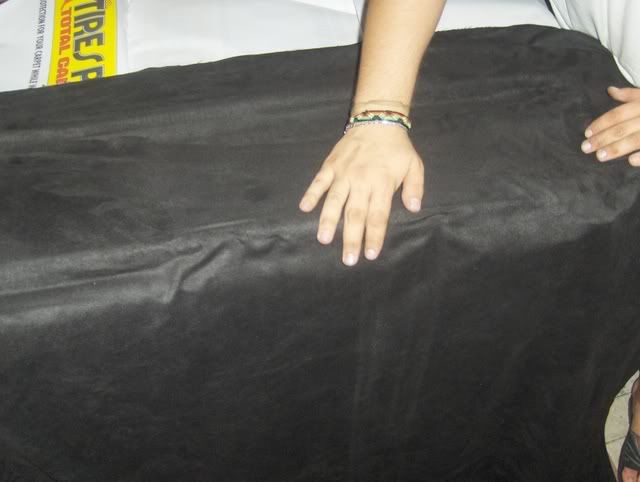
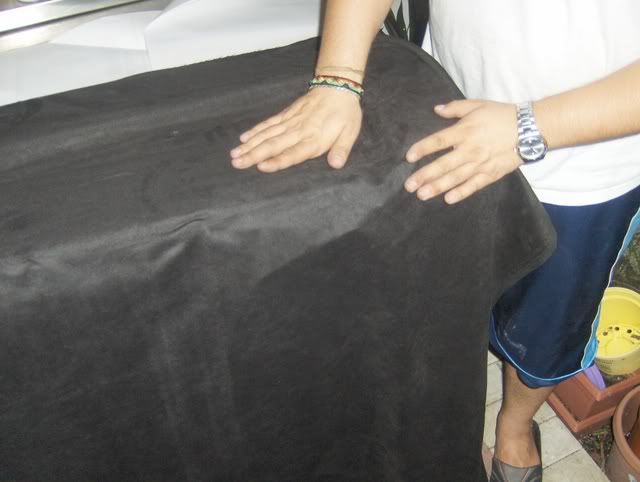
So far i am here with it
I still need to cut it along the edges and make sure the ridges are put on well. Then cut the holes for the factory parts.
Sorry I am missing some pics in the middle. I am doing all this work myself, and no camera man, so some times i am too dirty to use the camera, or too busy. But i am trying my hardest.Leave a comment:
-
-
i want more updates!!:hitler:
real fun thread, was trying to follow up on it in E46fanatics but kept loosing track of it.Leave a comment:
-
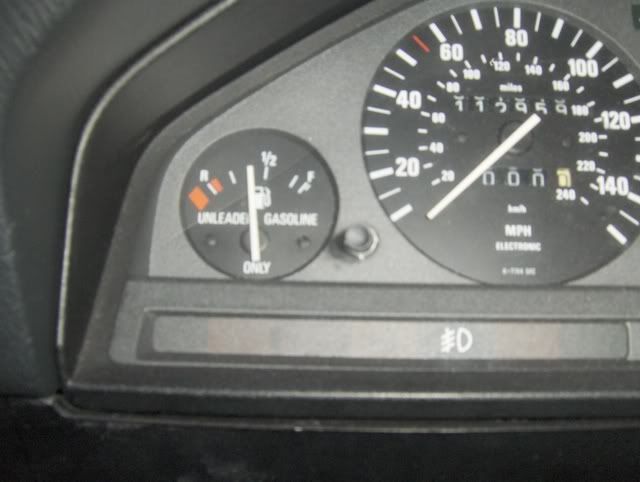
The empty tank light is turned on by the fuel level sender. Does your car have two senders or one ? IIRC some models had two.Leave a comment:
-
-
I also had a faulty fuel lever sender, but is yours showing half a tank and the "empty" light is on ?Leave a comment:
-
...
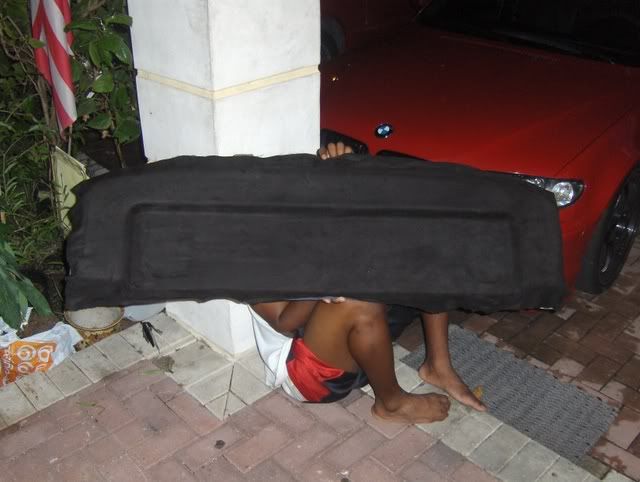
I did a little today after work. Then it got dark.
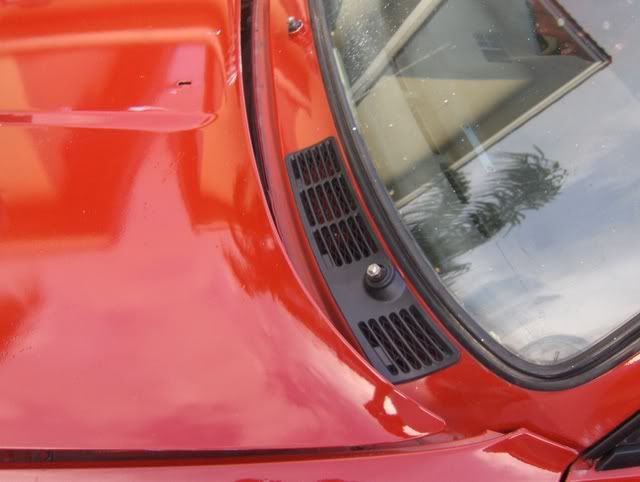
I put on the cowl trim pieces.
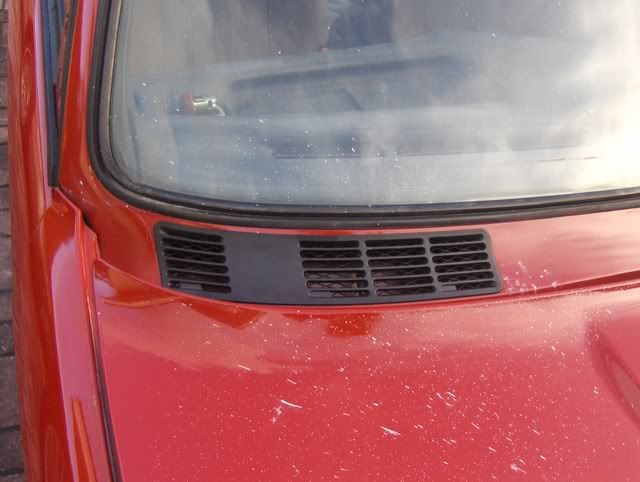
I put on the hood gasket:
Before:
After:
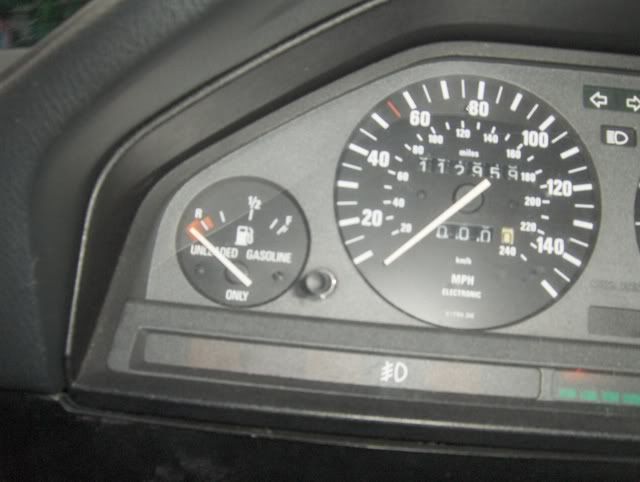
Remember the whole Gas guage problem. Its fixed...
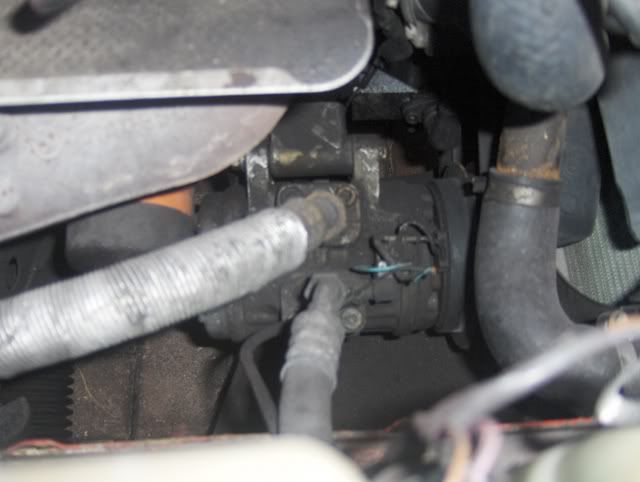
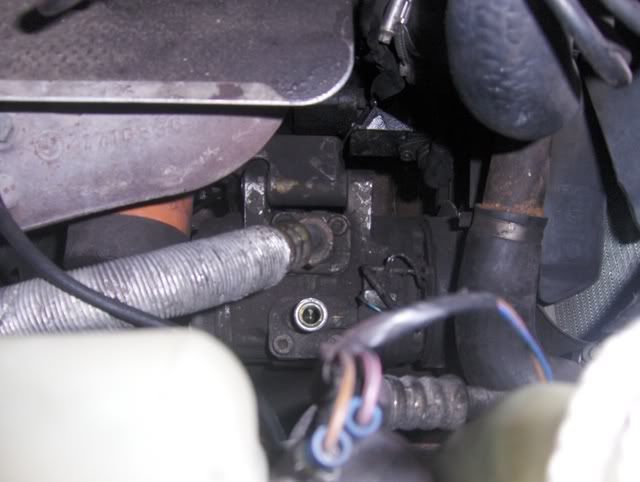
This POS is the problem
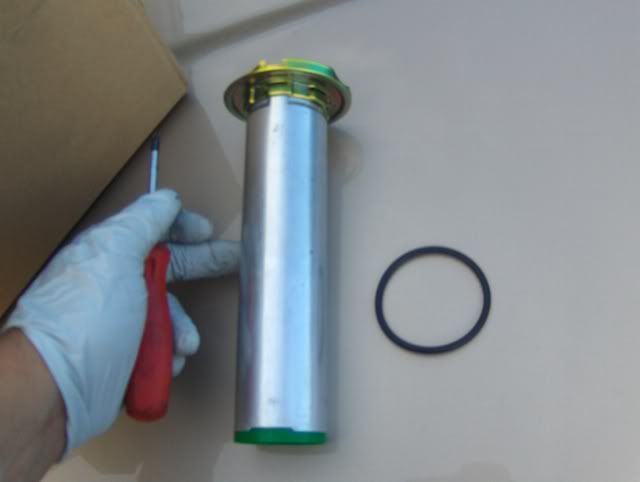
There are 3 phillip screws. Take them out and find this:

Rotate this and pull this out. Then put the new o-ring and put the new one in retracing you steps.
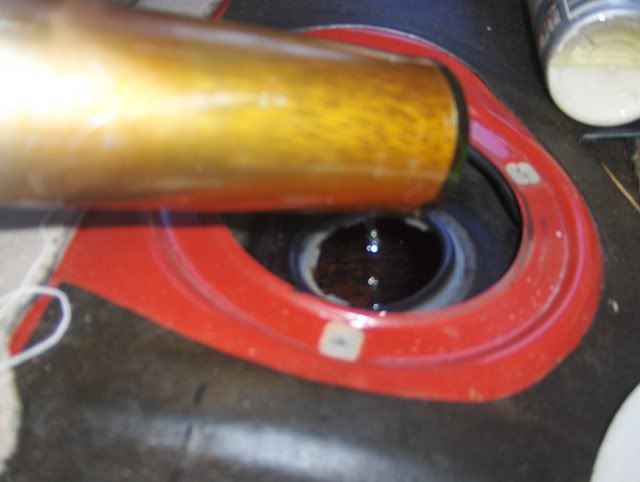
Re screw on the cover:
Final result: Half a tank of gas
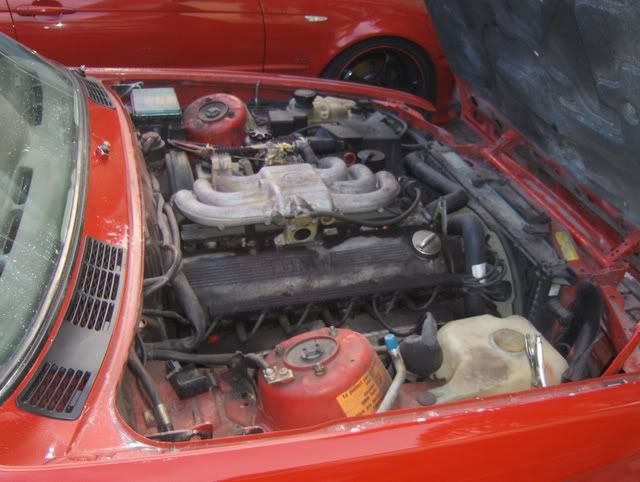
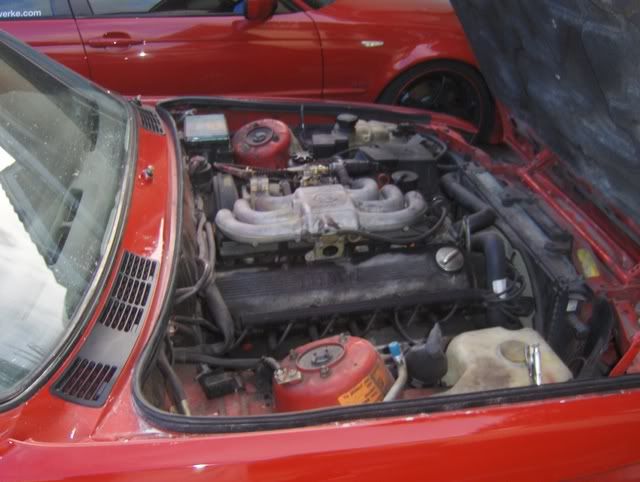
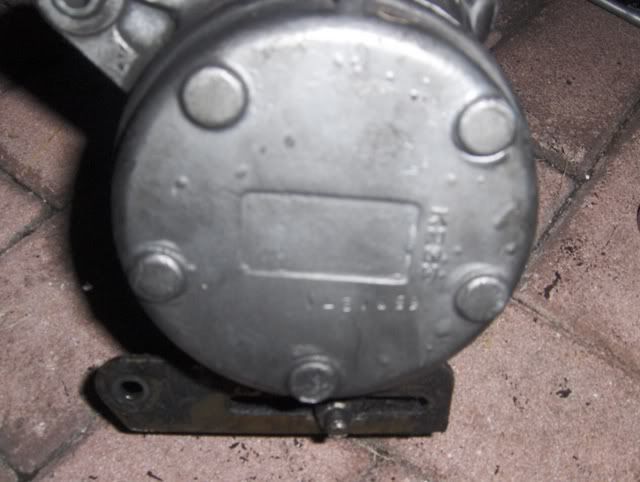
Now on to the damn A/C compressor: Thats it in there
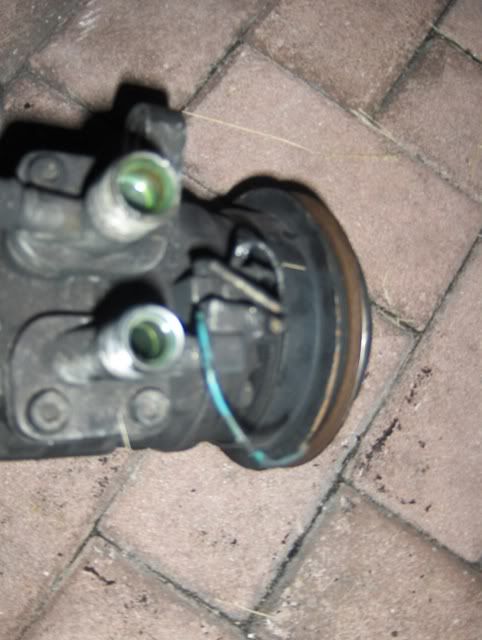
Take off the fittings:
I couldnt do any more pics of the Compressor due to the dirty hands.
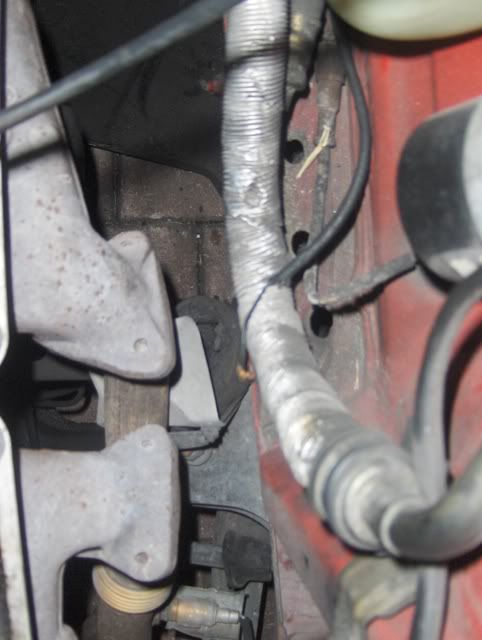
Here it is out side
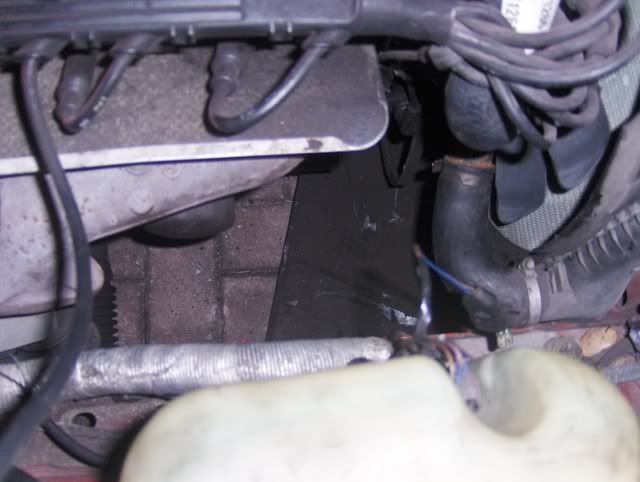
Empty spot:
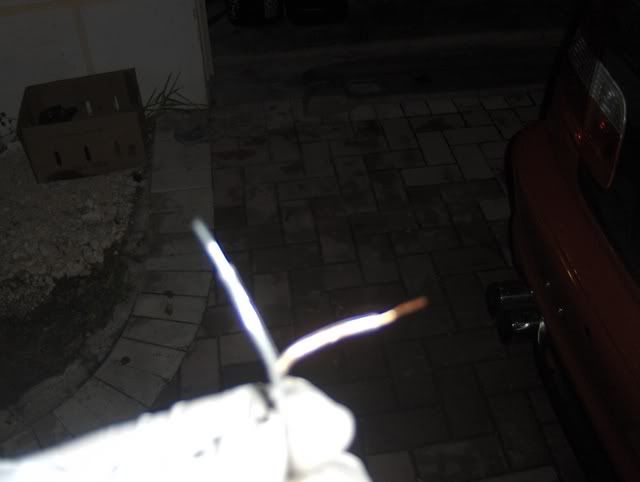
And it got dark and late, but i began my radio install.
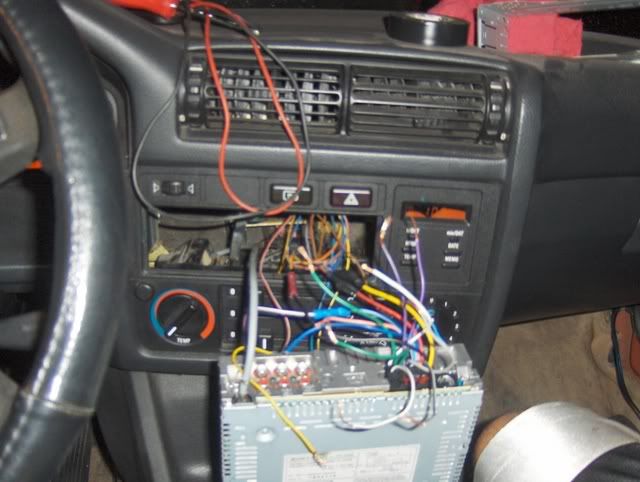
Thats it for today...Leave a comment:
-
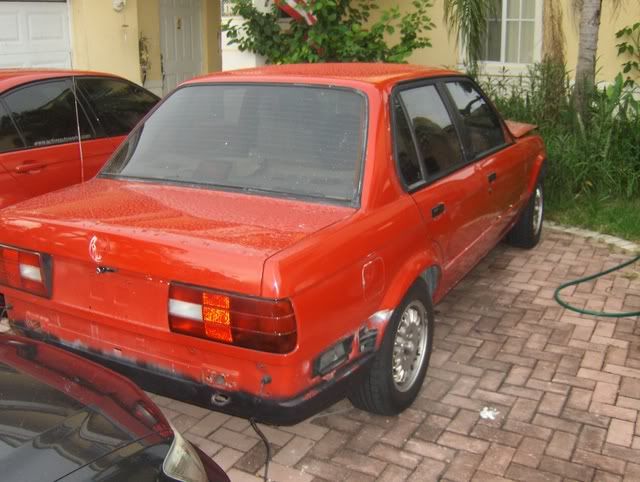
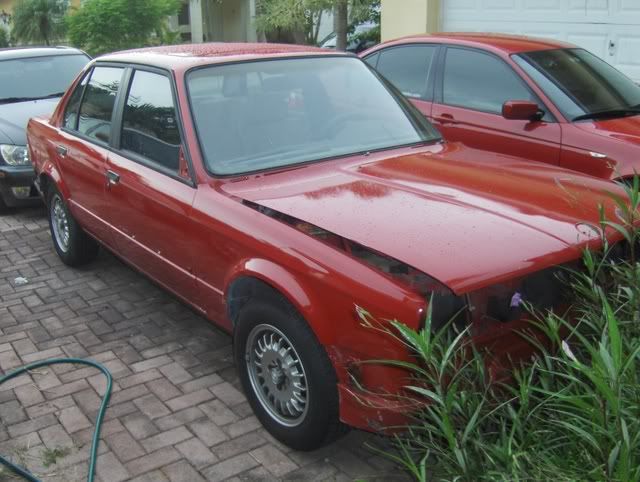
I got the car on Saturday, but had no camera. I couldnt get anything done to it because it has been raining and too hot. I will start working on it today and begin the daily updates again. The car came out nice. 100 times better than before, but i wish it was better. I still have to paint the side skirts and inside of the passenger door. The painter still has the bumpers and all small parts of the car.
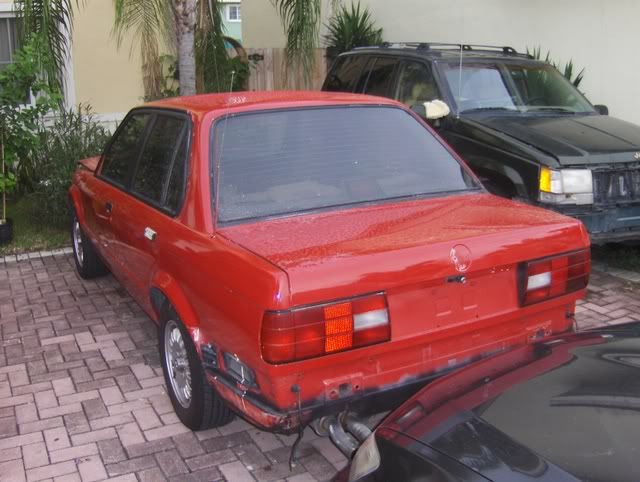
There are some imperfections with the paint. At this point i dont care.
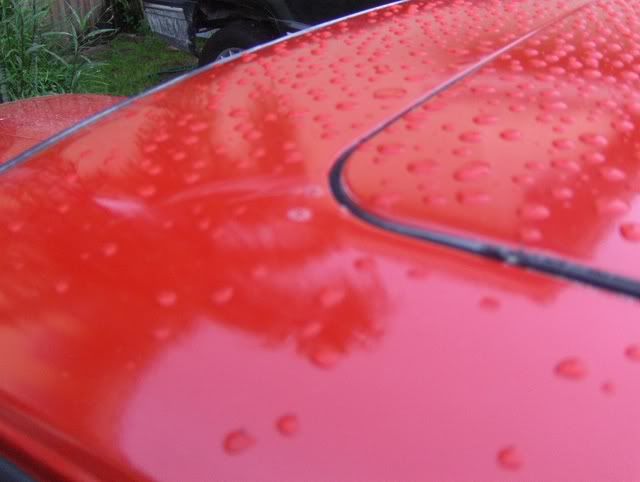
Some rust on the roof.
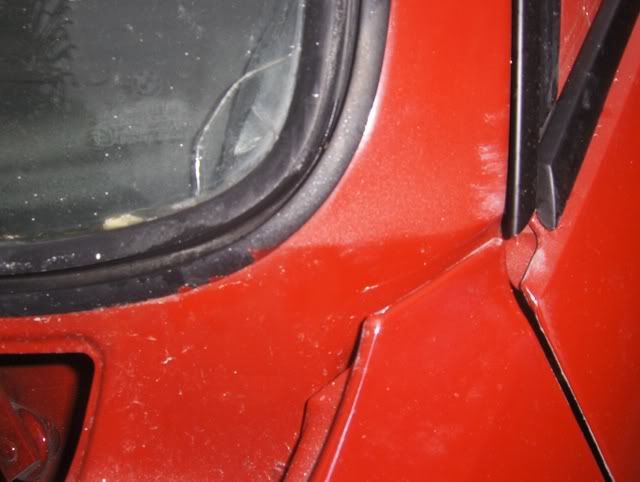
WHere he painted th cowl area of the hood and had to blend
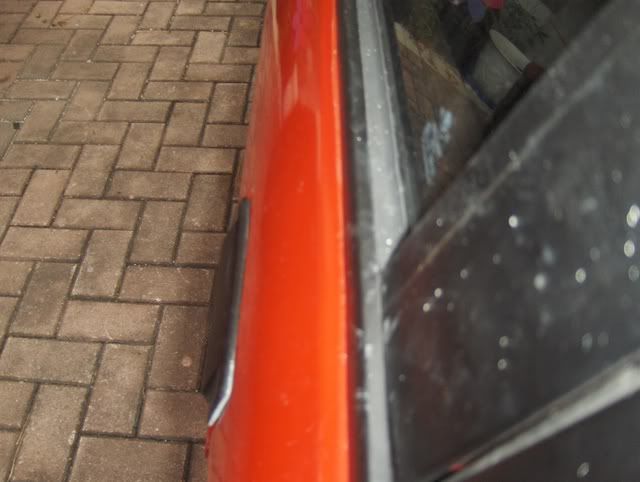
Spot where the paint didnt go all the way up to the window trim.
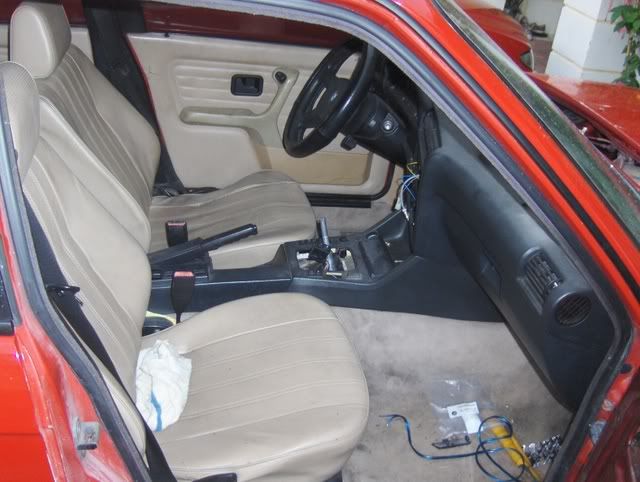
I will begin the re-building process and interior destroy today. Here is my beautiful clean interior.
Another update later tonight.Leave a comment:


Leave a comment: