Announcement

Collapse
No announcement yet.

E30guydownunder's Fuh Raze E30

Collapse
X
 
  • Filter
  • Time
  • Show
Clear All
new posts

    E30guydownunder's Fuh Raze E30

    Hey Guys, not many of you will have me quite figured out yet. as i haven't posted overly active on r3v, but others will know me from e30tech. But essentially this is linking you guys tomy build thread. I will drag euro posts over after a major progress, like I am doing now.

    So thanks for looking feel free to ask any questions or make any suggestions.

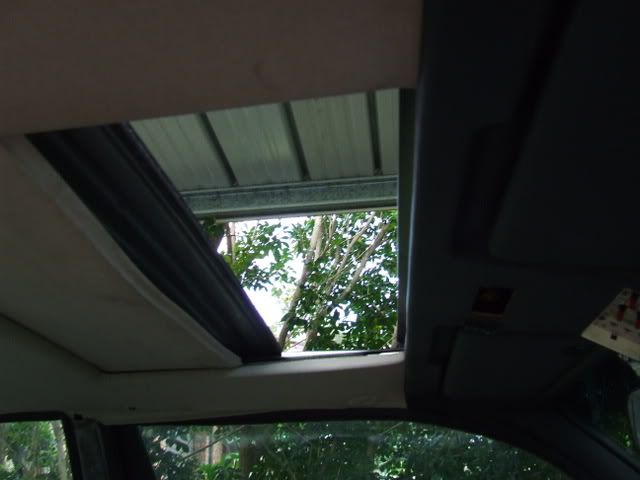
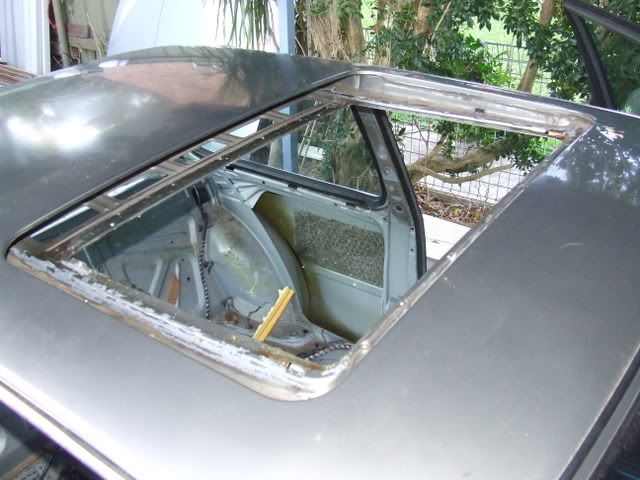
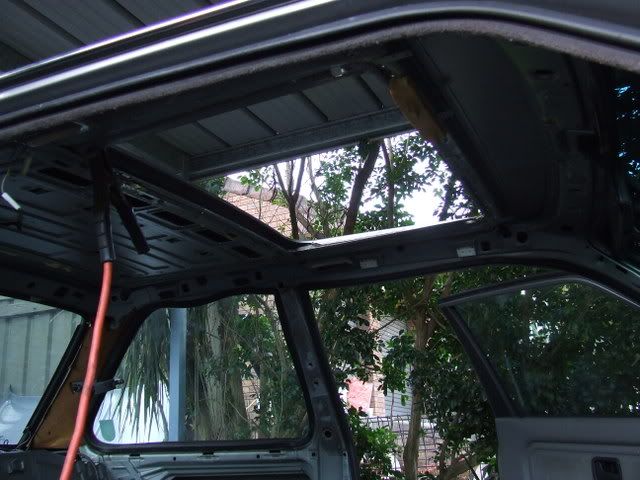
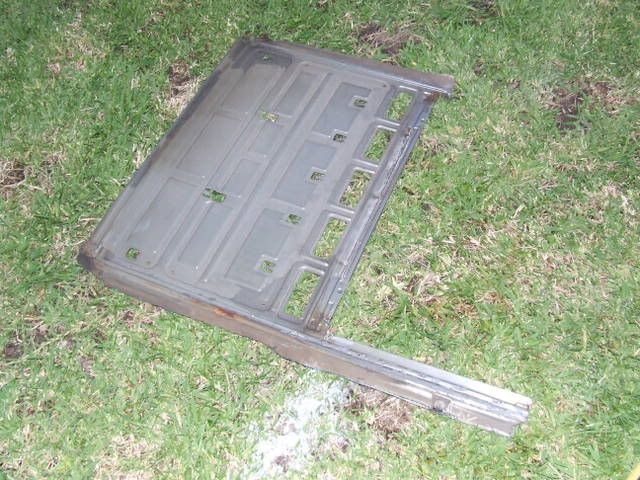
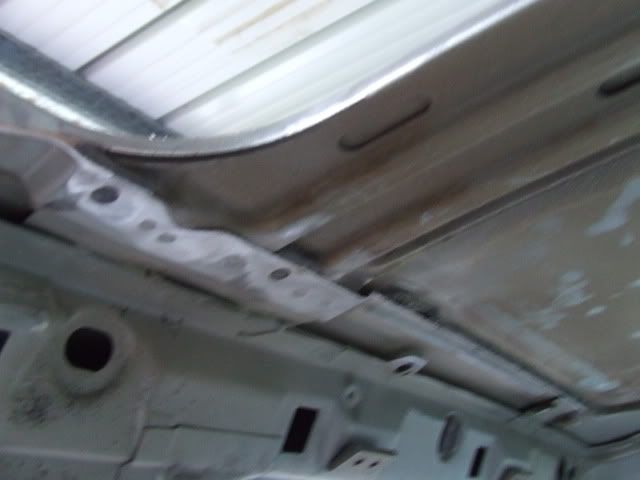
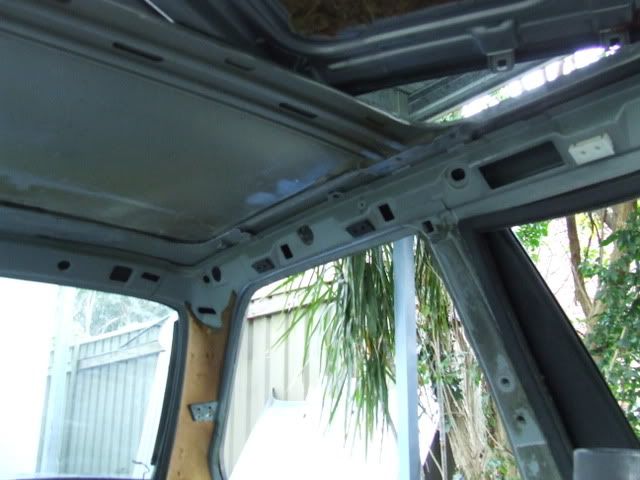
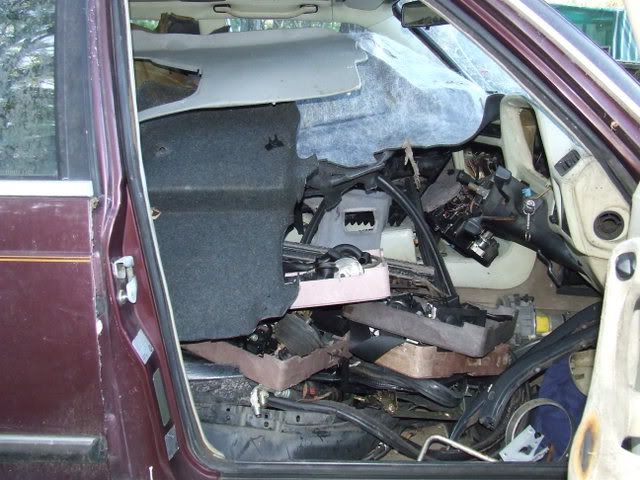
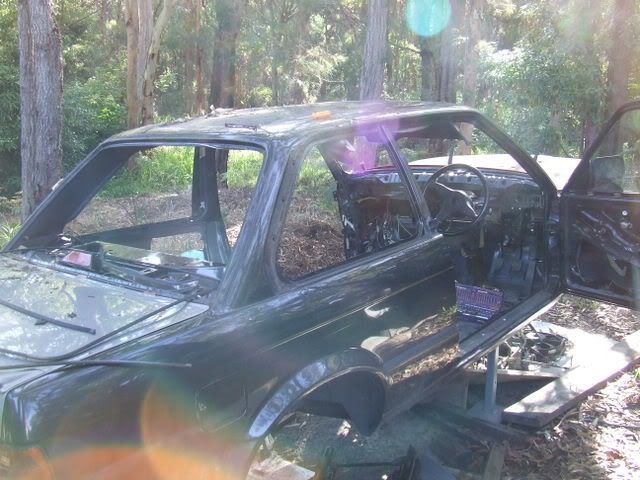
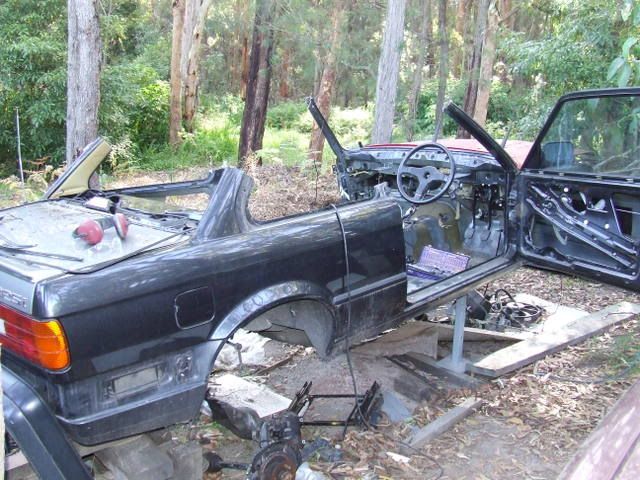
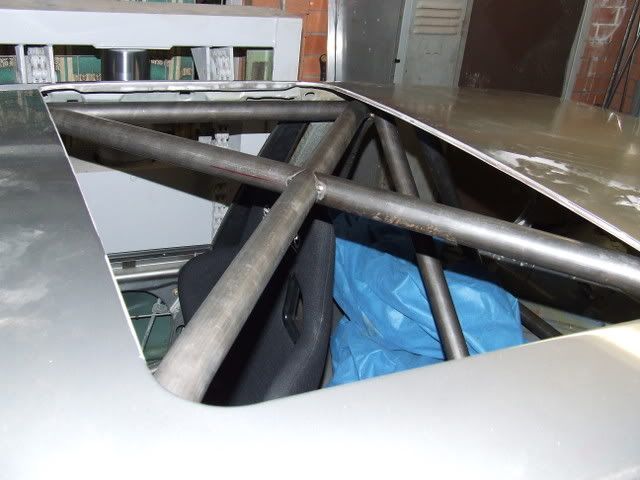
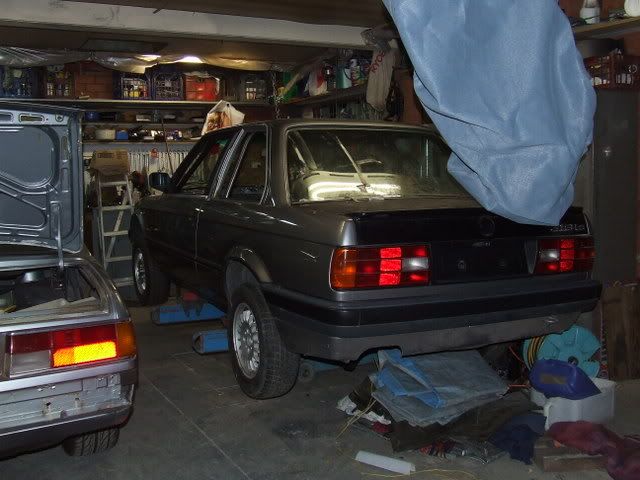
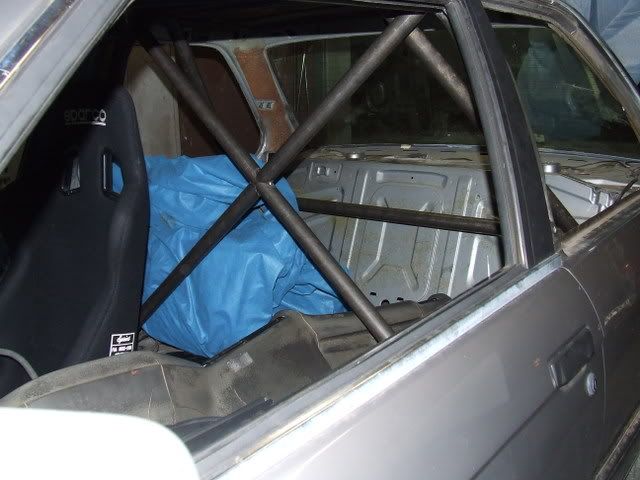
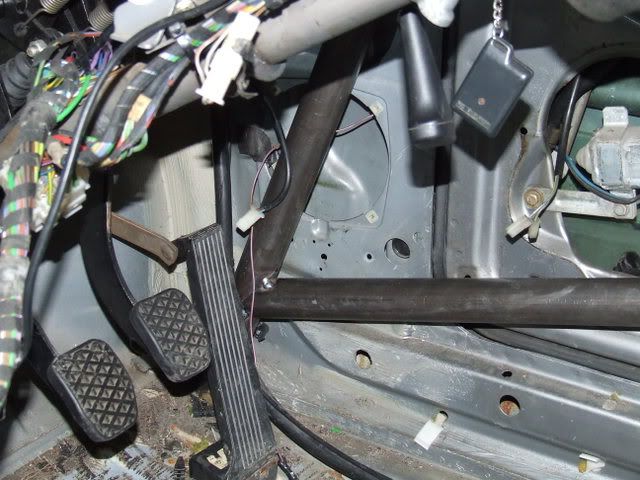
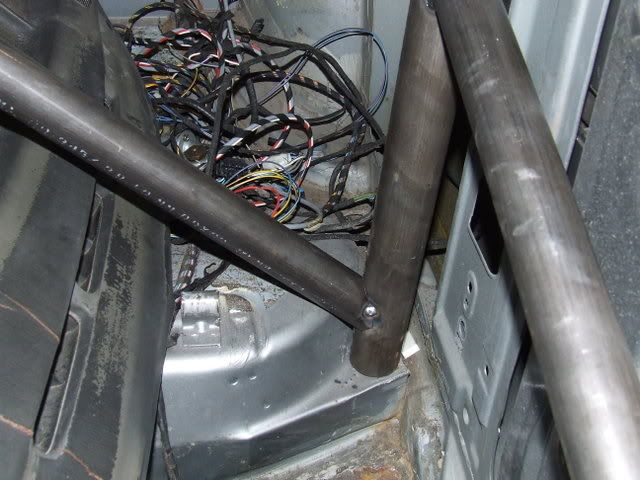
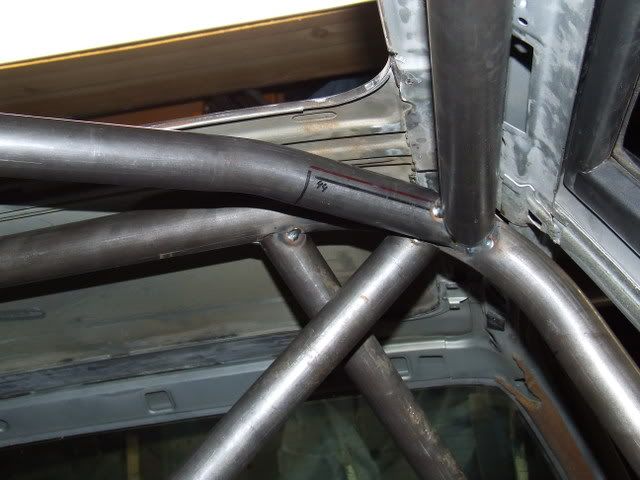
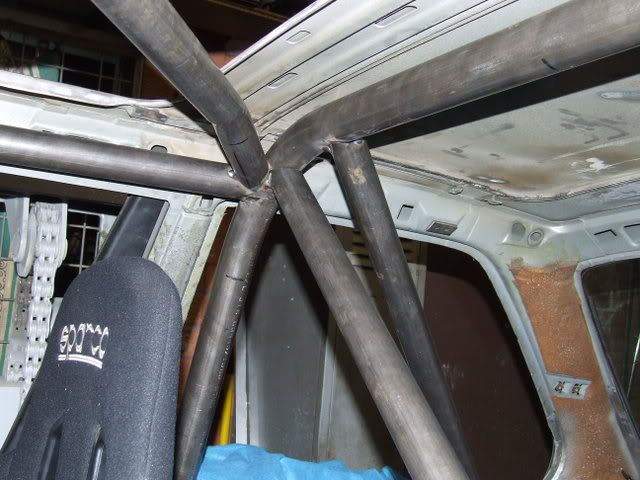
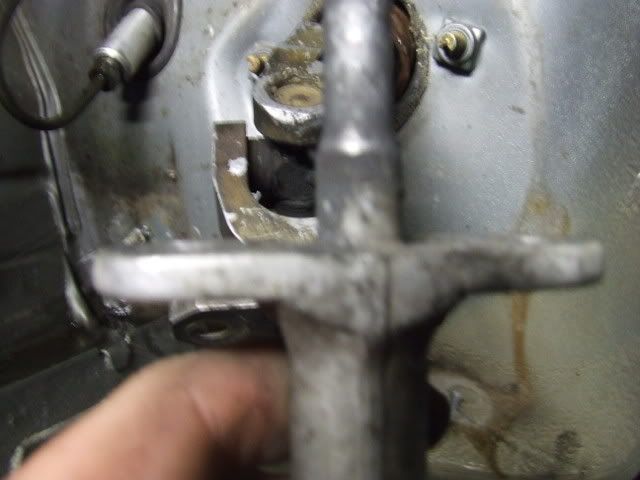
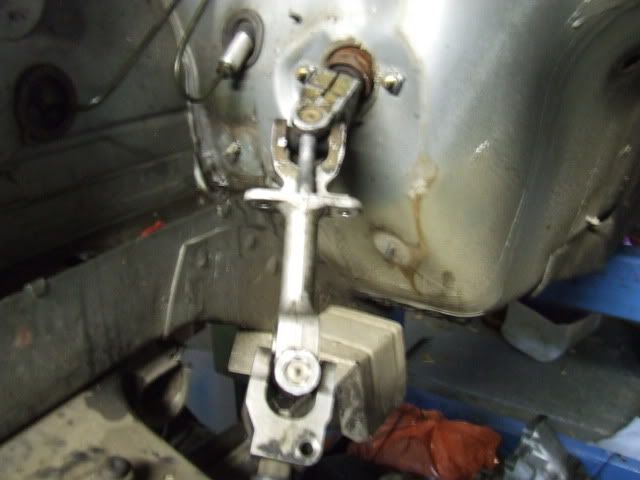
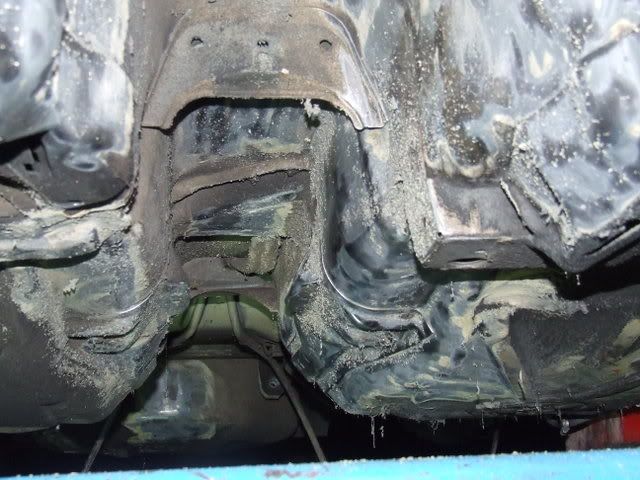
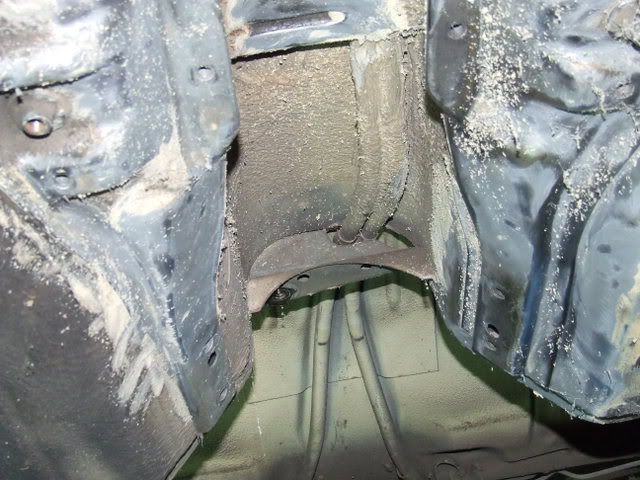
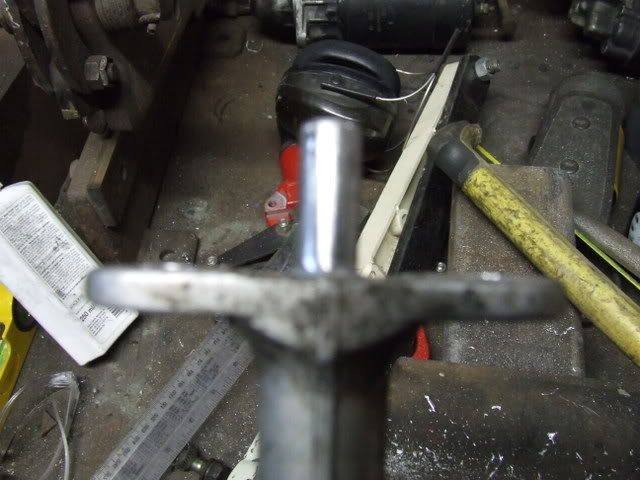
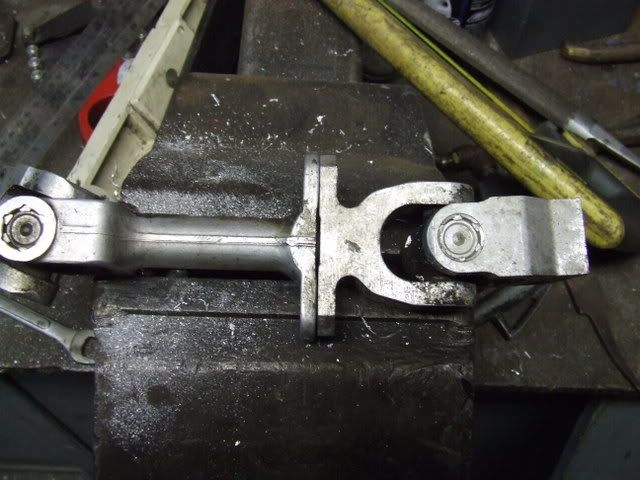
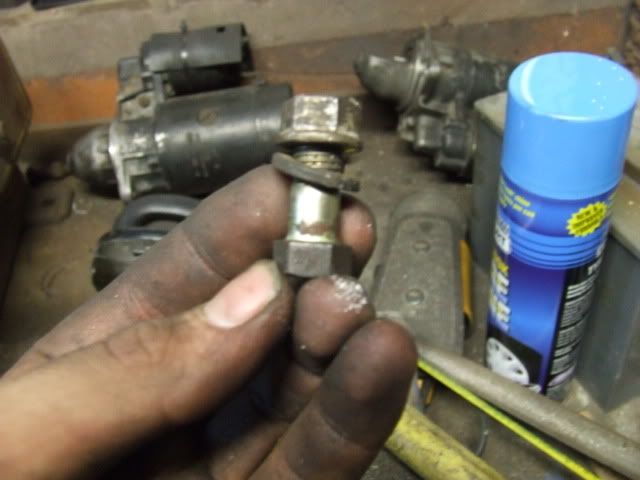
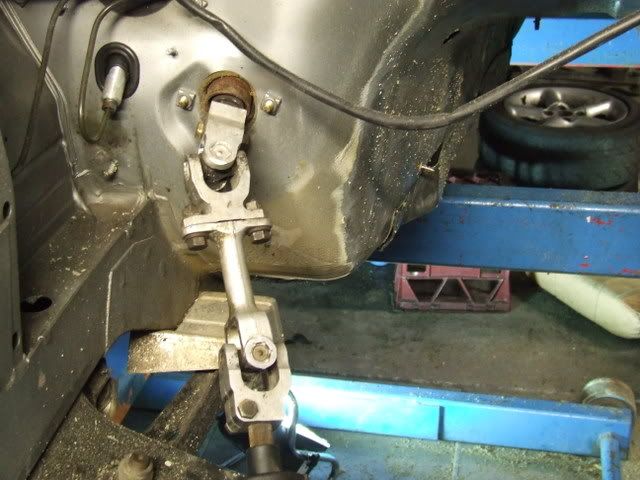
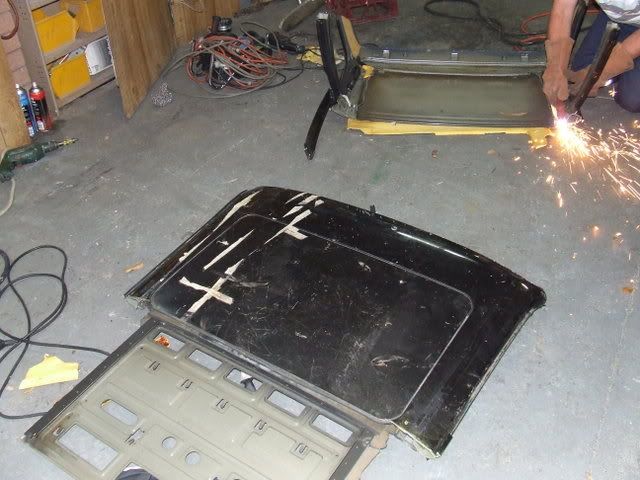
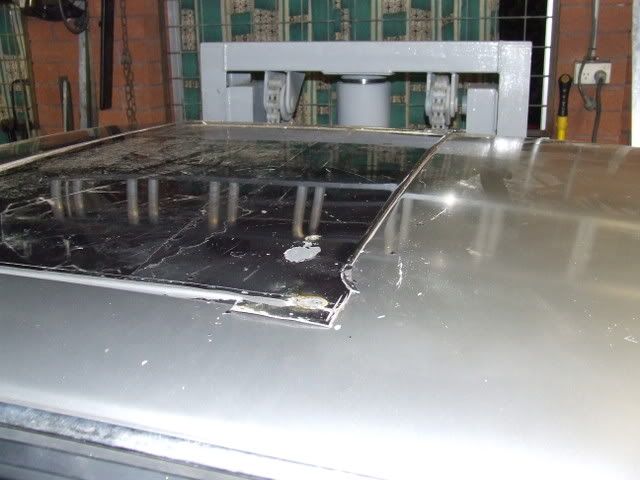
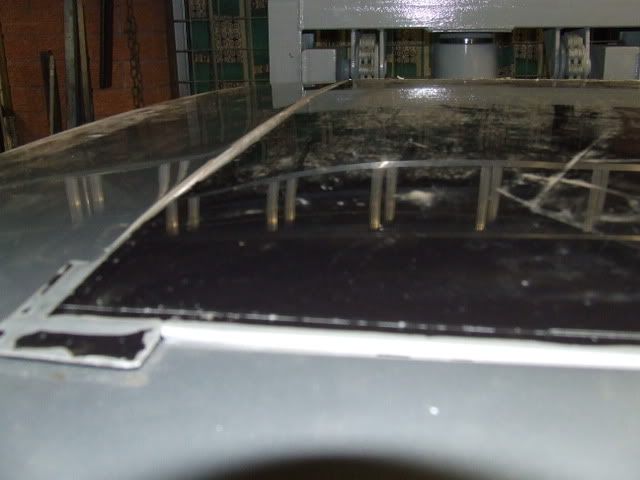
    Just to outlay the aim. This is stage 1 of a project that will prolly end up as my mid-life crisis eventually :p Right now im trying to get out on the tracks over here as quickly as possible for the minimum outlay, have some fun and at the end of the year i will evaluate things, with a some what sizeable bank account.

    Here is the thread link:


    You won't need to be signed in to view the thread or pictures.

    And this is the applicable photobucket folder if you just wanna see pictures
    Store your photos and videos online with secure storage from Photobucket. Available on iOS, Android and desktop. Securely backup your memories and sign up today!


    Originally posted by e30guydownunder View Post
    I've been saying this has being coming for a while. And now that I have started spending shitloads (well for a trainee anyway) on bits and sort of cemented the possibility tonight by buying a seat for the thing I figured I'd start my project log.

    The plan has always been to build an E30 and was sort of being put off by my dad...alot! We have too many projects (2xM6 restorations, house reno, shed reno etc etc) on the go but the opportunity for a cheap shell has arisen and I'm damn well taking it :)

    About 4 months ago I bought a 318iS from auction to fix up my daily 318i after a lil p plater bingle...sorry no pics of this the car was home and apart before I had time to take pics, but heres what was left of the front apron and bumper


    talks of swapping the iS bits over led me to selling my 318i to dad, and buying my own 318iS. This left me with a car's worth of 318iS bits, plus various suspension components and the dream to build an E30 was somewhat rekindled.

    With a new car I had to get some rims...wogboy spec chromies weren't for me. I found some suitable 15x7's through good ol' ebay and turns out the guy was local and parting out his E30 track car. Point is this shell (roller) will be in my possession in about three weeks (just after the end of exams).

    At the moment the idea is to put together a track rat for sprints, hillcimbs and the like with minimal unrecoverable outlay. So far I've only bought bits that can be later transferred to my road car if an "abort-plan" is seeked.

    I just bought my first road car unsuitable bit tonight. A Sparco Sprint that has been used all of two events.


    Other items include:
    Wheels, 15x8, I purchased these off a fellow forum member this weekend - $200


    I will probably throw some paint on these at some stage, for now they will be going on the daily because im running out of tyres to keep up to the 14's while I'm repainting the MiM wheels that started all this race car business.

    Coil on Plug kit (rob_e30) - $225
    Zimmerman Drilled Brake kit: Discs, SS lines, Pads (ebay special) - $475
    New Lower Control Arms, M3 Bushes, Tie rods (FCP Groton, ebay) - $200

    and two pedders used shocks out of a commy that my mate gave me :)
    These should complement the intended stiffer springs I'll be running (thinking 300LBS) on the front coilovers i need to make yet. If it does all the right things, the same mate can get me good prices on KYB shocks.

    All shown below minus the FCP Groton stuff


    I realised the discs are drilled :) and that this isn't preferred for track, but I figured at the price I'd give them a go. At the end of it all if they aren't what I want I can put them on the road car (so long as they dont self destruct!) I'll be watching the holes like a hawk.

    And to show you why I dont use the shell I already have sitting out the back just chillin.


    We had to actually cut that hole to smash the door lock off so we could get the door off.


    And the business end...this engine is actually going in the daily because it seems all the timing components have just being replaced! The black plastic guides are still all sharp and pointy..somebody spent a bit of cash on this car before it got written off.


    So right now, I'm just collecting bits and concerntrating on getting uni out of the way for the year. At the same time me and my father are working out a way to bend the main hoop and front legs. We are both proficient MIG welders so the welding is the easy bit. We also have a lead on a tube notcher. At this rate we may have to pay someone to bend the tube for us :(

    Other than that...I have this dream of one day exploring Forced Induction and bigger brakes and things...for now the aim is to have fun with minimal cash spent! :D

    And if your after any interior bits for an E30, carpet to rooflining, I have lots of it, so make an offer. The interior in the black car was grey leather, the front seats were stuffed and the driver's door has a cut in the leather, otherwise all pretty decent. The interior of the race car consisted of a complete set of leather seats and door cards. The carpet was gone and the headlining got ruined on removal. The carpet out of the black car will be going into the daily as i noticed the daily's carpet has to holes in it.
    Originally posted by e30guydownunder View Post
    cheers thomatt12....

    well there has been some progress :)

    shotright has nearly finished getting the shell ready for delivery....
    but more importantly i changed the engine in my road car over the weekend. This means the race car engine is now available for dropping in :)

    I intend to check the timing gear situation on the m42 first as i know for a fact it is making alot of noise (hence it was swapped out of the road car...the spare engine had brand new timing chain components!)

    Hopefully it doesnt look like death is impending and I will probably throw a chain tensioner in it to keep it quiet if all is reasonable.

    I have also been working out where i want the race seat and have made some mock rails. This is because next wednesday I'm going to a track day at Eastern Creek and dont feel like floating round the cabin. Just going to give the road car a run but should still be a good bit of fun and a nice feeler before getting stuck into the race car financially.

    In preparation for this, i swapped engines as mentioned. Have fitted new front hubs (they were a bit loose) and have had the drilled rotors and ceramic pads in for the last week to give them a lil bedding in time.

    I finished tacking up the new proper seat rails last night and will get those finished before tuesday hopefully (I'll be in Melbourne as of tonight with the uni SAE team).

    And along with djs325's thoughts....it has been decided that initially I am going to build a cage to Improved Production "late" specs. This will mean a fairly basic cage as per CAMS regs. It will be contained within the cabin as well as tying in the front struts.

    My thought is for now, im not making ridiculous power, I havent got an over-tyred car, and as such am not generating huge loads. As these things come I will look at changing the cage design but thats later when im tipping more money into it. For now it will be a fairly cheap lil sprint car that could be sold off as a 3J racer later on.

    Thats about where I'm at now. Its just a matter of getting the shell and prepping it for the cage.
    Originally posted by e30guydownunder View Post
    Update, the shell is now making our neighbours go "WTF is with these people."
    seriously four e30's at one 1/4" acre block was pretty excessive but now we have five :p

    pics tomorrow after i unload it. And ill get some pictures of the seat mounts too.
    - Chris
    Project M42 - 255 @ 19 psi


    #2
    Originally posted by e30guydownunder View Post
    Lol just realised i forgot to update with pics last week, i took them, just never posted.

    Alright progress started this week on Friday. Did a last measure of the shell to make sure I was happy with my measurements and ordered the tube from Performance Metals in Sydney. That lot should arrive mid week allowing for the guy i have lined up to bend and notch starting next saturday.

    On saturday, i did some more stripping of the interior to make sure I'm ready for next weekend. Everything that unbolts and needs to be has being removed and I've removed a bit over 5 kilos of insulating tar from the floor (prolly another couple of kilos left). Ive just been heating the area up with a heat gun and scrapping with a BIG flat screwdriver. Its being coming off easily and in nice big flat sheets. I' ve also started reduced the wiring....so far this has only included things that i can unplug from the car completly like the boot/fuel cap central locking and the areial wires, radios/cassette wires etc. Wires thats are a bit more integrated but to be removed included, the check panel, the sunroof, the electric windows, ABS, A/C, fog lights etc etc.

    Then today i focused on suroof removal as this is critical for the cage install. So far everything bolt in associated with the sunroof panel is out. This week i will be attacking the sunroof carriage with a plasma cutter and angle grinder CAREFULLY.

    I had been carrying on but have a few things to ponder. A big one is where the front legs of the cage go, because the dash mounts may or maynot get in the way.

    And i have also got a lead on an m20 single mass flywheel to sort out this dual mass issue. Thanks shotright/e30_320i for that. Im going to send it for machining balancing this week and get kitted up with a new clutch and such for the eventual swap. Time for the pics.

    The Car:


    The seat position as it was for the track day (but with bolts):


    The seat mounts:


    The tar removal:


    oddly this bit was only on the passenger quarter of the car:


    knowing that the car has had a few hits, we're guessing the whole quarter has been replaced at some stage in the cars life. And this also explains the two spots of rust that have started in the junction of the quarter and c-pillar at the front of the boot and the junction of the taillight panel and the quarter at the rear of the boot. Niether are issues, just need to be ground out and treated, no biggie.

    thats about it for the week. I'll get some pics of the sunroof carriage(box thing) removal mid to late week.
    Originally posted by e30guydownunder View Post
    So Pictures to come later again :p

    The sunroof carriage is removed, althou i left a little portion of the carriage, forming a perpendicular lip along the roof, this will give it a little bit of resistance against denting etc.

    We have worked out where we are going to be putting the cage through the dash and it will still maintian dash removabilty (a feature i want in case of future development) The main hoop location is also finalised, allowing for a little bit of flexibilty with the seat position.

    Re: Seat position. With the steering wheel I'm attempting to buy off a fellow forum member (waiting on postage quote) I think the seat may have been too close in its initial position. So the studs in the floor will be getting the chop and as per Dave's suggestion some meaty plates will be welded to the floor and nuts/bolts used to bolt the seat even further back and even closer to the transmission tunnel.

    With this my longer legs (which brought on the idea of a wheel with dish) and new seating positionI probably wont be able to reach the pedals quite ideally. So the pedals are going to be repositioned within 3J specs (25mm)

    I also managed to remove the black widow alarm that was poorly installed and repair the iginition loom(weight be gone). That alarm will find its way into my daily no doubt althou installed quite a bit better. While doing all this i also found where BMW tuck the central locking computer away.

    So further to needing to dissable the central locking for 3J I will also be able to remove some weight :)

    Have also being trying to work out a way to remove the heater box and maintain functionality. That is, direct air towards the driver and demist the windscreen.

    I found a universal window demister kit on ebay for $50 which might be worth giving a go. The only thing then is getting air from where the heate box intake was to my general direction. If i manage to dump the heater box thats another easy 5 kilos.

    I know most 3J guys just use rain/fog x. but i just want to have it there on a button, "demist windscreens". Will save me tossing up before a track session (is it going to rain or not) and then having to wipe it on (I'm a lazy ass). Its also something else I don't have to remember to bring to the track.

    Thats pretty much all the progress, cept for all the money I've been spending.

    The rollcage tubing turned up yesterday. So did my clutch kits (race car and daily) and steering rack, but mum wasn't home to sign for them :( So the E36 rack, M20 clutch it and M42 clutch kit should arrive today.

    Interestingly I had my M42 clutch off to compare the difference between it and the M20. Few odd things. My M42 clutch does not have two seperate rotating parts to it...the one currently in the car did. The clutch plate was in backwards and about 50% of the spoke materials connecting the centre and the plate is gone as a result (clutch failure was immenent). My '90 engine has a '92 head on it. The intake heater setup is also completly different to my other '90 engine....I think some of the '92 parts found their way on to it. The flywheel bolts are most definitely not 25mm long like realoem said they were going to be and as a result would definitely not work with the m20 flywheel. I'm hoping the ones on the other engine are different. The flywheel/clutch assembly has had a damn hard life. I hate buying barstardised crap off wogs (no offence to the proper ones, but your dodgy brother cousins are messing shit up)

    And after all that we came to the conclusion we can modify a clutch fork to use an original M42 throw out bearing and the M20 flywheel and I'm going to try cancel the $190 order I made yesterday for an e21 323i throw out bearing that has to come from Germany and generally stop project progress (3 weeks before it would get here)
    Originally posted by e30guydownunder View Post
    WOOT! was able to cancel throwout bearing :) that 190 can buy the steering wheel now. I feel much better now :)
    Last edited by e30guydownunder; 01-09-2009, 08:51 PM.
    - Chris
    Project M42 - 255 @ 19 psi

    Comment


      #3
      Originally posted by e30guydownunder
      Yesterday Arvo:

      Rack, Clutches are here. Removed a further 6 kilos of tar/insulation from the cabin (total 11kg)

      Tried fiddling with reducing the wires...in the process of working out what bits making the electric mirrors work so i can keep it for the time being. Does anybody know the password for the pdftown electric skematics? Or can you point me to a copy elsewhere?

      All stereo associated wiring removed, and yer I've made a start on the unneeded wiring in the doors, so (electric windows, central locking, tweeters, etc etc)
      Originally posted by e30guydownunder View Post
      Yeh that ones pretty obvious with the lowered seating position :p I would be steering like a madman in the air if i didn't change it.

      Taking the shell to the roll cage man today! His just bending and notching some of it for us. We'll finish the notching and weld it in later.
      Originally posted by e30guydownunder View Post
      ok so i got set up with photobucket instead of imageshak, now i can upload multiple images at once, this is important for someone like me who can't be f'd sitting around uploading images for a couple of hours...that and i dont wanna fork out for super duper internet.

      picture time!

      Sunroof before removal:


      Panel and the workings out, now to removal this stuff:


      ready to remove weight:


      roughed out:


      all trimmed up:


      Now to get some roof donor metal:
      the problem i had was all the crap out of the parts car was in the parts car.....hmmm, lets stack it in the other parts car.


      sweet now we're ready to go


      1,2,3 i call a cut the roof off that parts car


      And heres a good shot of why i need that bit of metal:


      oh wait theres some bars in that roof!
      Pretty much this is where the car is at:

      snaked a spot in the garage, a/c, hoist, radio...."i'm loving it."


      a few shots of the bar work:

      The main hoop and diagonals, note belt bar/make-shift strut brace (well as close as i can get to one) in the rear


      The pedals are going to be moving backwards within IP regs to mate up with the as far back as possible (comfortable) seating position and steering wheel with dish


      A shot of where the main hoop rests. A suitable box and supporting structure for the hoop feet (none of which are made or shown) is yet to be created.


      A shot of the main junction over the passenger side


      and the drivers


      The guy who did all the work (Adam) calls himself "Rock Art customs". His more focused on bending bars for rock crawling guys and such but he started out in motorsport much the same way i have and was cool with doing the work for some experience.


      Since these pics as I've mentioned, removed the abs and some miscellaneous wiring. And just today dropped the standard subframe out of the rear in order to swap it with the adjustable one i previously made for my old daily. It just so happens that i made it to move the inner point 25mm, so complies with 3J. Even thou I'll be dialing in a fair amount of camber over the road setup. The adjustability will be more useful for the toe.

      Something that has been occupying the thoughts alot lately is the shock setup and what to do. The general thought is commodore strut inserts in the front with the idea that there valving will be closer to right than the e30 ones in terms of controlling the much stiffer springs. Then the only other decision is what I'm going to do in the range, some koni's are $500 a pair and plain gas kyb/monroe's are $250. the key is the konis are adjustable and will have the facility to be re-valved etc. Some phone calls are to be made on this.

      but in the mean time we've also been working on the front strut tops. So far we have this:


      And basically I'm going to use those to make these:


      alrighty good night, hope you all had a great break and happy new year.
      - Chris
      Project M42 - 255 @ 19 psi

      Comment


        #4
        Originally posted by e30guydownunder View Post
        cheers ade and thnx danny

        i have a whole lot more work to do still :)

        started playing with the under car insulation, my blow torch thing is not as effective as i had hoped, going to buy a bunch of angle grinder wire wheels and paint removers today.

        even just a wire wheel took the same amount of insulation off back to metal in about 1/5th the time compared to the torch. and the torch leaves a gooey mess behind.

        eh.

        Also nearly have the subframe out of my old daily, will be able to clean it up and put it back in the race car this week hopefully.
        Originally posted by e30guydownunder View Post
        Dave:

        Its not the actual connection im worried about its the locking mechanism, from what i can tell most of those quick releases, use spring loaded balls that engage in a groove around the splined part of the shaft. IM no happy with this style of connection, i dont feel comfortable with it (based on experience with the uni SAE car anyway).

        Maybe the ones you have a re better but it is sometimes difficult to tell if it is properly engaged etc until you go to reef on the wheel and end up with it in your hands, has happened. Really can be solved with checking before you rip off. I'm one of those avoid the danger kinda people, rather than just assess danger and continue :) (will help if you know your work place safety/hazard box thing)

        What im after is the "speedway style" (as my dads mate who was in the aftermarket part business for a while) quick release. What they use is a tapered pin that engages in the same sort of groove. You push the pin in moving the taper towards the groove and you get to the point where the diameter of the pin is small enough to fit over the big part of the spline. Hope that makes sense.

        If you can get something like that, then goodo.

        A might get you to price up a number of things soon just to compare against my local speed shop.

        Also got dad to check out the 125mm grinder today....he pulled the rubber groumet off thepower lead (my brother and i hadn't) bingo bung lead. Looks as thou it had been breaking for a while and when i've loaded it up it went big time. So fixed thsat up and im ripping in. Only get to do like 5mins on each grinder because its pretty hard work. I use the big mother to get the majority of the shit off, then use the 100mm to clean it up and get in all the tight places.

        I prolly spent 45-60mins and got this far:


        and also anyone wanting to do an e36 rack swap and has some machining skills. You can make the standard e30 bits work without having to buy any of the e36 coupler stuff.

        Machine this step and cut the shaft to length:


        and it will slide in here and bolt to the top half:


        obviously i haven't done it yet :D

        thats all for tonight
        Originally posted by e30guydownunder View Post
        Dave, I have since had a thought on the whole quick release setup, I may just have a way of making a weld-on Speedway style quick release work.

        Alright so today i've had more of a play with the underbody insulation:


        And then i removed the fuel tank so i could do over the top of that. In the meantime of doing that the neighbours went to bed so i couldn't do anymore grinding. So i played with the E36 rack swap bits instead.

        Here is a machined (with a file :D) step and cut to length lower coupler:


        Note the upper and lower now bolt together:


        I drilled the holes out in both to accept these 10mm bolts (a fairly tight fit):


        TADA:


        All thats left on the rack swap is to make a blanking plate for the input/output, Im intending to port the two together, so the rack will operate like normal just without the power assitance and to find/make the required mounting spacers. This will all save weight and parasitic power losses.

        Yesterday we started the sunroof filler plate.
        E30 roof section:


        Front and unneccessary Rear parts removed:


        Initial Fit:


        After some tweaking to get the curves happening longitudinally and across the front edge:


        Thats about it.

        Ohhh and i organised the thinning of my wallet :D
        Found out from the local speedshop (Monaco Performance @ Kotara) that King Springs make a rear spring for the e30 racing class in victoria. This is 300LBS/in and slips straight in. E30 racing guys also commonly run a ford falcon koni adjustable in the rear.

        So E30 Racing King Springs, KYB Commodore Front and Falcon Rear shocks have been ordered. Along with some 250mm long 300LBS/in 60mm springs for the front (e30racing guys run this rate in the front).

        The shock setup is not ideal for changes later on, but right now it gets me on the track is awfully affordable and for stage 1 will suffice.

        The aim is to get out on the track, have some fun, get some time in the car and we'll go from there.
        If you guys have any questions shot away. Thanks for looking. Im trying to have the car ready for the bimmer Nats over here which are over the easter long weekend and includes a track day.
        - Chris
        Project M42 - 255 @ 19 psi

        Comment


          #5
          Nice work!
          Mtech1 v8 build thread - https://www.r3vlimited.com/board/sho...d.php?t=413205


          OEM v8 manual chip or dme - https://www.r3vlimited.com/board/sho....php?p=4938827

          Comment


            #6
            what are the part numbers on the shocks??? did u need to modify them at all???
            Signature removed by R3V staff due to a violation of the forum rules

            Comment


              #7
              Haha, forgot you already had this build thread , Chris?
              Pork Hunt Motorsport

              eBay is like the summit racing catalog for today's special Olympics crowd

              Comment


                #8
                yup i had certainly forgotten! ah well

                regarding the shocks. I don't have the part numbers. They are just KYB Excel Gas replacements for:

                Front: VB-VK Commodore (all the same). These require either 30mm spacer or the strut tubes to be shortened appropriately. If I was going to do it again I would use the VW G60 shocks instead and take about 3" out of the strut tube, requiring a 2" spacer. This is the part number on the koni Jordan, "Stuck" is using: 8610 1437RACE

                Rear: Ford Falcon like EA-EL or something. But you have to be sure to get the version that hs the correct top and bottom mountings. The KYB ctalogue just had a few part numbers with the different configurations. Apparently the applicable koni shock to use here is a Mustang shock.

                My only concern would be that for the 300/450 lbs/in springs I'm running these shocks are somewhat underdamped. That is why I'm considering picking up a set of koni adjustable off Ground Control with the special valving.
                - Chris
                Project M42 - 255 @ 19 psi

                Comment


                  #9
                  And because I'm a dumbass here is the new thread:

                  Post your comments in this one
                  - Chris
                  Project M42 - 255 @ 19 psi

                  Comment

                  Working...
                  X