-
for my syspention i am in reflexion, at the moment i don't know if i go with 4 koni yellow shock with drop spring ( spring that i already have on the car ) or going with full coilover system..
its been few day since i post new pictures/ updates. i spent couple hours on the car and work progress well !
i pull out the bushing on the RTA , remove the wheel bearing and burned out the subframe bushing.
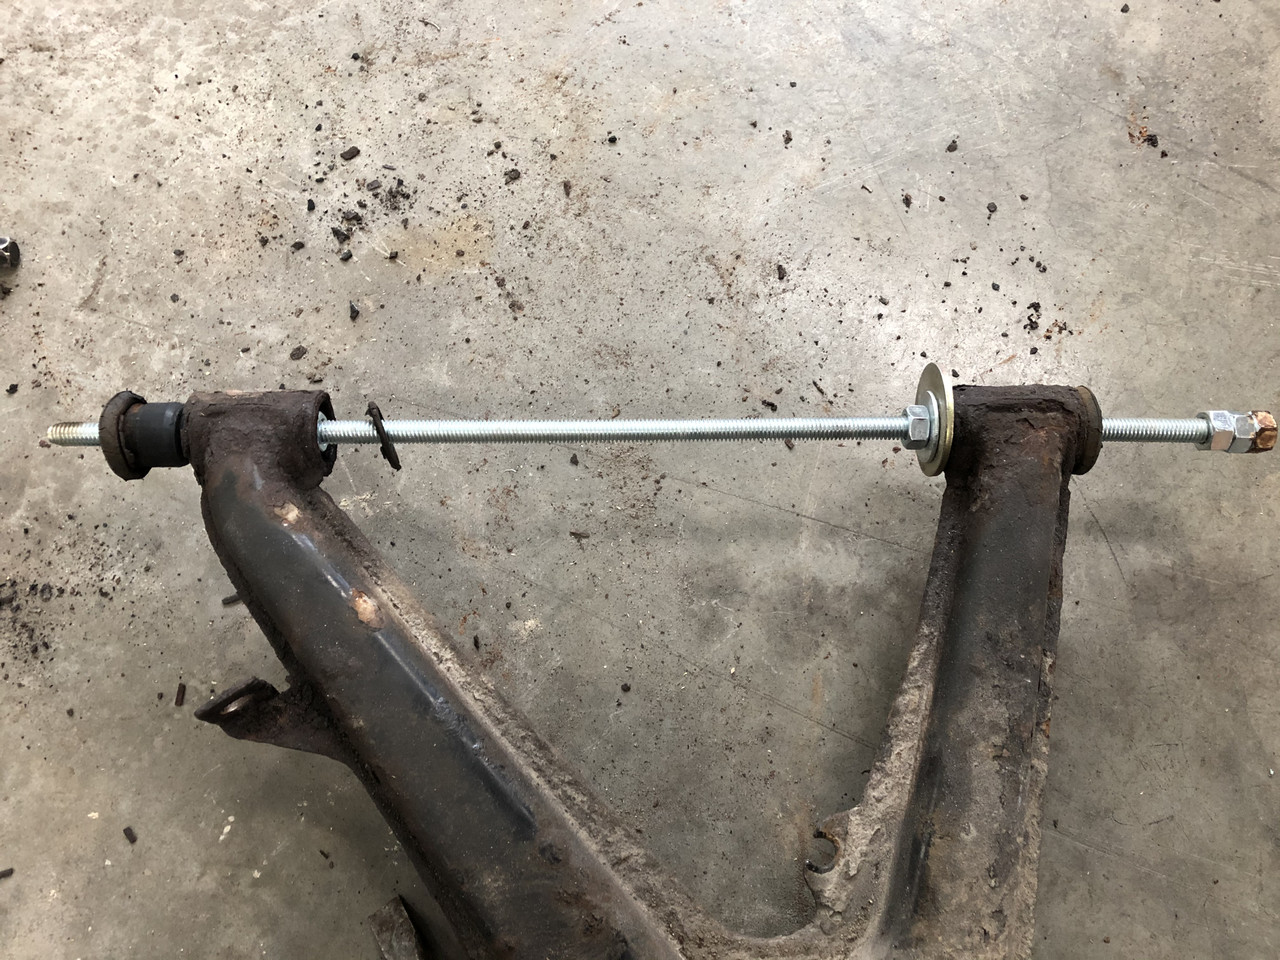
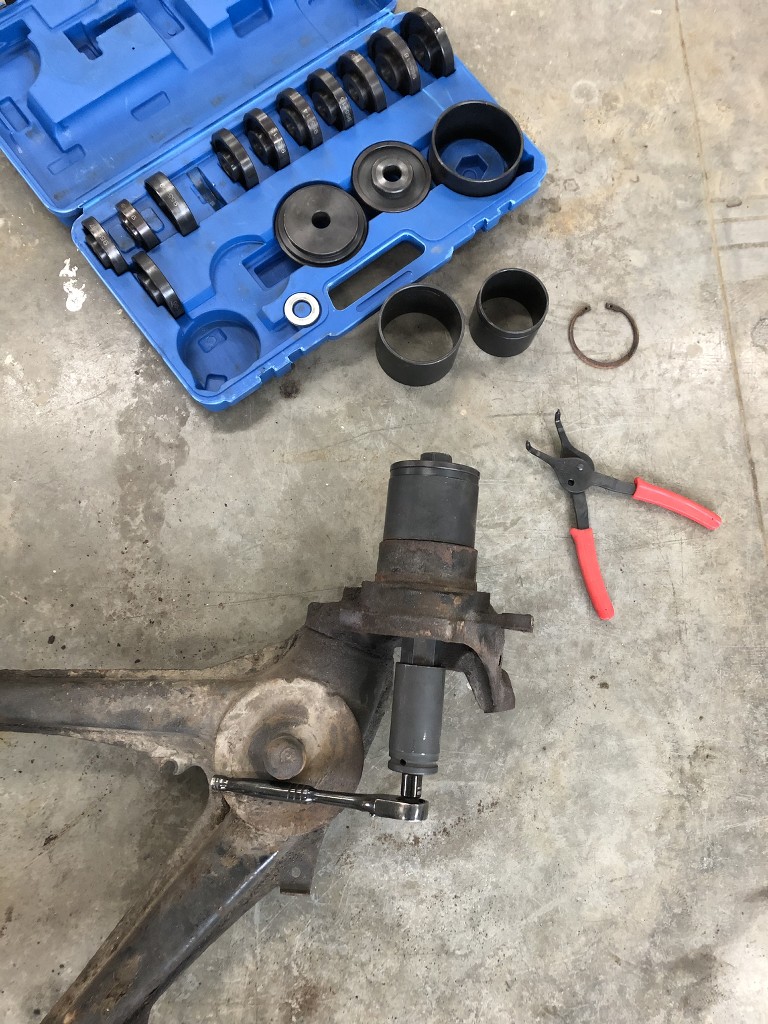

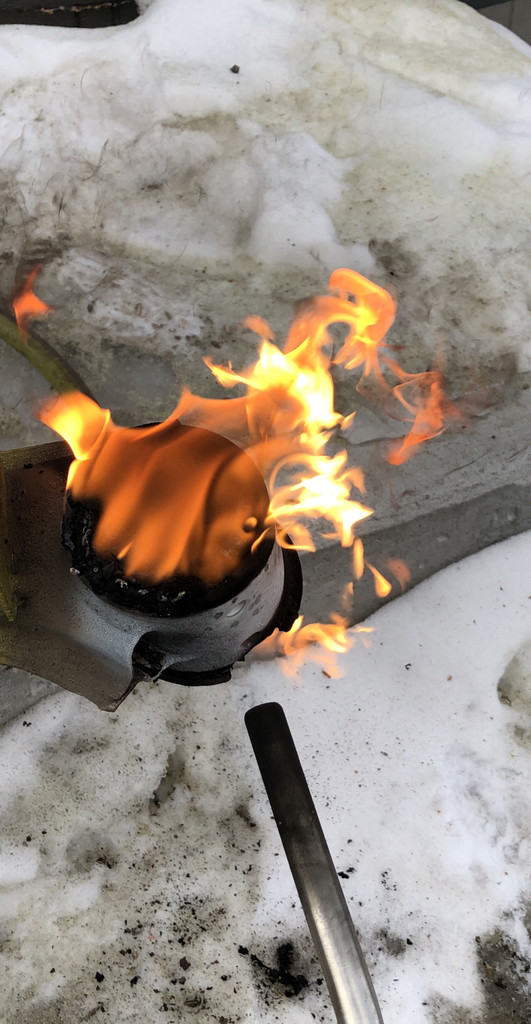
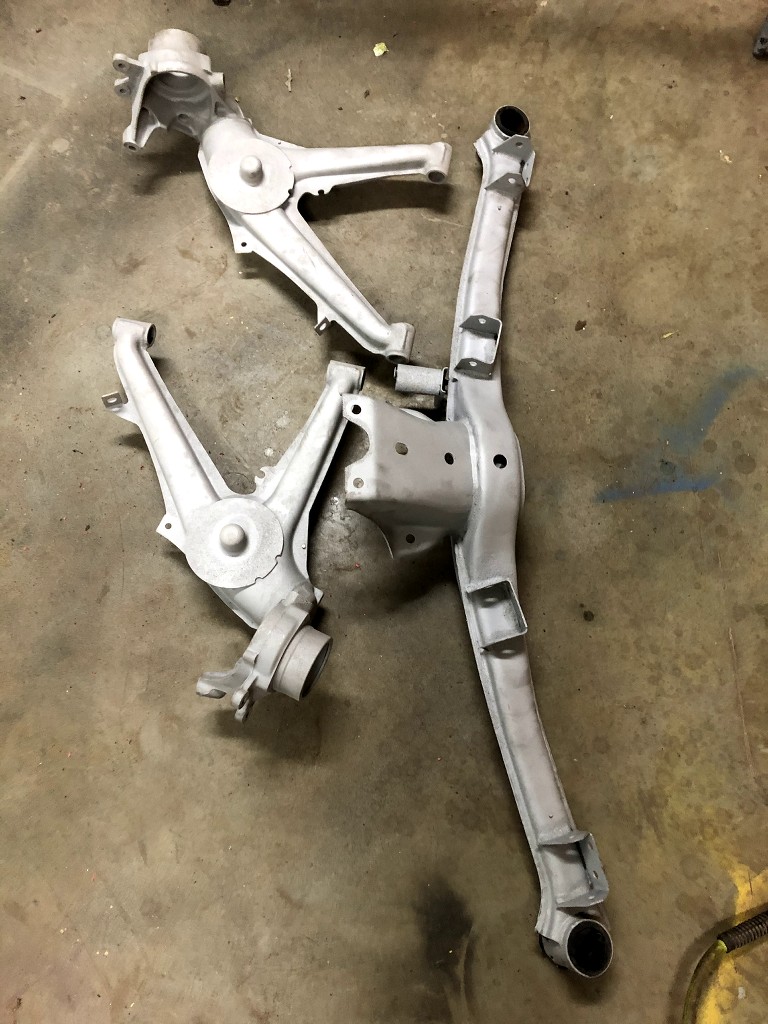
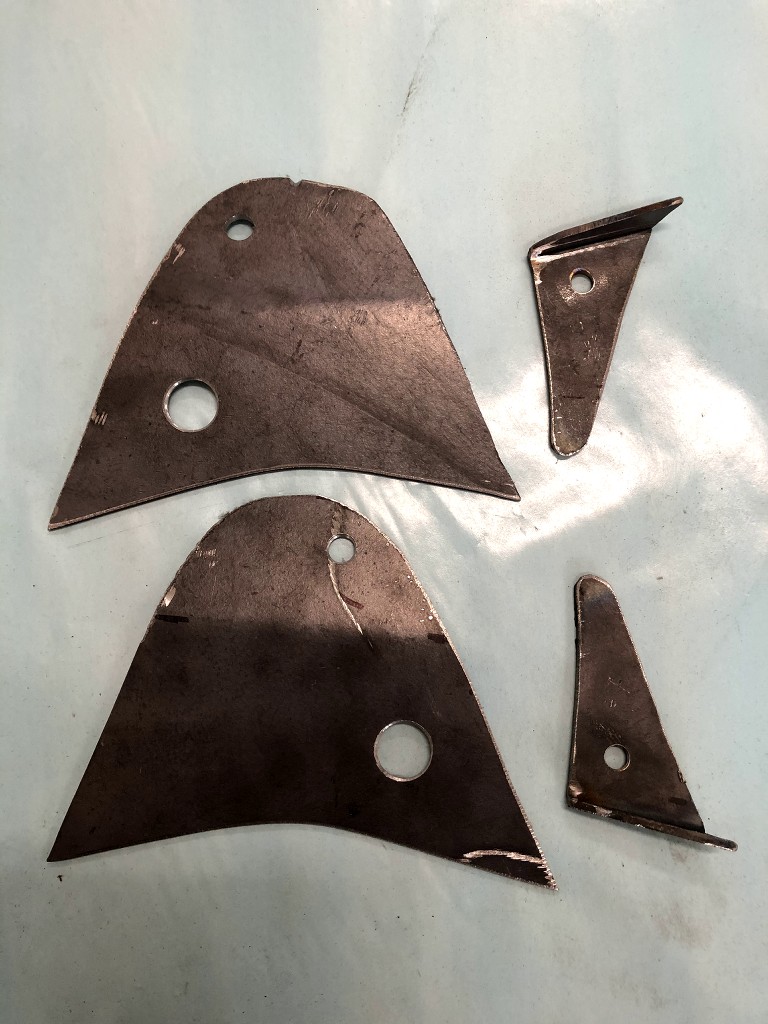
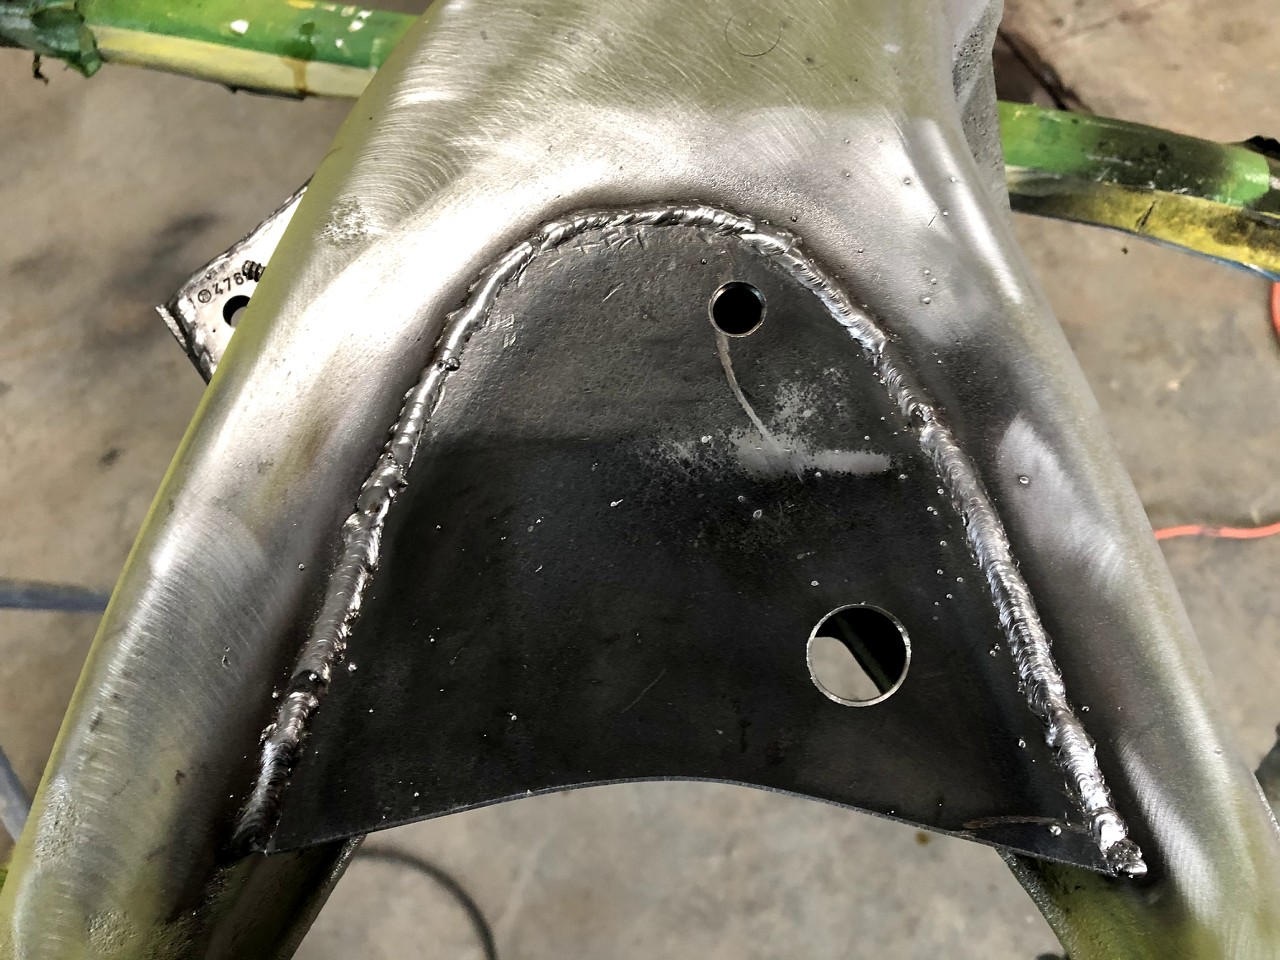
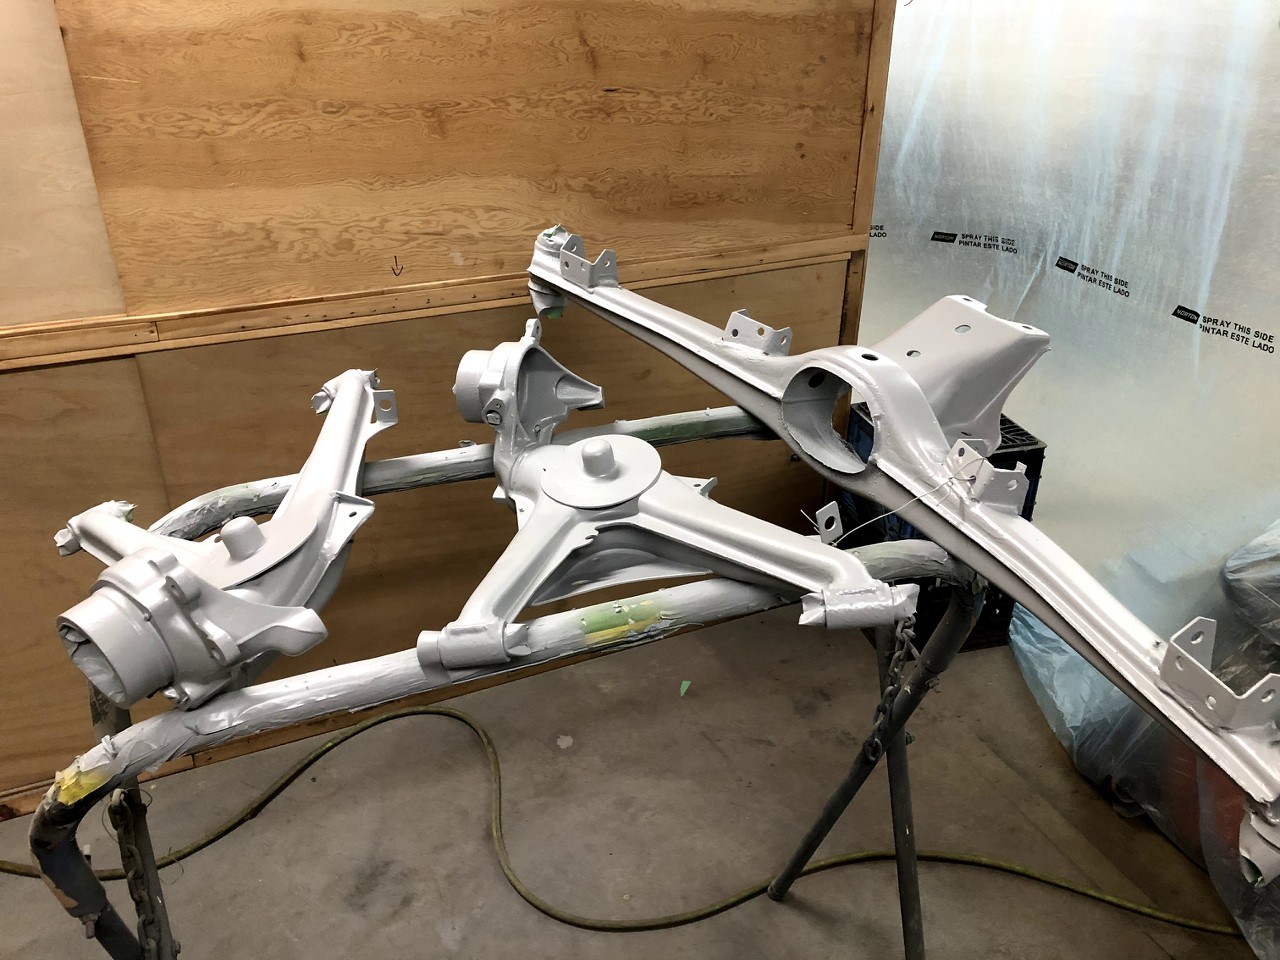
i send the TA and subframe at the sandblast shop .got it back and i made reinforcement plate for the TA and weld it.
then iprimed it with high build primer.
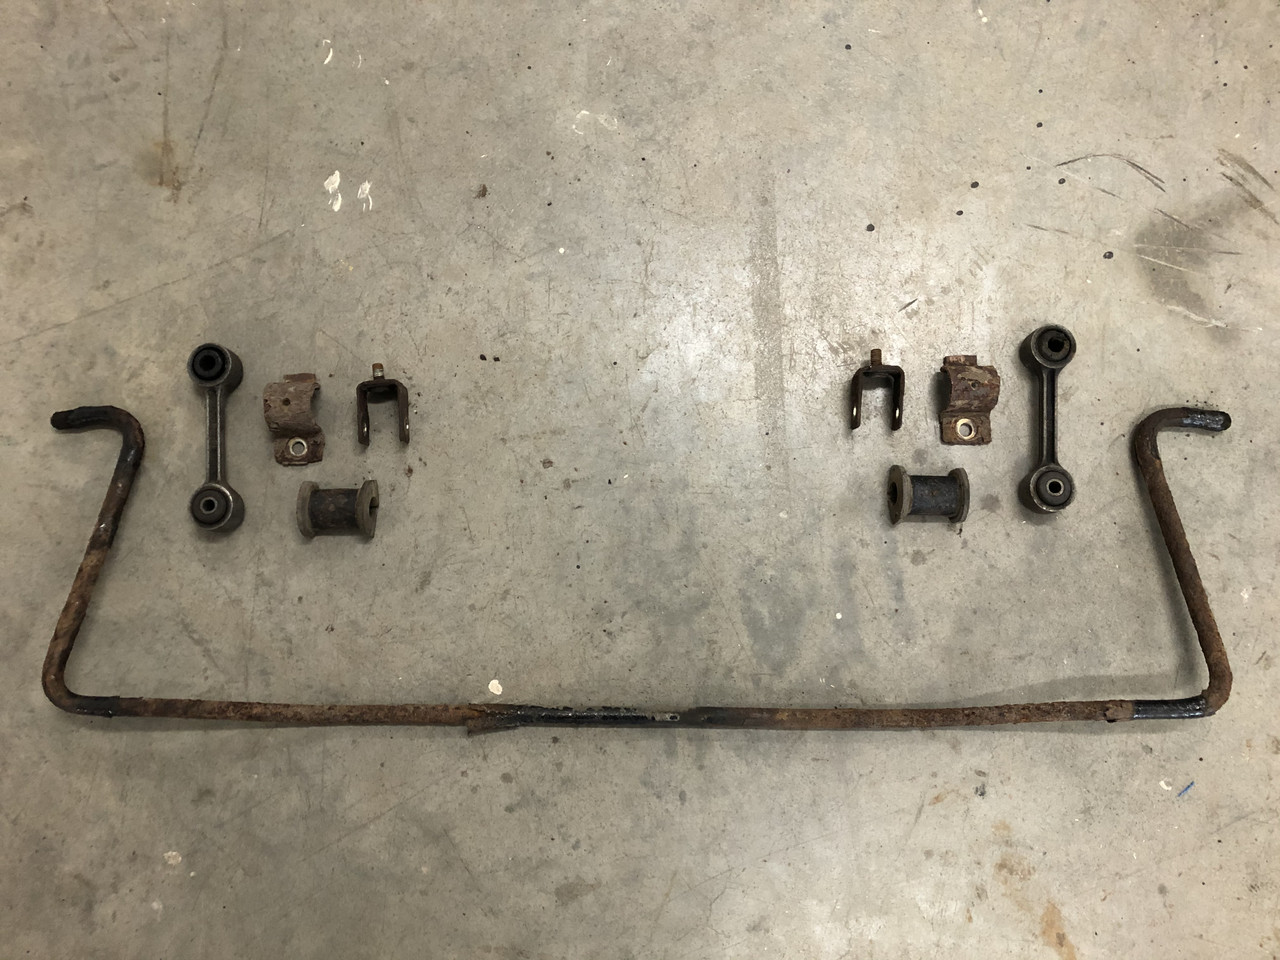
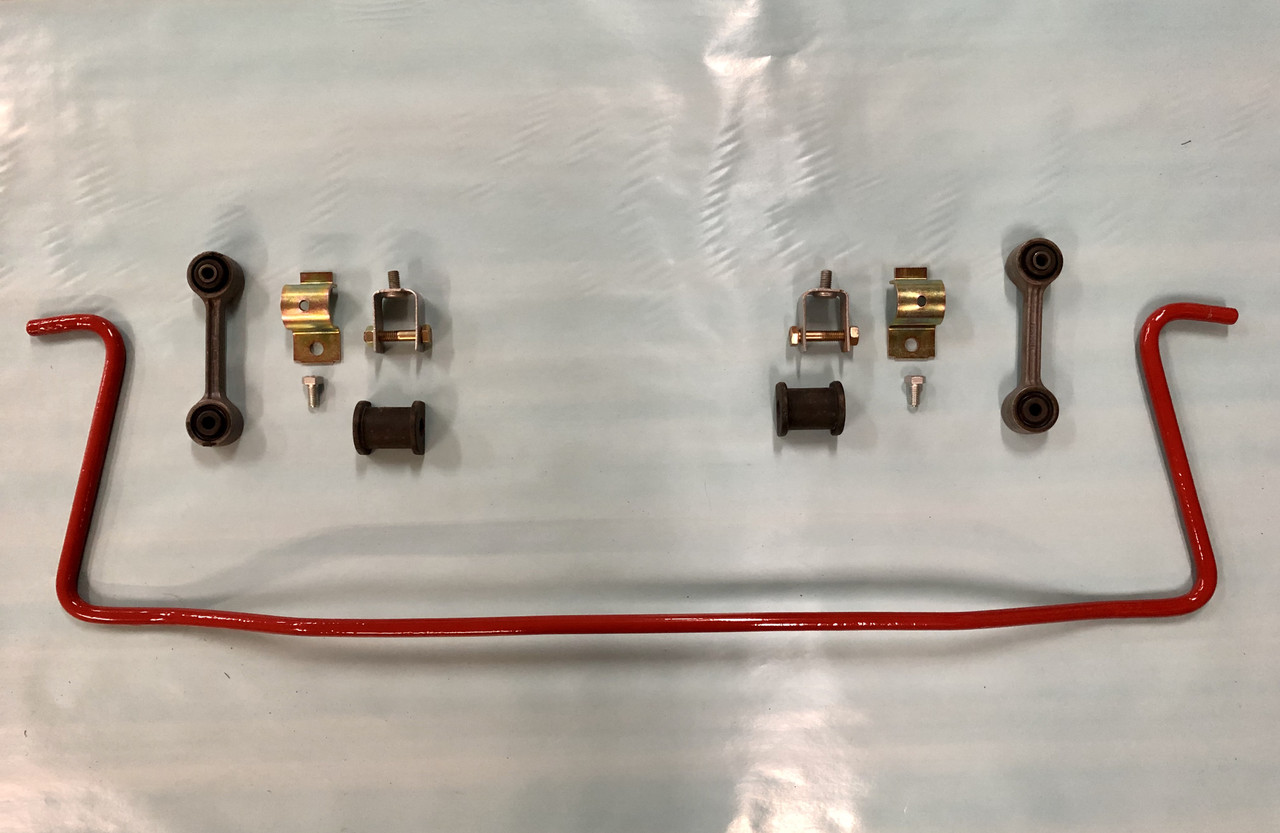
little refresh of the sway bar and its coponent.
full process repaint sway bar
evething else new
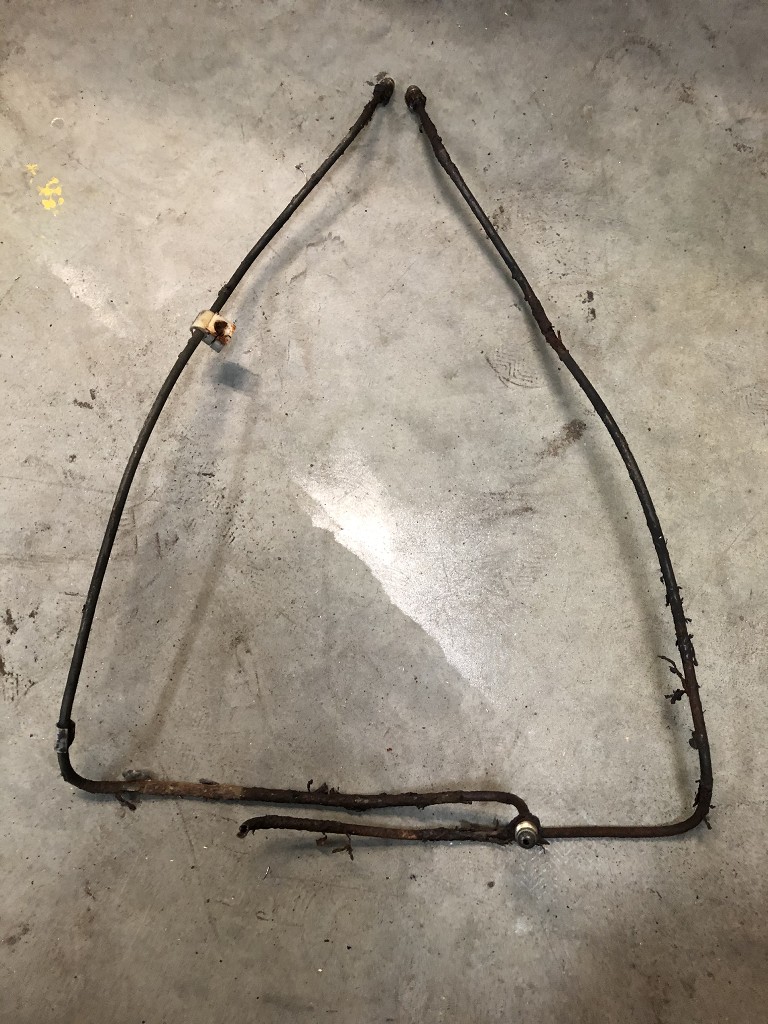
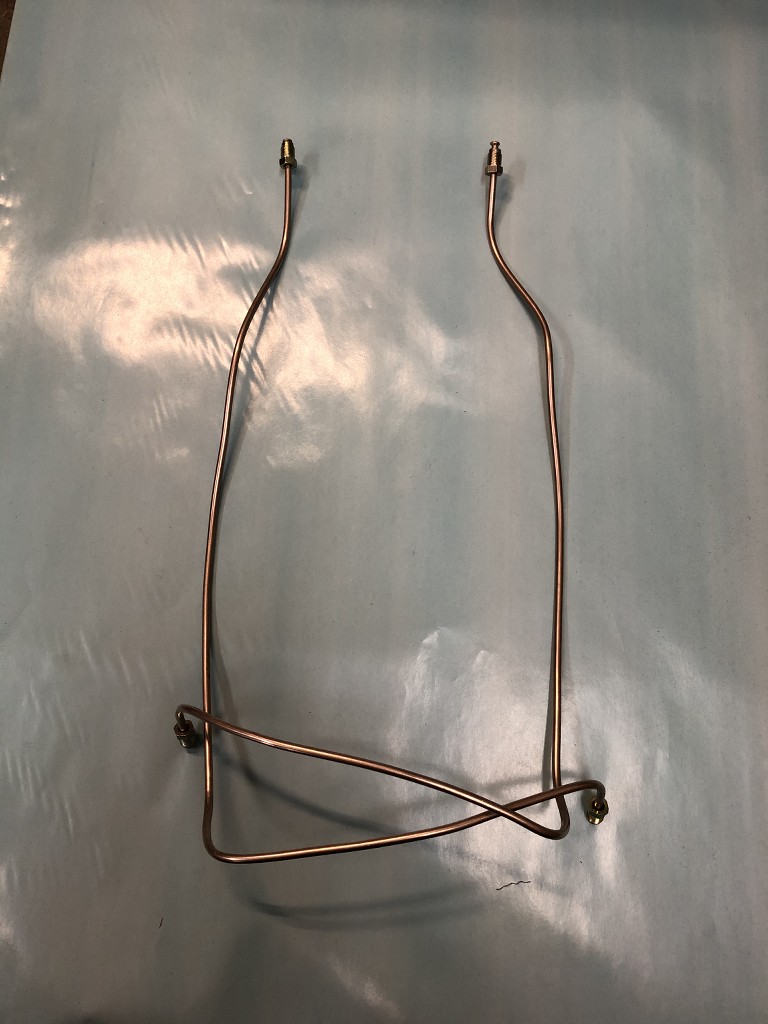
the brake line on the TA were completely rusted. i dont understand how they were not leaking...so i made new one
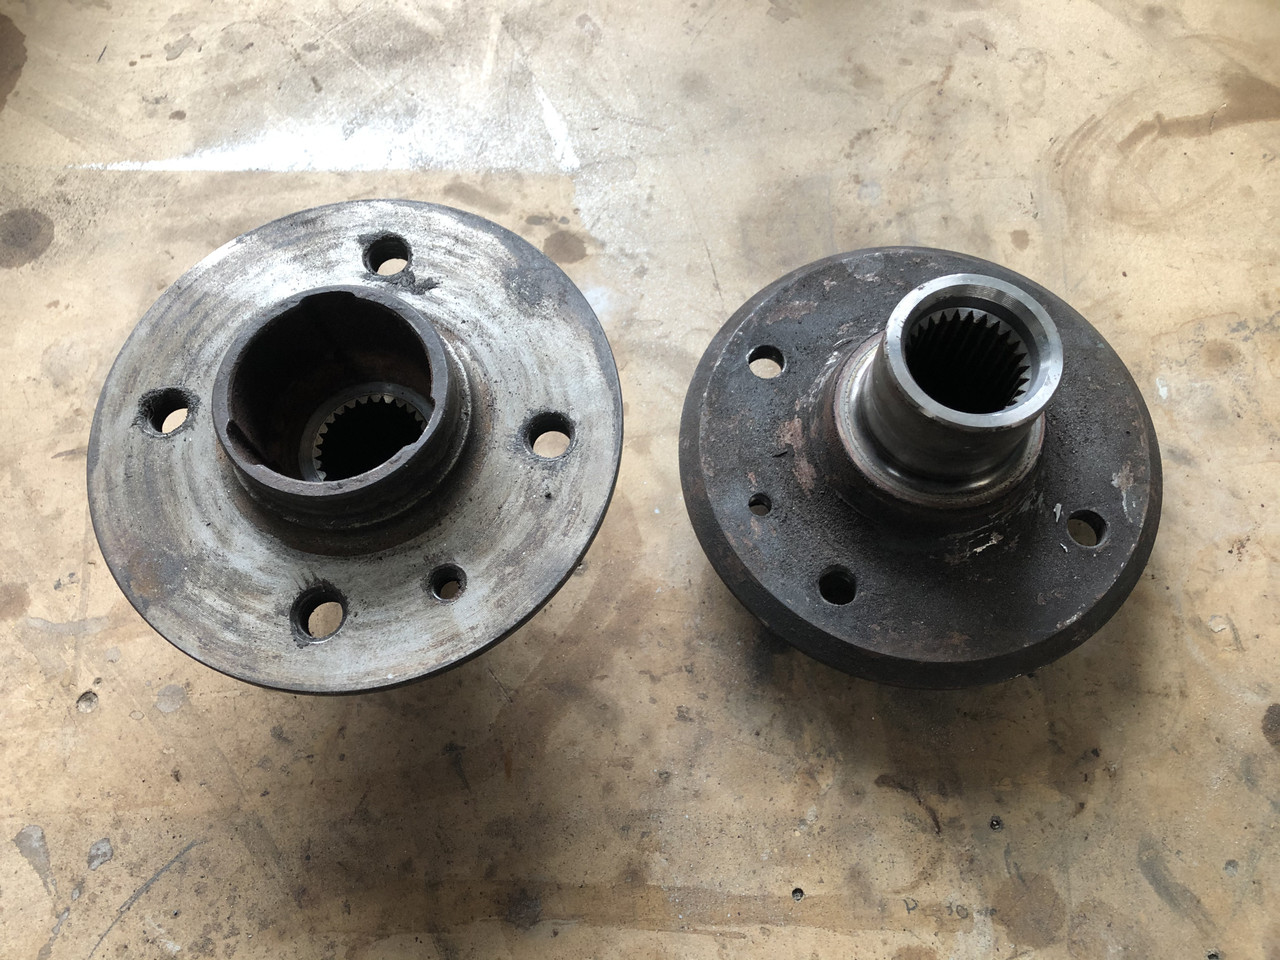
rear hub was in good shape. i got them a fresh look by :
sandblast, wire wheel and paint the rear
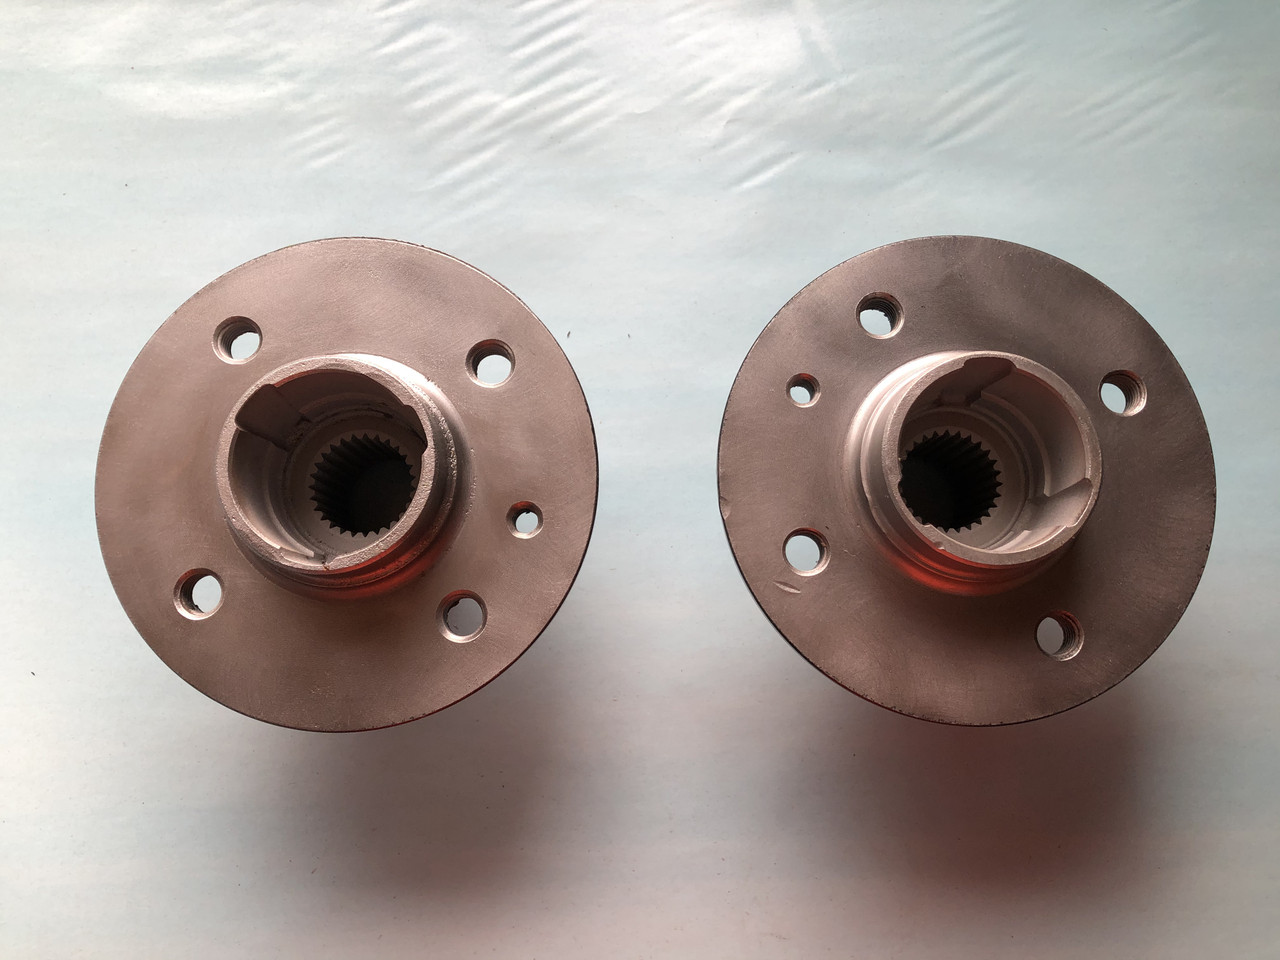
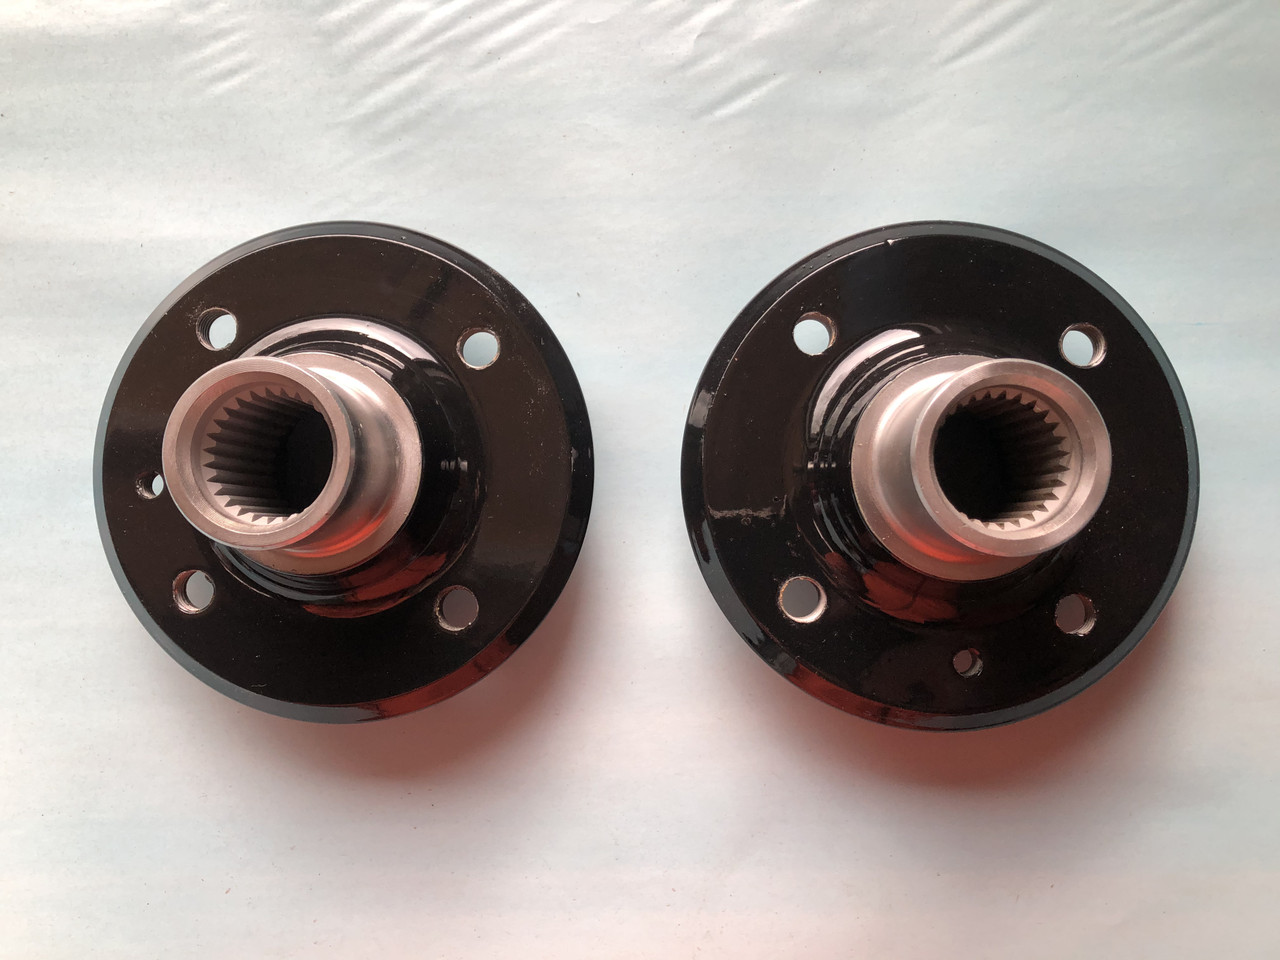
time to get the rear caliper a new look. i replace all the seal/bushing and paint them gold. ( basecoat/clearcoat)
i already paint several caliper on my past car with basecoat/cleacoat spray gun and it hold well on a regular drive. i don't plan to track the car so the paint will be good !
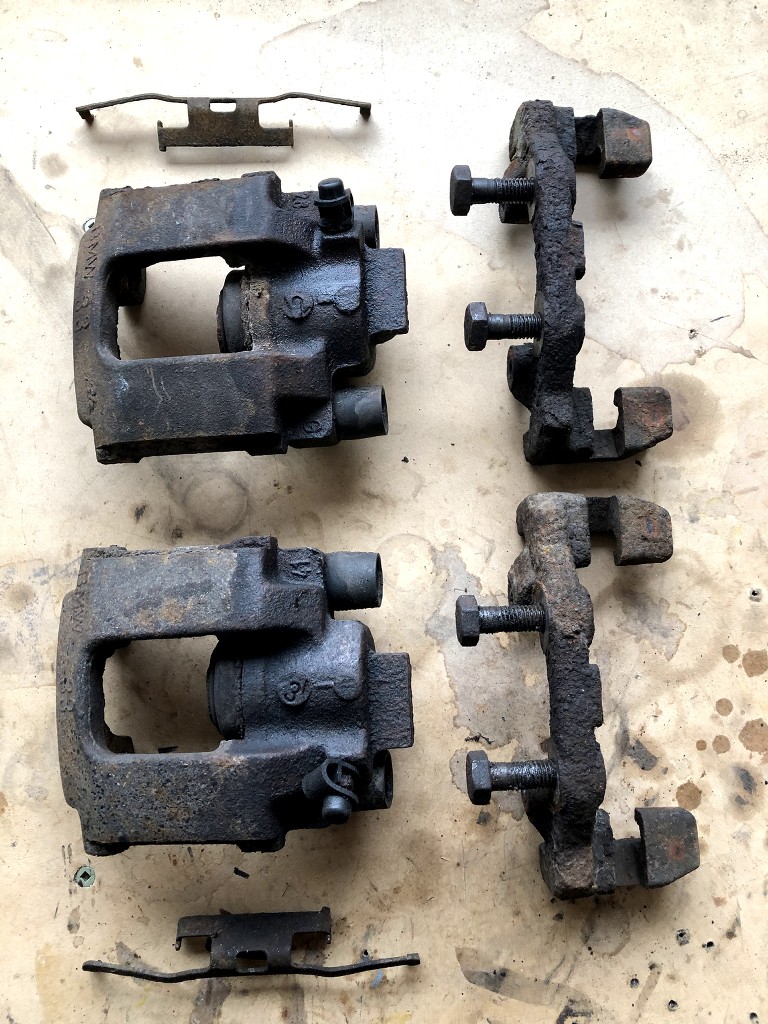
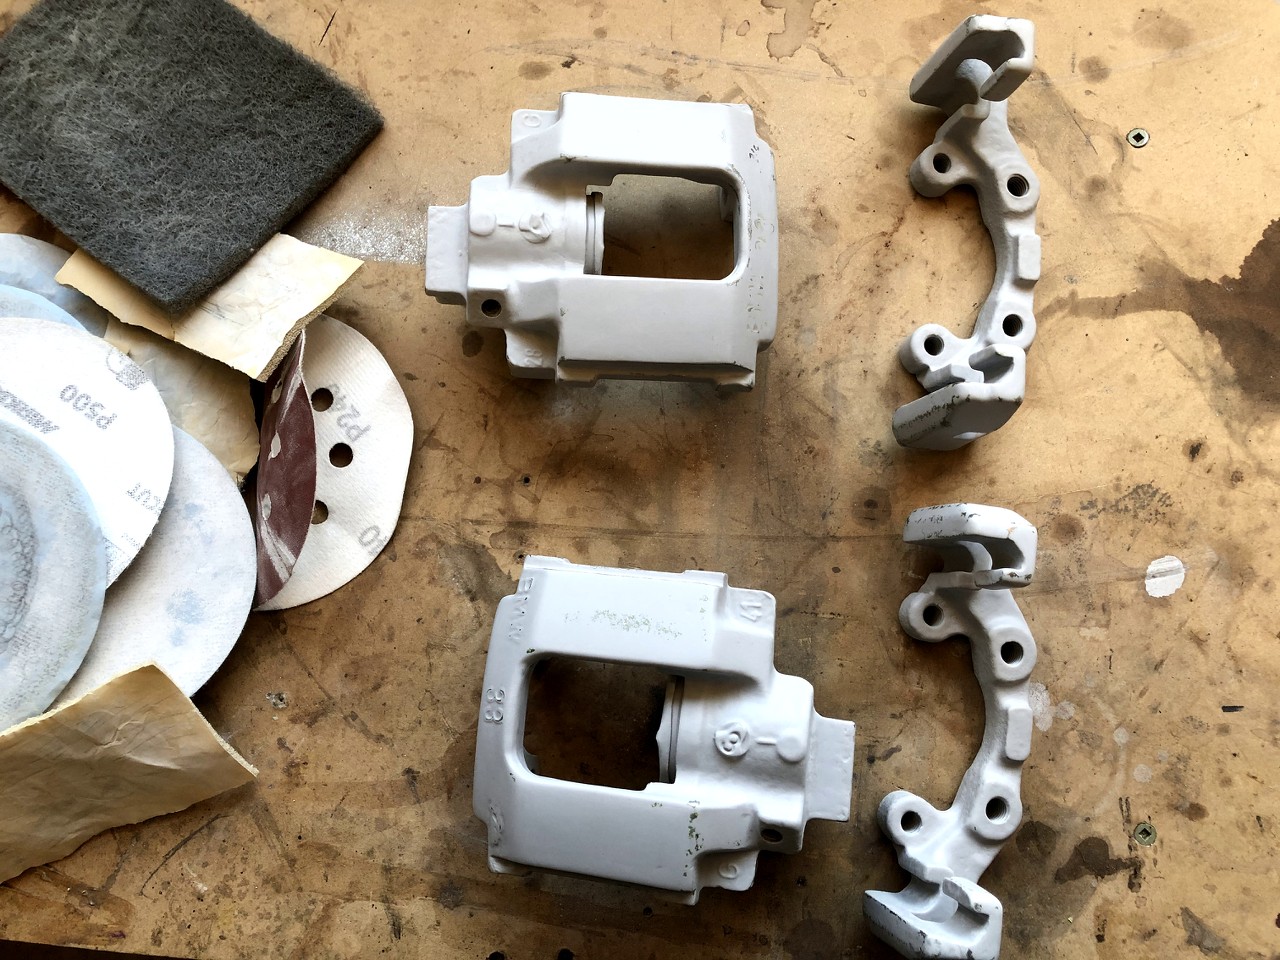
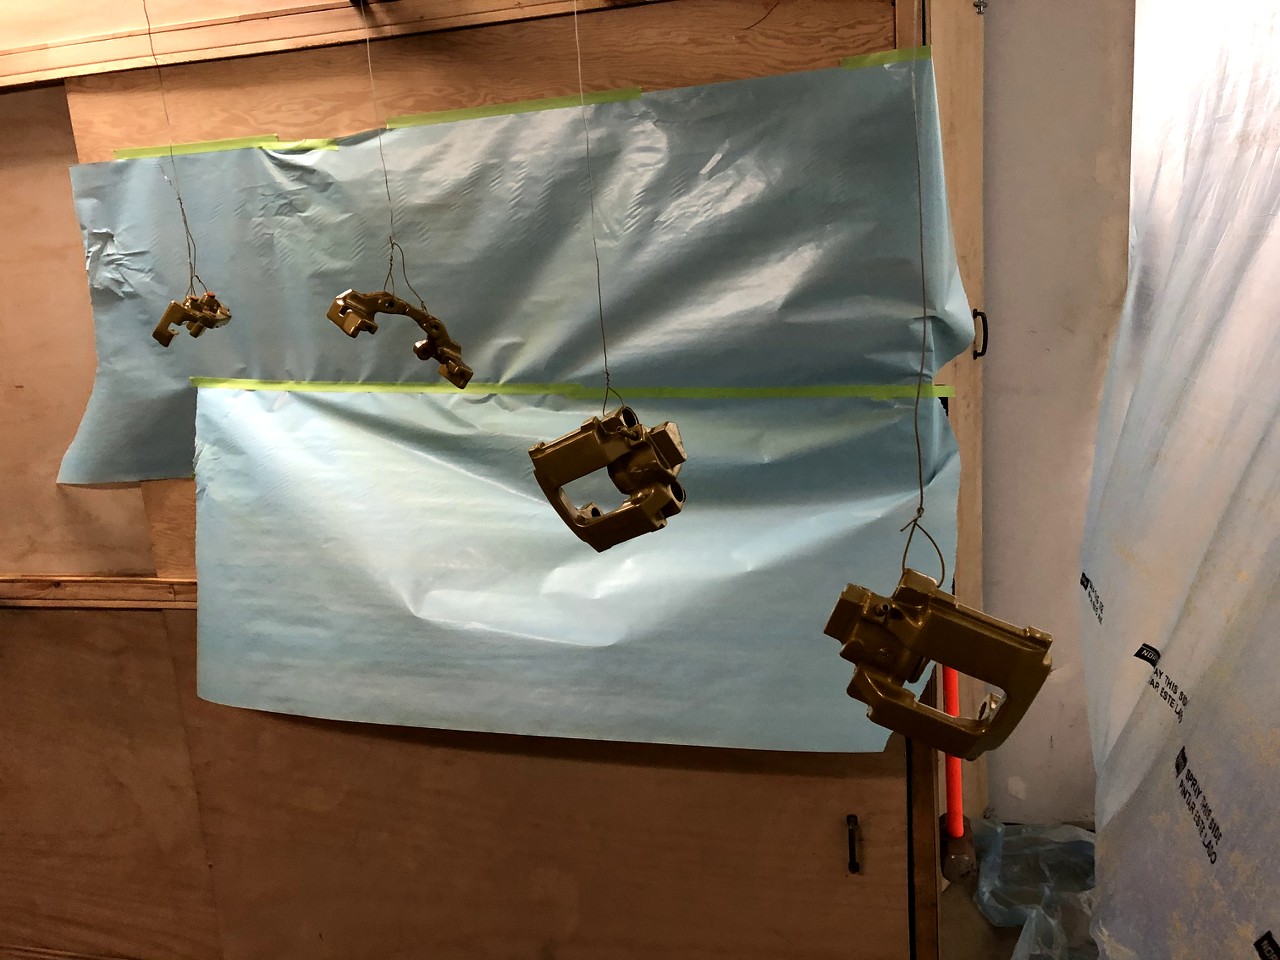
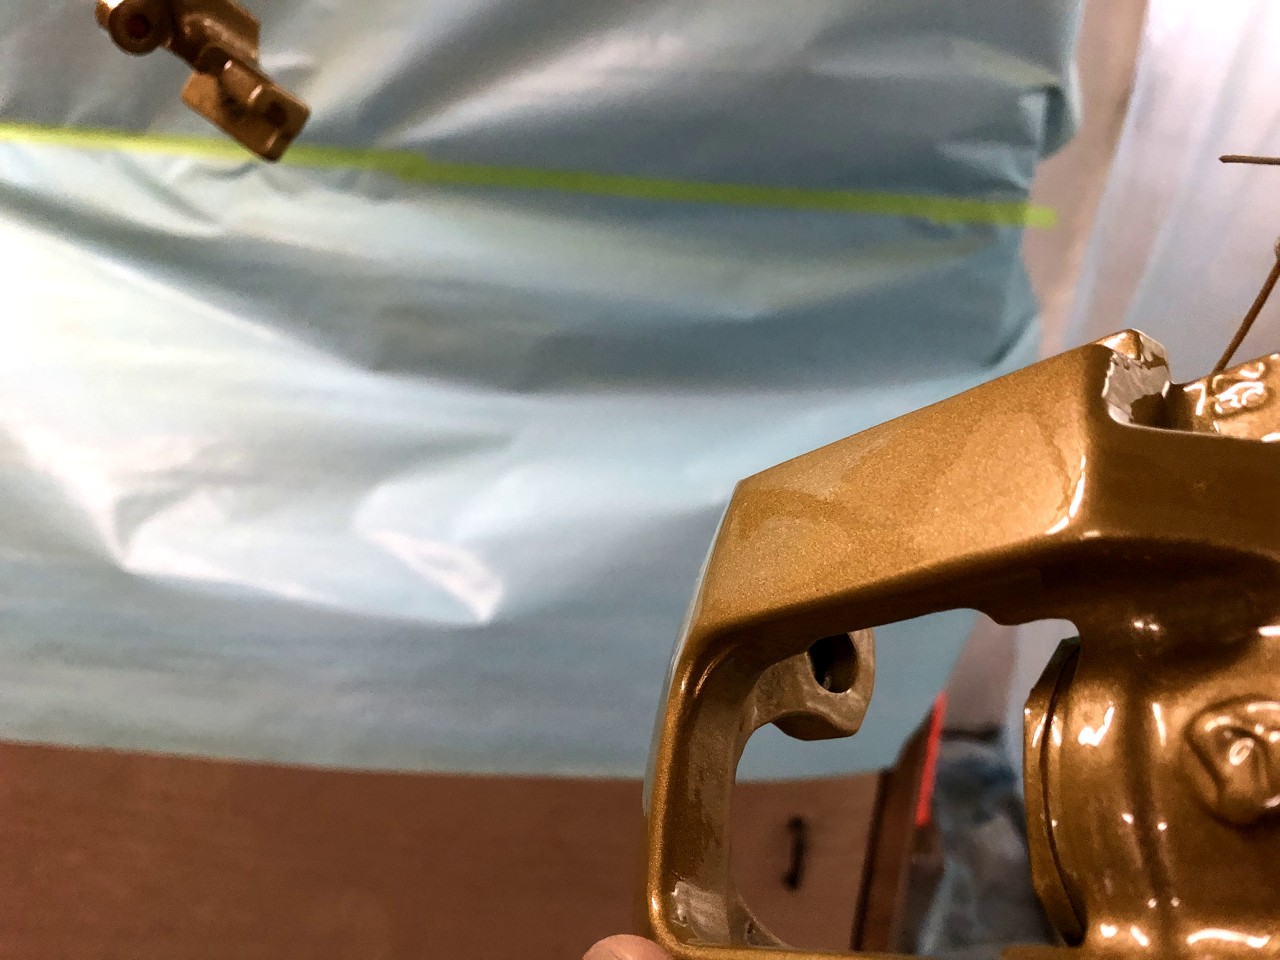
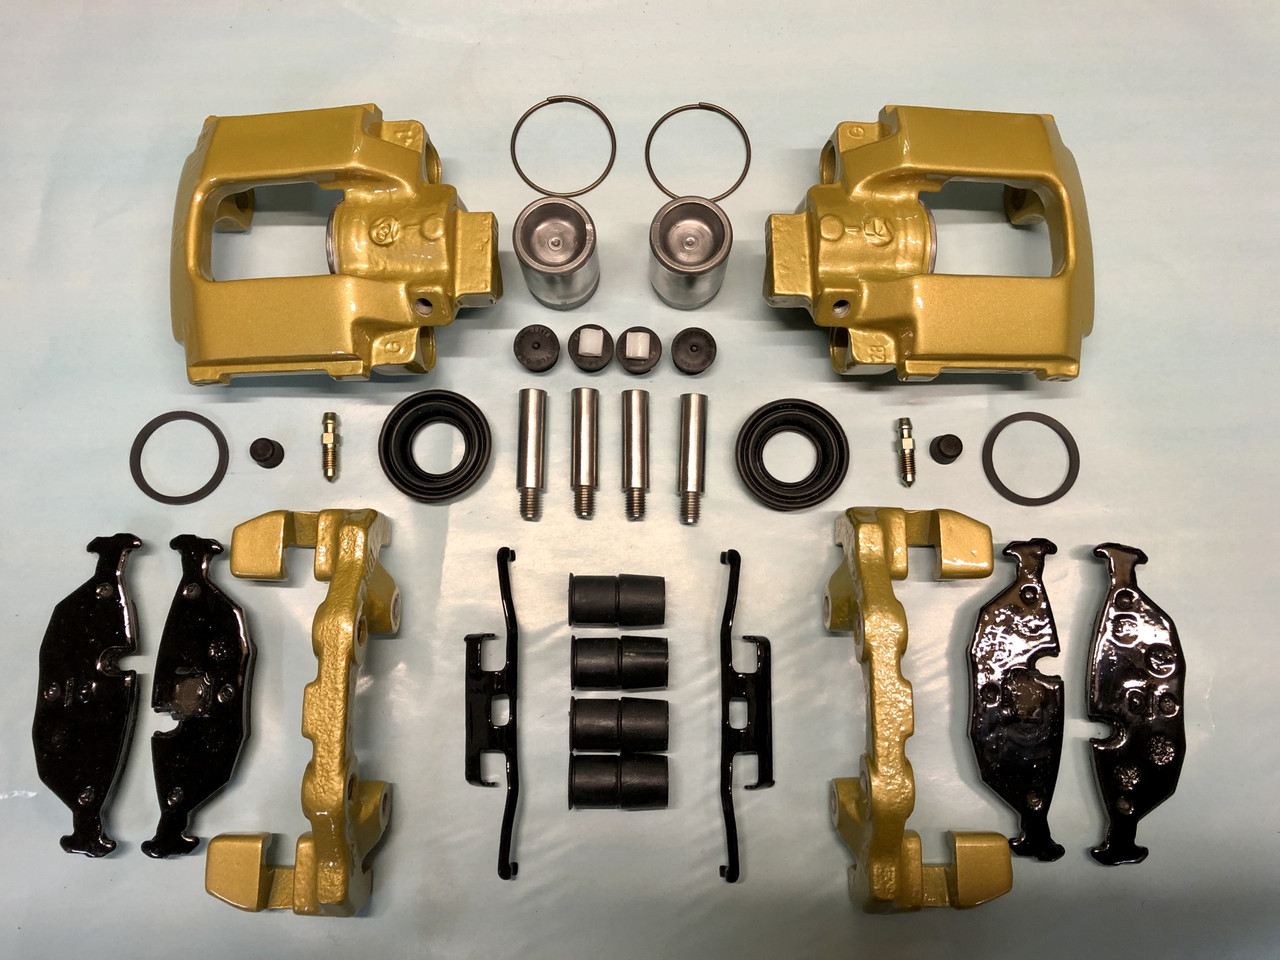
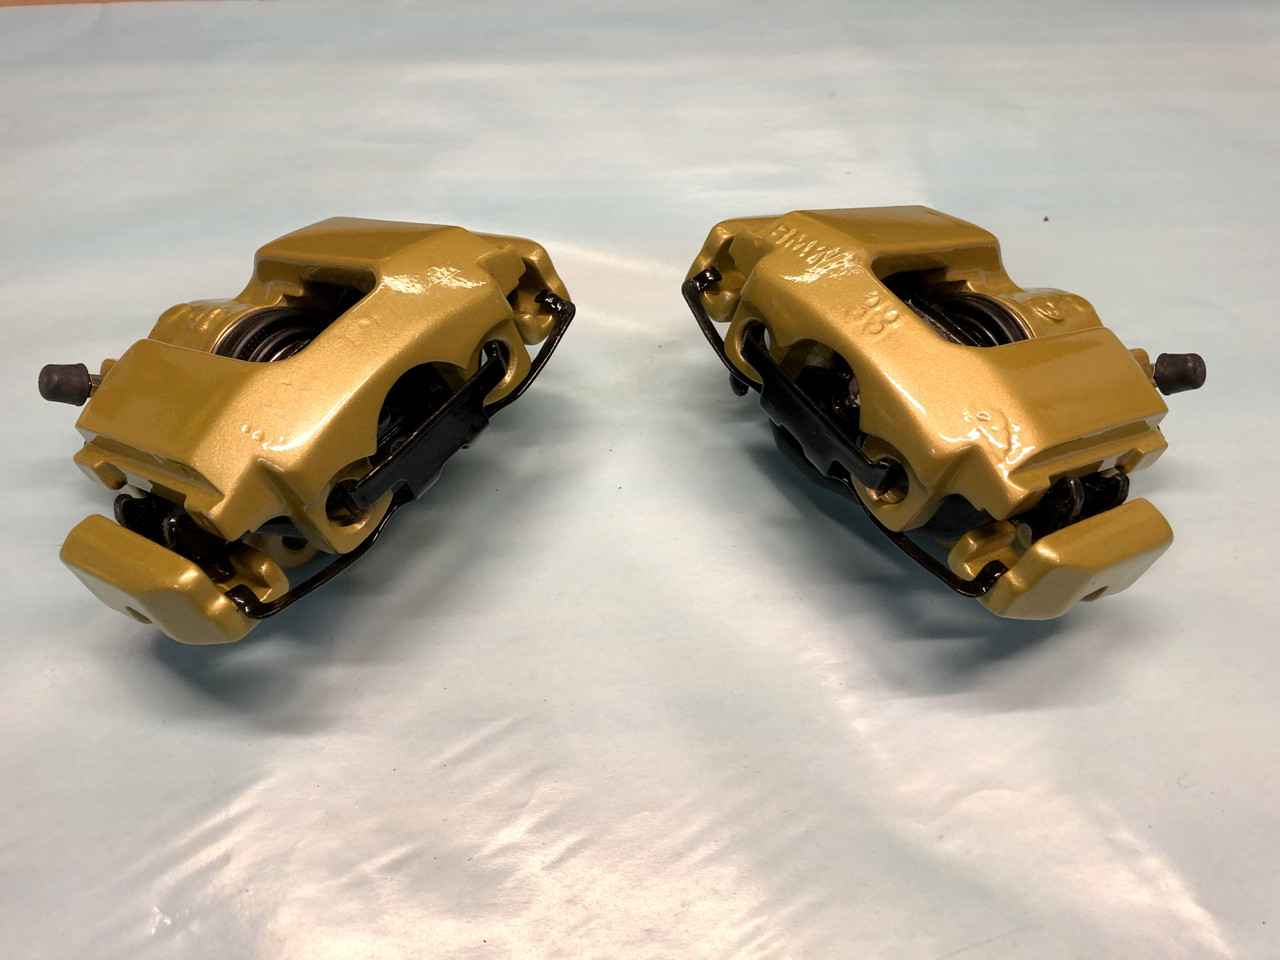
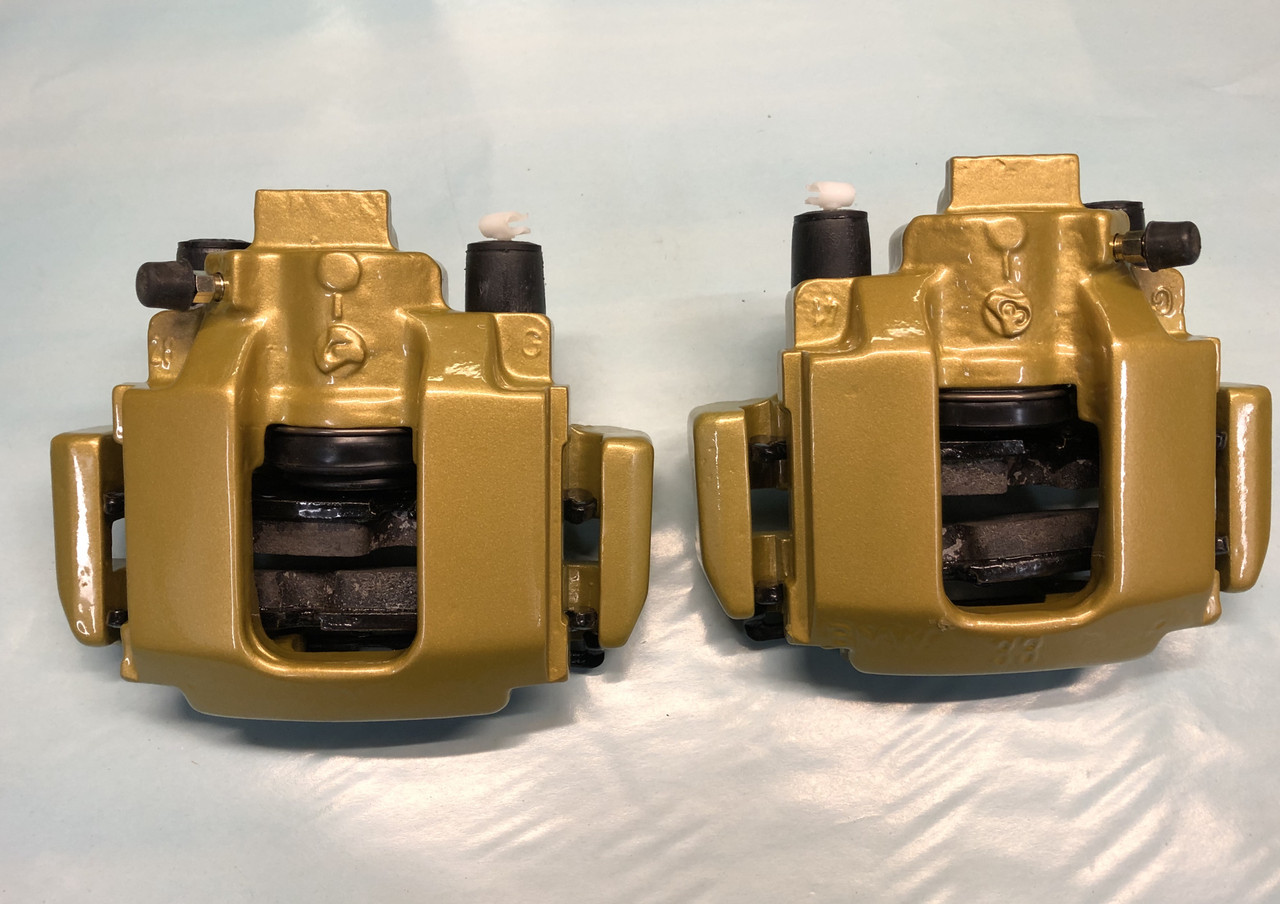
i am pretty happy with the result !
time for the Axle rebuil. i was not very confient with them as they look very worn. but once i all dismentle it, i found no sign of failure.
-torn apart the axel
-master wash to remove the old grease
-dremel wire wheel all the inside part to get a new smooth finidh for the ball to slide/roll
-sandblast
-high build primer
-basecoat/clearcoat
-all new 4 boot with clamp and grease
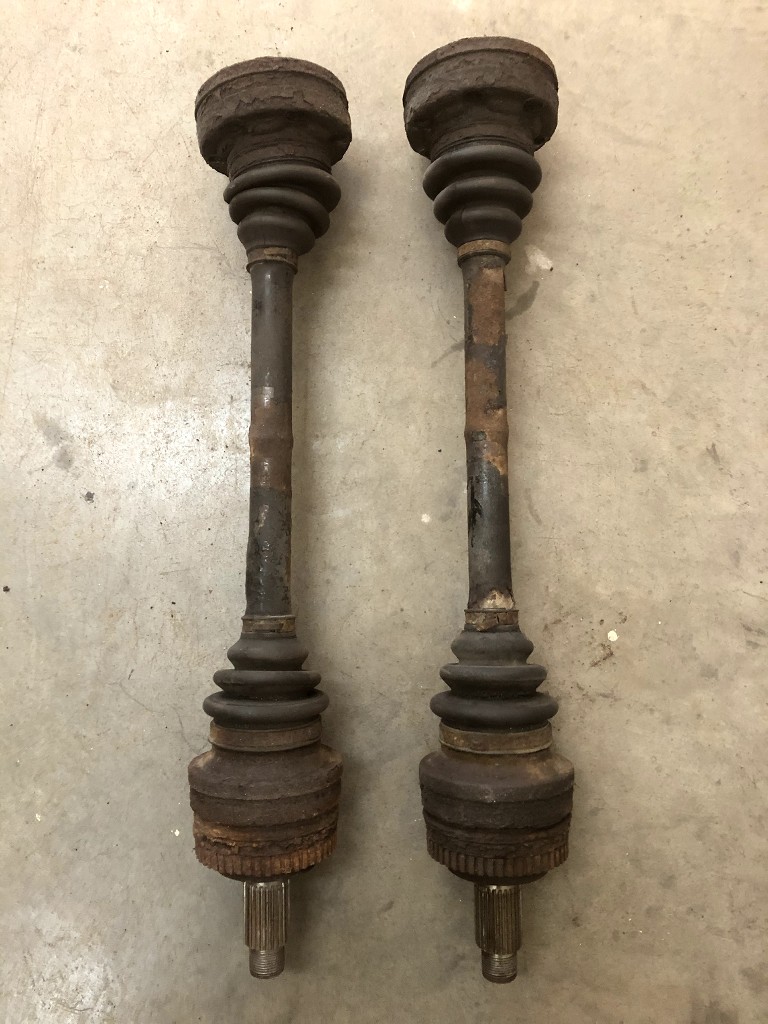
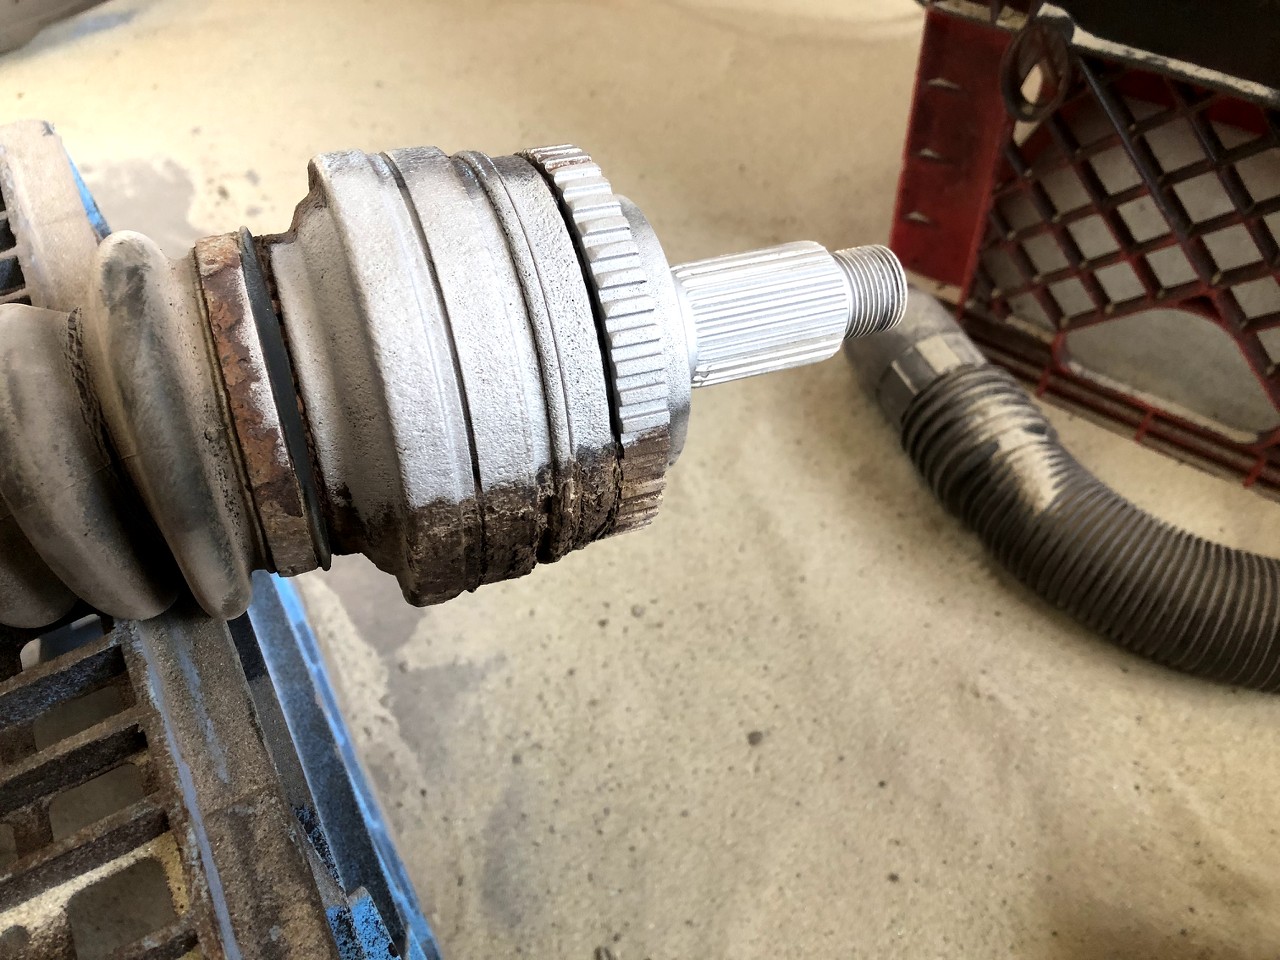
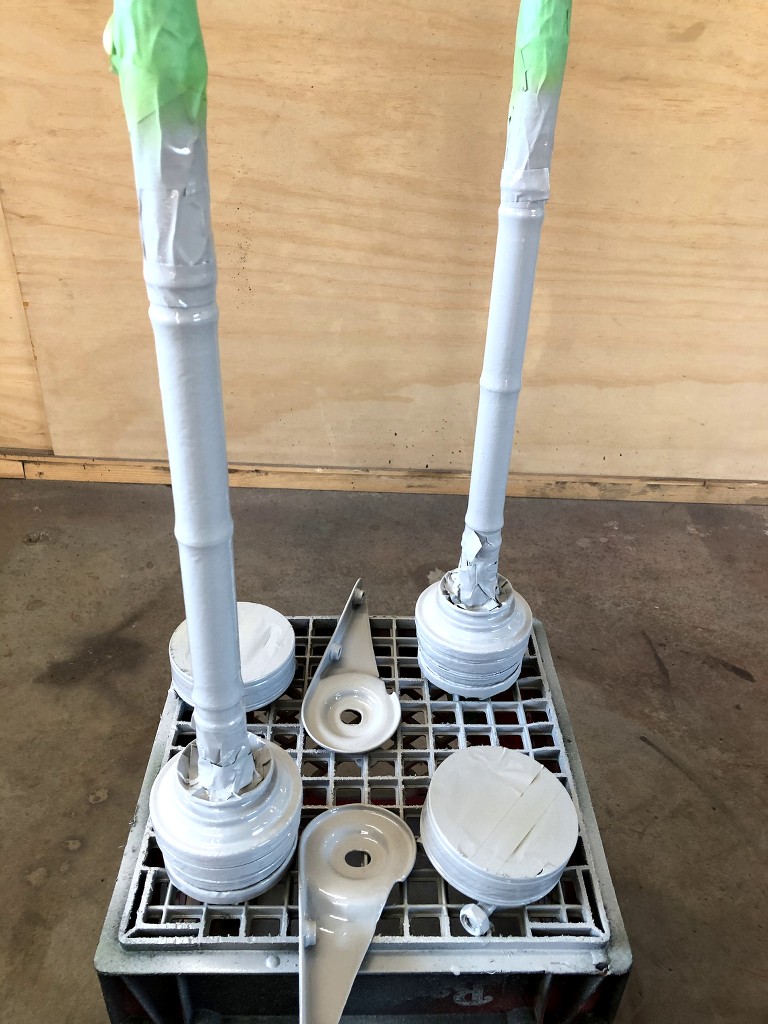
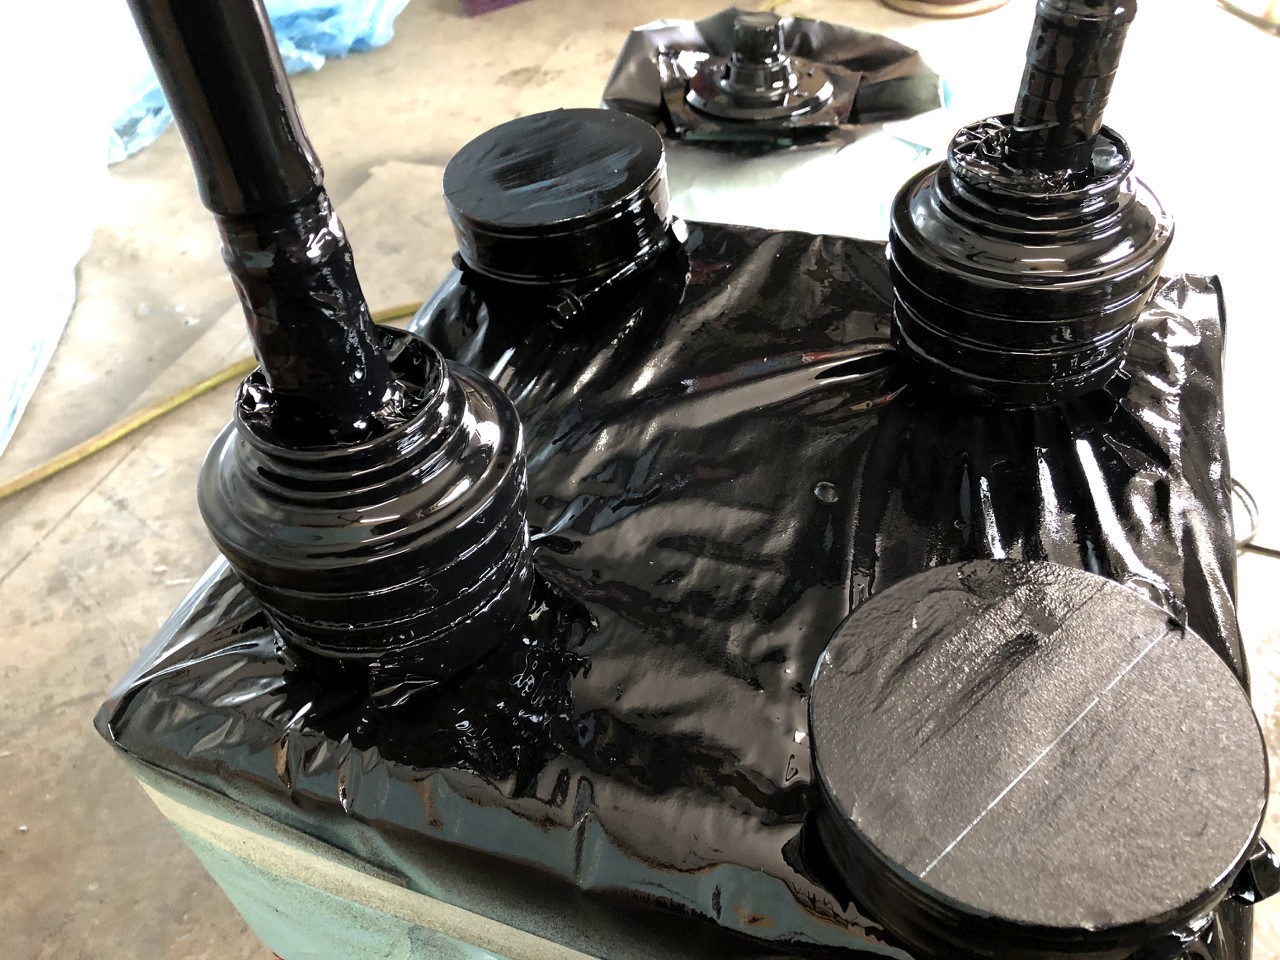
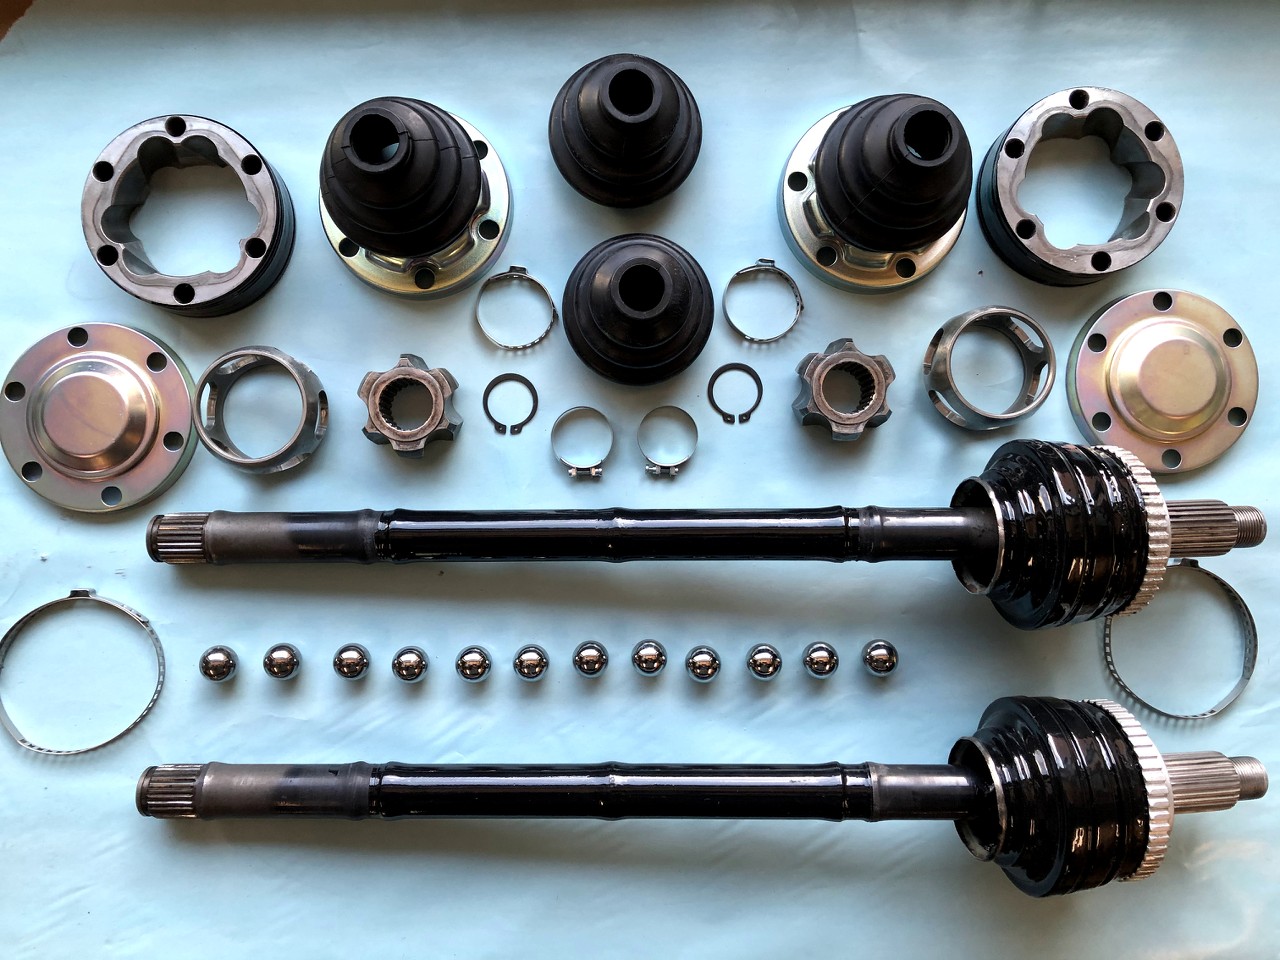
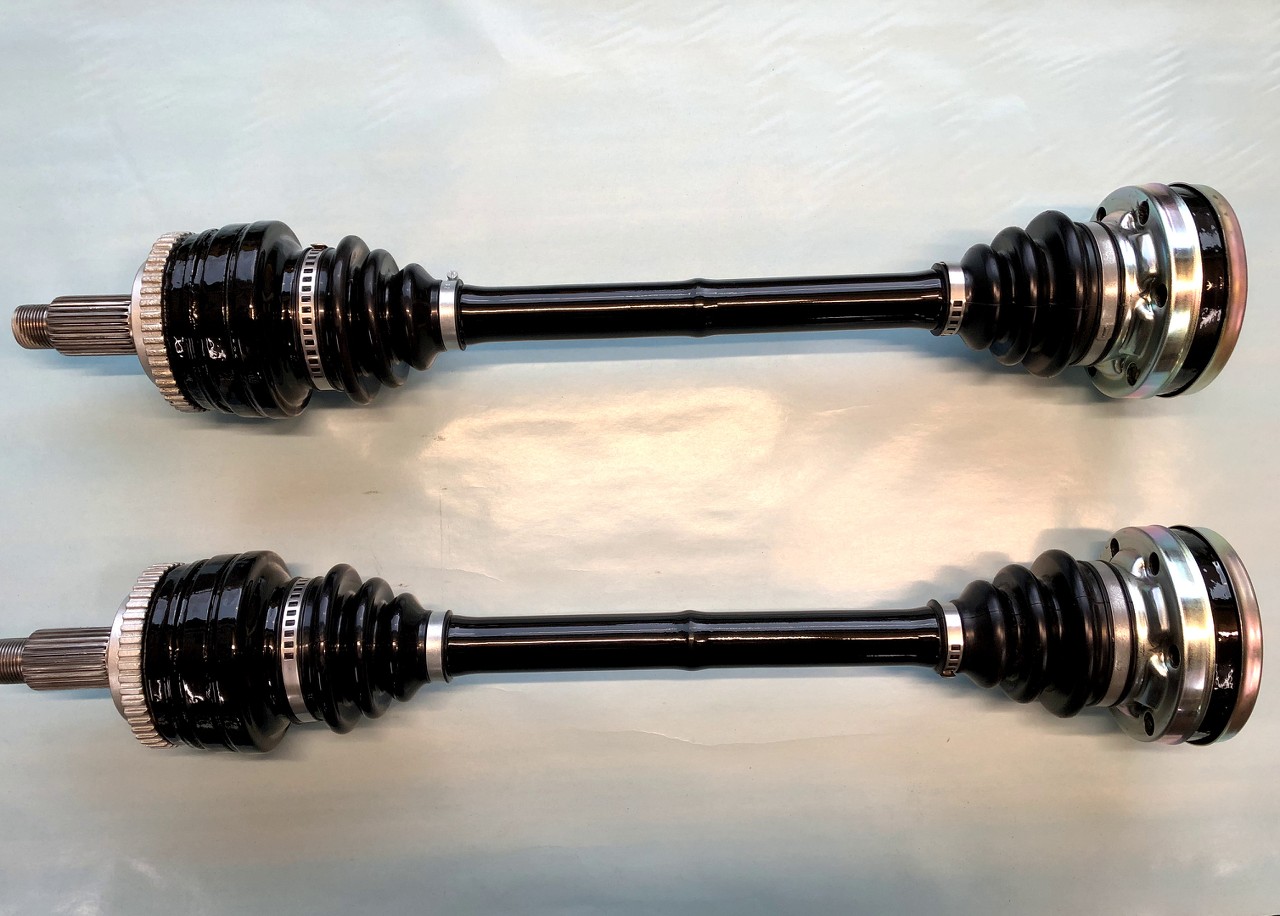
its hard to beleive this is the same axle !
that it for now. i keep working on the car.
i am still open to any advice/ comment !Leave a comment:
-
Looking good...I like the unique gauge cluster now.
I have a lot of the same parts waiting in the garage as I will also need to drop the rear subframe and replace the bushings etc.
What suspension setup are you going with? I decided to go with M3 springs and Bilstein B4s.
Keep the pictures coming...and your house is so nice...kinda European style but I guess that makes sense as Quebec is more Euro than the rest of Canada.Leave a comment:
-
Subframe out !!
it give me a litlle hard time .. but with elbow grease, bad word and a lot of loose nut, i finally took it off.


as you can see, a little refresh will be not luxury.. look a the trailing arm bushing.. completely craked!...
everything will be replace or repaint.
item i will replace for sure ( both side ) ( may be some thing will add while working on it )
-trailing arm bushing
-subframe bushing
-wheel bearing
-link kit
-sway bar bushing
-axle boot
-all the brake coponent include all the emergency brake systeme
-diff fluid
-rubber brake line for stainless steel
-hard brake line
-everything else will be sandblast , prime and paint
the is a lot of work ahead for me !
any tips or advice is welcomeLeave a comment:
-
Hey i got some time lately to work on the car.
i have done :
seam sealer on the floor inside and outside
gravel guard all the floor inside and outside , not pictured..
Dye the floor carpet , not pictured
repair an other hole i found under the fender liner..for that hole welding was to risky as plenty of wire and foam are in the otherside. to dangerous for fire or messed-up with electricity.
so i decide to :
remove oem gravel guard
sandblast the area
make steel piece
glue the steel pieces with structural autobody glue
epoxy it
seam sealer
gravel guard .
now it is good as new !


friday i receive my first order by the mail !

next step is to remove the subframe and all the rear mecanical coponent.
i will refresh all the mecanic parts and also repaint ( remove rust, repair, primer and paint ) all of what is underneat the rear of the car..
thanks for watching !
Leave a comment:
-
Today was an productive day ! kids was to kindergarden, wife at work, and i got all day to work on the car.
i have finished all the welding relative to the floor. then grinded all the weld to make it smooth.
After sandblasting the weld, sanded the floor entirely, i have put epoxy primer inside and outside.


the rear floor dosent need any attention. it is in pretty good shape!

The epoxy primer didn't take long to dry so i was able to do the next step. Apply 2 coat of POR15 paint.
That damn POR15 take forever to dry. so that was it for today for the floor.

while the paint dry, i was thouroughly the floor carpet and suspend it to let it dry before Dye it

I got enough time to give some love to the seat rails.. they were not in good shape...
i remove them from the seat and realise they are on their last miles. i give them another chance but i know i will need to replace them sooner or later


got some new bolt for the rails

this is it for today. progress is good. !
here is few pictures of my home as requested.


tomorrow i will work on the car again for a couple hours , i probably have more update !Leave a comment:
-
today i spent couple hours on the floor. driver side is welded . i have to make some template before cut them into my steel sheet.
i have use 1/16 thick steel that is much thicket than oem floor ! should last another 30 year easily haha !
i am sure not a professional welder.. but i can make some steel work and weld it...
i had to make the ''jack square pad'' as well too..
it will be fairly the same operation in the passenger side. i will update when it will be done !
i will also upload some picture of my house like somes want to see it.. i didin't see this coming at all !.


the paint i use for the red needle on the cluster is not paint at all! I simply use permanant red sharpie pensil . done 2 coat of it and it came real good !
Leave a comment:
-
Great looking car and good work..... Look forward to more upgradesLeave a comment:
-
What red paint did you use for the needles? The car is looking great!
Also, I am in for more photos of your home- I really like the style.Leave a comment:
-
Nice e30! The interior looks great. I really like the instrument cluster. Looks like 911 gauges from the 80s. I may have to tackle that one day.Leave a comment:
-
Jsta1109, the wear on the steering wheel was minor.. i just want it clean looking . i have sand it with 2000 grit sand paper , apply adhesion promoter and then apply spray Dye . i dont know how well it will last but i have use many time before that kind of spray dye and it hold strong.
here is the picture before :


the after picture i only have the one posted before.
here is a comparision of before and after my interior.


i really love the result of black interior!Leave a comment:
-
Very curious to see the rust repairs, always satisfying seeing it piece together. Also, the repair on the steering wheel looks quite impressive, have you got any more information on that, before/after pictures etc?Leave a comment:
-
here is a preview of my floor rebuilt.
first look of the floor :


not to bad at first sight. but when i have sanded it and sandblast it, little hole start to appear and then bigger hole .
the overall floor is in good shape and solid, so i only cut the rusty part .
i was very surprise to find rust like this because from underneath, i have never suspected to have such rust like this.. the oem gravel guard hide it all.... i swear , i really inspect it.
the only hole ikew about was the passenger side kickpanel big hole.


the passenger one was really bad , i have 2-3 steel pieces to remake that single corner..
that was really PITA... more to come in the next day!Leave a comment:


Leave a comment: