
Ive got the filter down there on my rwd E30 turbo, its a nice spot :)
-
E30 325ix M50 turbo 7 spd DCT 4wd 840awhp @ 31 psi.
E30 M50 6 spd 764whp @ 24psi.
E30 M20 6 spd 675whp. -
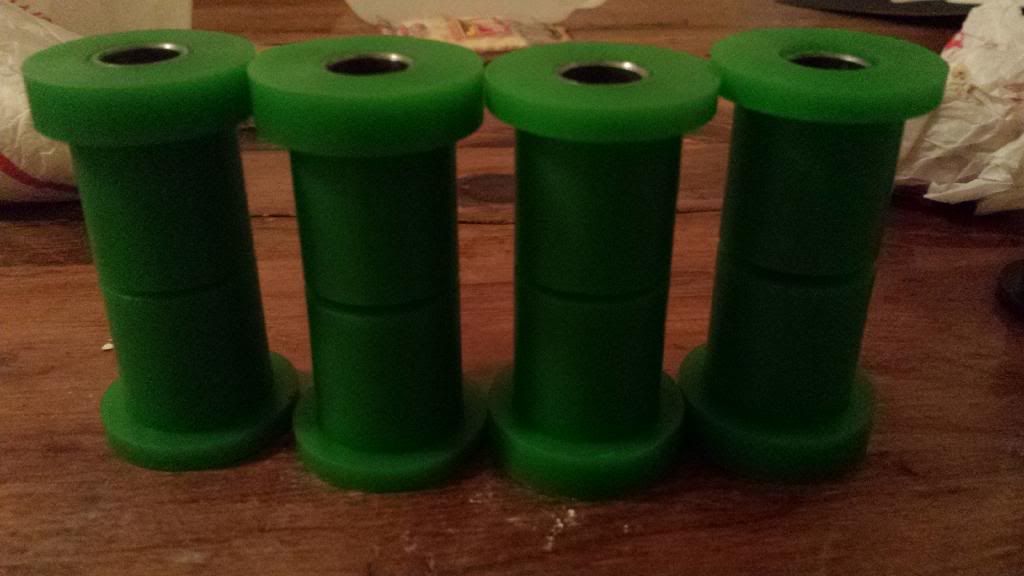
I used a chisel, punch sort of thing and slowley worked it off with light tapping. Work each side out slow and steady so that it comes out evenly. Once it cracks it starts going much quicker. Edit: crack meaning it separates from the inner collar sleeve, not cracking the actual part meaning damaging lol. Obviously you know you dont want to damage those things at all.Comment
-
-
Didnt get a whole lot done today, I had to start working on the 91 coupe quattro project alittle bit. But I got some simple wiring things done, also finished something extra special! Ill let pics do the talking.
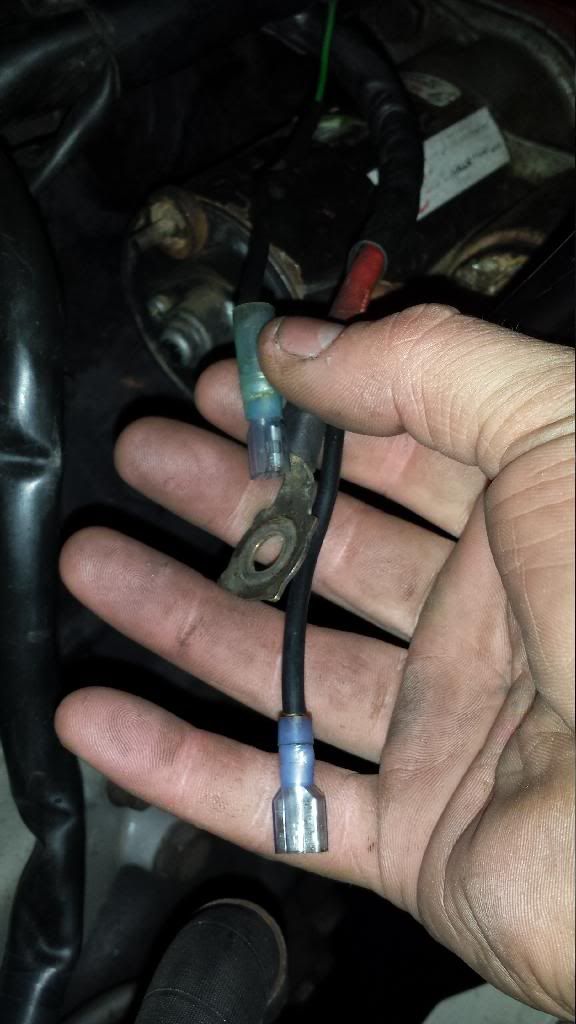
So these are the starter wires, theyre in good shape, but they just wouldn't stay connected to the starter. So, I cleaned up the terminals, added a few new bits.. professional style, and routed the wiring as tidy as possible.
Heres the old:
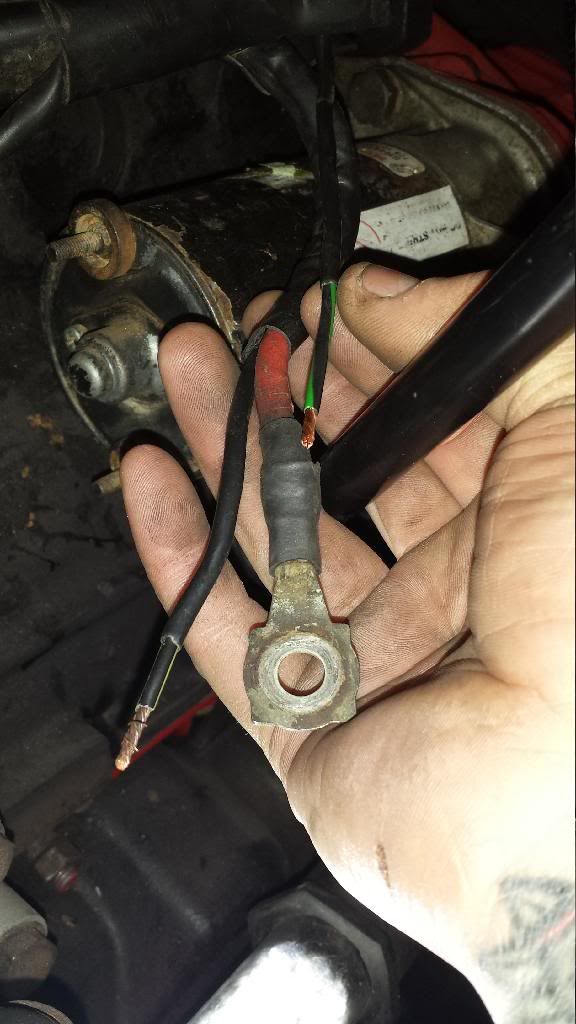
Snipped back for clean wires.
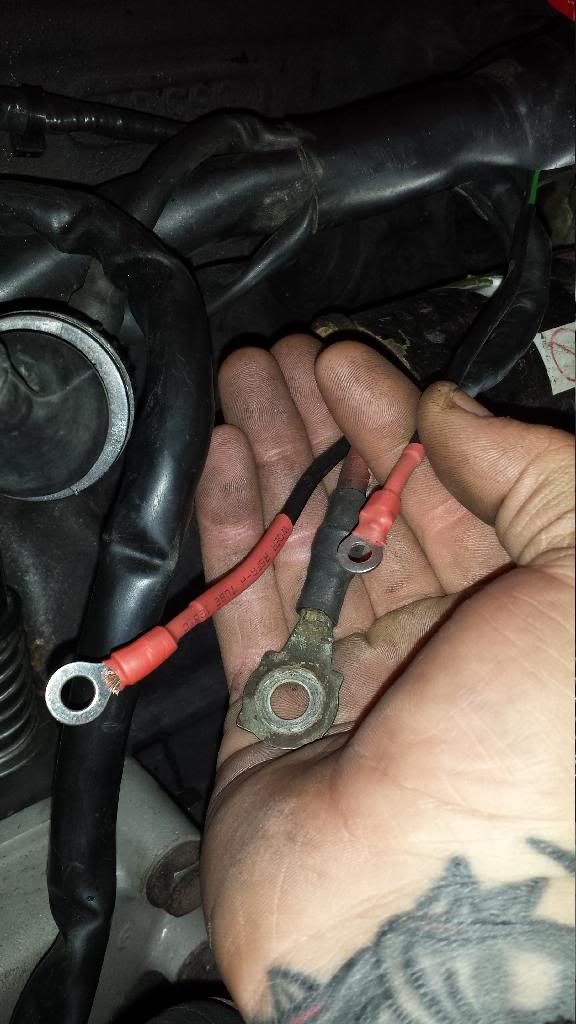
Crimped, soldered, and heatshrinked, these will NEVER go bad.
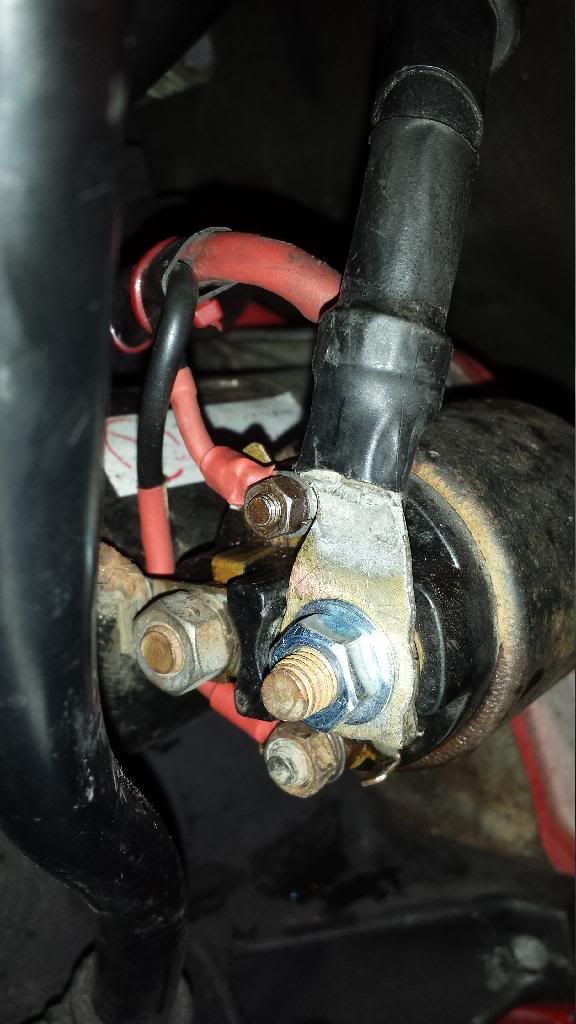
These bolts dont have to be torqued incredibly tight folks, alot of you guys are really slamming these things in there causing the studs to strip out, making it almost impossible to remove. A good trick to avoid this is to double stack two nuts prior to adding the ring terminals and tightening with a third with a wave or lock washer. This way if the contacts get corroded or rusted tight, or if you overtighten youll be able to fit a small wrench behind it to hold thimgs in place. But of course a tiny dash of anti seize makes all the difference in the world.
 Last edited by imwhyteyo; 03-15-2014, 09:06 PM.
Comment
-
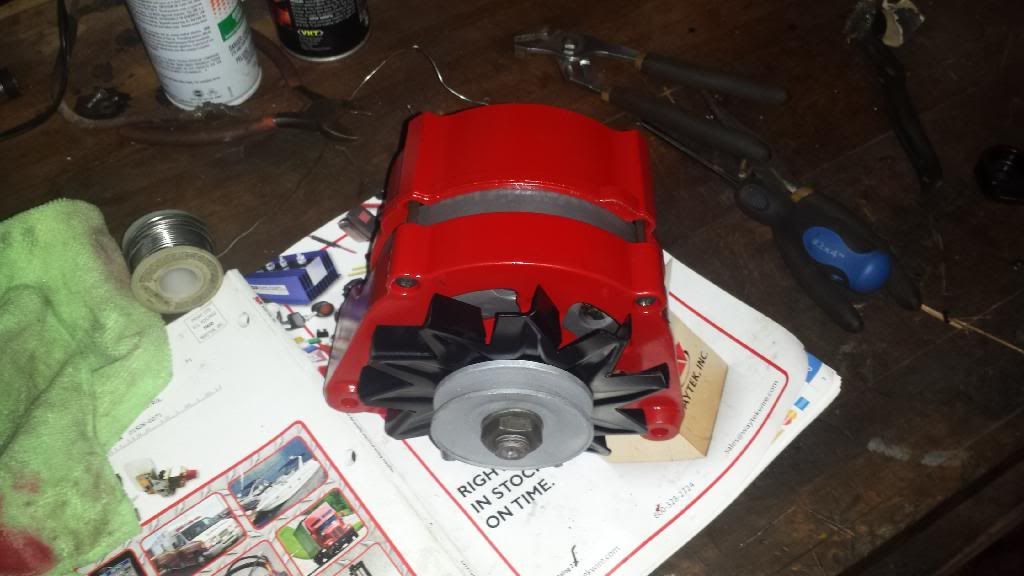
And some of you might be wondering what happened with this mess:
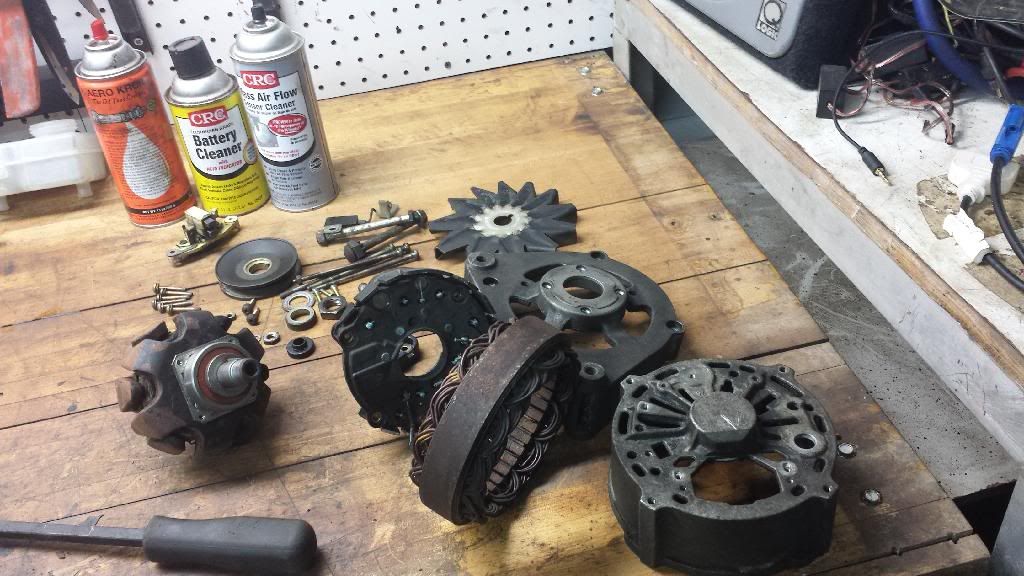
Well. Heres what happened
1: sandblasted every peice inside and out, all internals of rust, debris, amd corrosion.
2: removed all solder from original locations and heavy duty wiring.
3: shortened internal heavy wiring contacts and resoldered everything heavily with fresh clean solder.
4. Reglazed all necessary areas with a special anti electric coating, except contact points.
5. Dielectric greased contacting points except the brushes.
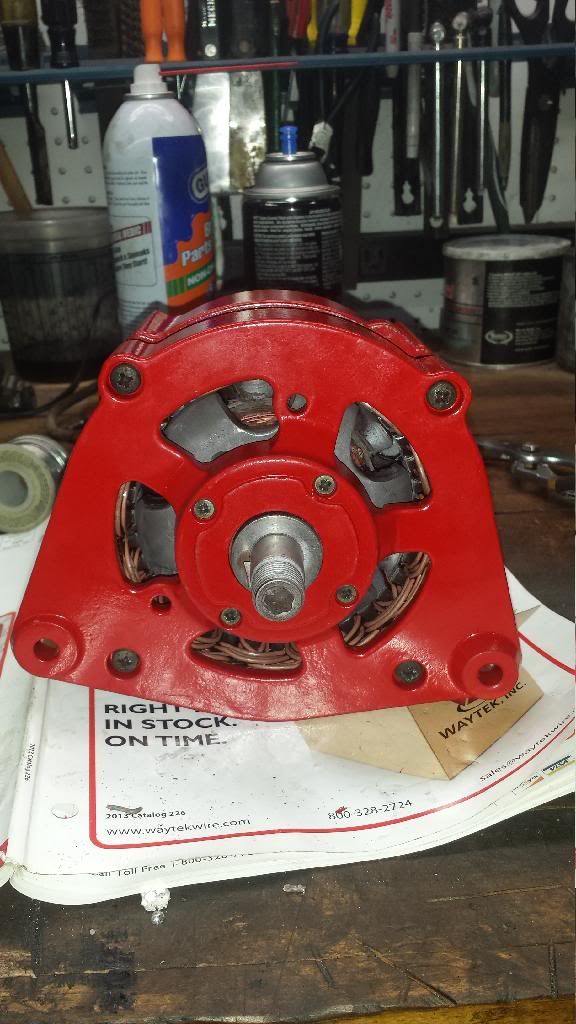
6. Installed new brushes, refurbished copper brush surfaces.
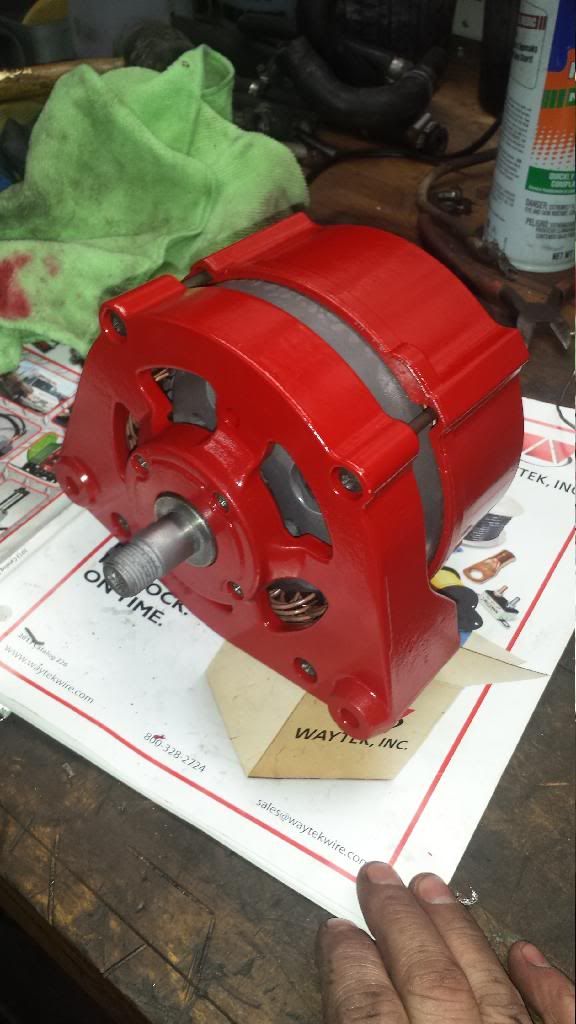
7. Sandblasted and powdercoated shell, fan, and pulley according to engine theme.
8. Assembled with as much new hardware as I had on hand.
*DO NOT ATTEMPT TO DO THIS IM THE EVENT YOU WISH TO TRY PAINTING YOUR ALTERNATOR. REMOVAL OF THE SHELL DAMAGES YOUR INTERNALS AND UNLESS REPAIRED PROFESSIONALLY WILL MAKE A FAULTY, OR UNUSEABLE ALTERNATOR WITH AN EXTREME POTENTIAL TO CREATE A DANGEROUS FIRE HAZARD!!! Do not try unless you know what youre doing, otherwise - ask me! I offer the service to rebuild and beef up, and or paint your alternator. Just PM. me please. I didnt take pictures of the process specifically for this reason. I dont mind people following other things ive done, but I dont want to see you guys burning up your cars trying this on your own.
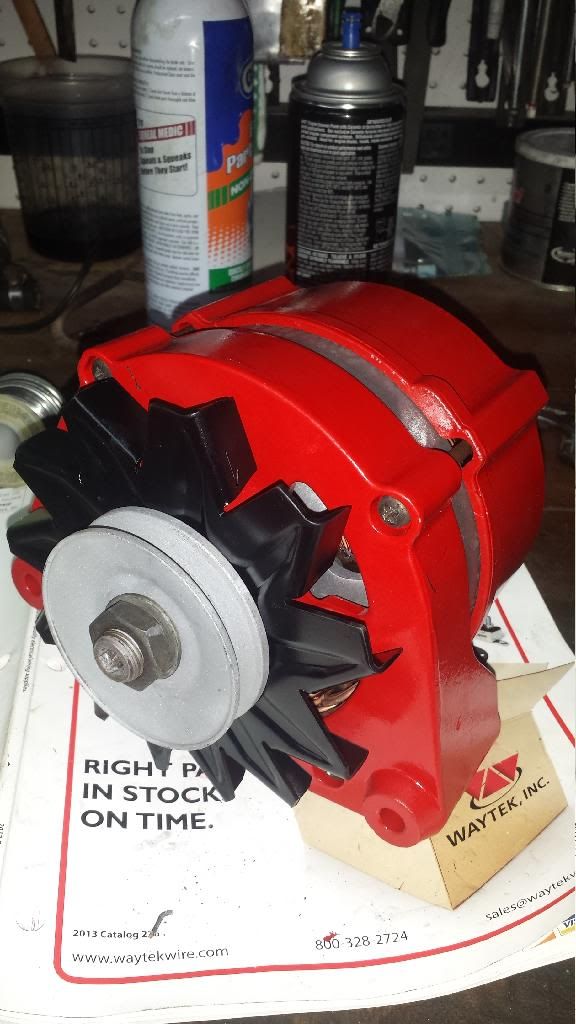
Anyways.. heres the aftermath.
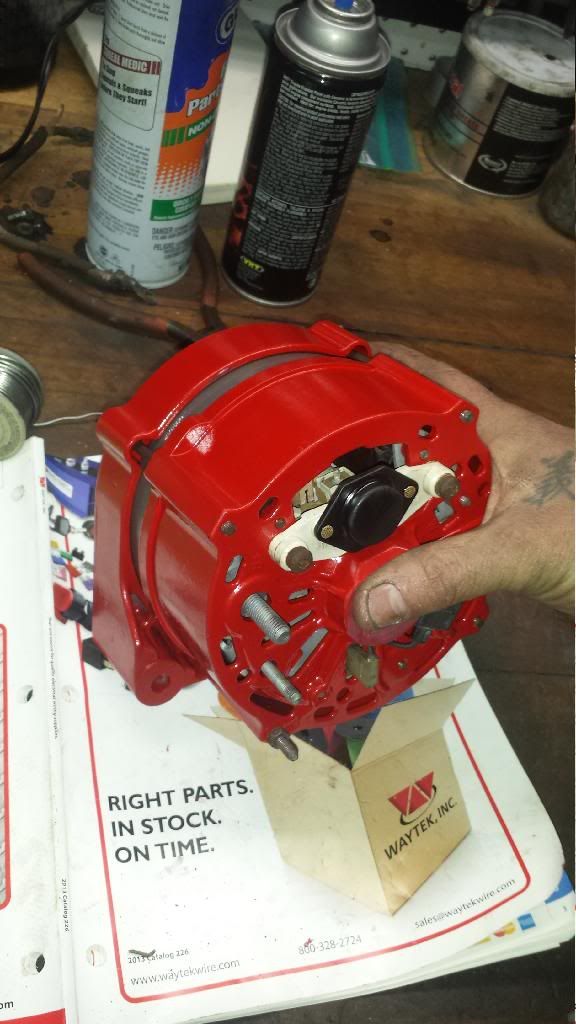
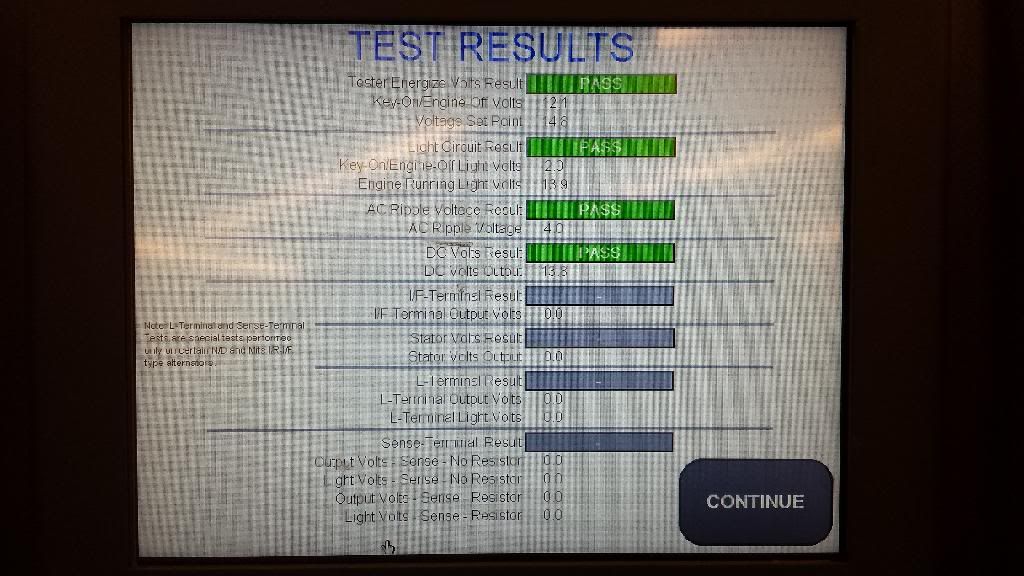
And the test results are in!.. all good baby girl!
 Last edited by imwhyteyo; 03-16-2014, 01:49 PM.
Comment
-
You don't need to keep the balls in the same sockets they came out of.Comment
-
im partial to agree its not 100% necessary, but ive always done it this way from back when I was taught to do so by a friend who was an old indy race mechanic. Its good practice and im sure the slightest .001"+/- difference in bearing size could pose a potential wear issue. Heres to.playing it safe :cheers:Comment
-
-Christian

'02 ///M3 CarbonSchwartz 6MT daily beast
08/91 Mtechnic II 325IC alpine/lotus
318iS, slow build/garage queen...
'37 Chevy pickup, the über project Originally posted by roguetoaster
Comment
-
Considering that ball bearings are toleranced to .0001 out of the box, it's not necessary.
Now, there is wear. Obviously the cages, stars and cups wear from continued pressure by the balls on the same locations.
HOWEVER, the balls are VERY hard... much harder than the cages, stars and cups... so the balls wear only a tiny bit compared to the other components. ALSO, what little wear the balls experience is spread across their entire surface area, while the wear the cages, stars and cups see is concentrated in small areas.
Mic the balls... I'd be surprised if you can find ANY difference among them. Be careful with handling the mic, as you can see a change of .0001 from it warming up from room temp to body temp in your hand. I've seen this happen when checking piston pins.Comment
-
Right, we agree on some level.. I definitely didnt mean the balls woyld be out of round, tolerance etc.. but I should have added keeping the cages and stars in the same location as well. Not the balls alone.. I understand this is the impression my earlier post suggests. Sorry!Comment
-
More stuff.
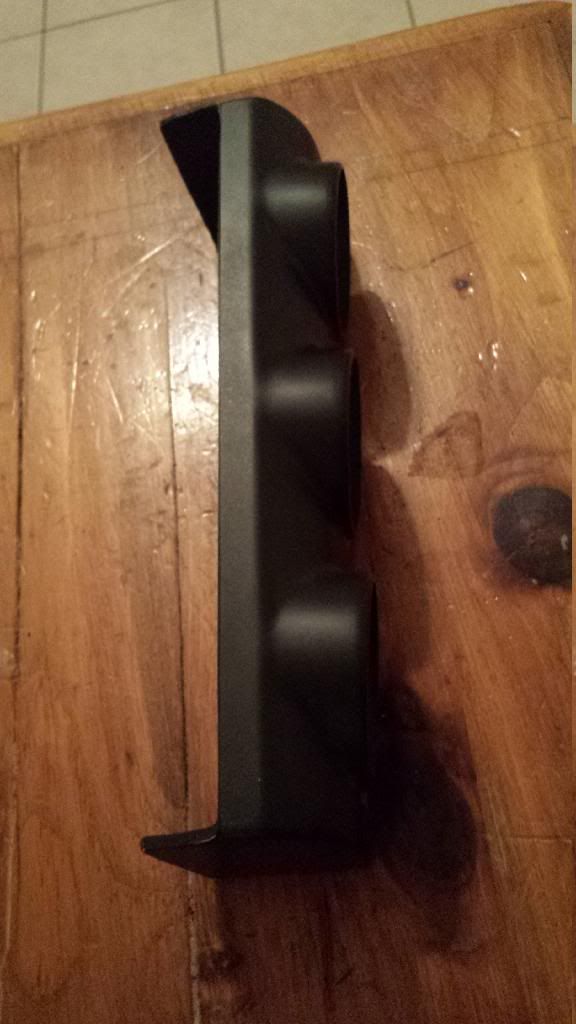
New guage cluster for the vent to rid of that cheapo thin plastic heap.

Finally got my completed set of rear trailing arm bushings. Akg originally was missing an outer busbing from the seT(7 of 8pcs.)
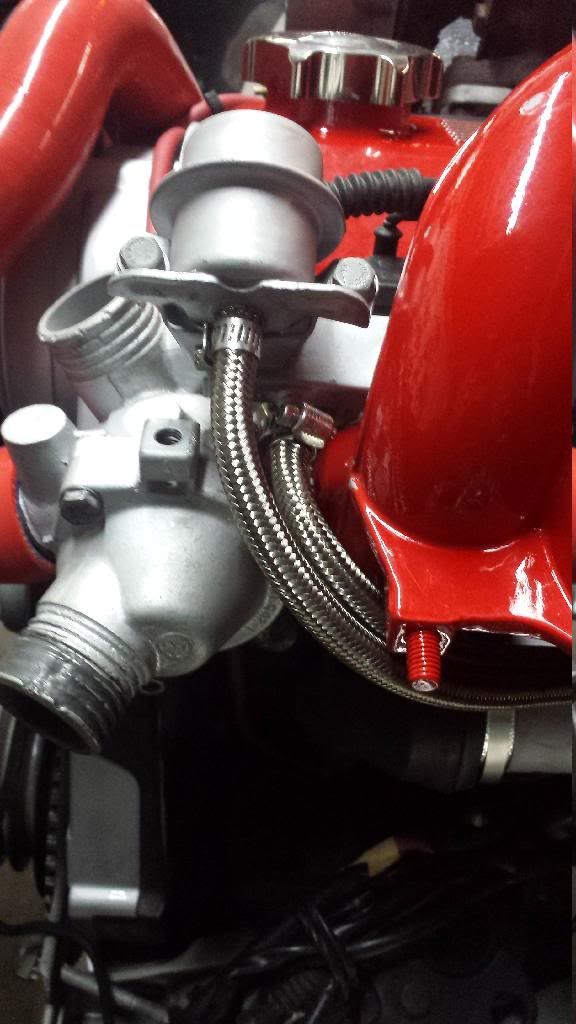
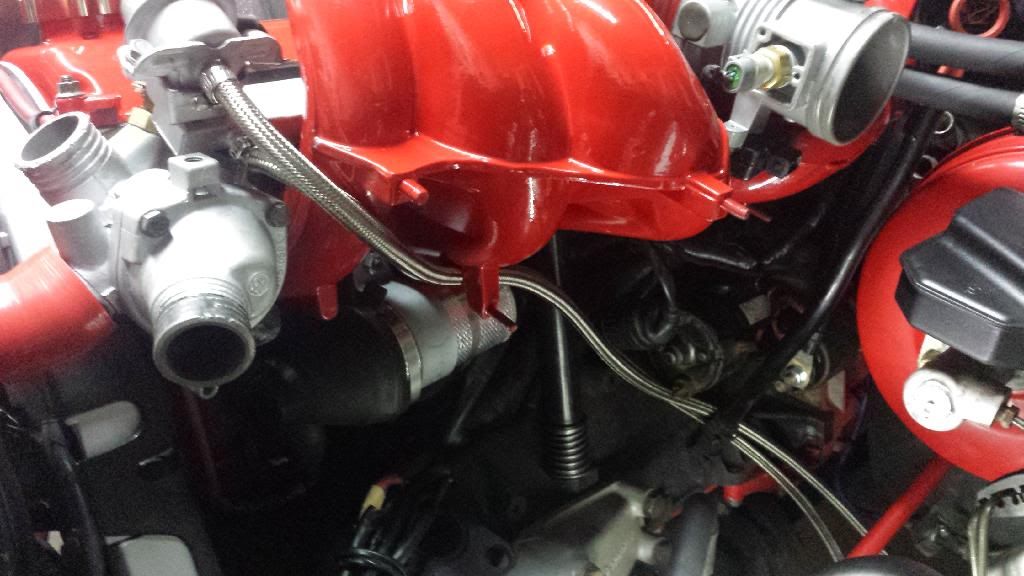
Finished my fuel line setup, although I think I will be welding permanent threaded fittings for all the lines, so I may wrench on and off the lines as needed for testing. This setup is only temporary so I can have it running. Realized now that 4an just wont cut it, and will make sure the lines work for 6an and will adapt appropriate fittings as such. Welded, and the threaded, not clamped.
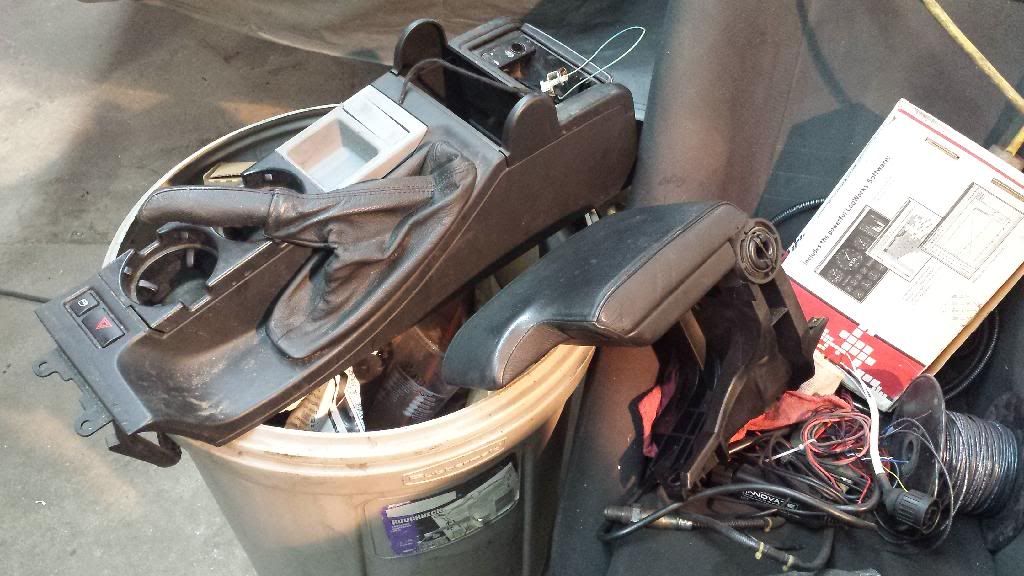
I also got to get back to alittle luxury stuff.. I turned this:..
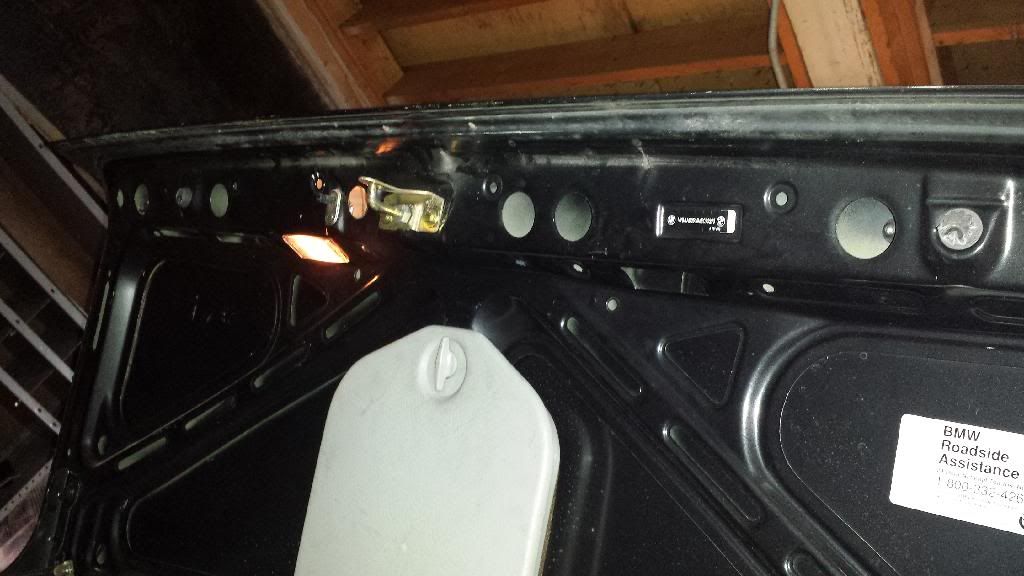
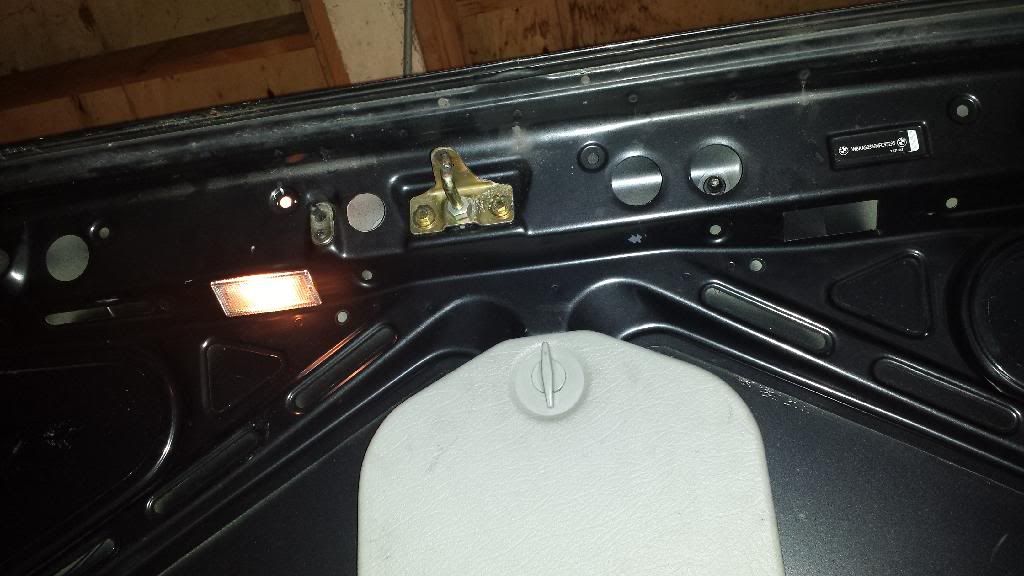
Into this! With some extra parts :)
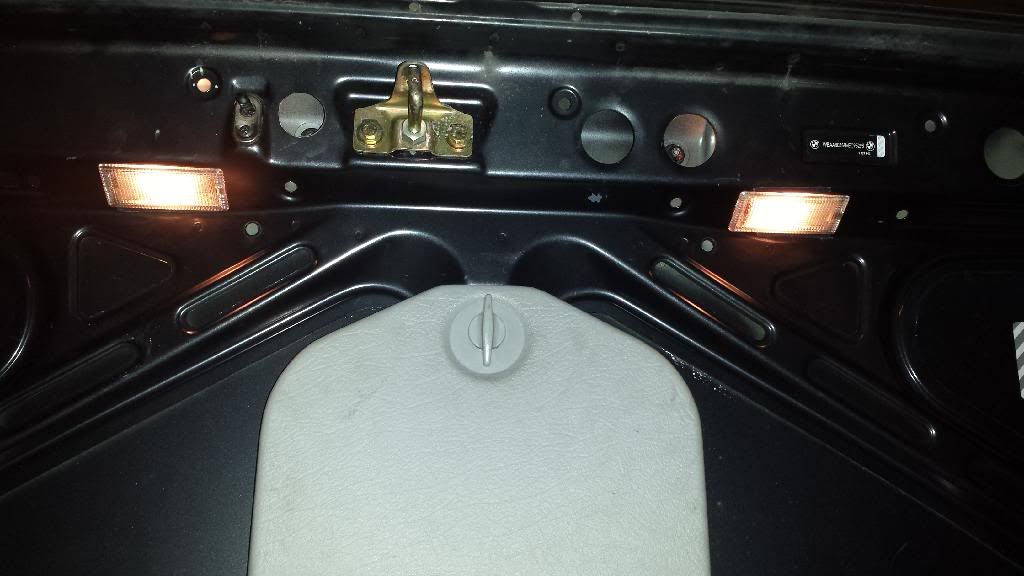
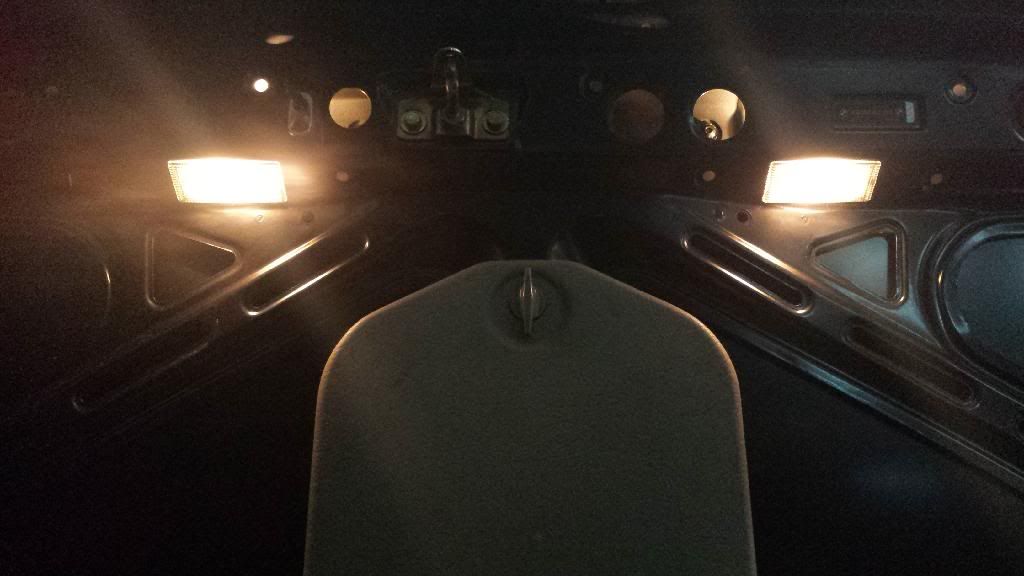
Of course I need to get a few extra led bulbs to match the interior lights. These halogens dont do much for fully illuminated trunk space, although the extra bulb housing does help substantially.
Stay tuned for my mext retrofit I started after the trunk.. im adding e36 vanity mirror lights into the rear passengers area for lighting in the back seat! Fit and flush and lots of lights for passenger convenience. The position is perfect, ill also be completing my rear component speaker setup as well in preparation for the trunk false floor setup for the stereo. This speaker system will be a force to be reckoned!!... prepare for ear bleeding, chest pounding, organ disorienting action!!
I have a fetish for lights, stereo, and cleanliness.
My goals are oem+... all my mods I feel not to be too extravagant, though, instead the way a "fully loaded" E30 should have been.
Also scored a clean new custom center console idea, ready to go to go along with the e36 seat install. Definitely stay tuned!!. You wont want to miss this.Comment
-
Guages

Getting this thing pieced together and ready for fab work
Another little pickup.
Test fittings
Comment
-
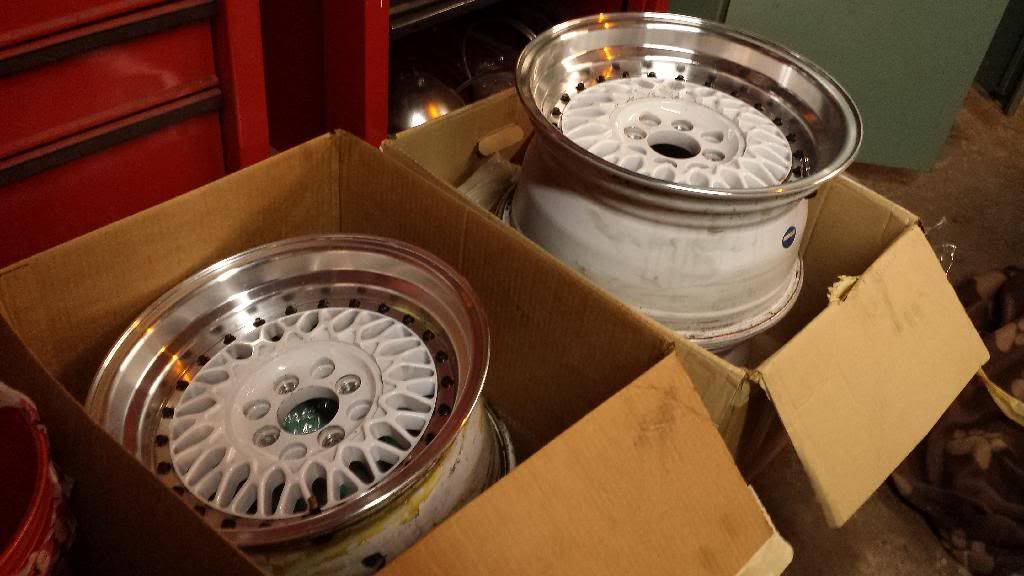
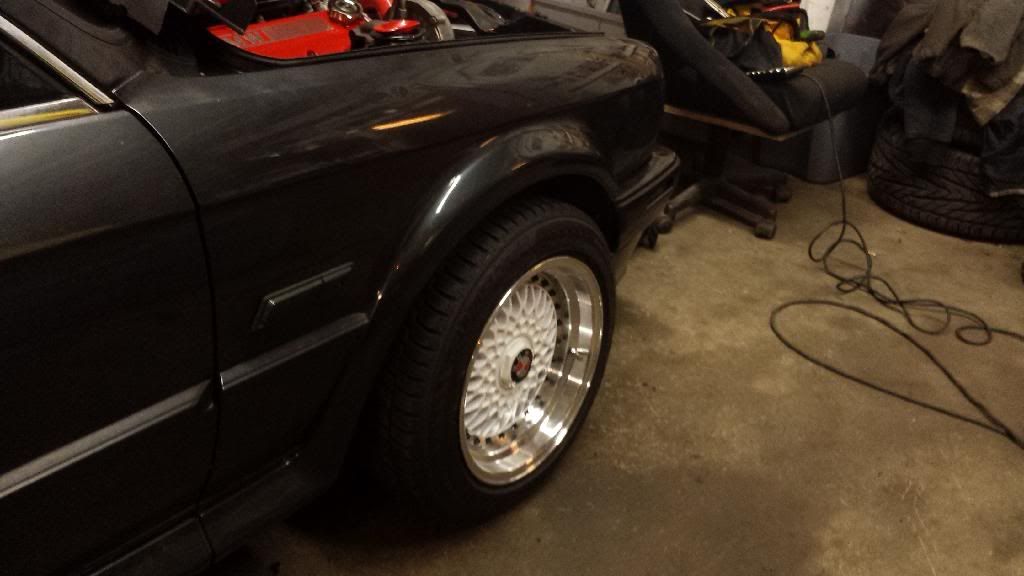
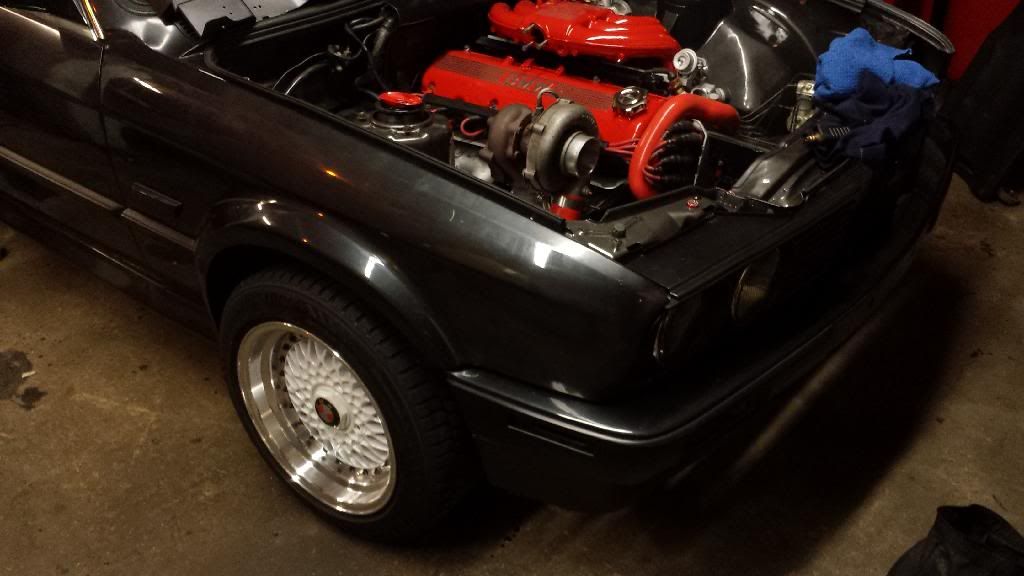
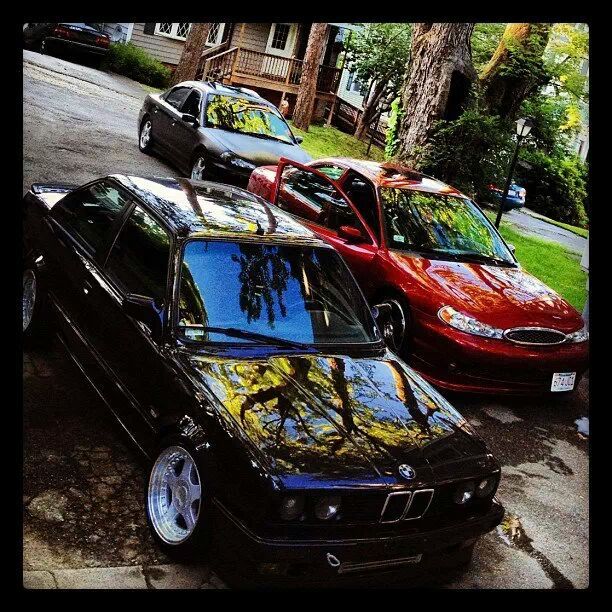
These are just temporary wheels until the o.z. fitipaldi fitistars get filled and redrilled. But I found the exact look I wanted the car to look like in the meantime. Maybe just a half inch lower would be better.. but im hoping as I drive the new springs will settle down a bit. Is this just a myth? (H+r sports). Coils could not come any sooner!!
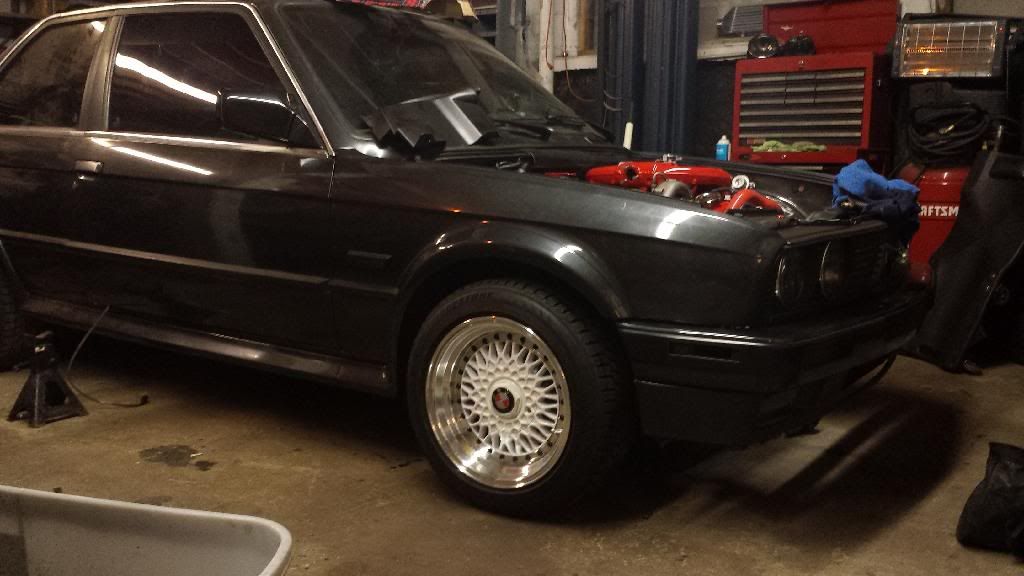
I also started putting together my project list for lelas sister "mila"
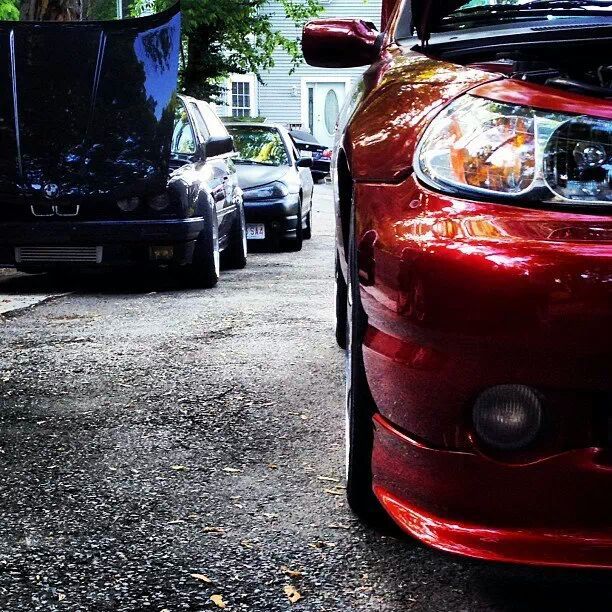
Here she was last season before I removed the head. A couple pics of her good angles.. lol

 Last edited by imwhyteyo; 03-30-2014, 08:09 PM.
Comment
-
Yay. More coming soom as promised. Better details.. etc.Last edited by imwhyteyo; 03-30-2014, 08:07 PM.Comment


Comment