Announcement
Collapse
No announcement yet.
How To Guide - E36 Steering Rack Swap
Collapse
X
-
Aside from vorschlag, which is the same price as OE, does anyone know of an alternative for purchasing an early model steering shaft (non-air bag)? Started doing this swap and found that my u-joints are practically seized. Don't want to drop $300 on this part and I don't have fabrication tools
-
Thanks for the original writeup! I'm a diehard 02 guy that also has an 88vert, bought a rebuilt rack from Ebay and completed the swap in 5 hours by myself from wheels up to wheels down and a string alignment. Wayyyyy easier than I thought it was going to be.
Leave a comment:
-
The
Originally posted by rturbo 930 View PostOkay guys, I'm trying to figure out how the PS lines go. I don't have the engine in, figured it would be easier to do it now rather than later, so I just have it mocked up. I ended up reusing one of the LP lines (will put a new hose on it later) since the fitting didn't have the same bend in it, and it was easier to run it to the reservoir. The HP line is also running really close to the steering knuckle. I've read that this bend needs to be opened up a bit, but the way I have it run, it looks like that would actually make the problem worse, maybe it's going the wrong way? Here's some pics, tell me what you think.
Edit: I'm thinking I'm gonna flip around the HP hose and see if that works out better.
Edit 2: I don't see how that's going to work.
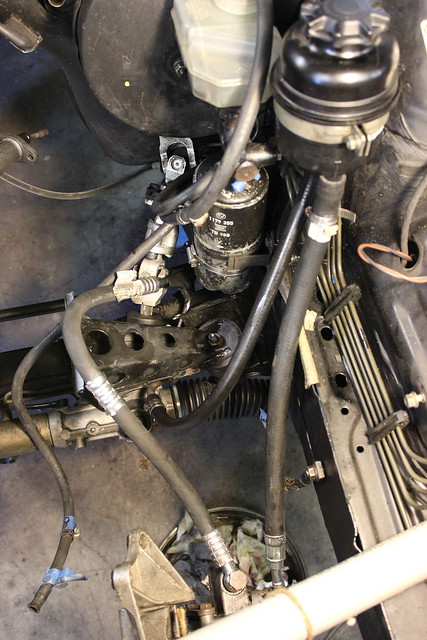
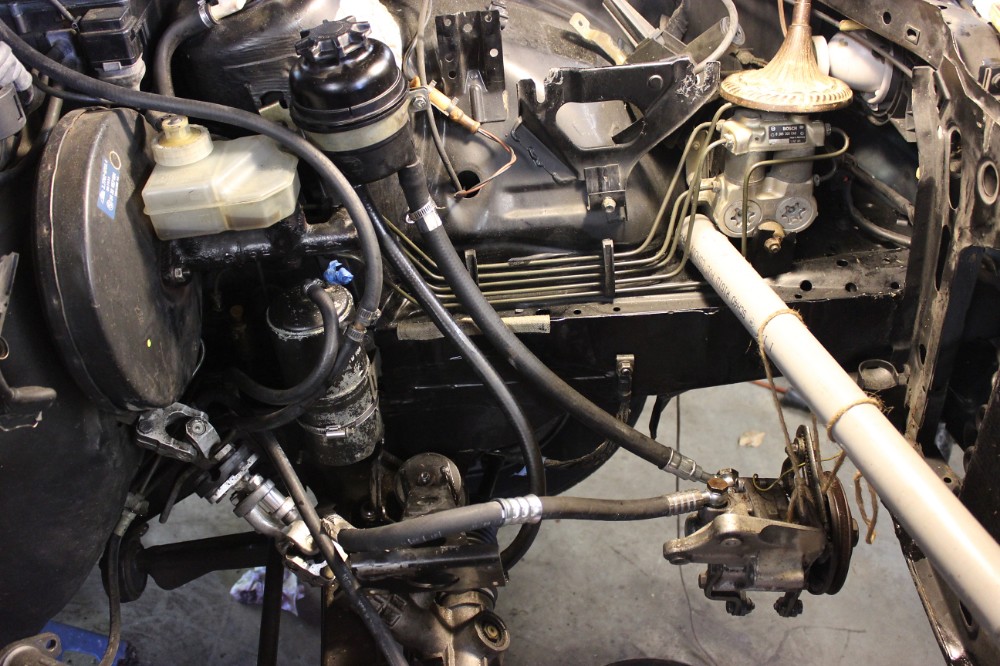
Looks like your getting close!
You could gently bent then HP line away from the knuckle to create the space you need
Mine was an 84 325e with early e OE hoses e36 rack swap.
I just had to flip the HP hose over (one connected to rack in your picture ) and reinstall banjo bolt from the opposite side. Then flip the pump side to match. It moves the steel line closer to the steering knuckle but allowed me ~1" clearance. The hard line won't flex once the hose is lined and snugged up.
Might be worth a try before bending. Not sure if the early/late e30's had different HP P/S hoses. If flipping it doesn't help I would look in to an early e HP hose if your ordering one anyways, it bolts right up.
Hope this helps!
Leave a comment:
-
Okay guys, I'm trying to figure out how the PS lines go. I don't have the engine in, figured it would be easier to do it now rather than later, so I just have it mocked up. I ended up reusing one of the LP lines (will put a new hose on it later) since the fitting didn't have the same bend in it, and it was easier to run it to the reservoir. The HP line is also running really close to the steering knuckle. I've read that this bend needs to be opened up a bit, but the way I have it run, it looks like that would actually make the problem worse, maybe it's going the wrong way? Here's some pics, tell me what you think.
Edit: I'm thinking I'm gonna flip around the HP hose and see if that works out better.
Edit 2: I don't see how that's going to work.

 Last edited by rturbo 930; 07-11-2015, 01:59 PM.
Leave a comment:
-
I removed my rack without bending the tabs. Just took some wigglingOriginally posted by RobertK View PostYou cannot remove the rack by pulling it to the side because you have to pull straight down to pull the rack off the steering knuckle. You cannot wiggle the rack straight down with the tabs in the way nor can you wiggle it left or right. The oil pan sump is too low to allow the rack to come back far enough to clear the tabs. Take a good look a the picture for Step 11.
The alternative is to unbolt the motor mounts, lift the engine, and possibly remove the oil pan.
The tabs are very strong and would require ALOT of repetitive bending to damage them.
I had seen them on a the CentralBimmer.com website but it seems to be down right now. If it comes back up I will post a link.
Leave a comment:
-
I test fit with a few washers on mine. Once everything was lined up and installed, I removed the bolts and washers and measured the stack of washers to get the size needed. I think it was around 1/4in or so for me.
Leave a comment:
-
Since I'm doing this on a euro shaft connection, I don't know what size of spacers I need. Does anyone have an out to out dimension for the steering joint? Like what the total length is when complete?
Leave a comment:
-
If im not mistaken i have the same steering joint on my euro 89 316i (non airbag). It fits fine if u remove the rubber bushing, rotate the halves 90° to line up the holes and use a couple bolts, nuts and spacers to get the correct length required.
Leave a comment:
-
Regardless if your doing a swap or just replacement. I would highly recommend taking the whole steering knuckle off the car from the steering column. It is so much easier to remount the knuckle on the steering rack when the rack is out of the car. When mounting the steering rack the knuckle slips onto the steering column pretty easy. Don't forget to get a wire brush and clean the splines on all parts.
Leave a comment:
-
-
But you will need to open up the firewall hole. Airbag is definitely more time consuming.
Leave a comment:
-
Non-airbag. The airbag version is much more simple, according to threads I have read. You only need the 1/2" rack spacers.Originally posted by funcrew View PostWas this for an airbag or non-airbag car? Mine's an airbag model, and I want all my stuff lined out before I make the car non-op.
Leave a comment:
-
Was this for an airbag or non-airbag car? Mine's an airbag model, and I want all my stuff lined out before I make the car non-op.Originally posted by phenryiv1 View PostAnd, rack re-install. This was a fairly short process that was not at all difficult but took some thinking to get right.
The Dungeon kit came with a set of 1/2" spacers to fill the gap in the tabs on the subframe- the e36 rack mounting points are not as tall as the e30 points. Different posts state that the 1/2" spacer works but that the best solution is (4) 1/4" spacers. not having any 1/4" spacers, I went into my parts bin to find washers that added up to 1/2" thickness. I wanted stainless or galvanized but I only had 4 of them- not thick enough. Then I went into my salvaged fasteners buckets and found 4 washers form a set of head bolts. Added up, 2 of each per side added up to 1/2" and were divisible by 2, making for (4) 1/4" spacers.
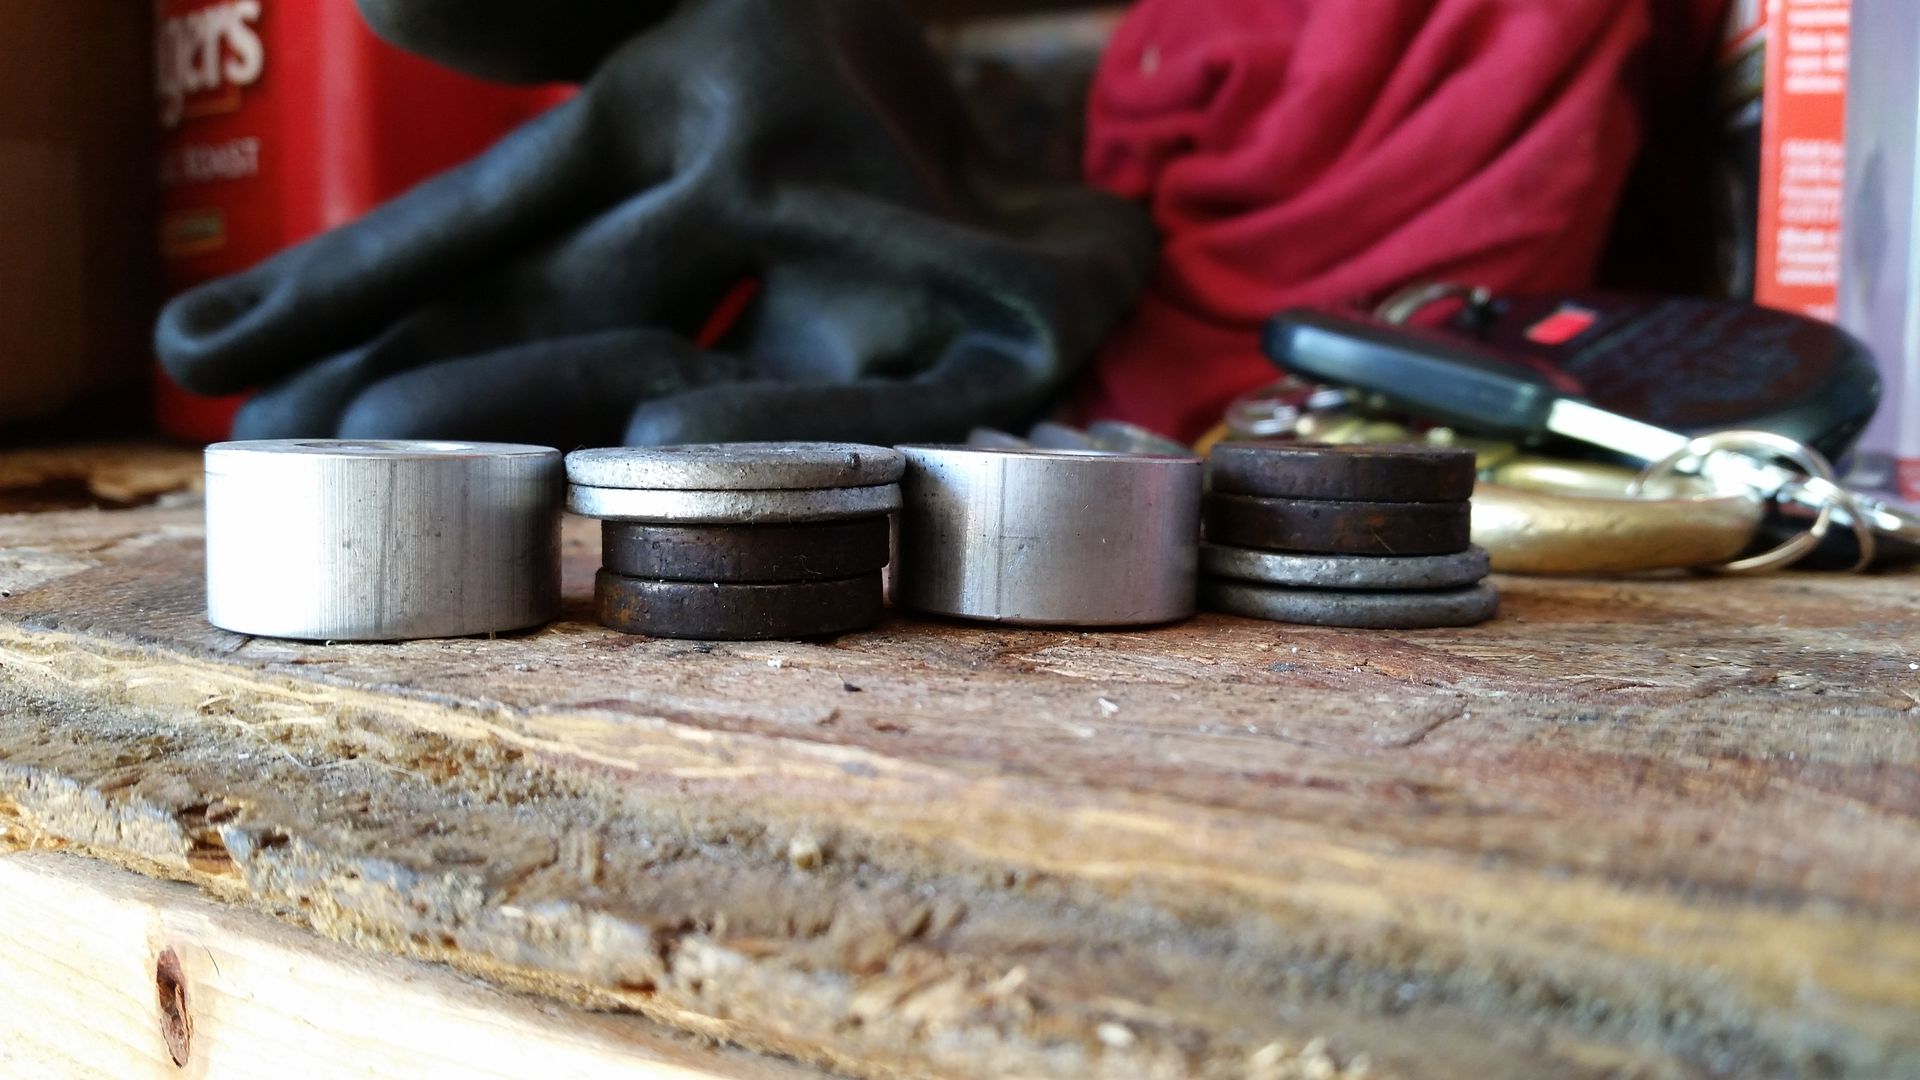
Install of the rack was easy. I installed the knuckle first, then slid the rack into place, then gently closed the tabs enough to free up my hands to insert the bolts with 2 washers each top & bottom. The washers go between the rack and the tabs.
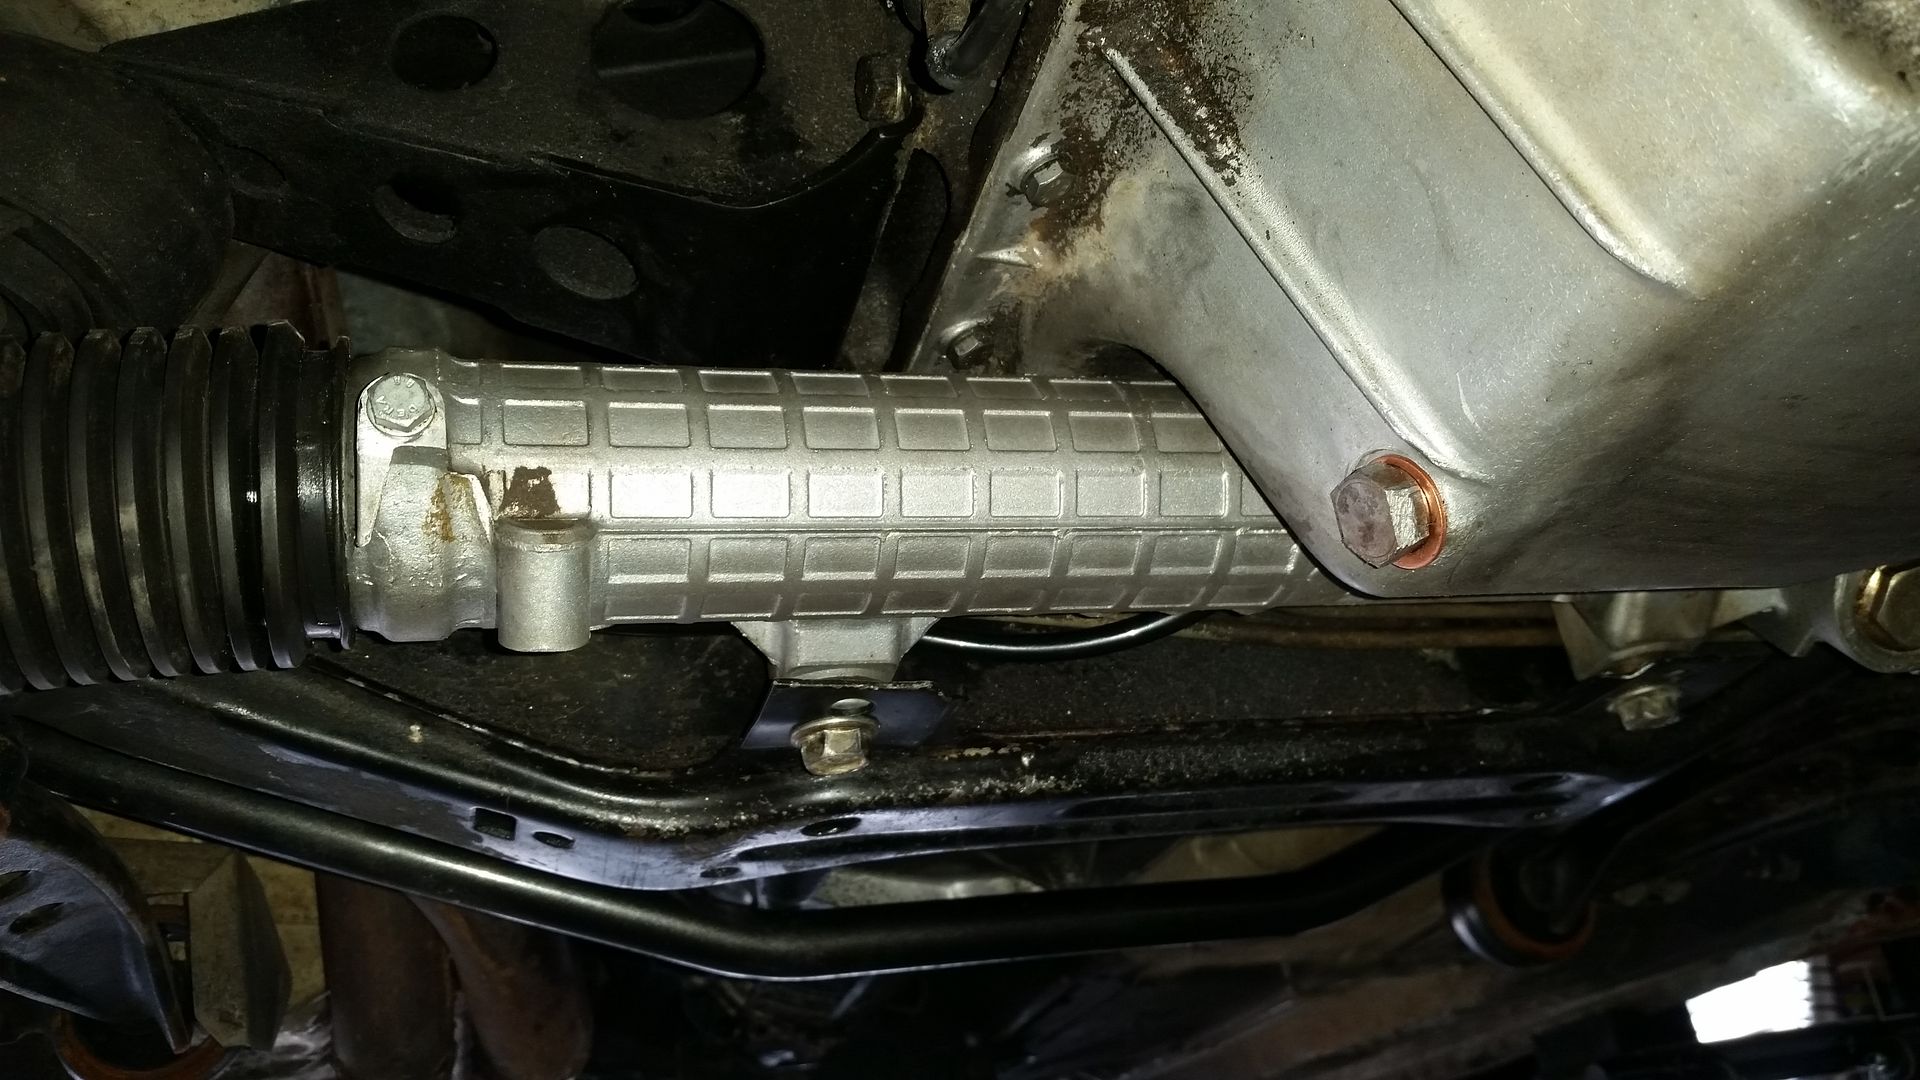
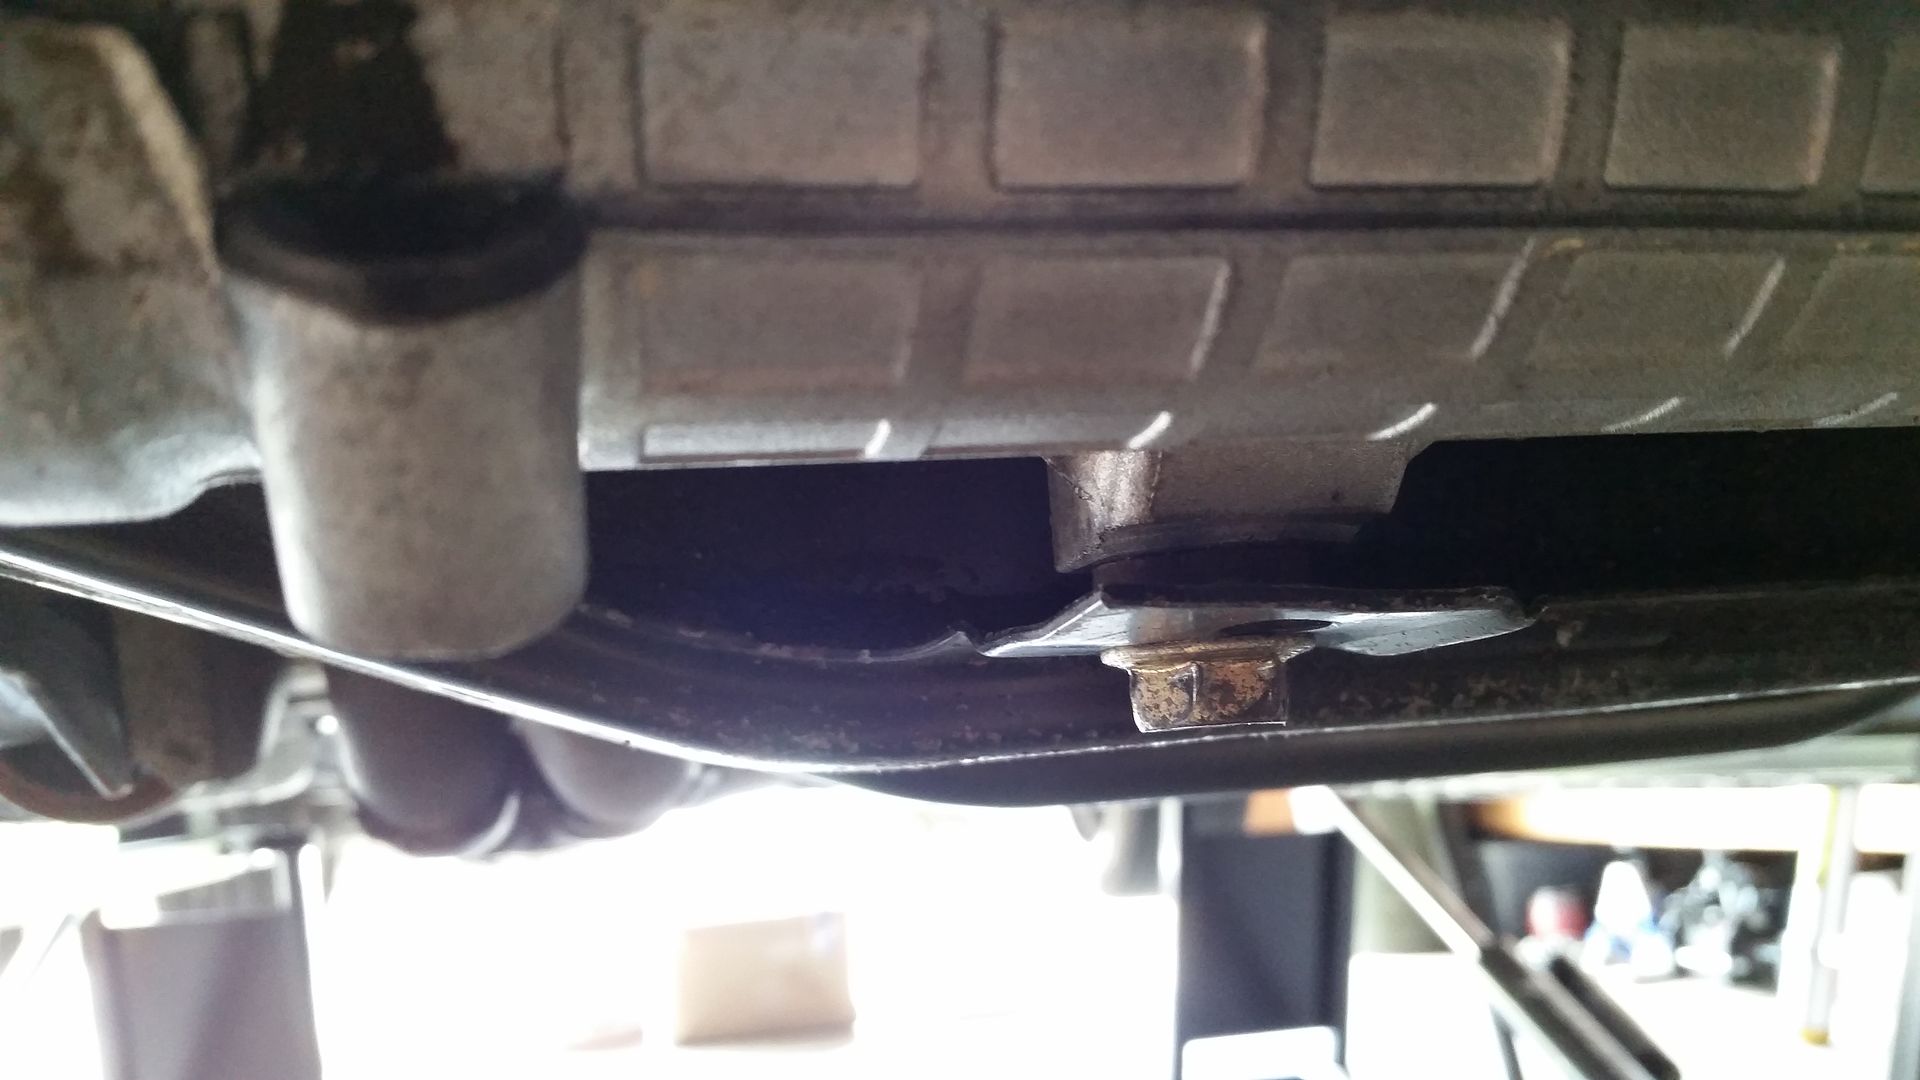
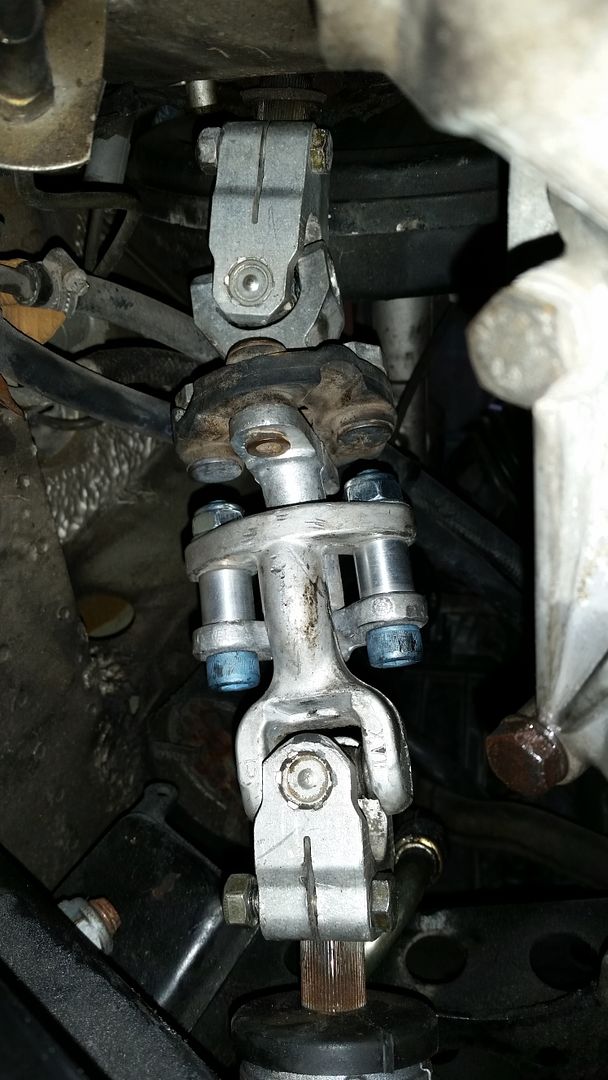
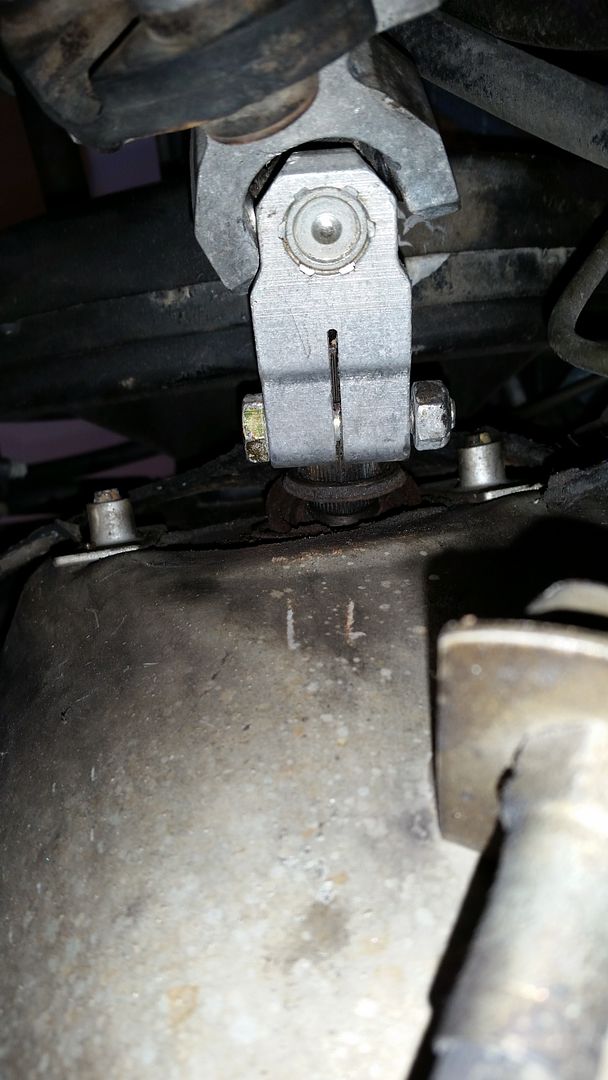
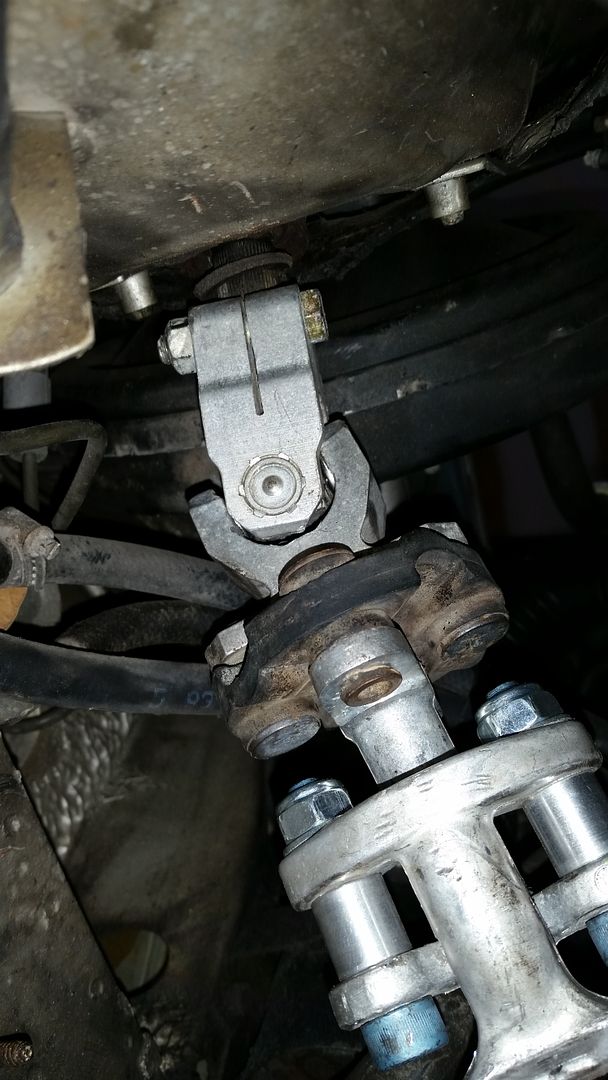
Last up was bending the lines. I got all of the lines in place with the banjo bolts loosely in place and then from there made my bends. I had to make a few bends after testing the rotation of the knuckle, just to be sure that the lines cleared the knuckle when it was turning. I used a block of wood and gentle taps with a hammer plus easy use of a prybar to get the clearance that I needed.
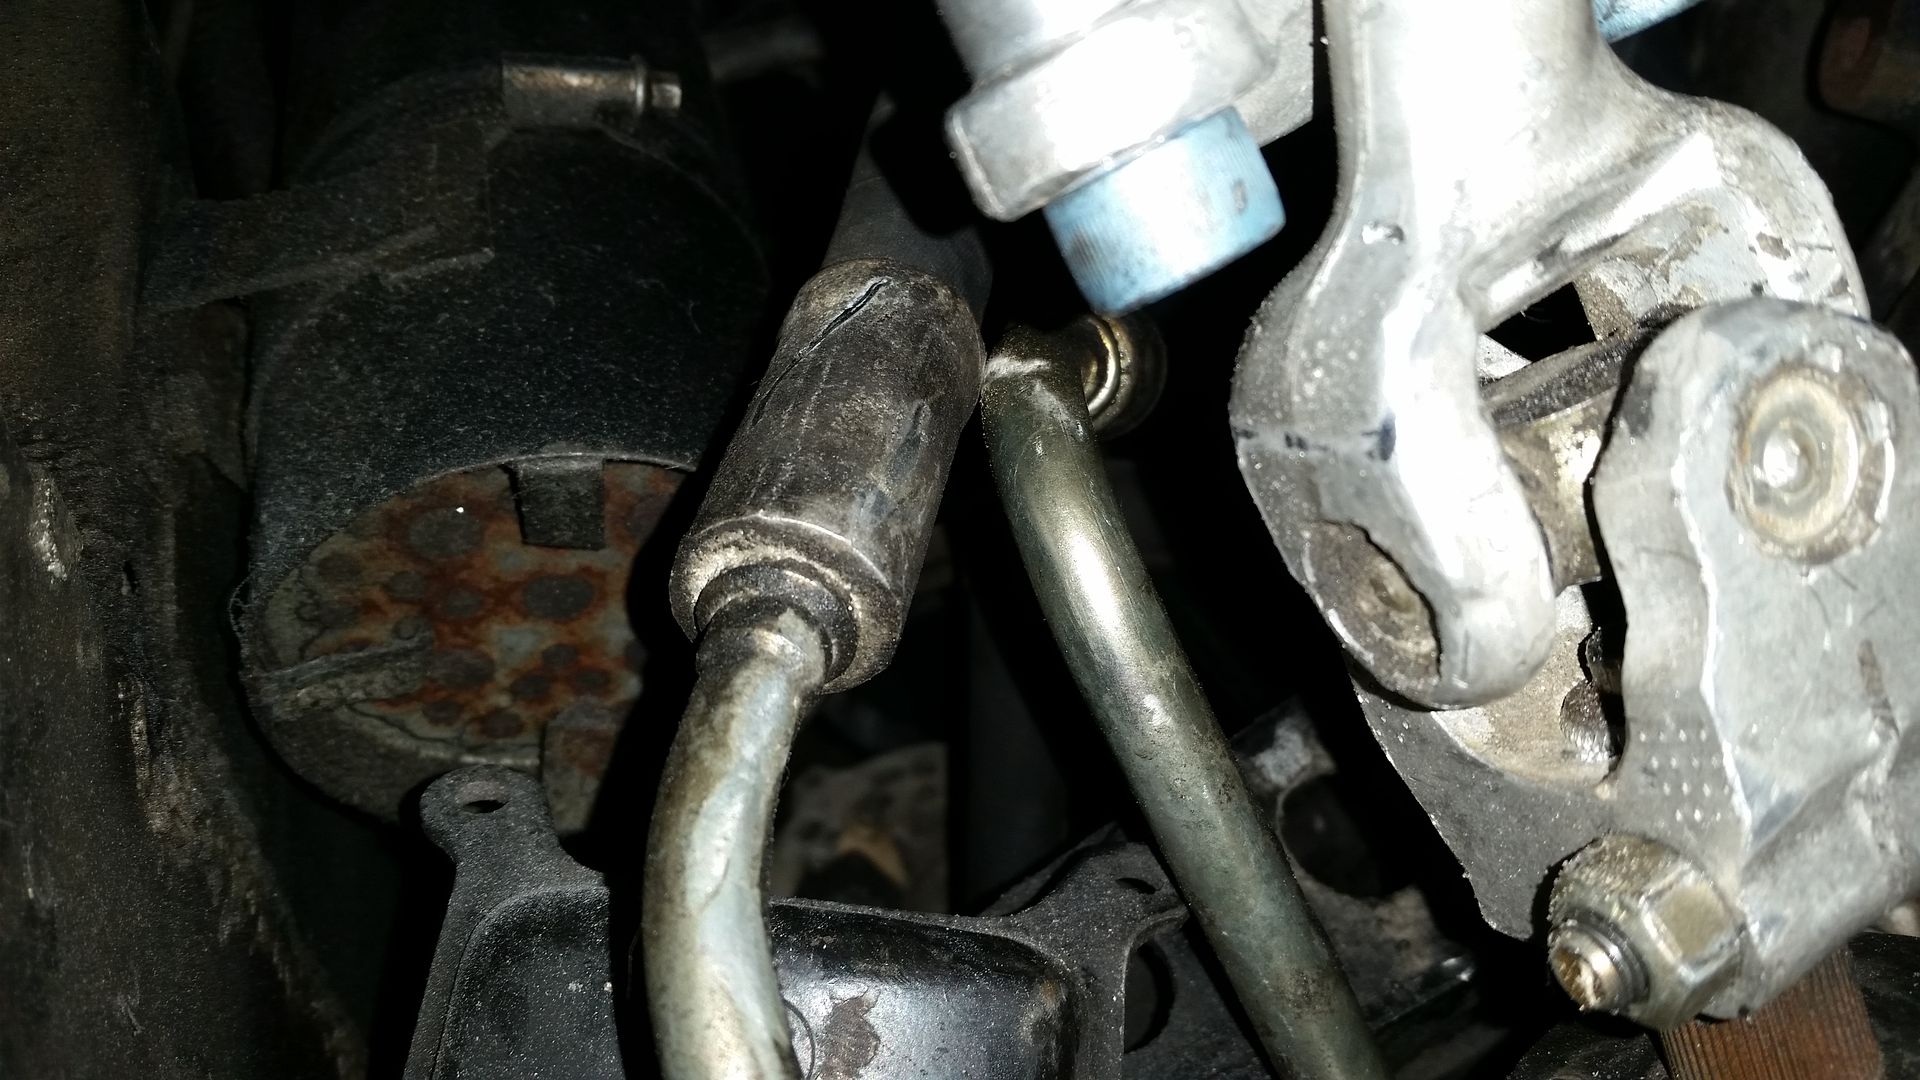
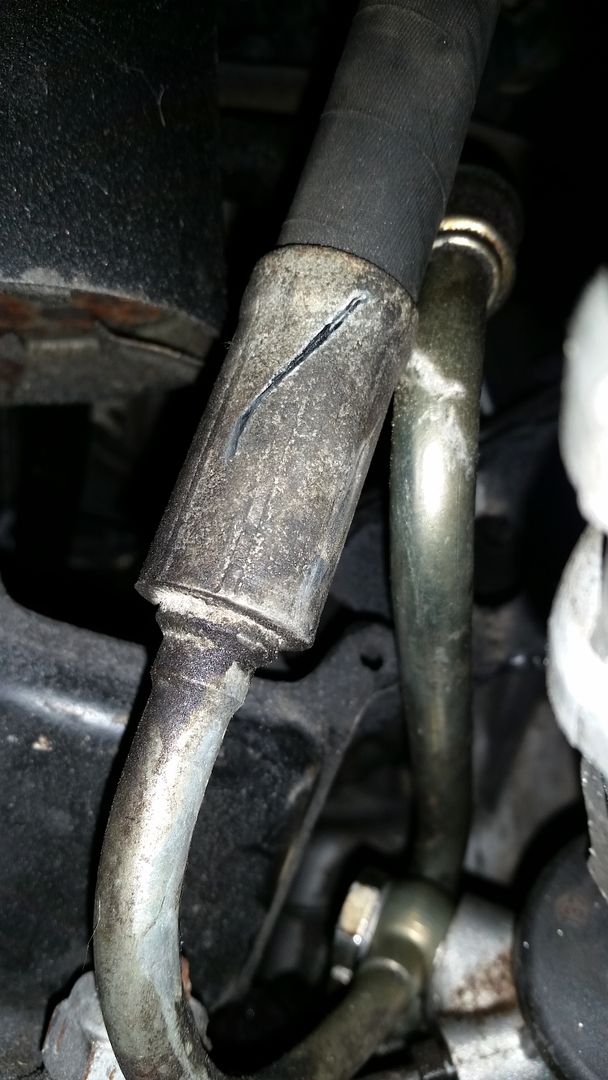
That is NOT a kink in the line on the right- just a reflection.
I still need to Dremel the upper knuckle a bit but I am pretty happy wiht the overall results.
Leave a comment:
-
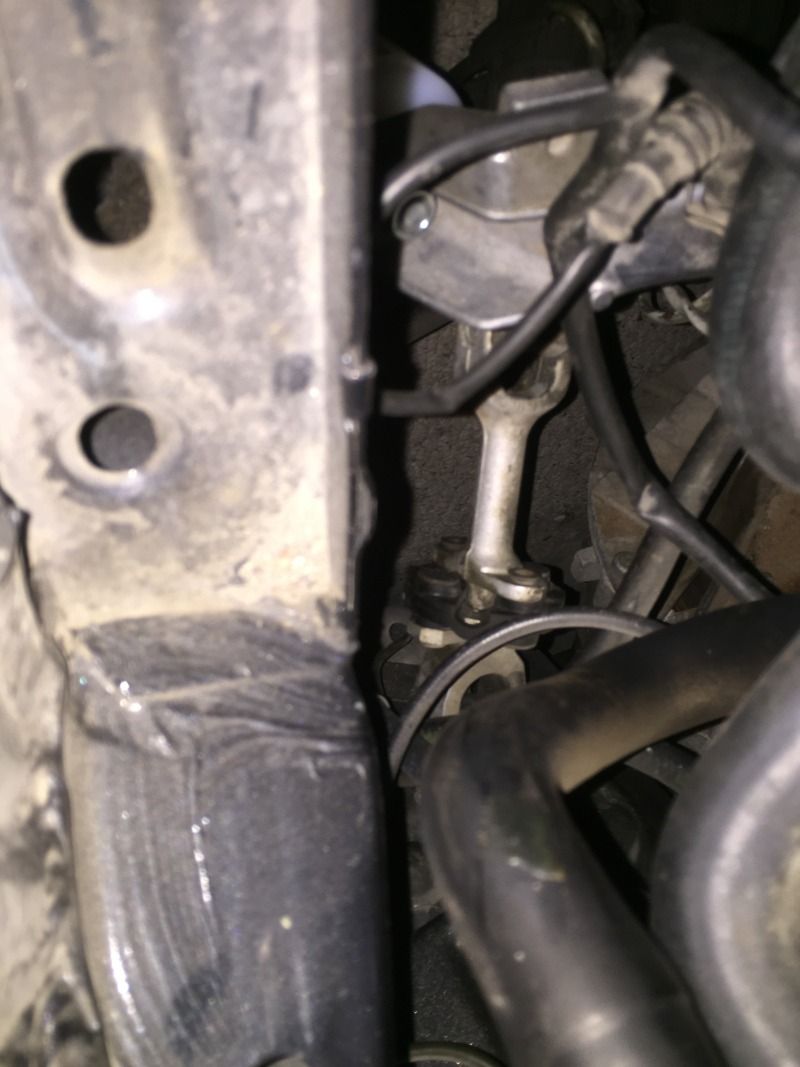
Just for record it is possible to install the steering knuckle/linkage after installing the rack.
I was able to slide it up the steering shaft far enough to be able to seat it on the rack splines and then tap it on with a mallet.
This way makes it easier to make sure it's centered imo
Leave a comment:

Leave a comment: