Announcement

Collapse
No announcement yet.

JT's M20 Build Thread

Collapse
X
 
  • Filter
  • Time
  • Show
Clear All
new posts

    #31
    Not sure exactly what is going on with the pictures... need to sort out properly. Sometimes drag and drop seems to work fine, sometimes not?

    Anyway I will sort out when I have a moment. In the meantime, here is the album link https://photos.app.goo.gl/zfarTT1ff2aHK1f19 (hopefully that works!)

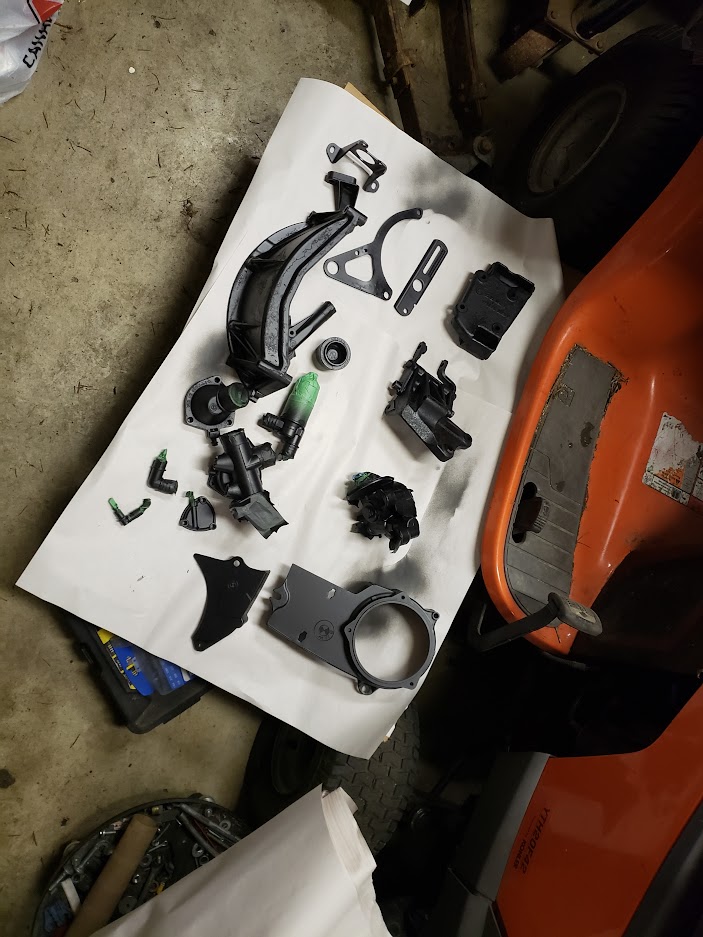
    In other news, quick check with some playdough this morning (going to try again with clay, playdough doesn't work very well). Need to properly check valve adjustment too, and I can't find the feeler gauge today of course...

    Latest pictures should be at the top.

    Comment


      #32
      what head studs are those? they look they stick up pretty high? check the valve cover to see if sits down ok
      89 E30 325is Lachs Silber - currently M20B31, M20B33 in the works, stroked to the hilt...

      new build thread http://www.r3vlimited.com/board/showthread.php?t=317505

      Comment


        #33
        They do seem a bit high. I should actually put the valve cover on to check, but I did a quick check with my finger for reference when I first got them in and figured I had a bit of clearance. They sit at basically the same height as the oil sprayer, just a hair higher (you may be able to tell better from the video where I am turning it over).

        Head is off again at the moment, getting ready for a solid cleaning and looking for my feeler gauges so I can adjust the valves and do a proper putty check. If IE sent me the wrong studs I will be even less impressed than I already am (but the box says M20 on it... unless I got swapped parts or something I would hope I am OK).

        *IE website mentions it is NOT the kit from ARP. https://www.iemotorsport.com/product...-stud-kit-m20/

        May or may not be a bad thing I suppose.

        Comment


          #34
          the ARP i have are 165mm long with 25mm of M10 fine thread for the nut and 17.5mm of M10 coarse thread for the block, only about 2-3 threads stick proud of the nut
          89 E30 325is Lachs Silber - currently M20B31, M20B33 in the works, stroked to the hilt...

          new build thread http://www.r3vlimited.com/board/showthread.php?t=317505

          Comment


            #35
            iirc, IE has sold "custom" longer M20 head studs for as long as I remember.
            I think it's a similar thing to ARP's 24v main bolts where there are arguably "not enough" threads remaining for bolt safety.

            I haven't heard of issues with either, besides the torque spec being listed too high in some older kits.
            Originally posted by priapism
            My girl don't know shit, but she bakes a mean cupcake.
            Originally posted by shameson
            Usually it's best not to know how much money you have into your e30

            Comment


              #36
              Originally posted by Northern View Post
              iirc, IE has sold "custom" longer M20 head studs for as long as I remember.
              I think it's a similar thing to ARP's 24v main bolts where there are arguably "not enough" threads remaining for bolt safety.

              I haven't heard of issues with either, besides the torque spec being listed too high in some older kits.
              Out of curiosity, what is the correct spec? Have a value written down in the shop, think it is 62ftlbs off the top of my head, but better to double check...

              Also, made great progress this weekend. Old friend came out from the mainland to help me out while the lady is out of town. All I am waiting on is a pressure relief valve and the oil pan goes back on. Head is on, gasket in place and torqued. Never was able to fully clean up those paint stains, tried lacquer thinner, brake cleaner, alcohol, tons of scrubbing, even tried a few edge spots with a wire wheel on the air dremel - no real luck at all. Not sure what else to do that won't risk ruining the MLS finish, so the stains are there to stay. If they do ruin the seal then I guess my only remaining option is to tear everything apart and deck the block a little more... anyway.

              Tons of painting done, basically all the little covers and bits are just drying now. Also spent some time in the engine bay, pressure washing, cleaning and getting ready to swap in the Z3 rack. My buddy is hanging around tomorrow to clean up some of the rust spots in the engine bay. Haven't been able to get it on the lift yet, uncle has his partially restored mercury in there and is somewhat sensitive about it getting rained on for the five minutes it would take to drive it out and put a tarp over it... but it's his shop, so his rules. Want to drop the front sub frame and weld in some reinforcements before paint, new steering goodies and then the motor goes home.

              Here's some pictures (hopefully these work, seem to be having weird issues with some browsers/machines showing them, some not. If you 'inspect element' or whatever they sometimes show up as a google link which seems to work, but doesn't always display? I am going to try manual copy and paste for these ones):

              I somehow did not take a picture of the bay after cleaning, so keep this in mind for now (I will snap one of the cleaned bay tomorrow).


              Valve adjustment. Not 100% sure how tight it should be on the feeler gauge... basically set them so I could just slide the .009" in and not the 0.011". Probably as close to 0.010" as I am getting.


              With that out of the way, I tried to make it look like I knew what I was doing with some measuring tools. So far as I can tell pistons have well over 0.1" clearance to the valves.


              I also have a dial micrometer, going to use that for getting exact valve travel and work out what all the clearances should be with my current HG setup... this was mostly a check to ensure things weren't really screwed.

              Did the absolute best I could cleaning/wiping/vacuuming/blowing HG surface clean immediately before placing the MLS. Shop is a mess though, it is hard to work between a sandblaster, motorbikes and chainsaw. Luckily everything is humid here the dust isn't actually that bad, unless you turn the vacuum on and it is in 'blow' instead of 'suck' (thankfully this happened facing away from my motor and I was able to immediately throw a cover over it).


              Getting ready to fab the bracket for the fuel rail. Looking into it, I will probably need to relocate the FPR off the rail somewhere... thermostat will probably interfere. Will decide once the motor is back in it's freshly degreased and painted home.


              More test fitting. Needed to do a little grinding to ensure I was comfortably clear of crank counterweights, but oil pump itself clears the hole OK. Was reading around, other people had issues with the IE windage tray there, but not me.


              Baffle test fitting.


              Baffle actual fitting. Protip: There are things called masonry bits. They look *almost* like regular drillbits, but not quite. Don't use them for this, your friends will think you are something unprintable.

              That said, still worked pretty well IMO (except for one hole where it got away from me).


              Getting close to paint


              Not strictly build related (until it burns down the shop with my motor in it), but any opinions on whether or not this would constitute a fire hazard?


              More pre-paint prep:


              Good enough for me:


              That was it for this weekend. Lady is home in a few hours.
              I will grab some shots of the bay tomorrow, it is getting close.

              Also, anything to check on the tranny while it is out? Need to clean it sometime in the next week but other than being dirty and maybe needing a fluid change I am not sure if there is anything I should inspect. Seemed to be working just fine before I tore the car apart.

              ​​​​​​​

              Comment


                #37
                Originally posted by JehTehsus View Post

                ...

                More test fitting. Needed to do a little grinding to ensure I was comfortably clear of crank counterweights, but oil pump itself clears the hole OK. Was reading around, other people had issues with the IE windage tray there, but not me.


                ...
                The conflict on the pump is where the pump tapers down to the flange, if you have a tight clearance to the crank when you bolt the pump down it can push the plate over and scraper can hit the crank
                My M20 Frankenbuild(s)
                4 Sale - Fully Built TurnKey Megasquirt Plug and Play EMS

                Comment


                  #38
                  Originally posted by whodwho View Post

                  The conflict on the pump is where the pump tapers down to the flange, if you have a tight clearance to the crank when you bolt the pump down it can push the plate over and scraper can hit the crank
                  Thanks for the heads up. I will double check with all the windage tray bolts fully torqued, but I had the pump bolted in and it looks like it just clears the tray at the taper. That said, I don't have the tray right against the crank. It does get pushed up a hair by the main caps (is this okay? Should I try drilling holes for them?) but I have ground it down a bit so it clears the counterweights by at least 0.100". If I have to file the tray a bit more its no big deal at this point.

                  Comment


                    #39
                    I’ve seen scrapers with holes presumably for the main studs, not sure I’d the nuts themself also foul as well my guess is they do. I wouldn’t want the scraper in flexure as it probably wouldn’t help the sealing of the flange as there might be additional distortion
                    89 E30 325is Lachs Silber - currently M20B31, M20B33 in the works, stroked to the hilt...

                    new build thread http://www.r3vlimited.com/board/showthread.php?t=317505

                    Comment


                      #40
                      They really should be putting holes for them when made. I drilled holes in mine for the main bolts, they are ARPs bolts but I don't remember the bolt head was any taller then the stock bolts.

                      Click image for larger version

Name:	14j.JPG
Views:	1469
Size:	88.7 KB
ID:	9907746


                      My M20 Frankenbuild(s)
                      4 Sale - Fully Built TurnKey Megasquirt Plug and Play EMS

                      Comment


                        #41
                        Originally posted by JehTehsus View Post

                        Out of curiosity, what is the correct spec? Have a value written down in the shop, think it is 62ftlbs off the top of my head, but better to double check...
                        I don't know the correct torque off the top of my head. From memory, there were stud kits that shipped with something like 80 or 85 ftlb listed on the paper, and people had issues snapping studs at that spec. I installed a kit in my old iX probably 7 years ago now and if I remember right, it called out 75 ftlb, but the car and ARP instructions are long gone now.
                        Originally posted by priapism
                        My girl don't know shit, but she bakes a mean cupcake.
                        Originally posted by shameson
                        Usually it's best not to know how much money you have into your e30

                        Comment


                          #42
                          Ok, I think I will drill some holes for the studs. Digger makes a good point regarding flex.

                          Also need to shave down the oil pan baffle a bit, just catches on the oil pump at one point so I can't quite get the pan flush with the block.

                          That and I need to go through and do a valve clearance check with dial micrometer and then try and profile the actual valve lift throughout the engine cycle. Should keep me busy while I wait for the pressure relief valve.

                          WRT piston valve clearance check, if I want to perform the check with my springs can I just try some plastic and (very carefully) wedge between cam and rocker arm? Obviously want to avoid any scratches on those surfaces, I have some plastic bits kicking around that may give me all the lift I need if I wedge them in there. Not sure what else I might be risking with this approach though.

                          Comment


                            #43
                            Stock bolts are 7mm head height and sit 2-3 mm below the machined surface so do not foul the scraper. the nuts are tall enough to touch iirc
                            89 E30 325is Lachs Silber - currently M20B31, M20B33 in the works, stroked to the hilt...

                            new build thread http://www.r3vlimited.com/board/showthread.php?t=317505

                            Comment


                              #44
                              Finally got her back into the bay yesterday evening, going to hit it hard this weekend.

                              On the TODO list:
                              1. Strip rest of power steering and steering rack.
                              2. Remove front subframe. Anything I should be aware of with this?
                              3. Weld reinforcements onto subframe.
                              4. Sand a few bits, POR15 the shit out of everything. Both the bay and the subframe.
                              5. Paint. Both the bay and the subframe.
                              6. Attach motor to subframe. Probably re-attached steering rack at this point as well?
                              7. Drop car back onto subframe and motor.
                              8. Bask in the glory of a mostly mechanically complete E30, and also reconnect steering so I can get it back out of the bay and avoid incurring my uncles wrath.
                              Any advice from anyone on adjustments to the above list?

                              Also, some pictures:


                              Comment


                                #45
                                Originally posted by JehTehsus View Post
                                One thing I may or may not have mentioned over text earlier, my machinist did not hot tank the block (I discussed the bearing issue with him extensively). He said they were fine to clean it and that it would turn out 'just fine' especially given that I planned on painting. My other options were get another machinist who is familiar with the bearing or try to get them to work out the bearing (decided I would rather put the money towards a dry sump configuration). ...
                                From a different thread but needs to be here and elaborated on 8^)

                                Not much on this subject for M20s, what do you have planned?

                                My M20 Frankenbuild(s)
                                4 Sale - Fully Built TurnKey Megasquirt Plug and Play EMS

                                Comment

                                Working...
                                X