Announcement

Collapse
No announcement yet.

The 5 Year Restoration - E30 M3 Reborn

Collapse
X
 
  • Filter
  • Time
  • Show
Clear All
new posts

    Thanks guys. Part of the thoroughness is because this will be a guide for me when I put this thing back together :D

    Now more fun:

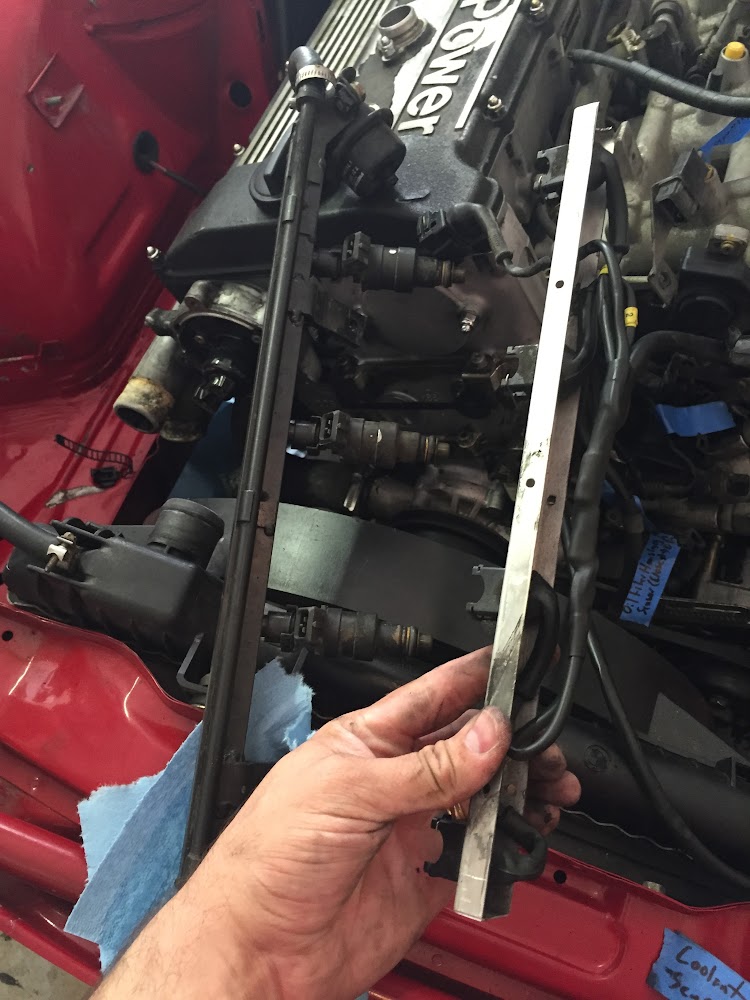
    Taking off the fuel rail. First, i screwed around with the plastic wire cover and took it off first. Mistake.


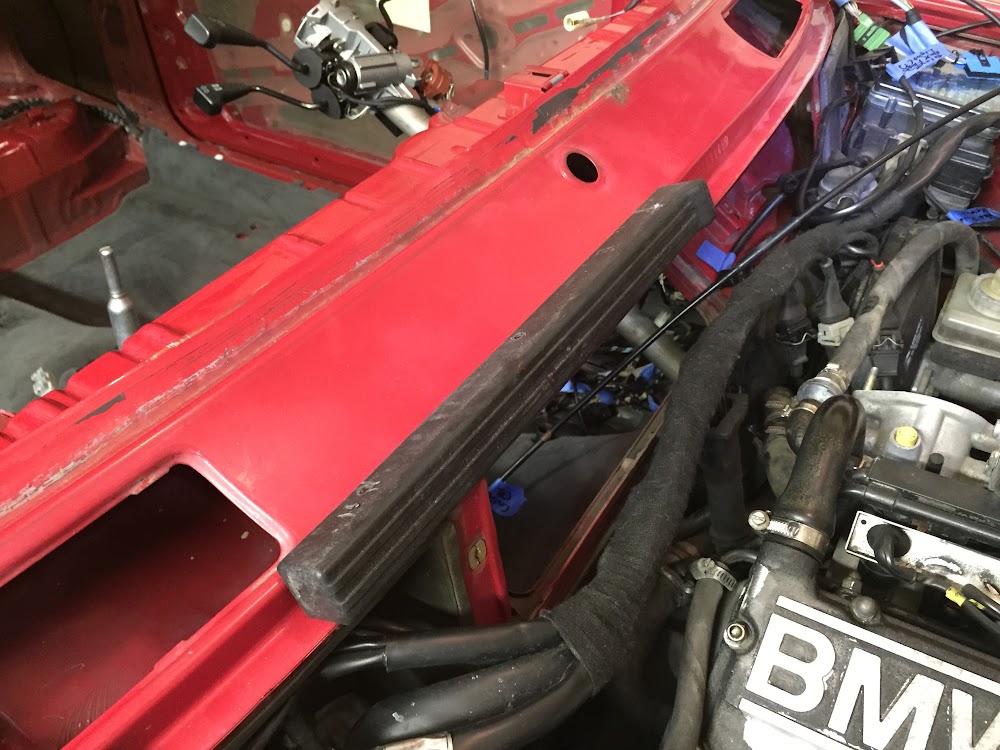
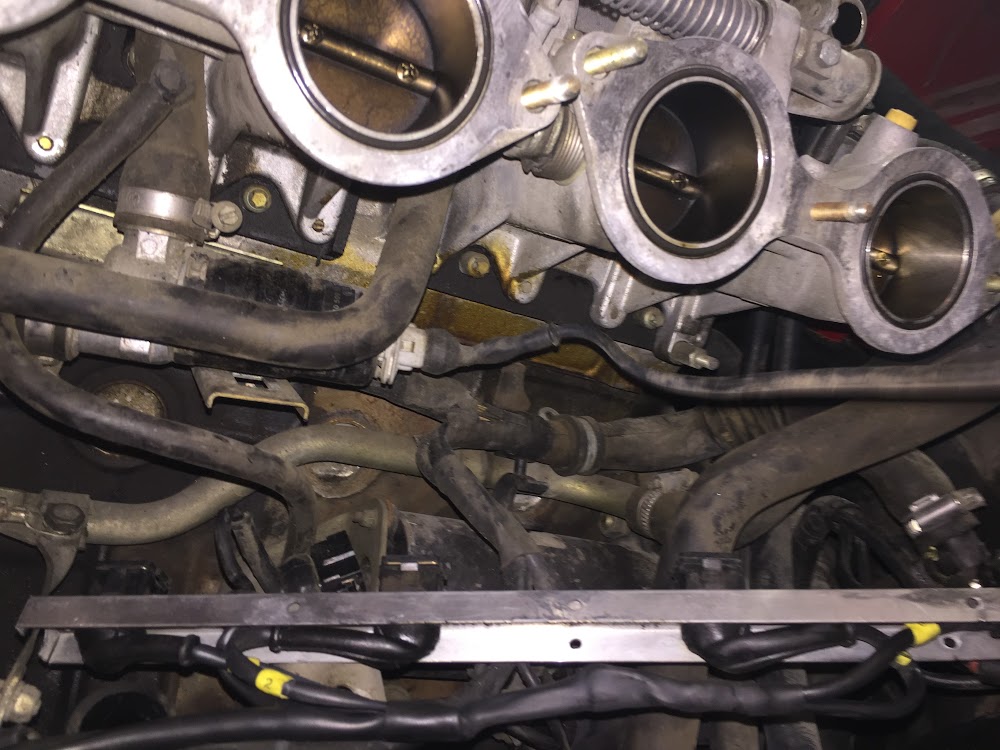
    Its a tight space to work in


    And if you're really smart like me, you'll work with a super sharp tool to pop off the little snaps that hold it on, and you'll get a puncture wound


    So now you'll be blood bros with your car. If you want to skip this unnecessary step, I'd do this...

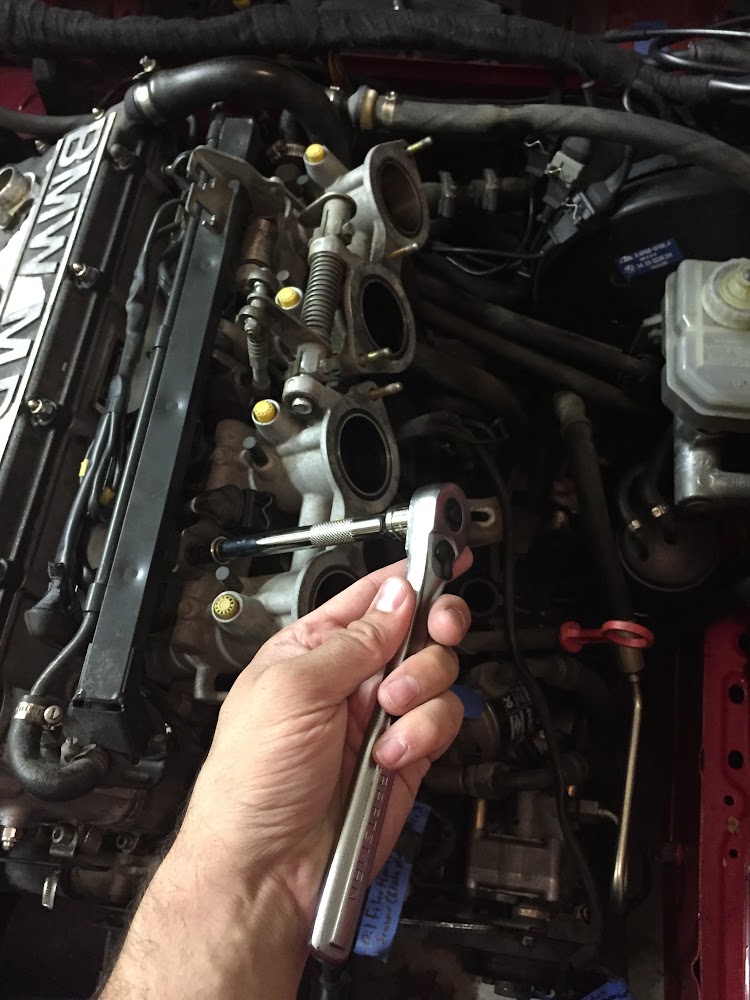
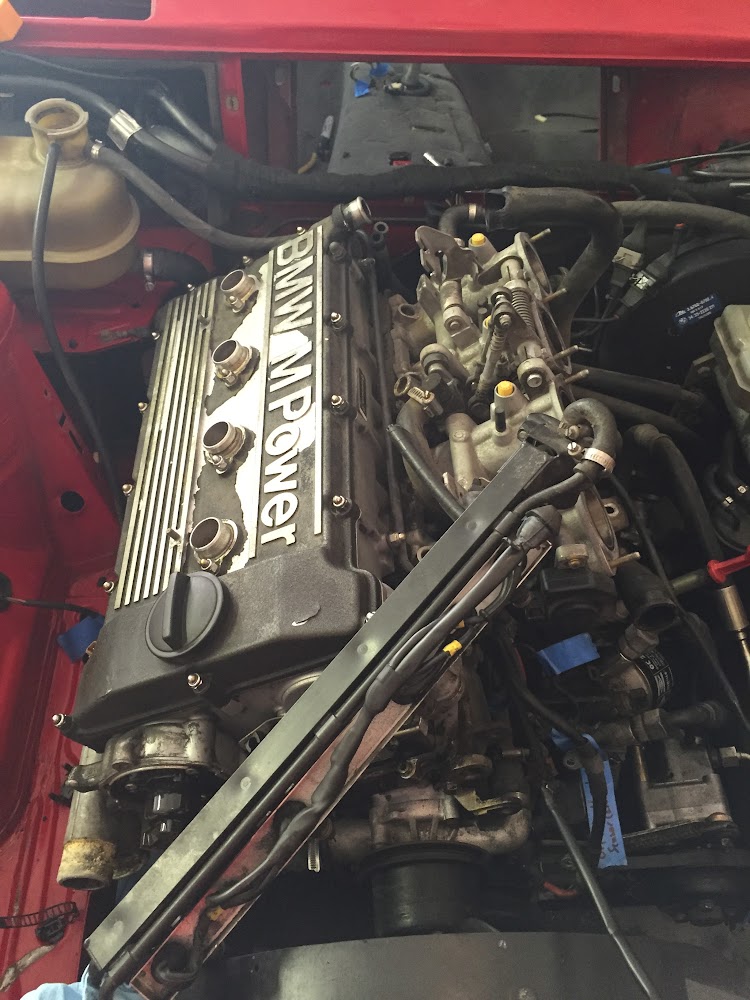
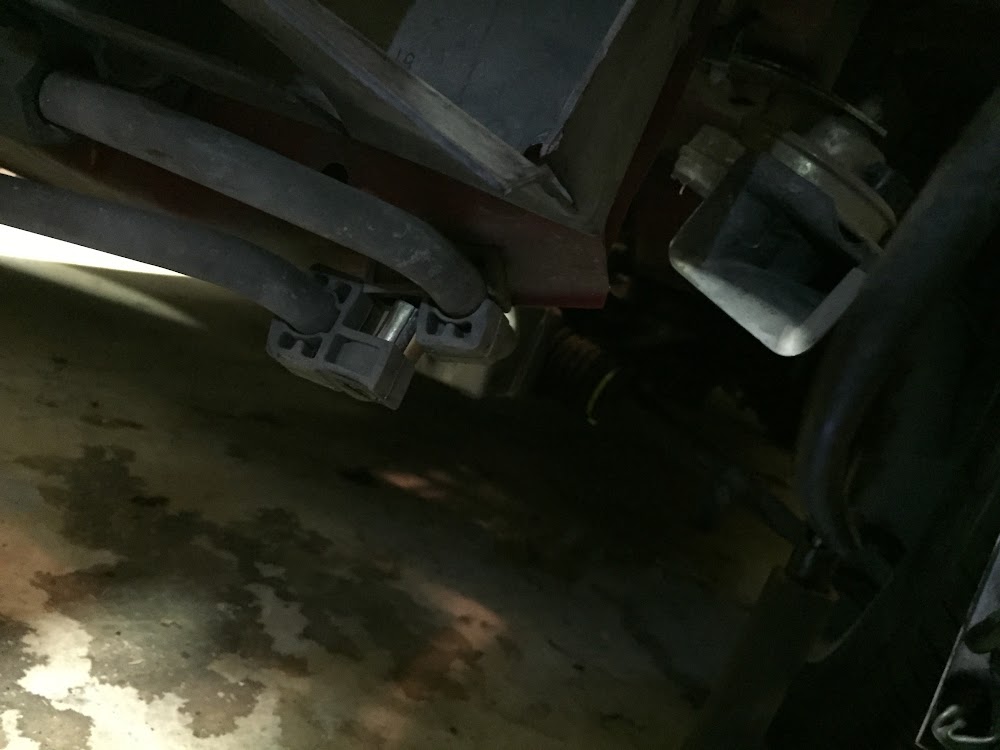
    Two bolts hold the fuel rail to the lower ITB plenum


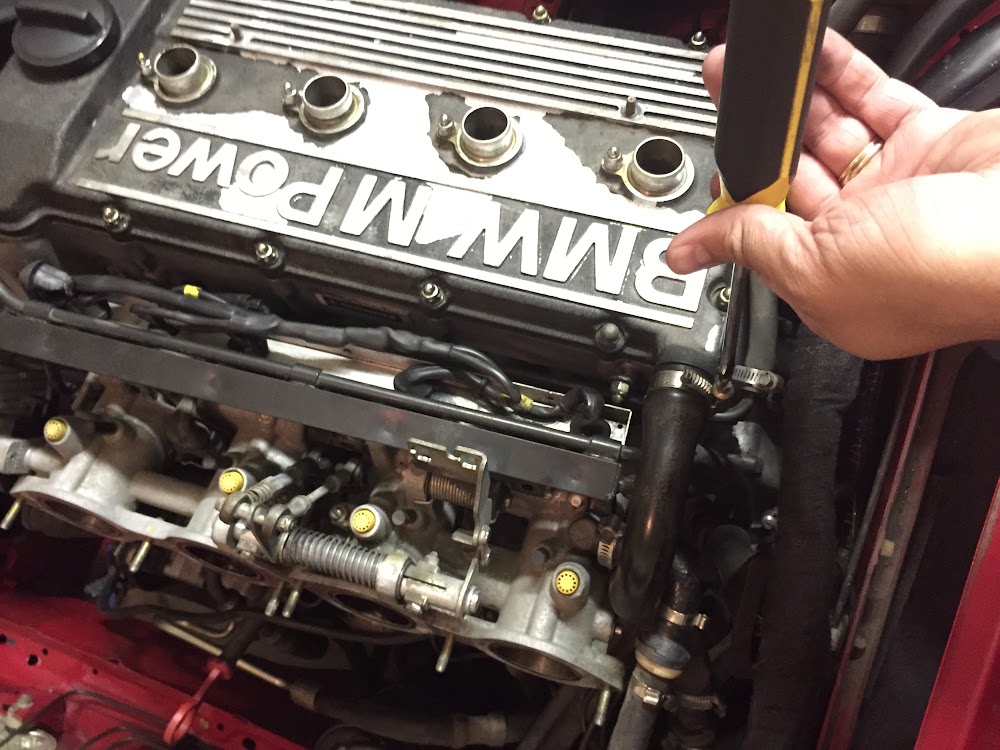
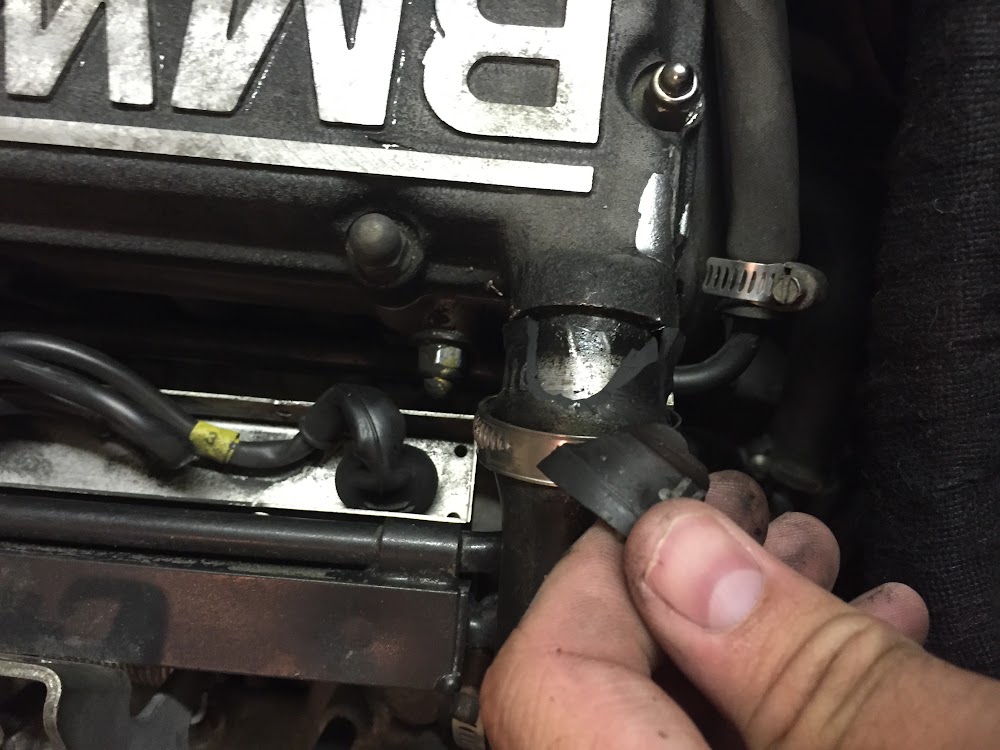
    Pop off this guy, vents the valve cover down to the oil separator. Mine was super brittle, as you can see... no big deal its only a $34 hose


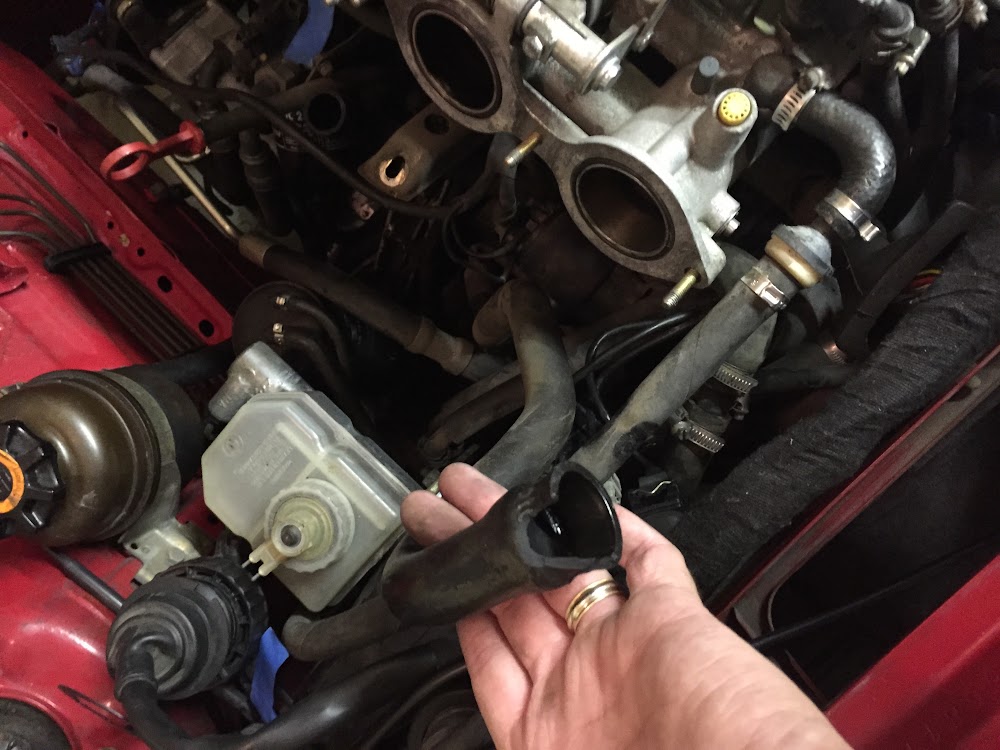
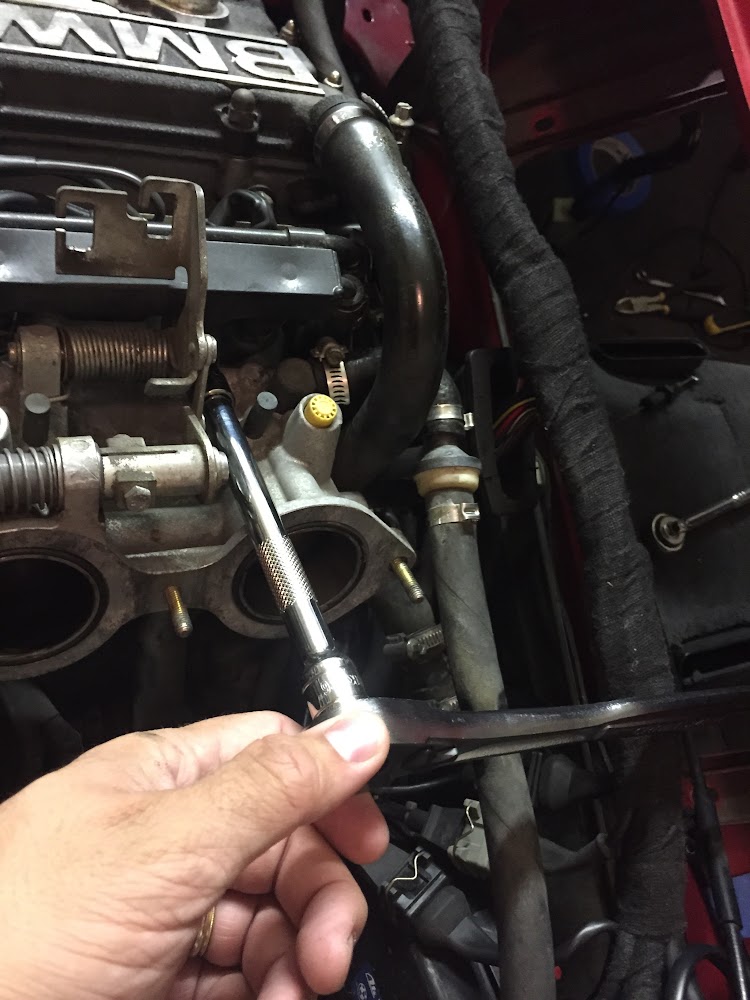
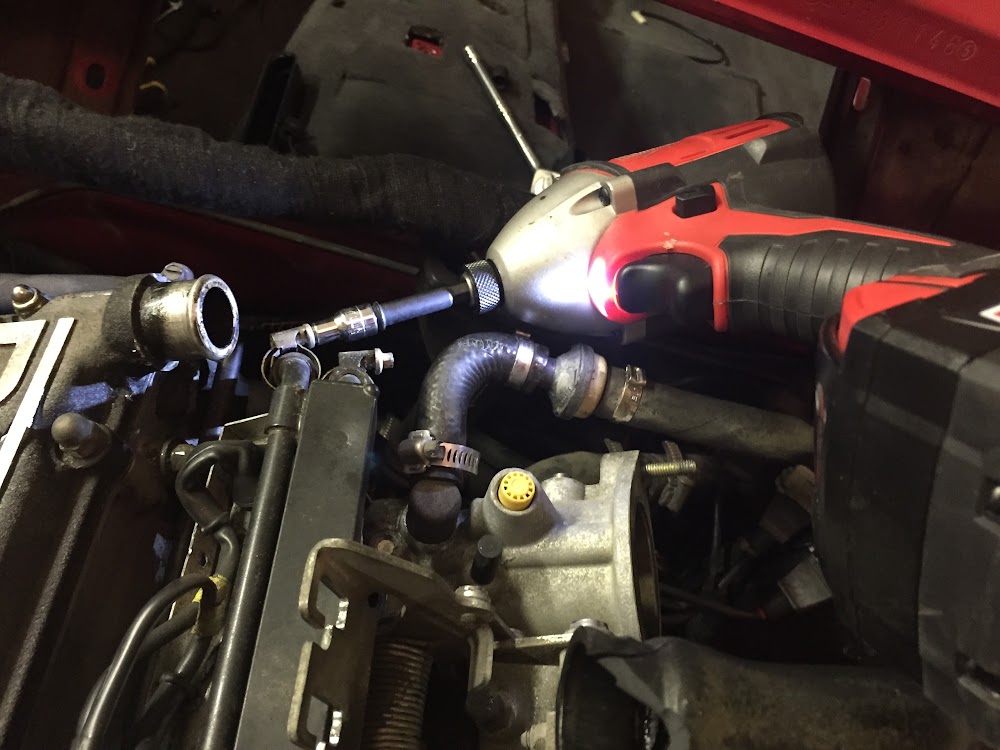
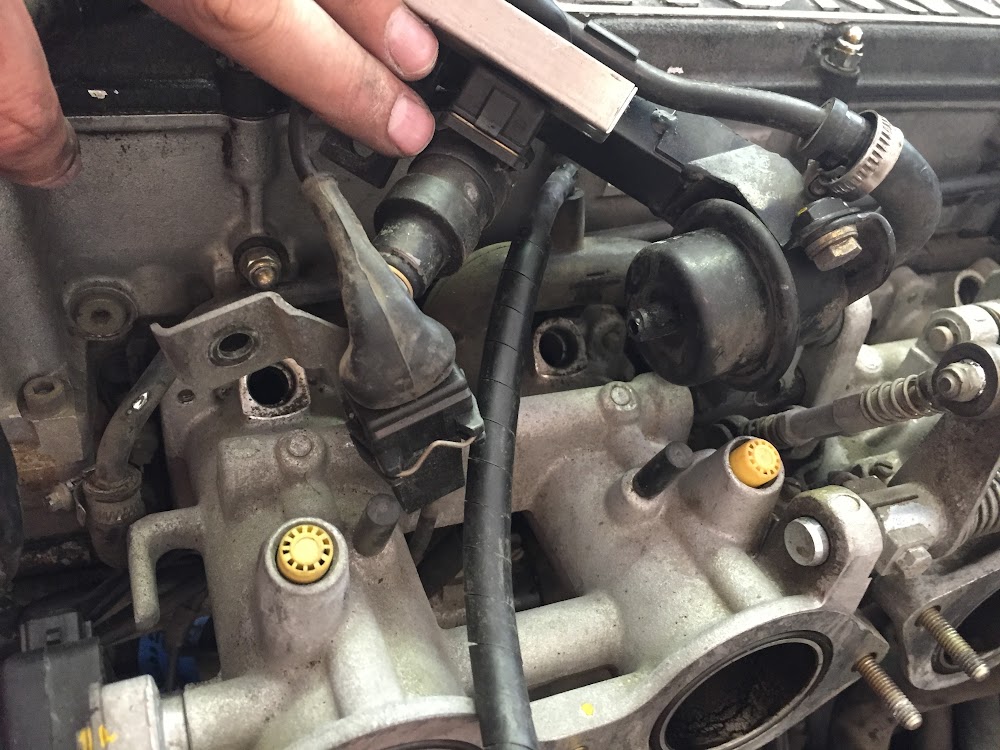
    Then disconnect The two fuel lines from the back of the fuel rail. Careful, fuel will spill out here, and will spill out of the rail as you move it around to pull it from the engine bay. (Look at where my bit driver is connected - those are the clamps Im talking about)


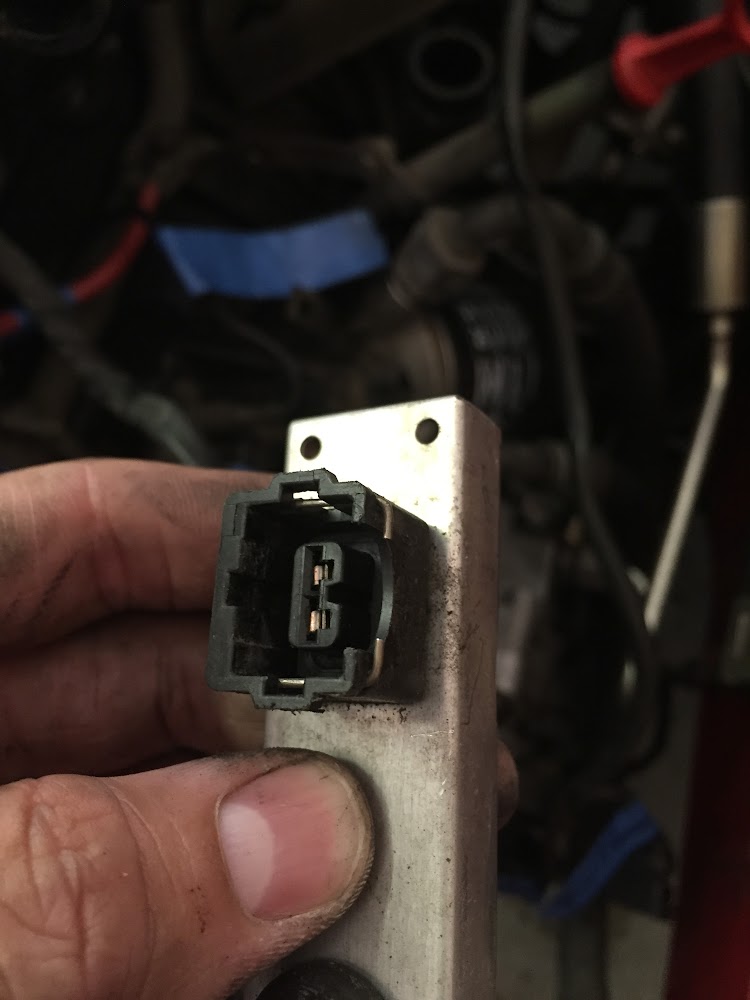
    I disconnected the fuel rail and injectors from the silver colored metal part that holds the wiring, then left the wiring in this metal trough thing (technical term)


    The little snaps weren't like i expected them to be - like most BMW clamps where you push down on the back and the front wires move forward to release the connection. These I had to pry the ends of the wire away from the harness gently and work the connection loose. I could have done this completely wrong, so thats just my experience.


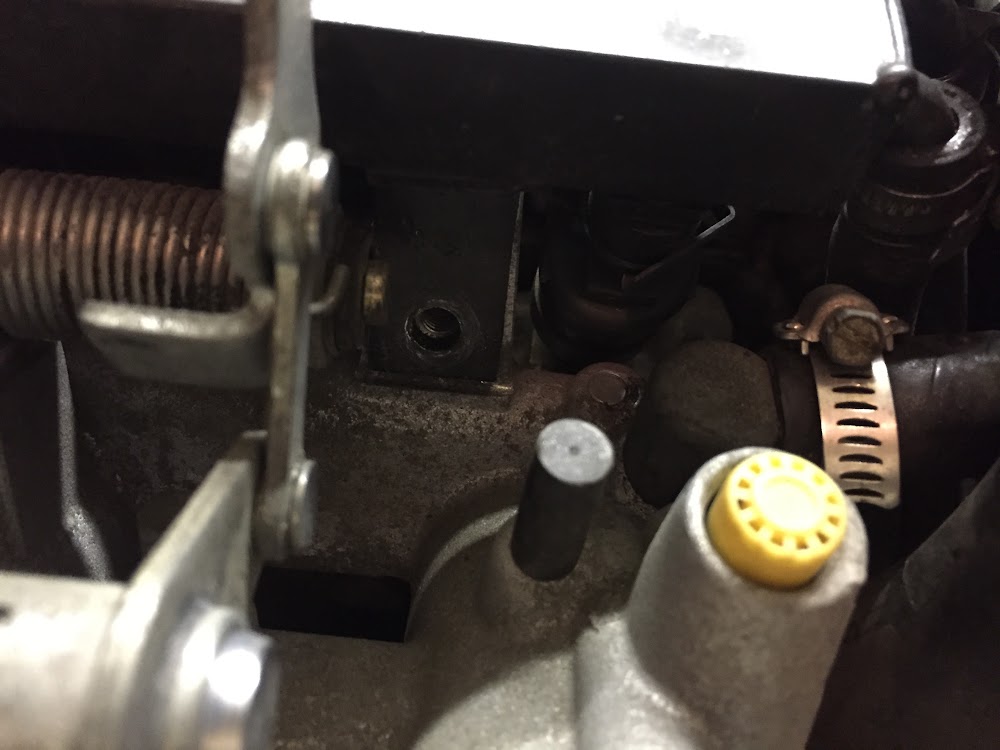
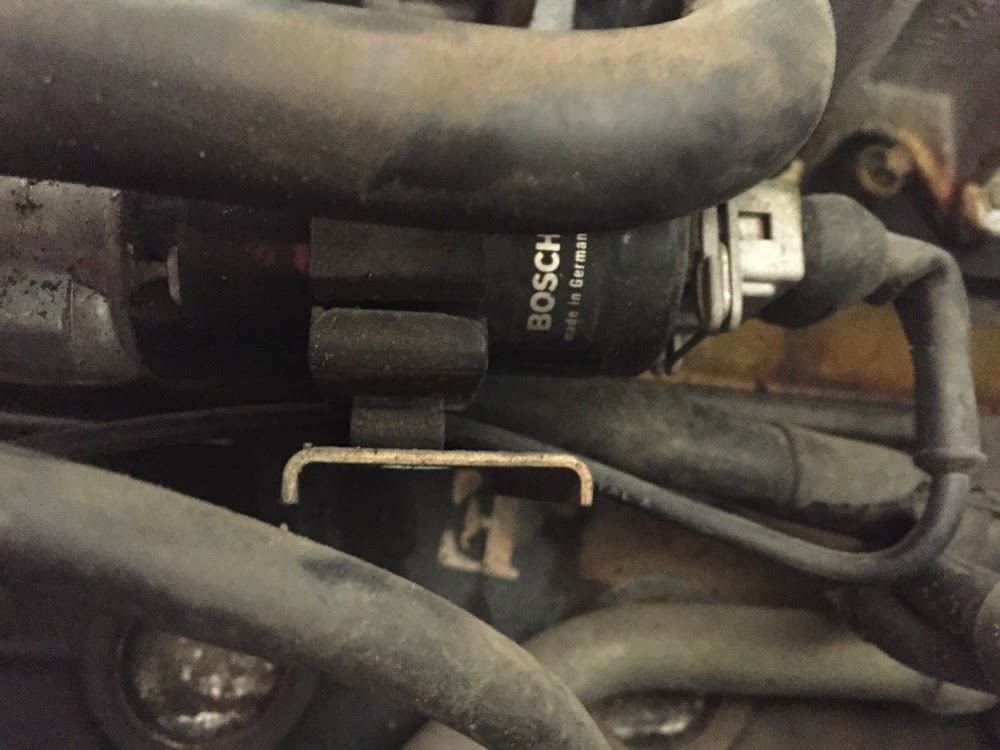
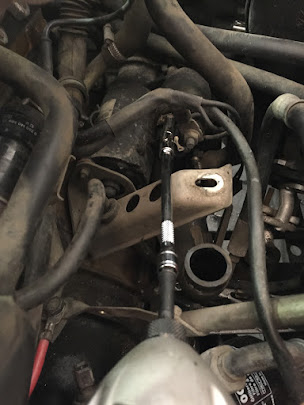
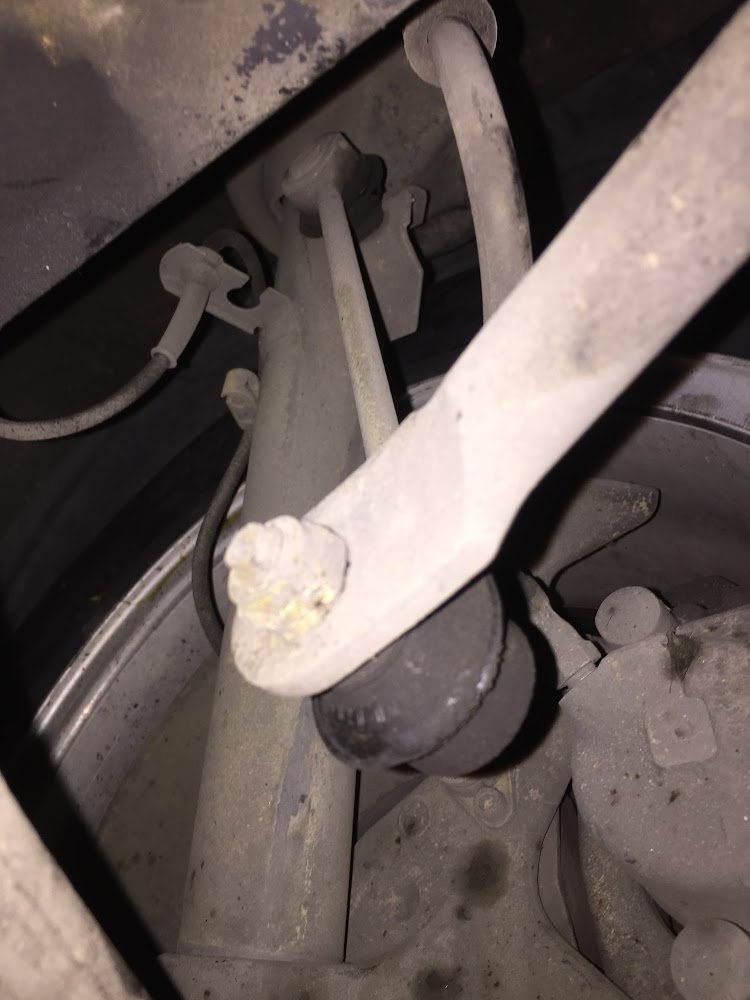
    I'm sitting on vacation writing this, so I might be mis-remembering (so I'll bracket it then come back and correct/confirm) [but the fifth wire that comes out of the metal trough thingy runs down to this junction and bracket that is held on to the lower plenum by a metal brace. The cable that goes beyond this junction goes to the idle control valve]


    This runs down to the idle control valve


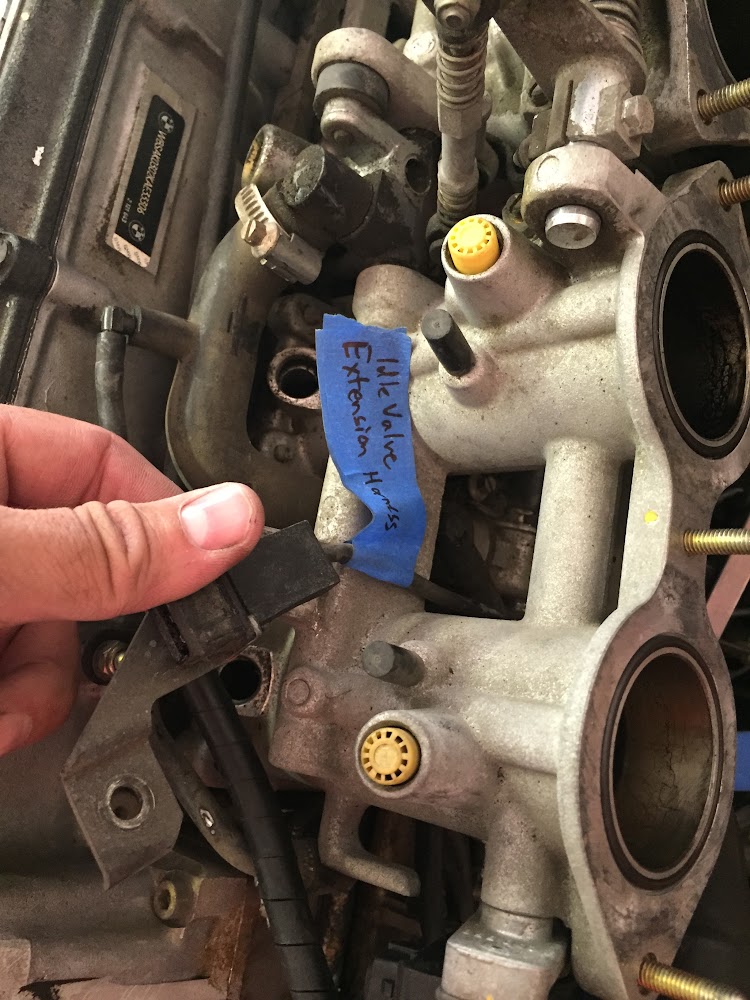
    This shows its full path


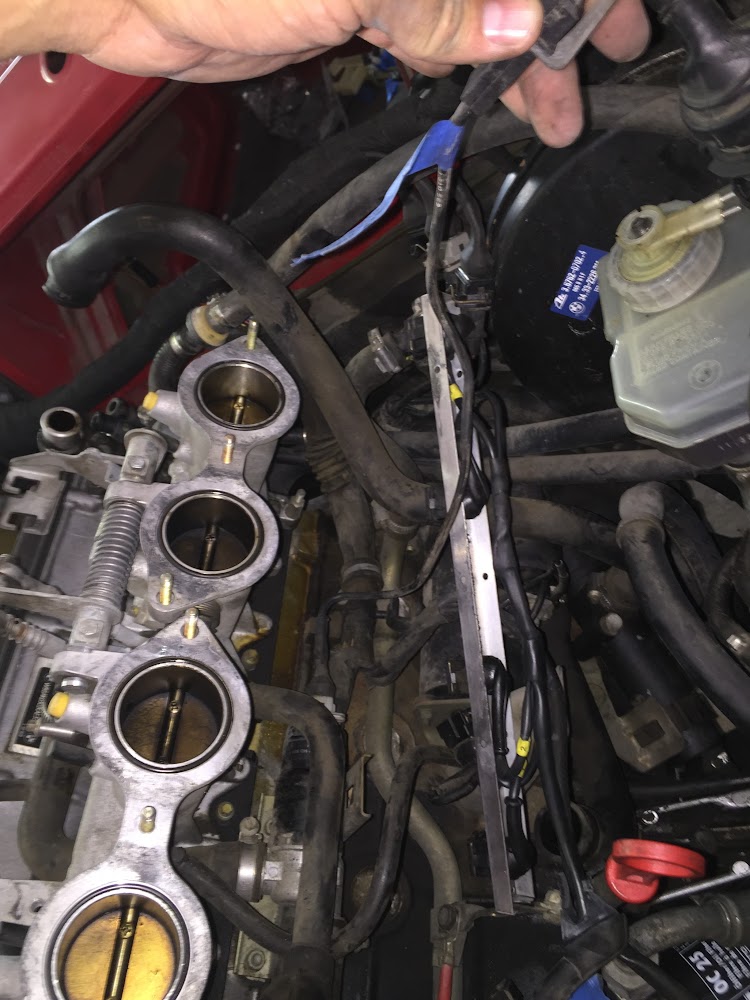
    With all this disconnected, the metal trough thingy will pull aside with all the wiring attached


    And disconnect the starter - pretty self explanatory just DONT use impact like i did - broke the connector nothing shrink-wrap and a new connector wont fix, but still. :tsk:


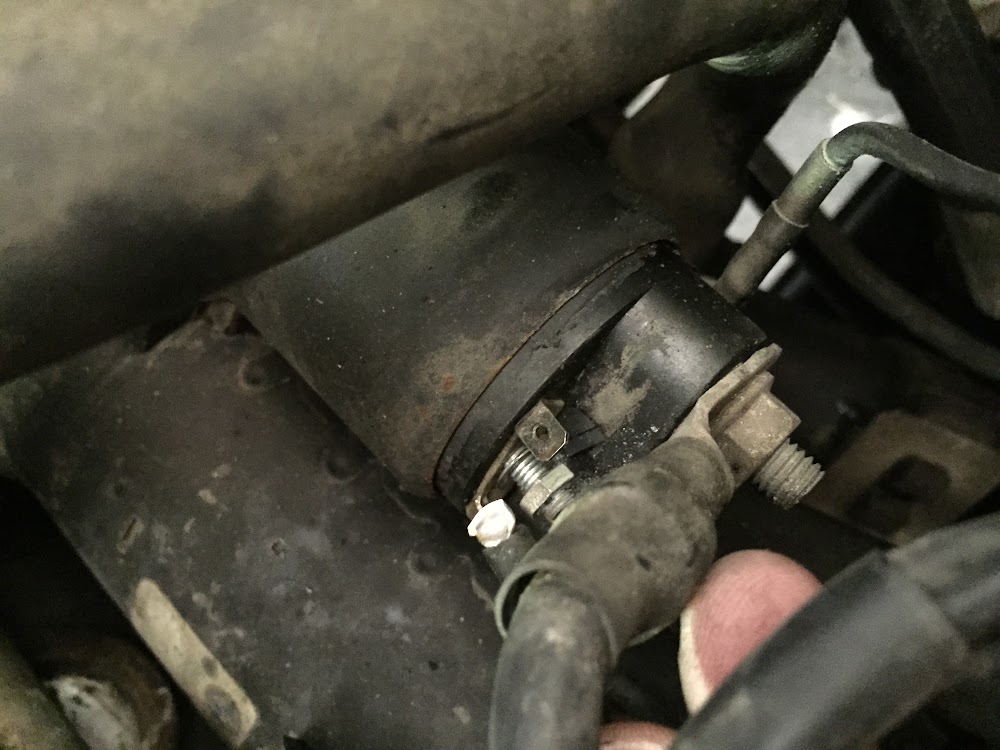
    Also pay attention which bolts go where on the starter. If memory serves they're all different sizes.

    More fun to come - here's a pic of the new OEM insulation i got for after paint. All in the details!

    Last edited by CurrusDei; 07-02-2015, 08:24 PM.
    _______________________________________________
    5 Year M3 Build, In Progress
    RMT200 Retrofit

    Comment


      So sexy

      Check Us out on Facebook
      Needing a harness adapter or wiring help? Check it out: also have 24v motor mounts, E30 M3 covers and E36 ECU mounts!
      Full Product Line Tuning
      OBD2 Tuning Available! OBD2 E36, S54 Swap, S62 Swap, etc: tuning@MarkertMotorWorks.com Dyno Thread

      Comment


        For the injector harness cover thing, I always just keep the two pieces together, because like you said its tough to get it back together as there is very little room in there for the wires. For future knowledge, you can wiggle the injector harness plugs off the injectors, they kinda snap off and on
        Current:
        1989 325i
        1988 M3
        1987 325ic
        Past:
        2001 330ci
        2001 M3

        Comment


          Wow this reminds me so much of my zinno e30 m3 project. down to the harbor freight engine stand and lift! the entire process is identical. good luck to you don't give up.

          Comment


            Alright, its hot in the garage and I dont want to get too far ahead of the thread, so here goes!

            After disconnecting the starter and pulling aside the wiring, the engine looked like this


            Be careful when buying grilles off Amazon. This joker sold me some Chinese knockoff as an "OEM" part. Dont think so, back it went


            Wiring harness looks a bit worse for wear. Going to have to figure out how to fix. Ideas welcome


            On with the engine removal. Disconnecting vacuum hose from intake plenum (post ITBs to brake booster)


            Time to remove that ugly brown coolant resevoir!!


            I didnt have a tool to remove these camps, so i went with the tear it to pieces method


            Then i saw the little tooth that sticks out of the end of the clamp to secure it.

            Precision mallet strike time.


            Off completely clean.


            Remove bolt behind coolant reservoir


            and on side


            remove main coolant line


            and OUT IT COMES! NO RUST!!


            Now for all those wires coming from the + terminal of the battery (of course, make sure that battery is disconnected for this, better yet, take it out entirely, and set it somewhere far away, no need for fried r3vers out there)


            When you remove the two bolts the plastic bit comes off.

            Then you're left with this guy


            It looks complicated, but it separates really easily - one bolt.


            Removing whats left of the mount


            only dont be like me and spin a hex key for 5 minutes THEN realize there's a bolt back there spinning along with you. secure the bolt


            I thought this gasket was going to be hard to take out. came out very easily.


            Pull through the wiring


            Labeled the three connectors on on the other side of the firewall near the fusebox. These run down to the transmission if memory serves


            Removing insulation behind fuse box


            it was kinda roached. Going to need a new one. thankfully not NLA (51481962045)


            Not looking forward to tangling with this mess


            Found this under the ECU (Center right of picture). Anyone know what that is? {edit from 4 years in the future - its for the factory alarm, which this car didnt have}


            Up next. Radiator and fan.
            Last edited by CurrusDei; 05-24-2019, 09:15 PM.
            _______________________________________________
            5 Year M3 Build, In Progress
            RMT200 Retrofit

            Comment


              Radiator and Fan

              You can easily rent a fan clutch wrench from Autozone or another place, but odds are they wont have a 32mm one. I didnt want to wait for a 32mm wrench to arrive in the mail, so rented a kit with a 36mm wrench and looked around the garage for a solution. I had a few cheap metal files sitting around that i didnt mind breaking - and they are so brittle they snap easily. get a few of those stacked together - throw in some duct tape - and here's your 32mm wrench.


              or close enough


              The big fork held the bolts fine without modification, and the bolt loosened easily with hand pressure. As everyone else has said, remember that the bolt holding the fan on is a righty loosy, lefty tighty bolt - so go backwards of what you usually do.

              Bolt backed off easily. Fan lifts straight out. Love the room in this engine bay.


              Removing the shroud


              gunky


              overflow line... i think.


              and remove the main bolt holding on the radiator at the top.


              It will fall away back toward the motor


              Trim around the radiator


              Some overspray on that intake tube. Going to have to clean that up.


              Need to get a new trim piece here... Anyone know the part number? I'm looking at real OEM and its not there.


              Oil cooler coming off. This thing has seen better days.


              Power steering line


              Careful - it leaks


              Trim from the radiator surround


              Assemble the stand

              _______________________________________________
              5 Year M3 Build, In Progress
              RMT200 Retrofit

              Comment


                Liftoff


                Check out how well supported my front strut bar was.


                Front end links are totally shot as well


                Loosened these two bolts on the control arms to get the front sway bar free


                Lollipops need to be replaced as well. Basically full suspension refresh is in the future


                Dirt shield above the lollypop. Attaches with two very thin bolts - if you can call them that.


                Disconnect header from exhaust. Tight space. Four bolts


                Exhaust hangers off - i replaced one a year ago. easy to tell which


                AURGH! Rust spot on exhaust. That sucks. What do you guys think? I'm thinking just have a muffler shop fix it and stay OEM - despite how heavy this thing is.


                Disconnect the rear bolt and its coming down


                This thing is huge. and heeavy. Glad i had my wife's old car's floormats laying around


                Dirty. Very dirty.


                The more time i spent under here. The more I wanted to push back paint and just make the underside spotless. I might do it.
                _______________________________________________
                5 Year M3 Build, In Progress
                RMT200 Retrofit

                Comment


                  Any plans to convert to the evo intake? Great work, so glad mine doesn't require as much attention. :)

                  Comment


                    Thinking I'll stay with the stock intake for now. But, I do have a few small goodies arriving soon...


                    Sent from my iPhone using Tapatalk
                    _______________________________________________
                    5 Year M3 Build, In Progress
                    RMT200 Retrofit

                    Comment


                      Originally posted by Zinoberrot View Post
                      Thinking I'll stay with the stock intake for now. But, I do have a few small goodies arriving soon...


                      Sent from my iPhone using Tapatalk
                      Awesome man. I always look forward to your updates. Will feel good when you finally get to install those evo 3 pieces :) My buddy recently got an evo rear wing and it really adds a lot to the look of the rear of the car.
                      Current:
                      1989 325i
                      1988 M3
                      1987 325ic
                      Past:
                      2001 330ci
                      2001 M3

                      Comment


                        Looking forward to the splitter and wing install as I have the same pieces to install after I finish upholstery.

                        Comment


                          One Year In... M3 Build Thread

                          Is your front splitter carbon or OEM? Mine is OEM-expected it to be carbon but I guess it's whatever passed for advanced composites in the early 90s


                          Sent from my iPhone using Tapatalk
                          Last edited by CurrusDei; 07-16-2015, 04:26 PM.
                          _______________________________________________
                          5 Year M3 Build, In Progress
                          RMT200 Retrofit

                          Comment


                            I have a carbon one from Markus. It's surprising that the undertray isn't predrilled for the rubber plugs. There is a thread on s14.net that says the holes are 1/2" and I'm assuming you drill these holes in the bumper and the undertray?

                            Comment


                              Oem splitters are not carbon fiber.
                              Current:
                              1989 325i
                              1988 M3
                              1987 325ic
                              Past:
                              2001 330ci
                              2001 M3

                              Comment


                                Originally posted by Zinoberrot View Post

                                Now for all those grounds


                                Correct me if I'm wrong, but those are actually positive side battery connections from the thick wire from the trunk, aren't they?

                                Love the thread. You running JB4 on the 335? Any oil cooling mods done?

                                Comment

                                Working...
                                X