If this is your first visit, be sure to
check out the FAQ by clicking the
link above. You may have to register
before you can post: click the register link above to proceed. To start viewing messages,
select the forum that you want to visit from the selection below.
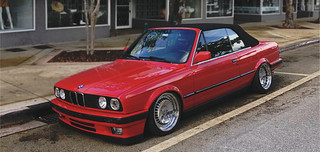
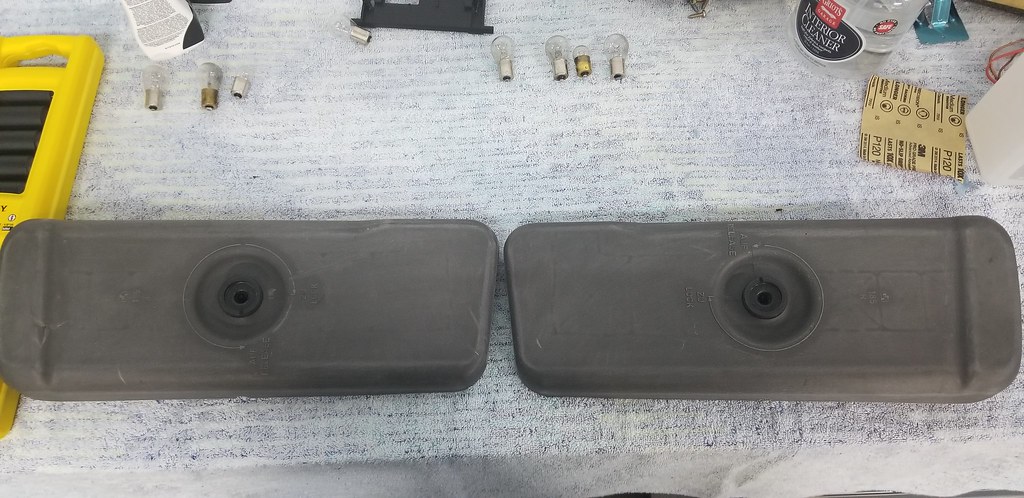
I've turned a corner with the 88s recently- the uniqueness of the facelift taillights with the metal bumpers is super appealing. Swapping to plastics removes that IMO
I've turned a corner with the 88s recently- the uniqueness of the facelift taillights with the metal bumpers is super appealing. Swapping to plastics removes that IMO
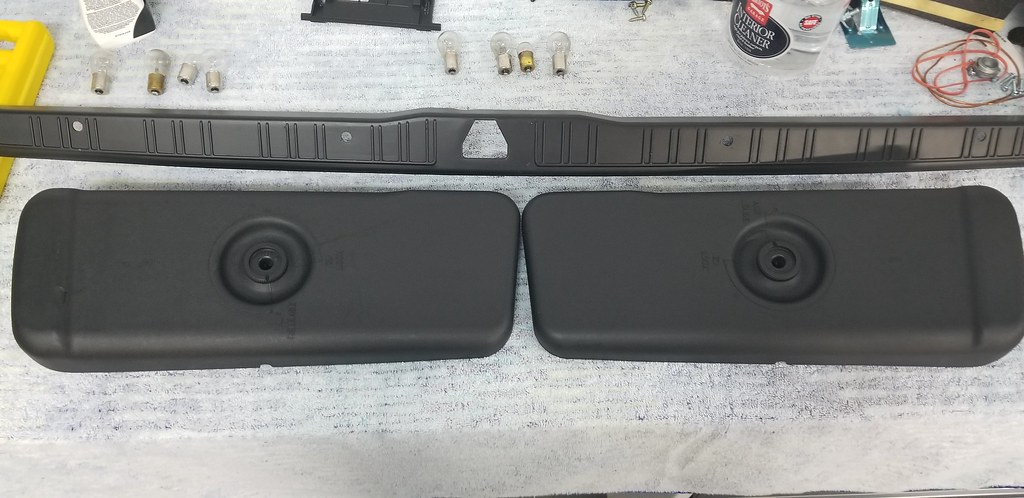
Its aiiiight, but the full plastic treatment is niiiiiiiiiiice
Simon
Current Cars:
-1966 Lotus Elan
-1986 German Car
-2006 Volkswagen Jetta TDI Make R3V Great Again -2020
Its aiiiight, but the full plastic treatment is niiiiiiiiiiice
Yeah. Just because its different doesnt mean its necessarily better. Just my two cents. DB bumpers are growing on me though. I think a nice well done tuck with shaved trim can look pretty damn good. When I showed my dad that I wanted to do a euro bumper swap he got mad and said he liked how aggro the usdm bumpers looked. Was a fresh opinion to hear lol
I have an idea that would be a radical change from the look I have now, and if I went that route, the DBs are definitely the way to go, but as far as a sleek sport sedan, the plastics are the way to go
Simon
Current Cars:
-1966 Lotus Elan
-1986 German Car
-2006 Volkswagen Jetta TDI Make R3V Great Again -2020
I have an idea that would be a radical change from the look I have now, and if I went that route, the DBs are definitely the way to go, but as far as a sleek sport sedan, the plastics are the way to go
That old thing!
I wish it were mine. I built it for a friend of mine.
He calls me one day saying “how’d you like to build me a racing sim” to which I obviously said “Sure! On one condition, I could use it whenever I want”. That being said, with the turn of every nut and bolt I was thinking, I need to get me one of these!
He’s building a mobile sim racing start up, to teach prospective racers the basics before putting them in the real thing, plus it adds a cool factor to his driving school.
Yeah, I was into Sim Racing for a while and a SimXperience rig was my dream. Compared to my home built cockpit with just a bass shaker, that thing is a freaking Ferrari.
2002 530i - Daily
2013 Ford Flex Ecoboost - wifes/family hauler
1986 325es - fun car (or money pit depending on who you ask)
Not much progress over the past few weeks, mainly been building a hoard of parts and doing some research.
But I thought I'd update on the seats.
John's been making some really good progress, and took a few pics along the way.
I'm thankful I decided to send the seats up to him, as things in typical E30 fashion were off to a great start...
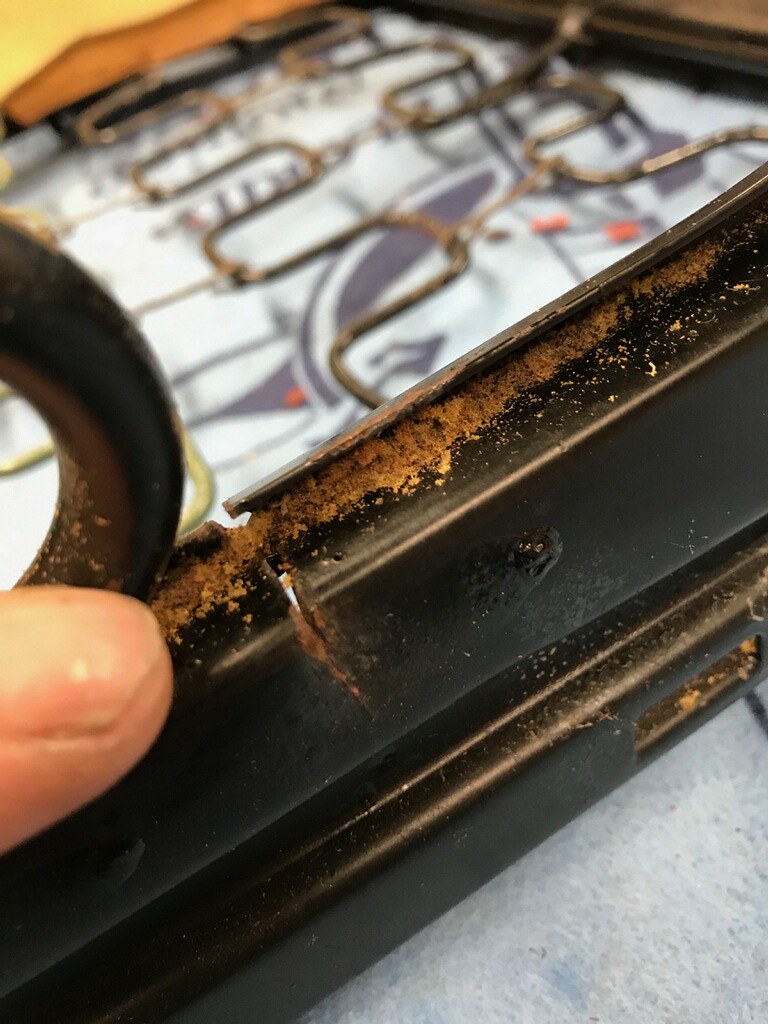
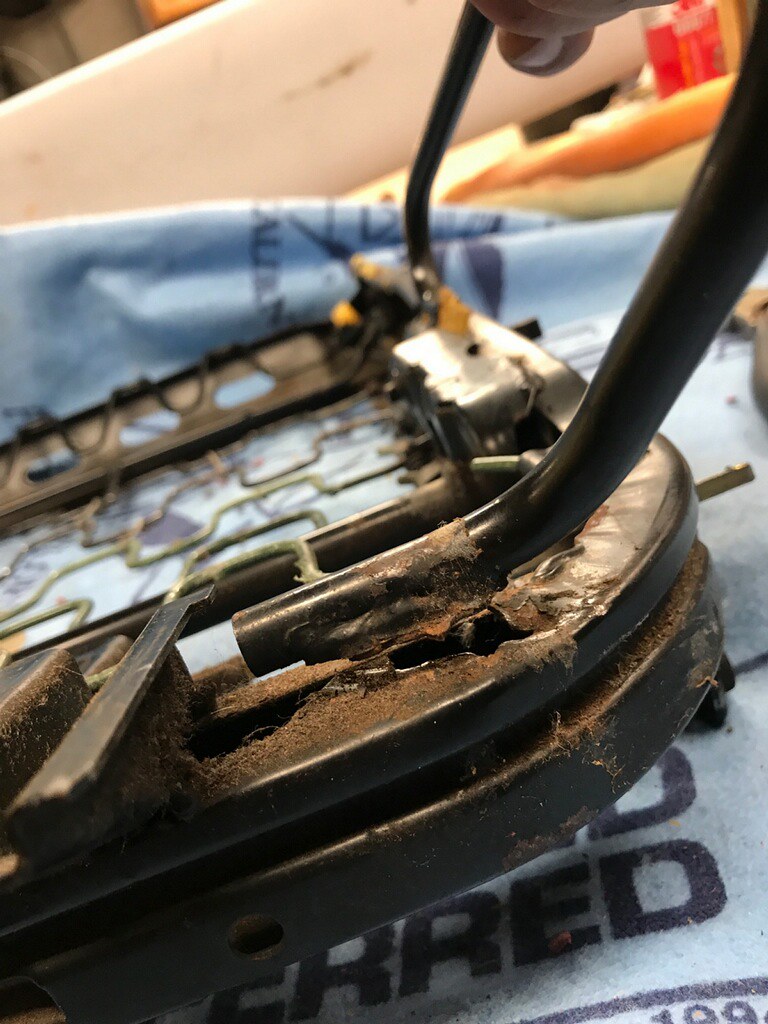
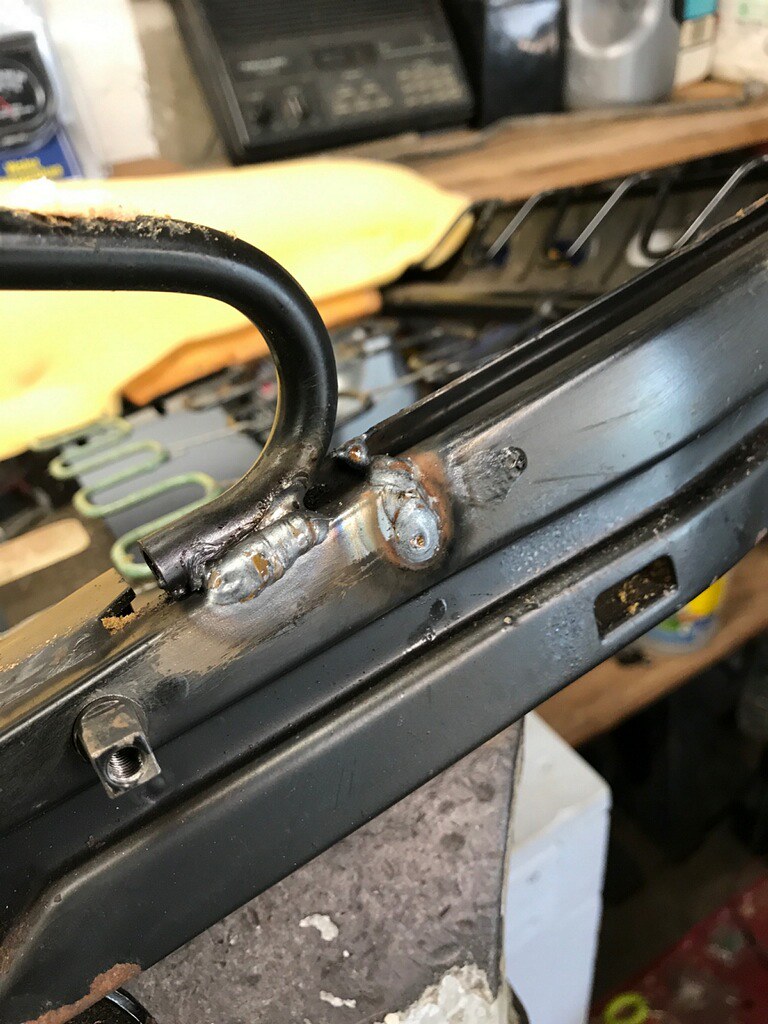
Nice couple of cracks in the seat frame
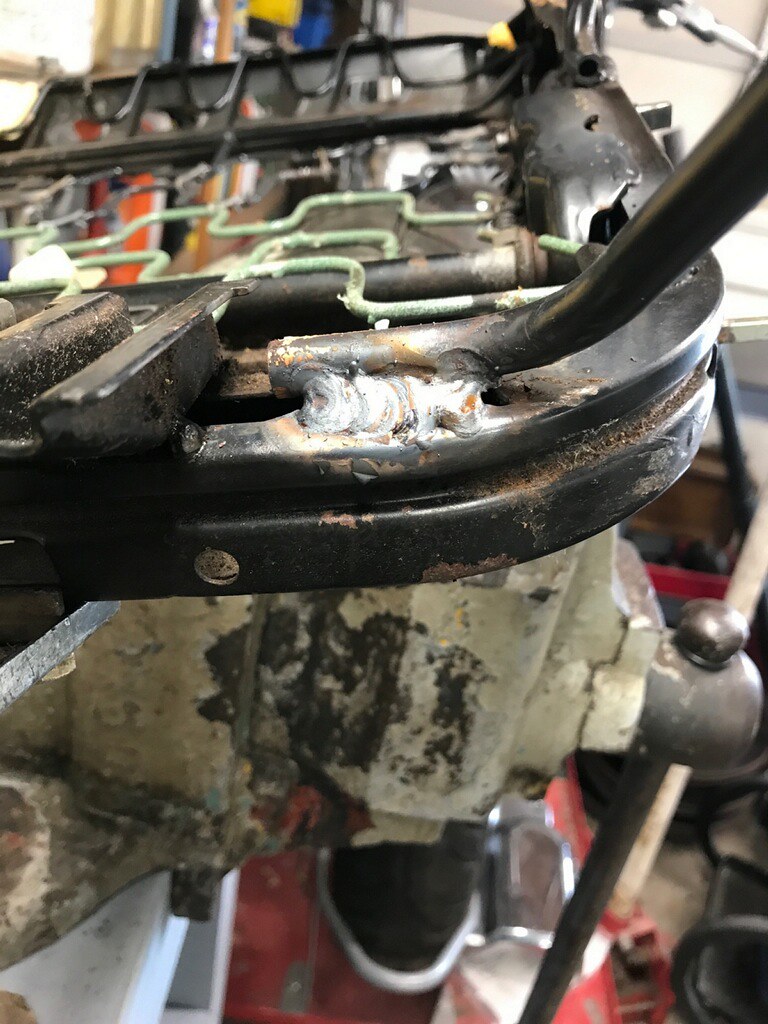
Much appreciated John, thank you!
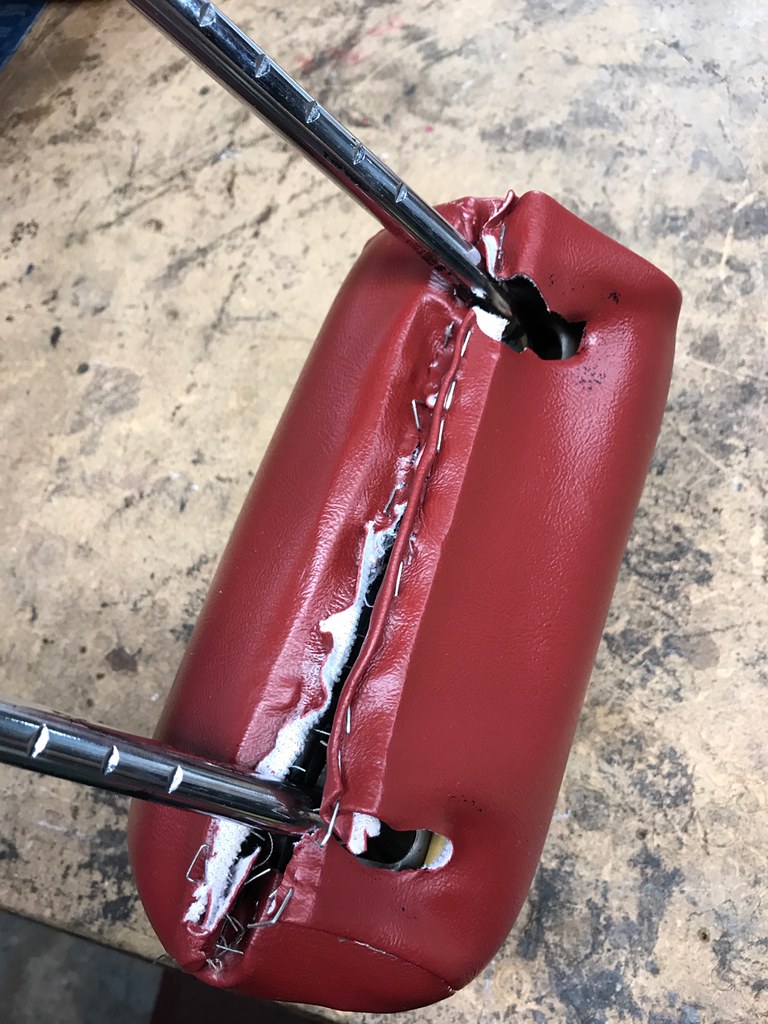
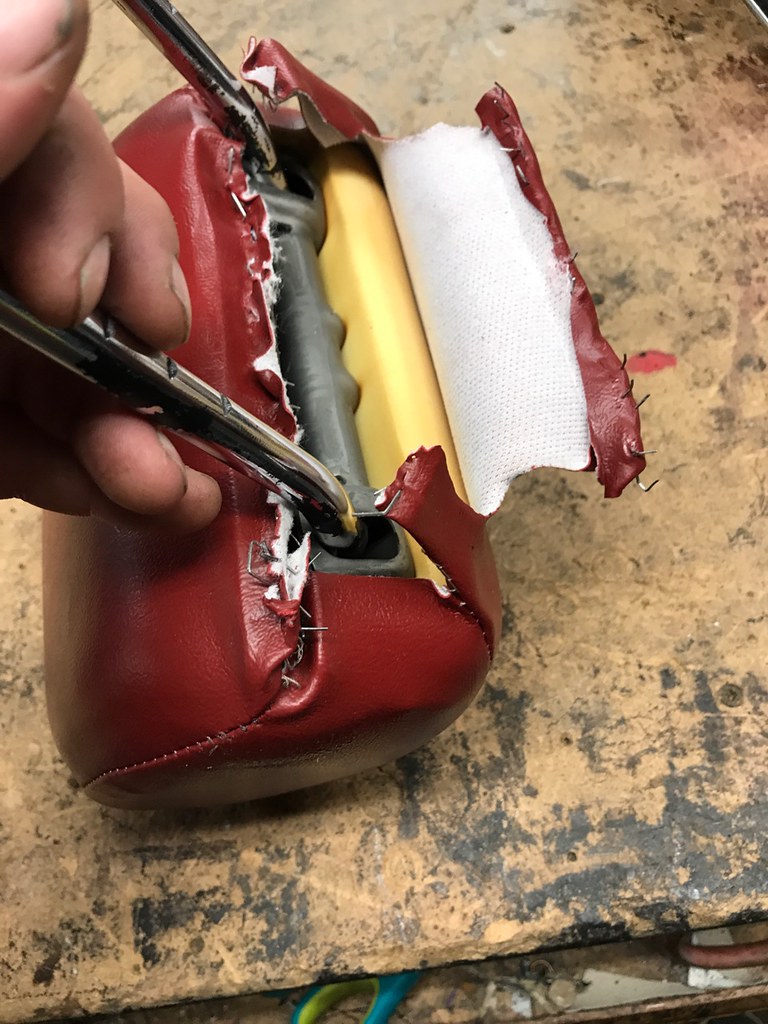
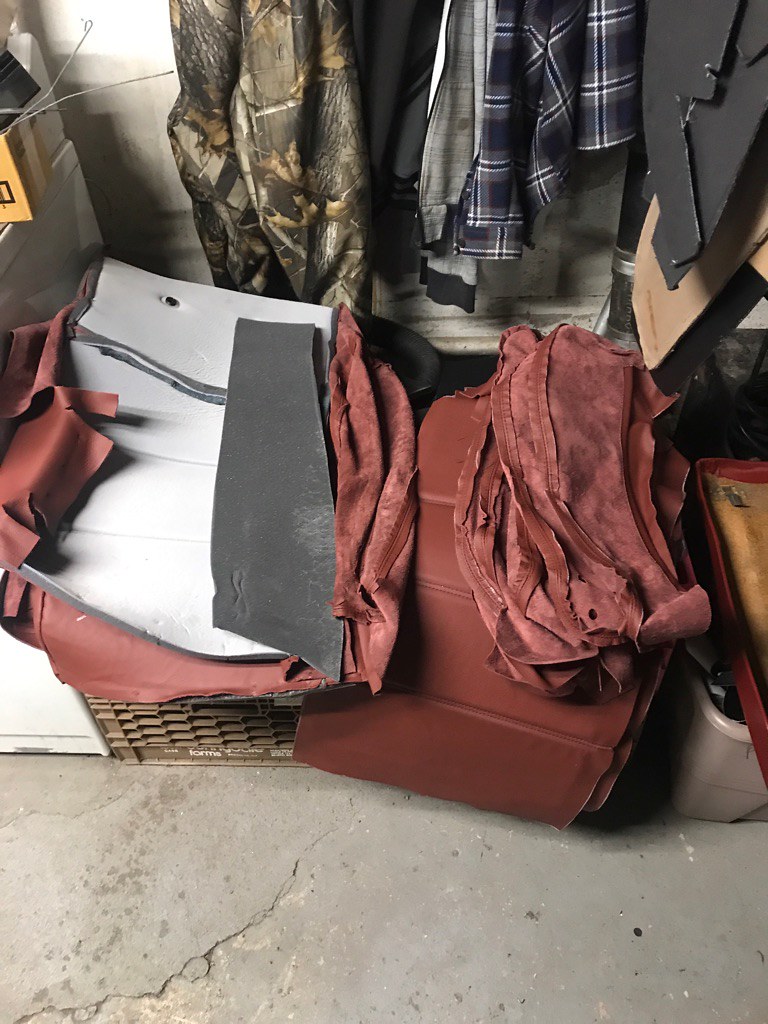
Not sure where these seats came from or where the previous owner had the seats redone, but man shoddy doesn't quite cover it
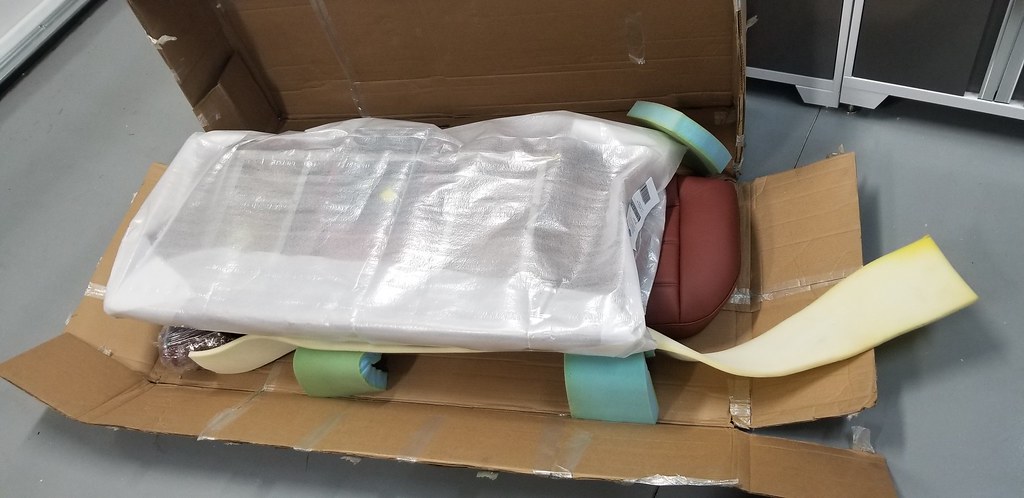
Interesting, creative but most important, effective packaging
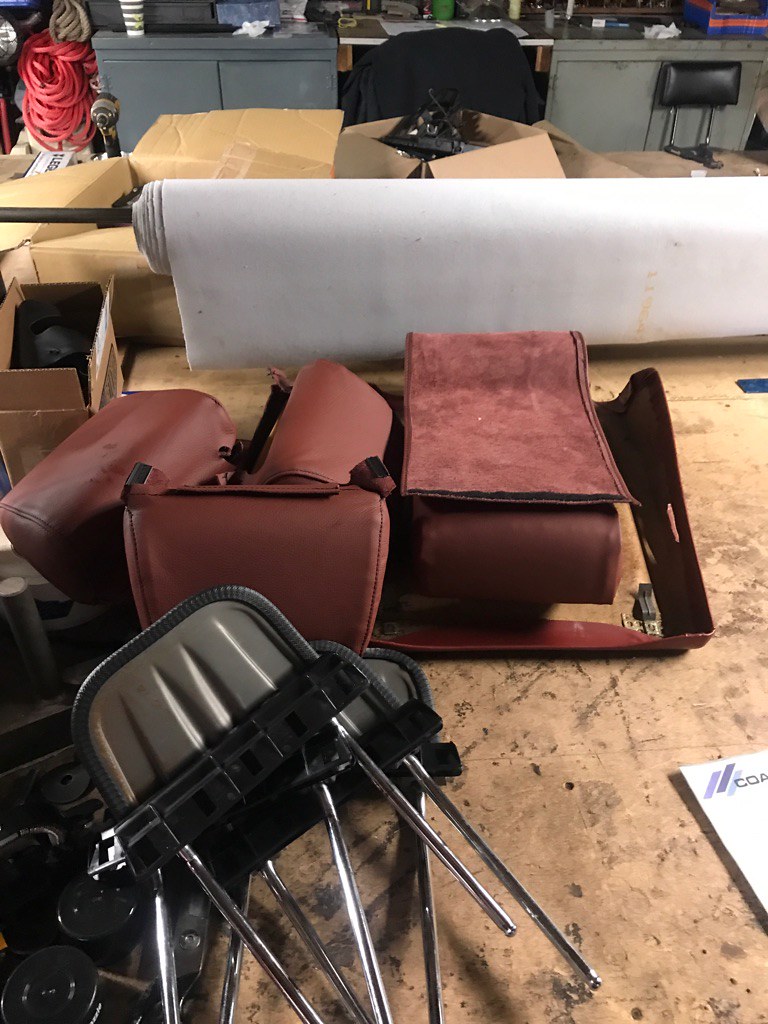
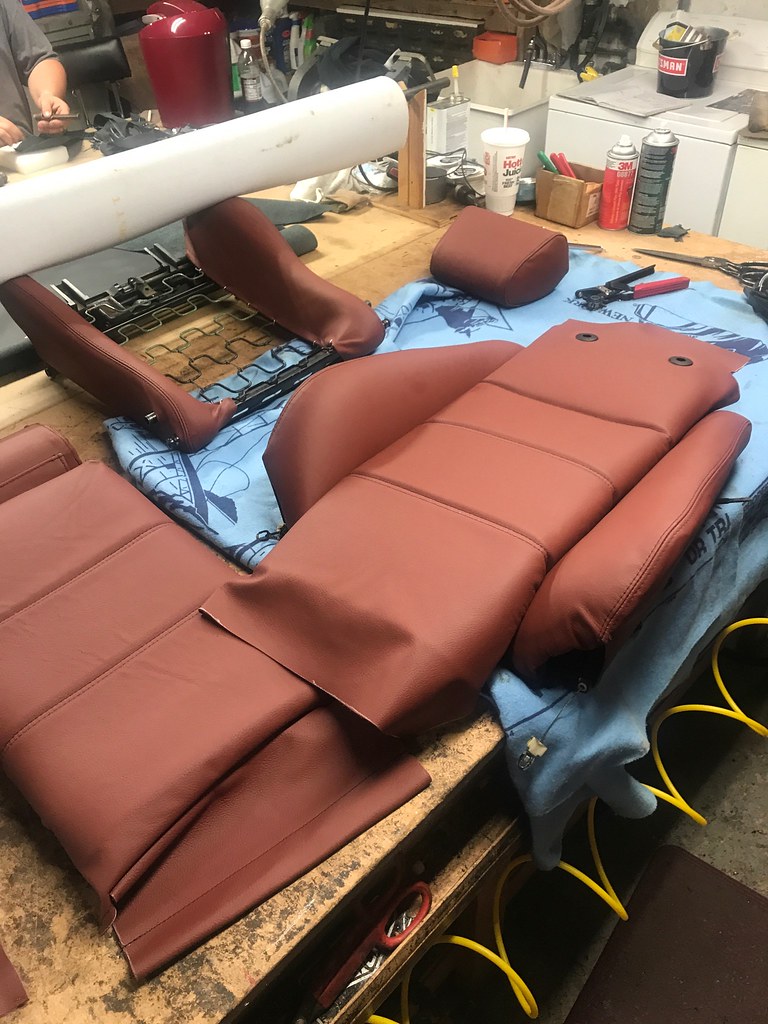
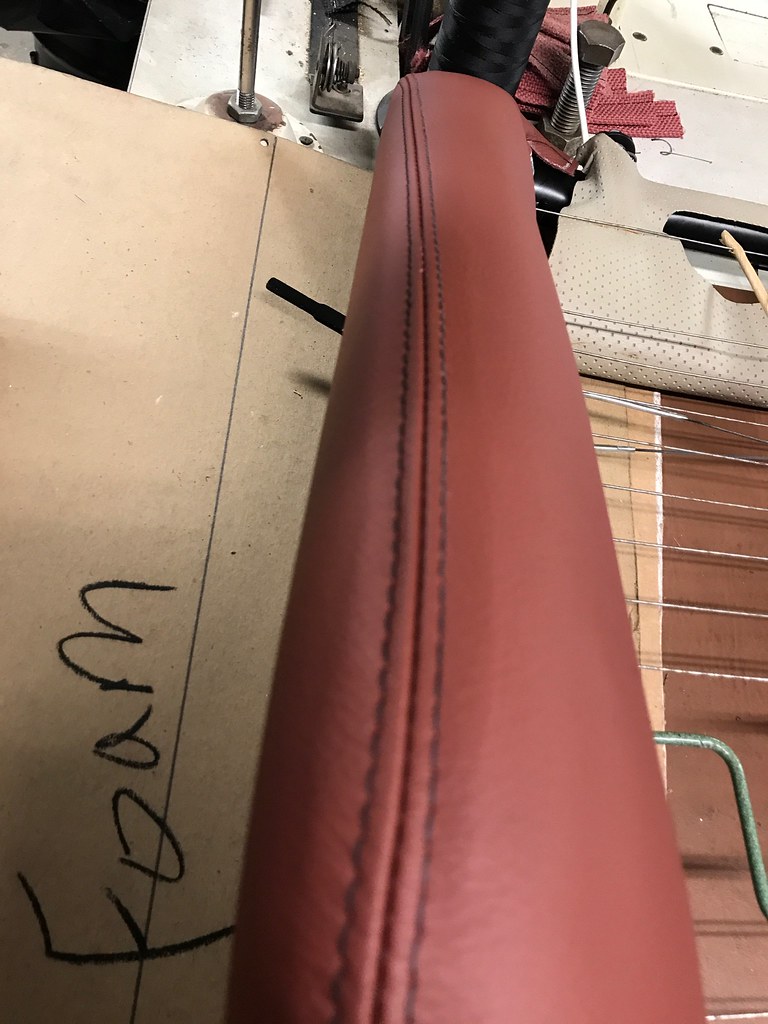
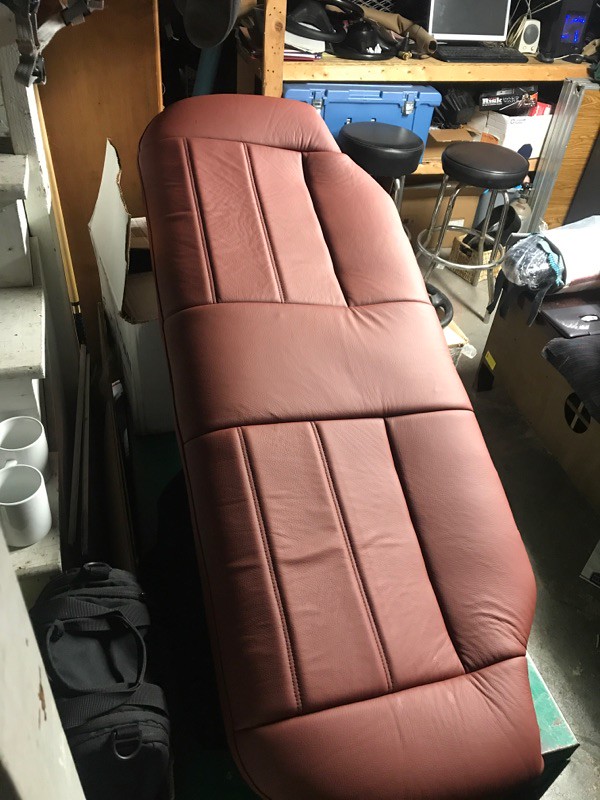
We've got seats!
Fresh cardinal leather never smelt so good!
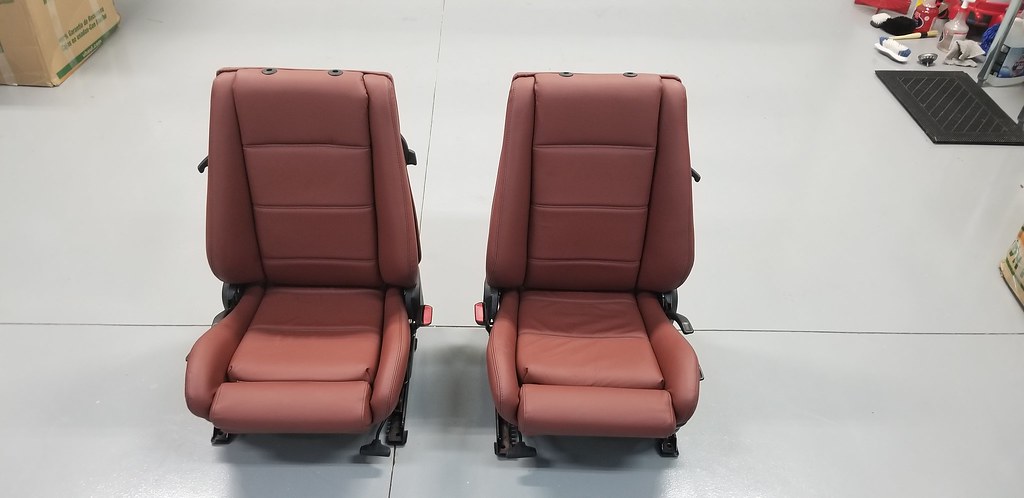
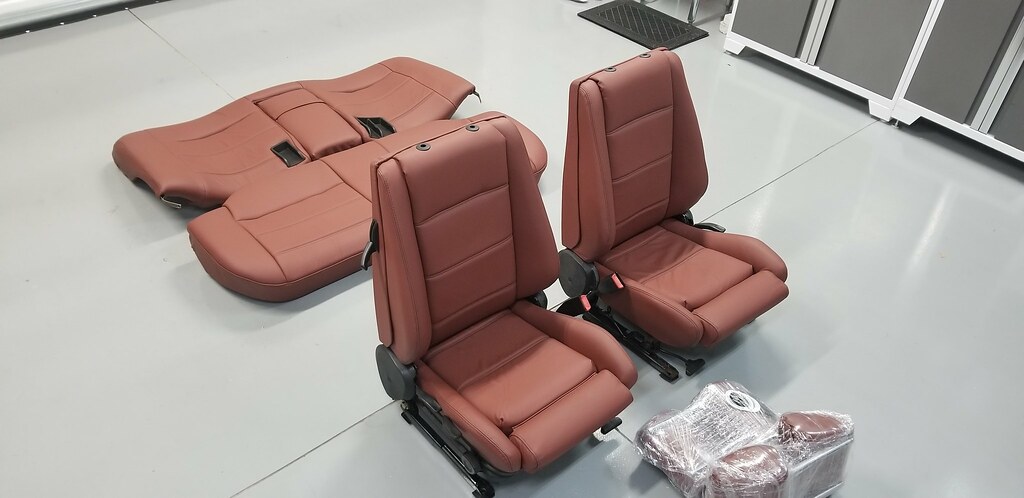
Now are they perfect, probably not, but they're as perfect as I could have asked for.
From where they were to where they are, and for their age, I think he did a phenomenal job.
All in all I am over the moon with it.
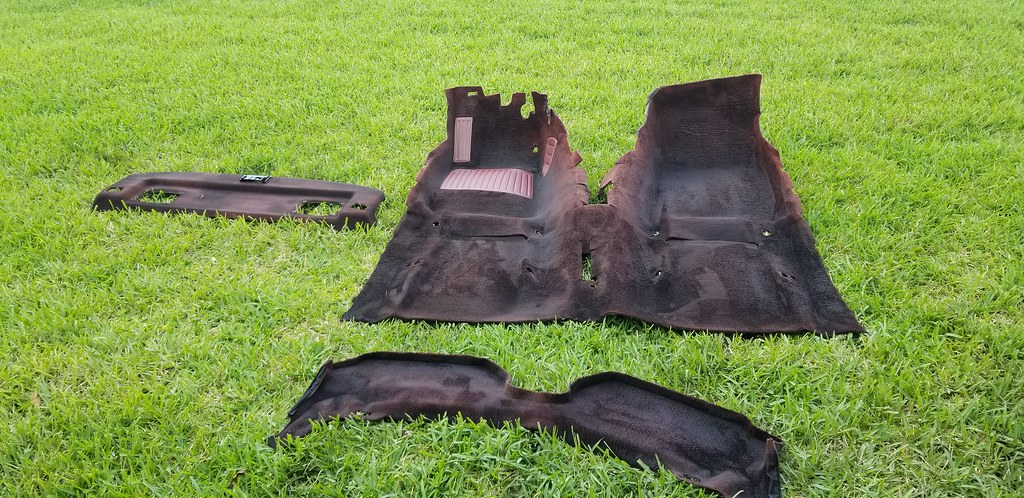
So for the last few weeks waiting on the seats, every time I walked into the garage to do something, I'd stand there and stare at my nice, clean, fresh, red carpet for a while. Then I'd pat my self on the back "job well done on the cleaning" I'd say...
Well as the weeks passed, that turned into, "maybe it's too red"
Turned into "maybe it could be darker, I'd look better if it was just a shade darker"
Which ultimately turned into "screw darker, it needs to be black"
An idle mind is a dangerous thing.
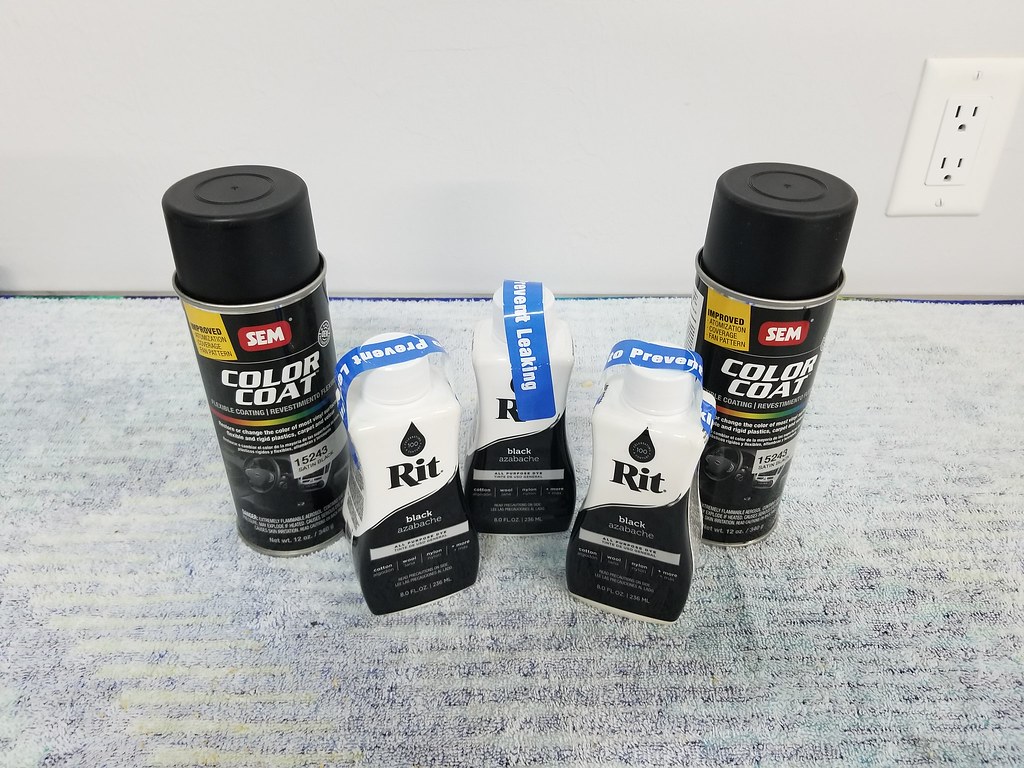
I decided to attempt dying the carpet black... in hindsight, not the brightest idea I ever had... What started off as a bright idea, turned into a massive pain in the ass.
So what I thought I'd do, was place a nice thick base layer of Rit Dye (NOT AT ALL SUITABLE FOR CARPETS, well at least it didn't work well for me) let it bake in the sun for a few days, and then add a top layer of SEM 15243 Satin Black, which by the way, is officially magic in a can.
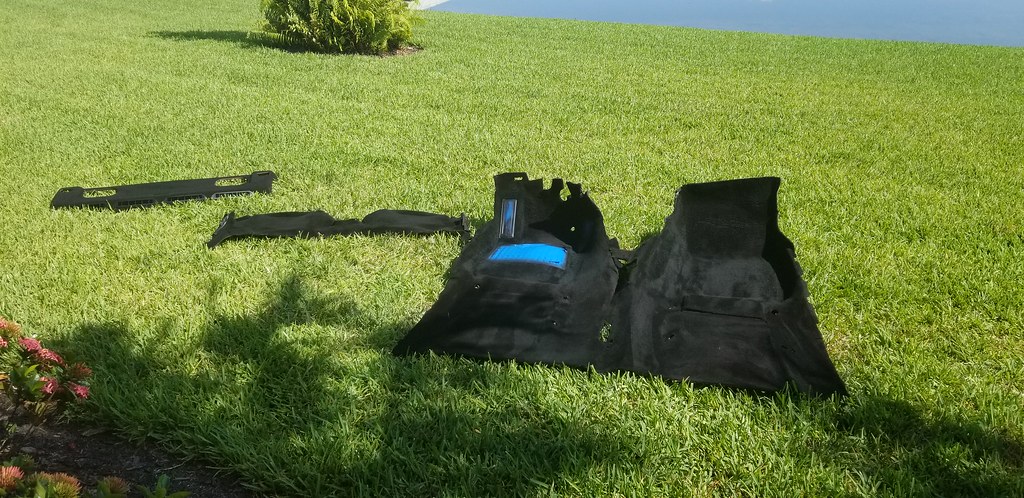
There's just 2 cans of SEM in the pic, but I think at the end of it, I went through about 4 - 5 cans
Started off with a heavily concentrated mixture in hot water, mixed in some salt and vinegar as instructed
Got a big sponge and a spray bottle, and went at it... This was after the first base layer of rit. I also decided to spray the back dash, didn't use the rit on this, just went straight to the SEM
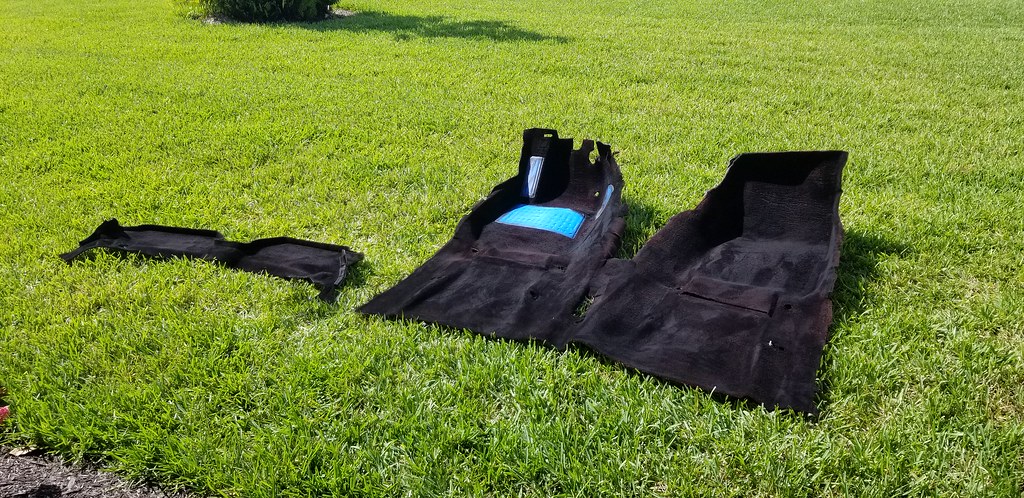
Left it to dry for a few days, then wiped it down with a few damp cloths to get rid of any bleeding
After the first layer of SEM
And the final layer
I think it came out pretty good in the end, but it was just a massive ball ache to get it right.
Between each layer, I'd let it dry, brush it fairly aggressively, wipe and vacuum.
Tested a few spots for bleeding by spraying with water letting it sit for 5 mins, then rubbing, and it seems to hold up okay. We'll see how it holds up over time.
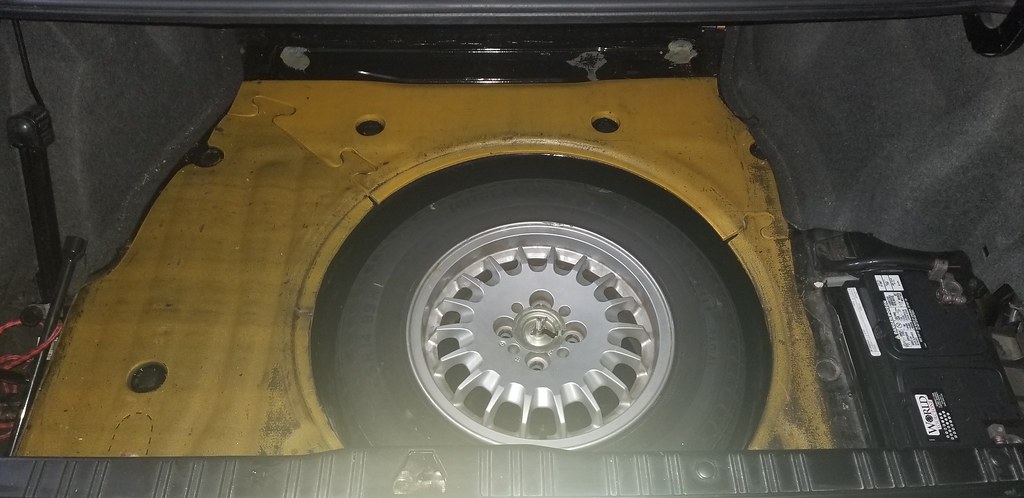
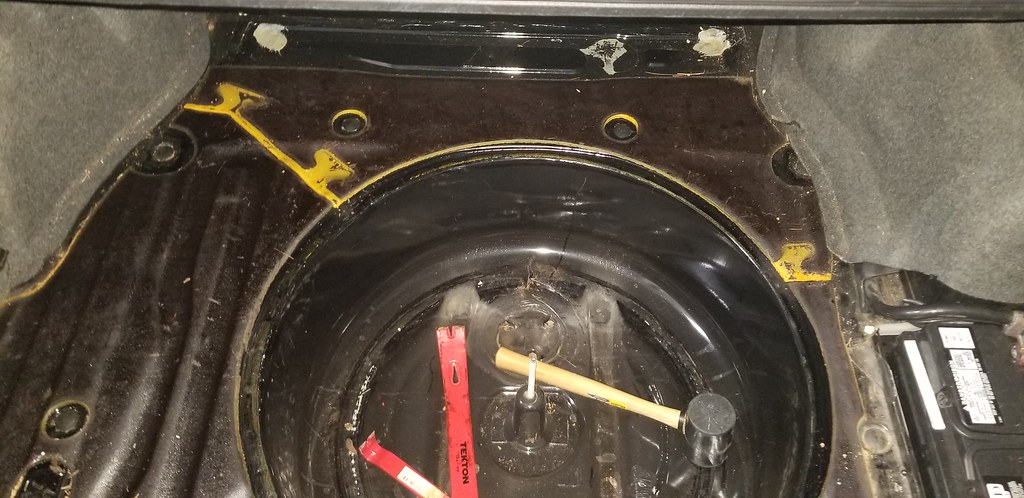
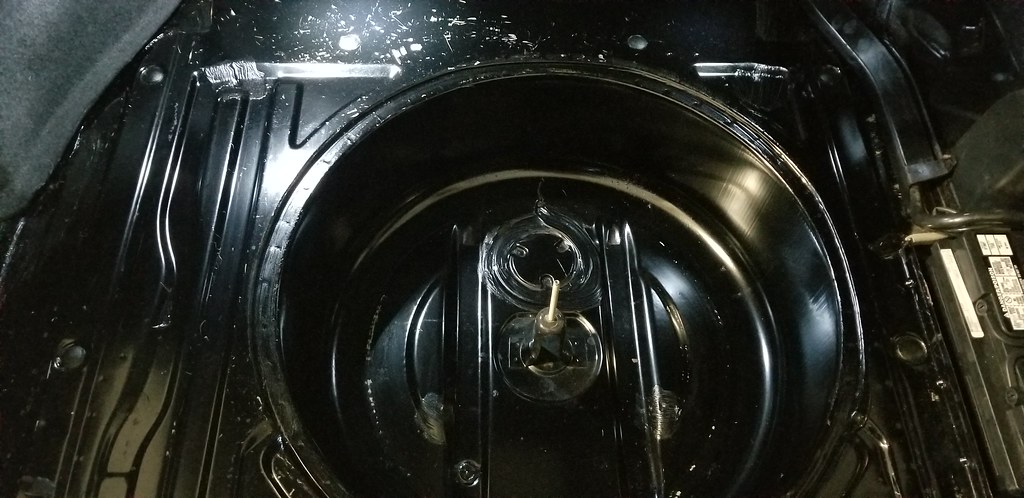
I then moved onto the trunk to give it a little clean out.
I bought a 10" lukebox from a fellow r3v member. I read up on a few different posts on installing the box, and Luke recommends removing the trunk tar. I didn't really want to, so I test fitted the box before making a decision.
The box does fit, if you wedge it in there, but it's way too tight, so I went ahead and started removing the tar.
In the end I think it was the right decision, for 3 reasons, 1) it stank 2) it weighs a shit load, and now it'd offset the weight of the box 3) the box fit's much better.
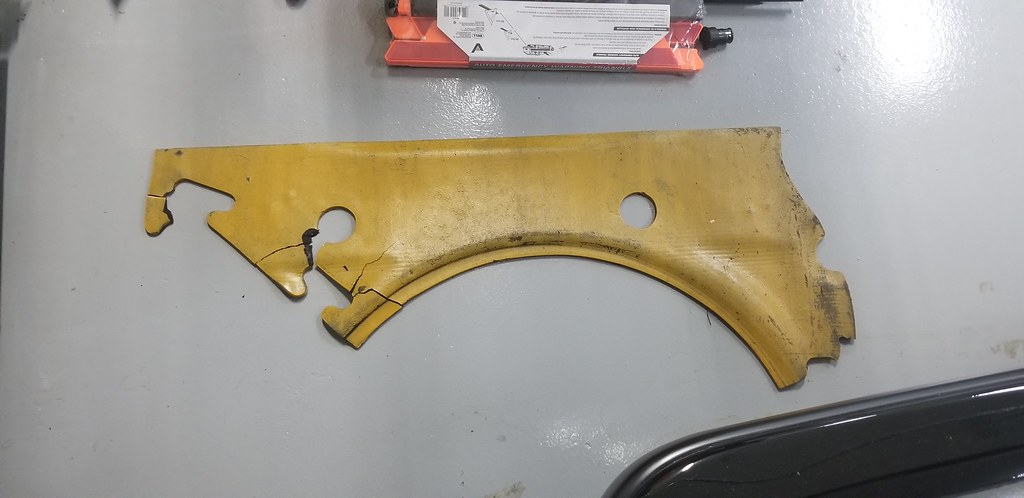
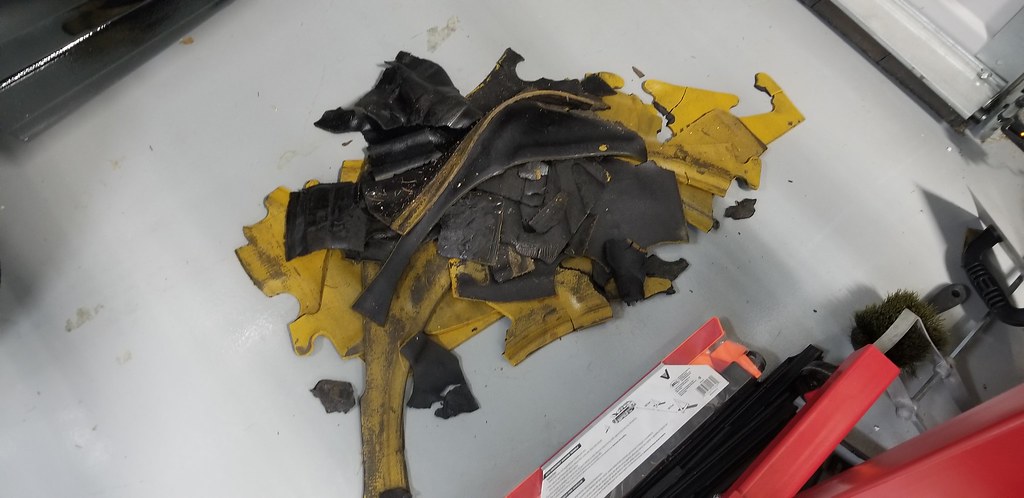
Started removing the tar, the top layer came out easily, most pieces came out in big chunks.
Excuse the photos, turns out my phone doesn't do well with the trunk
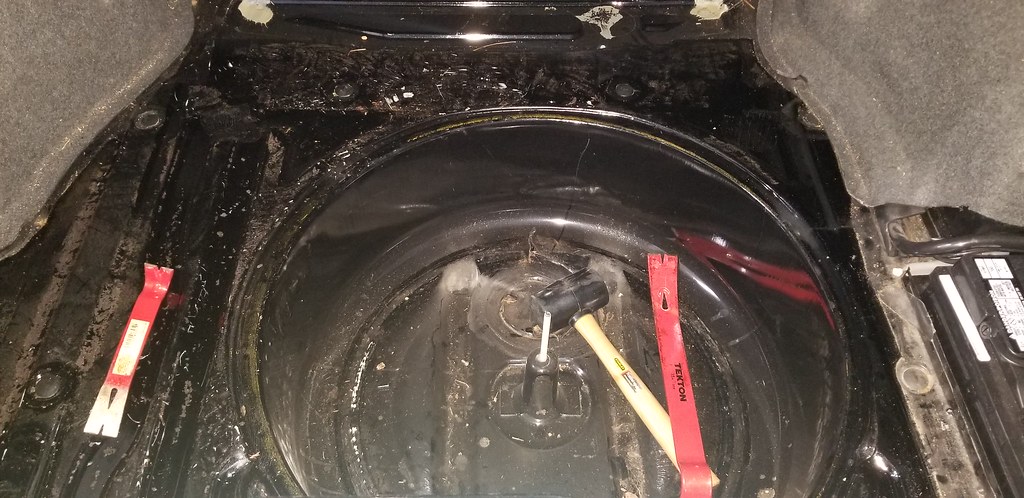
The next layer was a bit more difficult, but after some time with the heat gun, it came out pretty easy.
After using some googone, and some isopropyl alcohol it cleaned up nice, but with using the bar, it was hard not to scratch and chip the paint
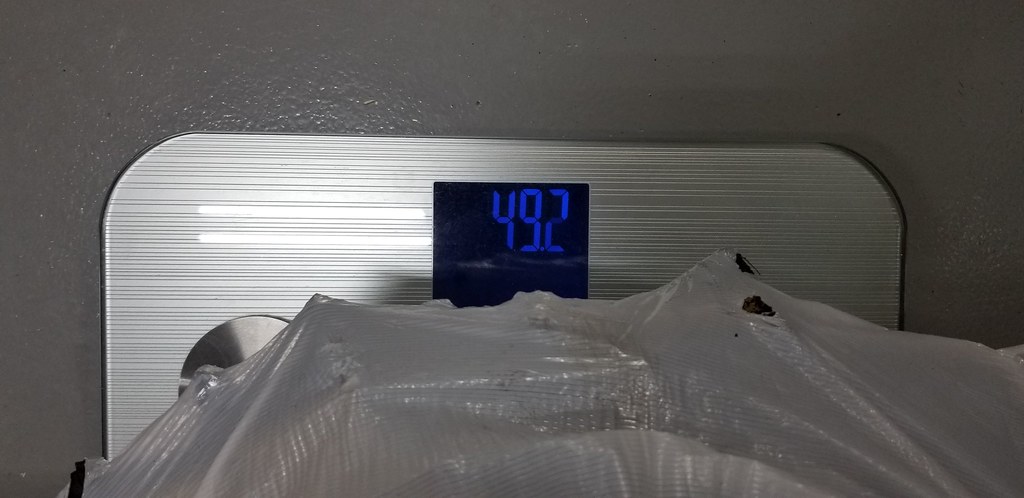
I read a few forum post, that the tar weighs a good 50lbs, I knew it had some weight to it, but I figured there's no way it was 50lbs
Technically I'm right?
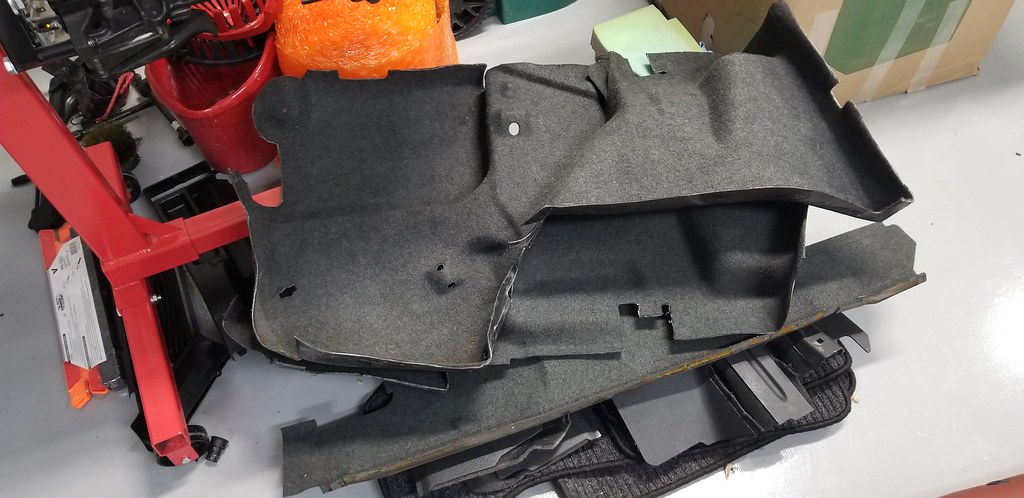
Took out the rest of the trunk carpet to clean it up a bit, will get around to that at some point.
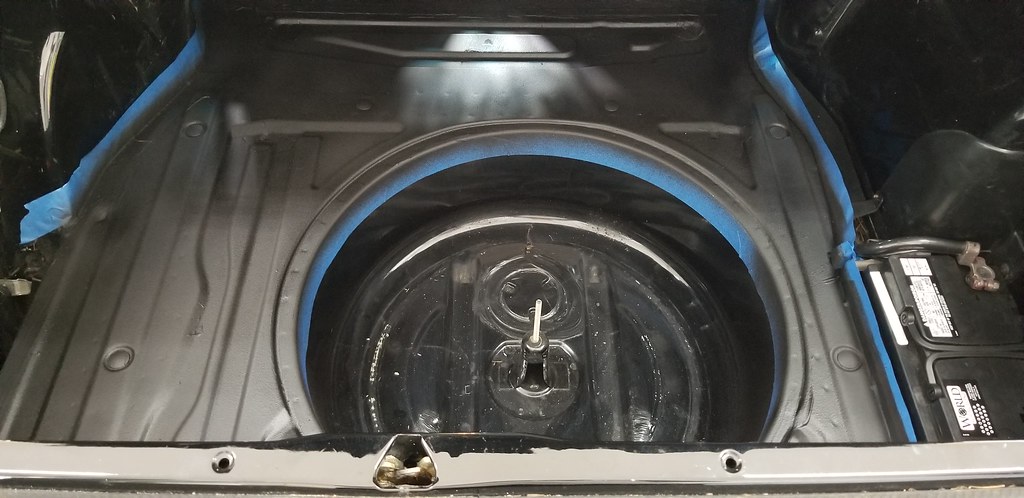
I figured with the tar out, and with the chipped paint, I'd try to protect it a bit, so I went for some 3M rubberized undercoating. I taped off the sides and went at it.
Wasn't sure how far the can would go, so I left out the wheel well for now, but there's a good bit left, so I might hit it with another coat and if there's more left I might do the wheel well.
Also figured, I'd tidy up some of the plastics in the trunk with some of the left over SEM magic paint, I love this stuff.
I did some light sanding, rinsed and cleaned with IPA before spraying here are some before and after shots.
Next I'll be working on running the wires for the audio install, and aim to get the furniture back in.
When I used the RIT dye to try and dye some rear seat fabric it made an absolute mess... luckily it was a public laundromat... they werent too happy with me and all the dye spilling everywhere. needless to say, the mess was a failed experiment. More because of my situation versus the dye itself but it was a fun adventure nonetheless.
seats look awesome! Im excited to get the cosmetic side of my interior started, but I need to get my A/C fixed first.
Simon
Current Cars:
-1966 Lotus Elan
-1986 German Car
-2006 Volkswagen Jetta TDI Make R3V Great Again -2020


 -
- 


Comment