
While the underside of the caliper does look pretty rusty, there's still plenty of meat left. The carriers themselves are better. I can always use my original housings and the other carriers. I'll decide one they are blasted and plated.
Well... That 'table' is actually the hood of a Golf mk1 GTI we bought recently. :)
-
Nice Special Blend outerwear sticker on the table - been a LONG time since I've seen one of those hahaLeave a comment:
-
I'm so glad we don't have rust like that in Australia.
Those calipers have had it by the looks. I don't think there will be enough metal left to make them work properly once they are blastedLeave a comment:
-
Smallish update.
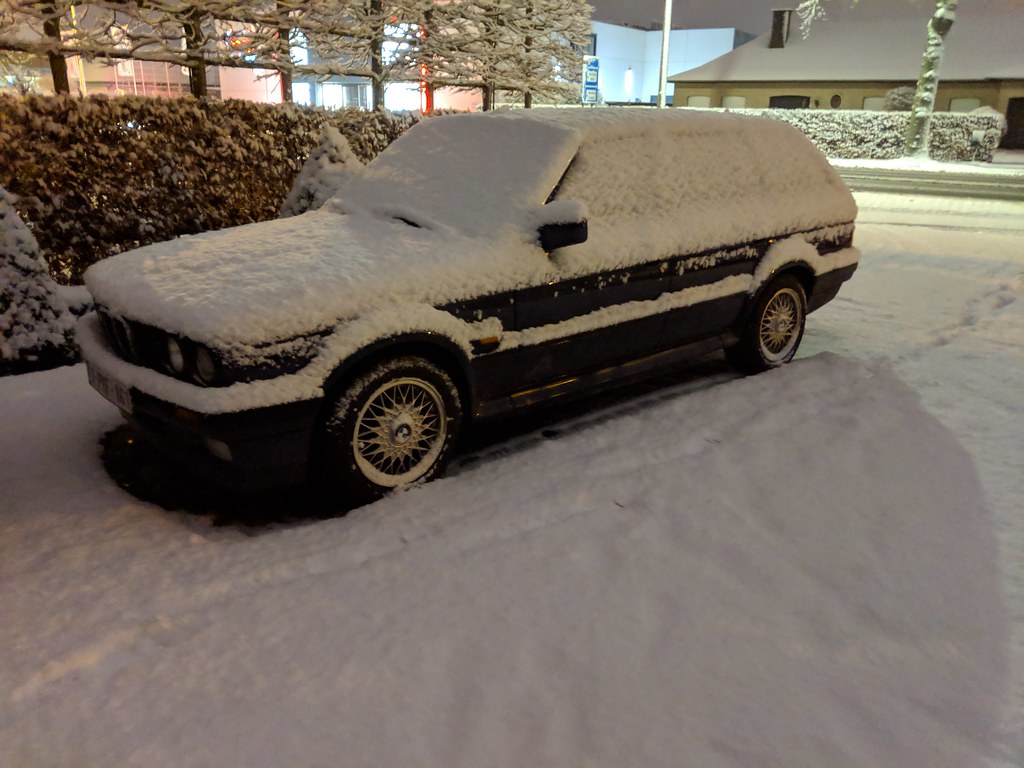
Hit a new milestone a few weeks back, 253000km and still going strong.

My uncle, brother and I are planning a roadtrip to/in the Alps. I was already planning on refurbishing the rear end a while ago but this made it an even bigger priority. I already started ordering parts. While ordering, I decided to also order parts to redo the whole front & rear suspension, clutch, transfer case. Rear diff will get send out to a specializedcompany.
A couple of pictures of some parts that arrived;
OCAP tie rod assemblies

Almost everthing for the rear suspension (bushings, CV boots bearings...) and brakes (guide pins, pistons & seals, hoses...)

I also ordered a new middle console panel but unfortunatly it arrived broken. I might be able to epoxy it since it's in an easier place to repair than the one that's currently fitted in the Touring.

Finally also a Z3 1.9 DSSR, turns out this one is also fitted to the E46 325/330xi. After some searching on ebay I got one for 40€ shipped to Belgium. Didn't want to spend +100€ for a new one..


I also disassembled the spare rear iX Touring brake calipers I have. The brake pad carriers are in alot better shape than the ones fitted now. I'll go ahead and get them all plated anyway.

Bore itself also looks good

I also got a new (used) rear subframe, only the beam. Mine is a bit rusted on the flanges at the opening for the diff.Leave a comment:
-
-
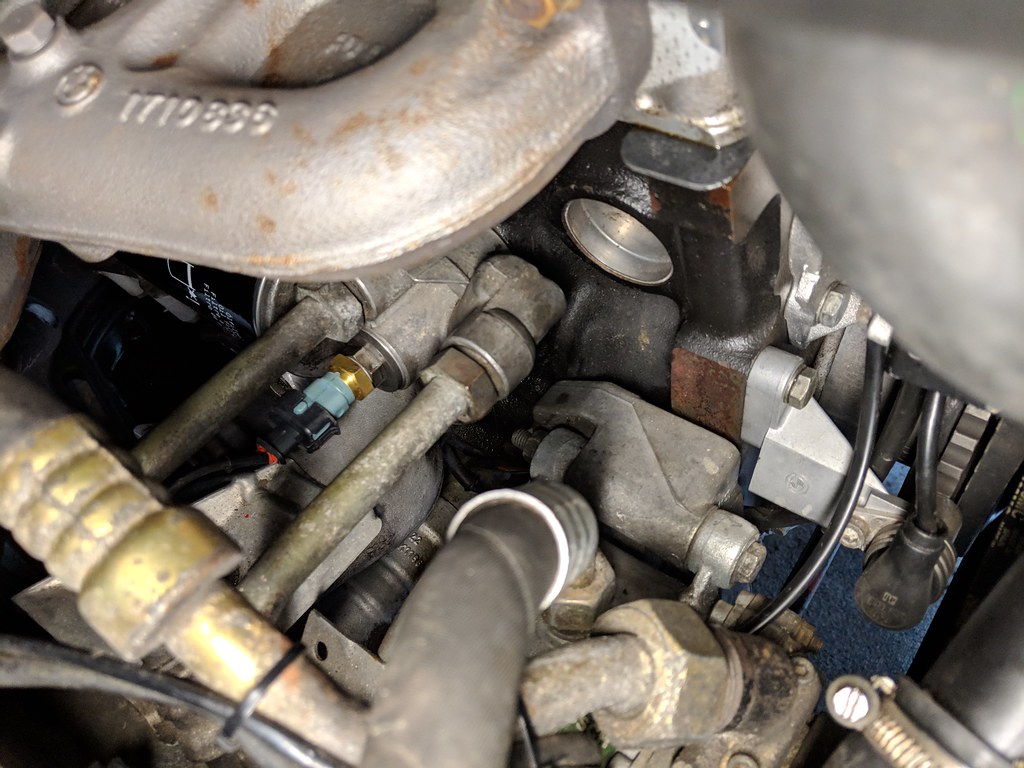
Finally got the temp sensor installed and working. Took some time to get it all working though.. Since I received the longer wire harness for the sensor, I first removed the one that was too short and routed the new one from under the fusebox to the underside of the intake manifold and in front of the engine block.
I then moved on to removing the old oil filter housing bolt and installing the new modified one. While I was there I of course replaced both orings. One on the bolt and one that sits against the block.
While I was at it I also replaced the oil (yet again)
And a picture of it working while driving home.
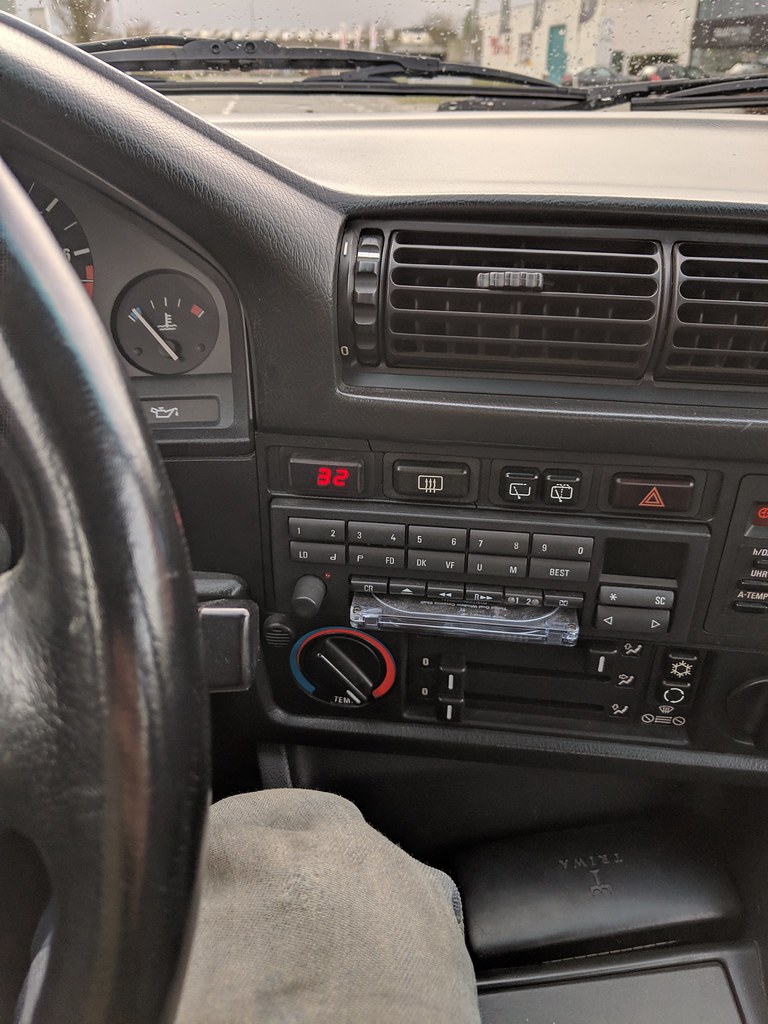
Later that evening I made an hour long highway drive to get most of the condensation out of the block. After coming home I couldn't see any residue on the oil filler cap. Oil temp stayed on 90°C while the coolant sensor never went a lot futher than the 1/4 mark.Leave a comment:
-
-
-
-
great info. so does that bar get pulled back like that because the end links are too short? So if you just get some adjustable end links, you're probably be just fine huh?Leave a comment:
-
Thanks man!
I haven't received the longer cable for the temp sensor so I got started with trail fitting the E36 m3 front swaybar I got a while ago for cheap.
After jacking up the car and removing the wheels, I glanced over the suspension to check the overall condition and noticed quite a bit of water in the spring perch. There was a little stone and a ton of dirt blocking the little drain hole. Guess I have to check them more regularly.
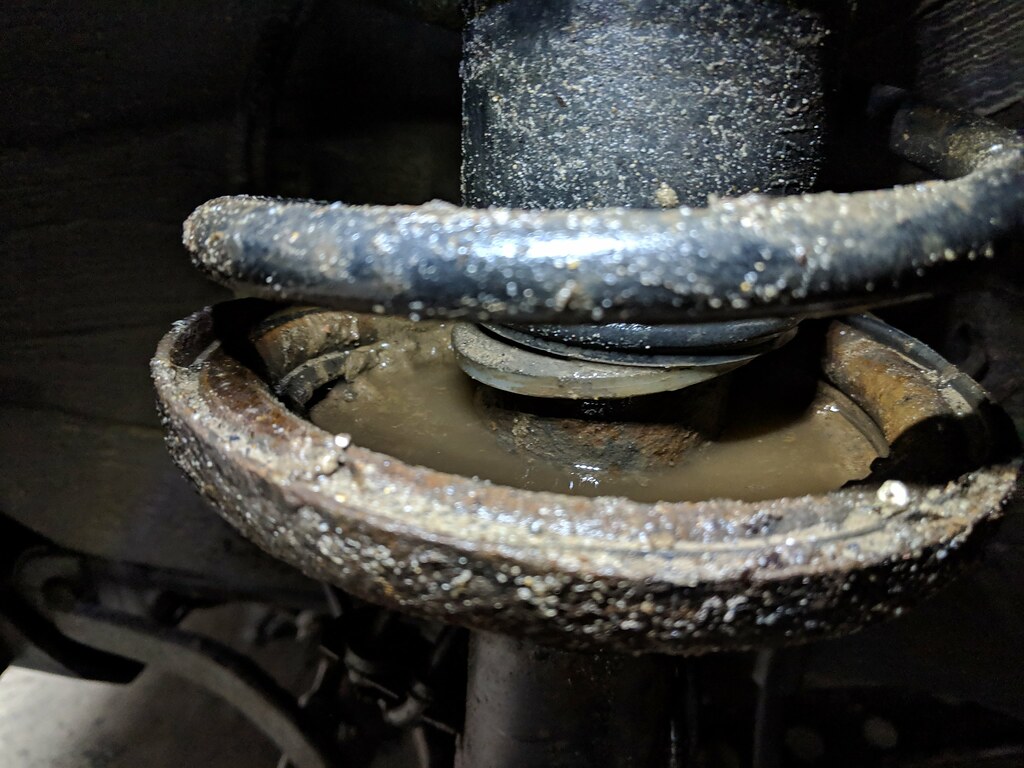
I then removed the original swaybar and fitted the E36 one without bushings, just to get an idea.
First pretty good at first sight.
This with the wheel turned to the left, suspension under load.
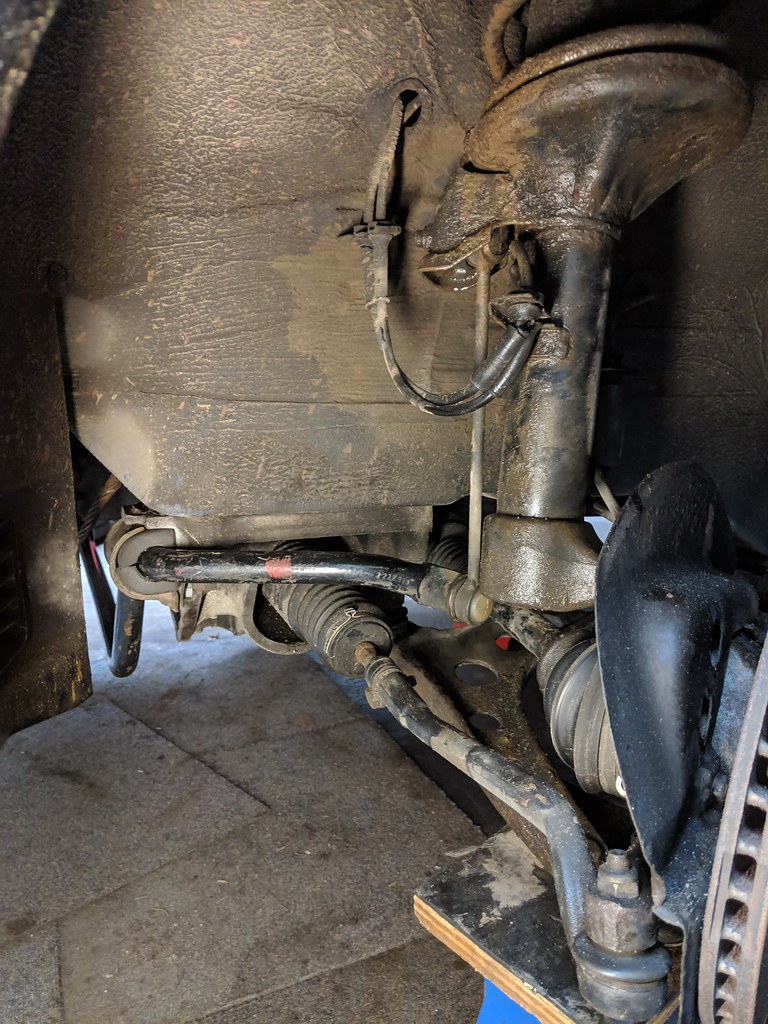
Wheels straight
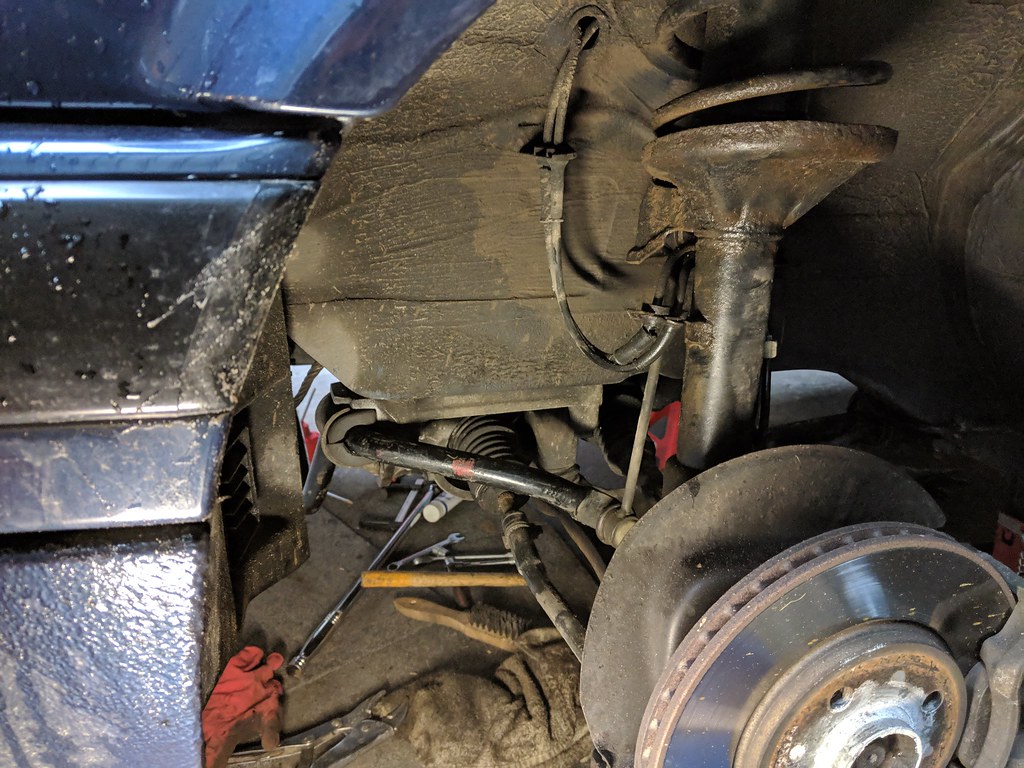
And to the right
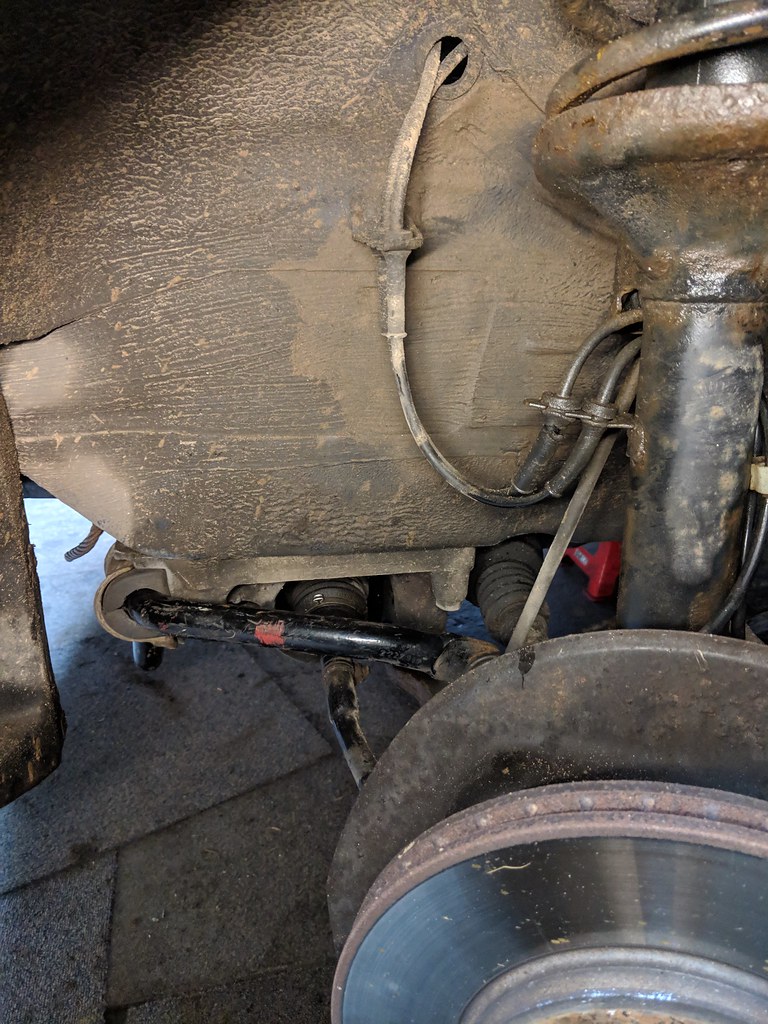
I enlarged some old swabar bushins I had laying around from the suspension refresh from my uncles Touring.
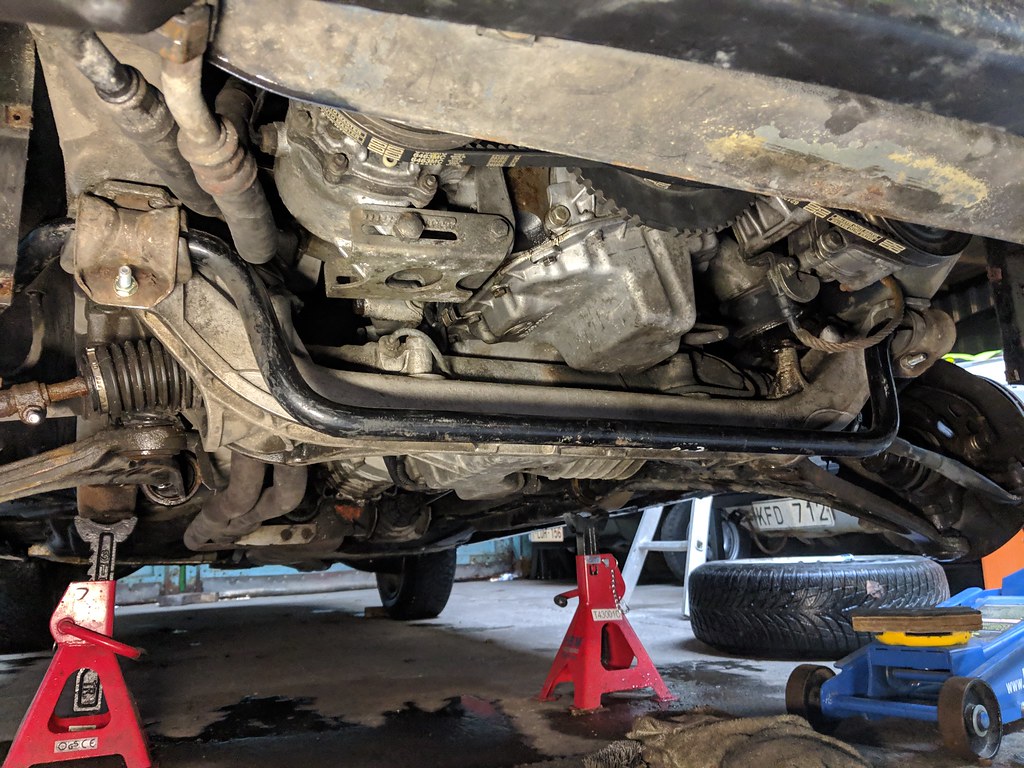
Definitly no perfect though will need to figure something out as the E36 bushings are way to big to fit the swabar bushing clamps.
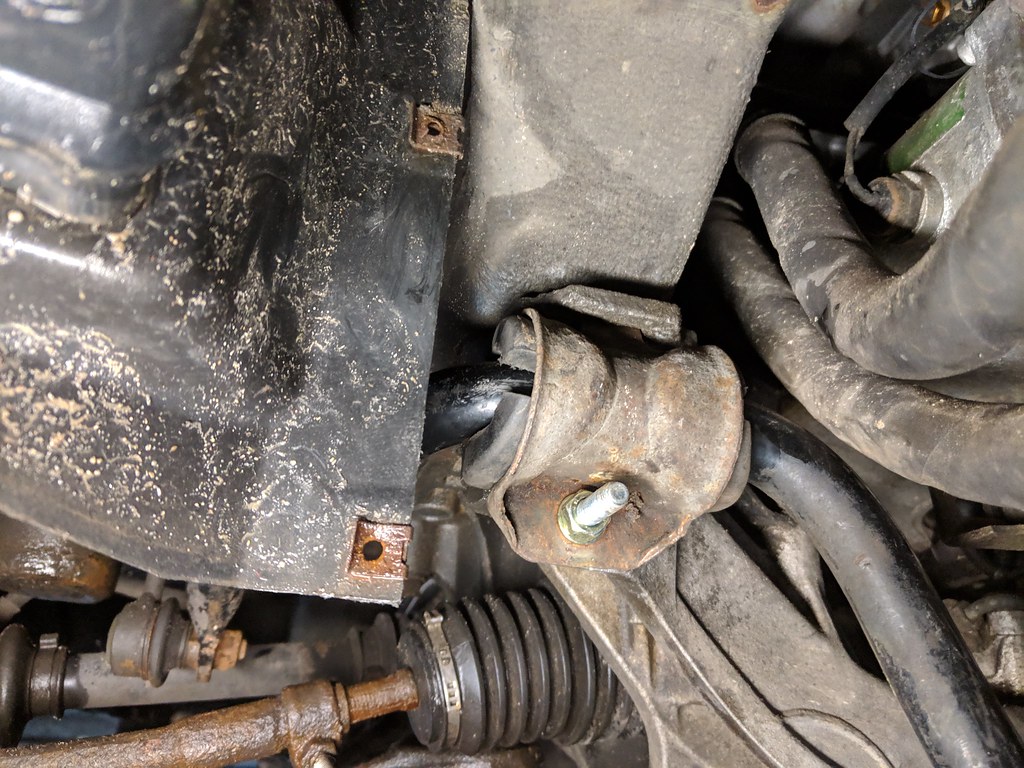
Feeling pretty confident, I decided to lower the car back onto its wheels.
Well turns out the suspension drops a lot more, causing the saybar to turn a whole lot more and hitting the subframe. I guess some longer links are in order.
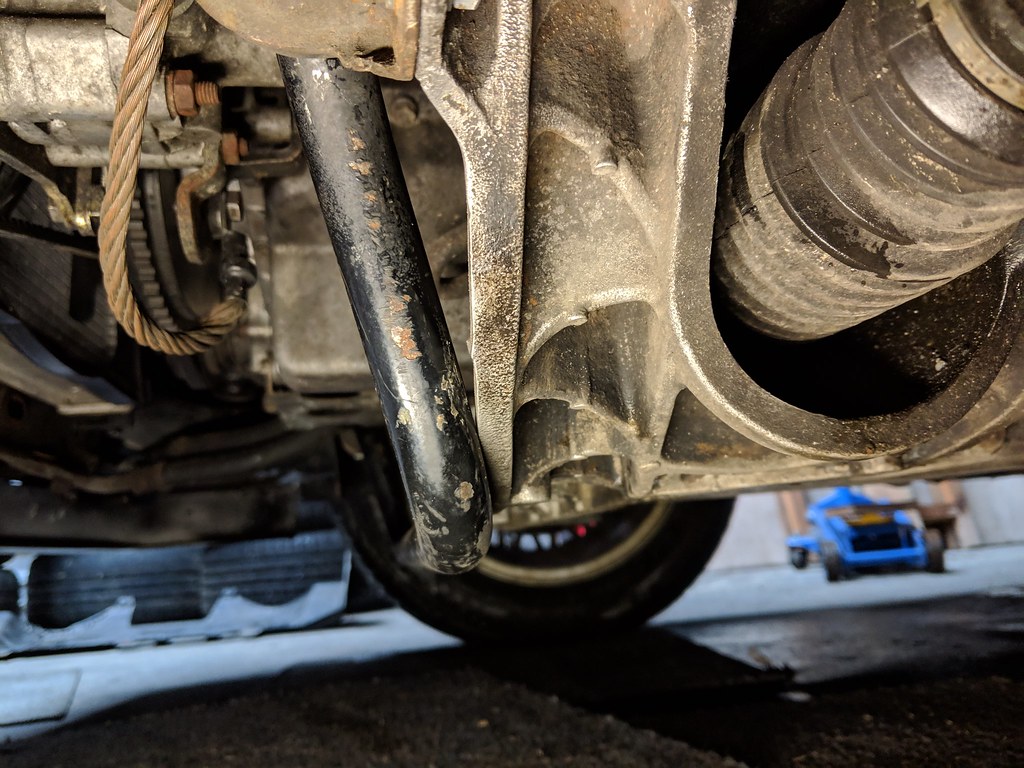
Leave a comment:


Leave a comment: