Announcement

Collapse
No announcement yet.

Money Pit: The Sequel - Full Repaint Project

Collapse
X
 
  • Filter
  • Time
  • Show
Clear All
new posts

    #61
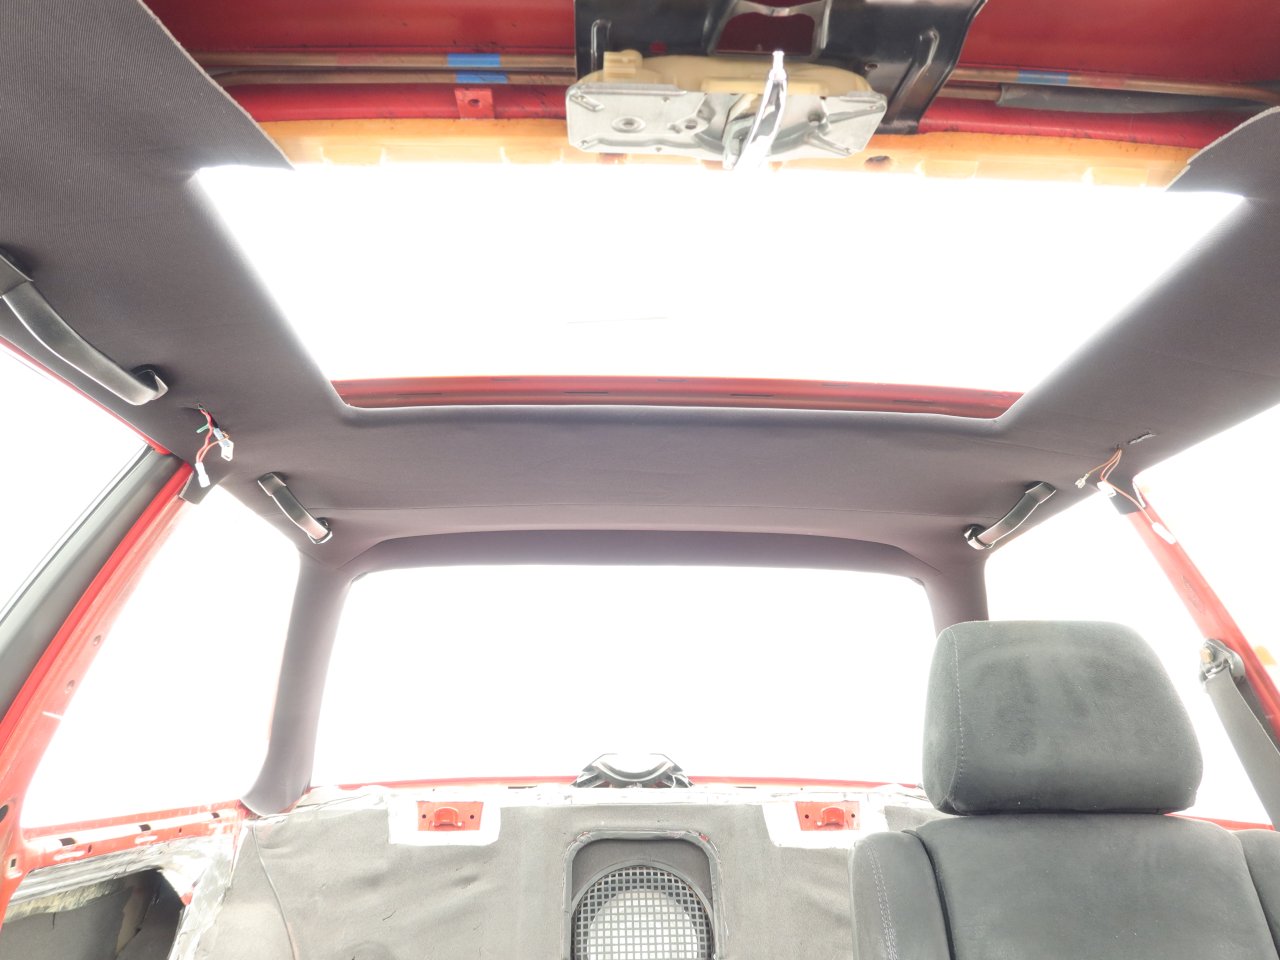
    One more big item is checked off now. I got the car back from the upholstery shop this morning. The headliner is installed, the front upper console is rewrapped, and the A-pillar trim pieces are also enjoying some new covering.

    Now that I have the car back and have taken a good look at the workmanship, I can recommend this shop to others on here. They were professional, friendly, fast, and fairly priced (definitely not inexpensive, but they made every effort to come in under the quoted hours of labor and the quality of the work is exactly what I would have hoped for). It took them 1 week from drop-off to completion since they have about a dozen cars in the shop right now. Apparently a lot of BMW's of this era are coming through lately.

    Specialties: *Please Call to make Appointment, we do all estimates by appointment* Wardell Auto Interiors and Tops is dedicated to providing quality interior restorations, as well as, minor repairs on your vehicle. Any interior color, design or fabric for any vehicle, year, make or model. All projects are completed at our facility. Our technicians are trusted professionals with decades of experience in the industry. We truly value our customers complete satisfaction. Established in 2017. John Wardell helped build and grow another successful auto upholstery business. After 35 years, it was the right time to move on and start his own business, Wardell Auto Interiors and Tops, in 2017. With operating his own business, he has already made it a success with happy employees, professional and friendly atmosphere, and most importantly, satisfied customers.


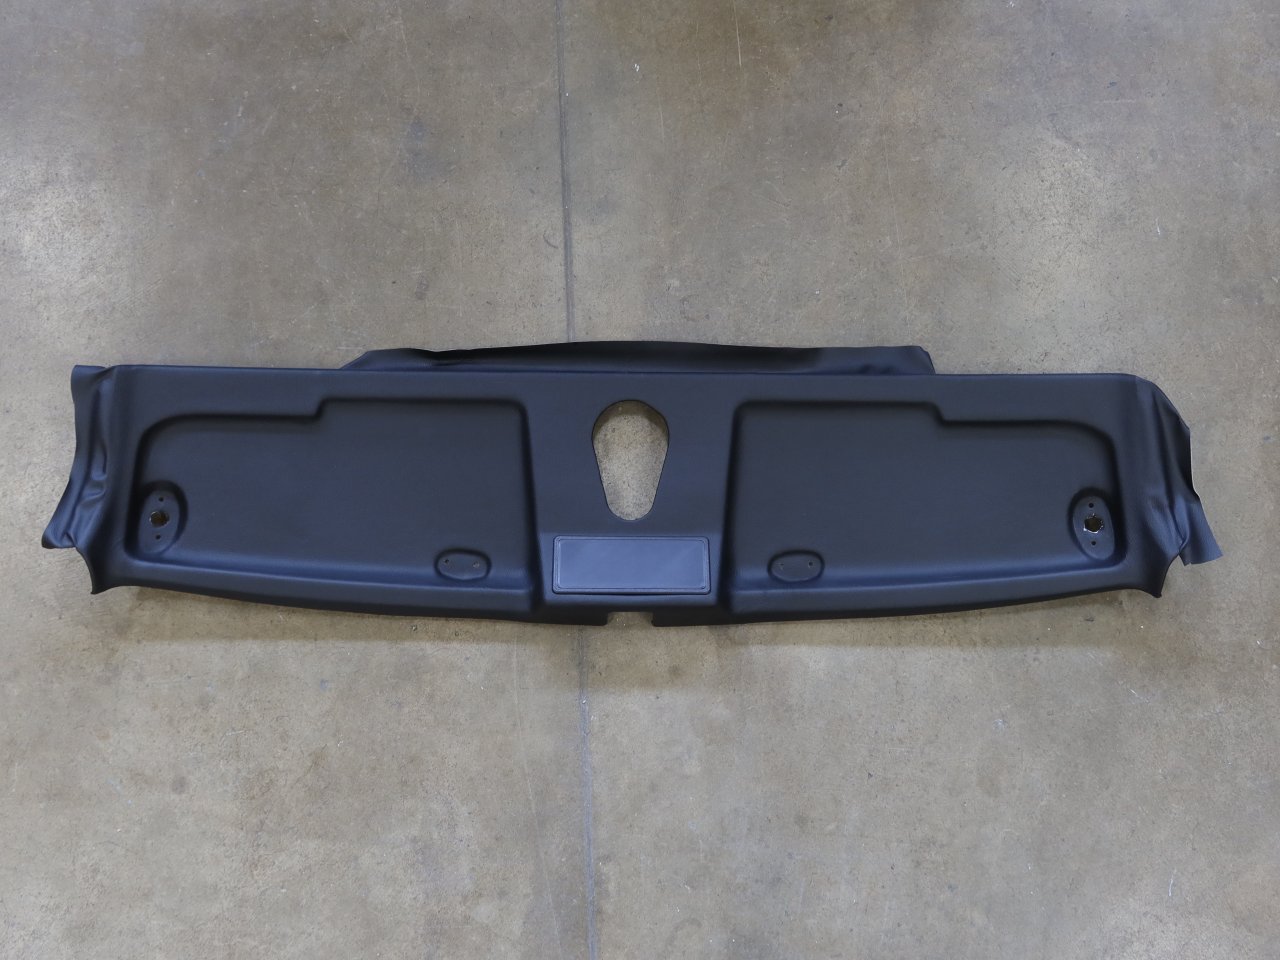
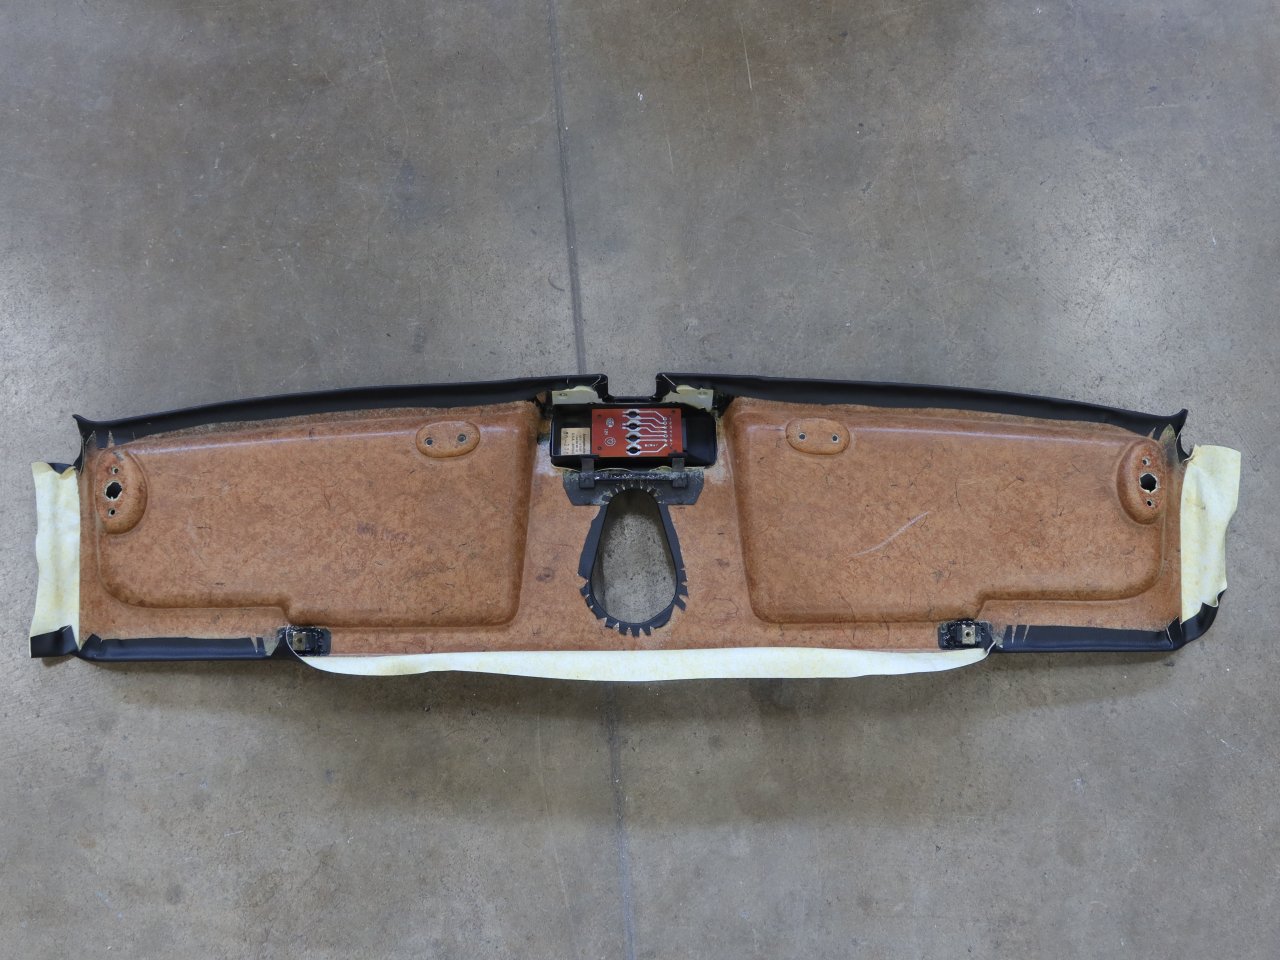
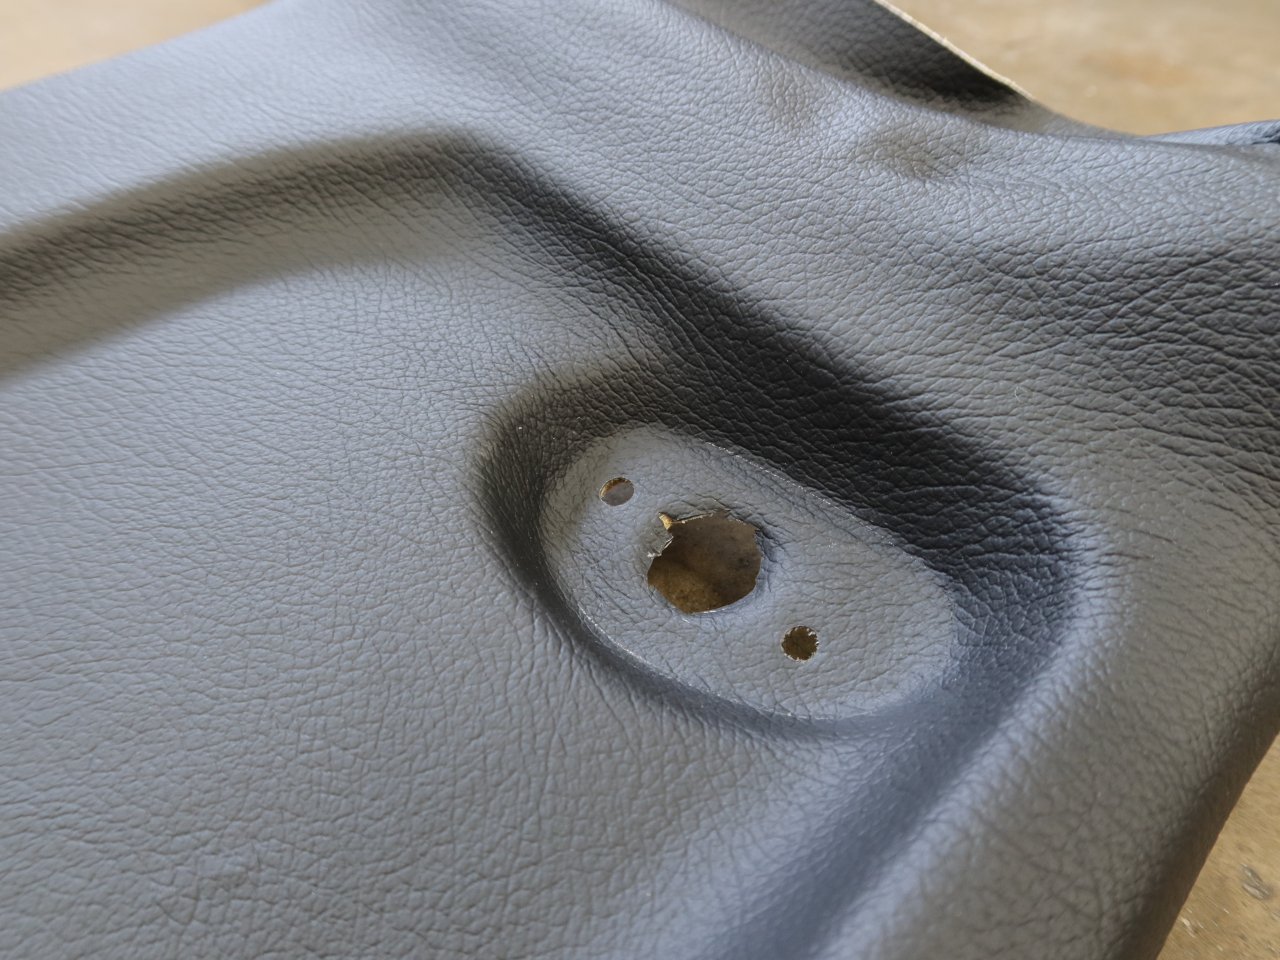
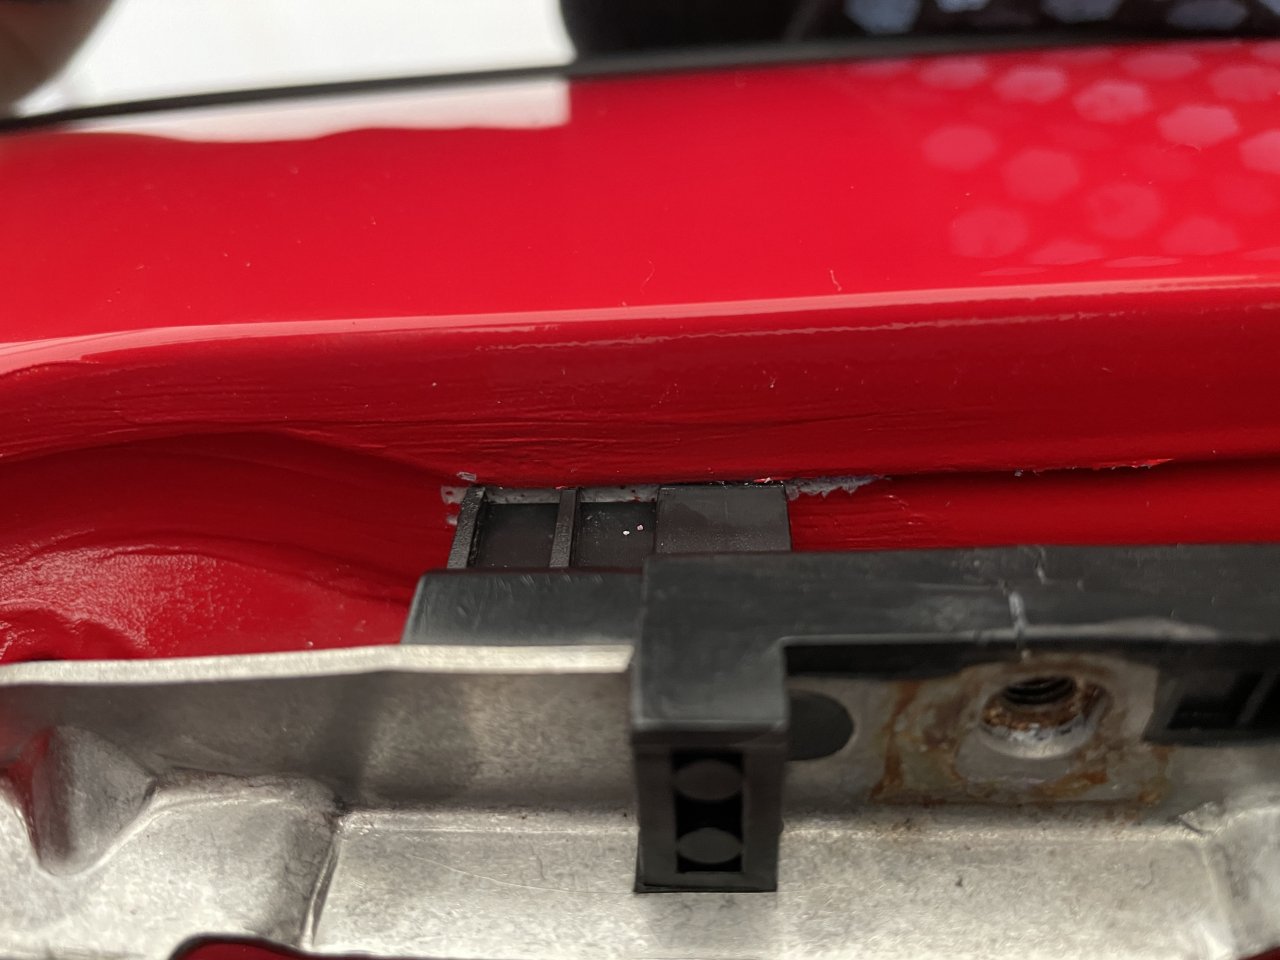
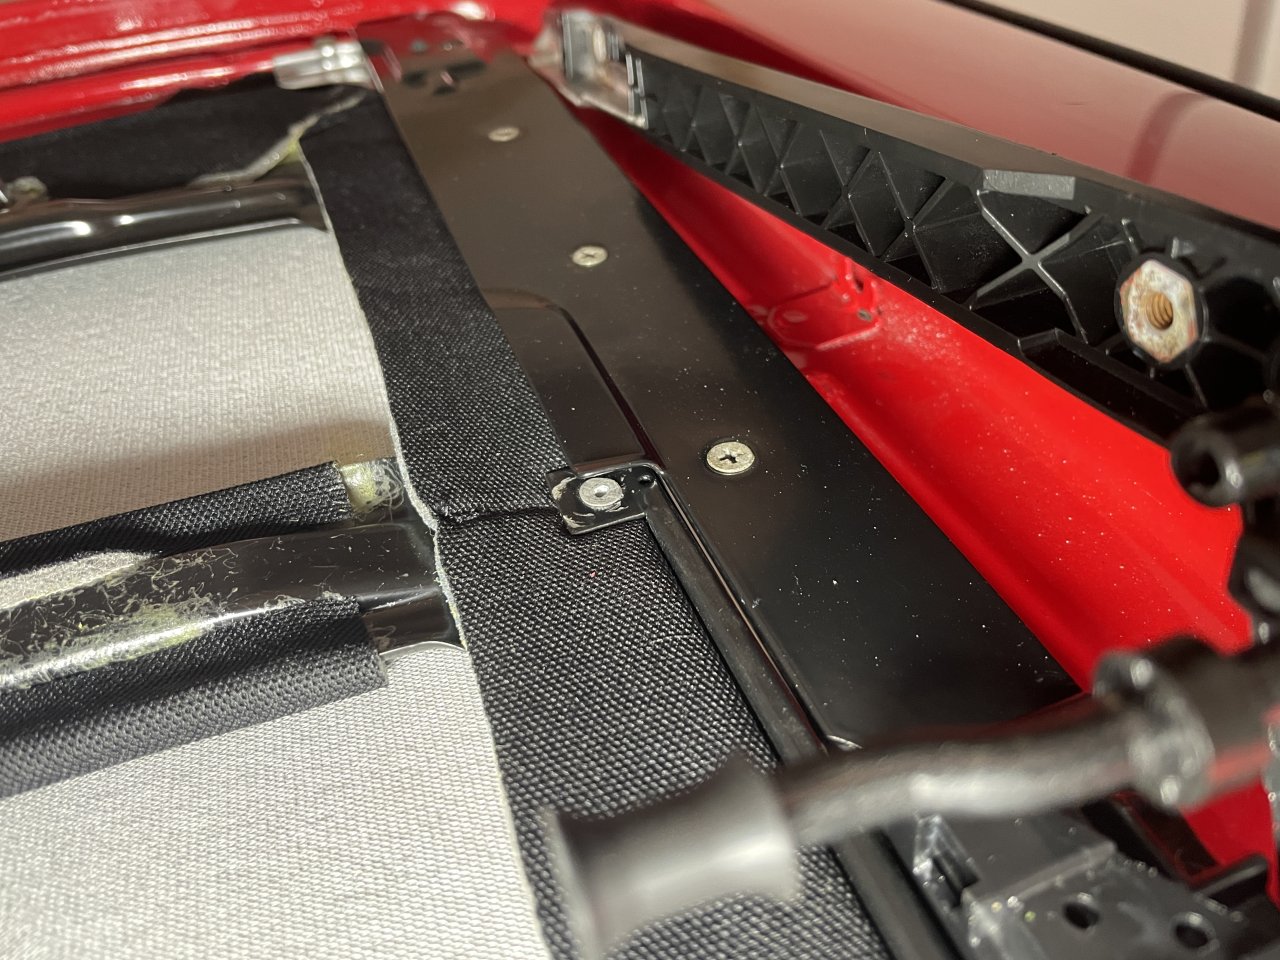
    The front upper console looks as good as new now. They were able to rewrap it with a single piece of textured vinyl, which is awesome since they had initially thought that they would need to sew together some pieces for the visor recesses. Thankfully, a little bit of heat and stretching got it all laid down securely! They did leave some overage in the places where it wraps onto the body, since I had said that I would be doing the final trimming and reassembly after the glass gets reinstalled (that is next on my list).


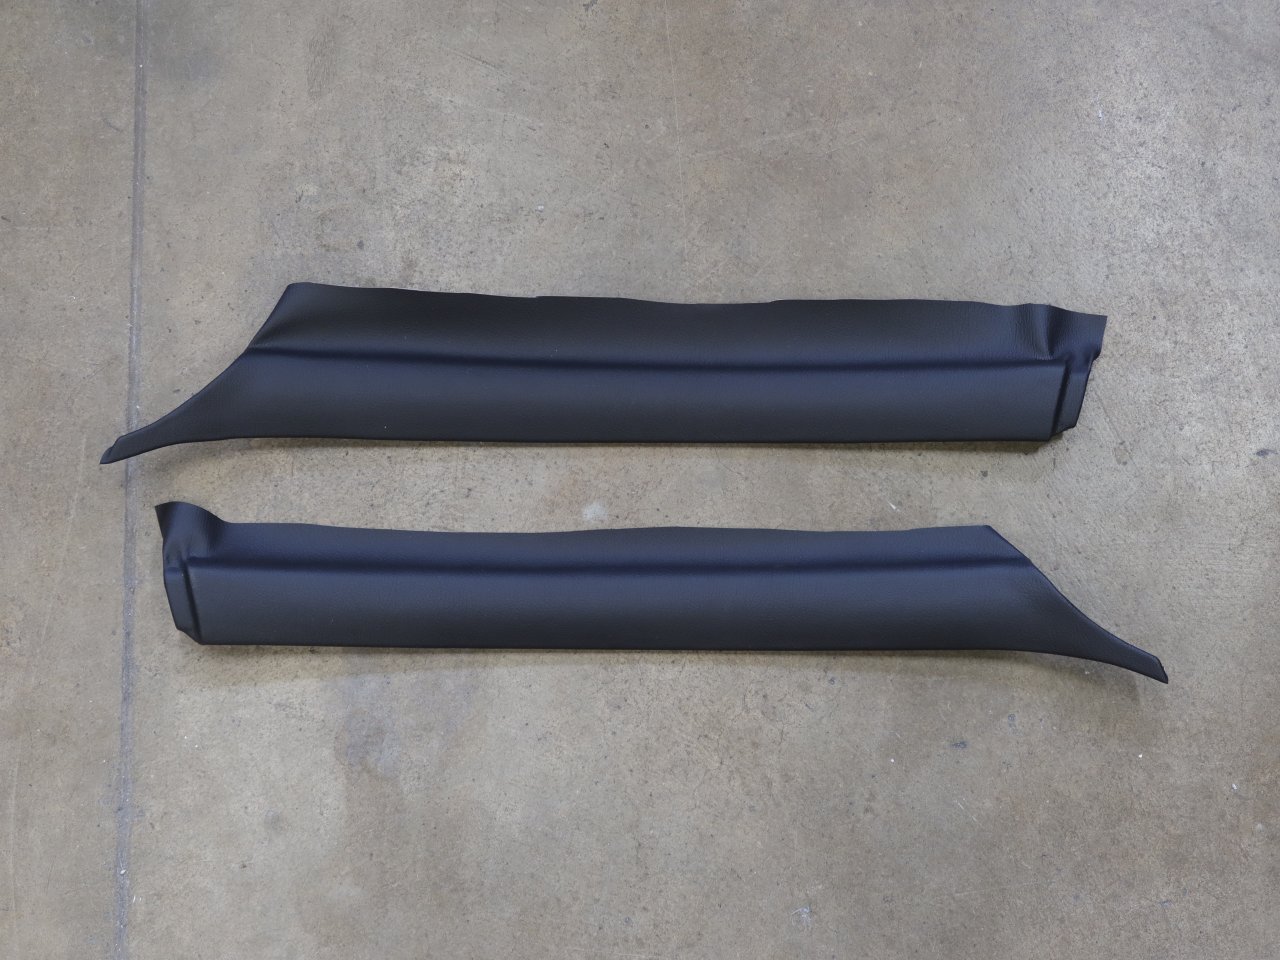
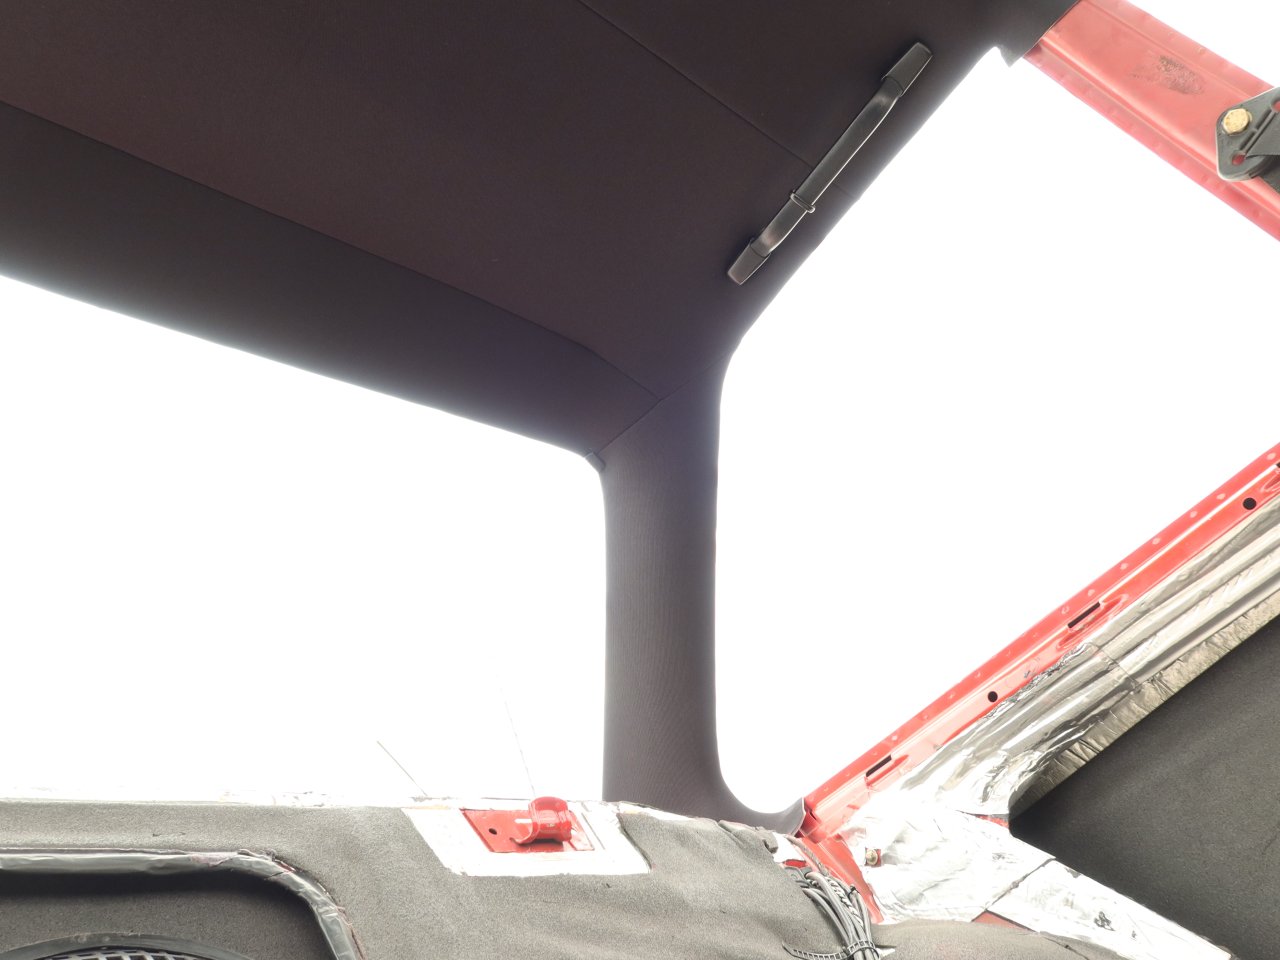
    The A-pillar trim pieces also look nice and new. Same deal with the overage...I will trim it once it is installed.


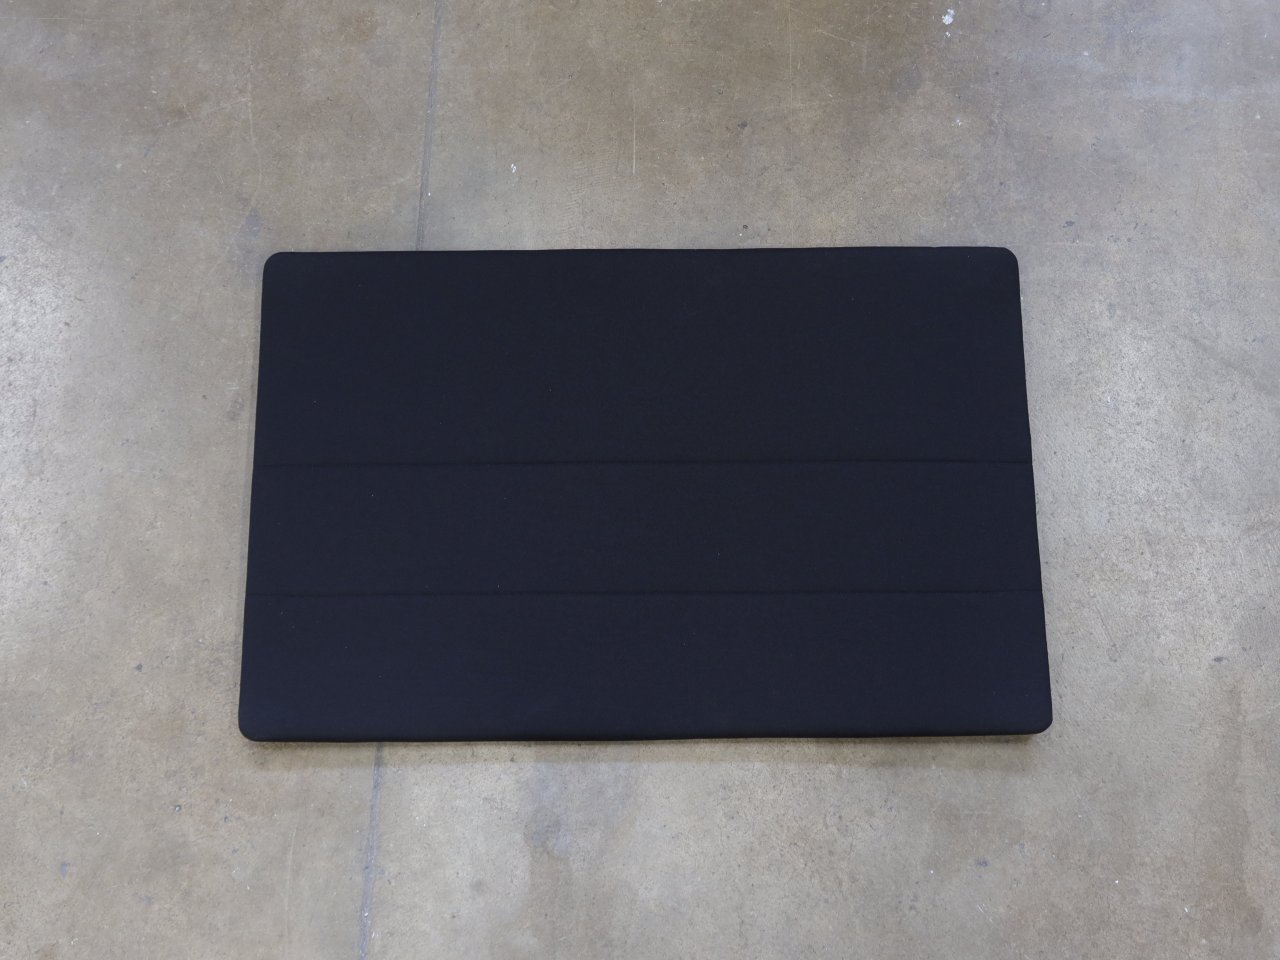
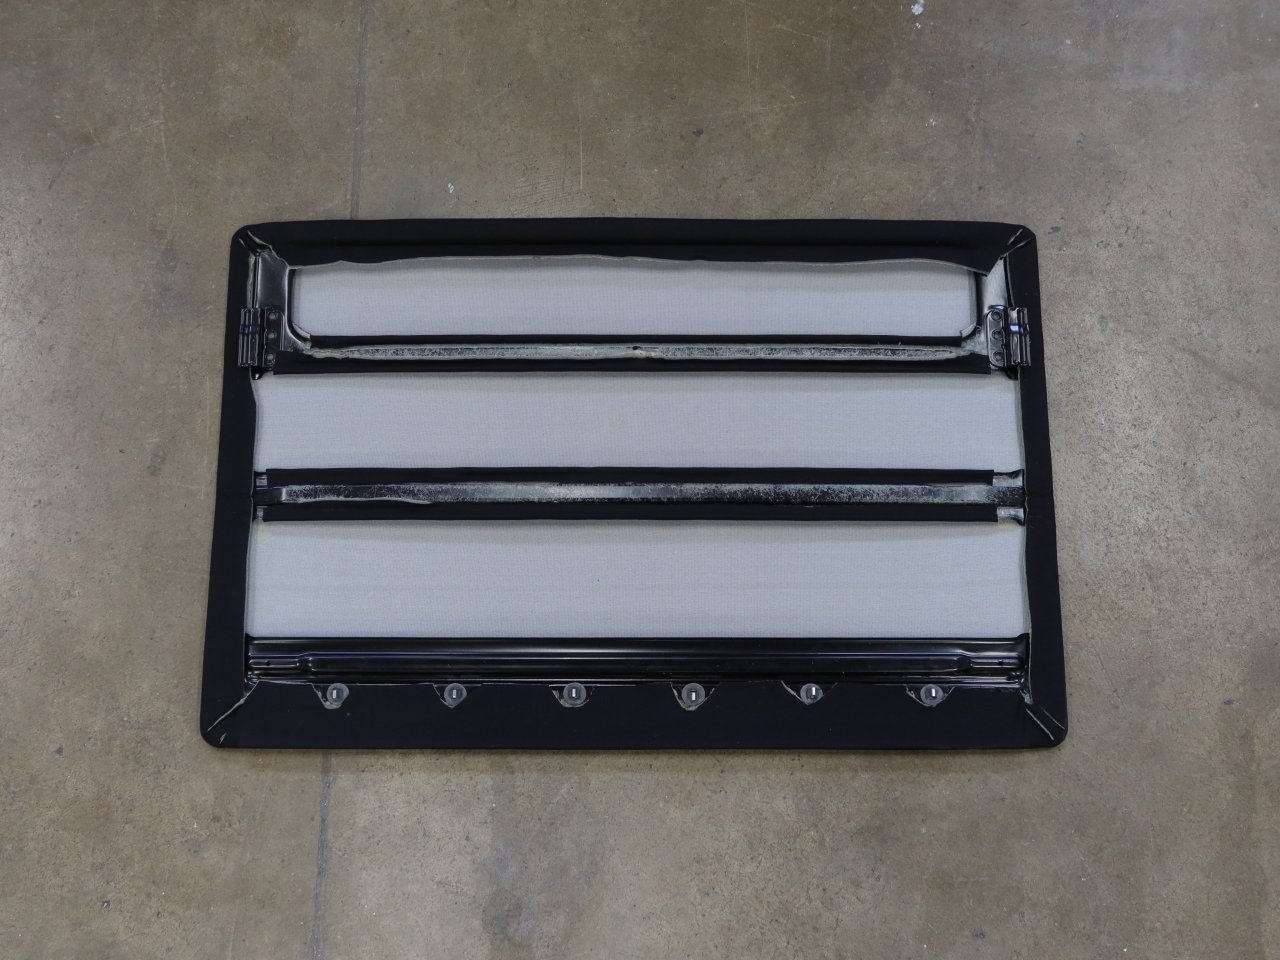
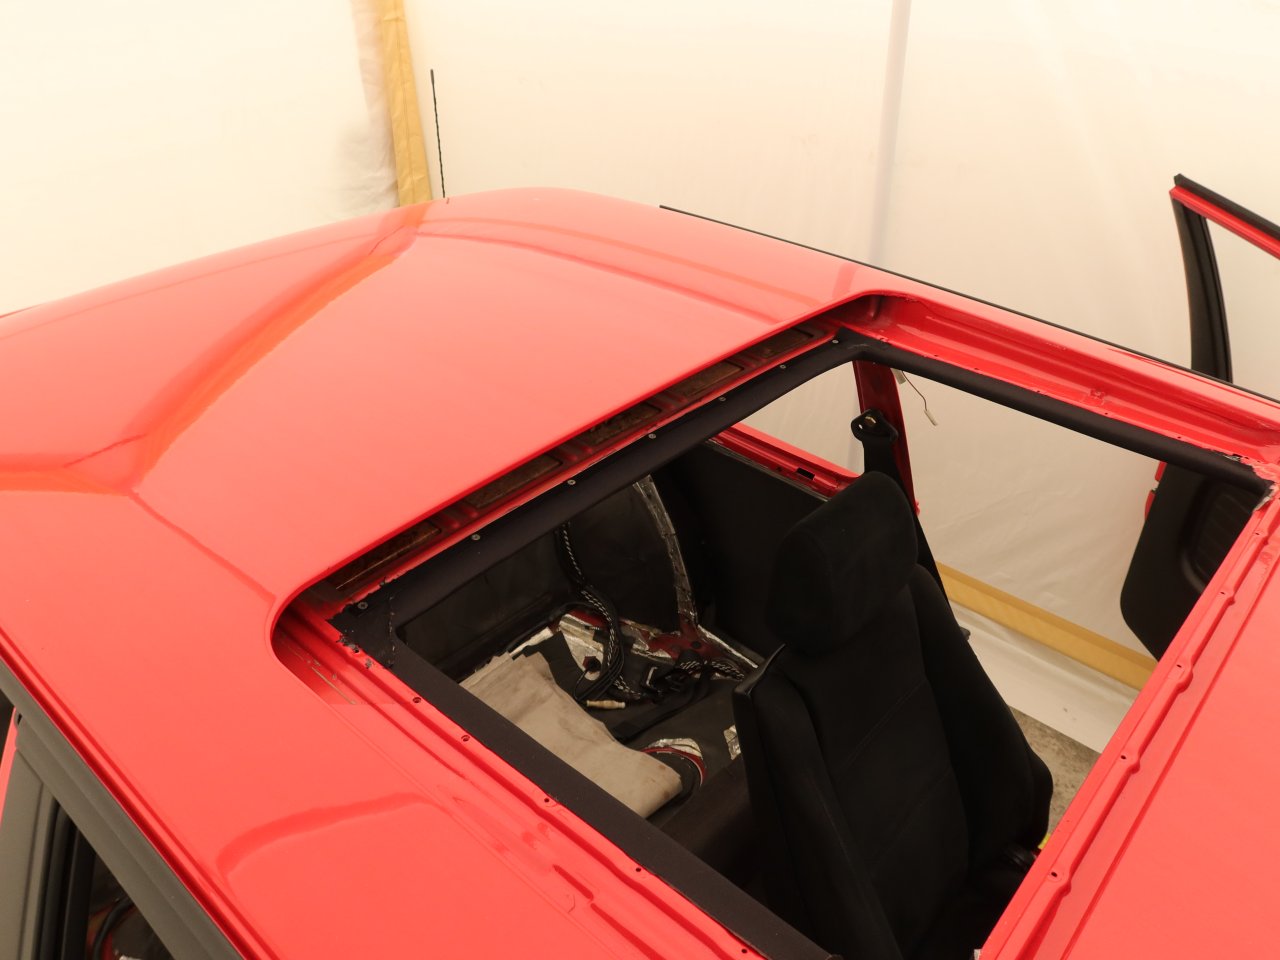
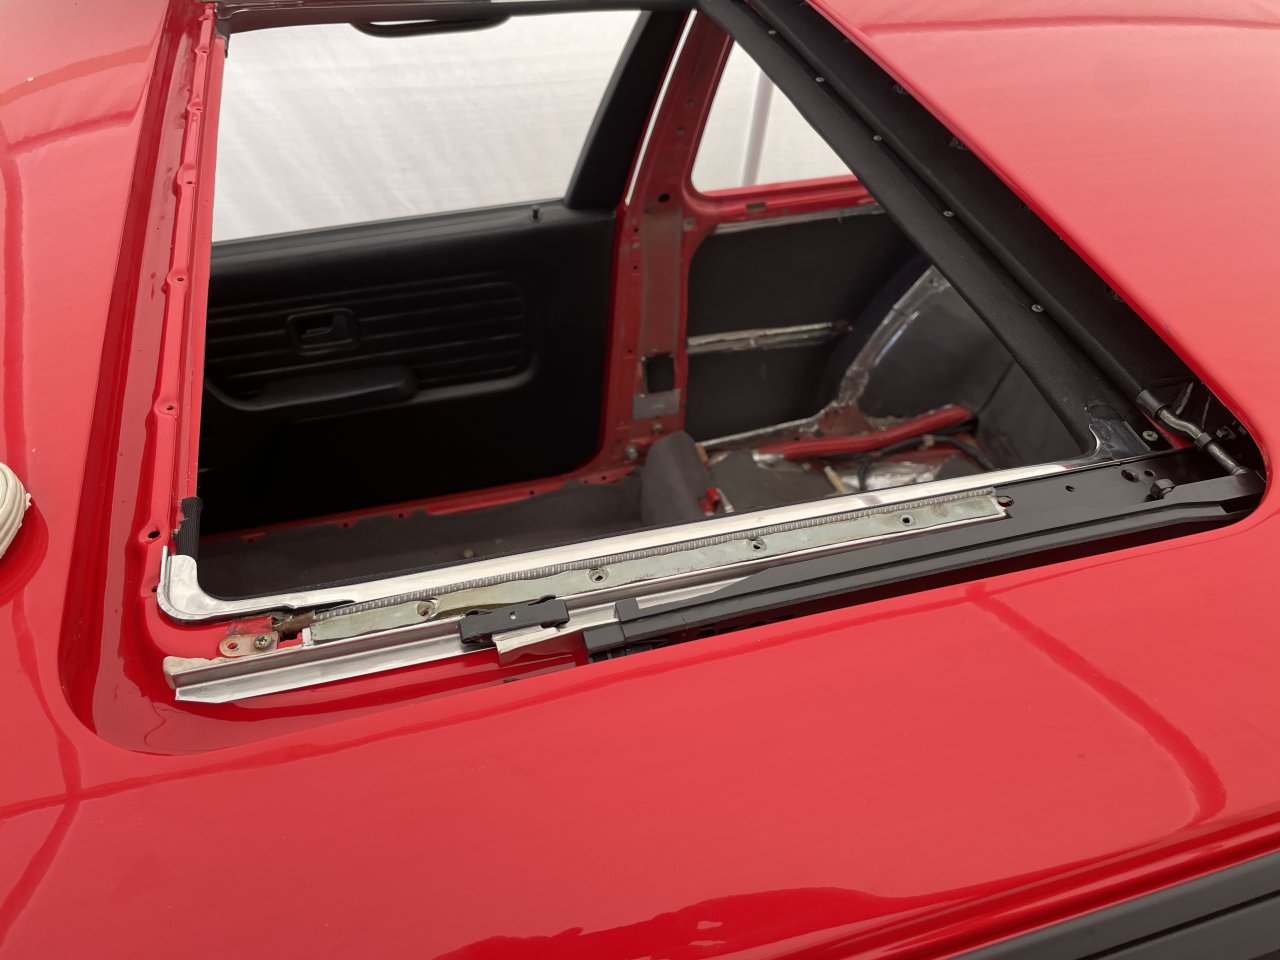
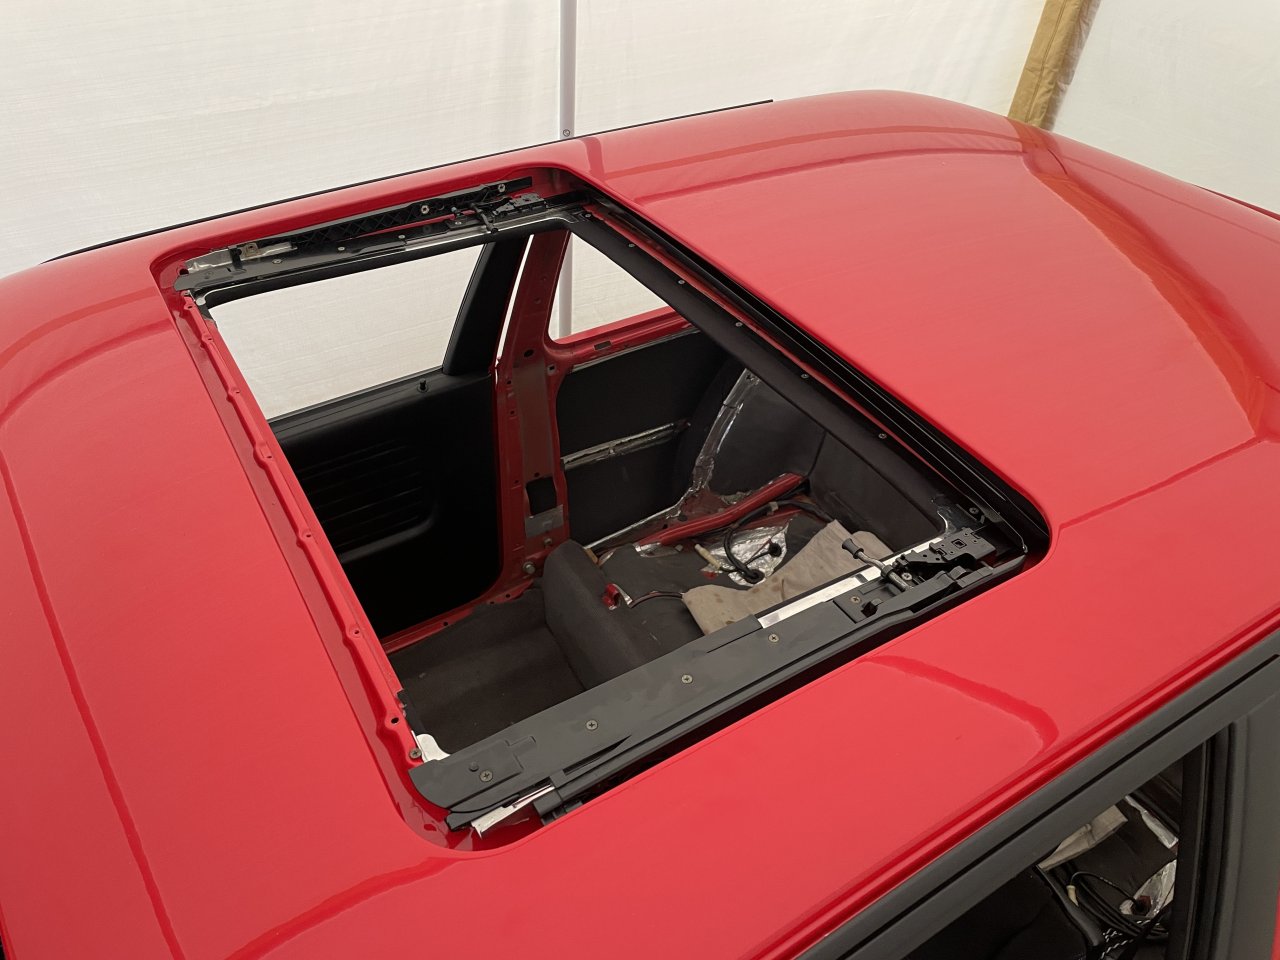
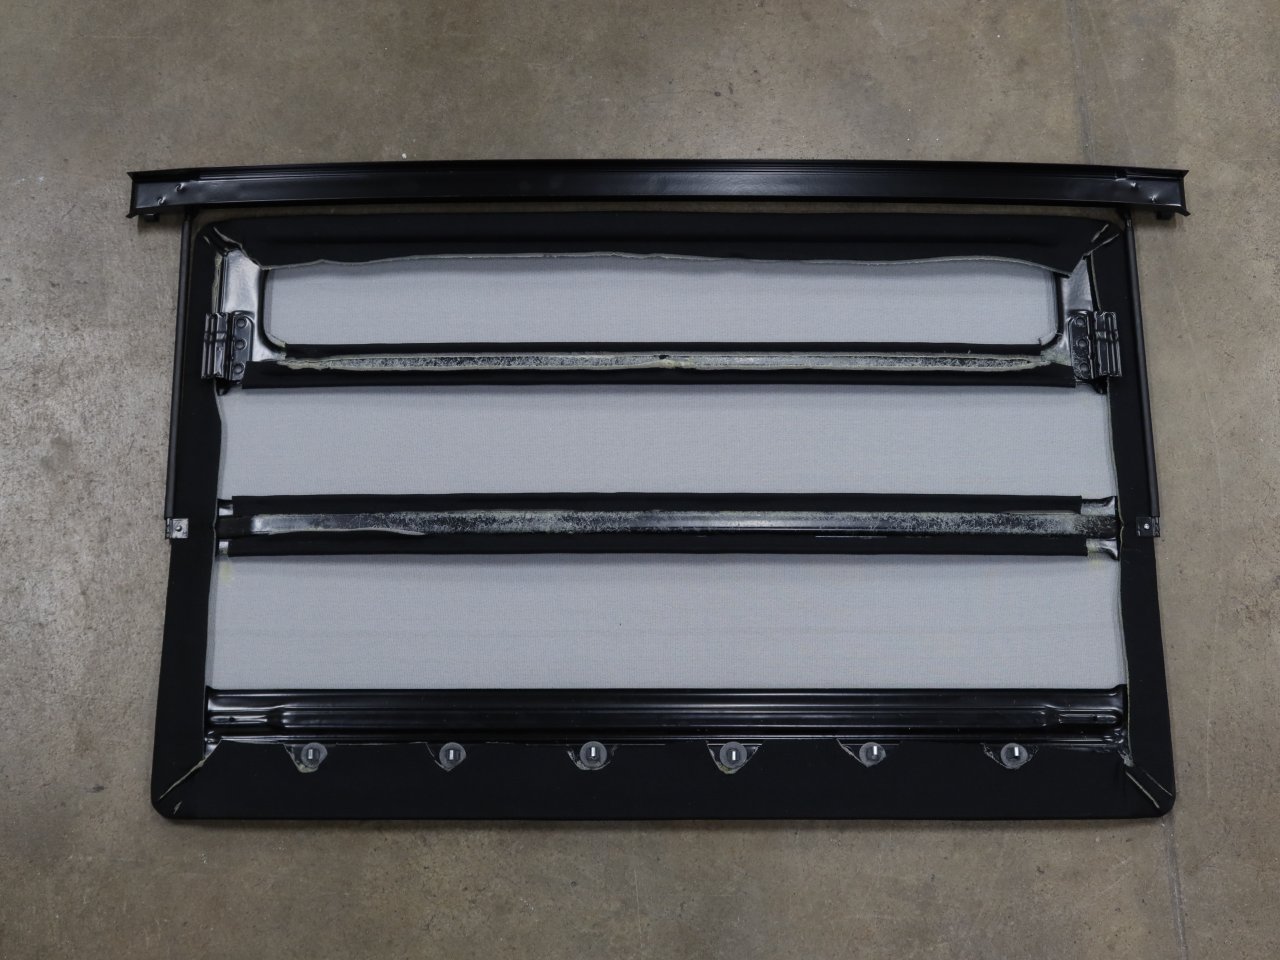
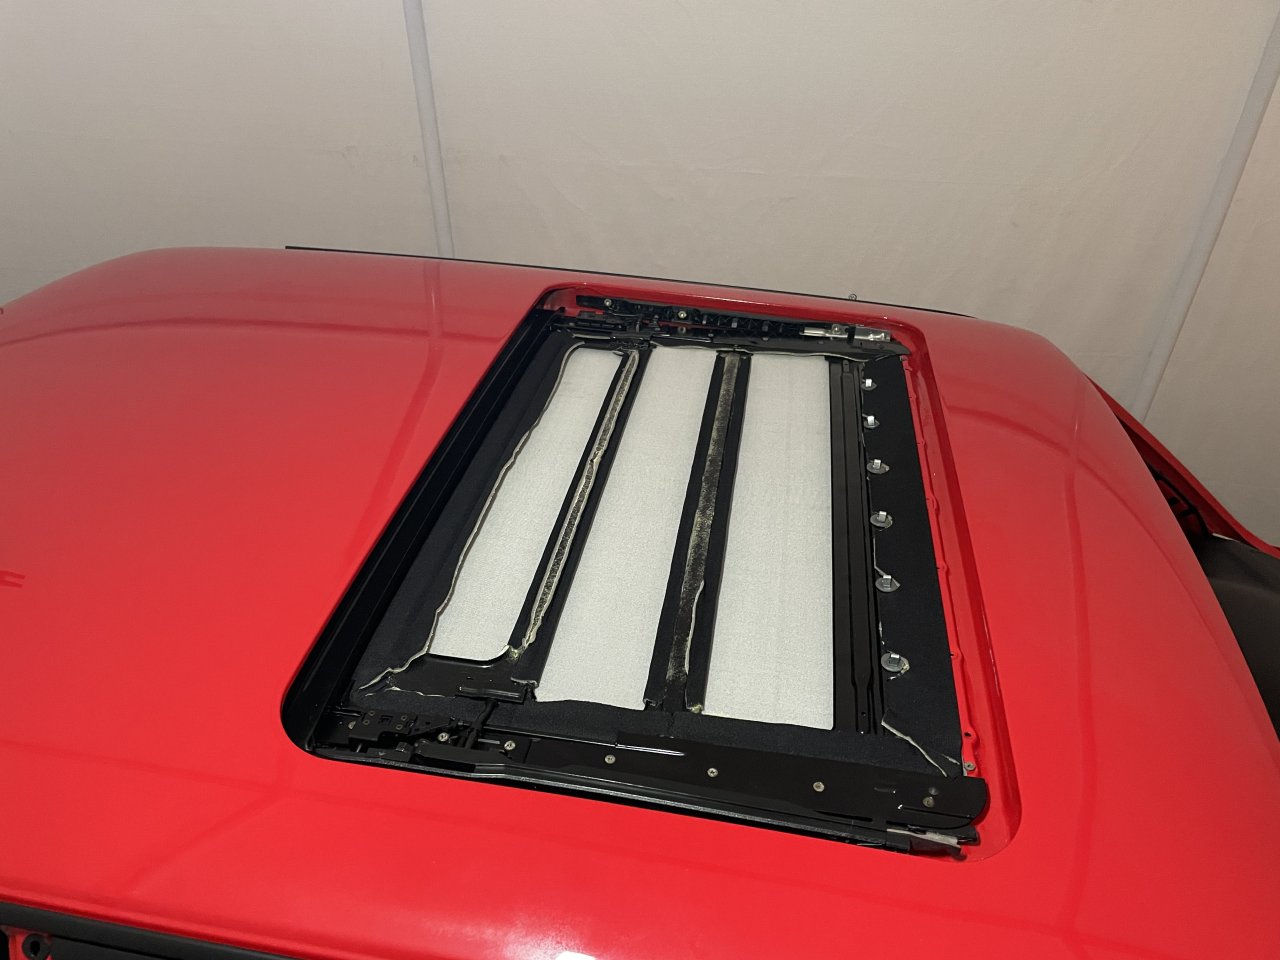
    My new sunroof headliner panel is looking really great.


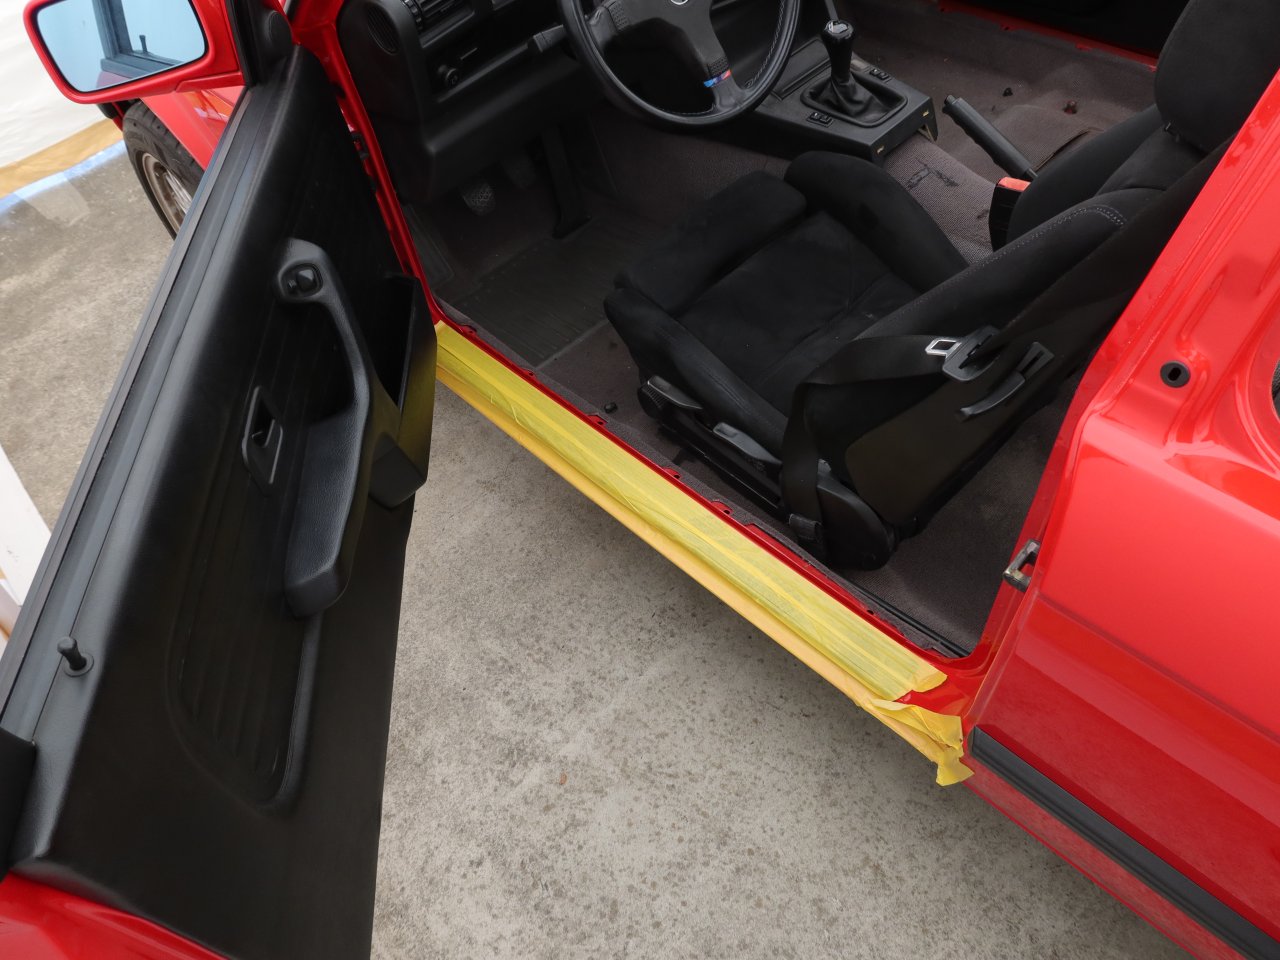
    I was impressed that the shop even put some tape over the door sills to protect my new paint from shoes while they were working on the car.


    Much to my relief, the tight corners in the sunroof opening came out perfectly with no wrinkles or creases.


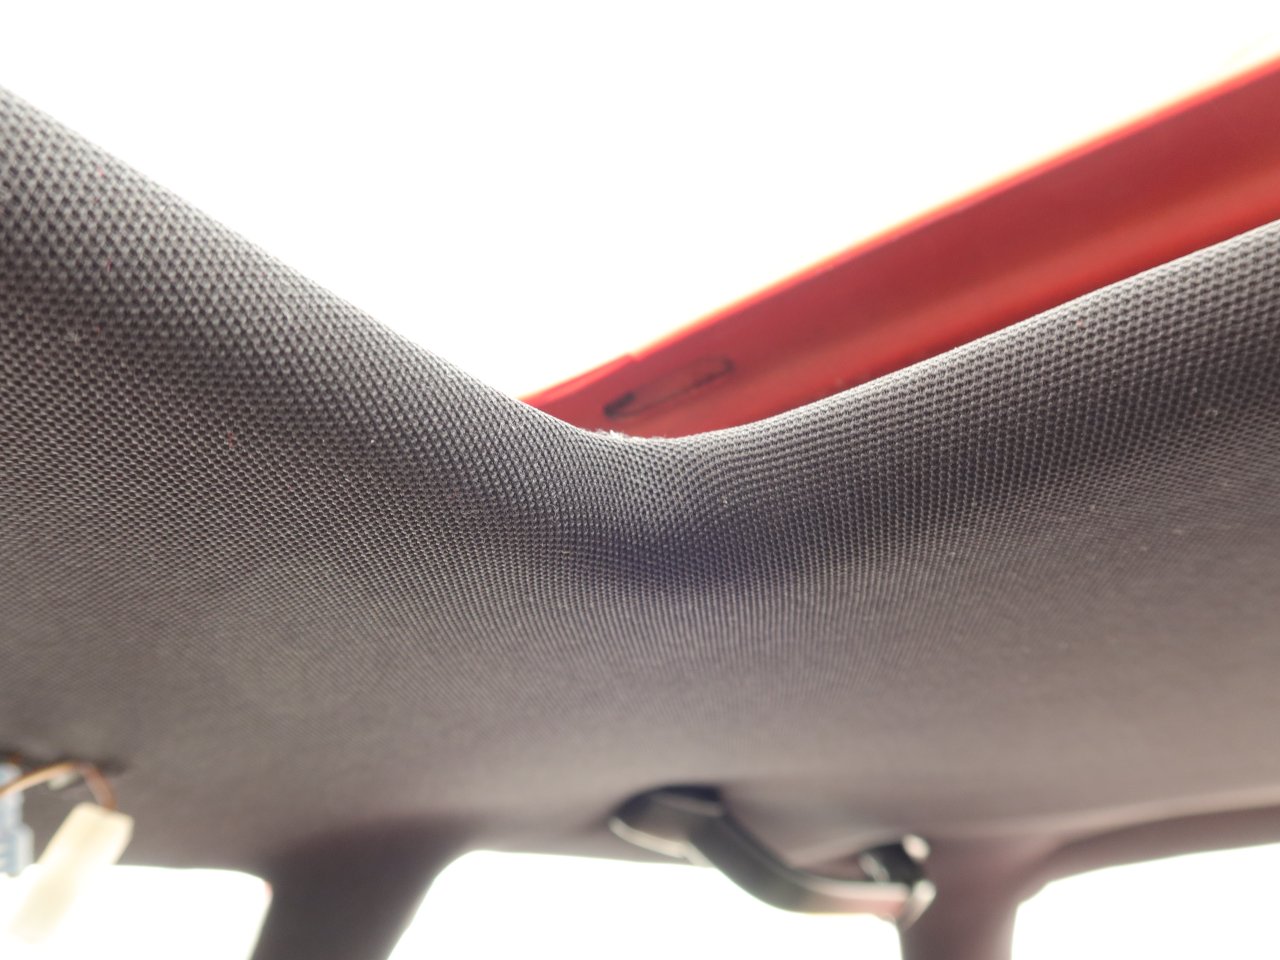
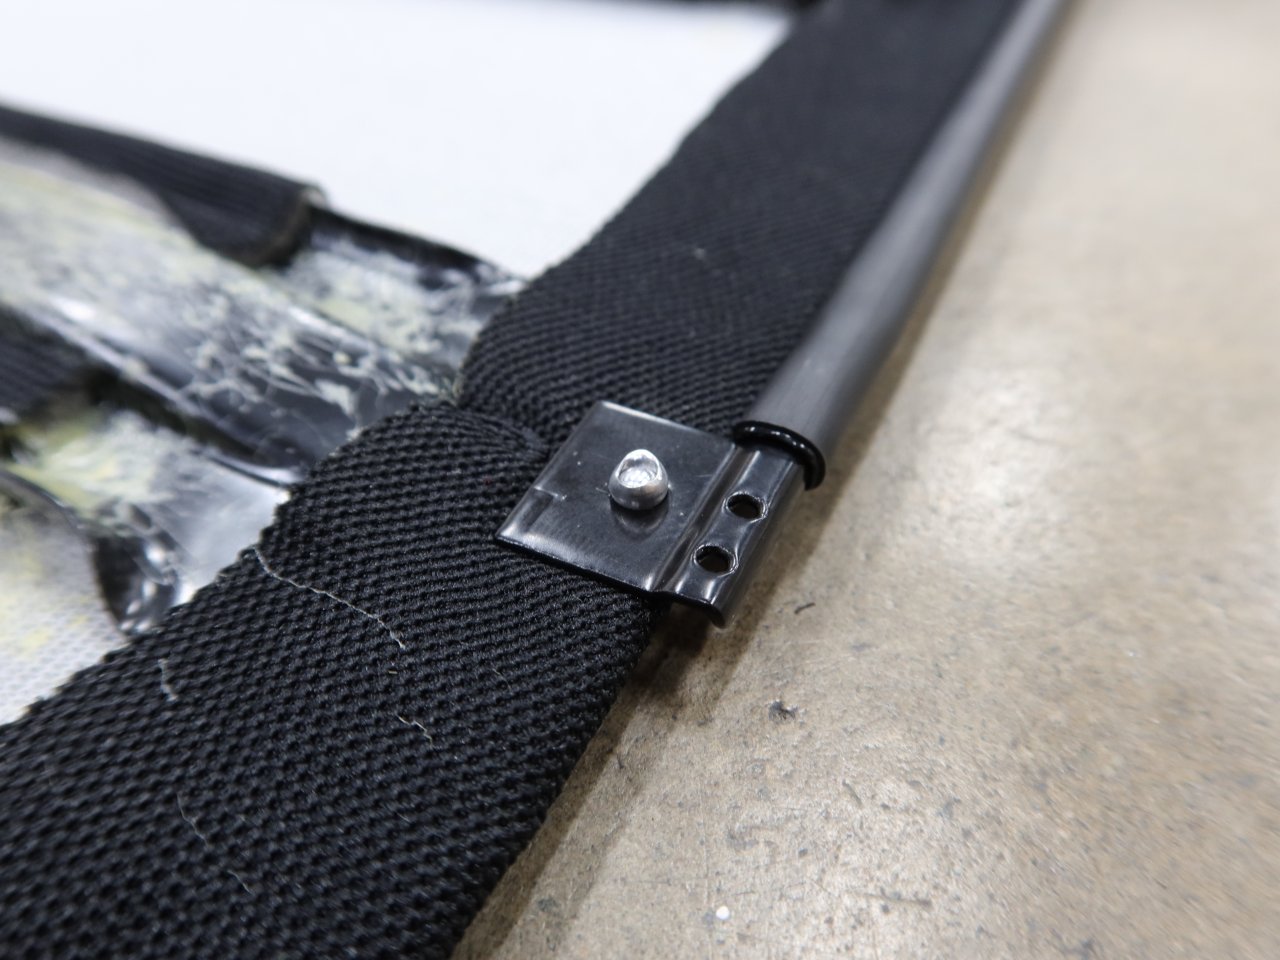
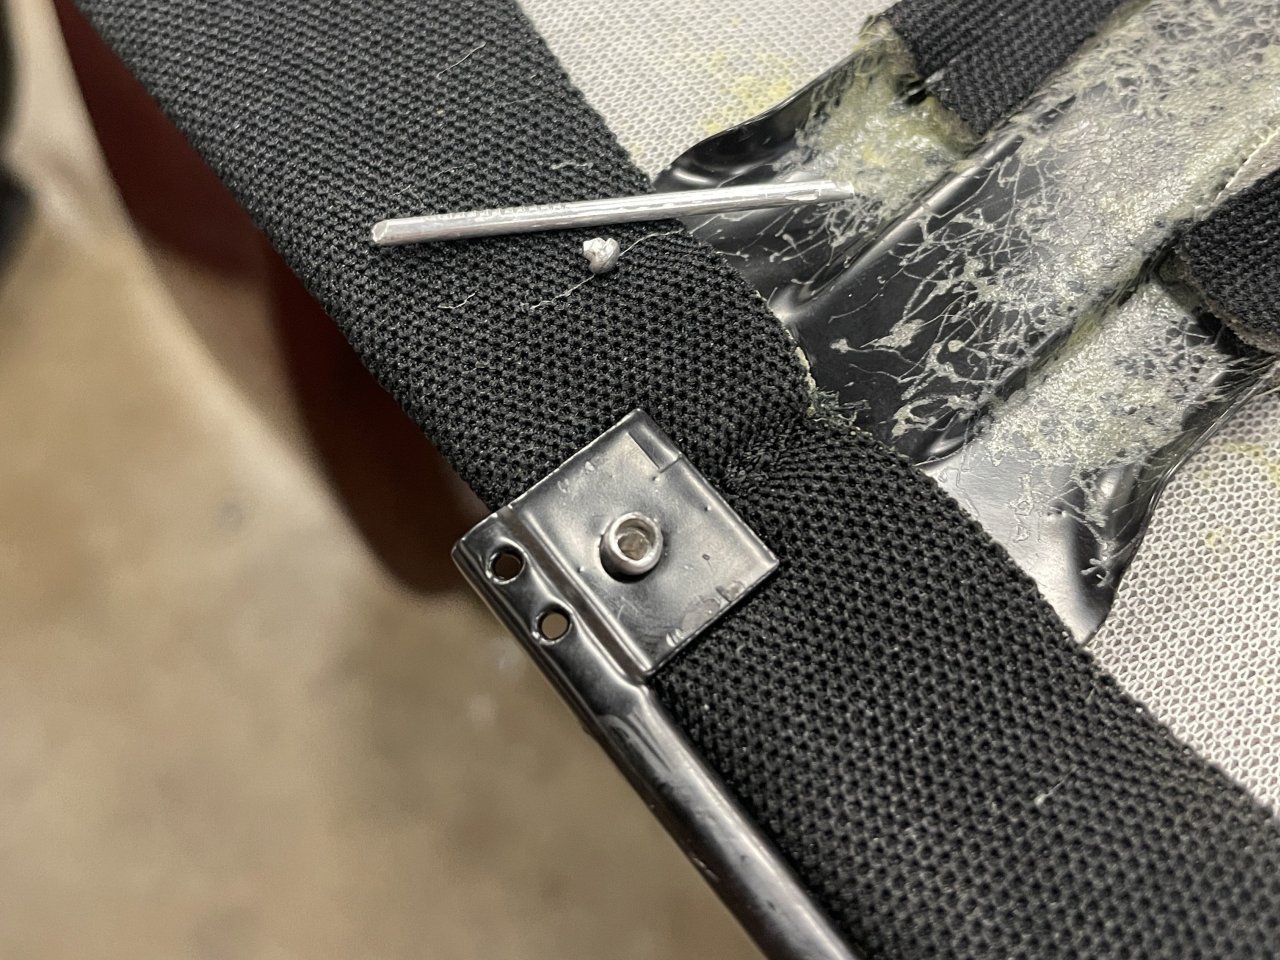
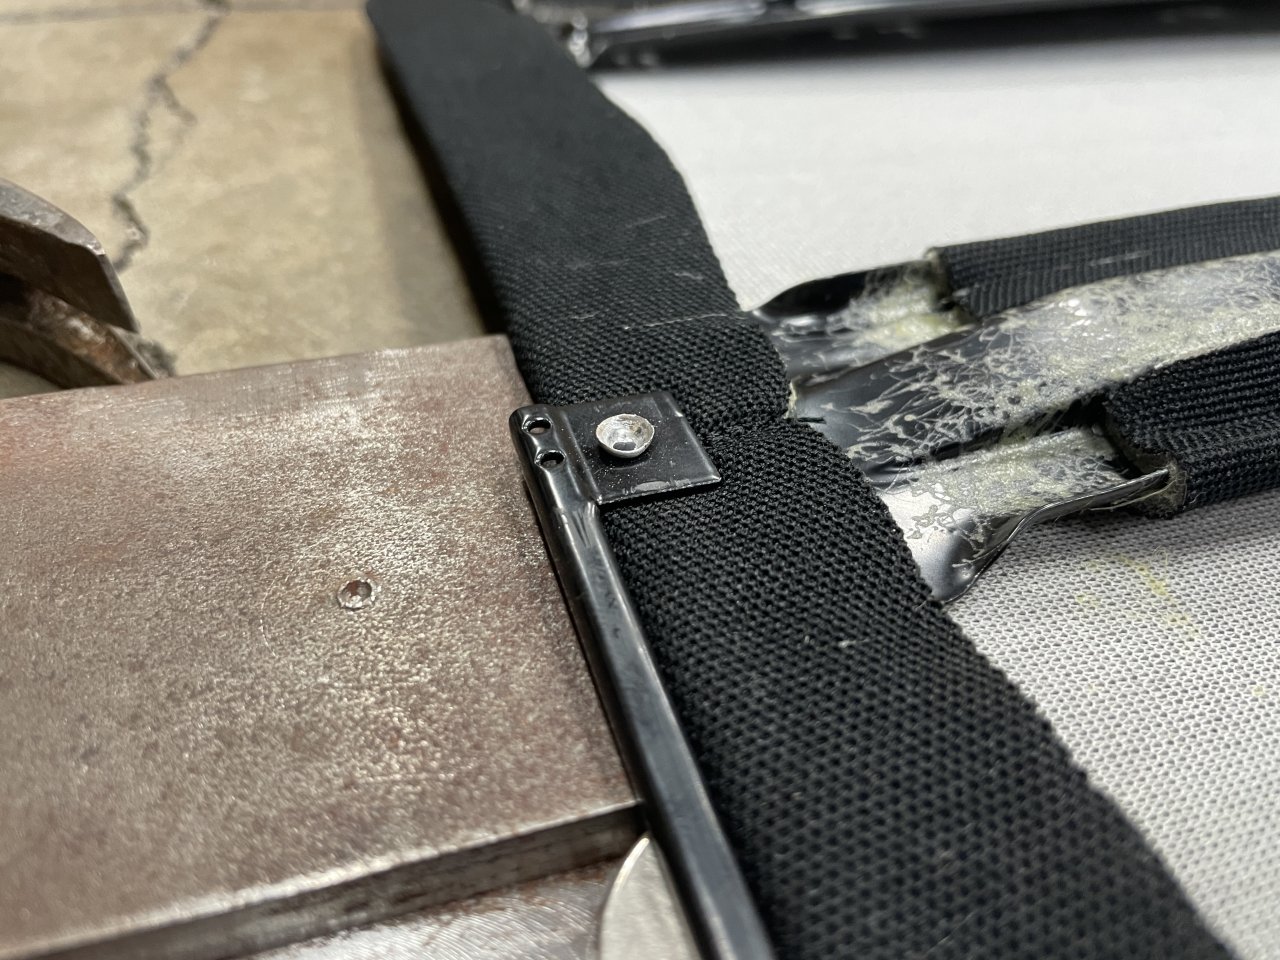
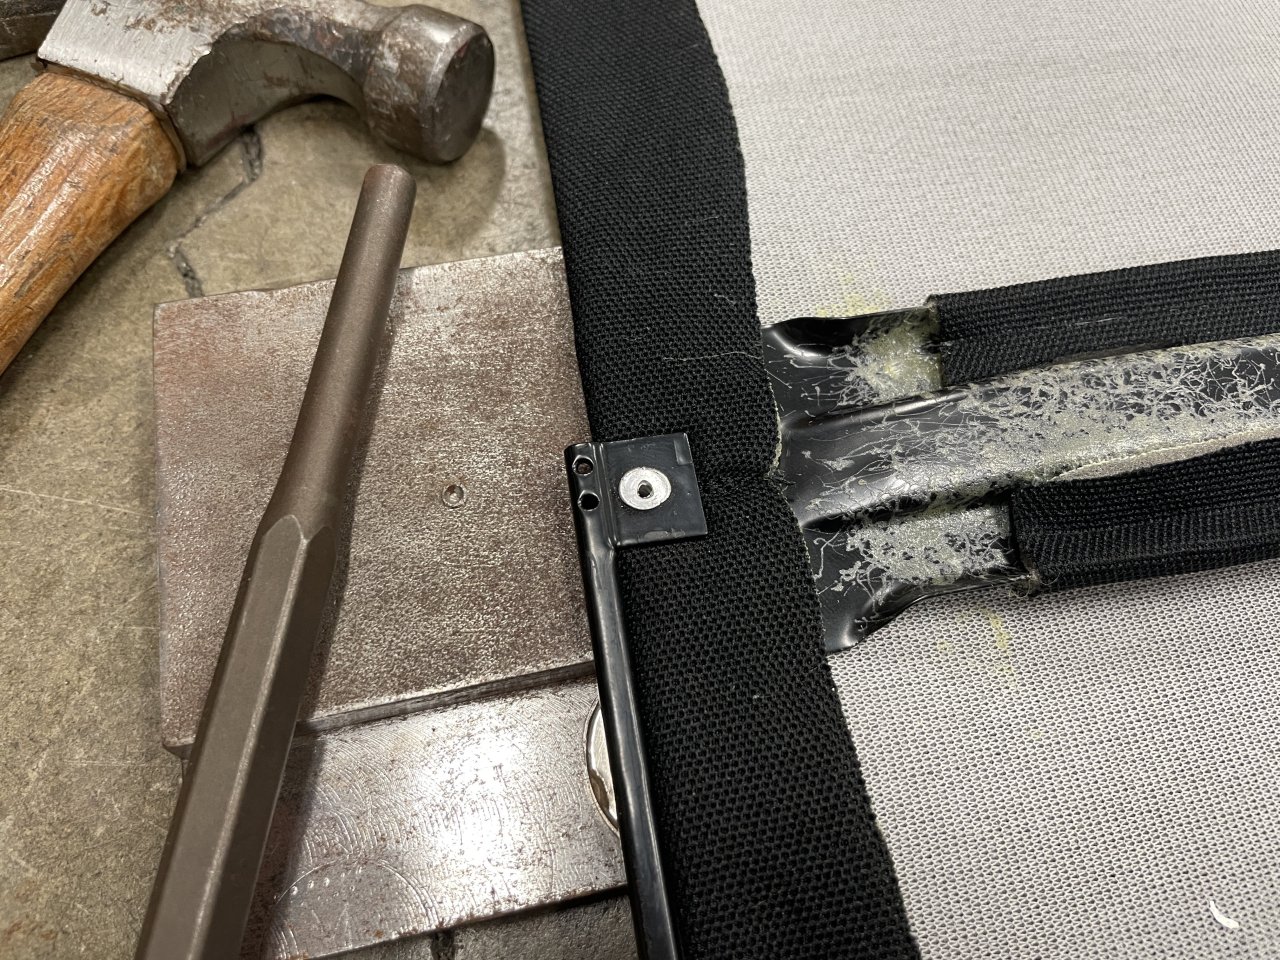
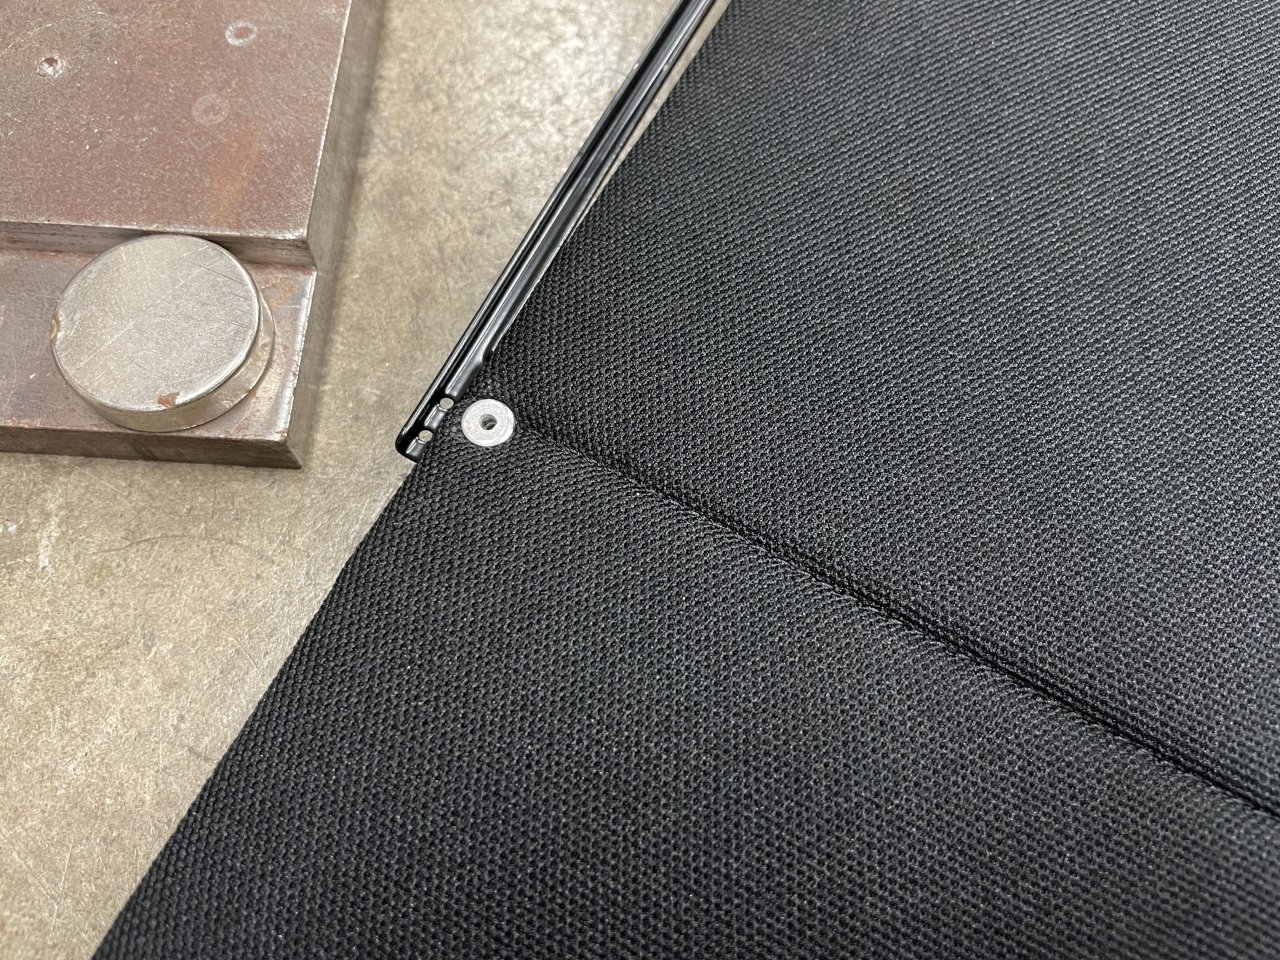
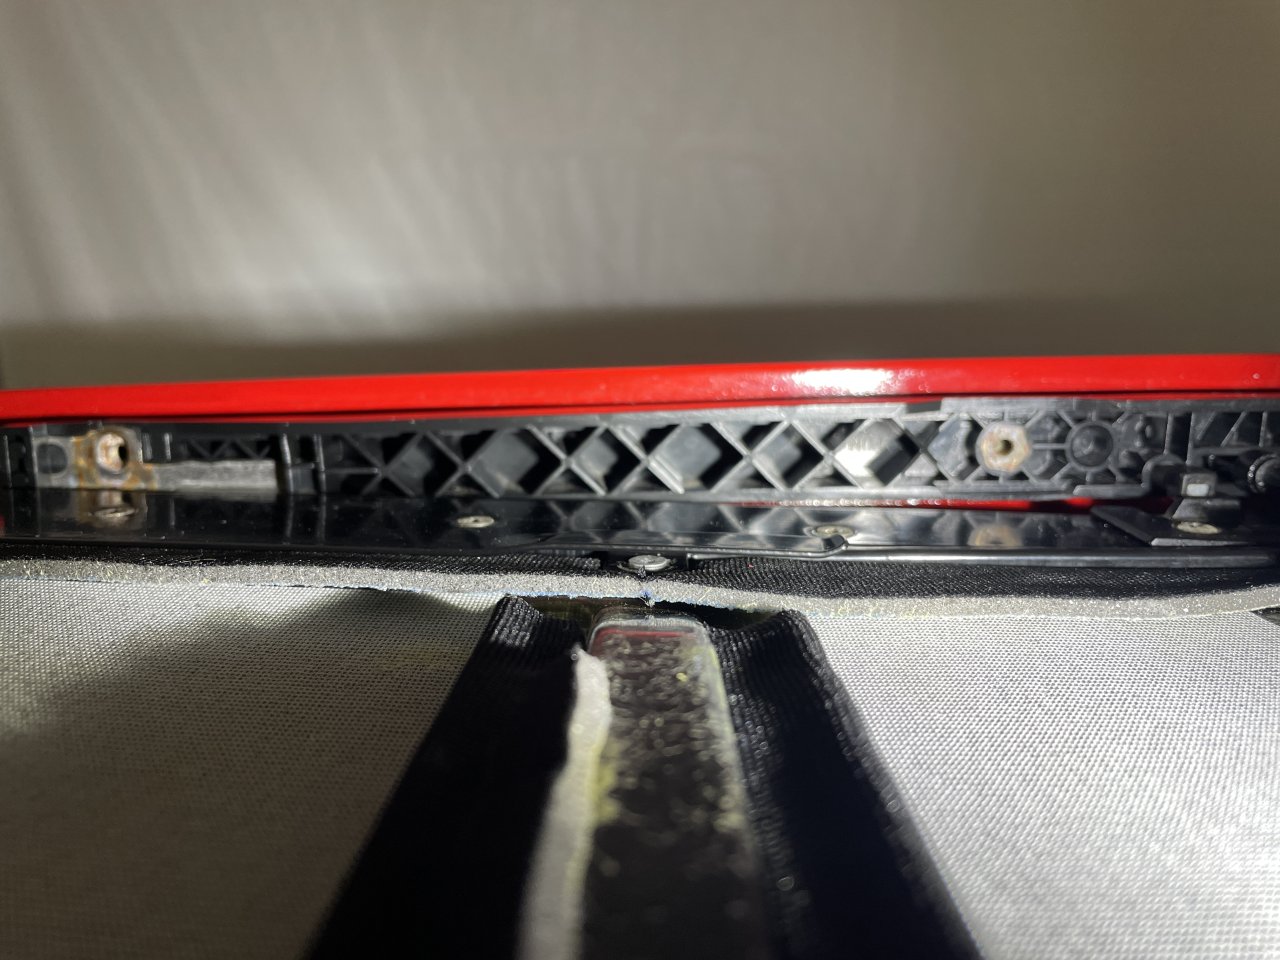
    This new headliner really breathes some new life into the car, and honestly a lot of that "old BMW" smell is gone now. Maybe a big part of it is the decaying OEM vinyl headliner. This material is an actual woven textile, so it should also be a heck of a lot more durable than the thin textured vinyl stuff that was in there originally. Also, the little black clip thing in the upper corner of the rear window is just a little clamp to hold the ends of the headliner down until the window seal goes in. There is no real risk of it coming loose, but the shop put them in a few spots just to be safe so that the passing air while I was driving home would not mess with anything.


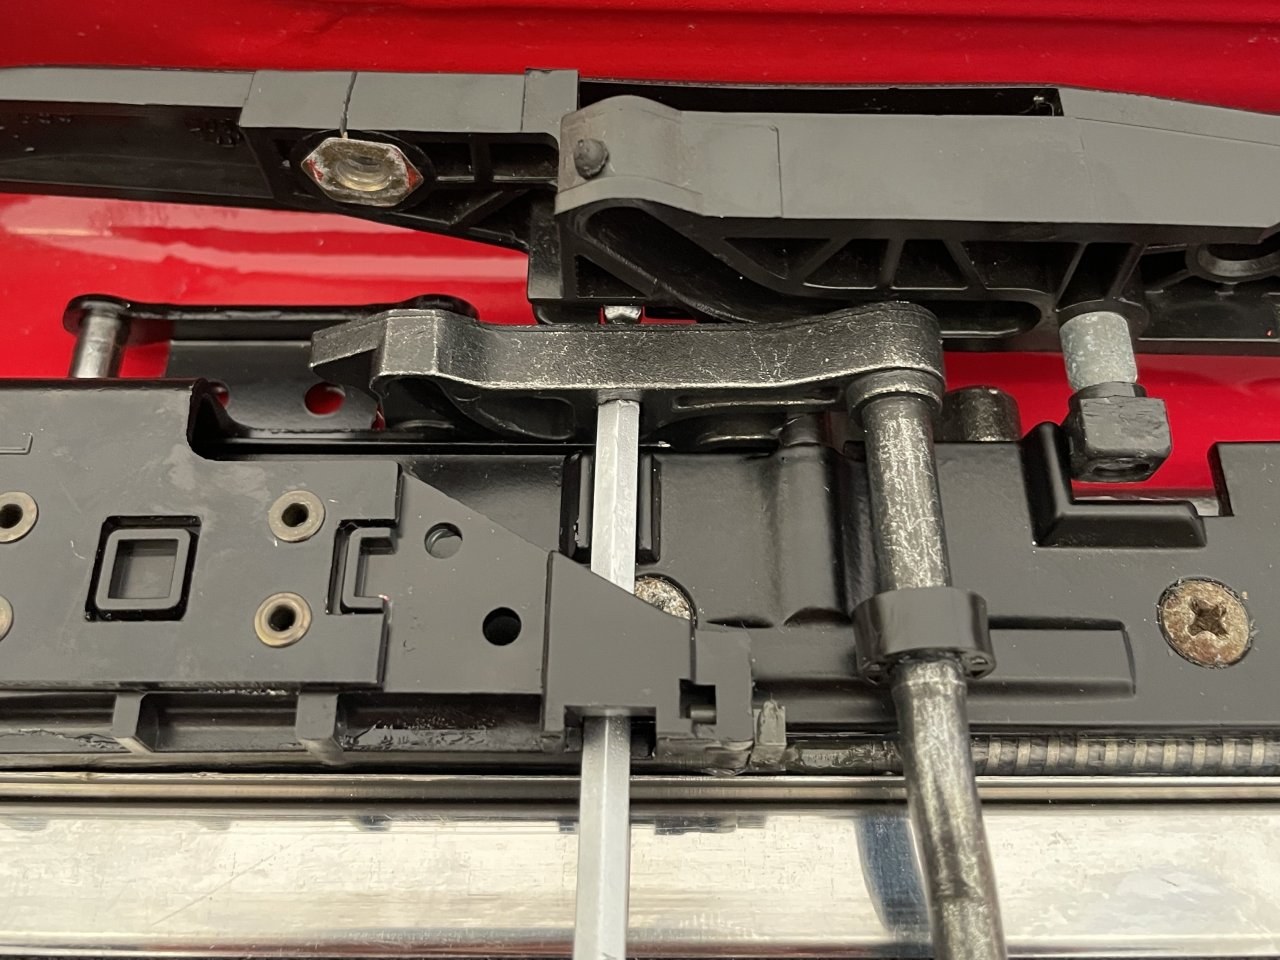
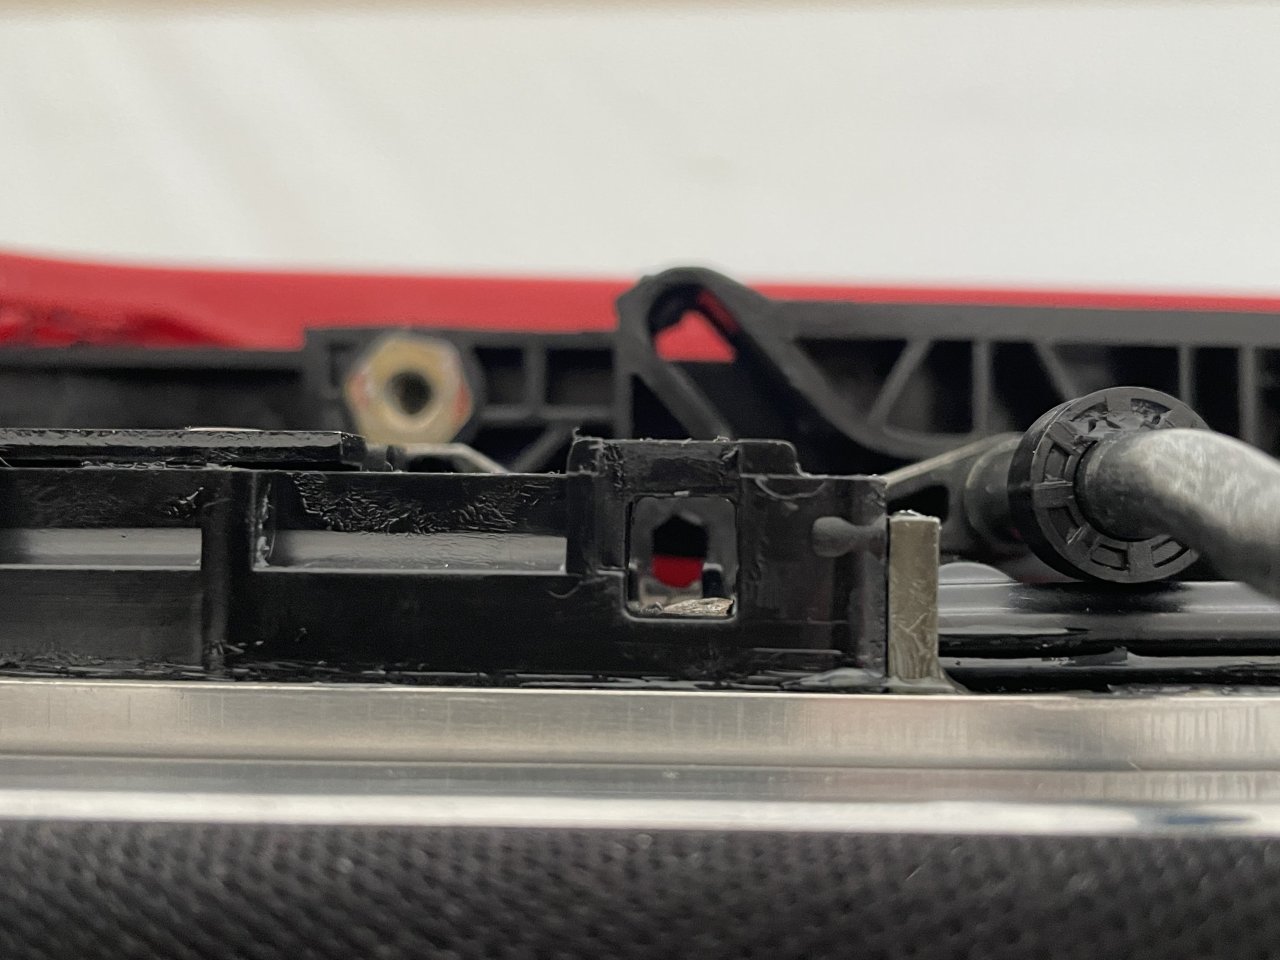
    So, at this point I just need to call around to find a glass installer for the 4 fixed windows. From there, it is a matter of reassembling the sunroof mechanism, putting the interior back together, and doing a couple of little odds and ends. The end is in sight!

    Transaction Feedback: LINK

    Comment


      #62
      Oh, and I asked them if they have a recommended contact cement for stuff like this. Their shop has to use some CA compliant low-VOC stuff (which is still really sticky), but for home use they said that the DAP Weldwood cement is the way to go. Thankfully that is the stuff that I had bought to fix up the roof foam panels. So, good stuff that professionals would use if they could is easily available at home improvement stores!


      Transaction Feedback: LINK

      Comment


        #63

        More progress today. I tackled the mechanical portion of the sunroof assembly. It is not the hardest thing to deal with on the car by far, but it is sort of annoying. Being done with it is a bit of a relief!

        When I removed the long guide rails, there was some sticky grey butyl sealant all over the underside in the grooved portion. I assume that this was to keep water from wicking up into the interior side, and/or for preventing vibration of the rails against the cassette insert. Whatever the case, I opted to put some new stuff in since I don't want water or rattles up there. The new material is some generic butyl mastic caulk that I got on McMaster Carr.
        McMaster-Carr is the complete source for your plant with over 595,000 products. 98% of products ordered ship from stock and deliver same or next day.


        I applied a bead down the outer-side of the channels.


        After most of the main guide parts were in, I smushed a bit more of it in up at the front to ensure that the big gap was sealed. It'll all get squished down even more once the black top plates are in place.


        Getting the new sunroof cables in was pretty easy. They come dry, so apply new grease to their full length and on any of the sliding parts on the carrier bodies. I put on a nitrile glove, squirted a big blob of grease into my palm, and then dragged the cable through my hand until the cable was thoroughly lubed. There's a joke in there somewhere, but I'll leave that to the good citizens of r3v. Also, I squirted some grease into the rear portion of the cable channels in the long guides, and used an old toothbrush to try to spread it a bit more evenly in there.


        After that I secured the rest of the guide parts. Move slow and take care when putting in the little cast cover plates that connect the front covers and rear portion of the main guides. The sunroof arms and cable carriers all have little things protruding from them which need to be slotted together properly. Forcing things is going to give you have a bad time, as is having things improperly engaged.


        Synchronization of the sunroof cables is pretty simple.
        1 - First, get both sides aligned as shown in the pictures. A 4mm or 5/32" hex key inserts as shown to hold the carriers in the proper position for when the sunroof is in the closed position.
        2 - On the body of the crank mechanism, which should be in your hand not in the car, rotate it until you feel it click into the closed/locked position.
        3 - With it in the closed position, you can carefully put it up in to the bracket in the roof. Do NOT tighten down the screws beyond loose finger tight.
        4- Chances are that the sunroof cables' teeth are not perfectly aligned with the crank gear's teeth, and you don't want to mash them together. With the crank loosely secured up there, you can try turning the crank ever so slightly to rotate the drive gear until you feel it pop into alignment with the cables.
        5 - At that point you should be able to easily push the crank mechanism upward and see that it fully seats on its bracket. If it is not pushing all the way up, the gear and cable are not correctly meshed, so take the crank off and try again.

        I needed a couple of tries to get things just right...the first try ended with the left side cable being off by 1 whole tooth.


        6 - Once you think you have it all aligned and synchronized, try cranking the mechanism backward a couple of inches, and then return it forward to the closed/locked position.
        7 - When you look through the alignment hole, it should all look like this on both sides. If not, try again.
        8 - PROFIT?


        One thing that you need to be careful of is scraping up the paint in the cassette recess. There are some little "wings" on the outside of the arms, and without the sunroof panel attached the little plastic springs in the sleds will push these outwards enough to scrape stuff up. I found this out the hard way, so I have a little bit of touching-up to do in there. One other issue is related to the new butyl mastic. Since it is sort of firm, it was biasing the long guide rails outward by 1mm or so. Once I realized this, I loosened all of the screws on the guide and pushed it inward as hard as I could, and then retightened the screws while still pushing on it. This bought me some clearance, but I still would not move the mechanism around without the sunroof panel in there as the arms will still move outward and scrape stuff.


        My next item to tackle was the sunroof headliner panel. I had to reattach the little arms on the sides first. So, to start I used a sharp awl to poke through the cloth in preparation for the pop rivets. I was able to force some standard 1/8" diameter ones in there without any additional drilling or attempts to cut the cloth. It is tight, but you can get them through, and I'd say that you want to avoid cutting the headliner material if at all possible.

        So, initially I thought "that was easy!" I got the arms attached, and all looked good. The original rivets were the double-flush type, but I figured that I would have plenty of room for the standard type. This was incorrect, and the protruding part will NOT fit under the top cover plates up in the sunroof guide assembly.


        Additionally, I had added some heat shrink tubing onto the arms. They originally had some rubber over-molded onto them, which was burned off when I got them powder coated. Well, the shrink tubing was too large and was also binding on the top covers of the guides. So, I cut off the rivets and shrink tubing. I'll take my chances with the arms as-is without any outer coating or anything. It is probably fine.

        So, faced with spending $8 for double-flush rivets on McMaster (and not even really being sure which length would be the right one) + $11 for shipping, I put on my redneck engineering cap and tried to think about how to make the regular hardware store rivets work. Using some scrap steel, I prototyped the following procedure, which is now deployed in the car.

        First, rivet the arms on as usual. Then take the mandrel that broke off, and use it to knock out the remaining ball end that is still in there.


        Next, get a center punch and GENTLY flare the open end a little bit.


        Finally, use a hammer and flat punch (or scrap of metal rod, or anything hard, cylindrical, and flat) to flatten it out. You need to back up the other side in order for this to work. In my case, I had a piece of 16mm steel scrap that I placed under it. A couple of firm blows was all that was needed.

        You need to be careful to not go too crazy here. If you smash the rivet too much, the new "head" will be too thin and can easily rip off, and you risk having the head on the bottom side punch through the fabric. Just get it mostly-flat. Also, you will probably find that the flared part wants to tear in 1 or 2 places. In my case, one side was perfect after the first try, and the other side took 3 tries to get flat without tearing/splitting.


        As you can see this solution fits really nicely under the guide covers.


        ​And with that. the most obnoxious part of the sunroof assembly is done!


        Transaction Feedback: LINK

        Comment


          #64
          Originally posted by bmwman91 View Post
          The chassis is out of the spray booth and looking good! It still needs final buff-out, and the 60+ pieces of trim are currently being worked on. It feels good to see the progress!

          how did you get the trunk support pieces to stay down without a board or something holding them down?
          1991 318is ---230K - DD
          1991 318i ---- 308K - retired

          Originally posted by RickSloan
          so if you didnt get it like that did you glue fuzzy oil to the entire thing?

          Comment


            #65
            Originally posted by jrobie79 View Post

            how did you get the trunk support pieces to stay down without a board or something holding them down?
            That pic was texted to me by the painter, so I am not sure how he did it. I assume that he used some wire or bungee cords inside the trunk.


            Update: The car is basically done now. I am waiting for some touch up paint to dry in the sunroof area, and I had to respray the windshield wiper arms which will need a couple of days to cure. Pics will be incoming soon!

            Transaction Feedback: LINK

            Comment


              #66
              Can't wait!

              Comment


                #67
                Originally posted by bmwman91 View Post

                That pic was texted to me by the painter, so I am not sure how he did it. I assume that he used some wire or bungee cords inside the trunk.


                Update: The car is basically done now. I am waiting for some touch up paint to dry in the sunroof area, and I had to respray the windshield wiper arms which will need a couple of days to cure. Pics will be incoming soon!
                yah, pain in the ass to mask the trunk off with those things there. I'm dropping my 318iS off for paint this Friday after work. stripped it down to bare metal, whole 9 yards.
                1991 318is ---230K - DD
                1991 318i ---- 308K - retired

                Originally posted by RickSloan
                so if you didnt get it like that did you glue fuzzy oil to the entire thing?

                Comment


                  #68
                  Thanks for the details of the vapor barrier replacement.
                  I need to do that exact job on my E30, the original stuff on my car looks awful and is held in place with gorilla tape in a few spots.

                  Was planning on using universal material but since you provided the OEM part number and the details of the sealant I may give that a go!


                  Any updates with your E30 now that we're solidly in a new year?

                  Comment


                    #69
                    Ha wow I forgot all about this. The car has been done since ~November 2023 and I have been enjoying it. As usual, I finished the project and did not bother to take many pictures. The car looks awesome and I get compliments on it which is fun. With all of the rain we have been getting lately, it spends a fair amount of time parked with a car cover since I am determined to keep water out of the sunroof cassette as much as possible.

                    Once we get some sunnier days, I plan to take it for its first detailing, and then maybe find somewhere interesting to snap some pictures.

                    Here are a few of the pics that I took last year inside of the reassembly tent and in front of a friend's office.


                    Transaction Feedback: LINK

                    Comment


                      #70
                      As much as I don't care for black kidney grilles, they do look amazing against the red and with blacked out headlights!

                      Comment

                      Working...
                      X