
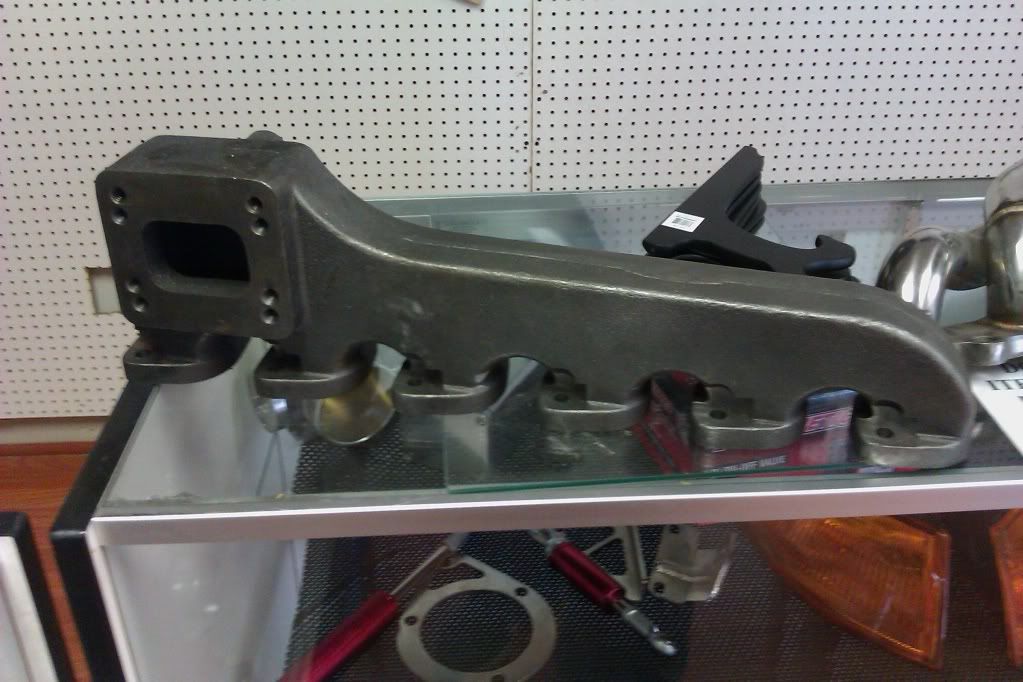
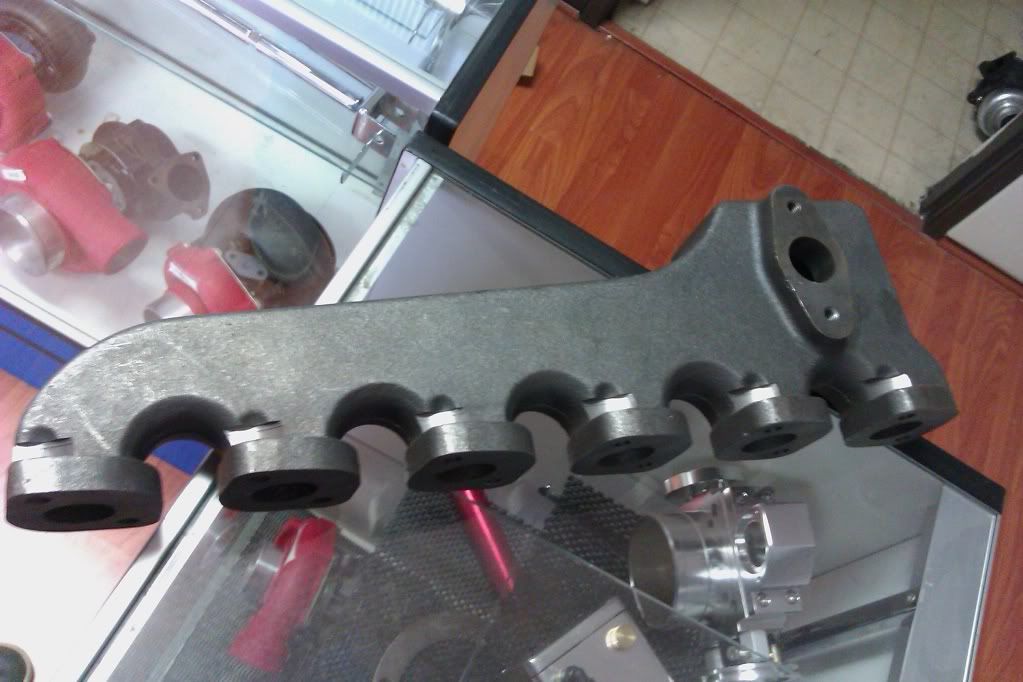
For some strange reason i'm broke :shock: so i had to pass on buying a hole saw or buying a pricey aluminum reducer so i had to come up with creative options. Especially since there were some parts i still needed to buy like a flange for my wastegate and a reducer elbow. So this morning i went to fatboy garage in el monte. All i can say is these guys are great. Highly recommend these guys for anyone looking to do a turbo build. We are probably collaborate and design a system together. They are about to carry a top and a bottom mount T3/T4 log manifolds.
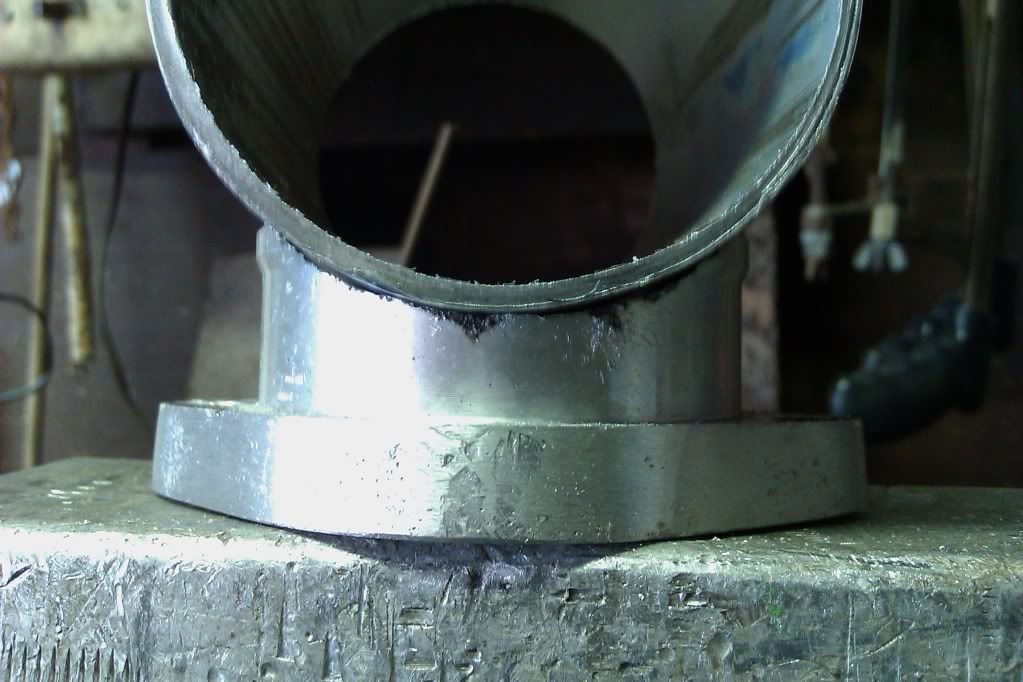
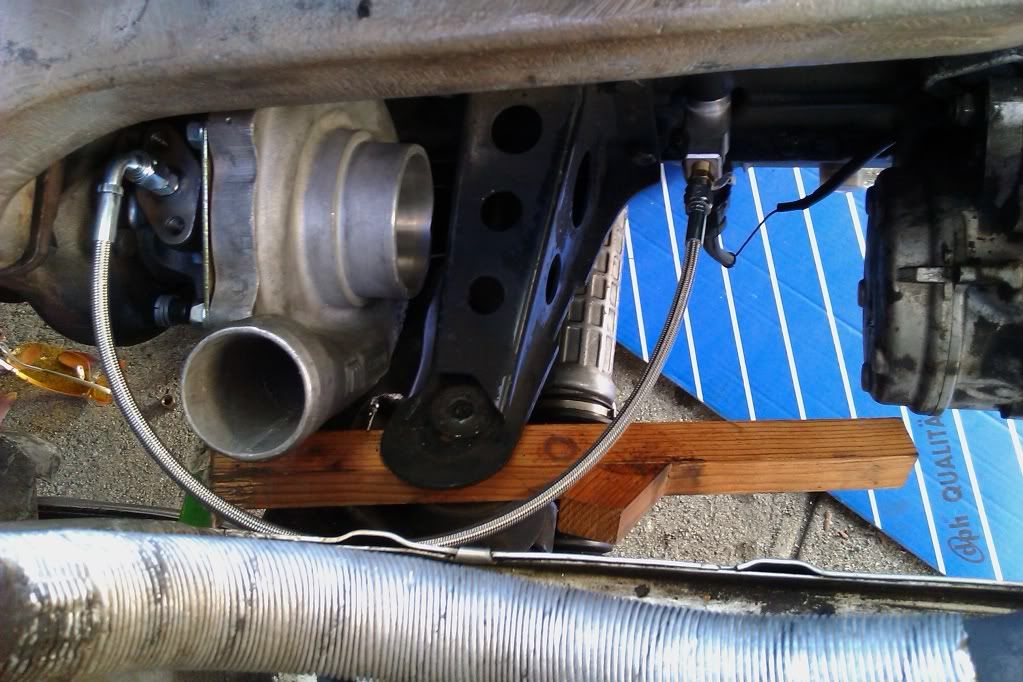
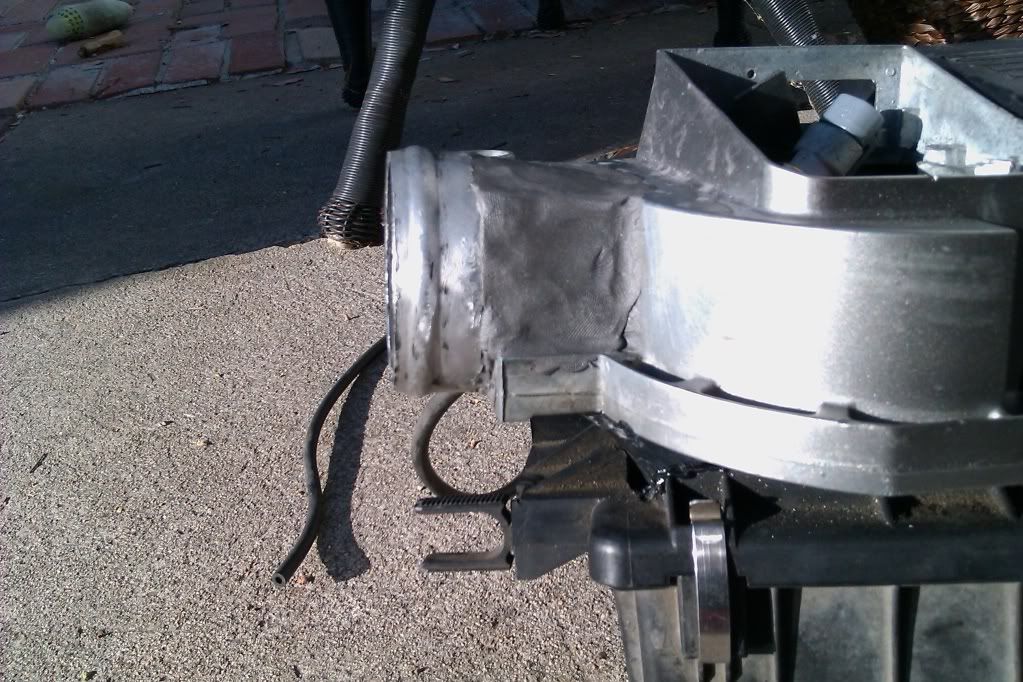
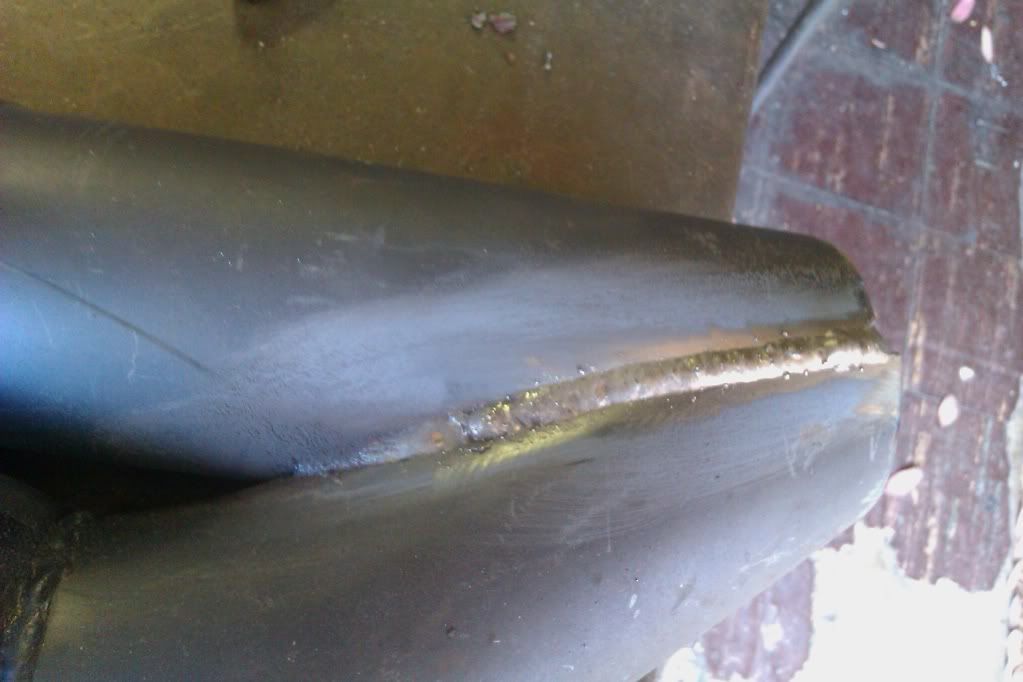
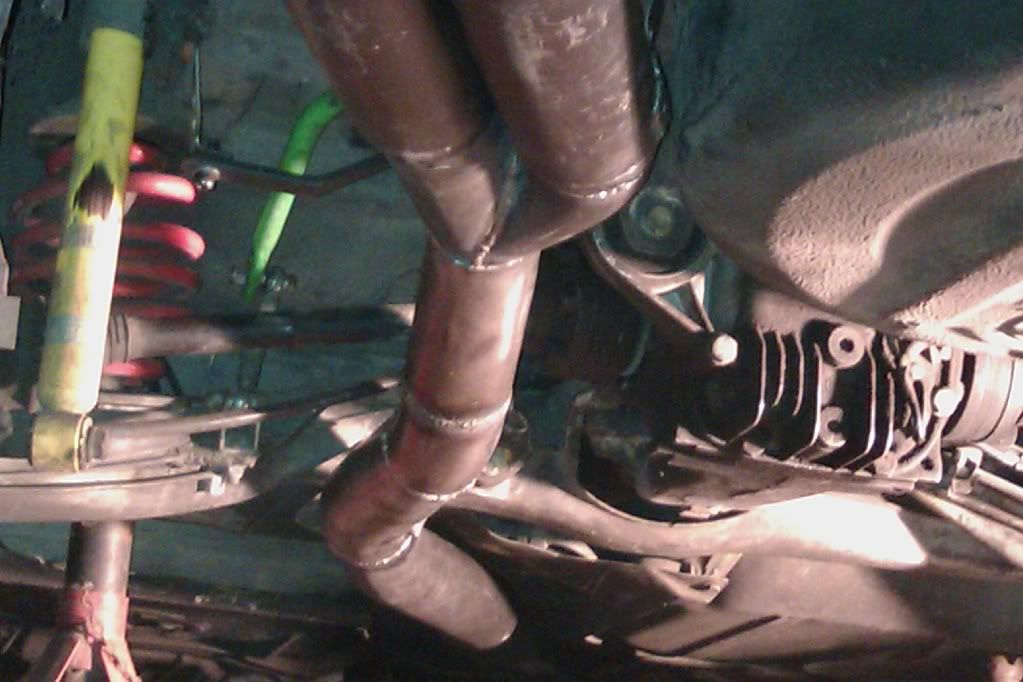
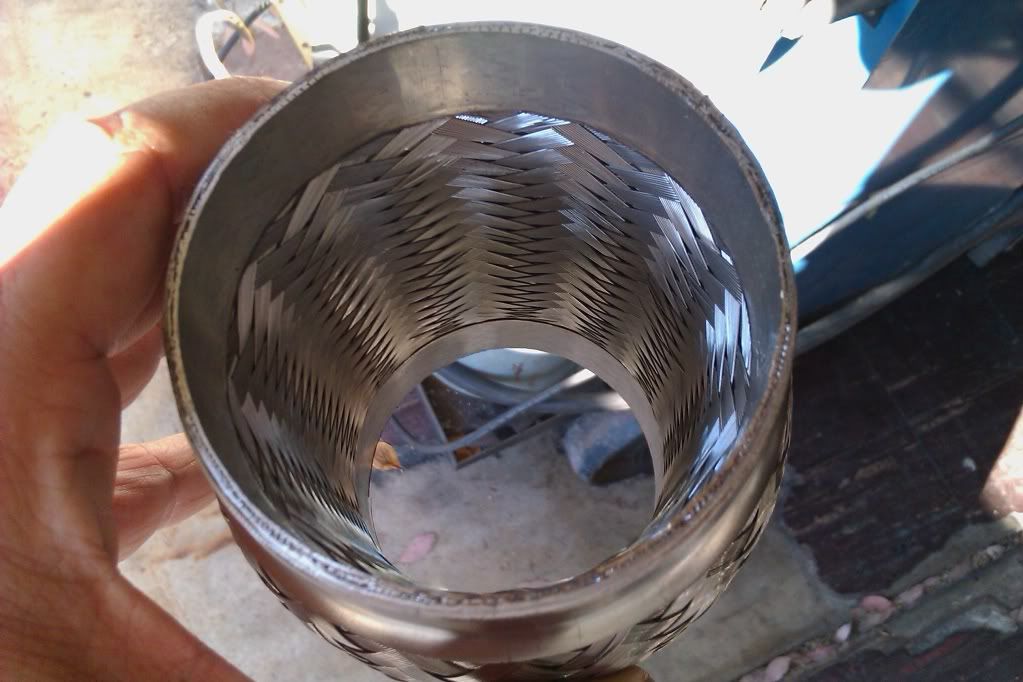
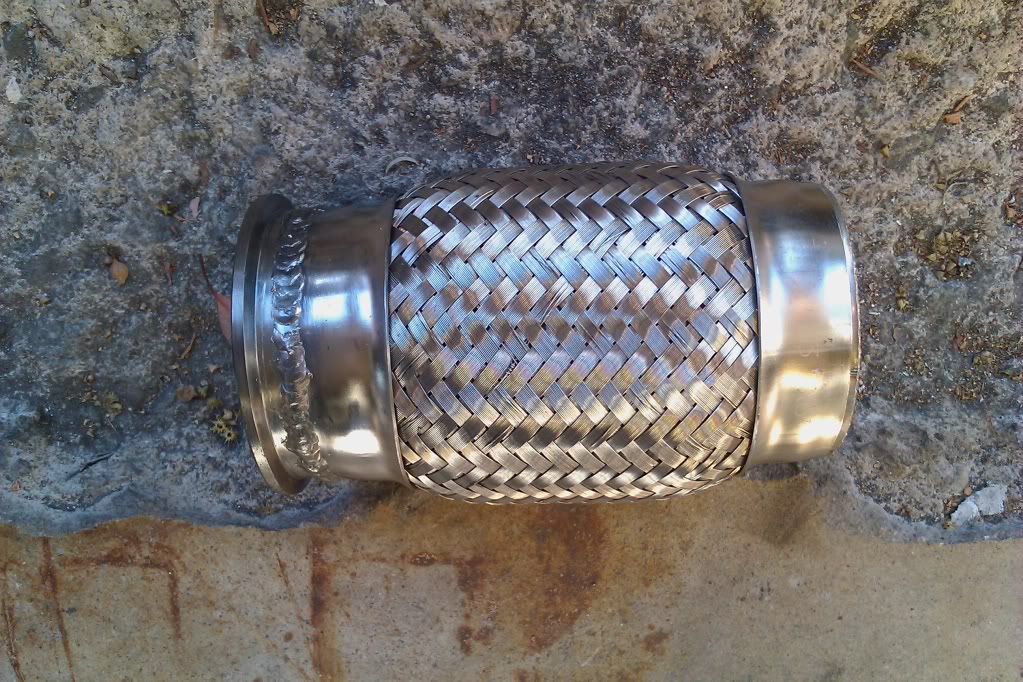
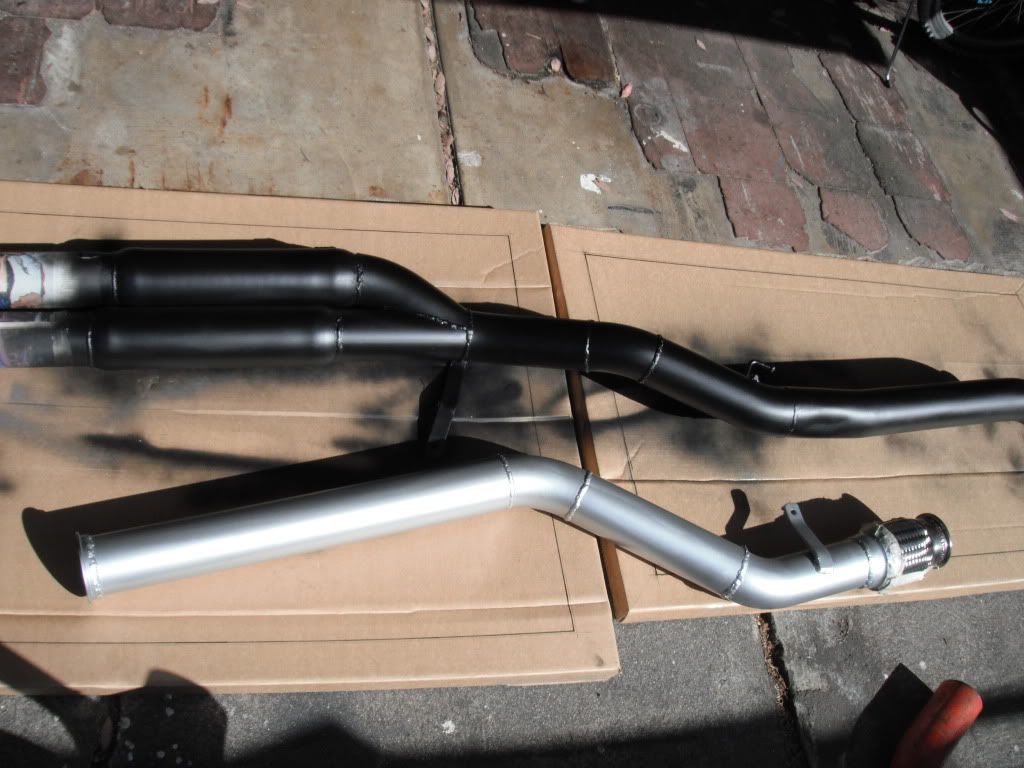
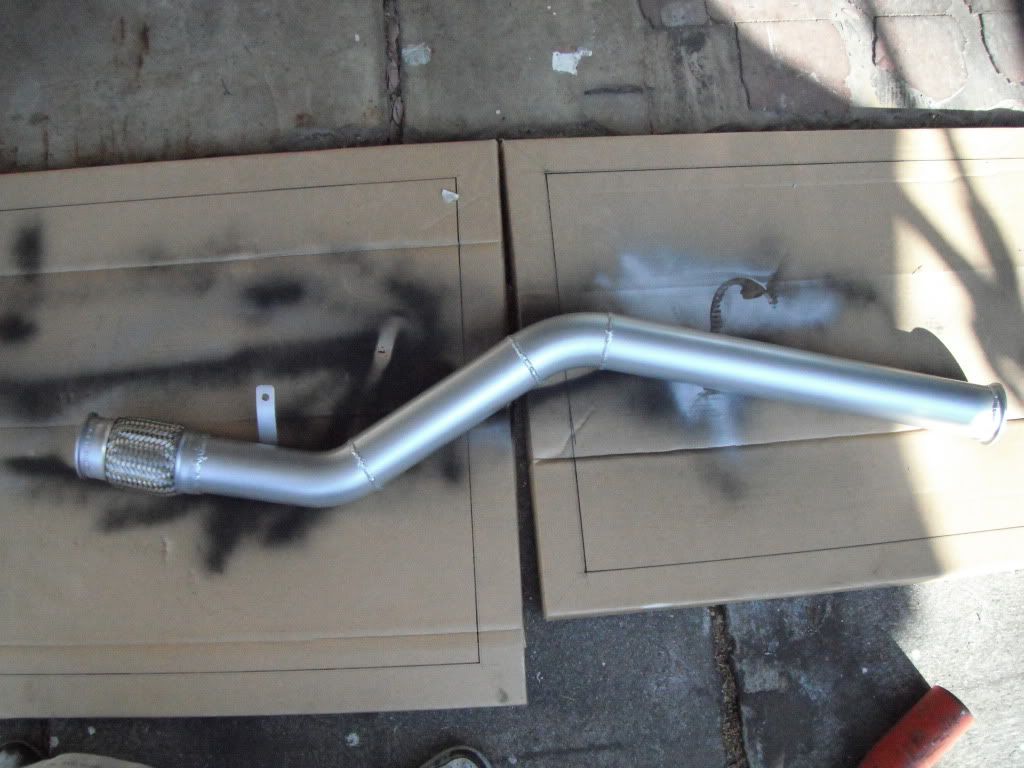
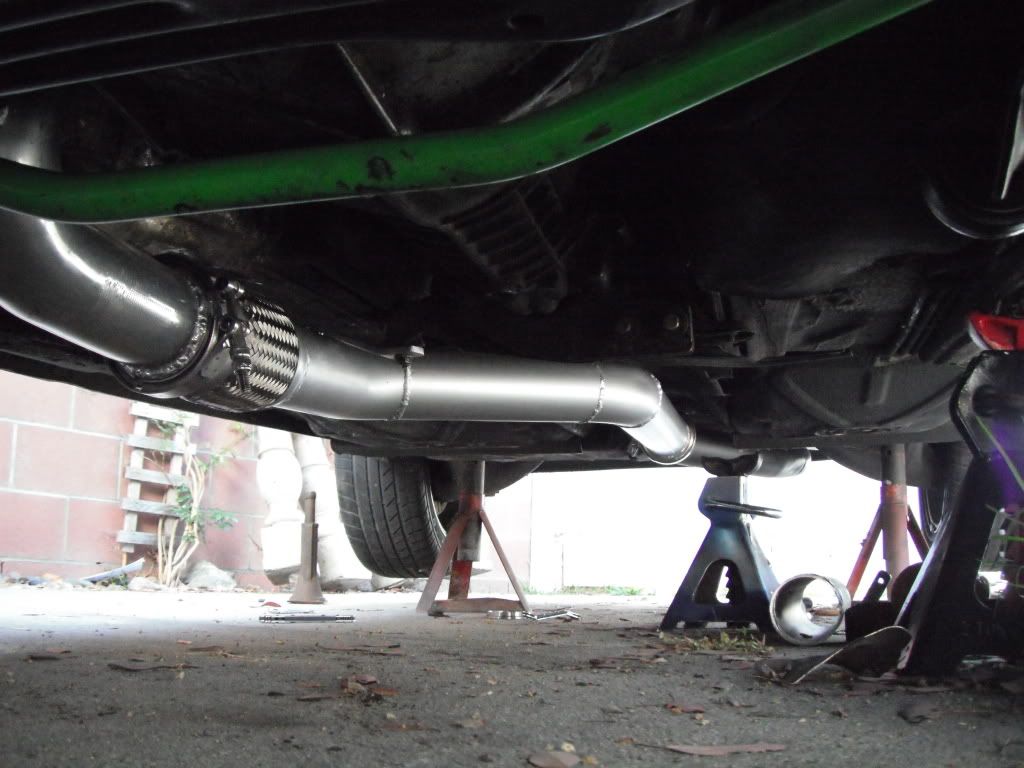
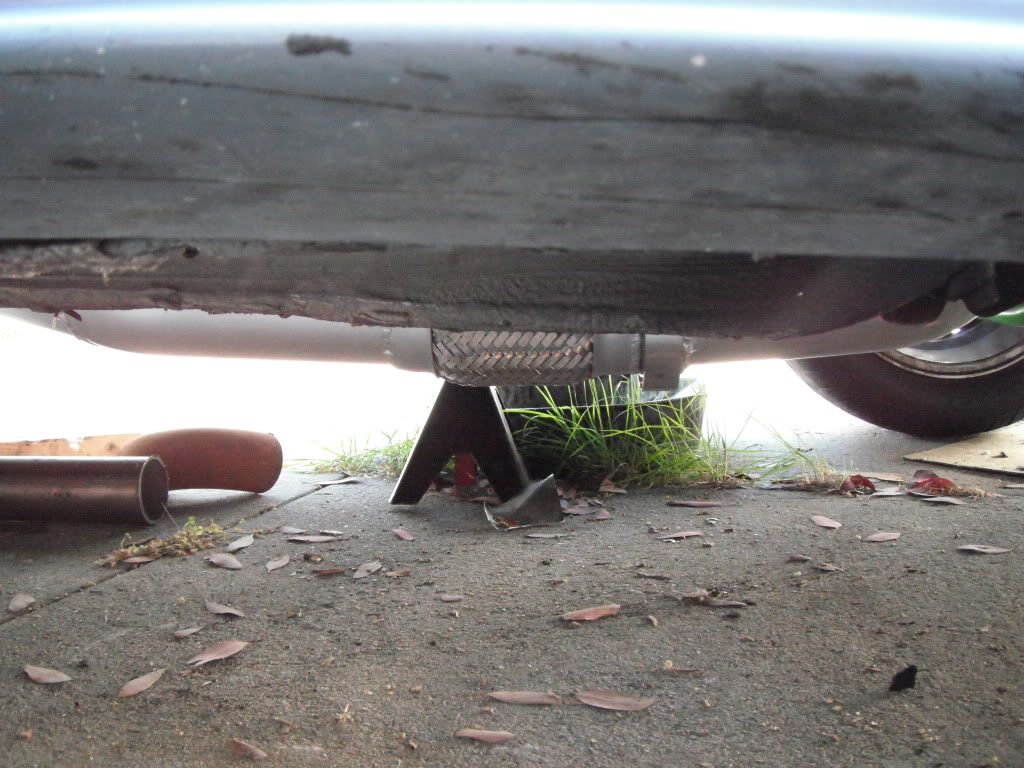
New elbow installed

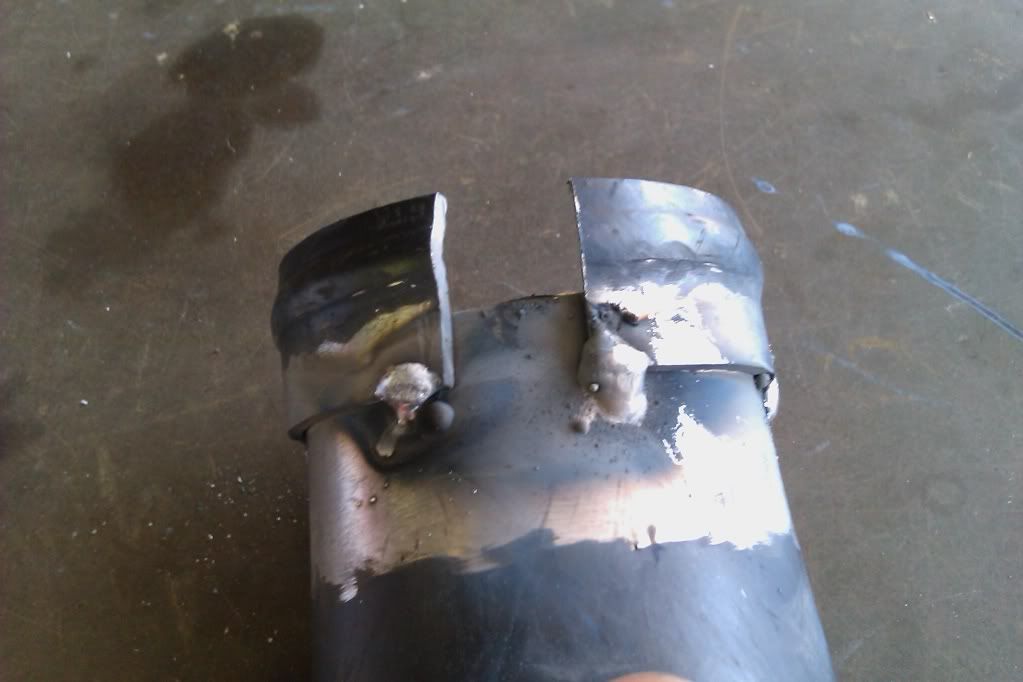
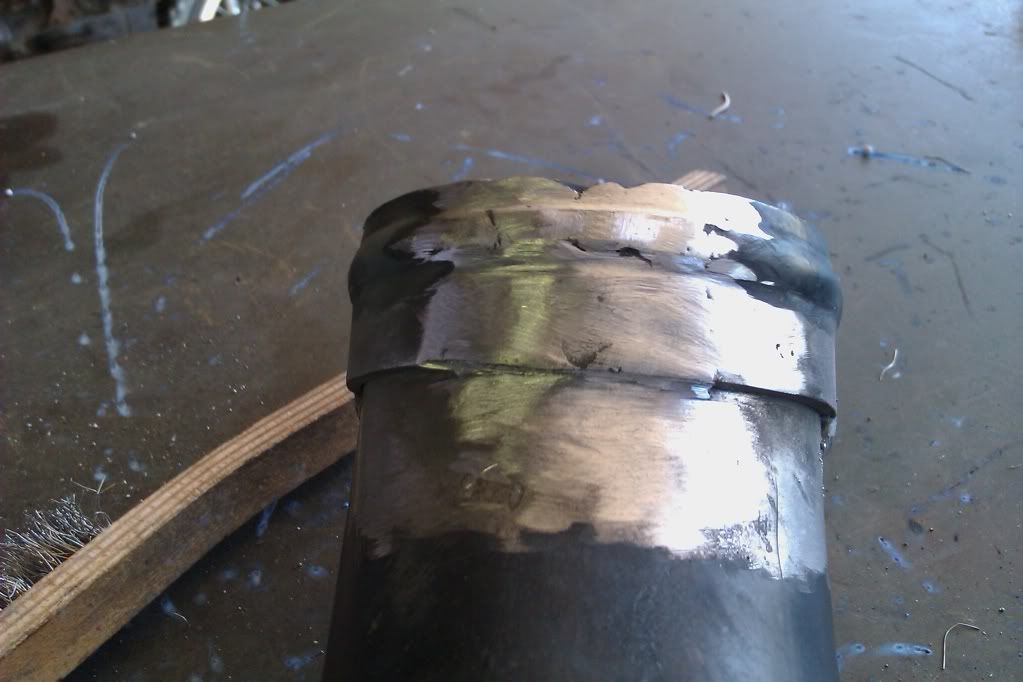
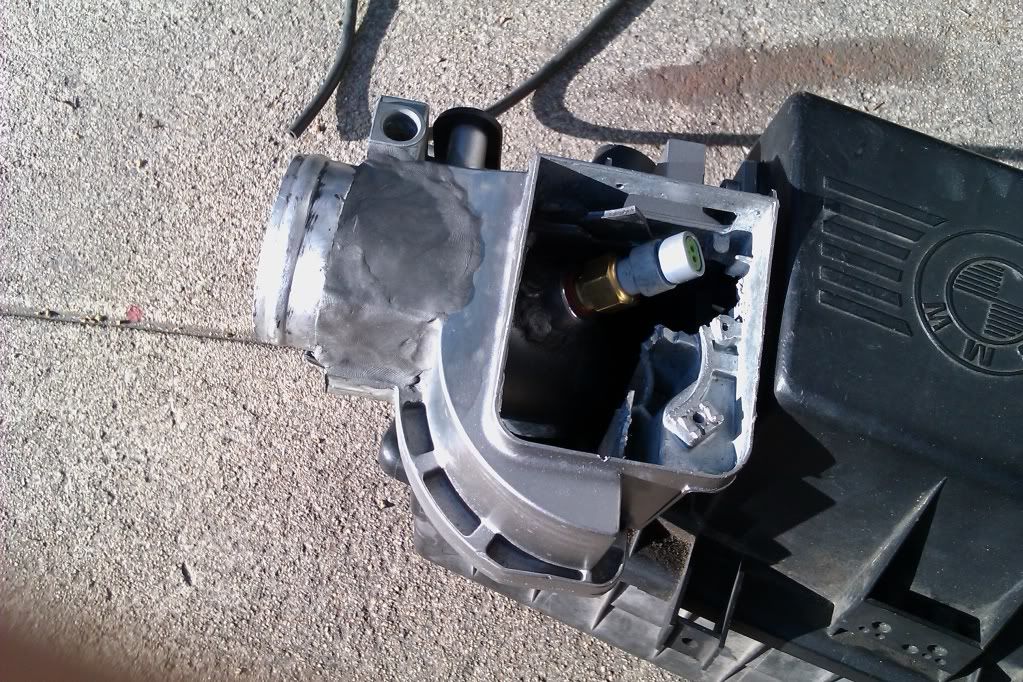
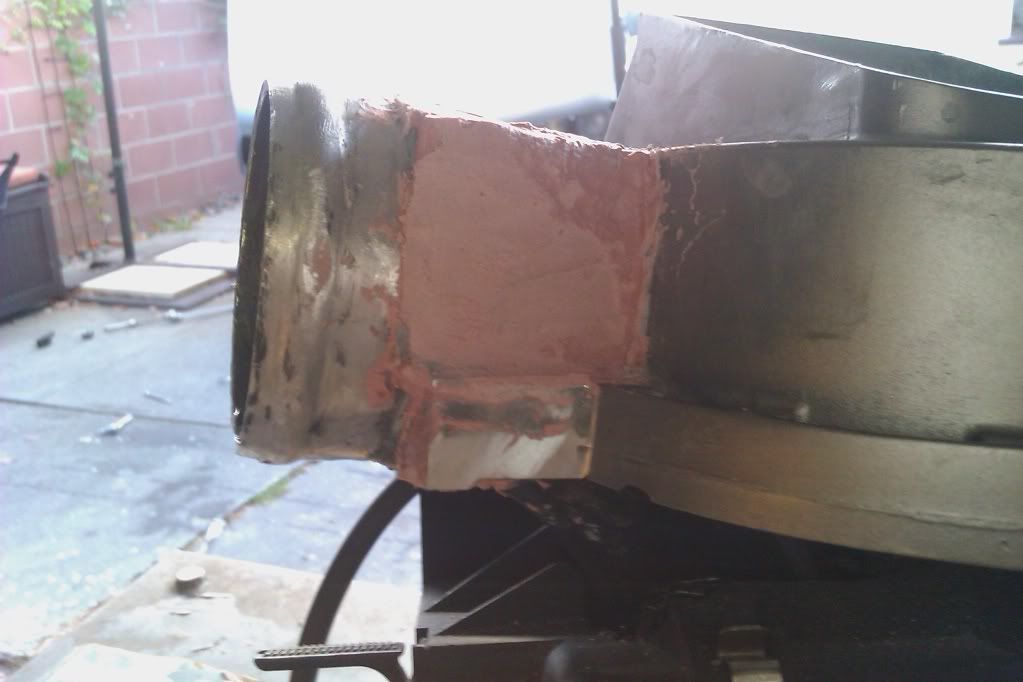
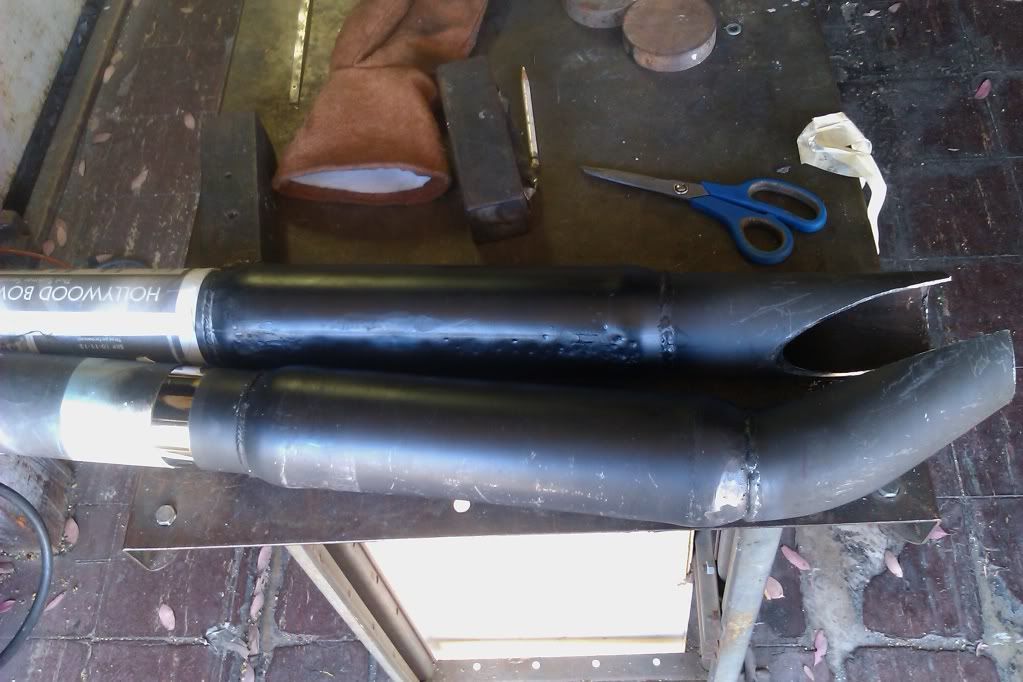
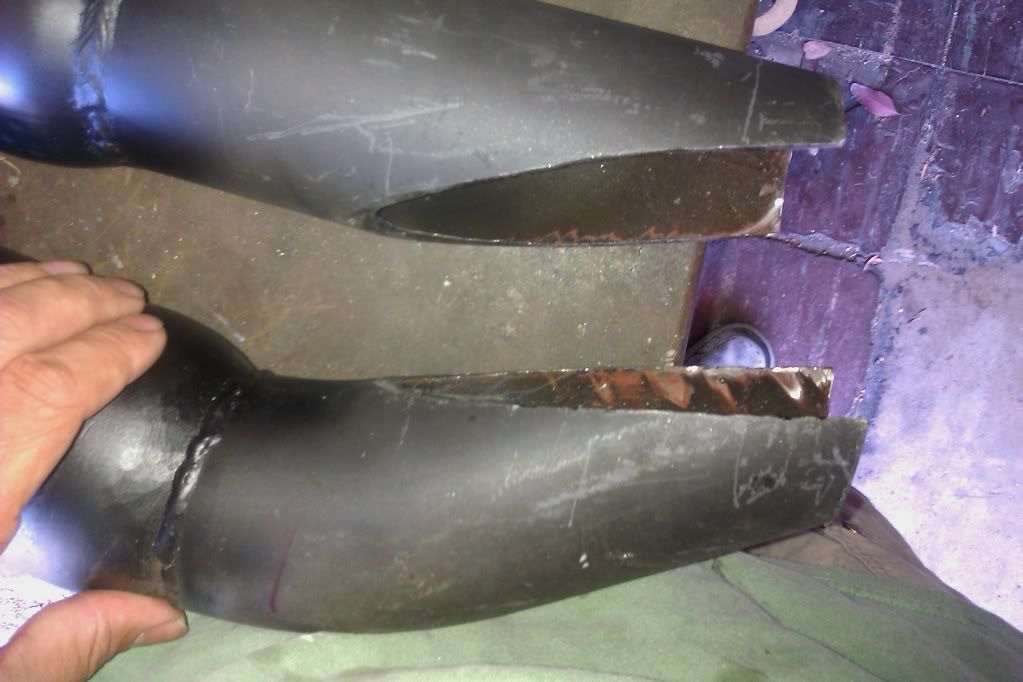
So as many of you know i have a line of intake boots about to hi the market so i had to use it on this build. The problem is they are factory outlet sized at 2.75" and my intercooler setupis 2.5". A cheap and easy solution would be a $3 steel reducer from autozone. The was not a viable option for me fr reasons you will soon see. So my solution was to use one of the intercooler plumbing ends i already cut of and split it open, wrap it around the tube i needed, and fill in the gaps. Came out pretty nice actually.
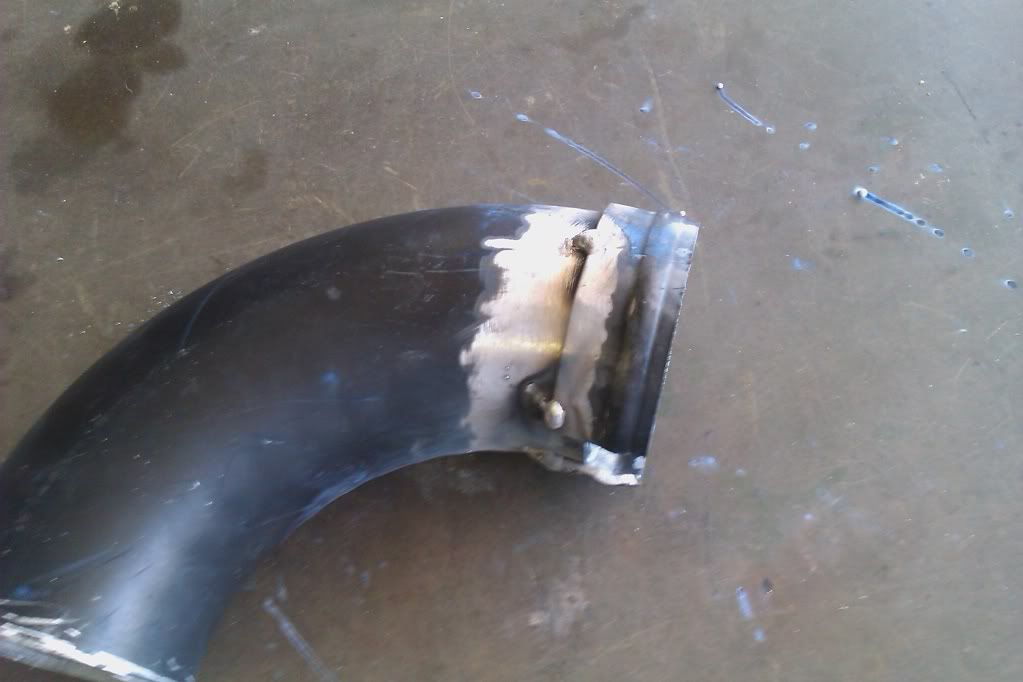
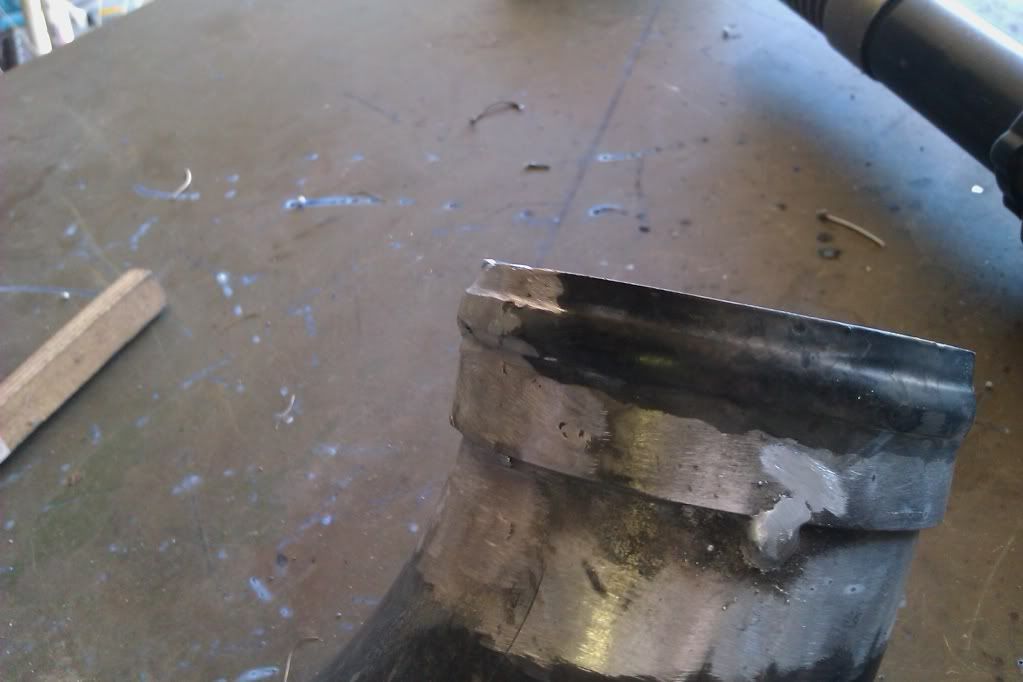
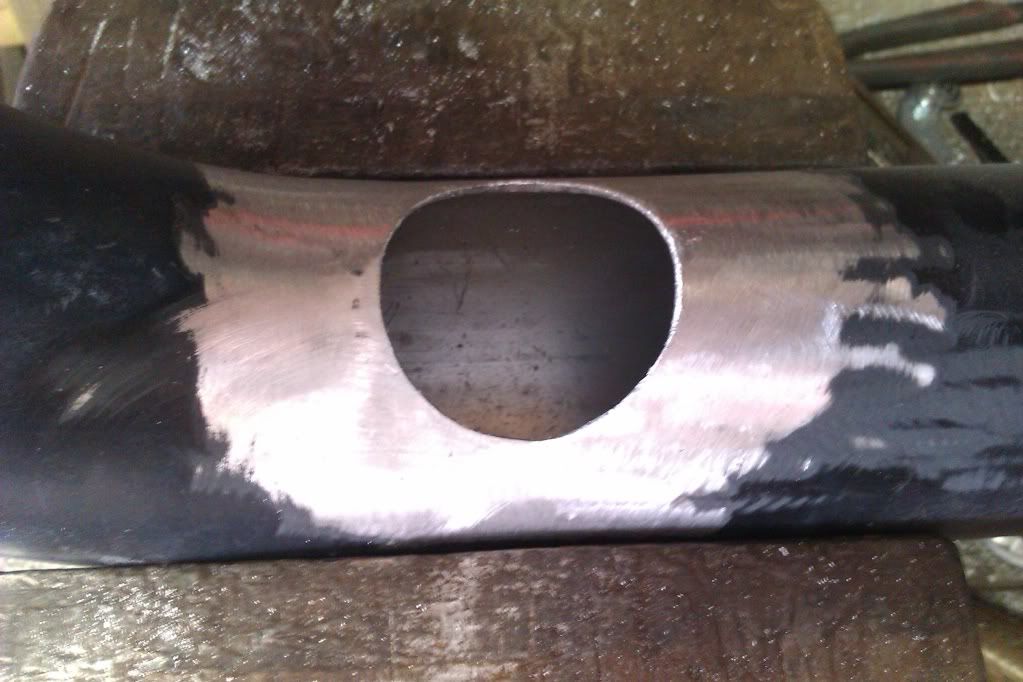
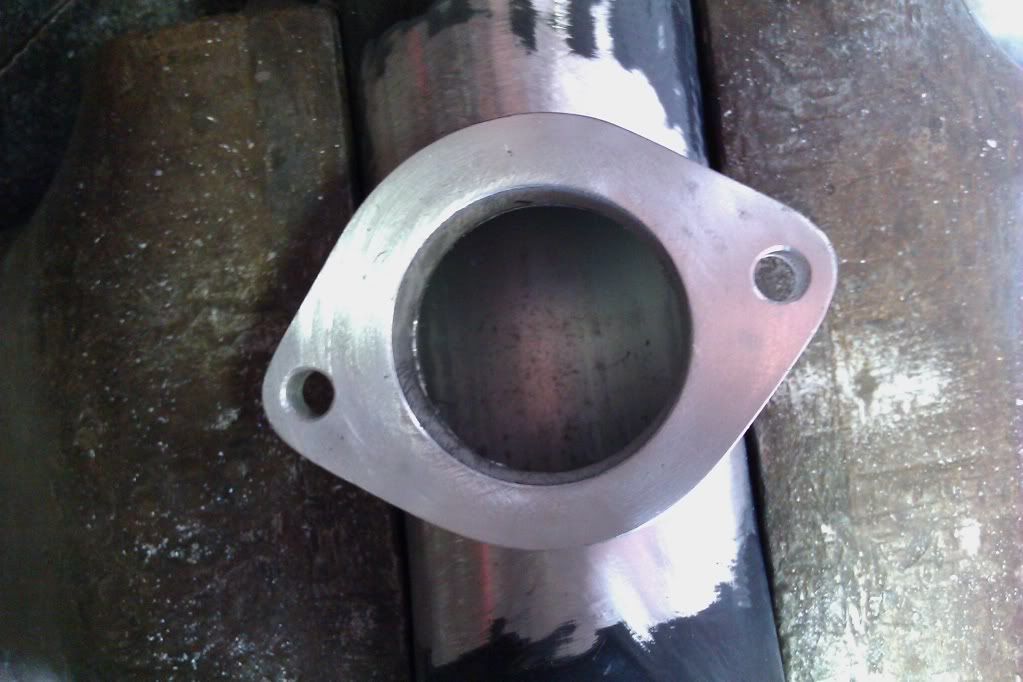
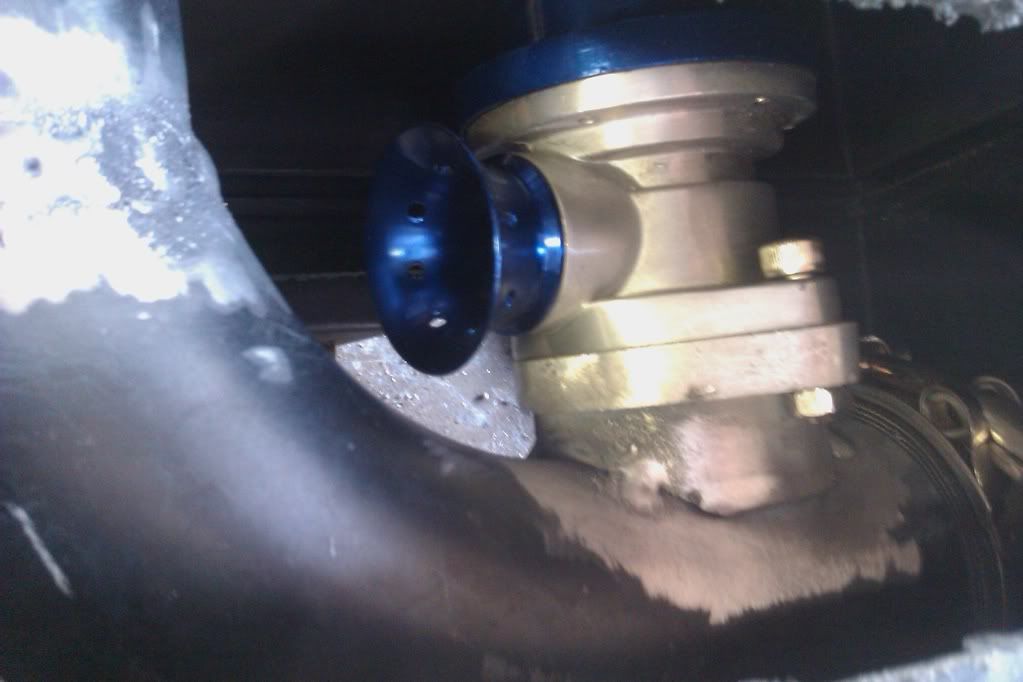
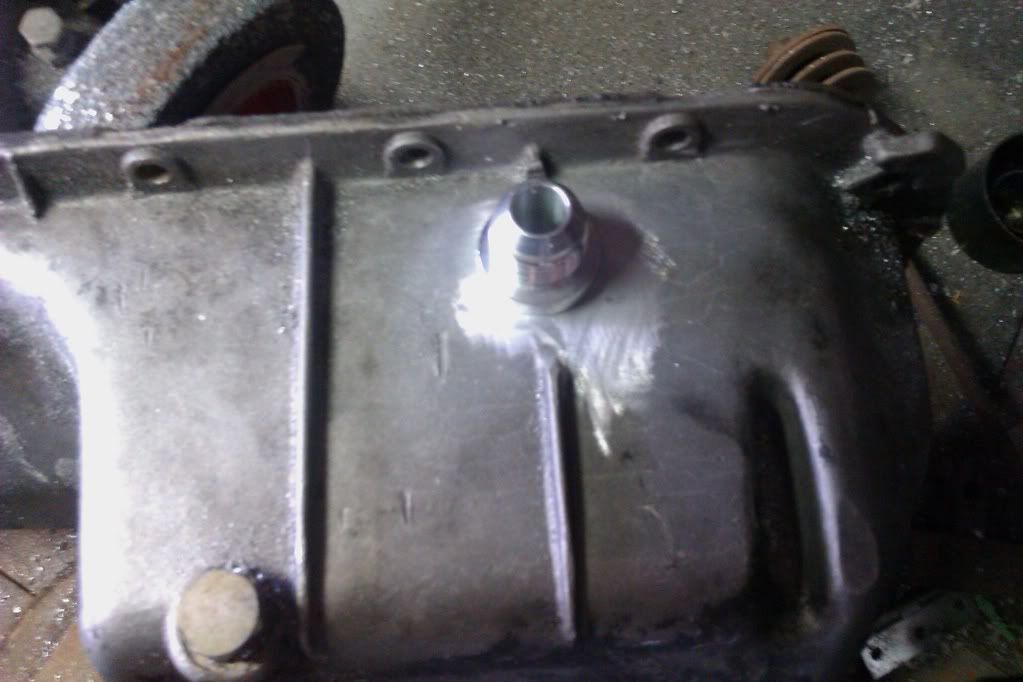
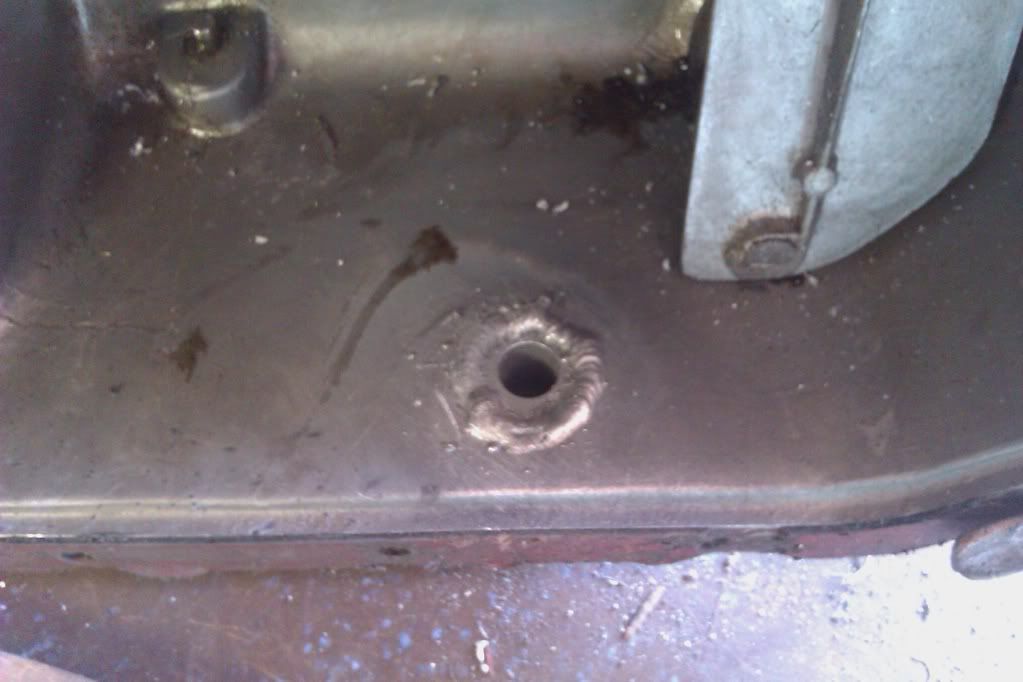
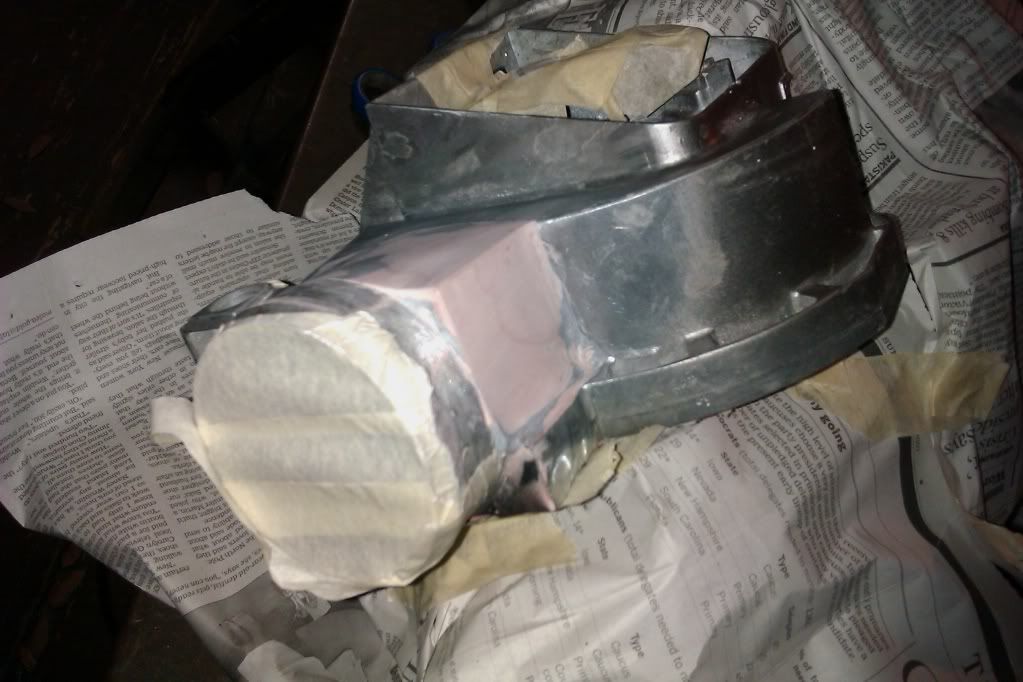
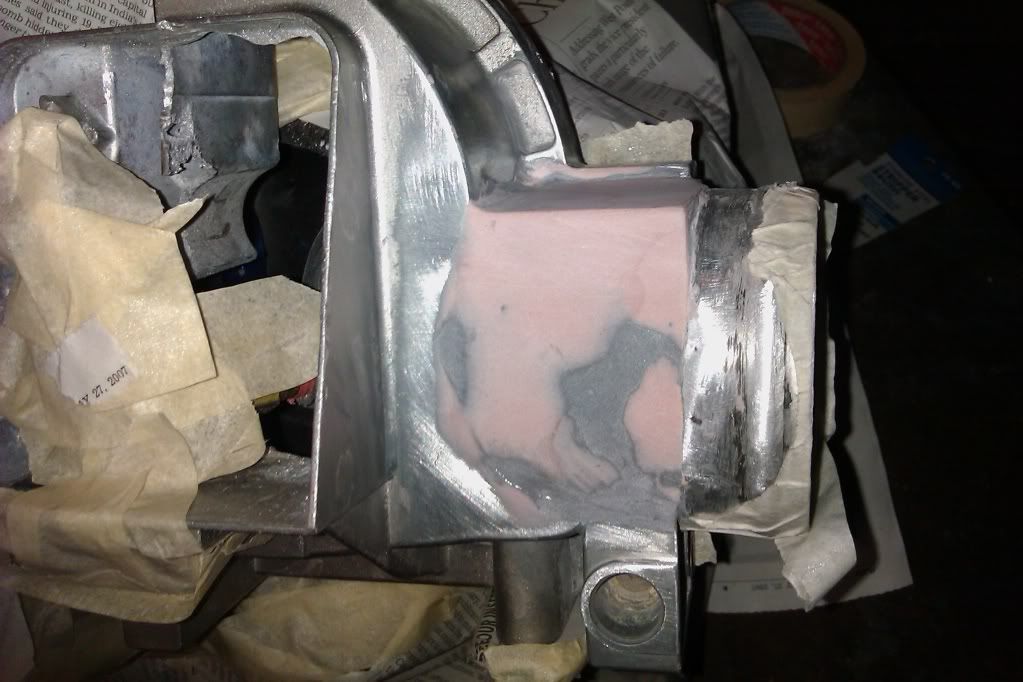
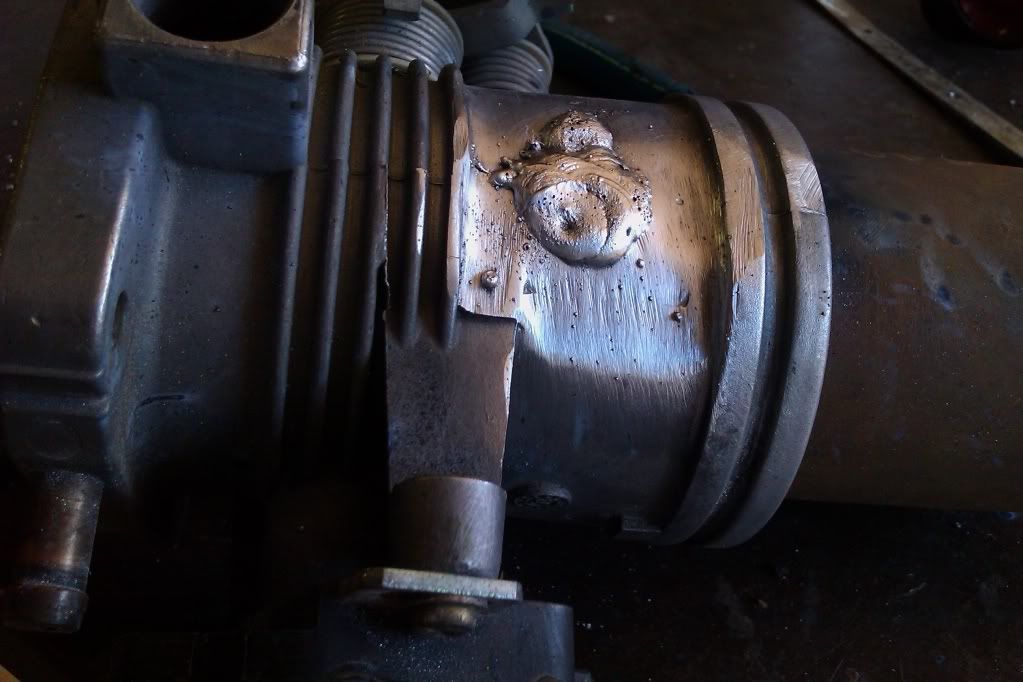
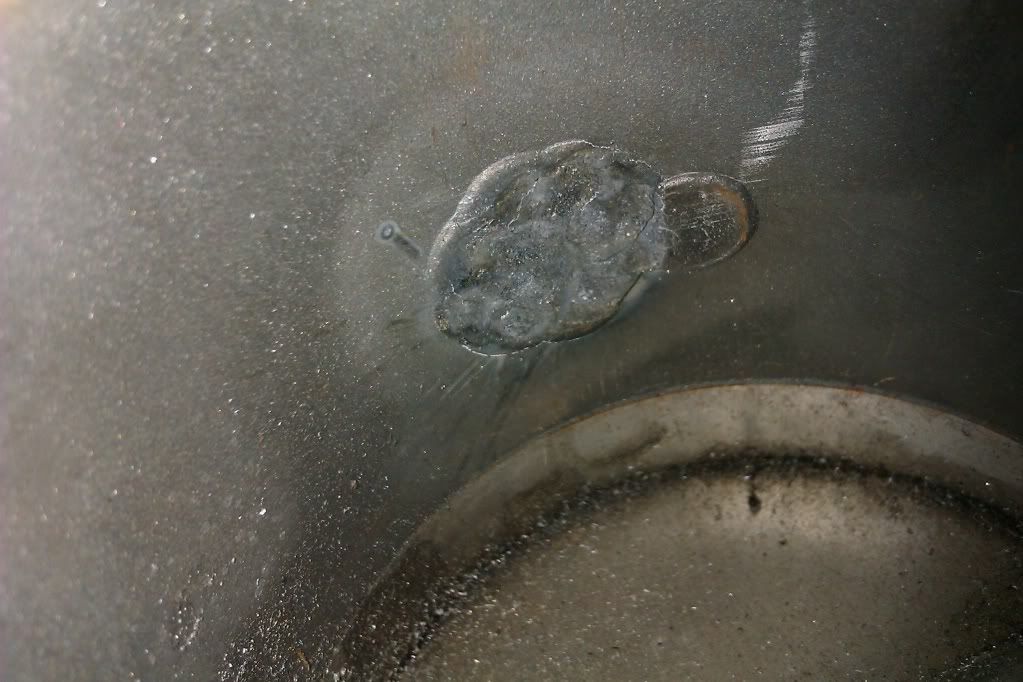
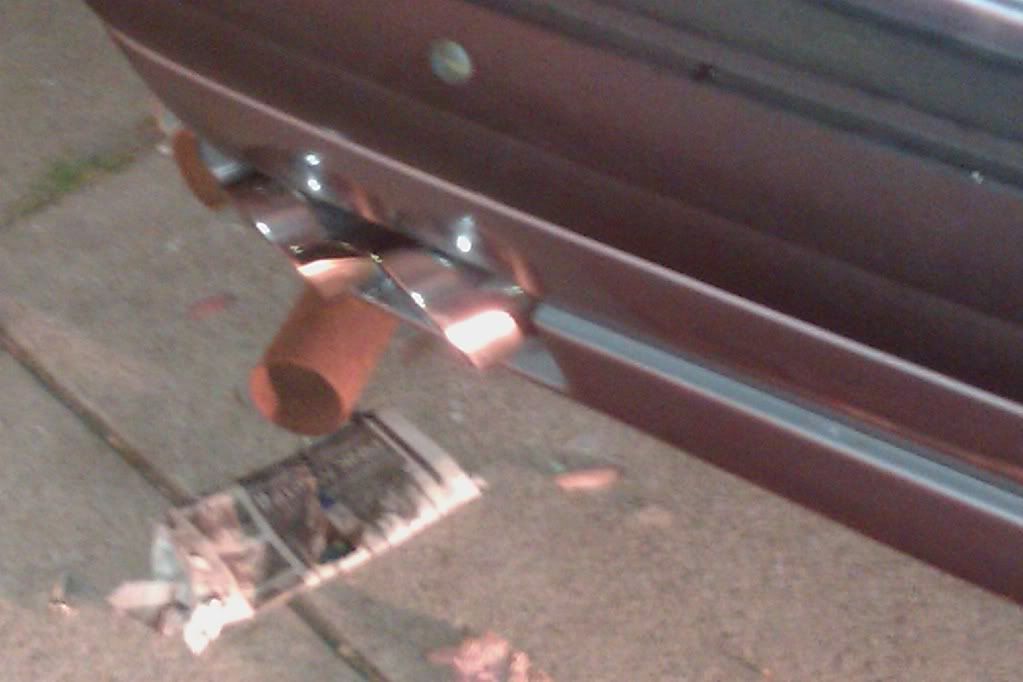
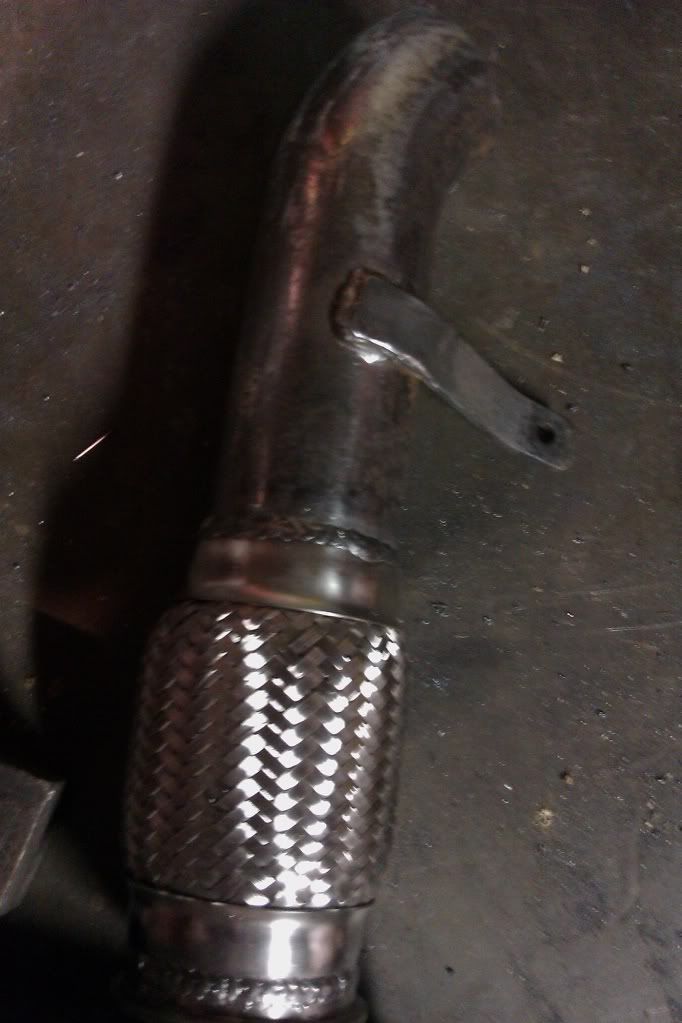
the next cheapskate issue was not having a whole saw to mount the BOV. I could have just bought a tube that had the wastegate provision but i'm to cheap for that. So i got the cast rs flange which is retarded thick and went to town with the plasma cutter and grinding stones. Also had to cut a whole in the tubing. I drilled a bunch of wholes and smacked out a circular chunk with a hammer. Then rounded out the whole with the grinding stones. The result was amazing. You'd think i almost knew what i was doing.
So as most of you have already gathered i like to do things a little different then the norm. If i can't do it the hard way i don't want to do it at all. That being said the next set of pictures can be summed up in 2 words. Ultra stealth!!!
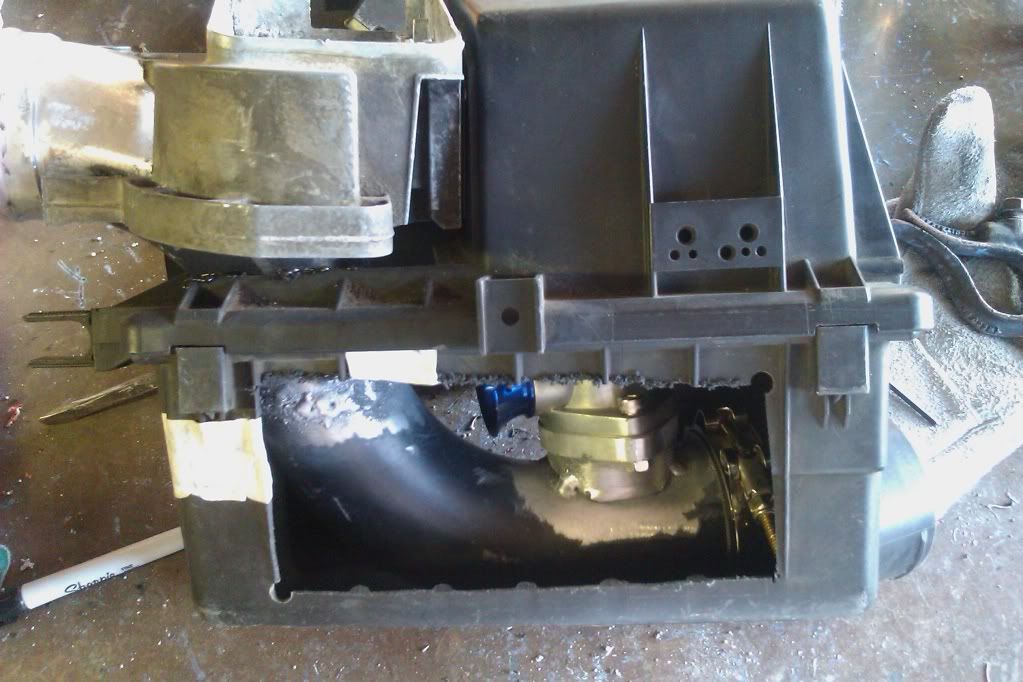
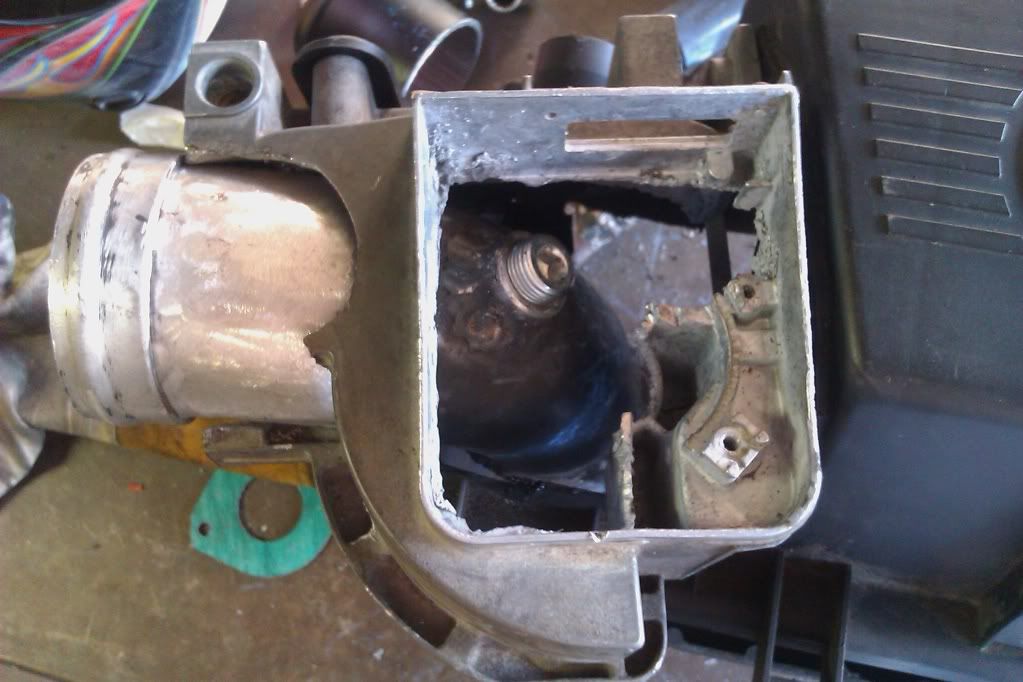
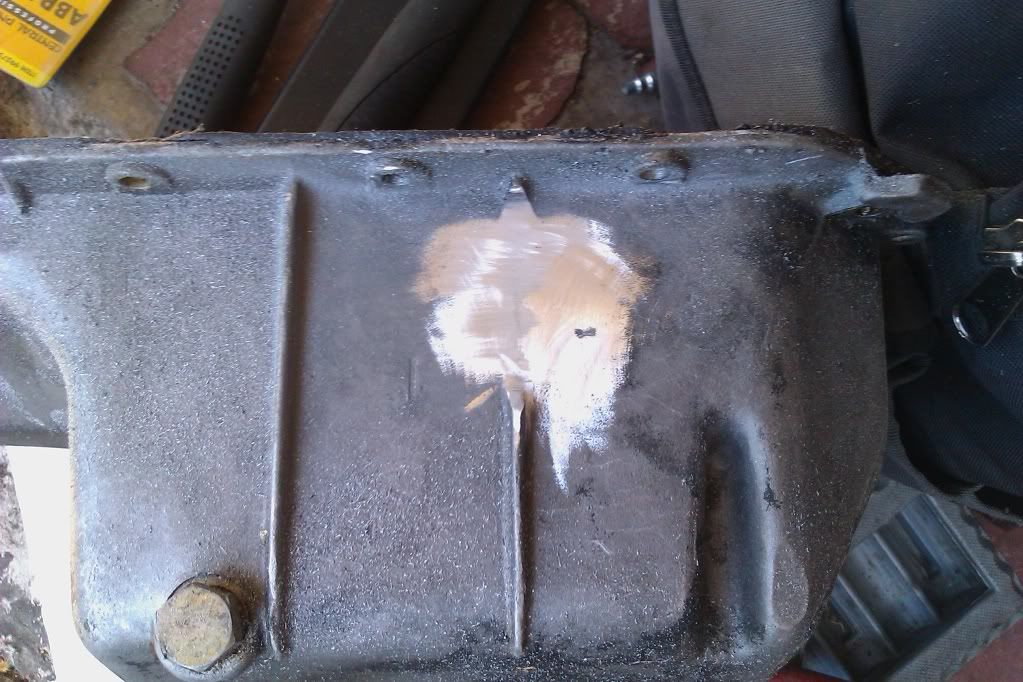
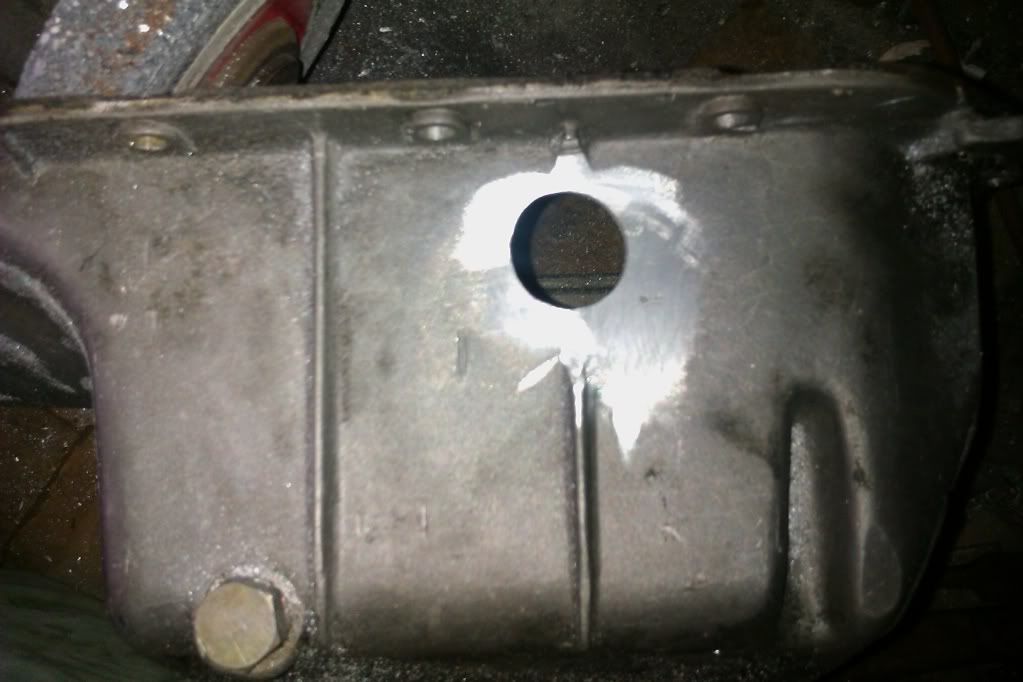
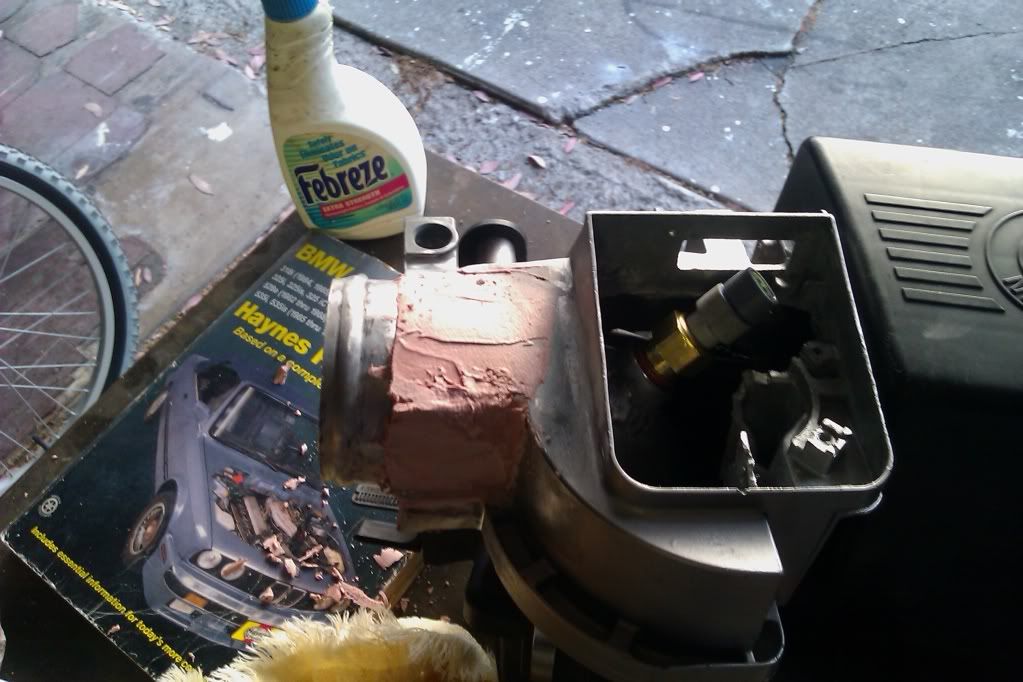
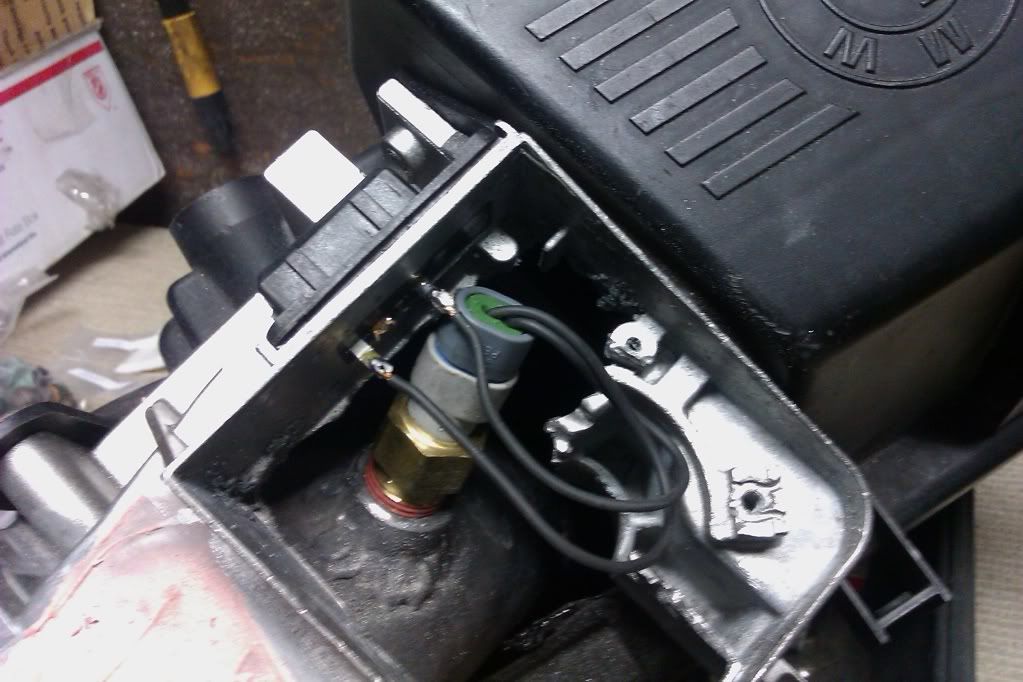
I ran out of shielding gas so did not get to finish my tubing today. AS you can see the IAT will be hidden and i'll be using the factory plug. The blow off valve is also hidden and i'll cut a hole in the bottom of the box (the one pictured was for fitting purposes only and a new one was graciously donated to me by the castros) to release the pressure and plum the vacuum line. I'm going to JB weld the plumbing to the gutted AFM, sand, shape, and paint it with high temp silver heat paint. Or maybe black but i think it might stick out too much if i do that. I'm going to maine for 10 days so no updates for a while. Adios amigos.
New elbow installed
So as many of you know i have a line of intake boots about to hi the market so i had to use it on this build. The problem is they are factory outlet sized at 2.75" and my intercooler setupis 2.5". A cheap and easy solution would be a $3 steel reducer from autozone. The was not a viable option for me fr reasons you will soon see. So my solution was to use one of the intercooler plumbing ends i already cut of and split it open, wrap it around the tube i needed, and fill in the gaps. Came out pretty nice actually.
the next cheapskate issue was not having a whole saw to mount the BOV. I could have just bought a tube that had the wastegate provision but i'm to cheap for that. So i got the cast rs flange which is retarded thick and went to town with the plasma cutter and grinding stones. Also had to cut a whole in the tubing. I drilled a bunch of wholes and smacked out a circular chunk with a hammer. Then rounded out the whole with the grinding stones. The result was amazing. You'd think i almost knew what i was doing.
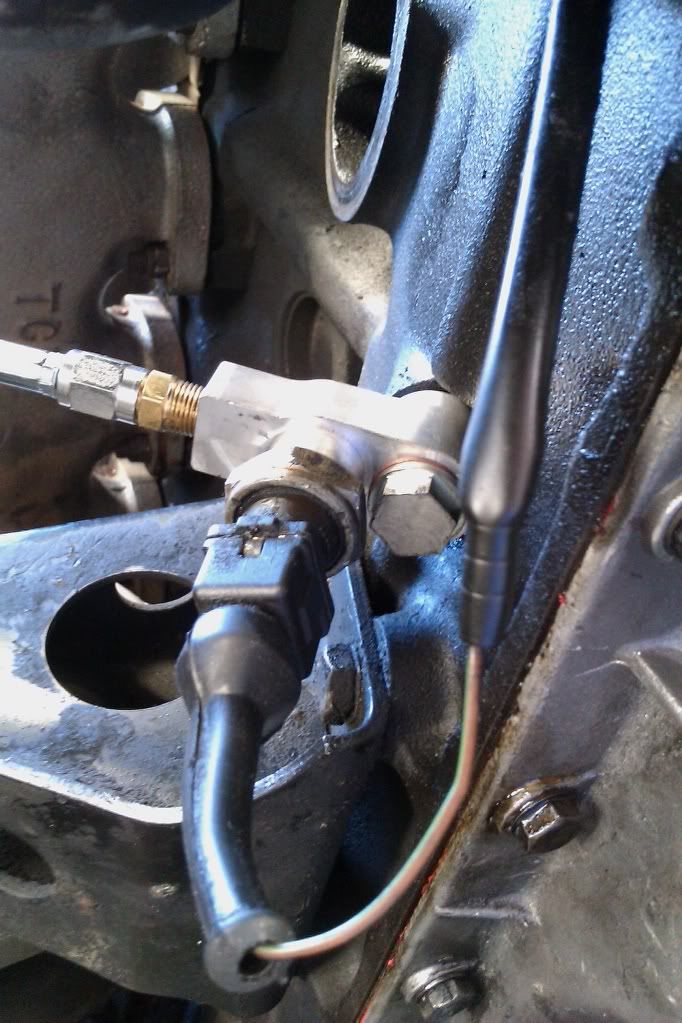
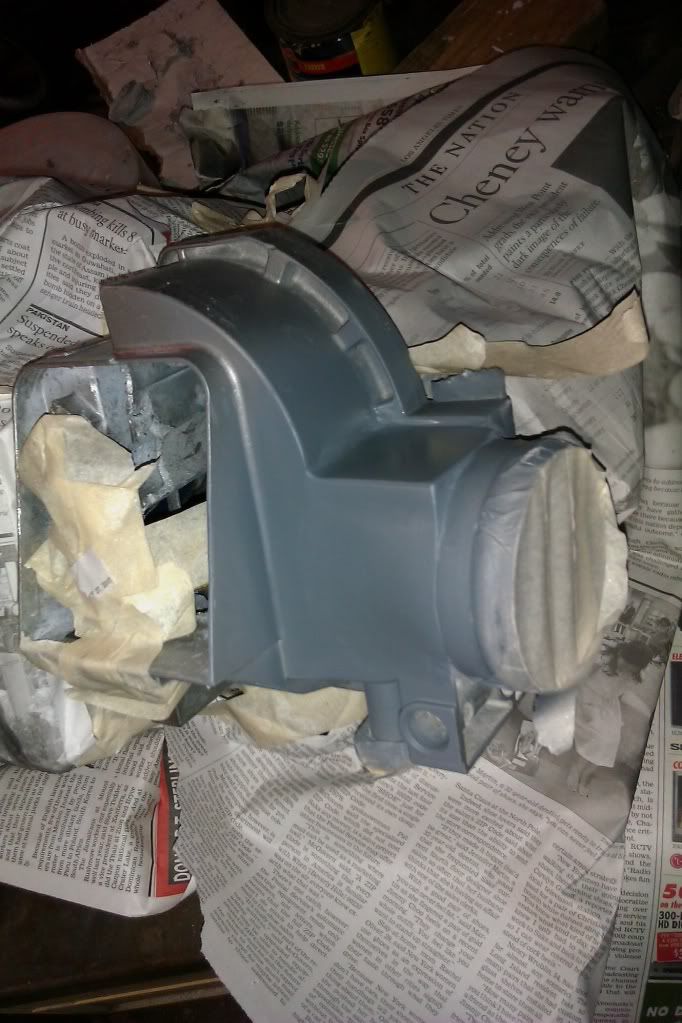
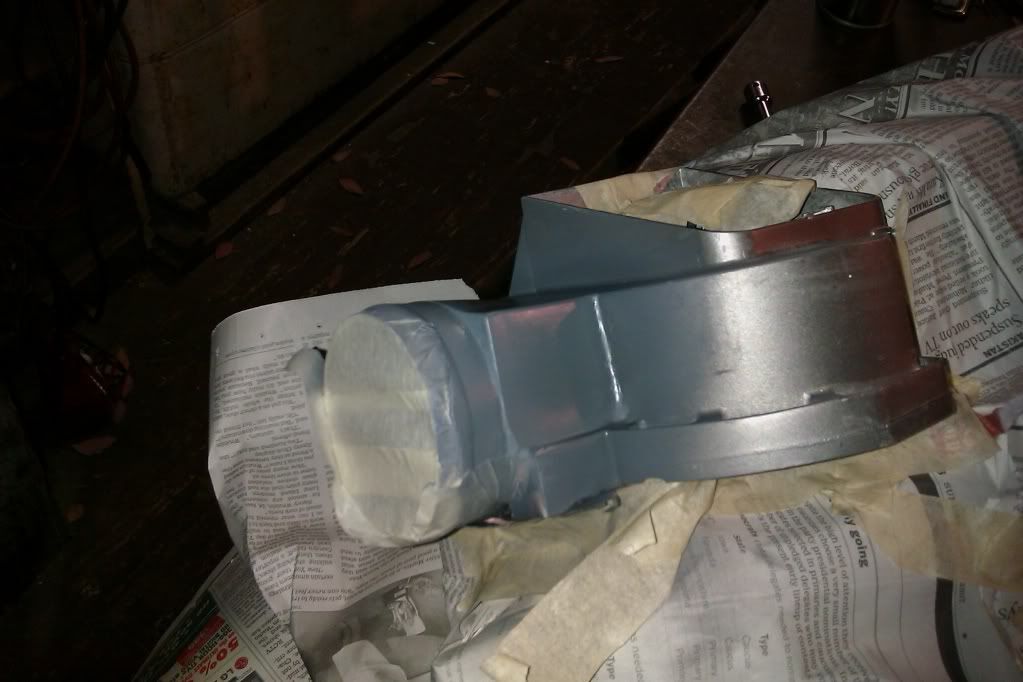
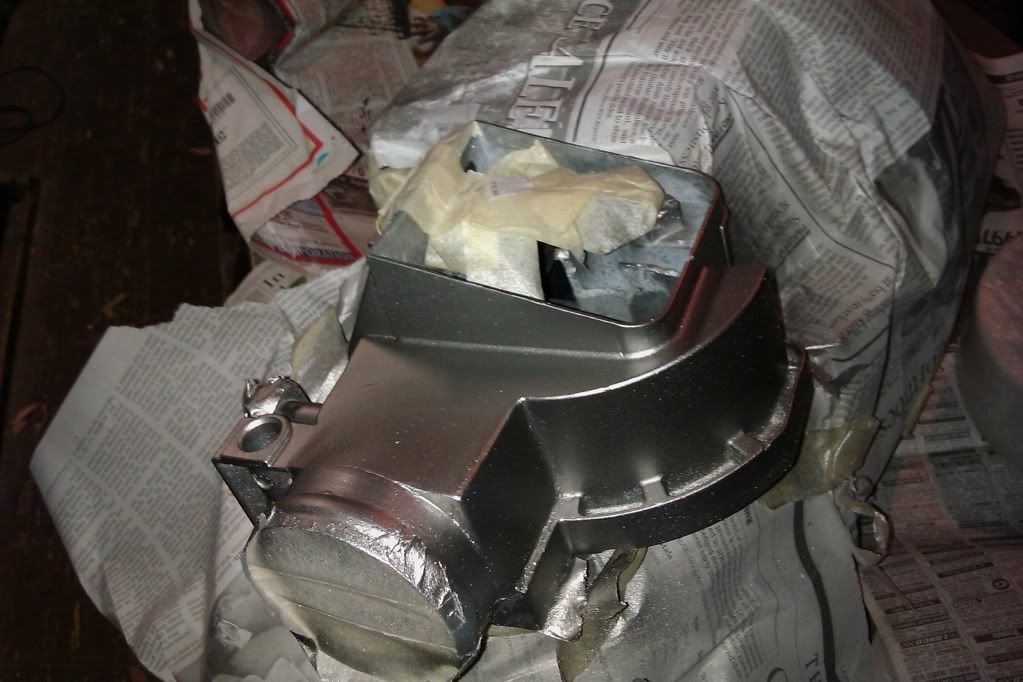
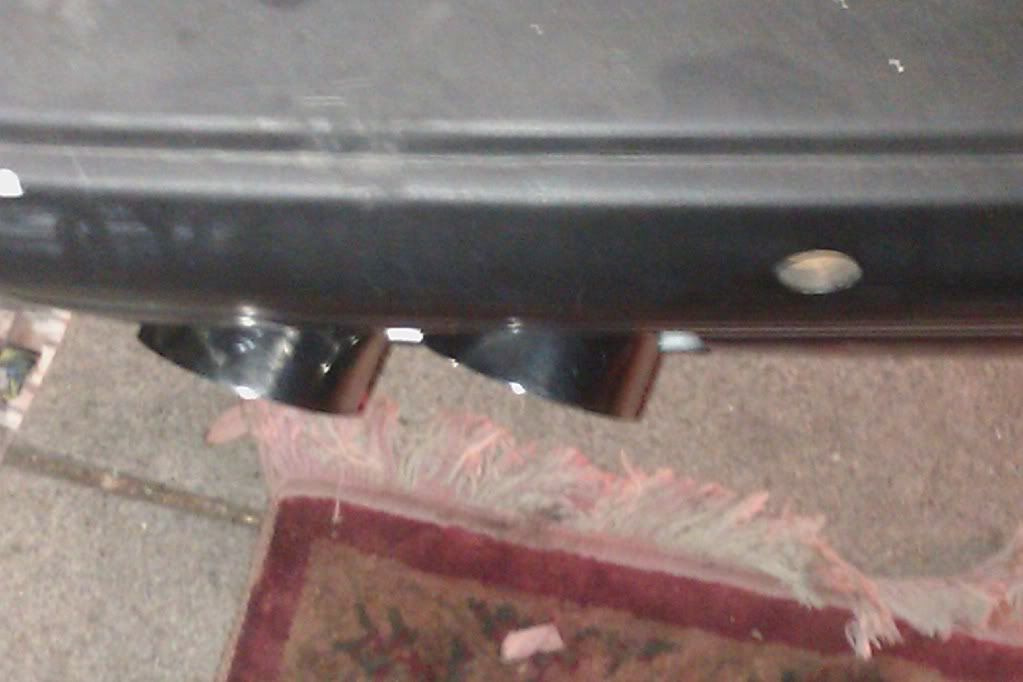
So as most of you have already gathered i like to do things a little different then the norm. If i can't do it the hard way i don't want to do it at all. That being said the next set of pictures can be summed up in 2 words. Ultra stealth!!!
I ran out of shielding gas so did not get to finish my tubing today. AS you can see the IAT will be hidden and i'll be using the factory plug. The blow off valve is also hidden and i'll cut a hole in the bottom of the box (the one pictured was for fitting purposes only and a new one was graciously donated to me by the castros) to release the pressure and plum the vacuum line. I'm going to JB weld the plumbing to the gutted AFM, sand, shape, and paint it with high temp silver heat paint. Or maybe black but i think it might stick out too much if i do that. I'm going to maine for 10 days so no updates for a while. Adios amigos.


 [/url]
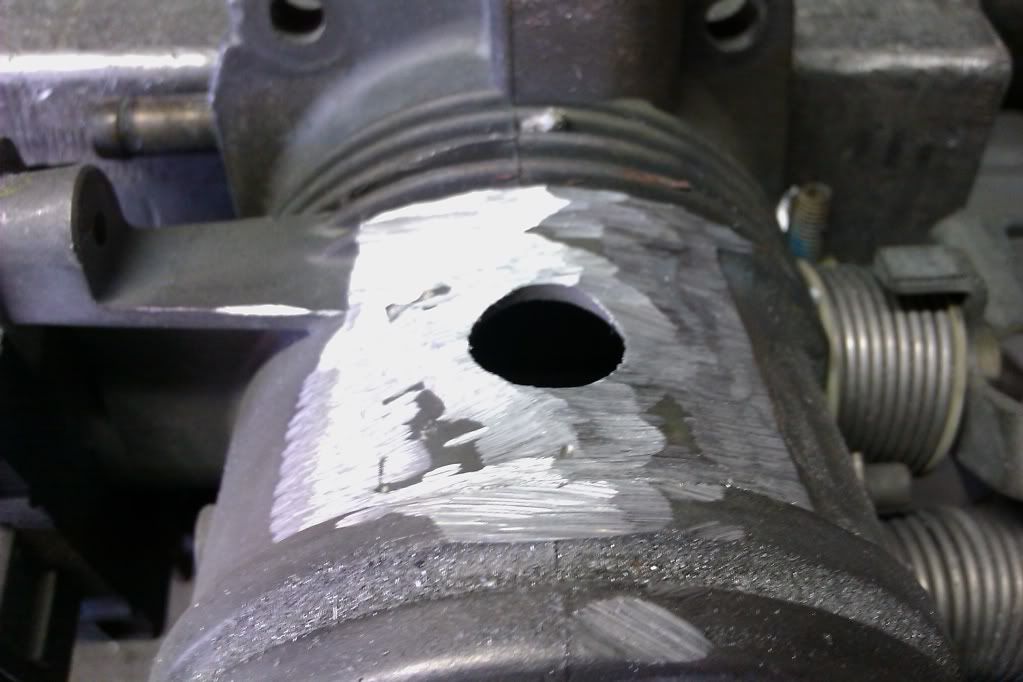


Comment