Announcement

Collapse
No announcement yet.

Project 88 325is, vert replacement (because racecar content) -- R. I. P.

Collapse
X
 
  • Filter
  • Time
  • Show
Clear All
new posts

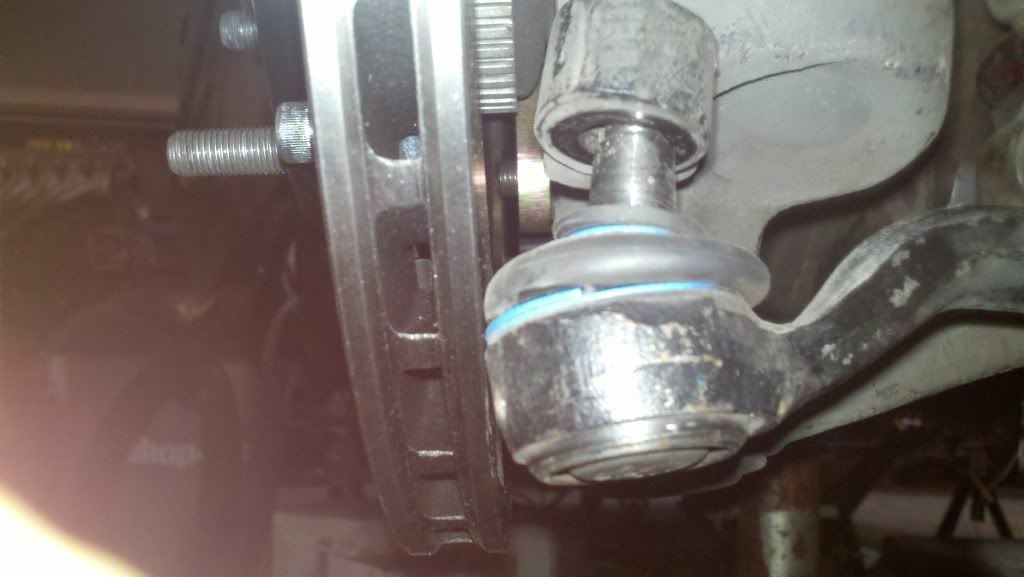
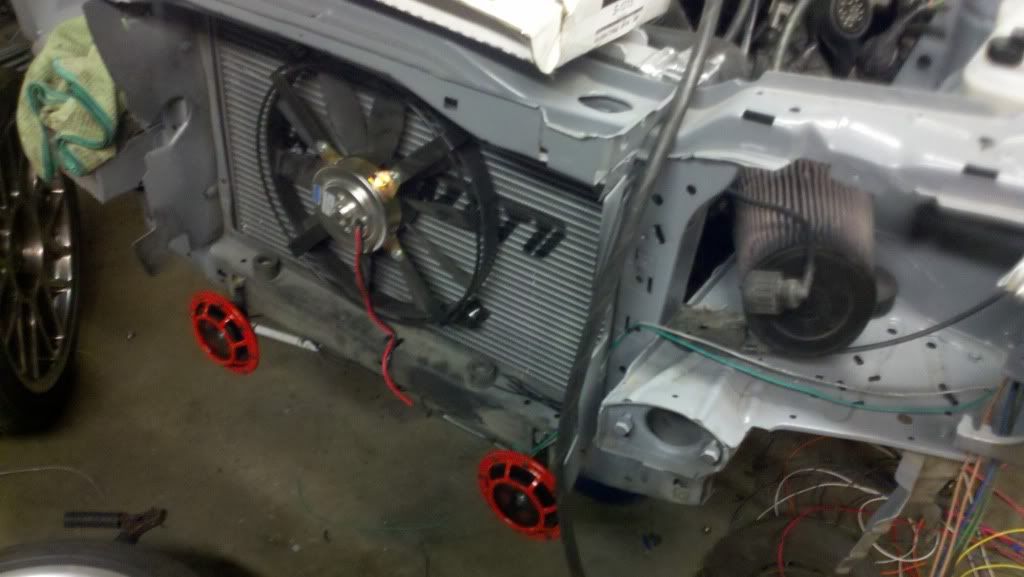
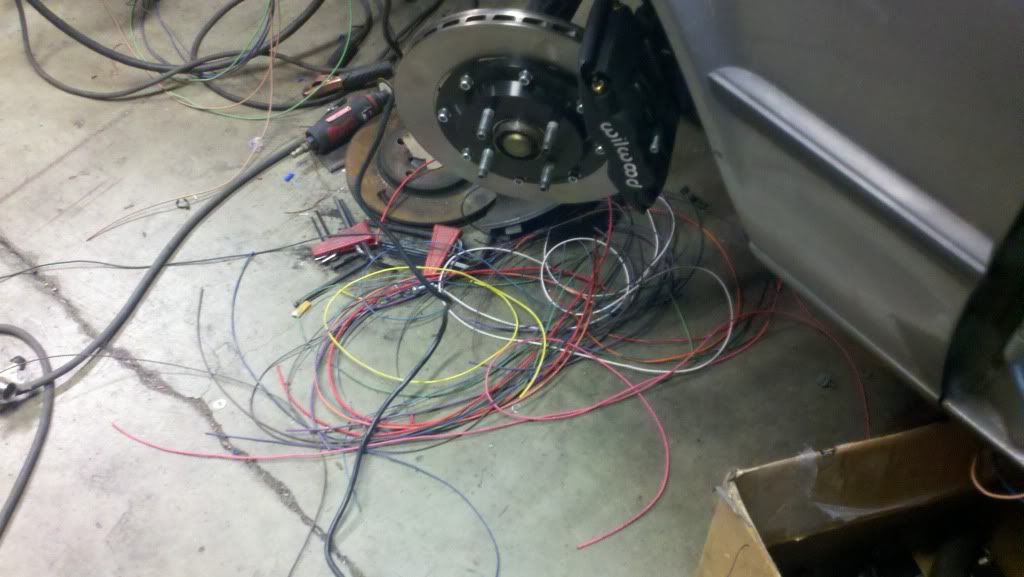
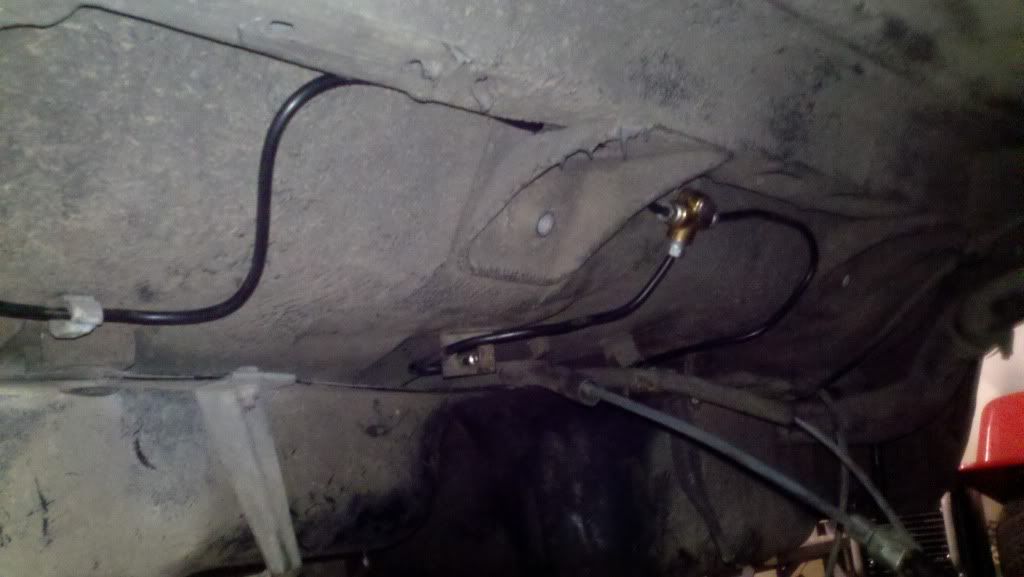
    Okay, today I was working on the wiring mostly. I did receive my new hard lines and the rest of my bbk today. I used the e36 tie rods on my m3 rack, but looks like I need to use regular e30 ones to clear the rotors. Gotta get sone E30 inner/outer tie rods and e36 locking plates.


    :|


    Just another few parts. Dang

    Comment


      Some more wiring today, and made the executive decision that I will sacrifice my horns by mounting them in the easiest place..where the oil cooler brackets screwed in. It will be loud up front but susceptible to rocks and things behind the valence vents.


      Lots of wire on the floor from scraps, what I've cut off so far.


      Delrin diff bushing from turner


      About to get the arms installed..and..


      Doh! Grinding time. I have since got it clearanced just enough to take out and reinstall (harder). It took some creative prying wiggling and tapping to get back in, but its installed. Now for the other side.

      Comment


        Its not the prettiest ever but "just enough" with fast removal of material with a cut off wheel. It will never be seen anyway and it did not compromise the perimeter of the top cap. Whatever, it works. I still need to do the other side, but here's the pic of what I said I did...

        Comment


          Other side just cleared actually, both arms are on. Now onto the wiring update of the day, I didn't hook anything up but will wire for the power windows tomorrow. Looking at the wiring diagrams, it just switches the polarity on the motor to drive it up and down through the switch ( +/-, -/+). I am using DPDT switches, and the painless harness supplies just a positive wire for an accessory I will use for the windows. So, to make that work the window switches will look like this:

          (1) (2)
          (3) (4)
          (5) (6)

          1 Positive from painless harness fuse box
          2 Ground
          3 Window motor wire 1
          4 Window motor wire 2
          5 Connected to (2)
          6 Connected to (1)

          That way it will change the polarity seen by the motors when the switches go up or down.

          Comment


            Some notes, um .. Couldn't find the new meyle tie rods I had. Looked at the rubber boot on the ones ive got that are just a hair too fat, and right there, "meyle" !! Doh, those ARE e30 pieces! Grabbed my old original rack from my vert with lemfoerder(sp?) ends and they appear to be a little less on diameter of the cast and rubber boot. Just a hair. I hope so, because that's what I have coming to replace them.

            Door wiring connectors got the chop job, only two wires left going into the door. Only two remain inside too. Not bothering myself with incorporating central locking or power mirrors. Just the windows.

            Comment


              Door windows are wired up through their switches as above. I also wired up the wiper switch/relay and have 4 wires that are headed for the wiper motor, but couldn't find the plug to terminate them without hard wiring it.

              Also removed the bigass long hard line that runs the length of the car. This one will not be particularly easy to redo. New T fitting and two small rear hard lines are installed though, waiting. New hardline on the passenger trailing arm, the nuts were rounded off. 4 stainless braided rear lines on the subframe. Basically just waiting on the body length hardline to go in to clear the subframe for installation.

              Comment


                The main body hard line was installed late late last night, what a huge bitch of a job that is getting it routed just right from under the car. The front side to the stock rear bias valve was the worst. I made the z bend in it first that goes around the frame rail, then threaded the needle with it into place from under the car. Its not easy at all to get it routed on the correct side of the fuel hard lines when it bends under the car, though.

                Rear subframe technically is ready to install and connect the rear lines. I need to drop the gas tank to clean up the misc wiring trapped over it, plus work out the fuel pumps' and fuel sender wiring. Im using one of the analog inputs on the dash 2 for my fuel capacity. Will probably program it from 0-100% level. The front center bolt has been beaten to death/rubbed by the driveshaft at some point, so I gotta replace that, aaand the driver side rear bolt appears to be sheared off, flush, where it threads into the body tab. Just for that I ought to drop the tank to fix up a, urhm, fix for it.

                Looking into the wiring for the switches and hazard flashers, its a puzzle for sure. The painless harness gives me a turn signal positive wire, and a hazard positive wire. The turns are easy enough to figure out with my DPDT temporary switch, positive to the two common middle switches and both right or left lights (F+R) to their respective "on" sides. One + wire in, and jumped, then 4 outputs.

                The hazard switch is a little more complicated. Figuring I will make use of the stock hazard switch for simplicity of finding a switch that will keep all four turn outputs isolated until one switch contacts all four together with the positive emergency flasher wire.
                Looking into the etm on the hazard switch internals, it APPEARS that I can use pin 3 (usually hot all times, hazard positive) connected to the hazard + wire. For the 4 outputs to the signals, they will go on pins 2 4 6 and 8; the switched outputs on the other side of +In of the light inside. Pin 5 doesnt go through the light, but connects to pin3 when on. Idk if ill have to, but may jump past the internal lamp after I try it. If so, I could put a 12v lamp on pin 5 that will light up when the switch is on.

                Comment


                  Ok, got the dpdt temporary on blinker switch wired up, complete with flying leads that i will be connecting to the hazard switch as soon as I get it here. Same for the wiper motor, I jyst need the plug. I will most likely will mount the hazard switch below the ignition switch panel.

                  I might add a short stick on the end of the switch to make it easier to get at, but still out of the way.


                  The wiper controller relay from the fuse box relocated to the steering column so they would work.


                  Hand bent...

                  Comment


                    Good thing I put the dash in place when I did because the leash to various switches on the dash were limiting its movement...i barely got it back on the inside of the A pillar bars. The remaining wiring will be done with the dash in place. Just when I thought I was almost done with difficult wiring routing! Particularly obnoxious is the pull-up resistors I need to now wire in for the fuel sender and other analog (voltage) inputs to the dash2. The other main one its water temp. sender and oil pressure switch or sender for an actual reading.

                    Comment


                      Getting a lot closer with the wiring, just some loose ends left mostly for the headlights and tail lights that have not been routed or cut yet. After some thought I decided on using one of the original over door lights in the center top, and cut a hole to mount it in the dimple strip...

                      The white and black are power and door ground, I will add a ground to the light with a small screw next to the light in the strip.

                      Comment


                        Went to pick n pull today for some parts, including a new battery cable and got that installed. I also got the lemfoerder rods on and daaayyuum they are close, but clear by maybe the thickness of a credit card. The rubber boot is closer, but still has air gap. I wonder how long these will last with the heat :) Oi.. I also brought the front valence down that I am glad never made it on my vert..


                        Comment


                          Now that is serious clearance
                          world renown Harry Potter expert
                          sigpic

                          Comment


                            as soon as i'm done with my HG i need to come check this thing out!!! seriously awesome work going into this thing man, love the flocked dash. hope to see it tear infineon a new one ;)

                            Comment


                              Holy hella 4 wheel drive stance!! But seriously dude, this thing is fuckin sick. Ima come steal it from you. That valence is fuckin clean!!
                              1989 325i|1992 325i|And completely obsessed|:woowoo:
                              sigpic BMW. The Ultimate Driving Machine.
                              The Build...

                              Comment


                                Haha, the tires are 5 inches off the ground


                                Looking at the tail section wiring, oh boy. Fuck. Rather guranteed to get pulled over for faulty tails even though it is how they are wired. Ive got reverse lights I wired for myself through the rev light switch, and the tail section has running lights for when the lights are on, and two more labeled left turb/brake and right turn/brake. my brake and turn lights are wired to be the same bulb. I do have a 3rd brake light wire though at least. My current thought is to wire it so the turn and brake sections light up on each side for brakes, and will flash both bulbs on the blinking side, or all 4 for flashers.

                                Comment

                                Working...
                                X