
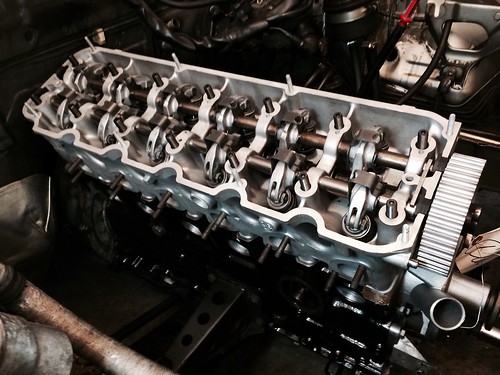
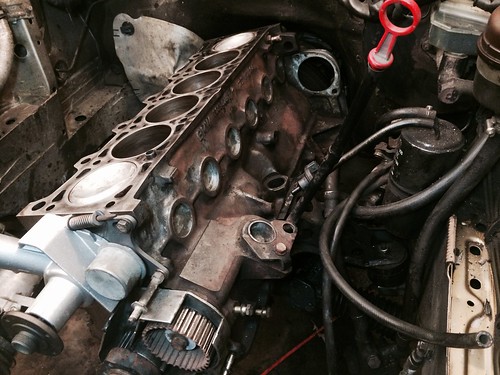
Got the head on....
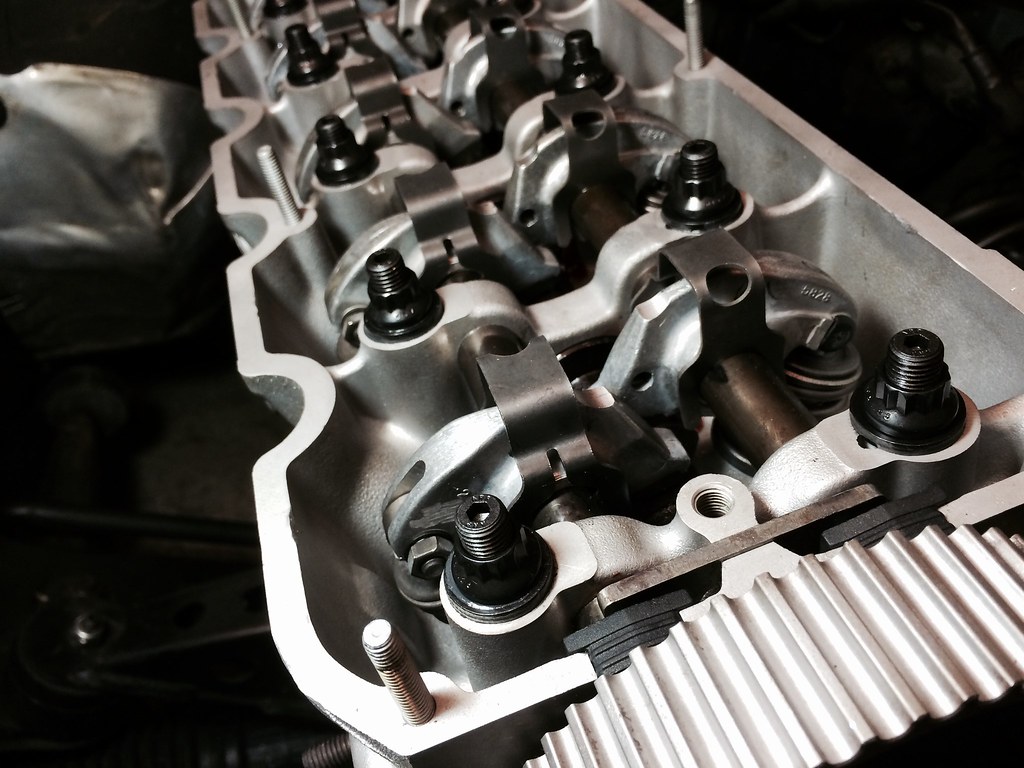
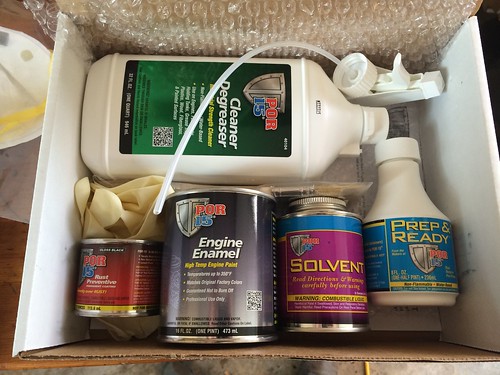
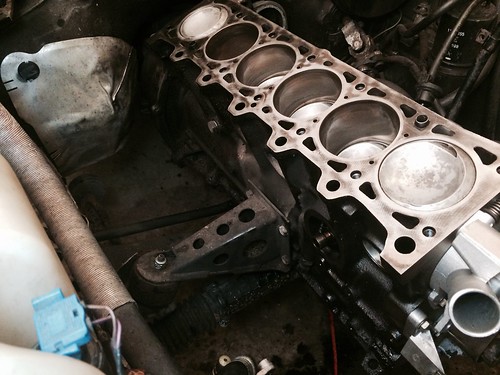
Head stoned, ARP head studs, and Goetze HG:
..
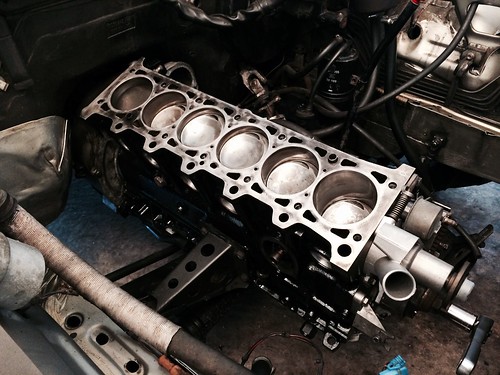

..
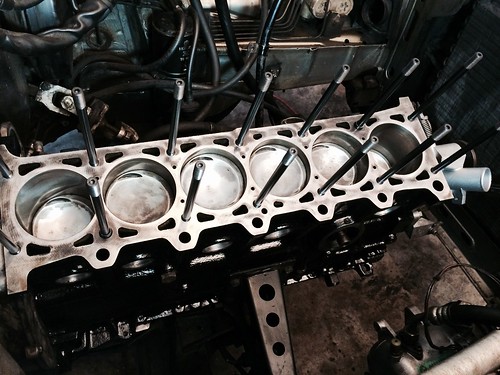

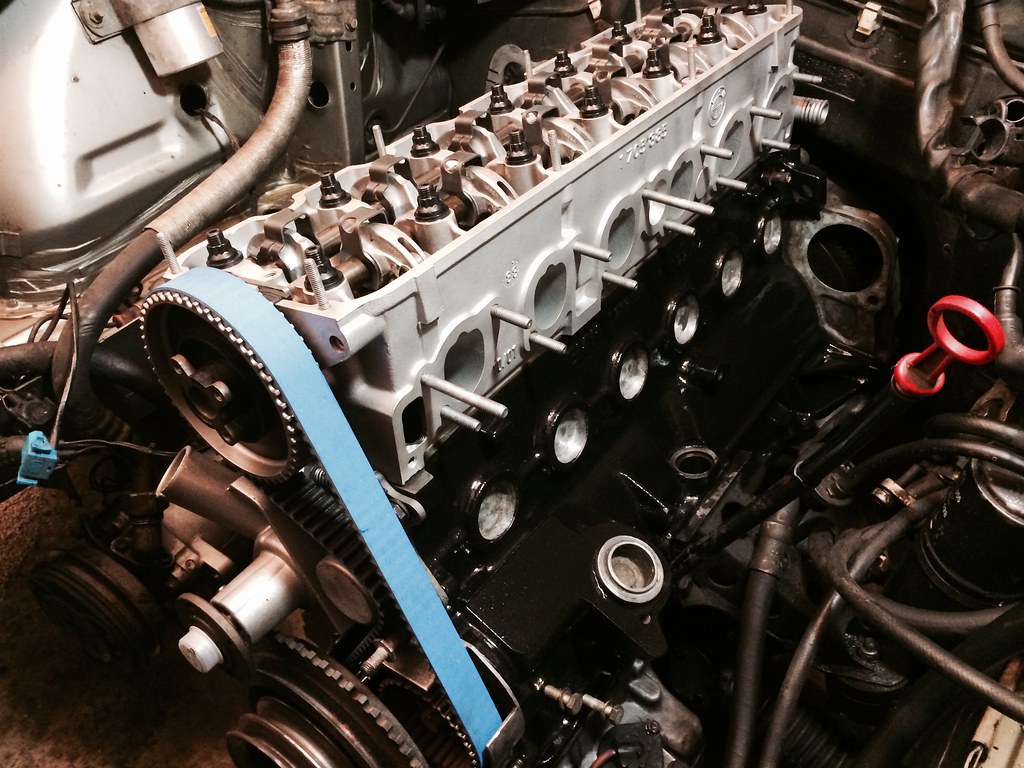
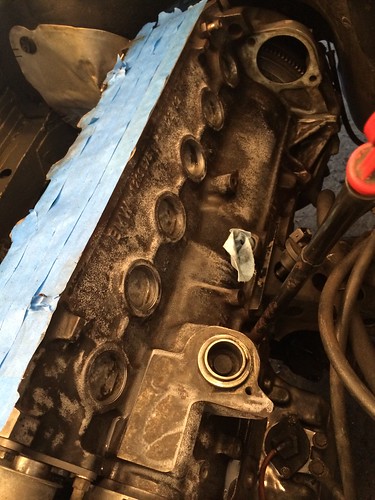
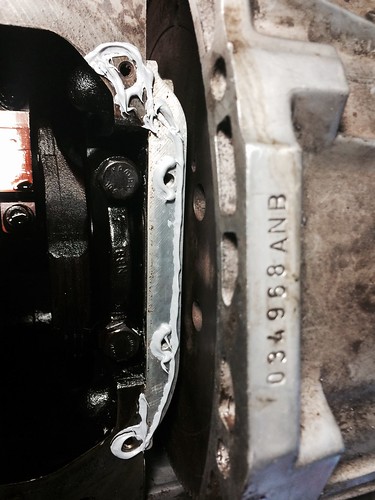
Head mounted.
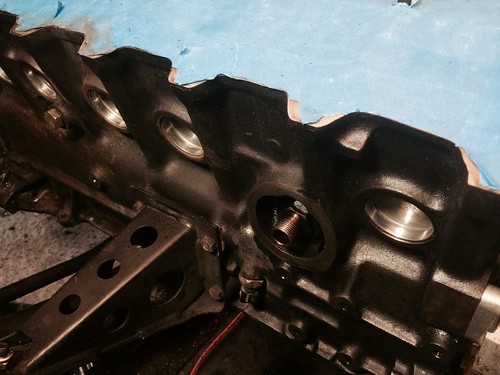
FYI, the firewall makes it impossible to mount the head with the studs installed. Had to remove the studs and put the head on using the block dowls for line up.
Then re-installed the studs:
..
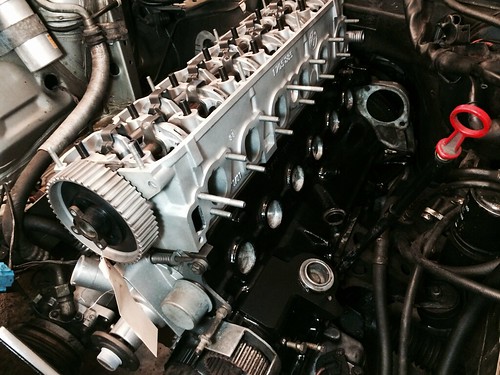
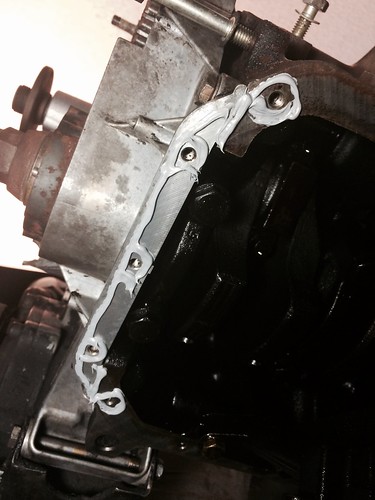
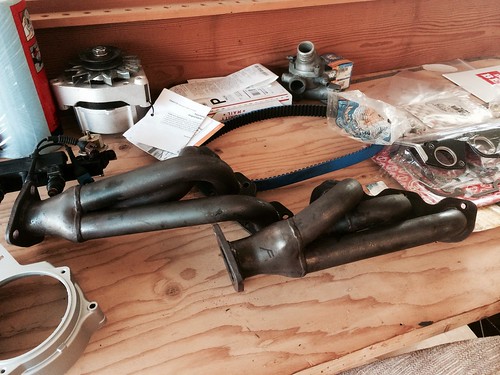
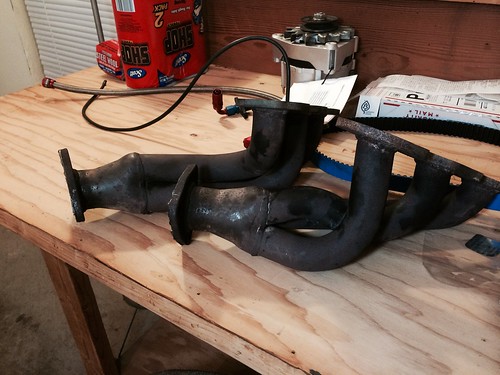
Installed one of the new Gates Racing Belts... The blue adds at least 5 more HP:
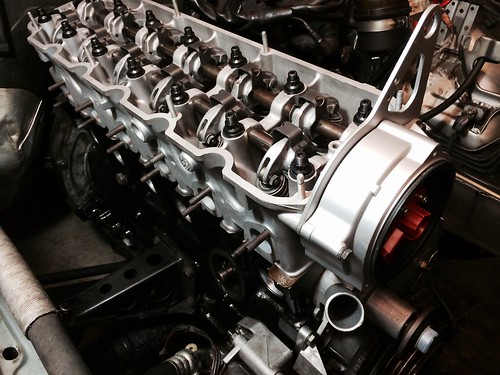
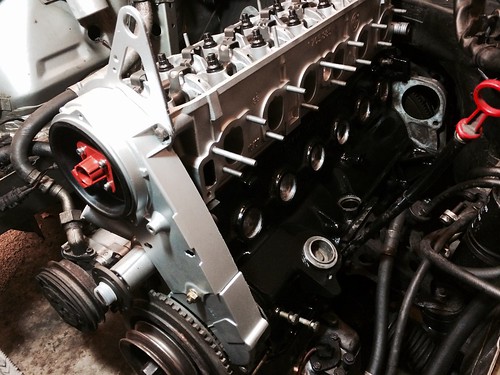
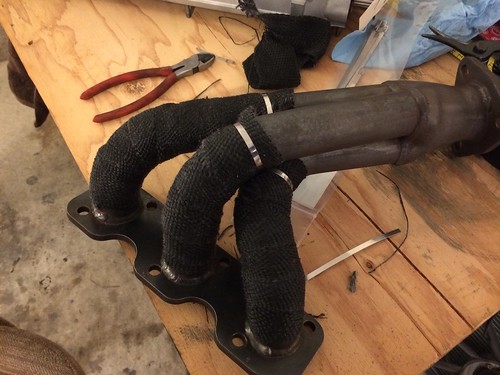
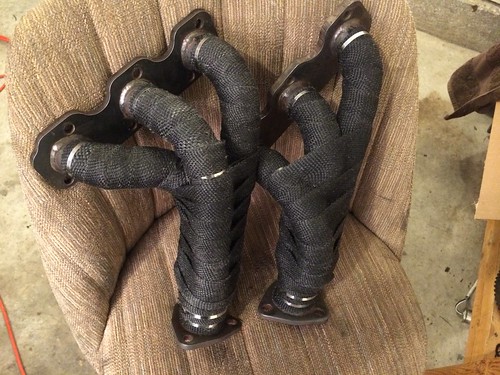
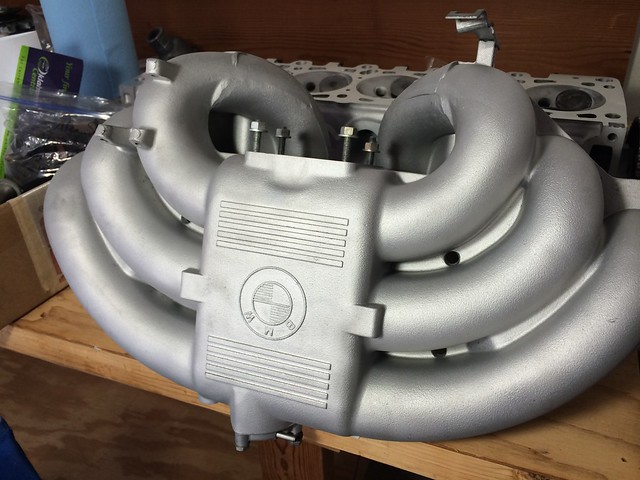
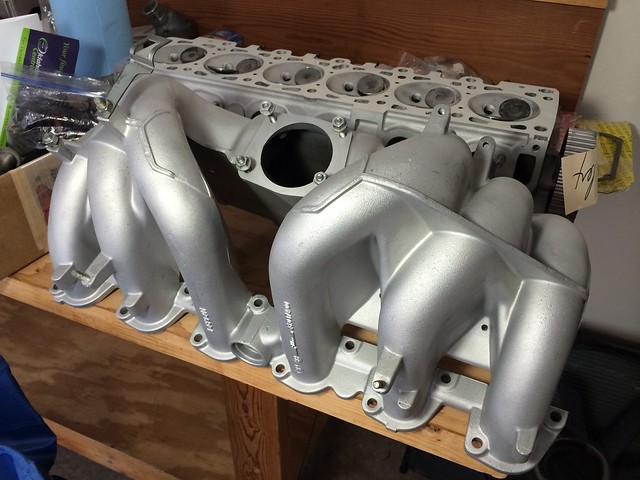
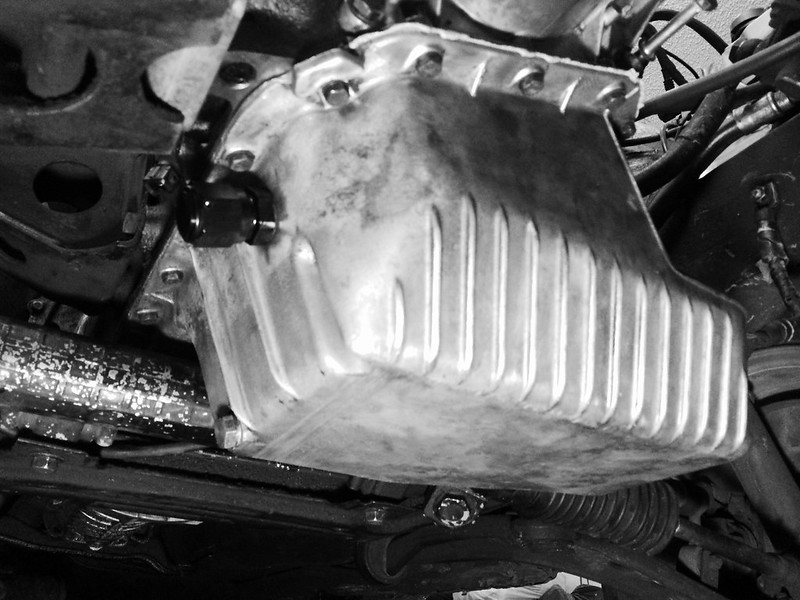
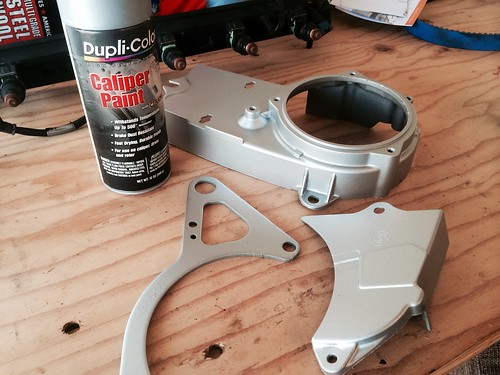
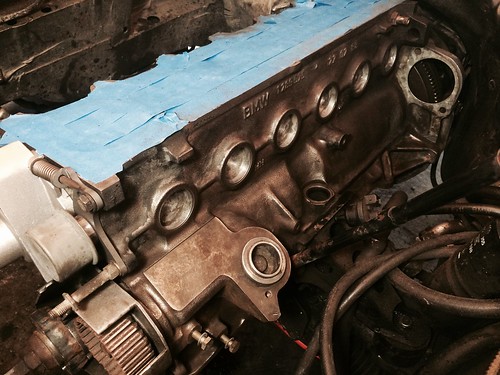
Mounted the painted covers:
..


Leave a comment: