
Quick update.
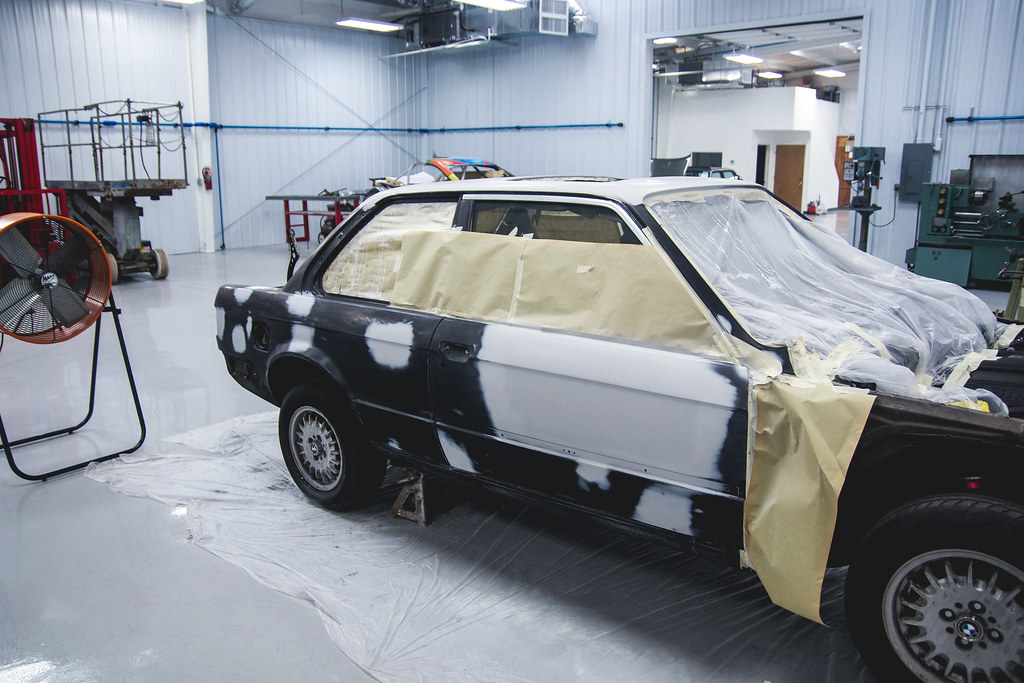
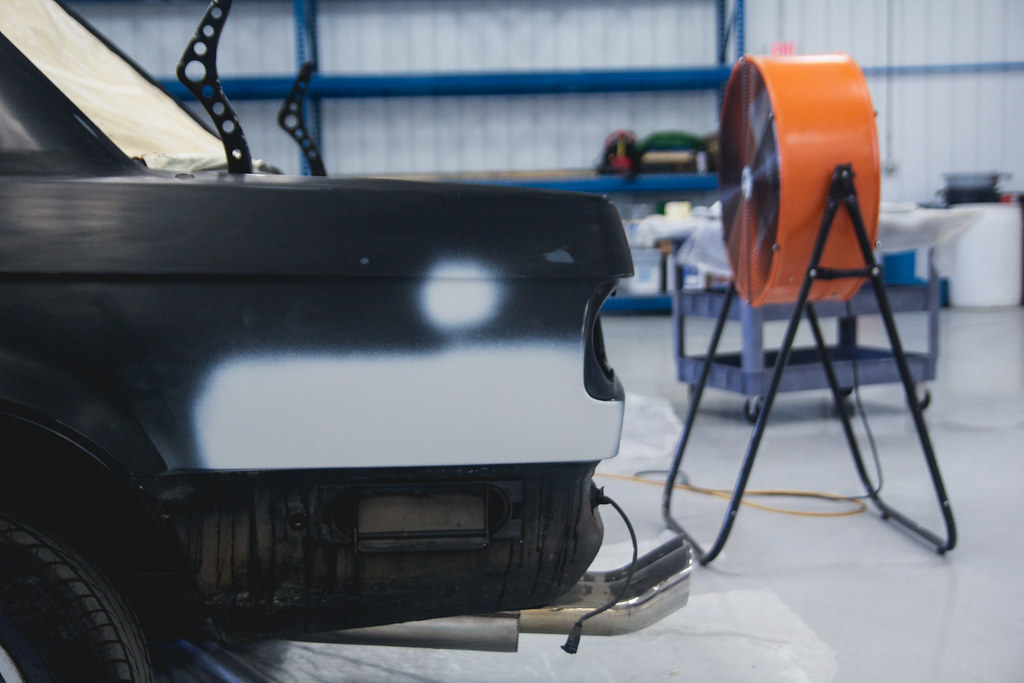
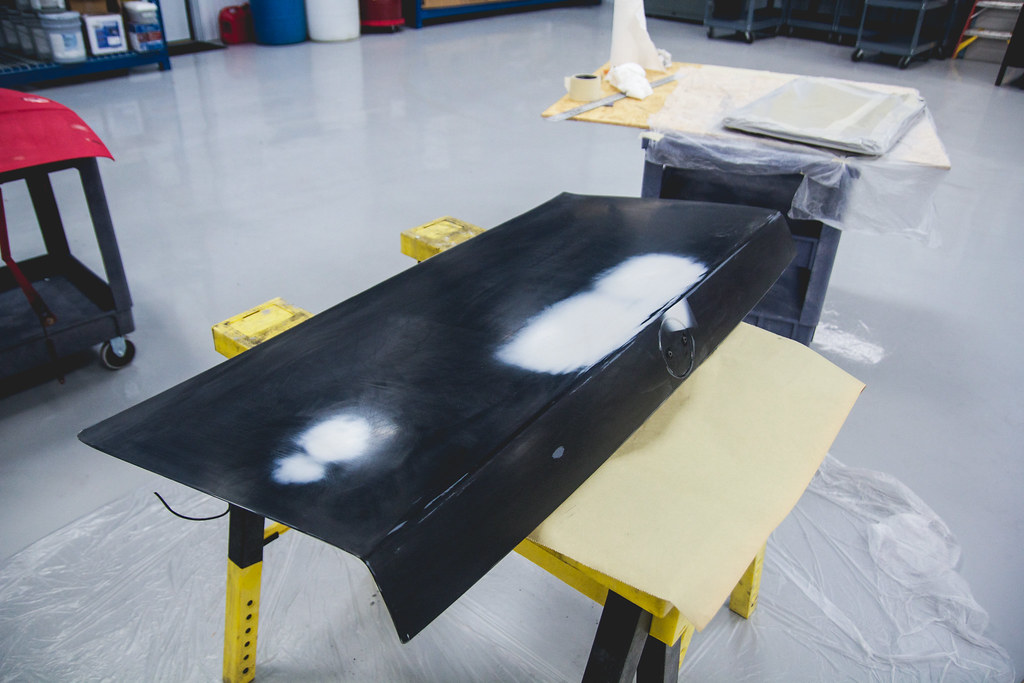
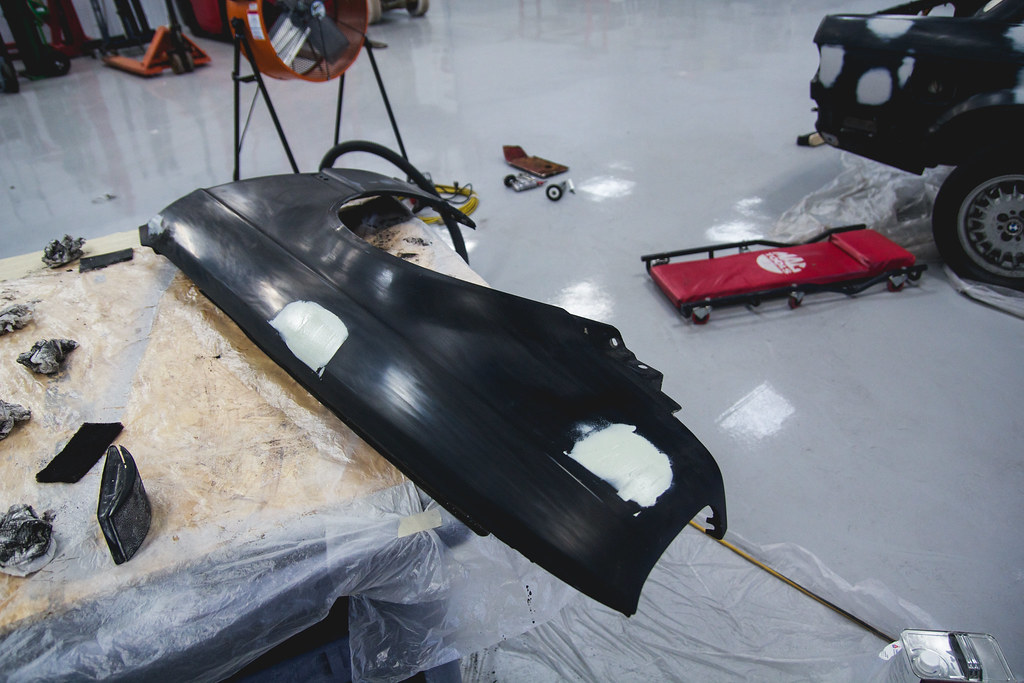
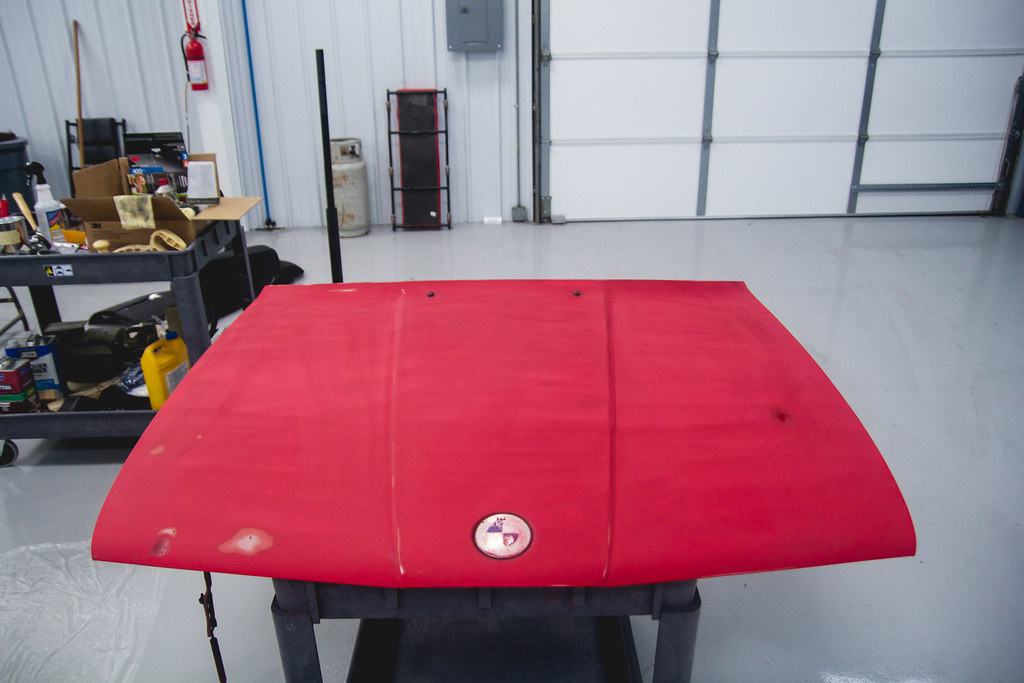
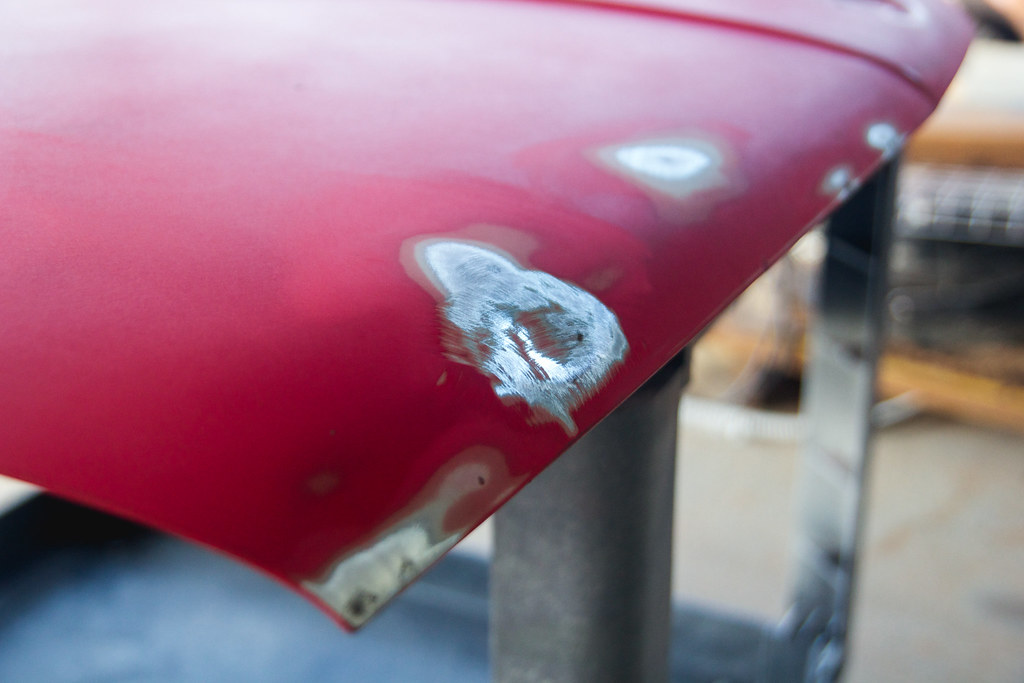
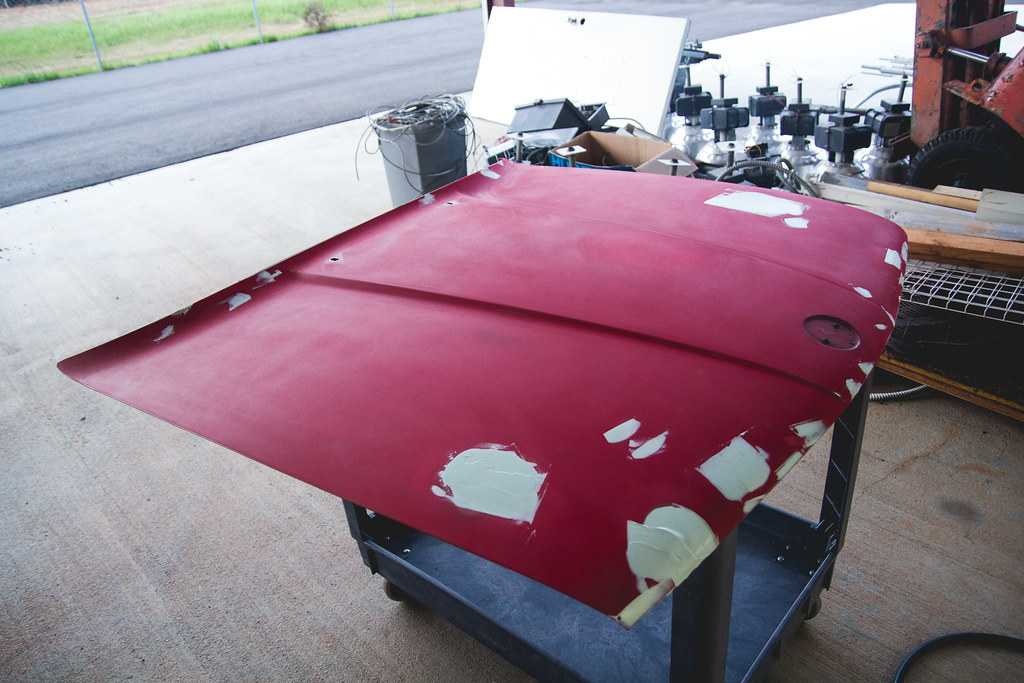
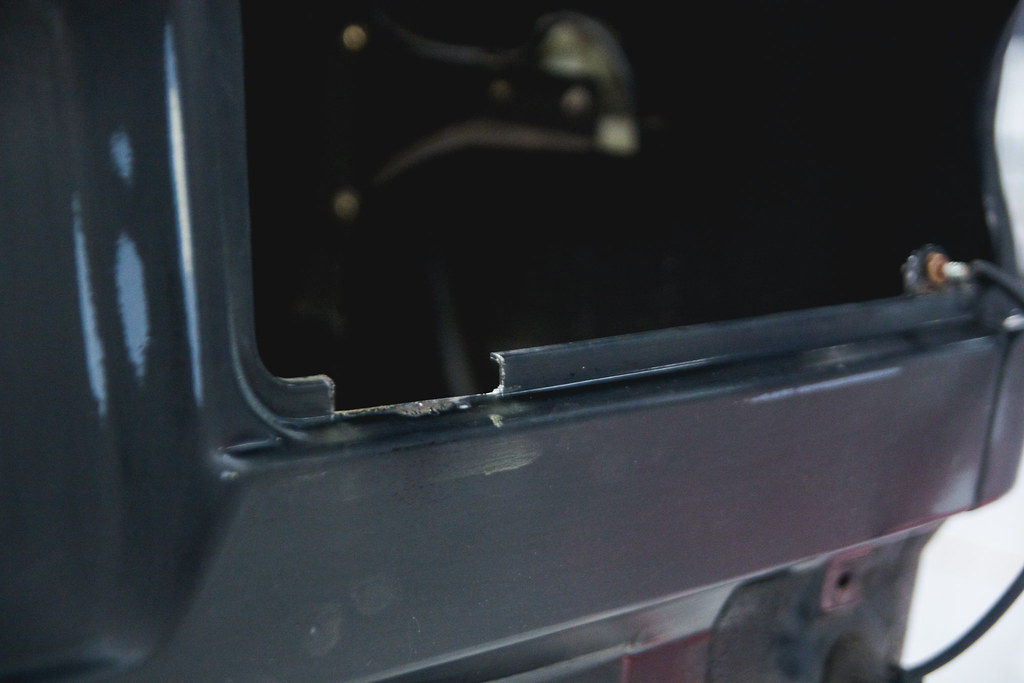
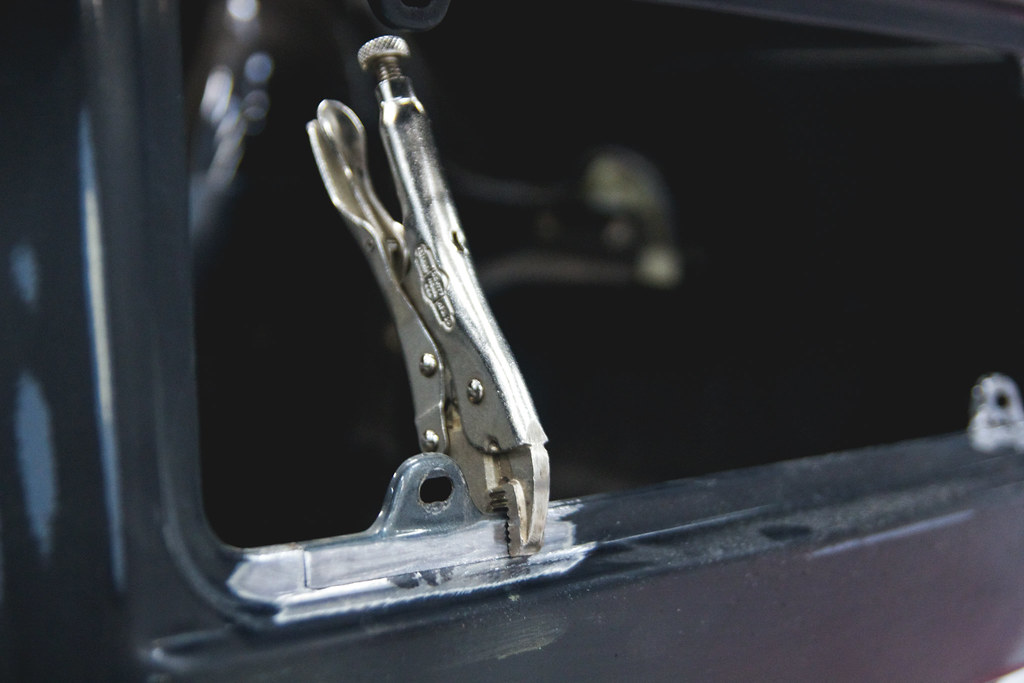
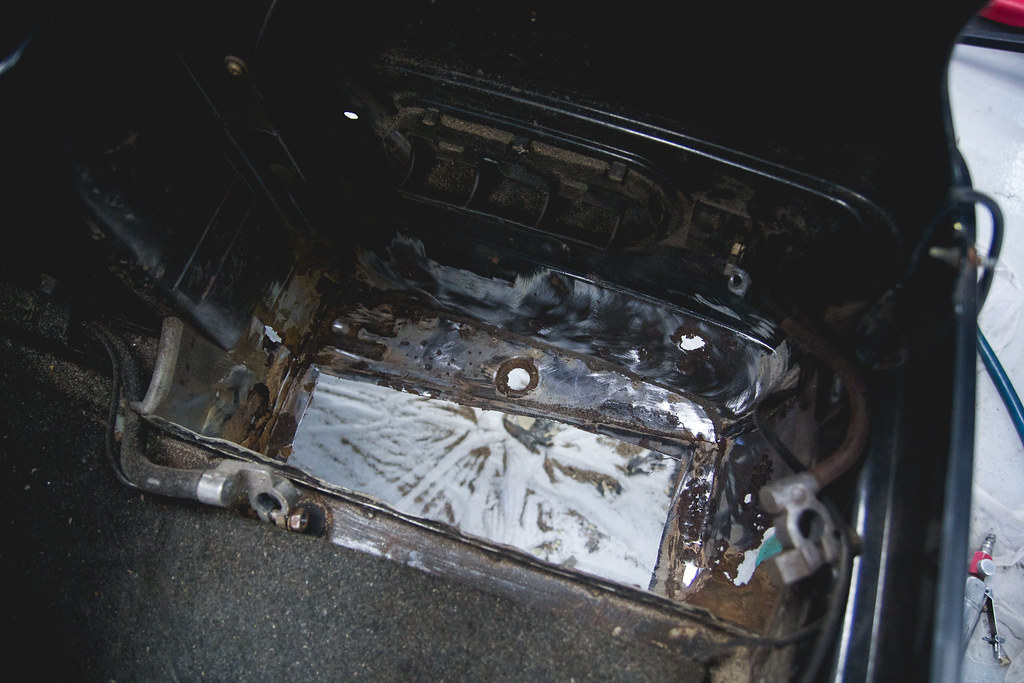
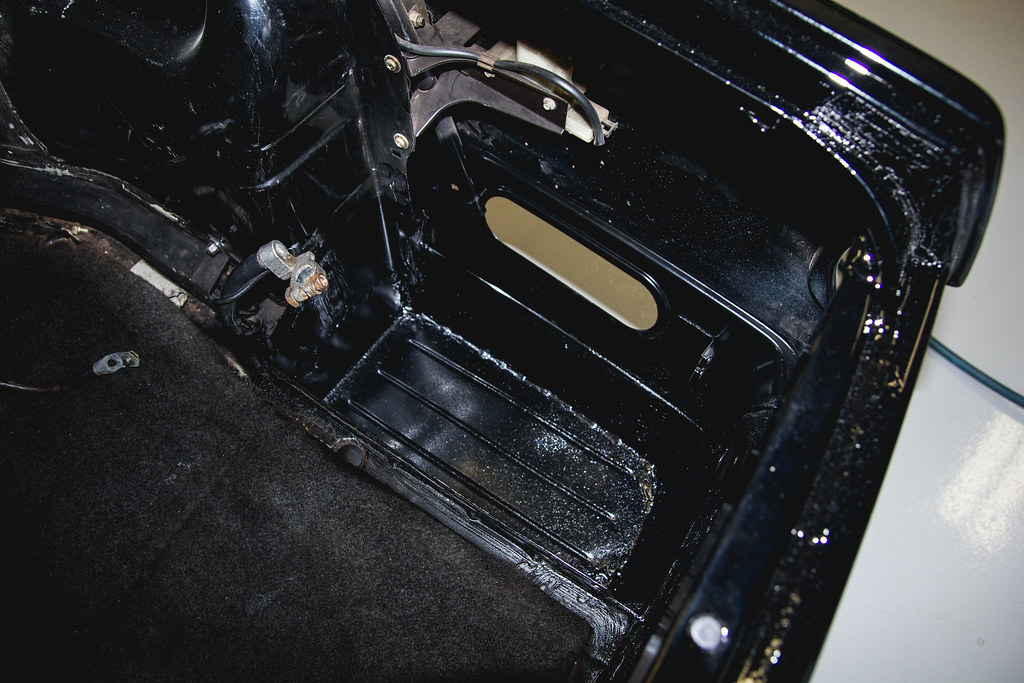
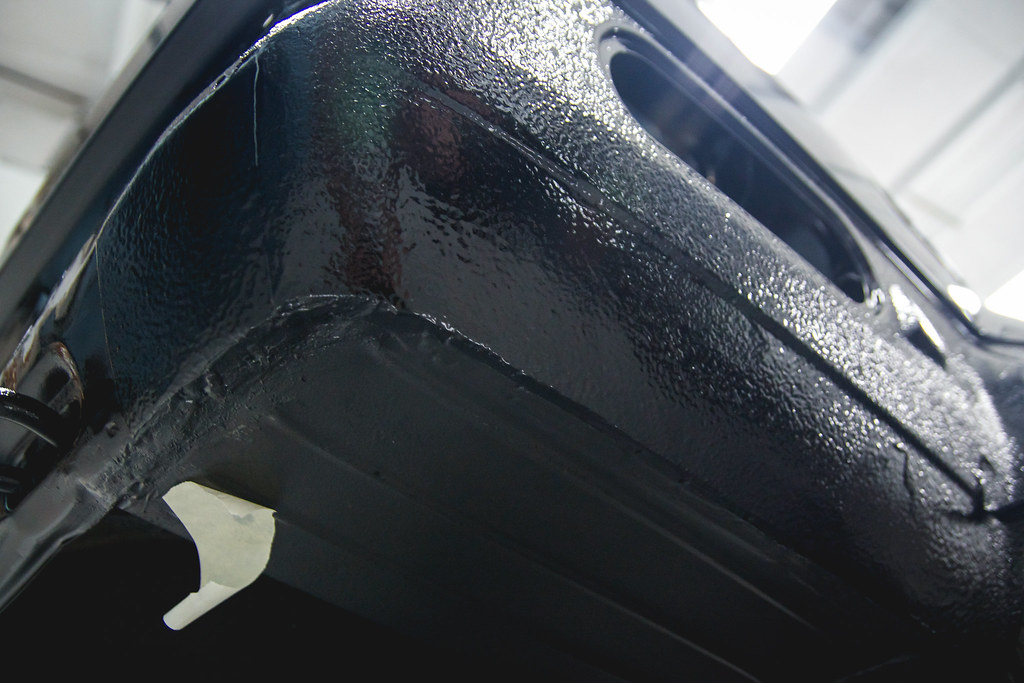
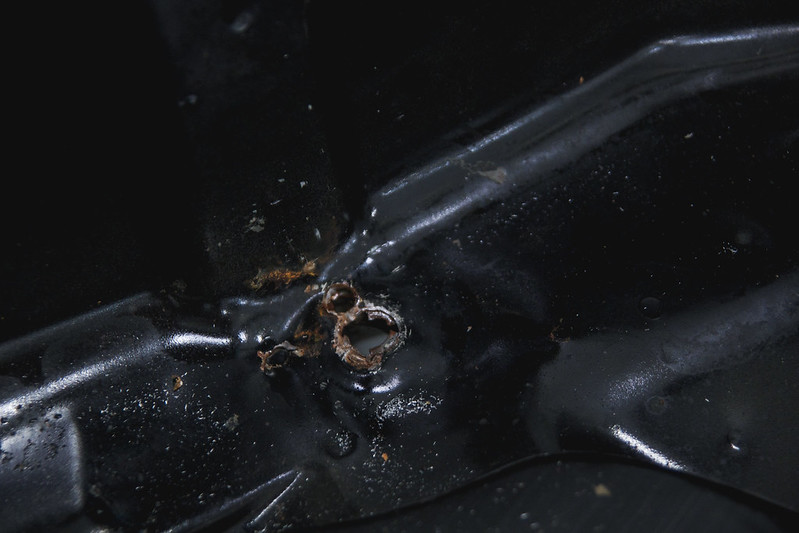
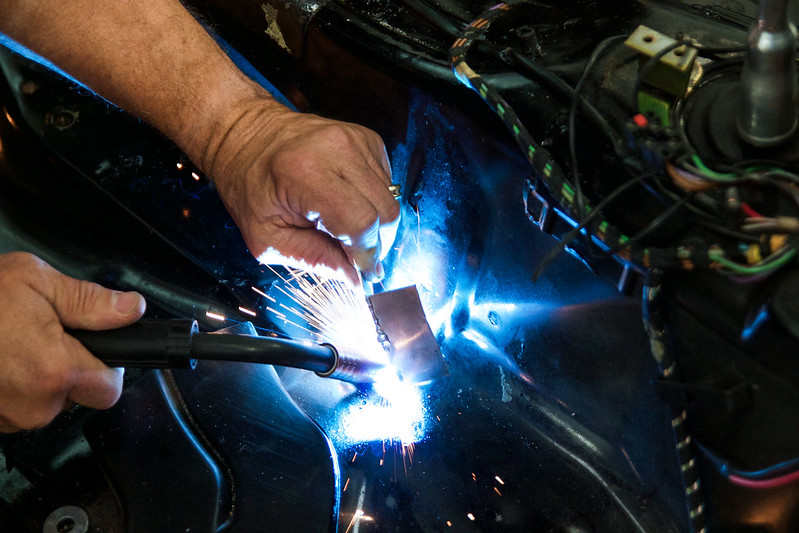
So I'm 95% finished with sanding, just have to go fill in a couple little dents and I'll be finished. Besides that, all I have left to do before paint is the rust work. I don't have any pics of the sanding because there really isn't much to see. I'll get a final pic right before paint.
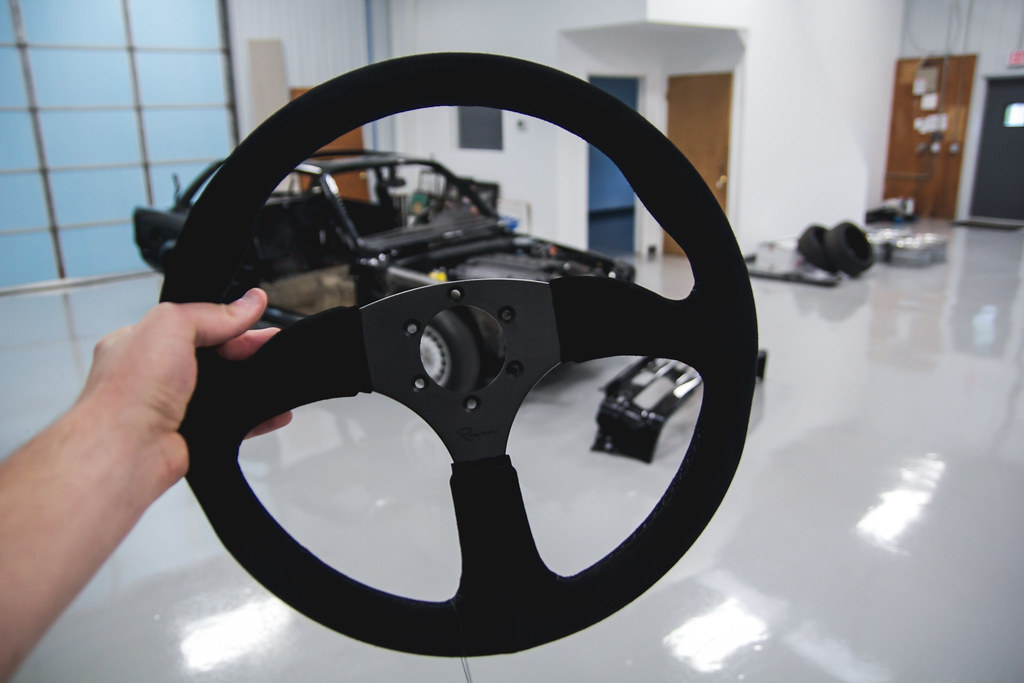
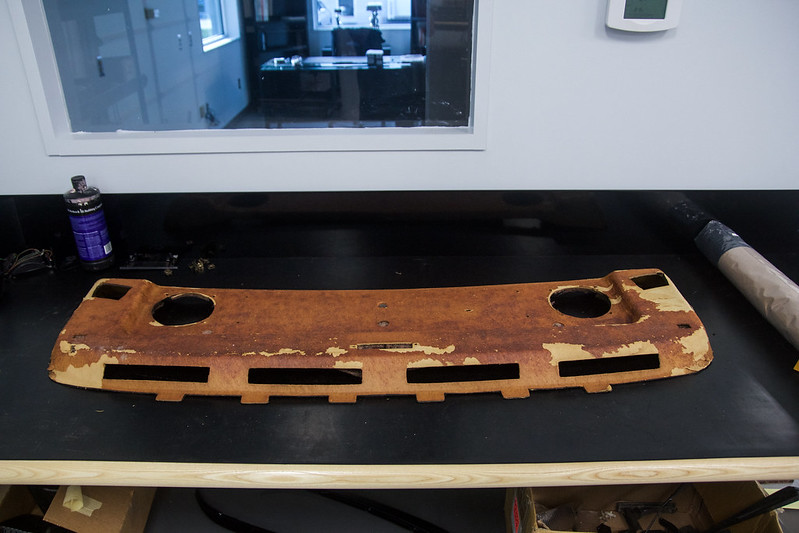
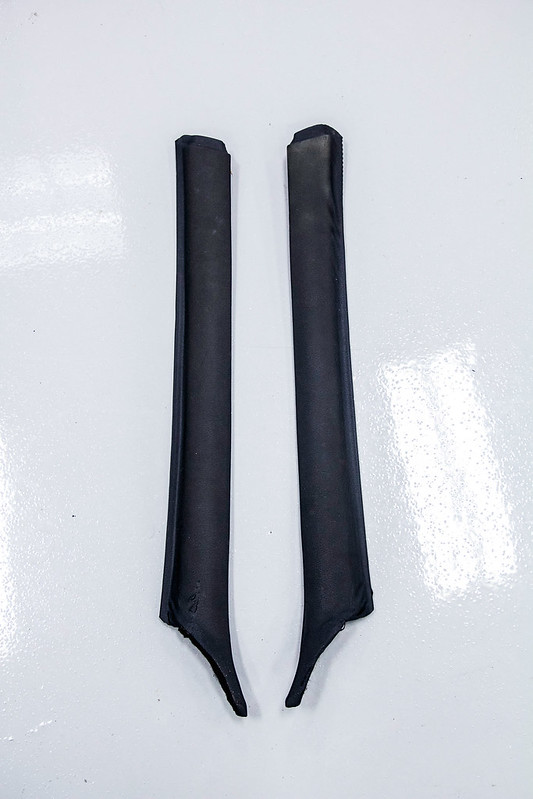
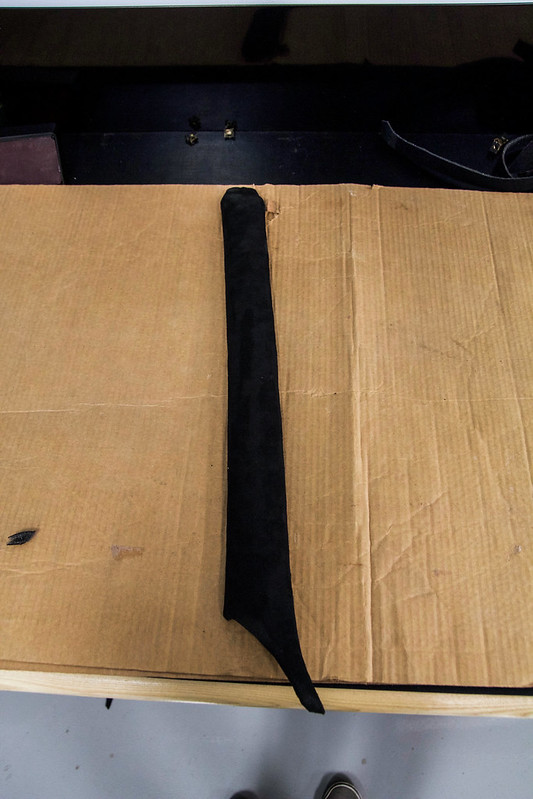
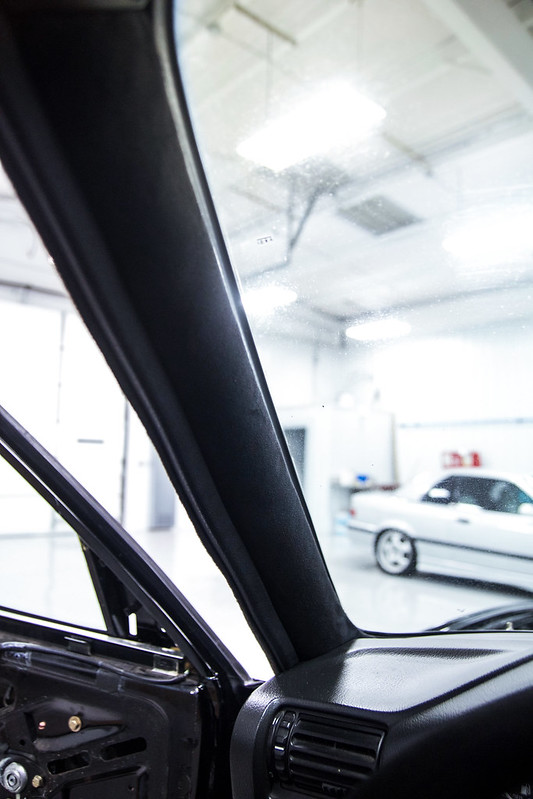
In more exciting news, I picked up these seats for the e30. I'm going to redo the entire interior from tan to black leather with some suede accents.
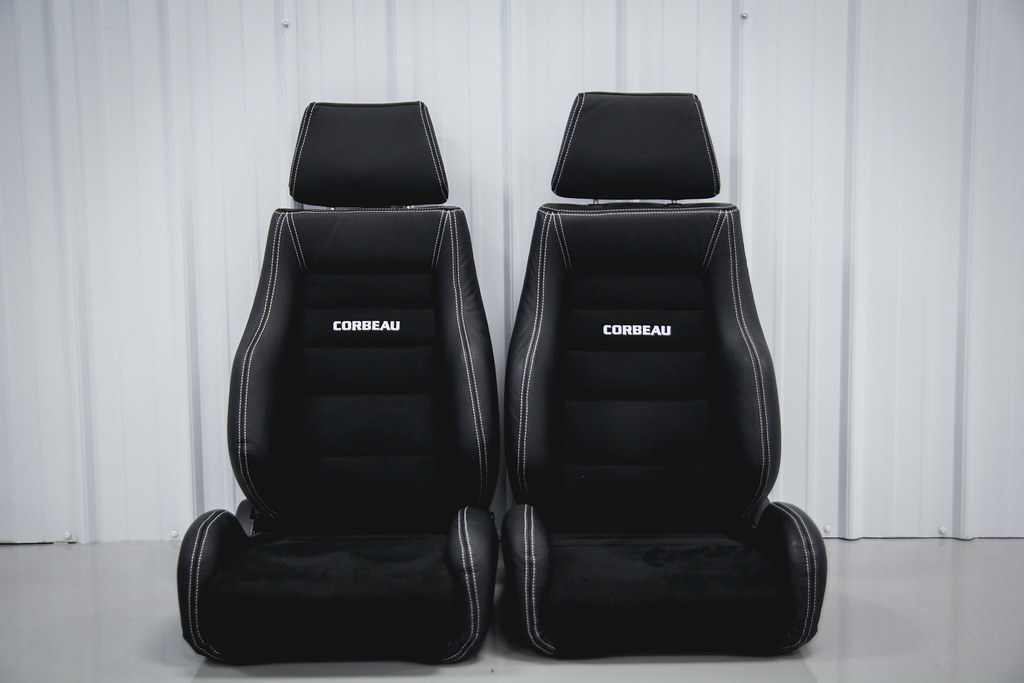 Corbeau seats (1 of 1) by dillonmakar, on Flickr
So I'm 95% finished with sanding, just have to go fill in a couple little dents and I'll be finished. Besides that, all I have left to do before paint is the rust work. I don't have any pics of the sanding because there really isn't much to see. I'll get a final pic right before paint.
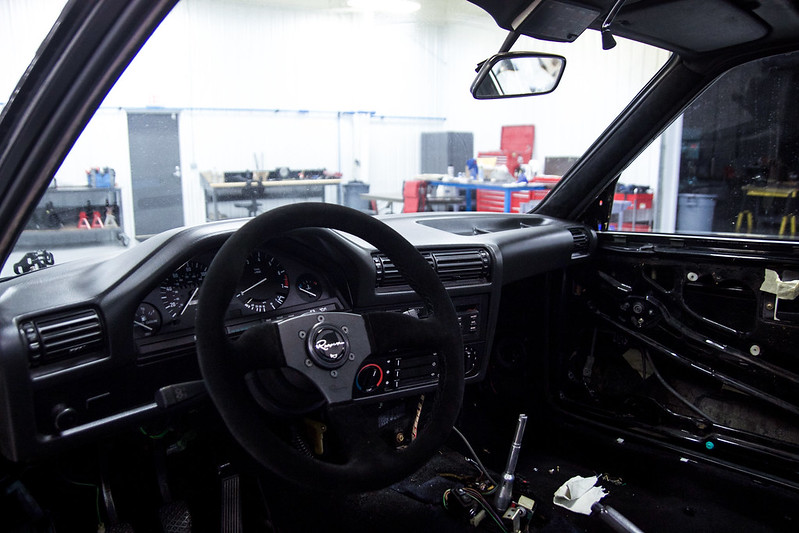
In more exciting news, I picked up these seats for the e30. I'm going to redo the entire interior from tan to black leather with some suede accents.
Corbeau seats (1 of 1) by dillonmakar, on Flickr


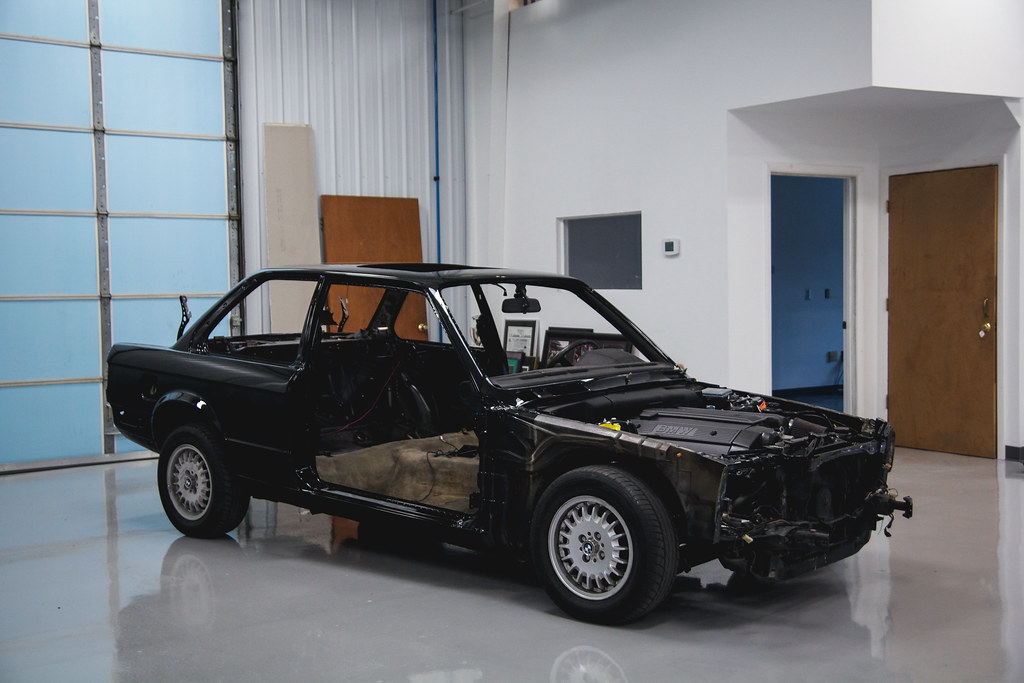


 :coolphoto: (loving your "Black Limo" :up: )


Comment