Panici's '87 325is E30 - Boosted In Bronze

Collapse
X
 
  • Time
  • Show
Clear All
new posts

  • Panici
    replied
    Originally posted by cypriotgeeza
    Very Nice thread man! :up:

    I'm so glad to see you found a decent shell and have carried over your enthusiasm and hard work into this one!

    I Look forward to some more updates!! 8)
    Thanks :)
    Ask and you shall receive!

    --------------------------------
    Front LCA replacement + drop hats: Day 1

    I worked hard on the car today.

    Mostly finished the driver side LCA swap. Part way through the passenger side.

    I'm also swapping to e90 drophats and thinner (3mm - 318i) upper spring pads as I go. (stock is 9mm)

    I still need to mount the lollypops when the car is ready to go back on the ground. The instructions say to make sure the car is sitting at ride height quickly (within 30 minutes) so the bushings can set when the dish soap lube dries.

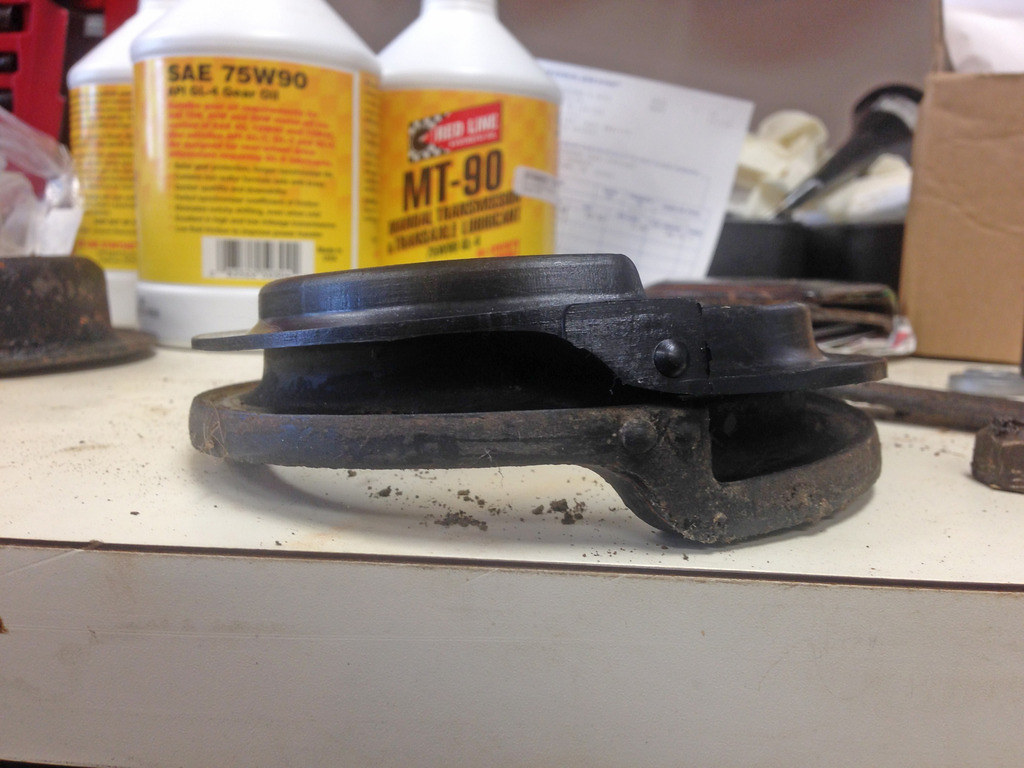
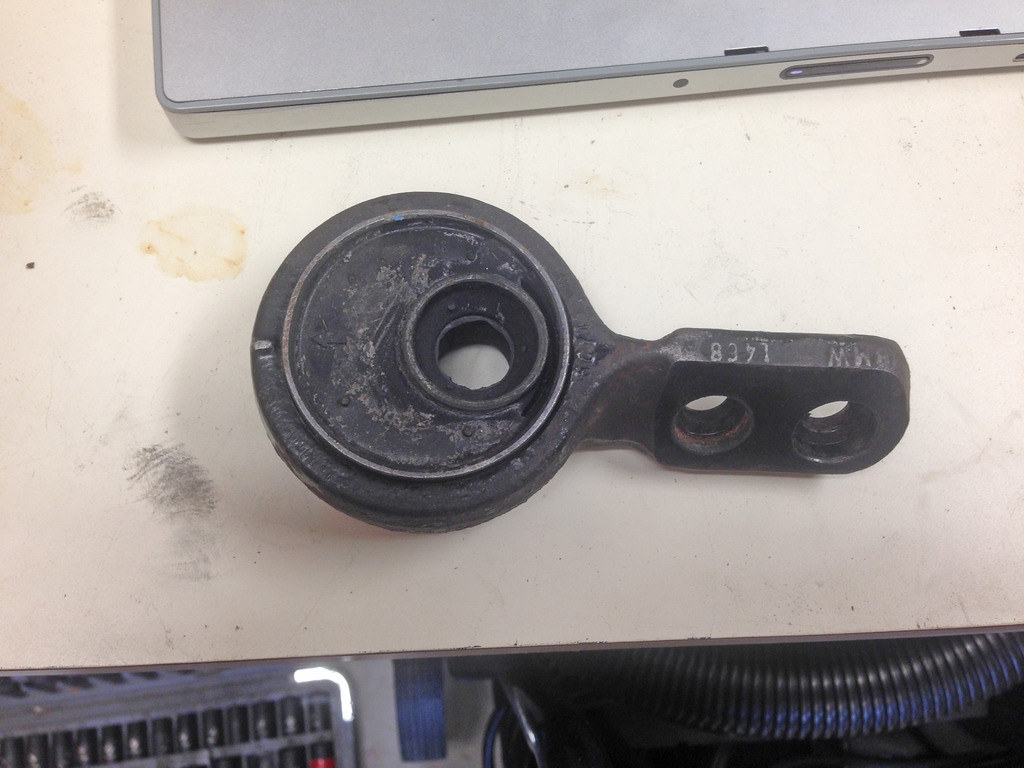
    What a PITA getting the old bushings out of the lollypop, and pressing in the offset M3 bushing. I got it done with a combination of two sledge hammers, a vice (annoyingly not permanently mounted to anything), a dremel, a sawzall, a piece of PCV pipe, a propane torch, and various pieces of wood and cast iron. I wish I had a press, it would have been a simple job.
    I still have the other side to do tomorrow.


    On the driver's side I was just following a DIY guide I had printed last year to swap springs/shocks, before changing the LCA. It's quite a pain to work with spring compressors and such under the car. Took more time then necessary.

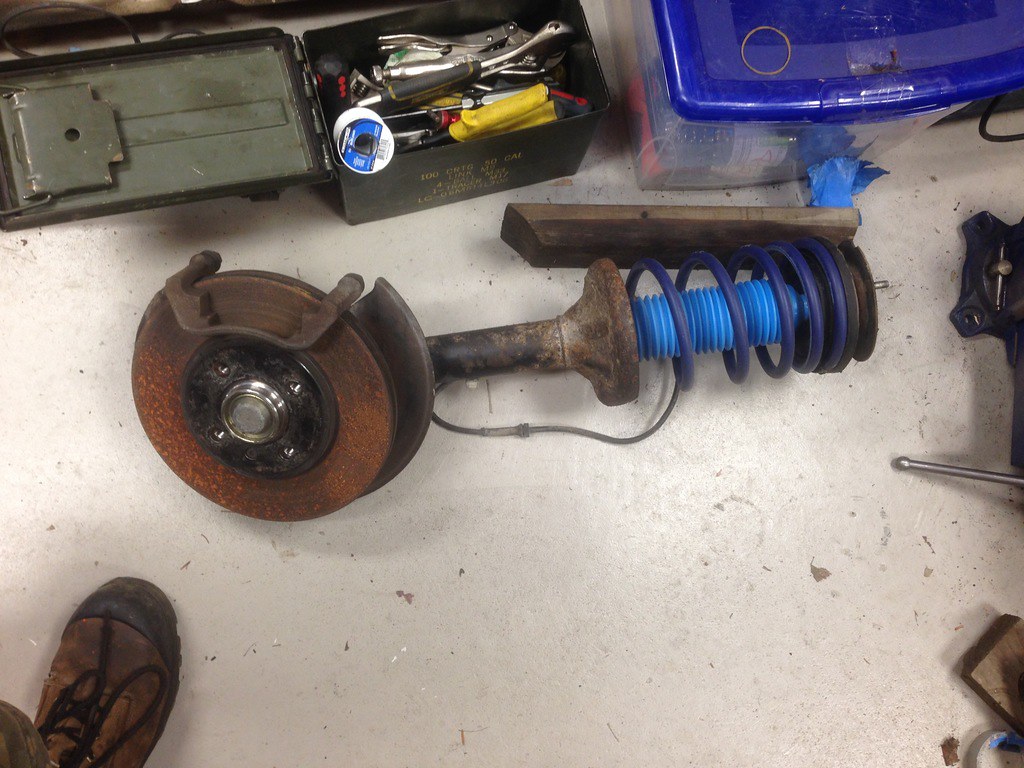
    On the passenger side, I tried something different and started by separating the strut assembly from the LCA. I was then able to completely remove the strut assembly as one piece, without compressing the spring or anything! I'll clean it up and swap the e90 hat and thin spring pad tomorrow in the garage, rather then in the driveway.

    After the strut was out, I loosened the engine mount enough to get a socket on the old LCA to subframe bolt, and took it off with the aid of 5 or so 1/2" extensions, a pickle fork and a small sledgehammer.
    Note that the pickle fork destroyed the boot on the subframe-to-LCA balljoint. Not a big deal for me as I'm replacing both LCAs. But if for some reason you're planning on reusing the same LCAs, you'll need to find a less destructive method to seperate the LCA from the subframe.

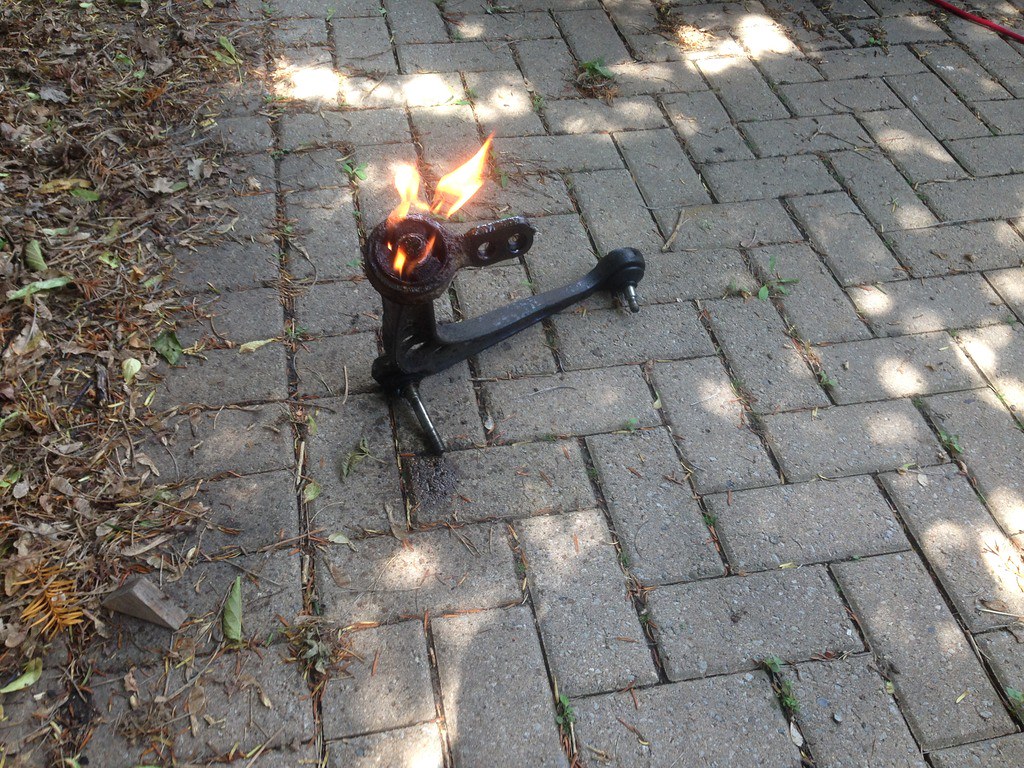
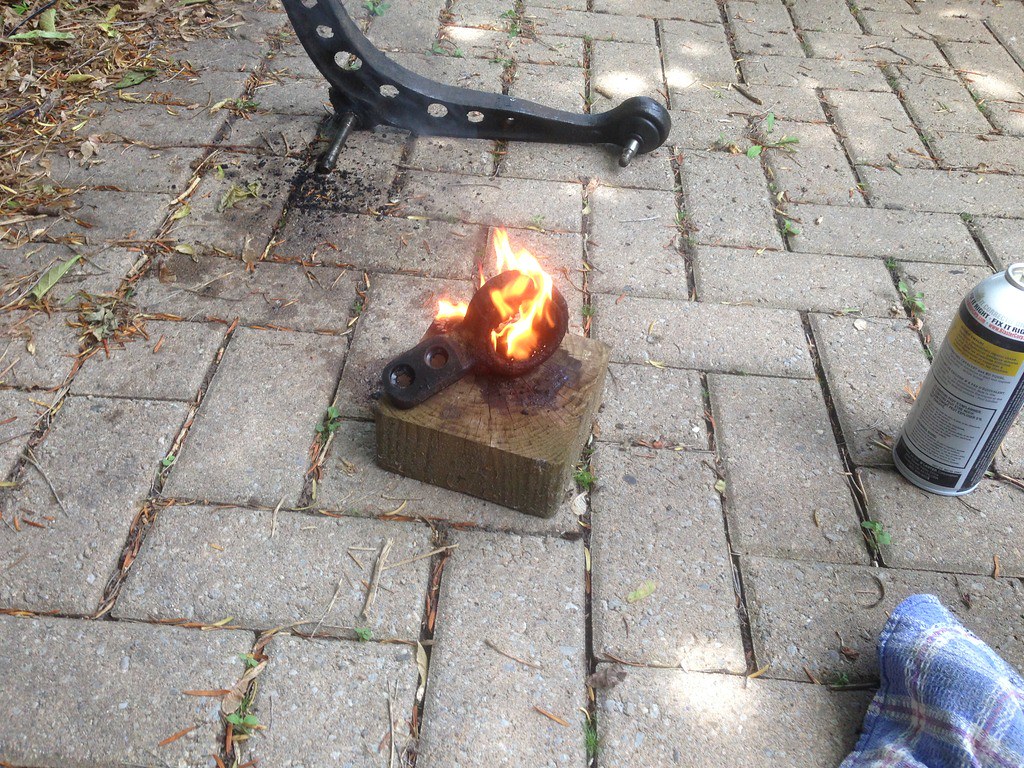
    Then with the aid of some fire I got the lollypop off, ready to fight with it tomorrow to get the old bushing out.


    Last edited by Panici; 12-04-2017, 04:49 PM.

    Leave a comment:


  • cypriotgeeza
    replied
    Very Nice thread man! :up:

    I'm so glad to see you found a decent shell and have carried over your enthusiasm and hard work into this one!

    I Look forward to some more updates!! 8)

    Leave a comment:


  • Panici
    replied
    Did a little work today. Not much, but better then nothing.
    Ended up raining for half of the afternoon.

    • Picked up exhaust gaskets from dealer.
    • Rented spring compressors from parts store.
    • Took off driver's side wheel, brake caliper.
      • Going to replace LCAs while parts are out of the way for the trans swap.
      • I then realized I don't have my ball joint puller here at my parent's house. :/
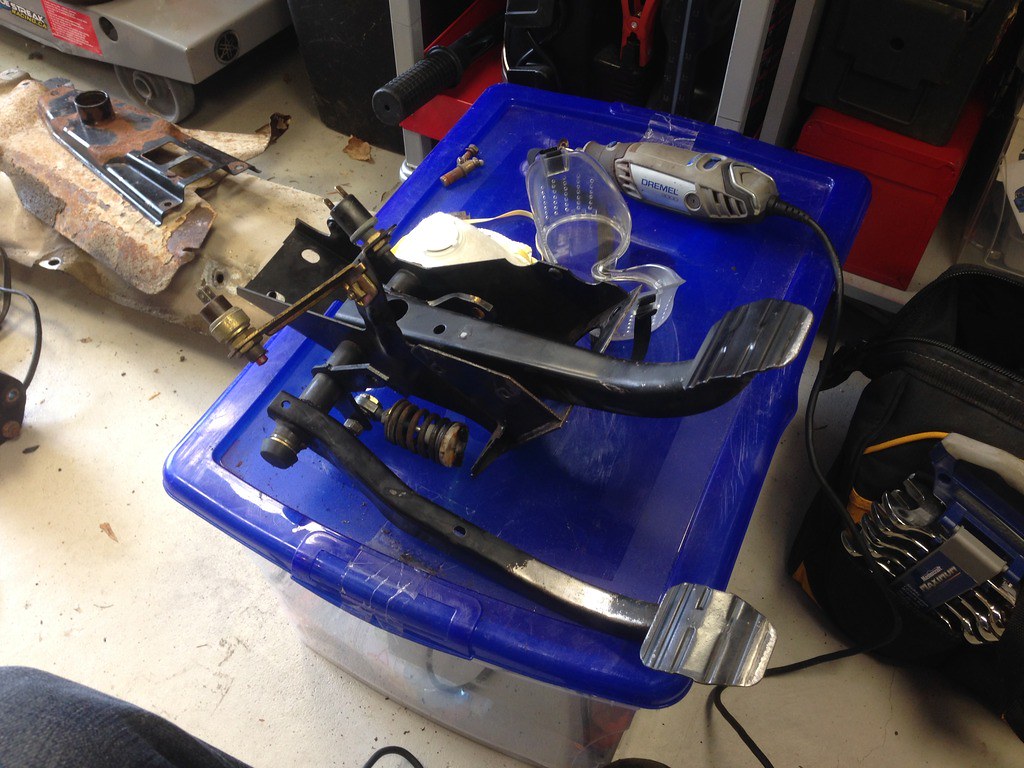
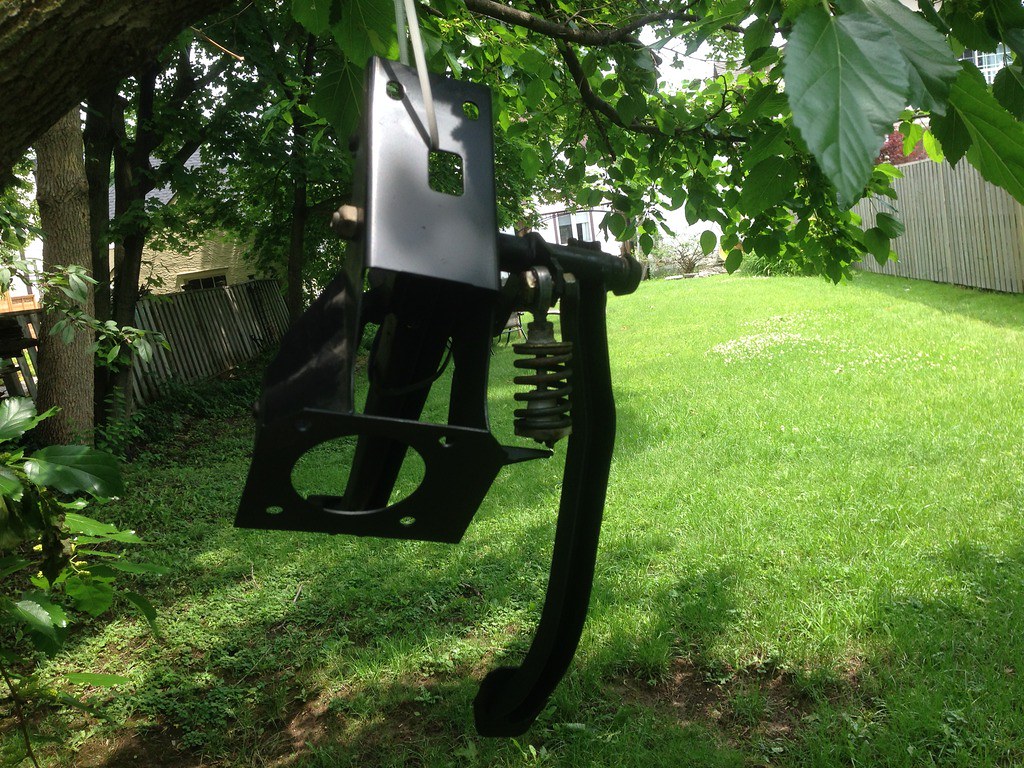
    • Sanded and painted the rust on my manual pedal assembly.


    I got a notice that my big PelicanParts order is ready for pickup tomorrow. Mostly stuff to convert to the new aluminum shift carrier, but I also threw a Z3 1.9 shifter in there :)

    Too bad I'm still waiting on my Curil K2 and Curil T to replace the trans seals.
    Last edited by Panici; 12-04-2017, 04:48 PM.

    Leave a comment:


  • Panici
    replied
    Transmission Swap: Day 7

    I first got to work removing the bellhousing from the auto trans. Then I bolted up the auto flywheel bits, the bellhousing, and the starter. (stupid starter bolts, again)

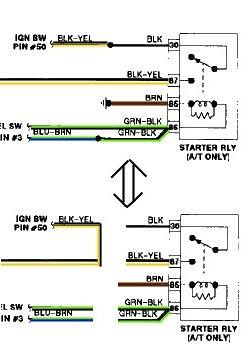
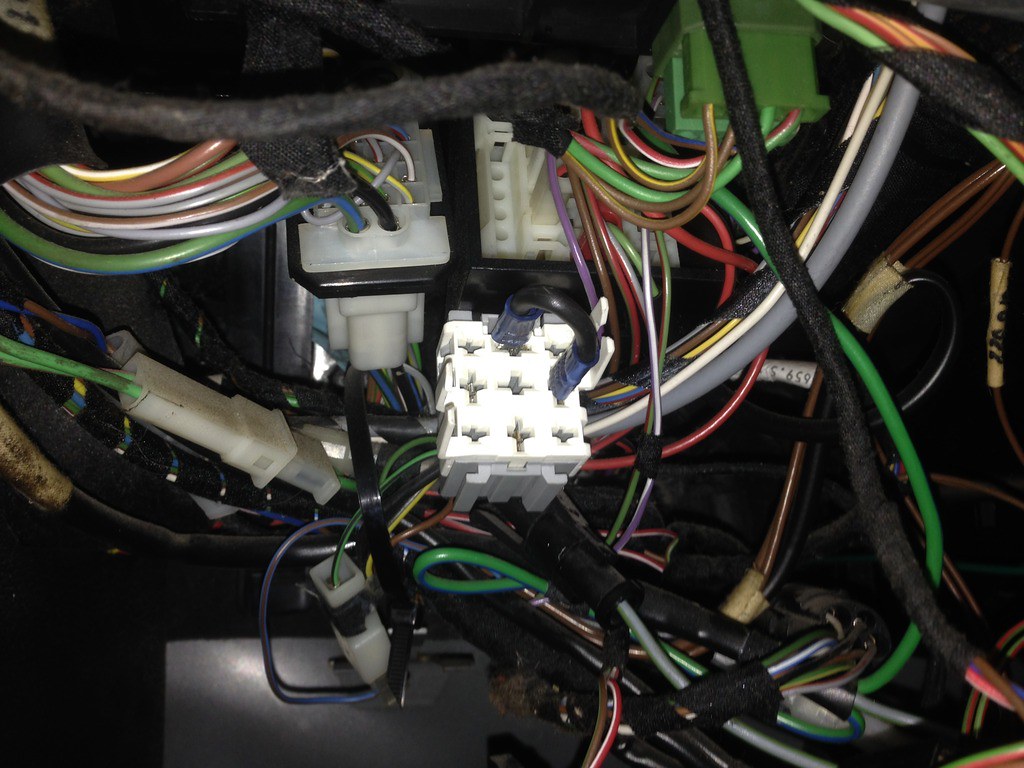
    Then I made a jumper for Pins 30 & 87 of the (Auto) starter relay.


    I supported the front of the motor with a floor jack (and wood) underneath the (now vacant) A/C mounting boss on the front of the motor.


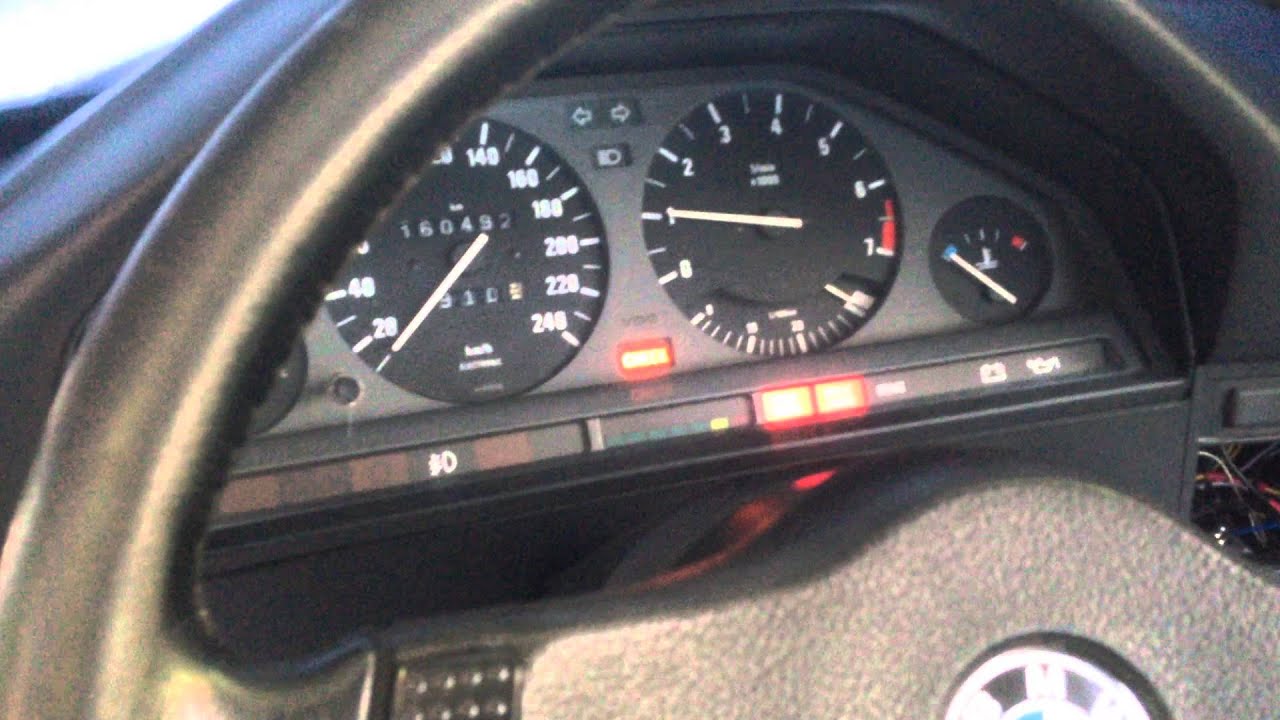
    Started and ran the car for a couple minutes. After then pulling the auto bellhousing and supporting parts off, there doesn't appear to be any extra oil from/around the rear main seal. :)


    Video of E30 idling open headers


    My Powerbuilt Oil Sender 1-3/16" thin wall socket came in, so I got to work removing the output flange / harmonic balancer.

    After cutting the rubber connecting pieces, I removed the outside metal "ring". I then burned off all the remaining rubber. While the parts were still warm, I was able to hammer out the studs, separating the remainder of the balancer from the output flange.


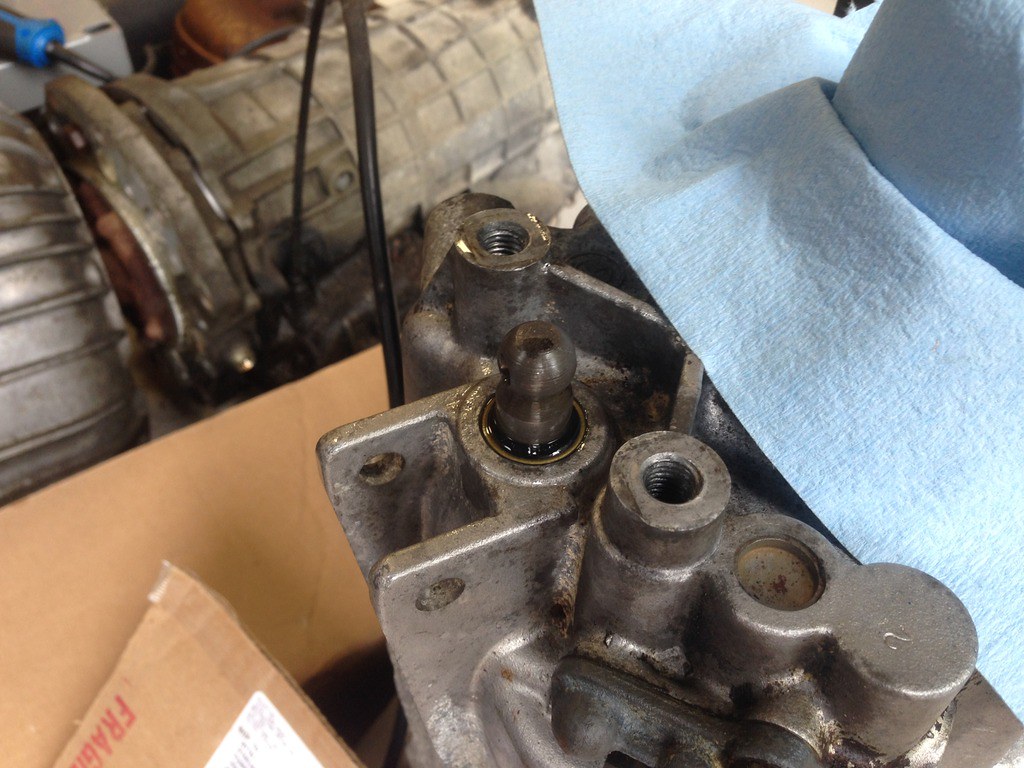
    I picked up the 3 quarts of Redline MT-90 I ordered, and used a little to install the shift shaft carrier seal (after removing the old one, which was annoying even with a set of hook tools)


    Finally, after checking MANY local stores and supply places, I had no choice but to buy some Curil T and Curil K2 off of eBay. Hopefully they don't take too long to get here.
    Last edited by Panici; 05-25-2020, 06:35 PM.

    Leave a comment:


  • Panici
    replied
    Transmission Swap: Day 6

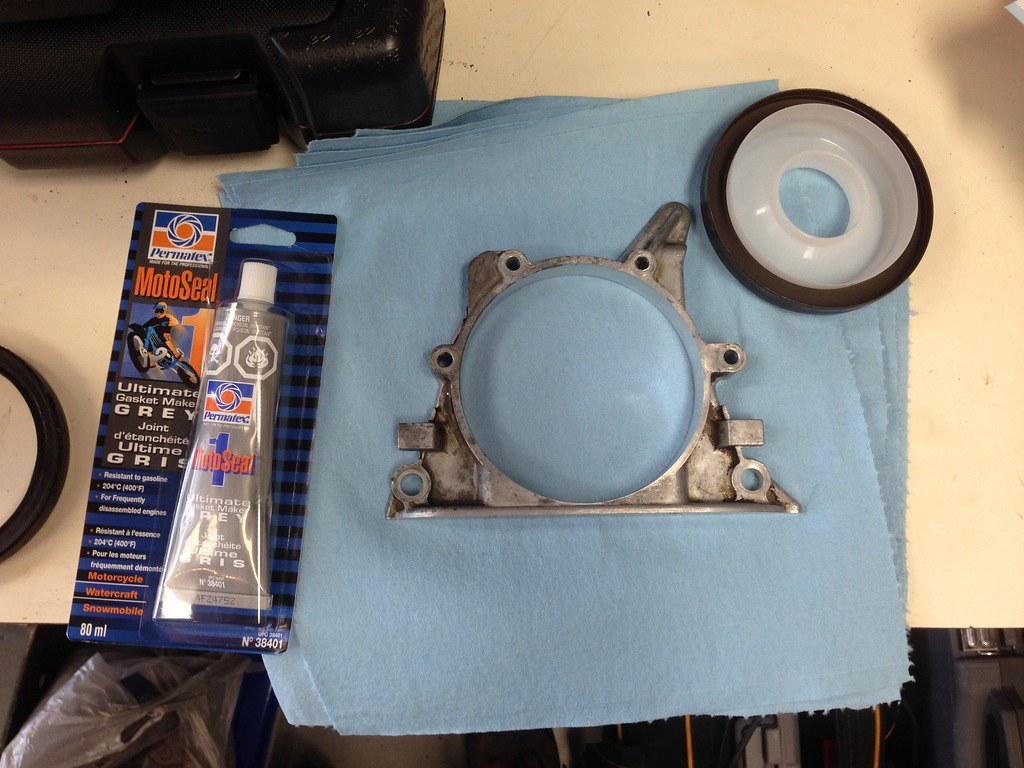
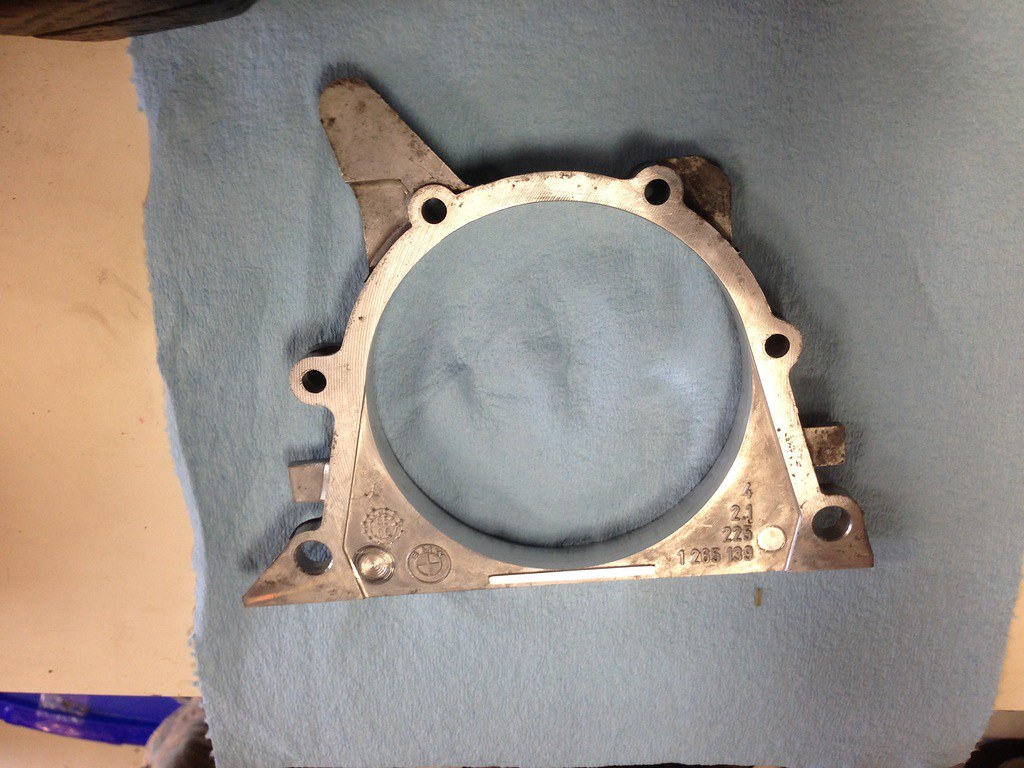
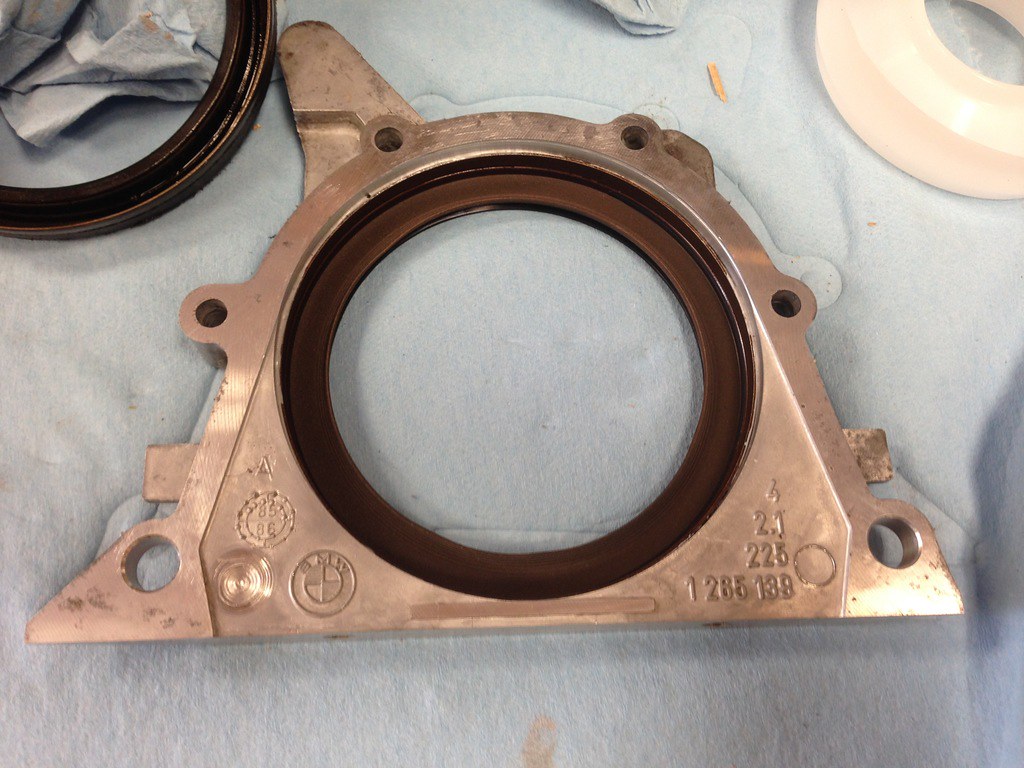
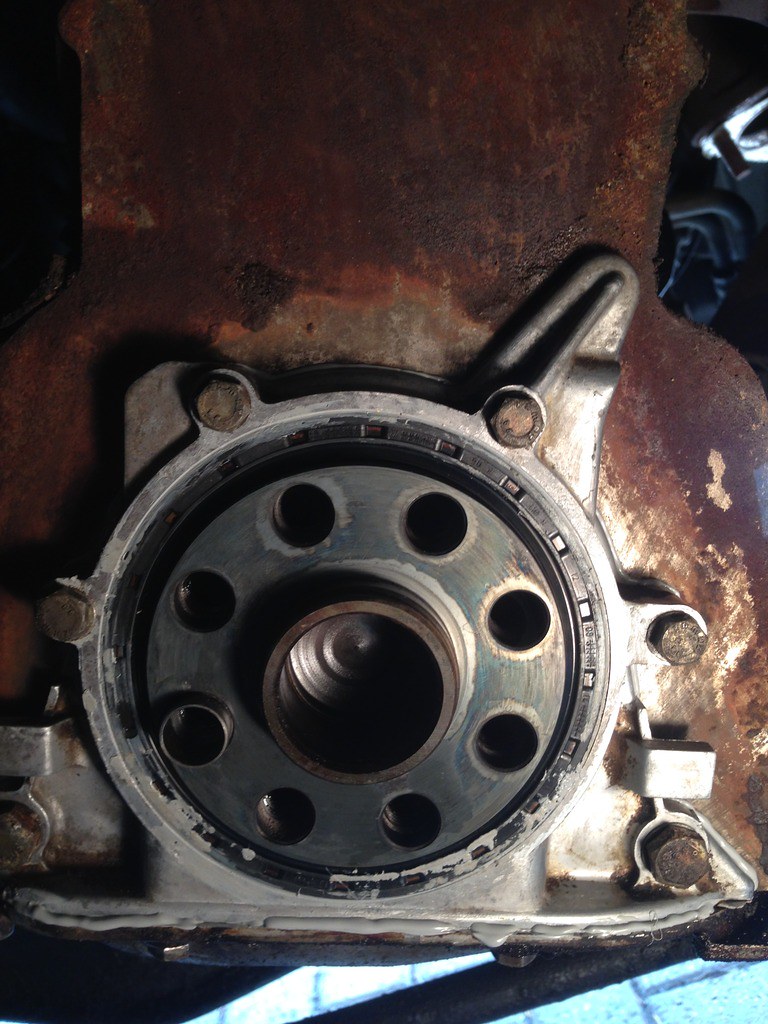
    Changed the Rear Main Seal today. I ended up using Permatex MotoSeal 1 and the Corteco "new style" springless RMS.

    Such a huge pain to clean the old paper gasket material off of the RMS carrier. Even the Permatex Gasket Remover needed MANY soakings and much scraping with two plastic putty knives. I ended up leaving a little gasket material on the sealing surface, but I would rather have that then scratches from removing it. All of the mating surface on the RMS carrier felt smooth to the touch.

    A safety note about the Permatex Gasket Remover, it went straight through the black nitrile gloves I was wearing, and starting burning my hands. At first I thought I had a hole in my gloves. So I switched to a new pair, and surprise!
    After I switched to some heavy "acid resistant" rubber gloves, my hands no longer were affected, but the plastic putty knives still melted!


    Some notes for RMS replacement:
    • Use the PTFE/Teflon/Springless seal.
    • It was suggested to use an anaerobic sealant
      • Designed for porous surfaces like the RMS carrier
      • I don't believe the Permatex MotoSeal 1 I used is anaerobic :/

    • Make sure the seal and the crankshaft are clean and dry (with brake cleaner)
      • Do not put any form of lubrication on the inside of the seal. (the part that contacts the crank)
      • The initial friction at startup forms a mated sealing surface.

    • Make sure the seal isn't positioned to sit in any existing grooves in the crank.
      • I didn't do this. I should have made up a shim to position the new RMS a little deeper in the carrier.
      • My motor does have low mileage though (100k mi) so maybe I'll get away with it.

    • Use the included plastic sleeve when sliding the seal over the crank otherwise it is quite easy to fold the seal
    • The springless seal is harder to install, but done correctly it won't leak.


    Here's a pretty good reference link as to why the newer seal design is better:


    Honestly, I'm not confident in my job at all. I'd hate to put the car back together just to have a leaky RMS because of the seal type, or the gasket material I used, or my improper assembly.


    I'm going to attempt to start and run the motor without a transmission attached, to check the RMS for leaks.


    Next week I'm tackling the transmission seals.
    I need to buy a 1-3/16" thin wall socket, a 3-arm pulley puller, and some proper sealant for the various parts/splines.


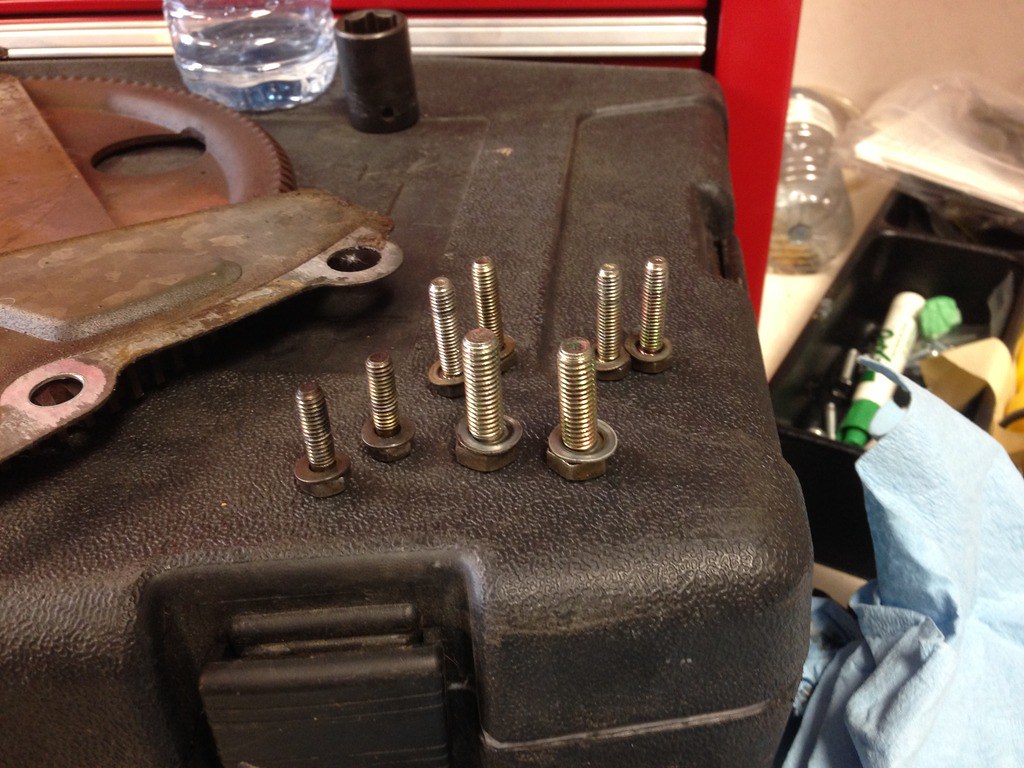
    As always, cleaned up the mounting hardware when reusing.


    I realize I got sealant everywhere. I however didn't get any on the crank or actual sealing surface of the RMS. :)
    Last edited by Panici; 12-04-2017, 04:40 PM.

    Leave a comment:

Working...