Panici's '87 325is E30 - Boosted In Bronze

Collapse
X
 
  • Time
  • Show
Clear All
new posts

  • Panici
    replied
    Transmission Swap: Day 7

    I first got to work removing the bellhousing from the auto trans. Then I bolted up the auto flywheel bits, the bellhousing, and the starter. (stupid starter bolts, again)

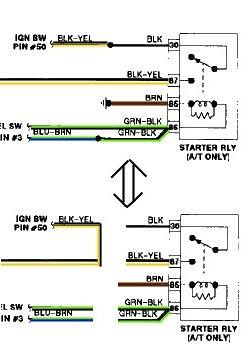
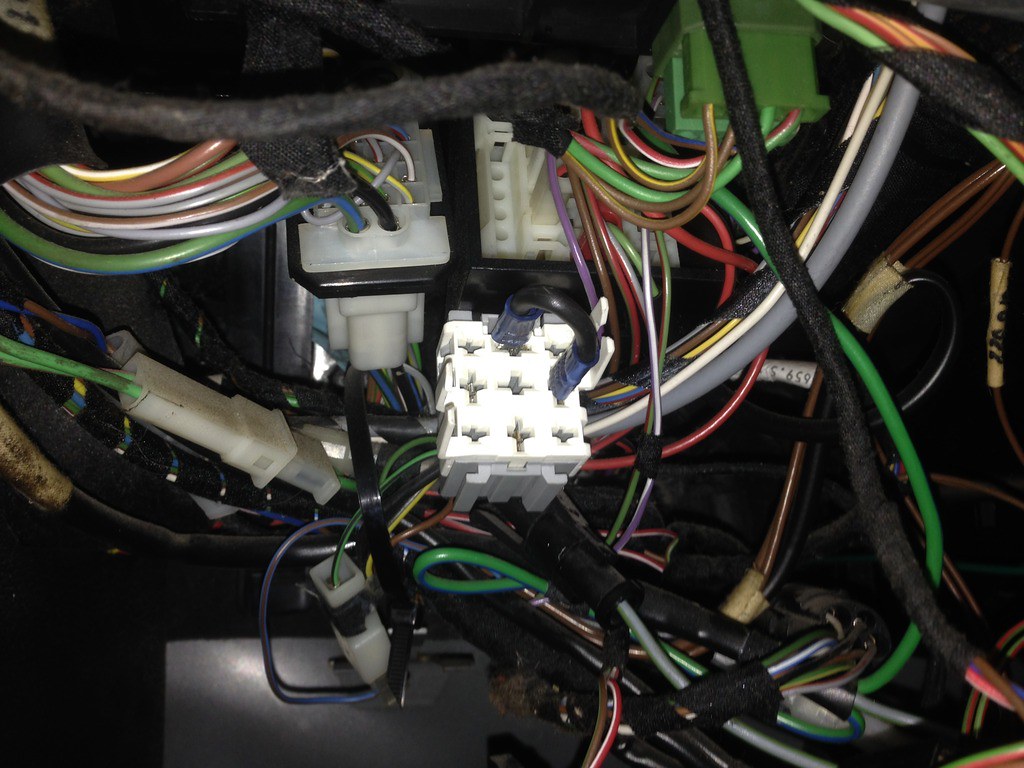
    Then I made a jumper for Pins 30 & 87 of the (Auto) starter relay.


    I supported the front of the motor with a floor jack (and wood) underneath the (now vacant) A/C mounting boss on the front of the motor.


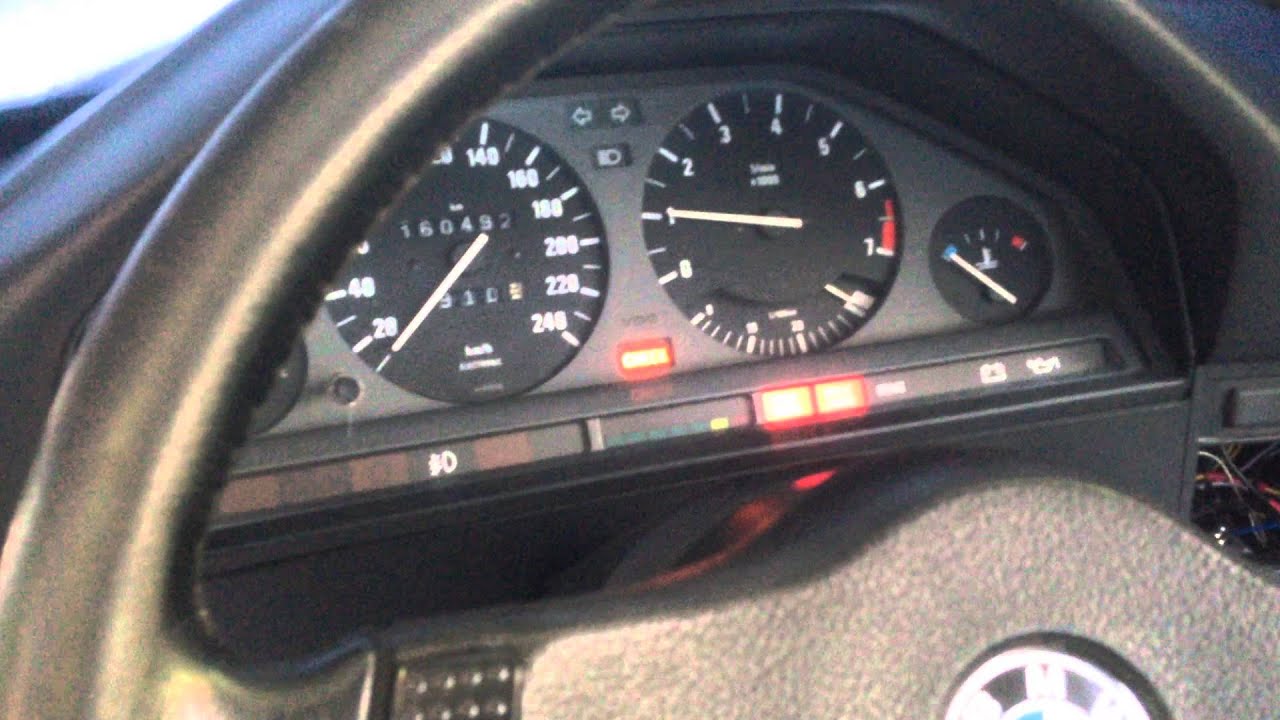
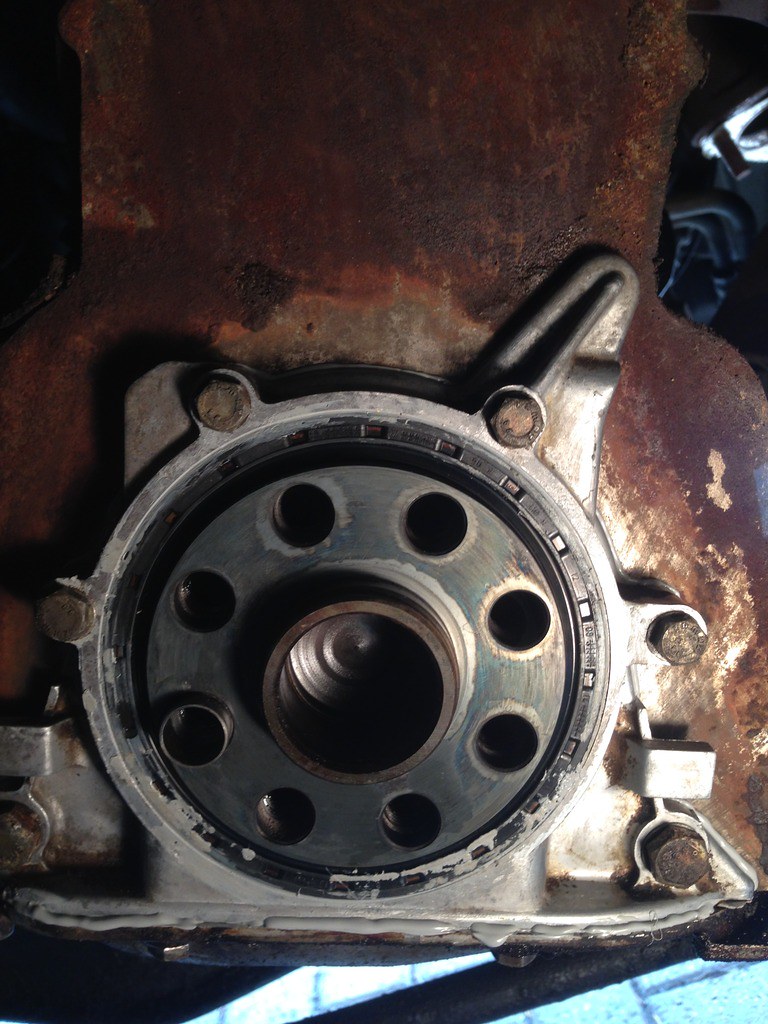
    Started and ran the car for a couple minutes. After then pulling the auto bellhousing and supporting parts off, there doesn't appear to be any extra oil from/around the rear main seal. :)


    Video of E30 idling open headers


    My Powerbuilt Oil Sender 1-3/16" thin wall socket came in, so I got to work removing the output flange / harmonic balancer.

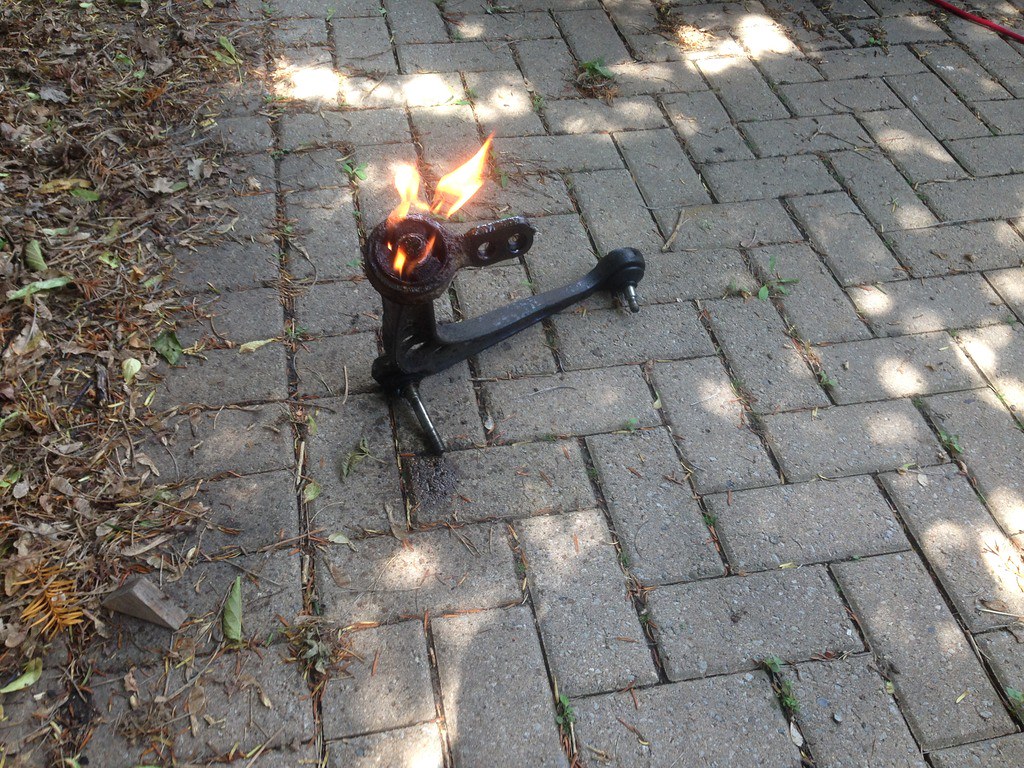
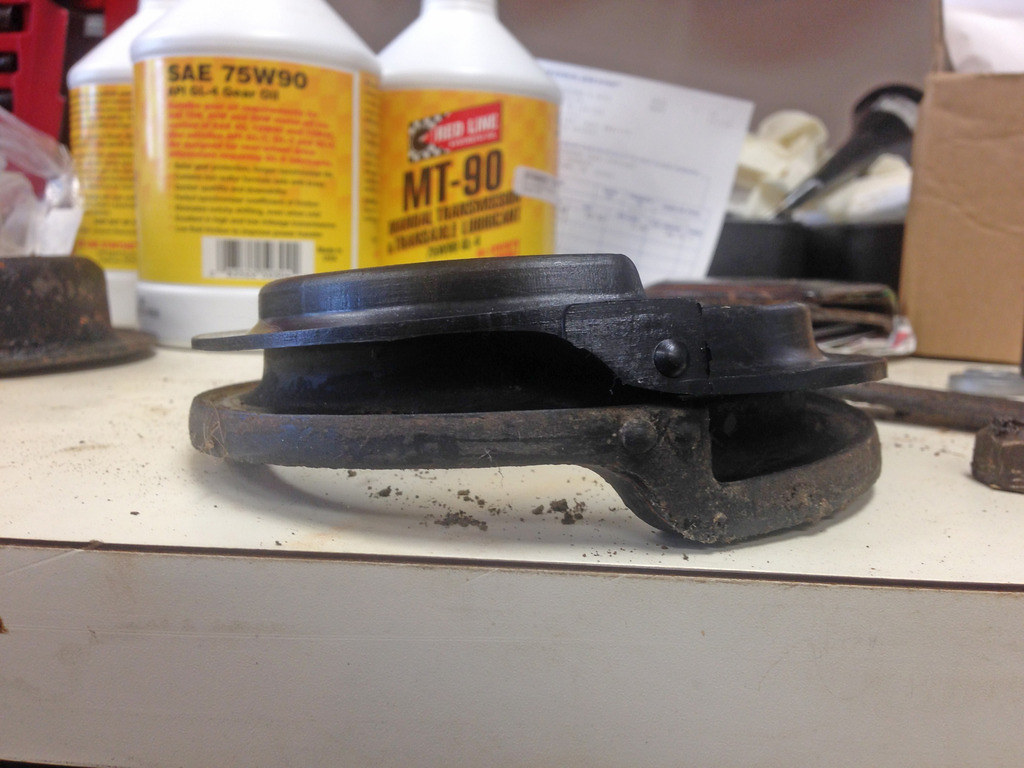
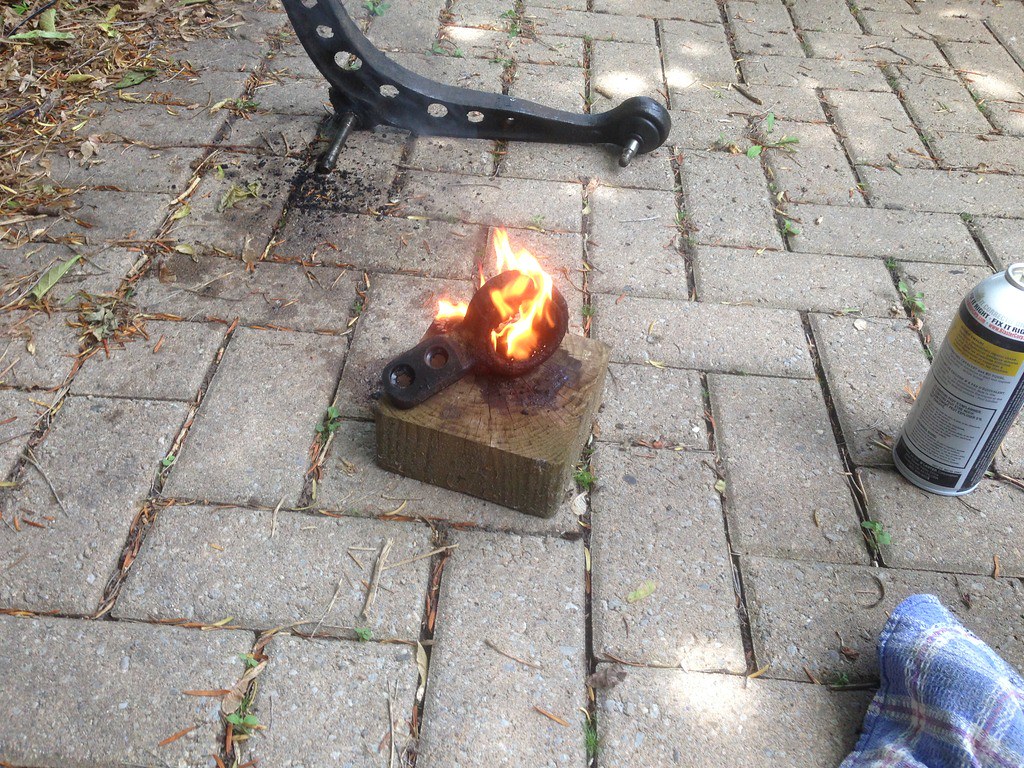
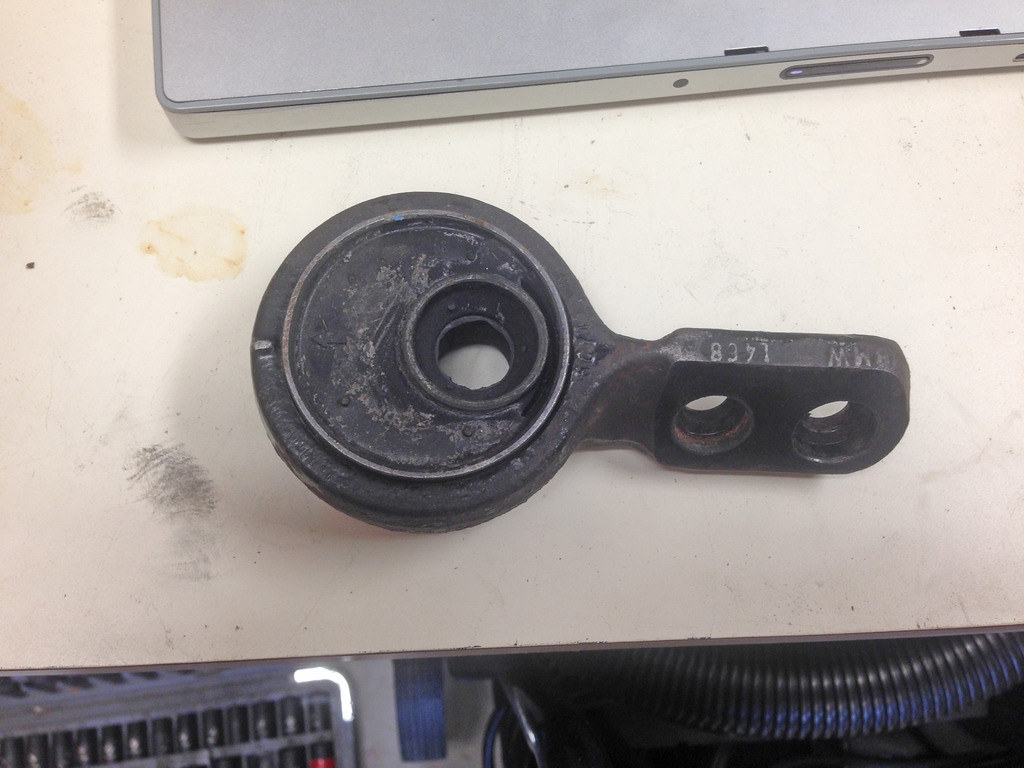
    After cutting the rubber connecting pieces, I removed the outside metal "ring". I then burned off all the remaining rubber. While the parts were still warm, I was able to hammer out the studs, separating the remainder of the balancer from the output flange.


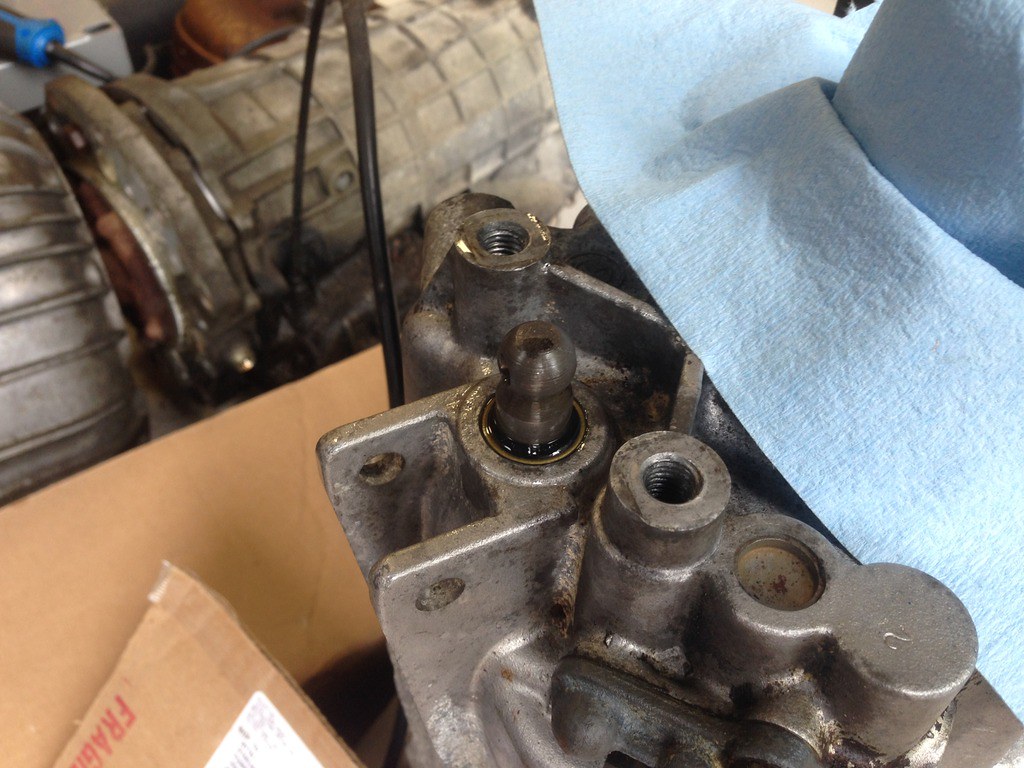
    I picked up the 3 quarts of Redline MT-90 I ordered, and used a little to install the shift shaft carrier seal (after removing the old one, which was annoying even with a set of hook tools)


    Finally, after checking MANY local stores and supply places, I had no choice but to buy some Curil T and Curil K2 off of eBay. Hopefully they don't take too long to get here.
    Last edited by Panici; 05-25-2020, 06:35 PM.

    Leave a comment:


  • Panici
    replied
    Transmission Swap: Day 6

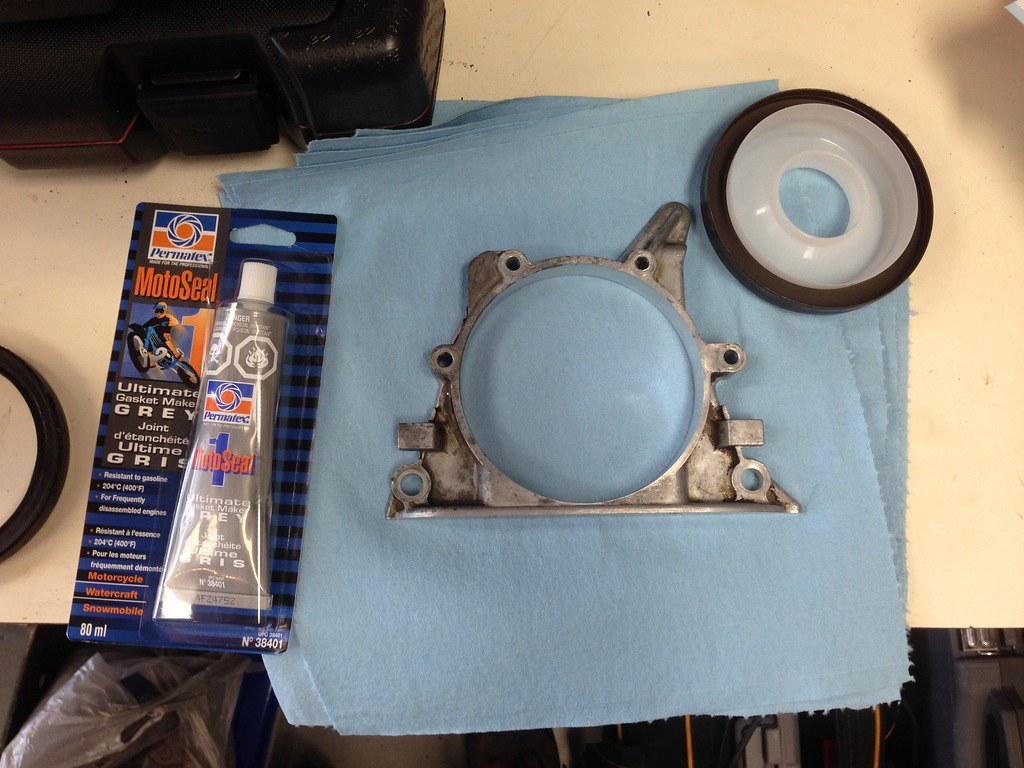
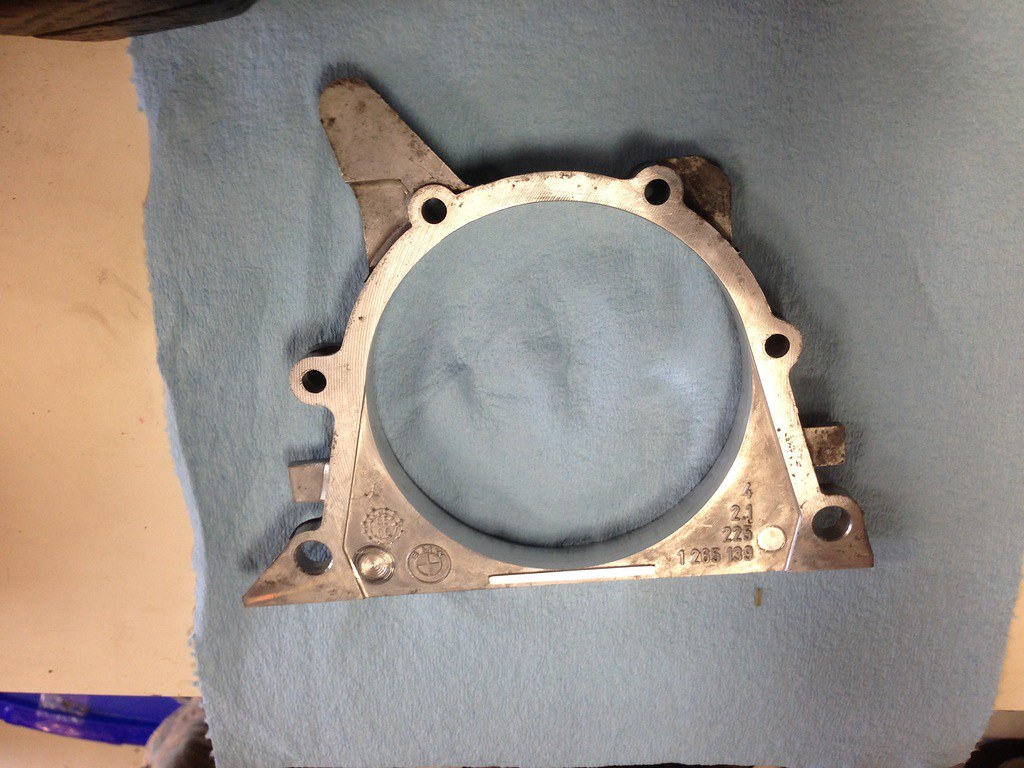
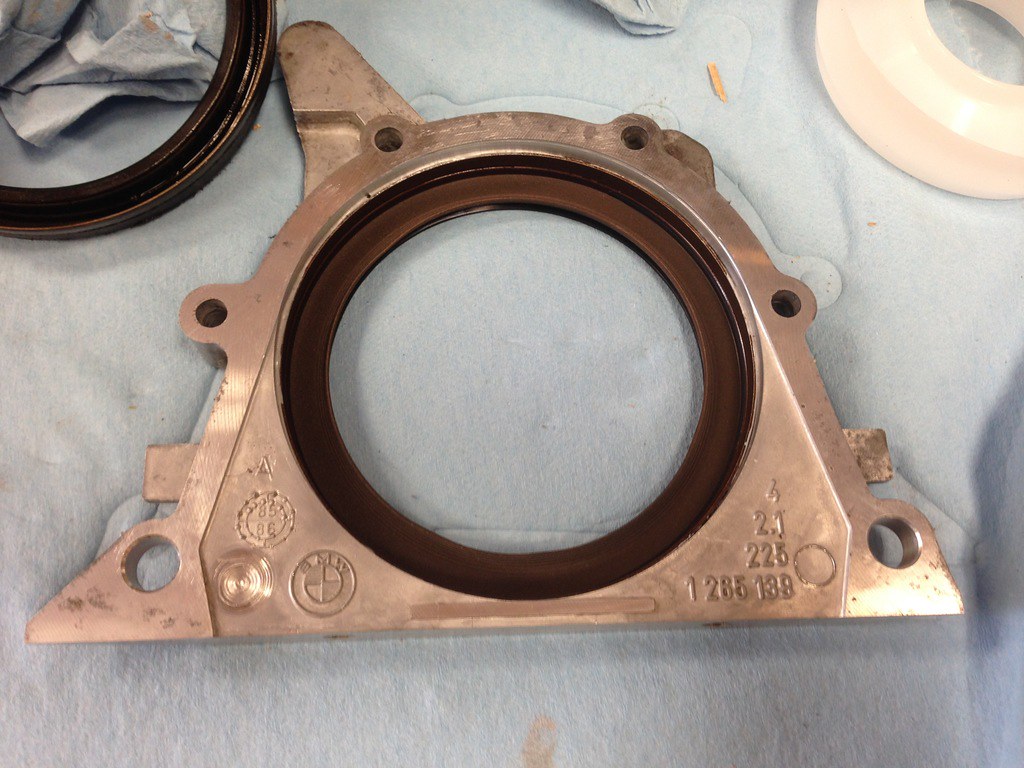
    Changed the Rear Main Seal today. I ended up using Permatex MotoSeal 1 and the Corteco "new style" springless RMS.

    Such a huge pain to clean the old paper gasket material off of the RMS carrier. Even the Permatex Gasket Remover needed MANY soakings and much scraping with two plastic putty knives. I ended up leaving a little gasket material on the sealing surface, but I would rather have that then scratches from removing it. All of the mating surface on the RMS carrier felt smooth to the touch.

    A safety note about the Permatex Gasket Remover, it went straight through the black nitrile gloves I was wearing, and starting burning my hands. At first I thought I had a hole in my gloves. So I switched to a new pair, and surprise!
    After I switched to some heavy "acid resistant" rubber gloves, my hands no longer were affected, but the plastic putty knives still melted!


    Some notes for RMS replacement:
    • Use the PTFE/Teflon/Springless seal.
    • It was suggested to use an anaerobic sealant
      • Designed for porous surfaces like the RMS carrier
      • I don't believe the Permatex MotoSeal 1 I used is anaerobic :/

    • Make sure the seal and the crankshaft are clean and dry (with brake cleaner)
      • Do not put any form of lubrication on the inside of the seal. (the part that contacts the crank)
      • The initial friction at startup forms a mated sealing surface.

    • Make sure the seal isn't positioned to sit in any existing grooves in the crank.
      • I didn't do this. I should have made up a shim to position the new RMS a little deeper in the carrier.
      • My motor does have low mileage though (100k mi) so maybe I'll get away with it.

    • Use the included plastic sleeve when sliding the seal over the crank otherwise it is quite easy to fold the seal
    • The springless seal is harder to install, but done correctly it won't leak.


    Here's a pretty good reference link as to why the newer seal design is better:


    Honestly, I'm not confident in my job at all. I'd hate to put the car back together just to have a leaky RMS because of the seal type, or the gasket material I used, or my improper assembly.


    I'm going to attempt to start and run the motor without a transmission attached, to check the RMS for leaks.


    Next week I'm tackling the transmission seals.
    I need to buy a 1-3/16" thin wall socket, a 3-arm pulley puller, and some proper sealant for the various parts/splines.


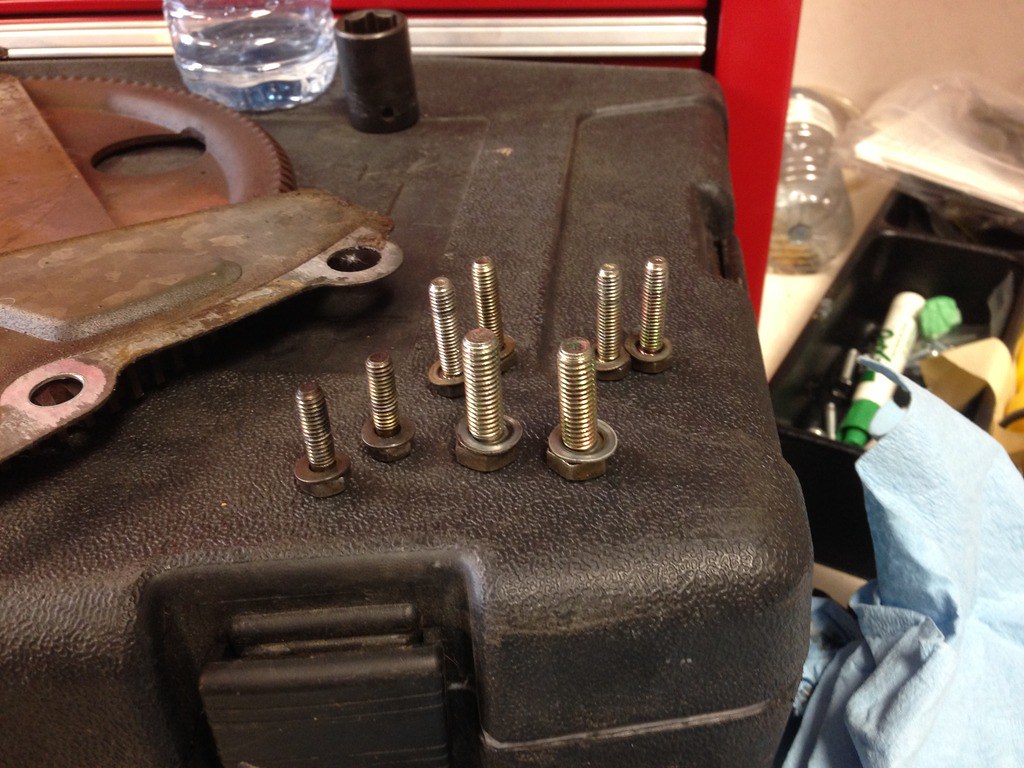
    As always, cleaned up the mounting hardware when reusing.


    I realize I got sealant everywhere. I however didn't get any on the crank or actual sealing surface of the RMS. :)
    Last edited by Panici; 12-04-2017, 04:40 PM.

    Leave a comment:


  • Panici
    replied
    Transmission Swap: Day 5

    Barely worked on the E30 today.
    I did drive for a few hours to FINALLY get some Lexol Vinylex for my dash. Too bad I didn't do it last year, I wouldn't have a big crack above my gauge cluster. :(
    That's going to bother me for a long time.


    Also, pulled the rest of the stuff from the back of the motor (flex plate etc). I've got the rear main seal off, and am going to replace it tomorrow once I figure out what seal (and sealant) to use:


    I also need to repair/replace the heat shield material in the transmission tunnel, as it's coming apart.


    Last edited by Panici; 12-04-2017, 04:34 PM.

    Leave a comment:


  • Panici
    replied
    Originally posted by WarpedRotors
    Nice work, I need to get some 15mm spacers like your setup.
    Thanks!
    I'd eventually like to get a set of 10mm (front) and 20mm (rear) as well.
    Long term i'd like 25mm (front) and 35mm (rear) when I run the iX 'weaves (et41 iirc) with some sticky rubber.


    More trans swap updates!
    I did some reading and it looks like the earlier plate style carrier on my Getrag 260 gives a lot of side-to-side shifter slop because of the rear bushing (designed to limit vertical movement only)

    I took a hard look at the parts I had available, and decided to bite the bullet and upgrade to the newer-style shifter carrier. The parts I have are in rough enough shape that I would have spent a bunch of money (on bushings etc) to end up with something I wasn't happy with.

    I bought everything I needed from Pelican parts (save the delrin bushings from Garagistic). Certainly not the cheapest route, but I don't have a ton of time to hunt down used stuff. I'd like to get the car on the road this month!
    I did try to buy parts at the local dealership, but they were only willing to get the parts if I bought bulk packages.


    Quick list of the fun stuff:
    • Entire "new" style shifter carrier, selector rod, and supporting parts
    • Z4 1.9 shifter
    • Delrin shift carrier bushings
    • New CSB and mounting hardware
    • Clutch master to slave hardline, grommet, connector
    • OEM BMW input and output shaft seals for the Getrag 260
      • I was going to use (and even previously bought) aftermarket stuff, but decided not to take the risk of those being junk and leaking.


    ~$600 later, and hopefully the stuff will come in under two weeks *fingers crossed*.


    Meanwhile I'll complete all the work that I can, and then start on the LCA replacement if the parts still haven't arrived.


    Transmission Swap: Day 4

    Worked all afternoon.
    Got the starter off, removed the rear trans brace, took the difficult bellhousing bolts out, and then finally dropped the Automatic transmission with much effort.
    Had an issue where the auto trans dipstick got hung up on the side padding (you can see it torn in the pictures). I should have removed the dipstick tube before trying to pull the trans.

    The torque converter decided to stay with the engine, so I took it off separately.

    I'm going to weight all the parts. Just from moving the trans around, I know the ZF 4HP22 is definitely heavier then the Getrag 260. I'm interested to see how much weight I'll be taking out by going from auto to 5-speed.


    Also drained the old fluid out of the Getrag 260, I was pleased to find only a few small pieces of metal in there. AFAIK this trans has north of 320k kilometers (200k miles). I only drove my parts car for a total of 10 minutes, but all the gears were there. So hopefully it all works when swapped!


    Last edited by Panici; 12-04-2017, 04:31 PM.

    Leave a comment:


  • WarpedRotors
    replied
    Nice work, I need to get some 15mm spacers like your setup.

    Leave a comment:

Working...