
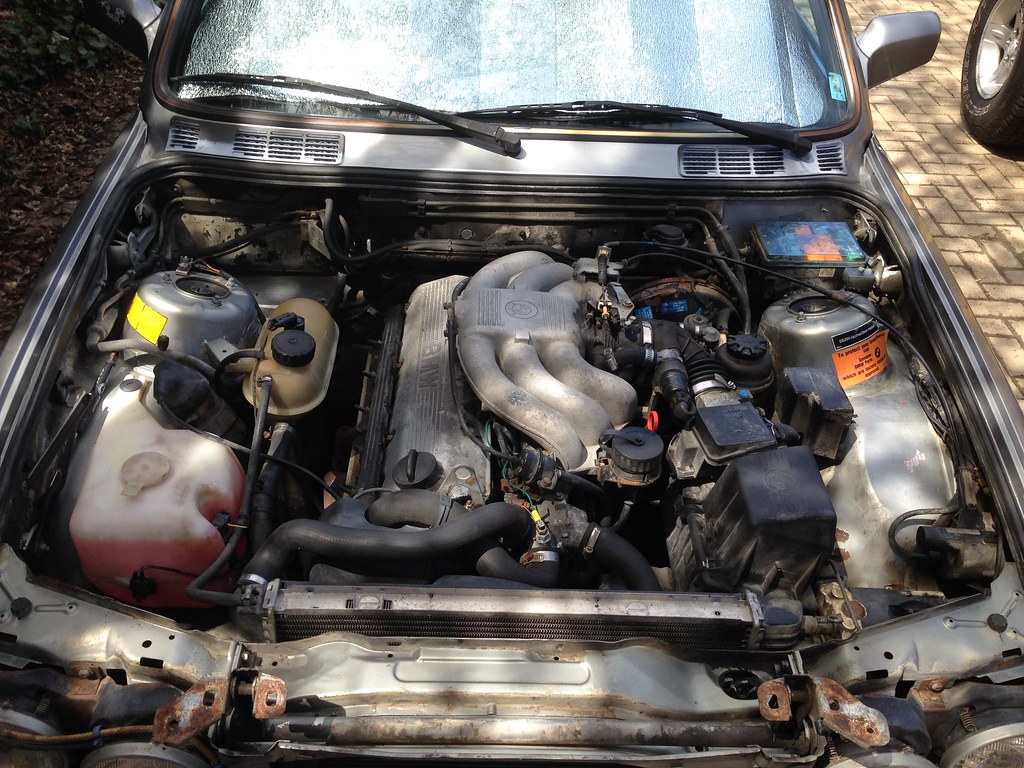
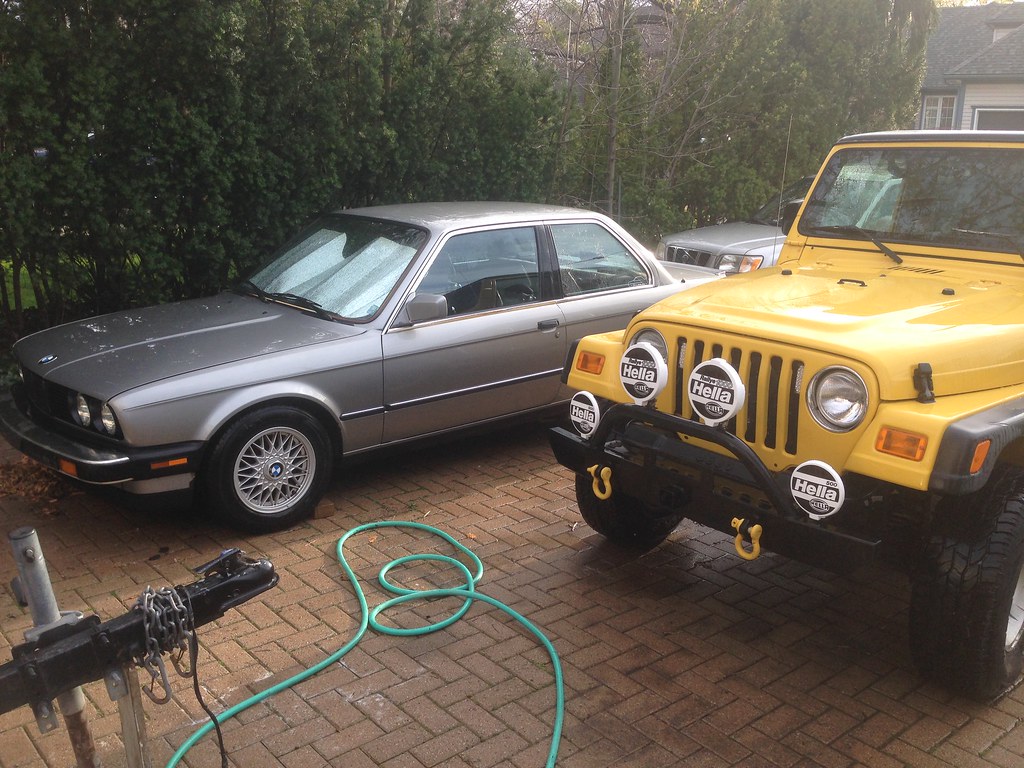
Subframe Refresh: Day 1
Finally started my subframe refresh today.
I've been following the DIY here:
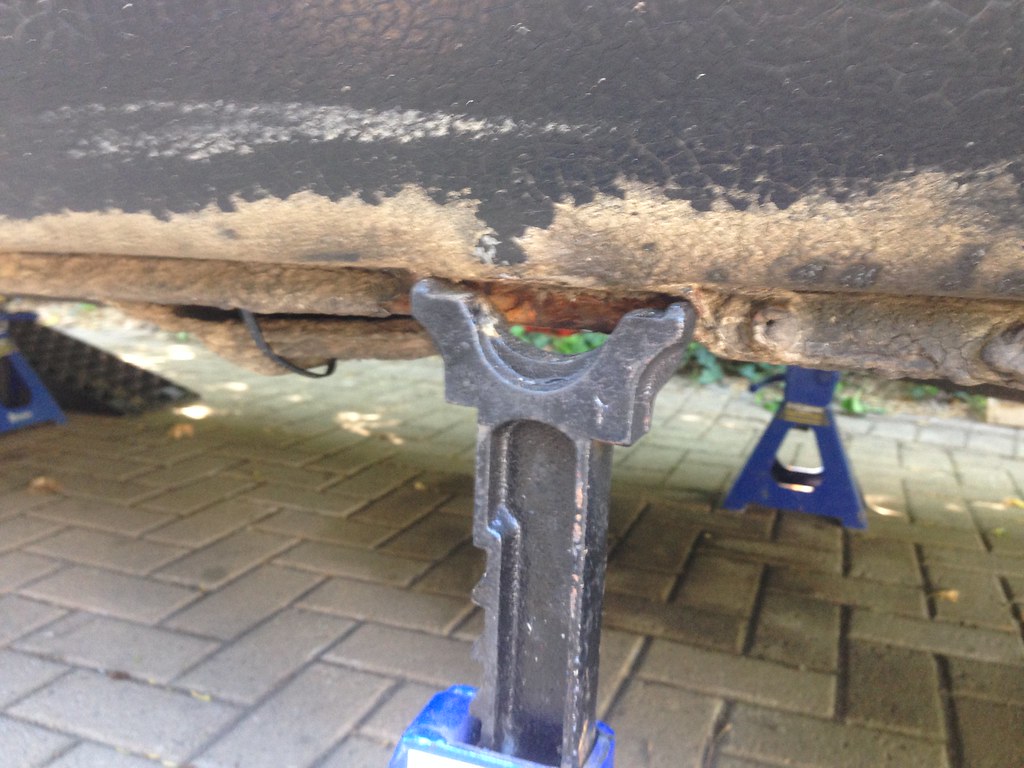
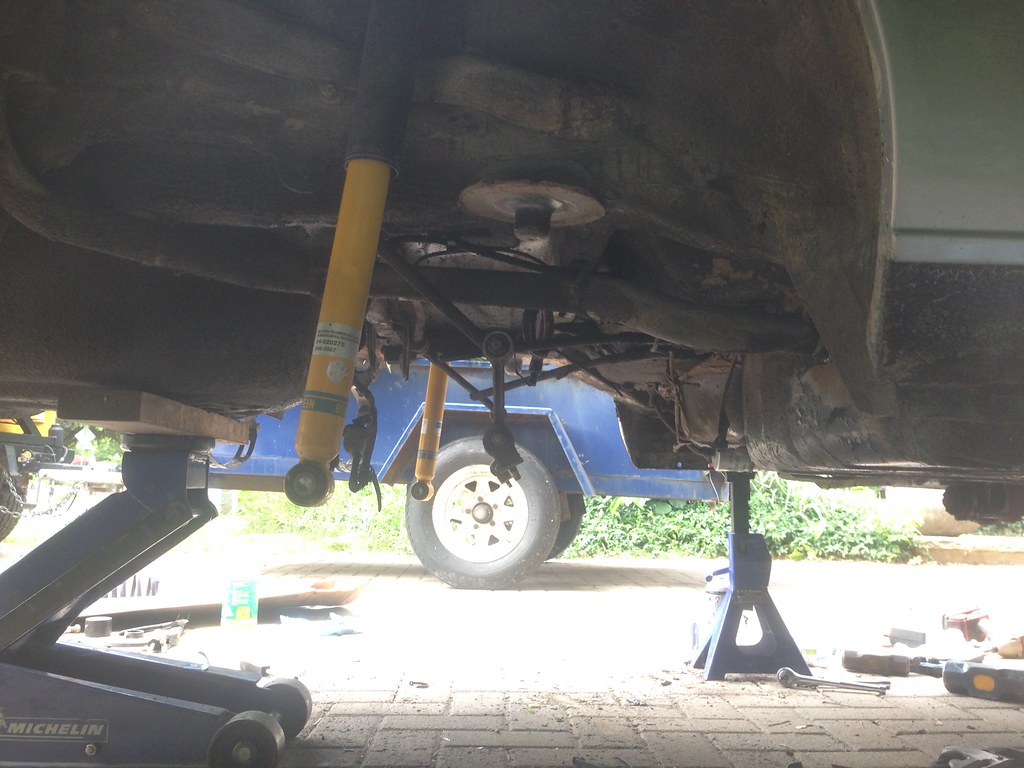
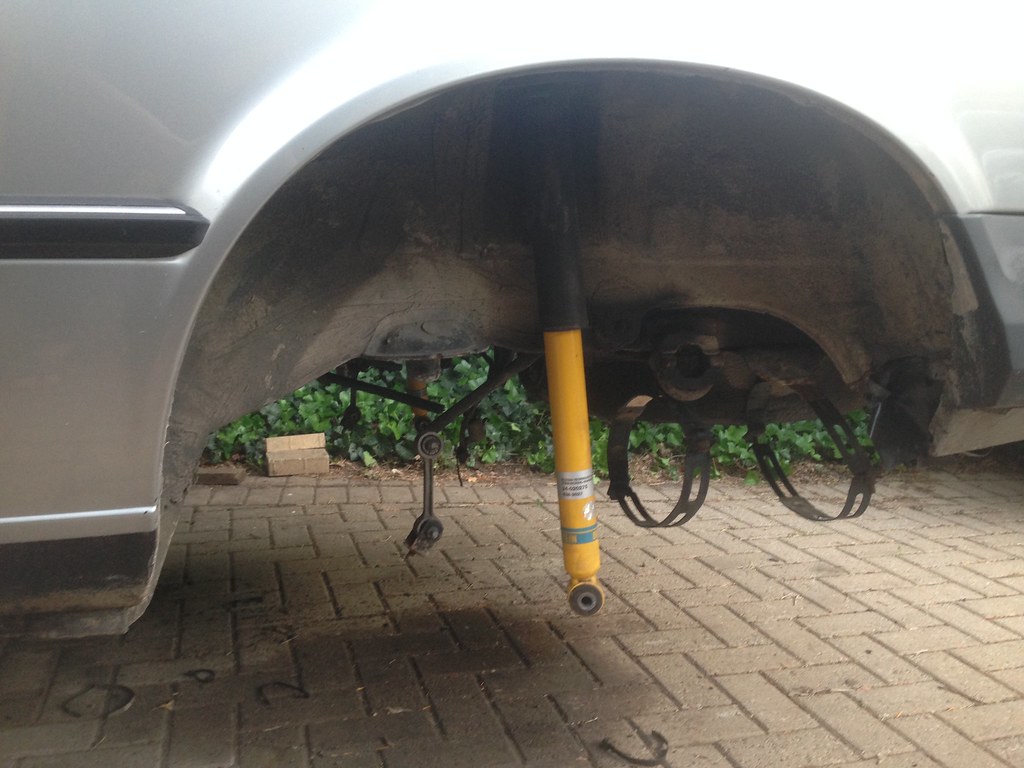
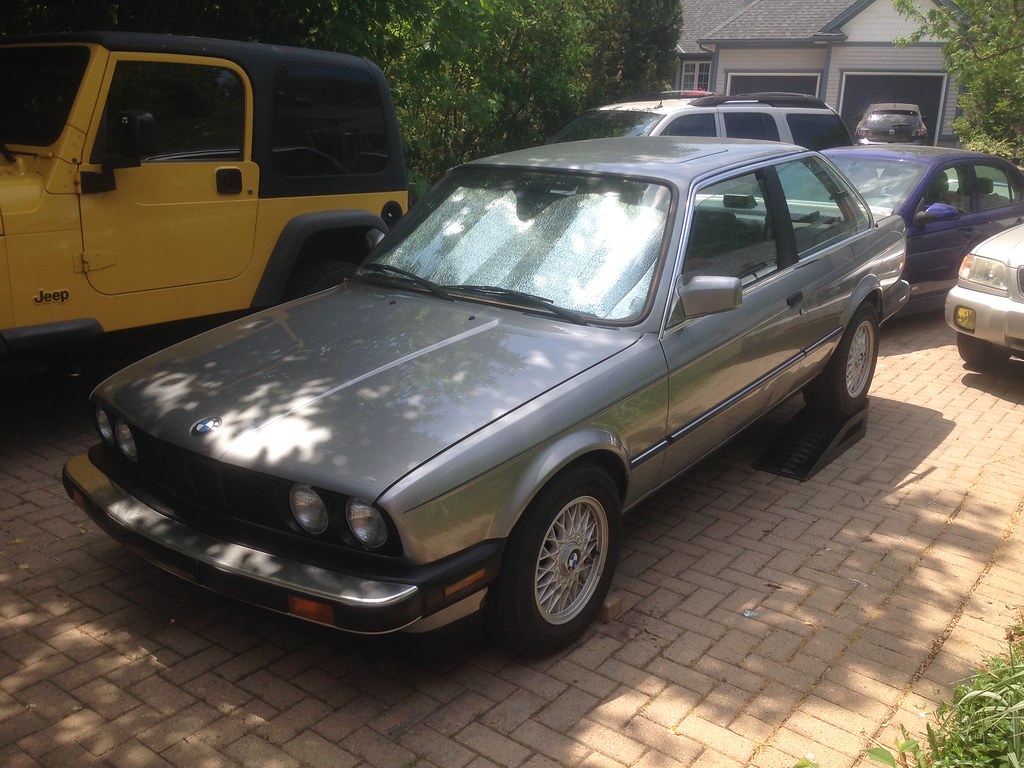
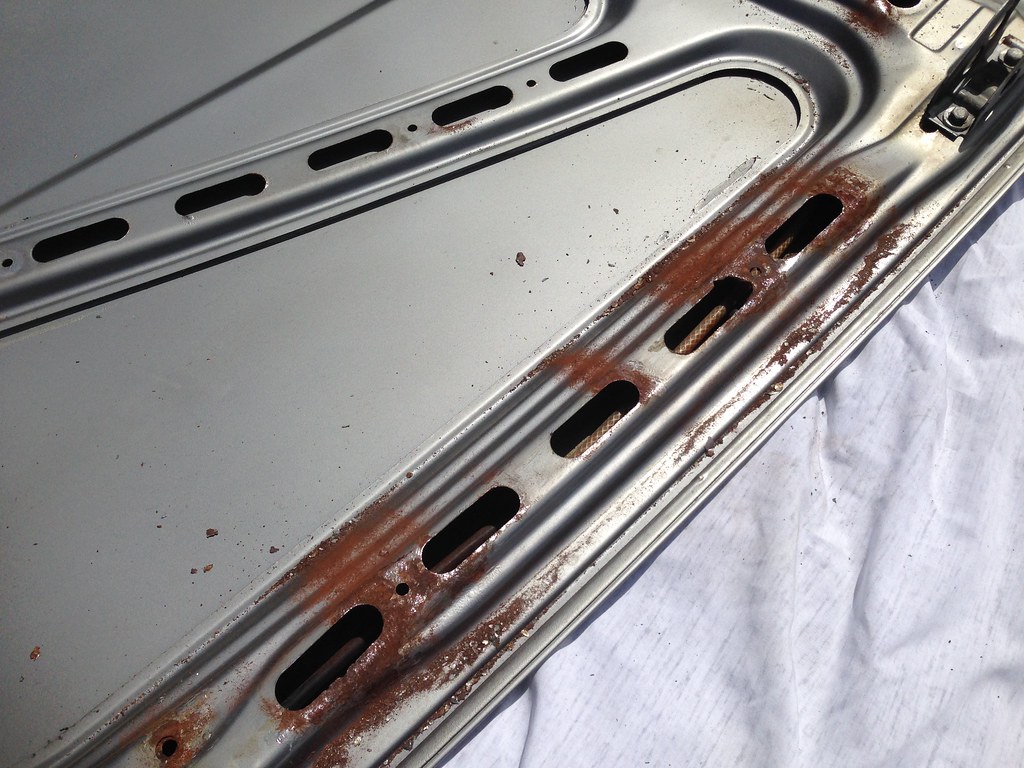
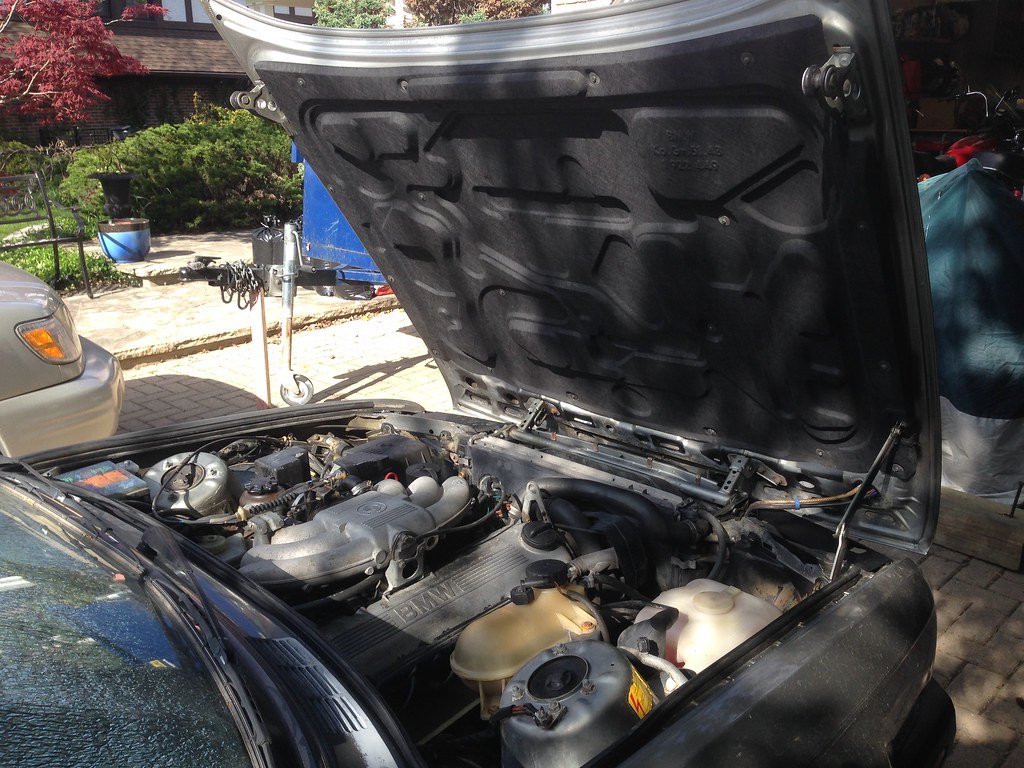
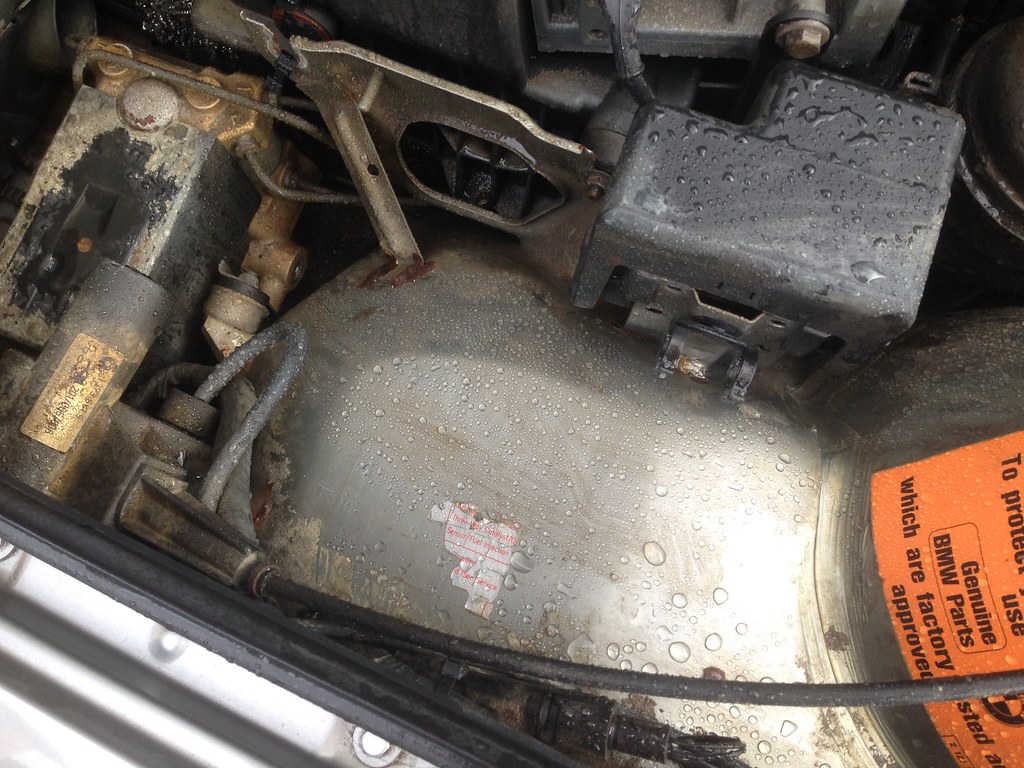
I am still not happy with the jackstand location supporting the rear of the car, as I usually place the jackstands on the subframe. The spots do seem to be fairly solid rust-wise, at least. I have been placing the floorjack under the spare tire well when I am working. Just slight pressure through a piece of wood gives a third contact point and makes the car rock solid. With just the jackstands I was able to get some slight side-to-side motion with my standard "push hard to see if the car is stable" test.
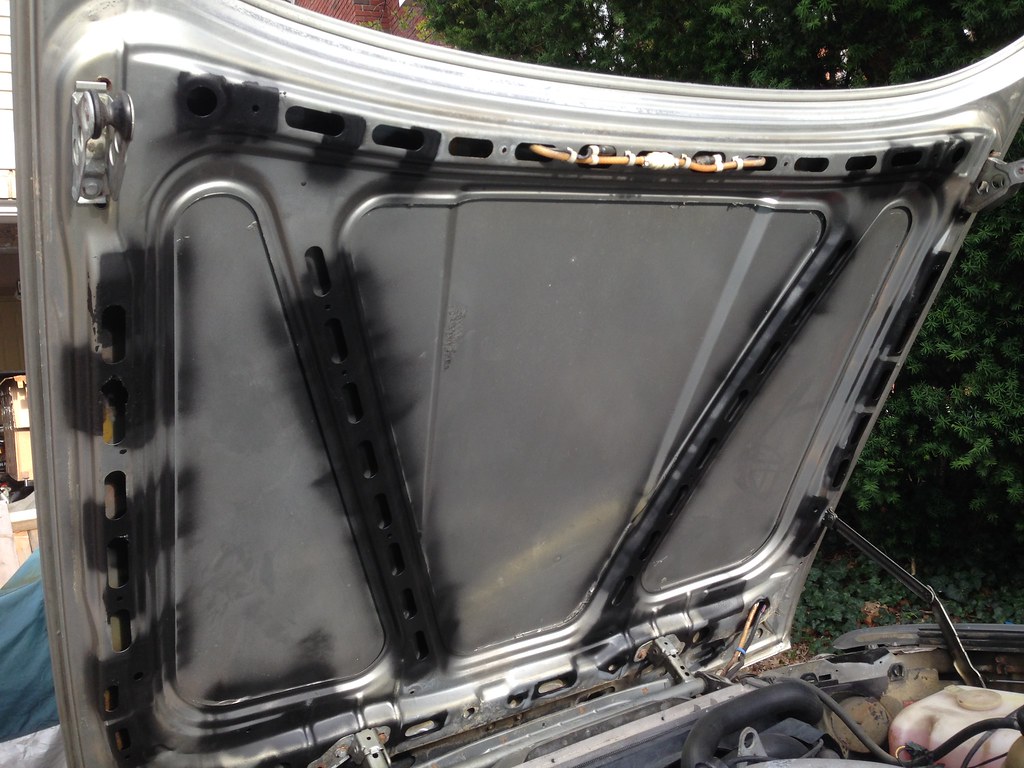
Three of the four allen head body bolts stripped out, and luckily I had a perfectly sized bolt extractor to remove them. I will have to either get new bolts from the dealer, or source an equivalent size and grade bolt from a hardware store.
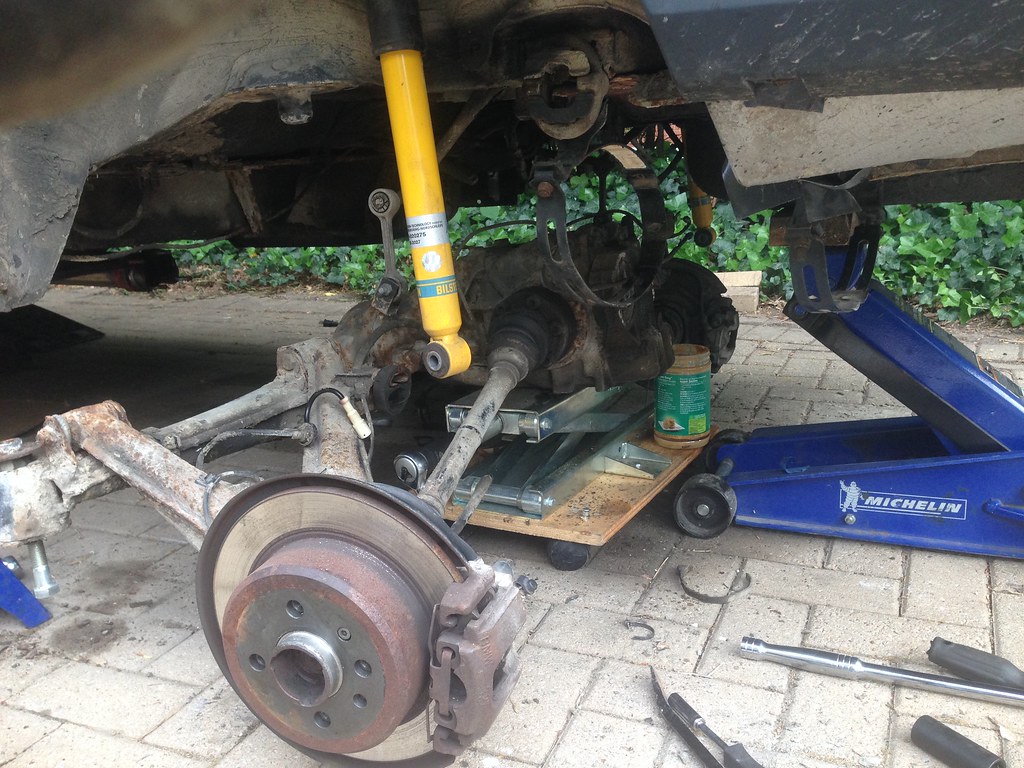
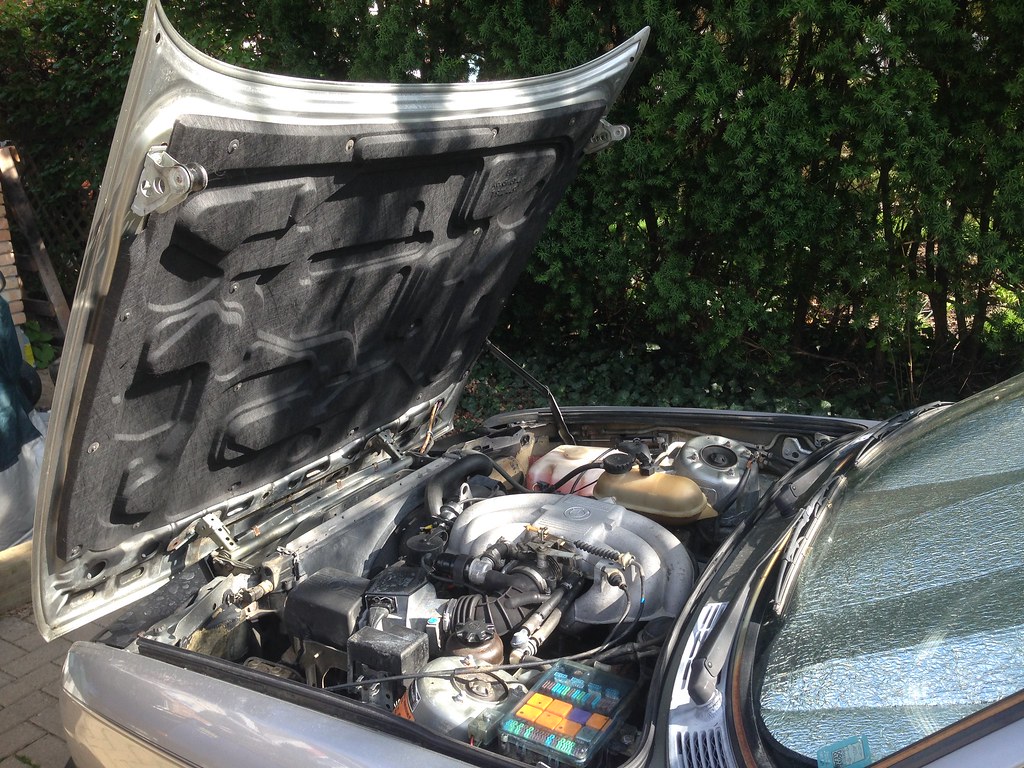
The guide wasn't overly helpful when talking about getting the subframe out with the driveshaft in the way. I ended up removing the exhaust heatshields and the entire shaft. I was able to squeeze it out around the front section of the exhaust, as I previously deleted the center resonator.
I'm going to be finding a lower mileage shaft or getting one of the u-joints replaced, because it has failed and is quite notchy. The slight driveline vibration at speed actually caused the front three driveshaft-to-giubo bolts to loosen up since I did the transmission swap last summer.
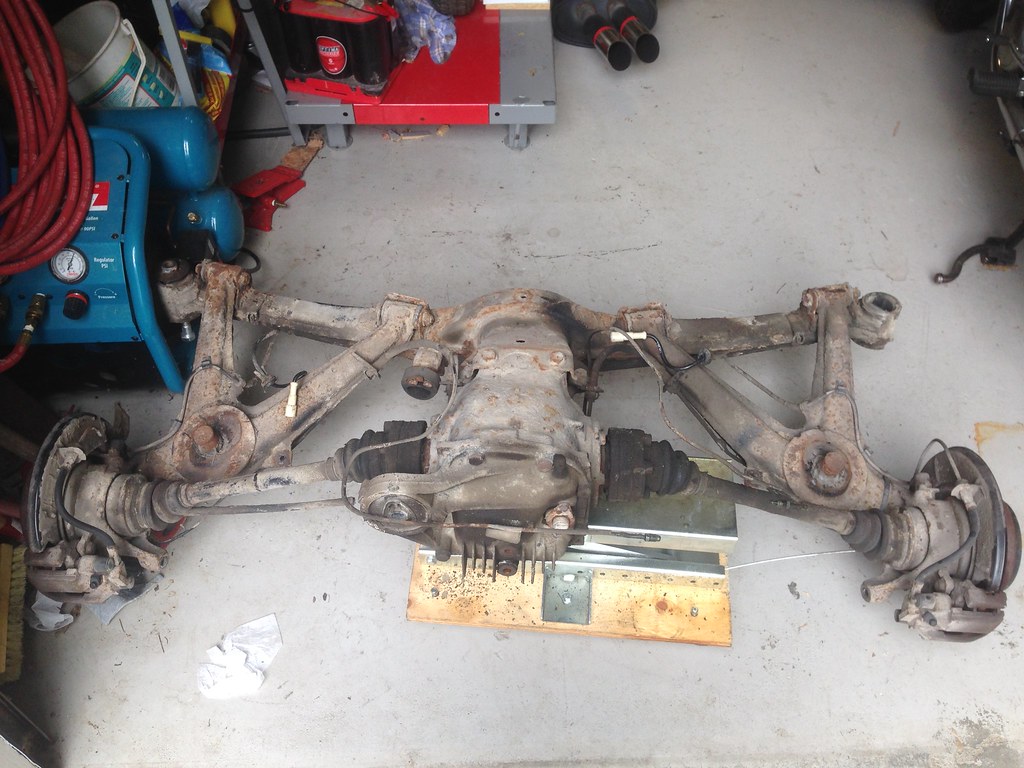
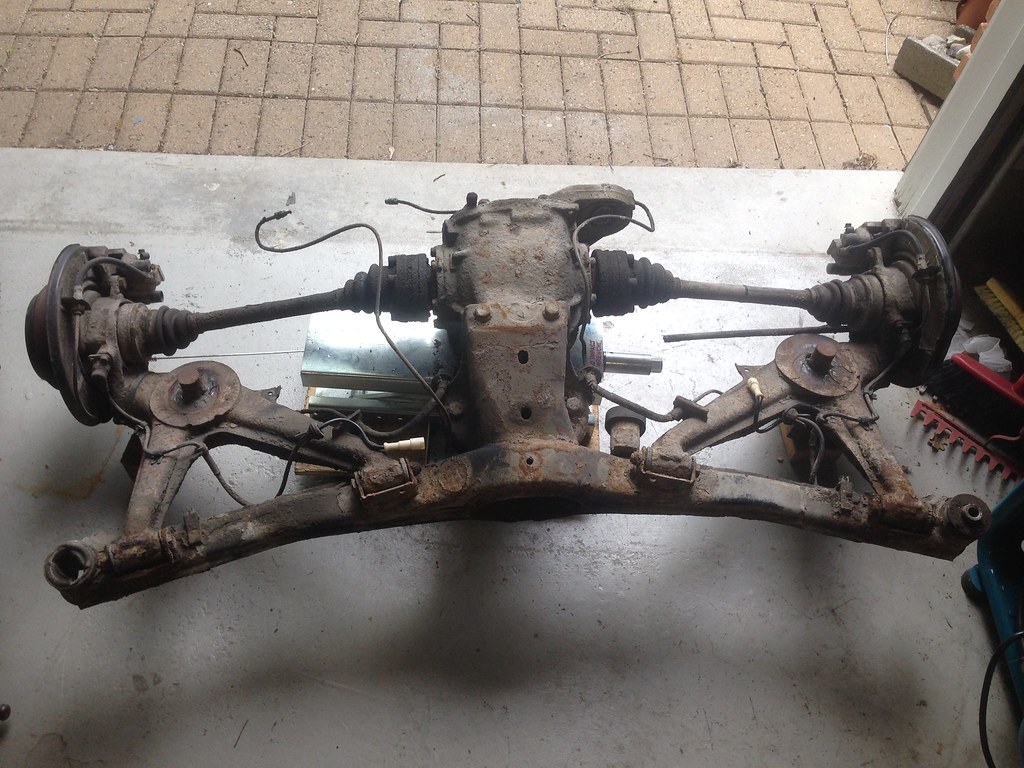
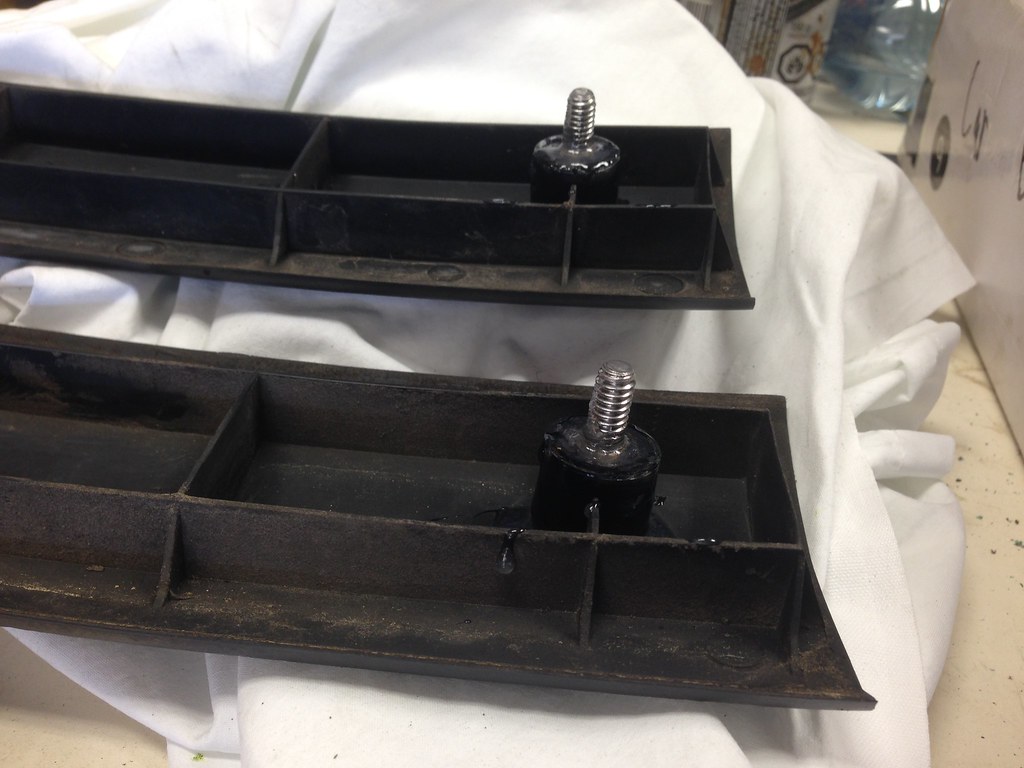
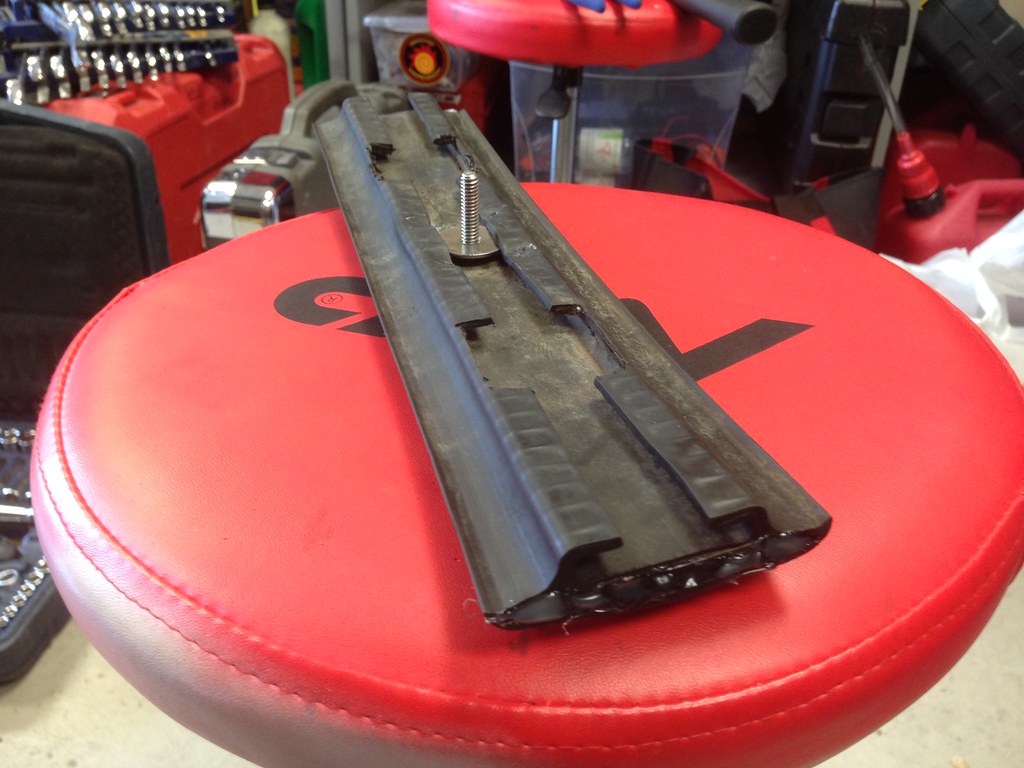
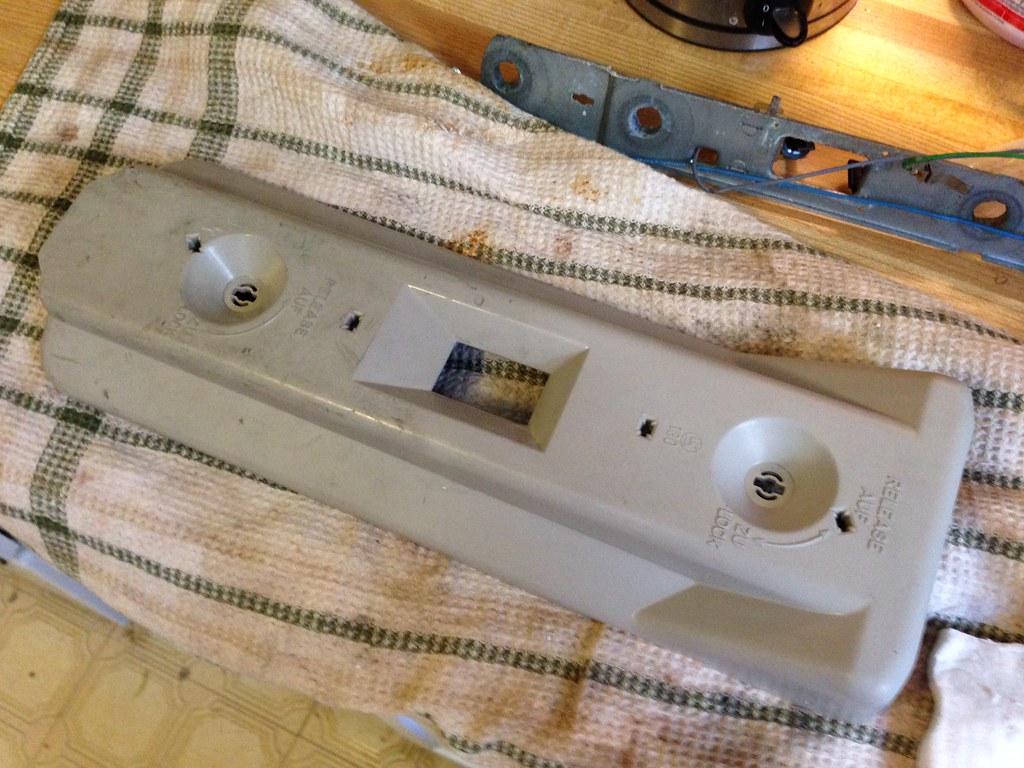
I had the subframe hang up on the driver's side bushing and refuse to drop. I ended up buying a short 5/8" bolt and notching the thread in four places, which allowed it to bite into the soft aluminum. I then made use of one of the old subframe bolts and hammered from above, with a large 9lb sledgehammer, until it finally came free.
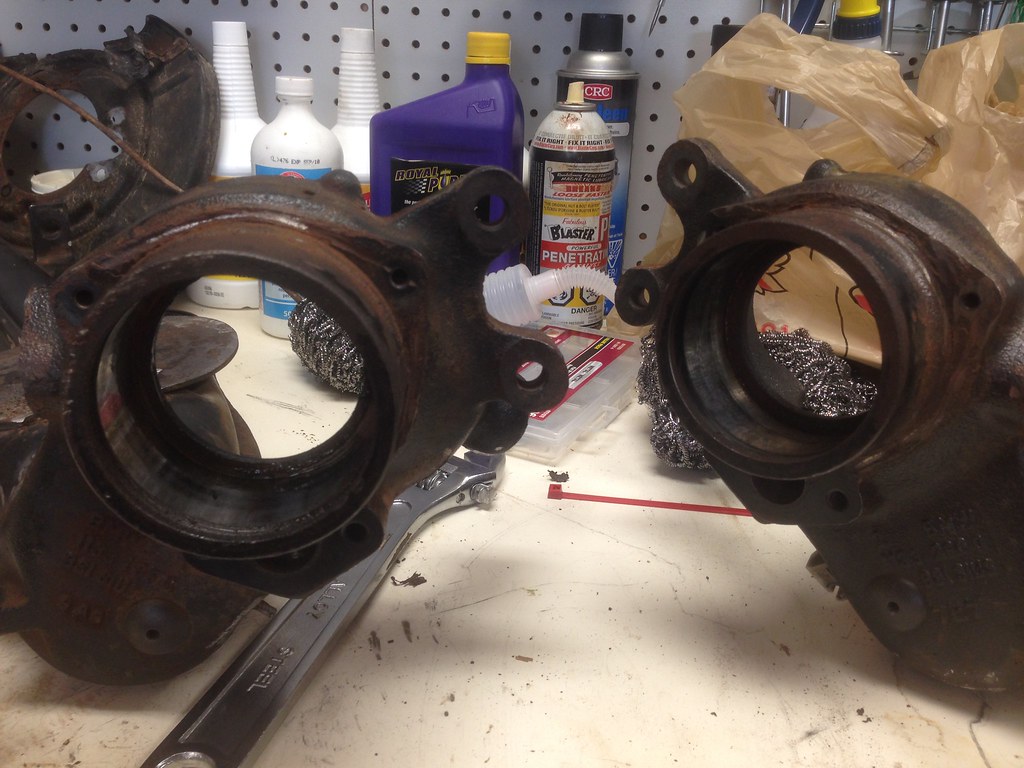
On the passenger side, the rubber bushing completely separated from it's metal sleeve, leaving the sleeve stuck to the car. I'll look at removing this tomorrow using the same method.
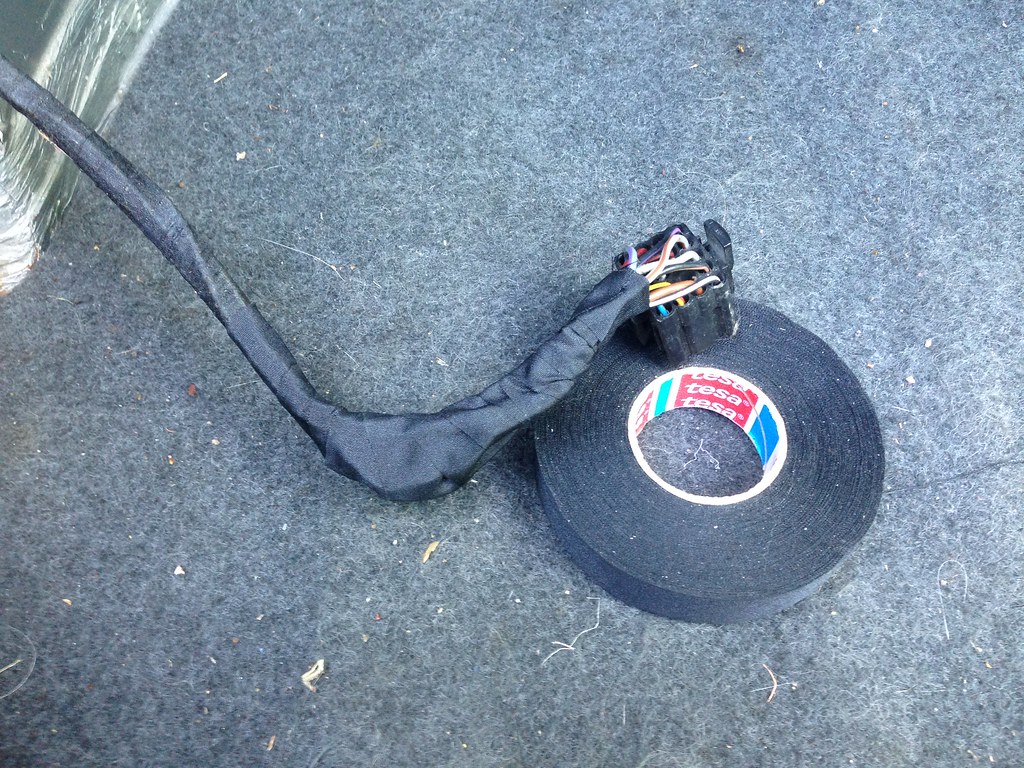
Also, I just cut the e-brake cables rather then trying to remove them while the subframe was in the way. I have new ones to replace them anyways.


Leave a comment: