If this is your first visit, be sure to
check out the FAQ by clicking the
link above. You may have to register
before you can post: click the register link above to proceed. To start viewing messages,
select the forum that you want to visit from the selection below.
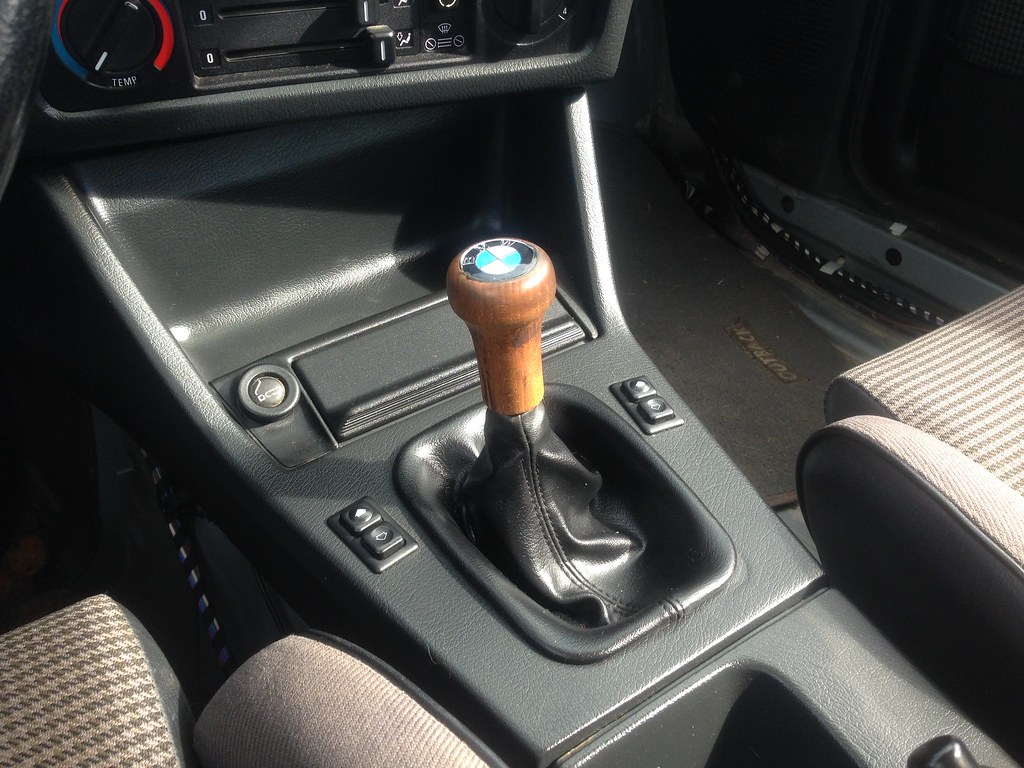
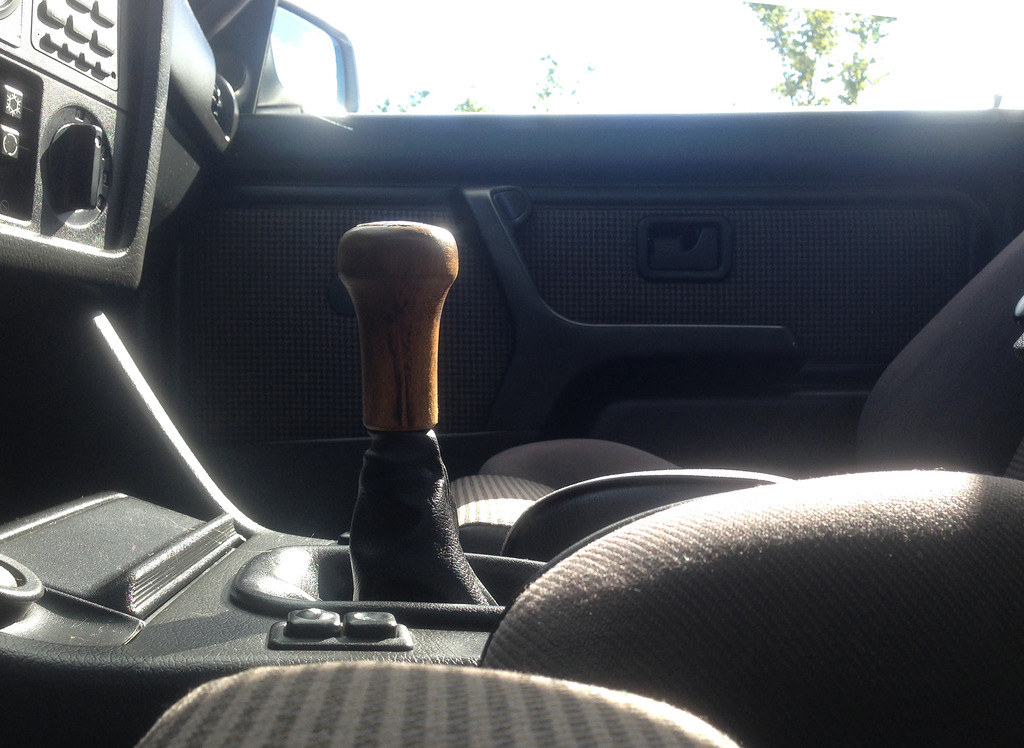
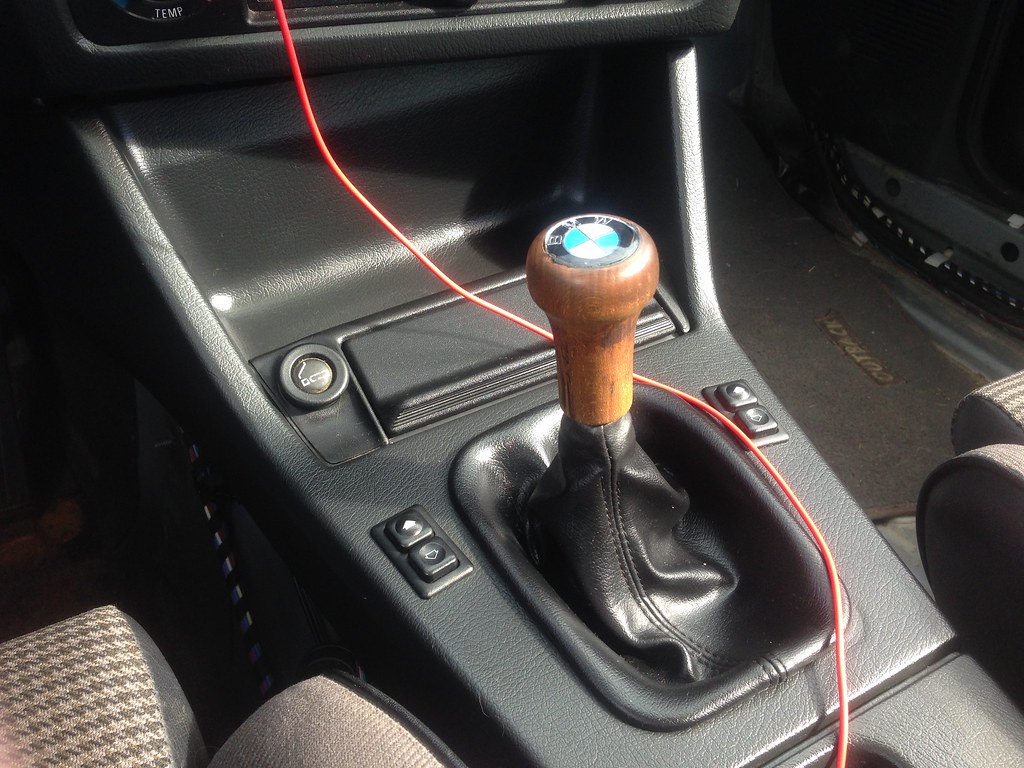
Where did you get that wood shift knob?? Is it a screw on or snap on type?
It's from my parts car.
I believe it is originally from a BMW 2002.
It's a snap on type, but one of the clips is broken. Even though I wrapped it with a little electrical tape, it keeps coming loose. Need to do something about that.
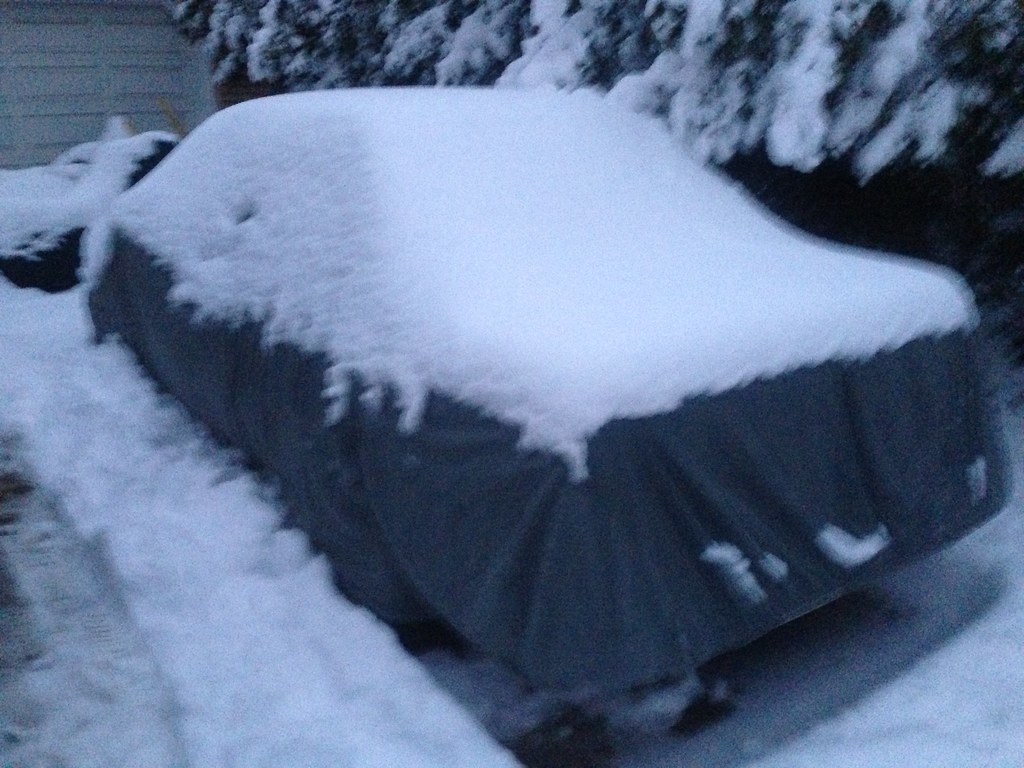
Temps dropped off quickly and early this year. I actually got some freezing rain on me yesterday when working on my sister's car.
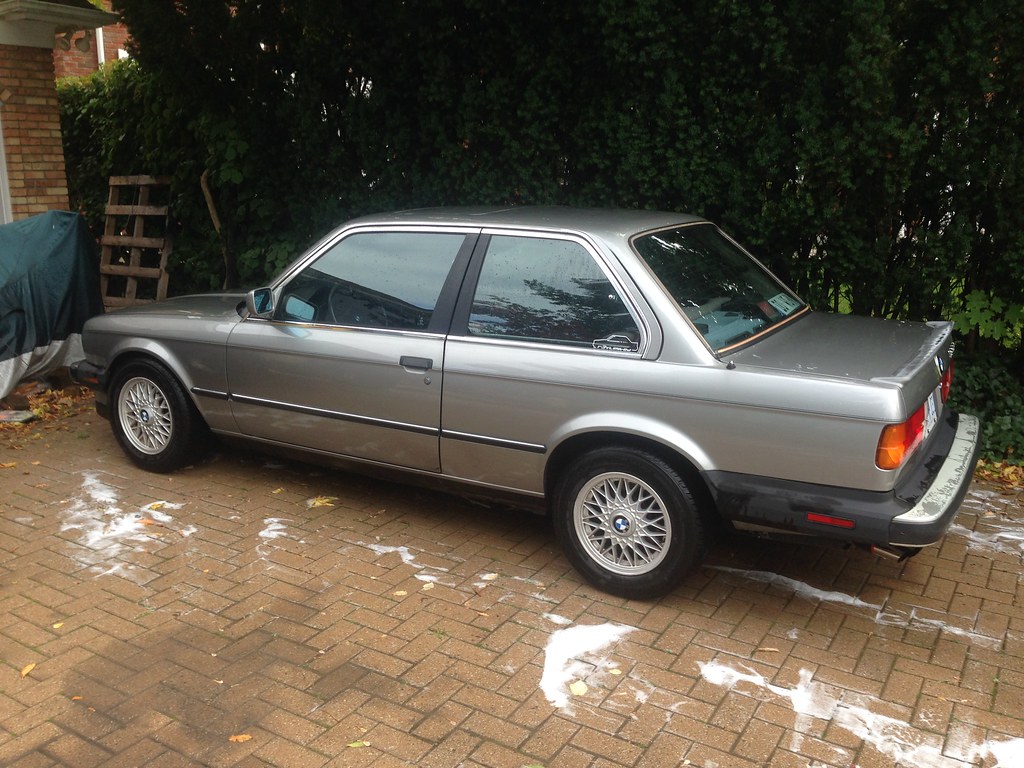
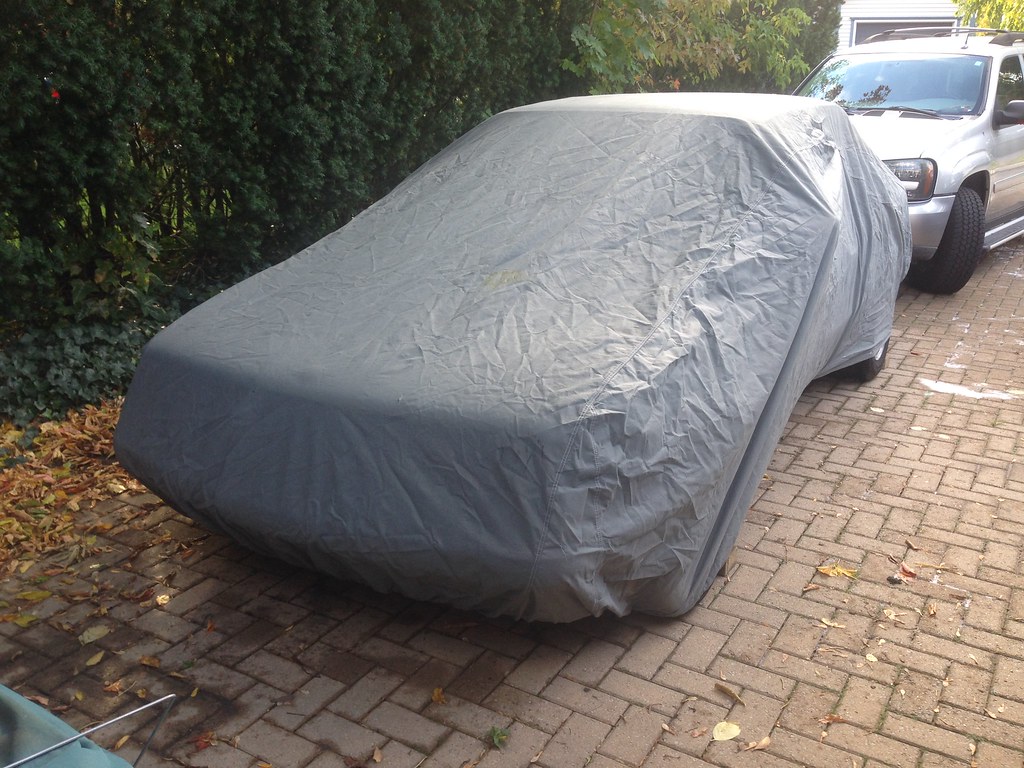
So i put the E30 away for the winter today. I put more effort into prepping it for storage this year.
Here's my list (mostly for my reference so I can do the same next year)
-Top gastank with Shell 91 (no ethanol to break down), add fuel stabilizer, idle car to get stabilizer in all the lines.
-Wash car by hand
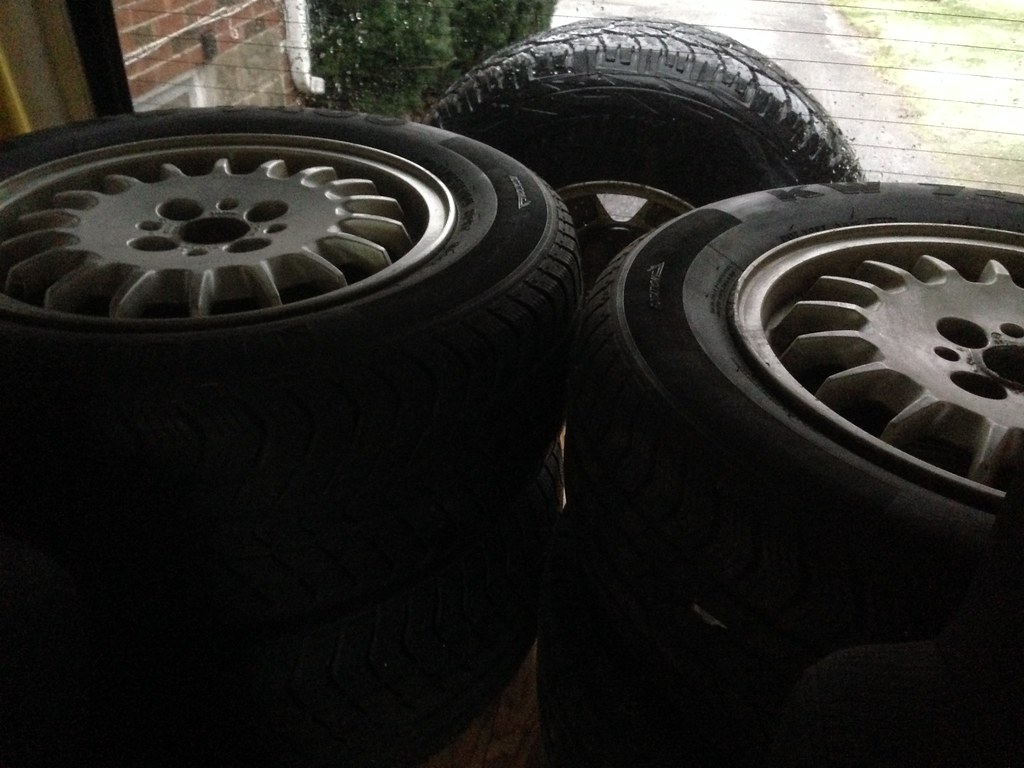
-Air up tires to max sidewall
-Vinylex dash
-Sun shade for windshield
-Close outside airvents
-Chock tires, leave in Neutral with e-brake off
-Bounce dryer sheet in airbox
-Bounce dryer sheets in interior, and trunk
-Steel wool in intake and exhaust
-Closet moisture remover on passenger side floor
-Pull battery
-Cover car
Unfortunately my car cover isn't the best (I got it for free with an E39 parts car I had), but it's better then nothing.
I did tie the sides together in three spots.
Not much new with the car.
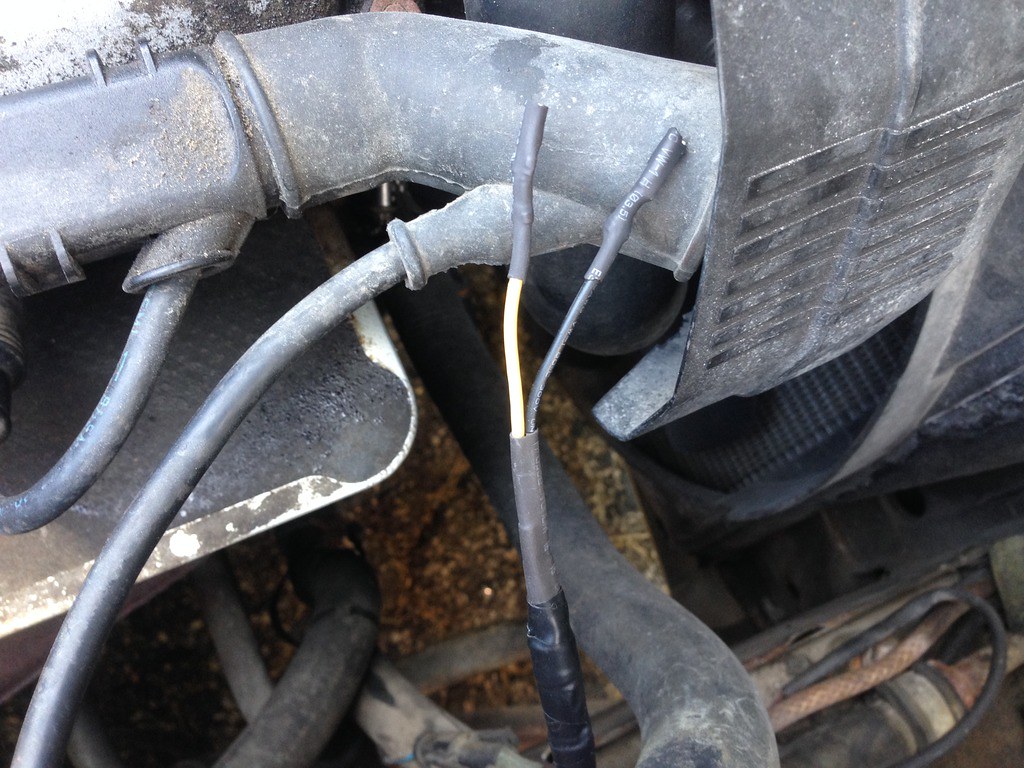
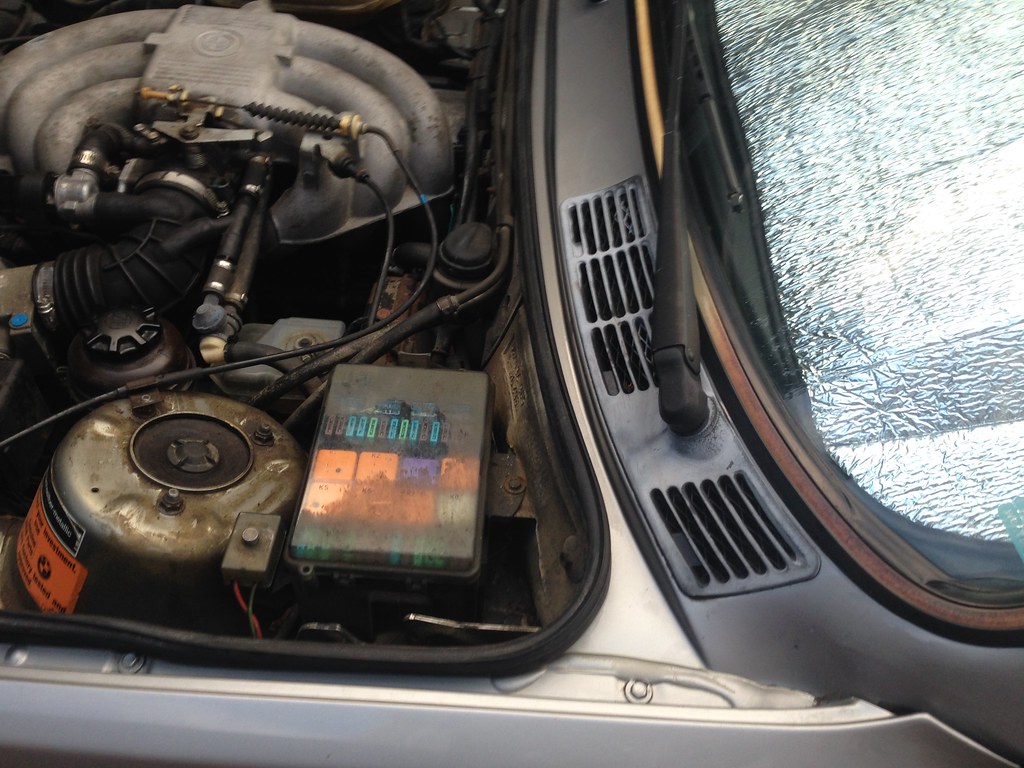
It's been running well, except for my windshield washer squirters that stopped working. Turns out the wires (where they met the original connector) had corroded and one had broken.
Of course my parts car used a different connector. I was able to modify some female bullet connectors from a computer power supply, and took the time to solder and heatshrink everything.
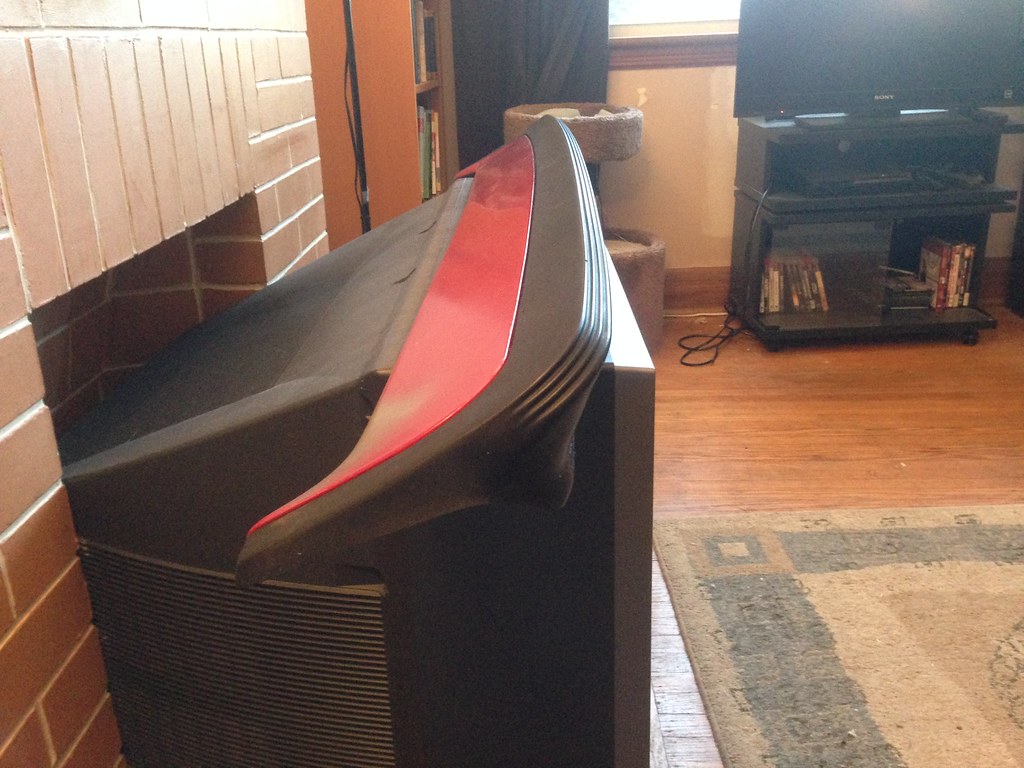
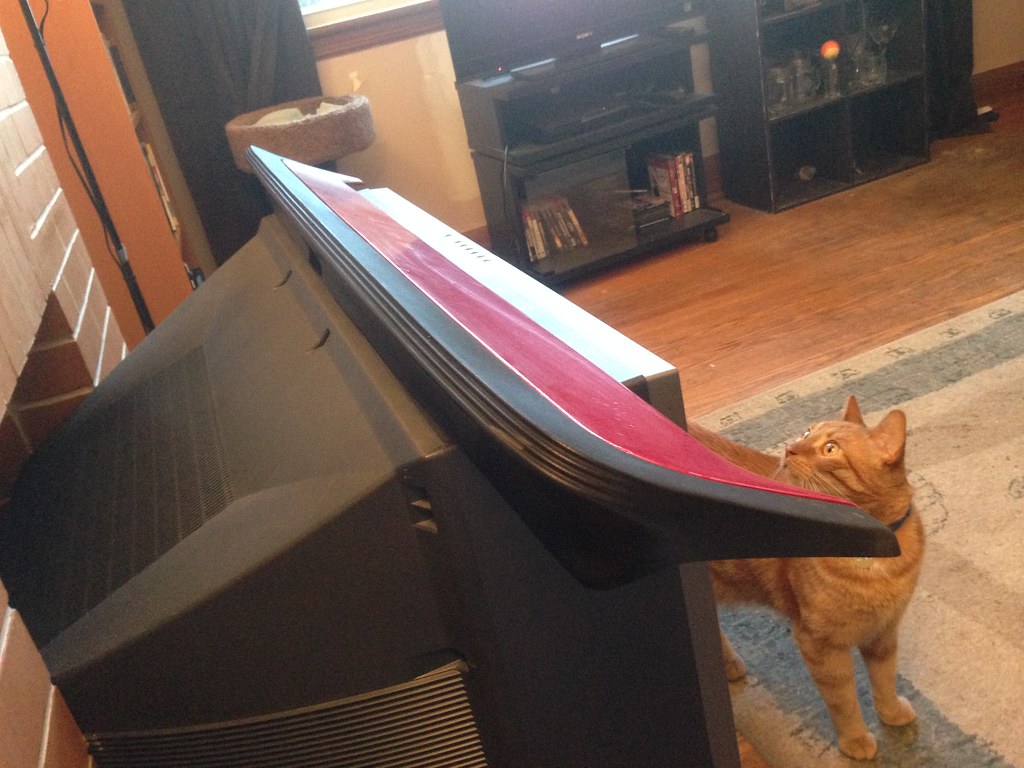
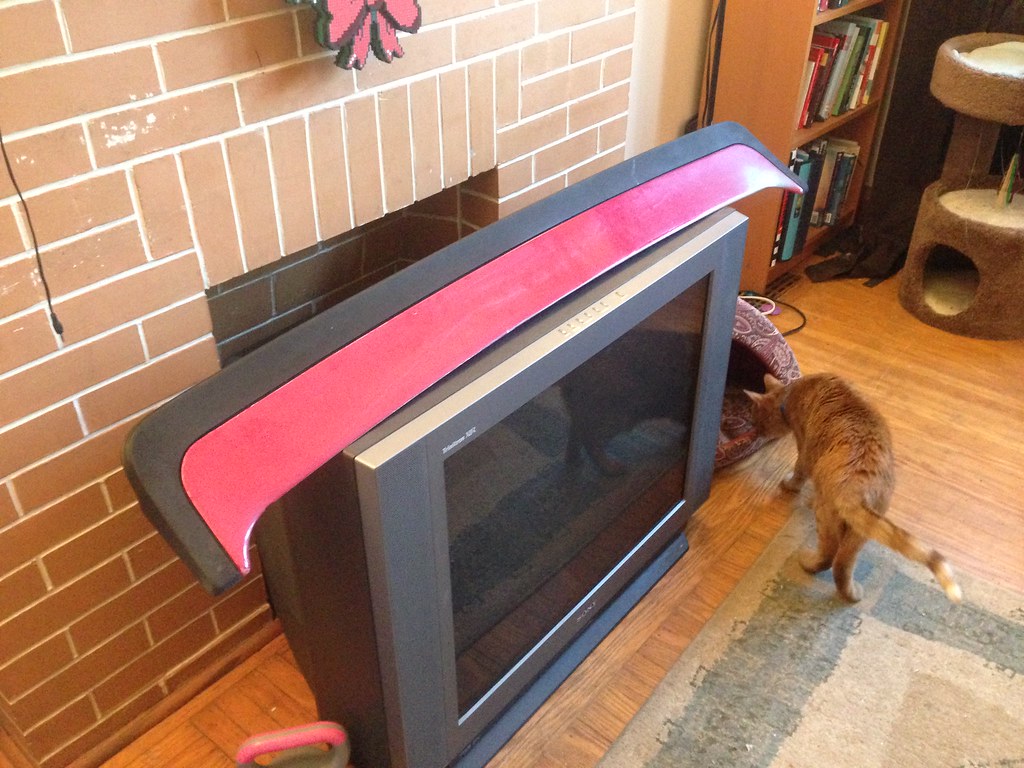
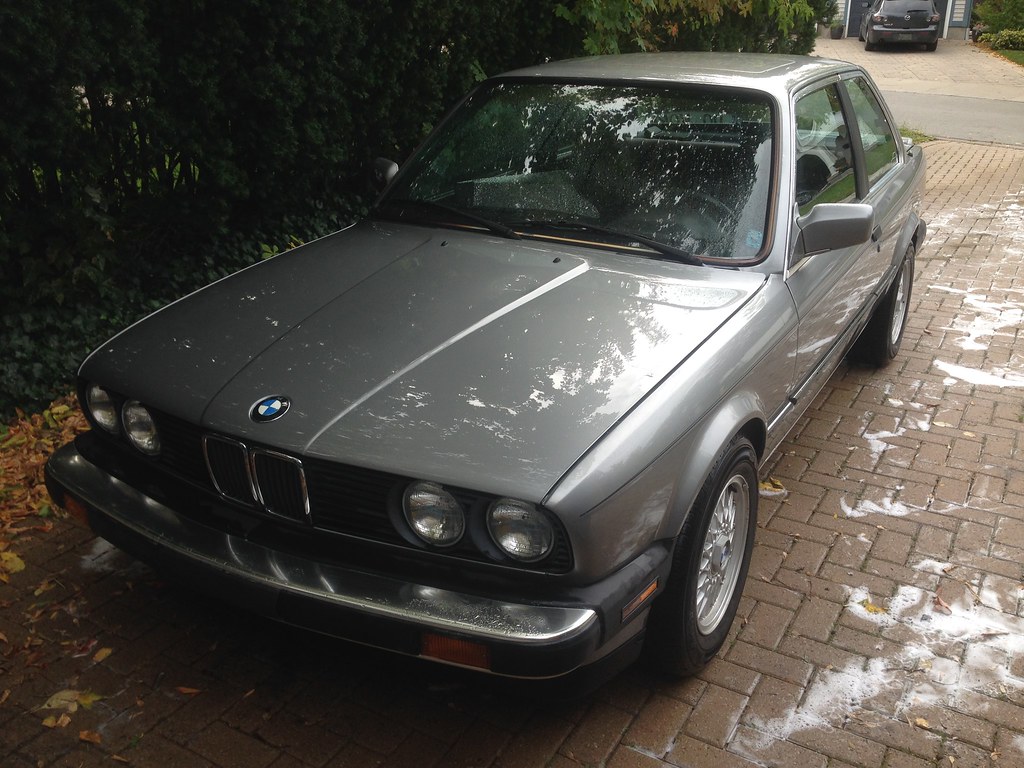
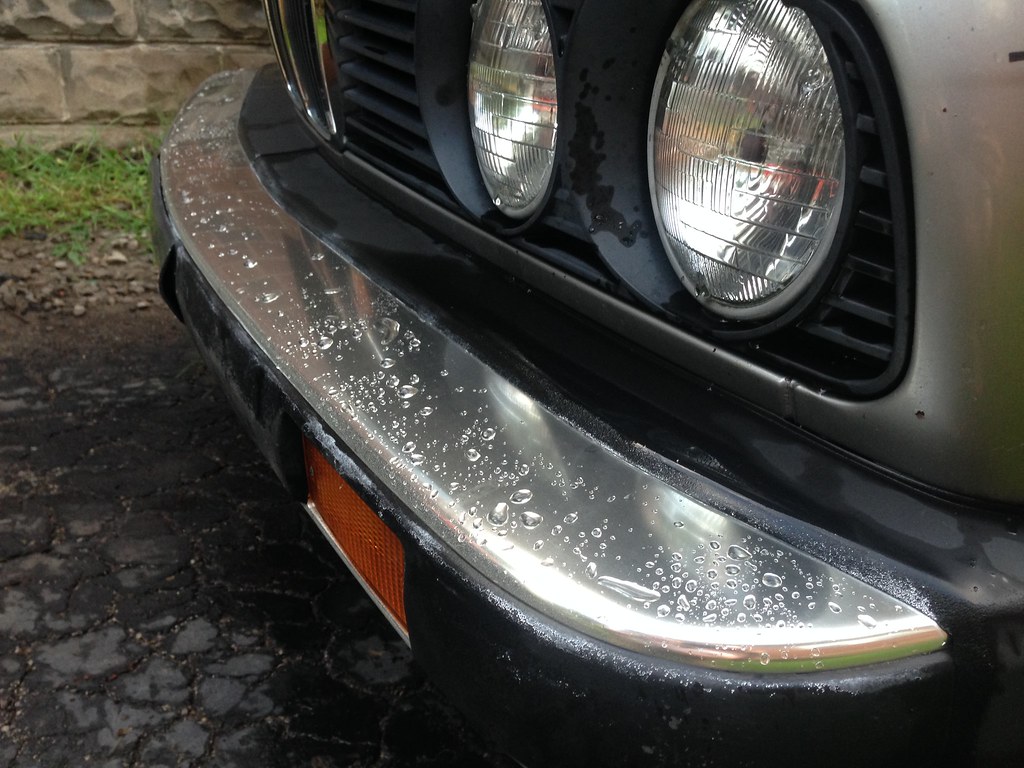
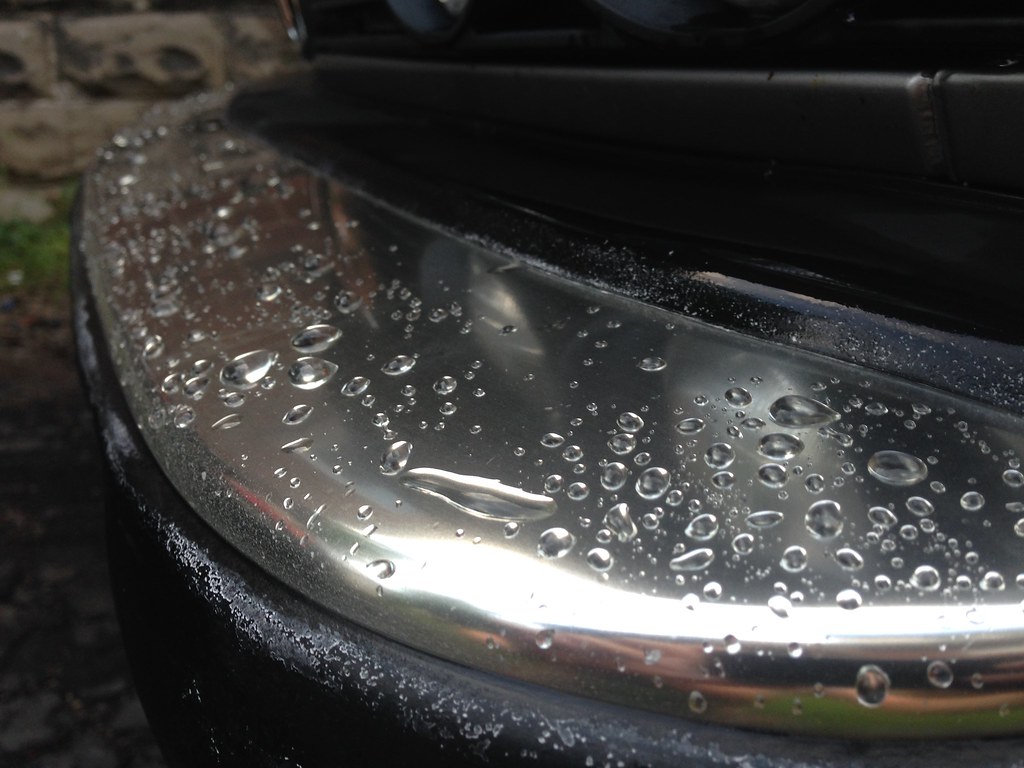
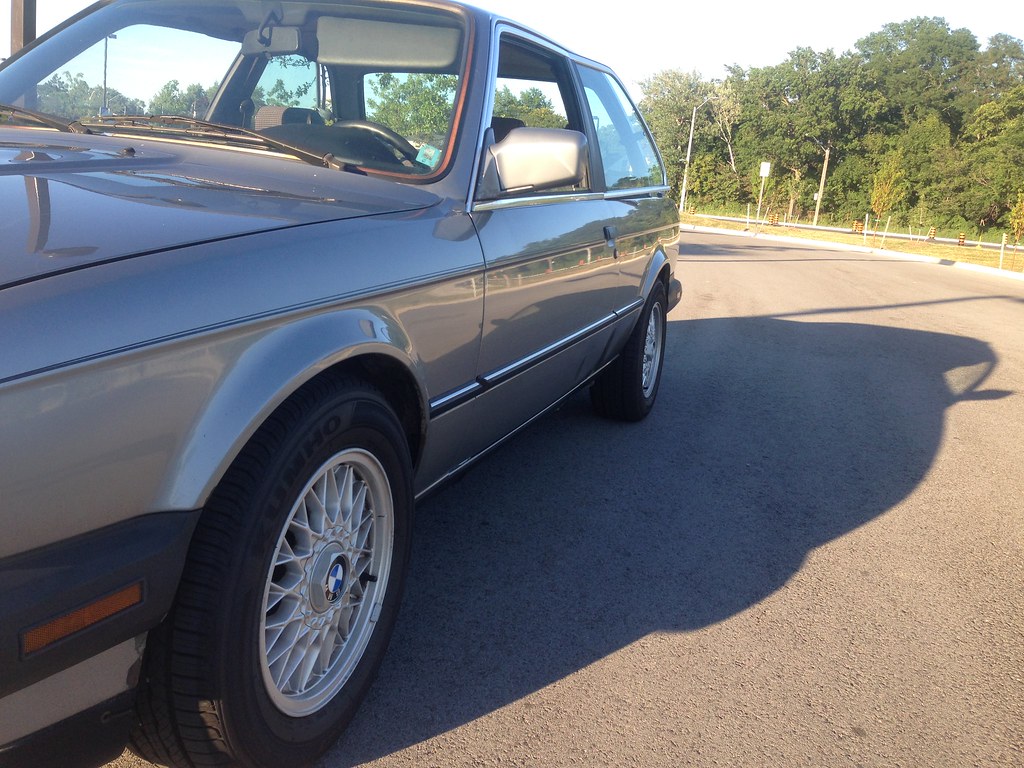
Took some random pictures for fun while I was waiting to pick up my girlfriend from work.
(Replacing the clutch master+slave and hydro hose on her Jetta, waiting for parts.)
I kind of like the contrast of the red AUX cord. Got it from eBay iirc.
I do tuck it away whenever I'm not playing music.
My radio delete panel is looking pretty haggard. I have a replacement already, when I get around to putting in the oil temp+pressure gauges.
LiFePo4s are going to actually be worse then a lipo for your application, since it charges at a .2C rate instead of a 2C rate. At least if its a standard charge rate battery. Id get that amp monitor in there stat.
I contacted the tech support from the site I bought the battery, and they say it does support a 2C charge rate.
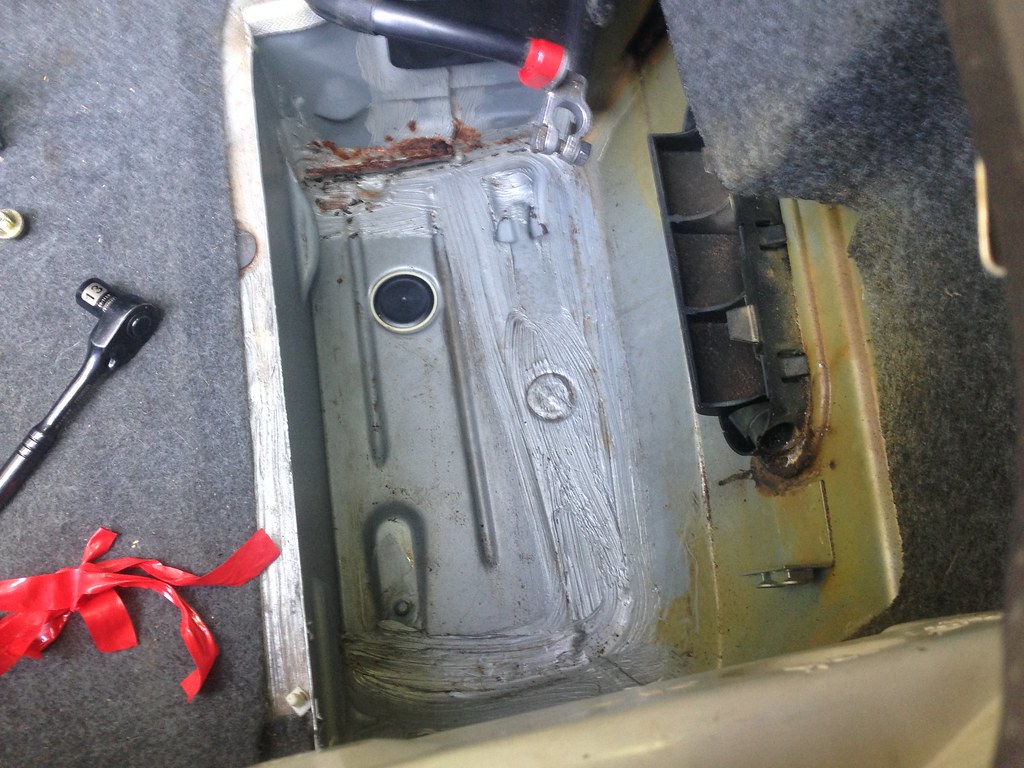
I took out the battery and put the lead acid one back in, until I have a current monitor in place :)
Cleaned out the battery pocket while I was there.
Found a little more rust, thankfully nothing near as bad as the driver's side pocket.
I also washed the car by hand again. I try to focus on one new detail every wash. This time I removed the hood seal and cleaned out the side and top drains/gutters around the hood. There was a solid layer of dirt in there beforehand.
---------------------------------
Yesterday, I wired in an additional 12v outlet that is hidden beside the driver's seat. The idea was to have a hidden charging hookup for my phone. Unfortunately the power coming from the alternator is pretty dirty, and I get lots of noise when playing music through an AUX cable.
I'm going to explore cleaning it up. Maybe a Capacitor right by the alternator? Should clean up the power for the entire car.
Also, off topic, but my girlfriend put a deposit on an '02 Jetta 1.8t the other day. I talked them down to 40% below their asking price. Picking it up on Saturday. Remains to be seen if it will pass safety and etest, but for what she paid, we can't go wrong!
Gotta love boost, even if it's a tiny stock turbo! Apparently they made 180HP when new. I test drove it, and it's certainly faster then the ~110HP civics that were also in the same pricerange. Oh and it's a 5-speed.
--------------------------- 16/09/15 Update
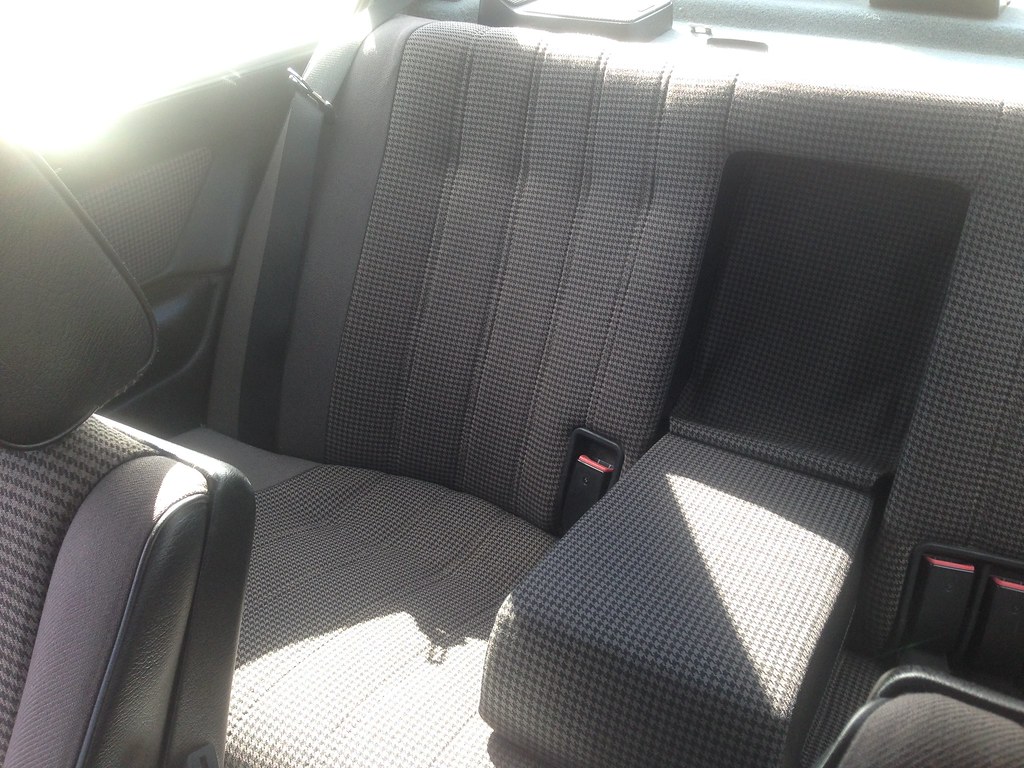
Had my girlfriend's sister and her two friends in the back of the car the other day.
Pretty sure it's the first time I've used the back seat.
By the end of our brief drive, these 17-year-olds all thought the car was cool. Nice to see the car is liked by young non-car people as well.
Also, finally got an alignment (at a Toyota dealership of all places). Recommended to me by a friend who used to work there. Turns out the tech who ran the alignment rack has an E46. The tie-rod ends turned easily with a small pipe wrench. I guess me hitting them with PB blaster a few times in the past helped.
Had the front toe set to Zero, and the steering wheel is finally straight.
Also, got my girlfriend's Jetta 1.8T on the road, she got the hang of the 5-speed pretty quick! I'm so proud!
LiFePo4s are going to actually be worse then a lipo for your application, since it charges at a .2C rate instead of a 2C rate. At least if its a standard charge rate battery. Id get that amp monitor in there stat.
I dont know where your getting that LiIons have more risk then LiPos, Lipos are basically controlled bombs, but if it gets to hot or even a pinhole appears through the metal soft casing it will explode, no question.
Yes, what you've said is true.
However, my battery is Lithium Iron Phosphate (LiFePO4), which is not the same as a Lithium Polymer (LiPo) battery.
I dont know where your getting that LiIons have more risk then LiPos, Lipos are basically controlled bombs, but if it gets to hot or even a pinhole appears through the metal soft casing it will explode, no question.
Draw is one thing, not knowing the math there is a chance it will charge at something greater then 1-2C and could damage the lipo. Just FYI.
I was thinking of putting an ammeter inline with the battery, to check the charge rate.
Since you've also mentioned this, I'm going to remove the battery until I have a chance to get an ammeter to monitor the charging.
Originally posted by ThatOneEuroE30
Yea I'd just spend the money on a real light weight battery. Them batteries are know to blow up and fry electronics after a while. I actually a similar one that I went to charge and lit my kitchen table on fire so just food for thought.
The LiFePO4 packs are a lot better then Li-ion and other lithium based compositions for fire/explosion risk, but there is still a risk.
Stock E30 alternator is 90A, a good chunk of that is used to run the car at idle, and my alternator definitely doesn't perform like new. Last time I had charging issues, I just had new brushes put in. All that said, it's definately safer to get an ammeter on there to monitor the charging, and then check the cell balance periodically.
Yea I'd just spend the money on a real light weight battery. Them batteries are know to blow up and fry electronics after a while. I actually a similar one that I went to charge and lit my kitchen table on fire so just food for thought.
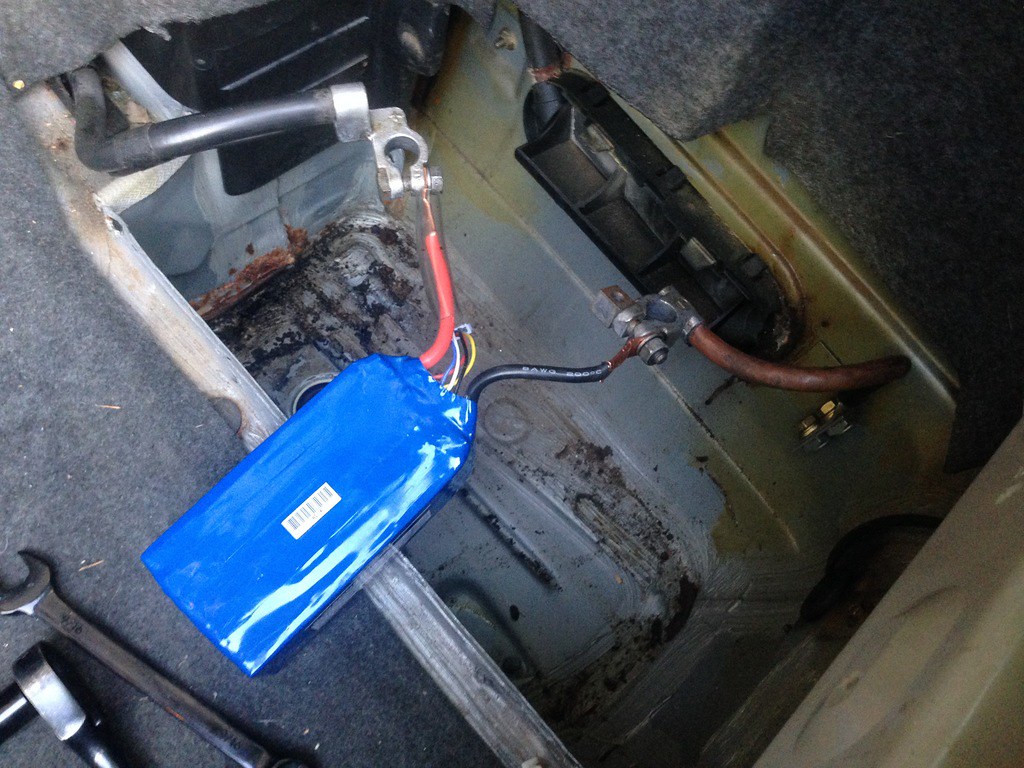
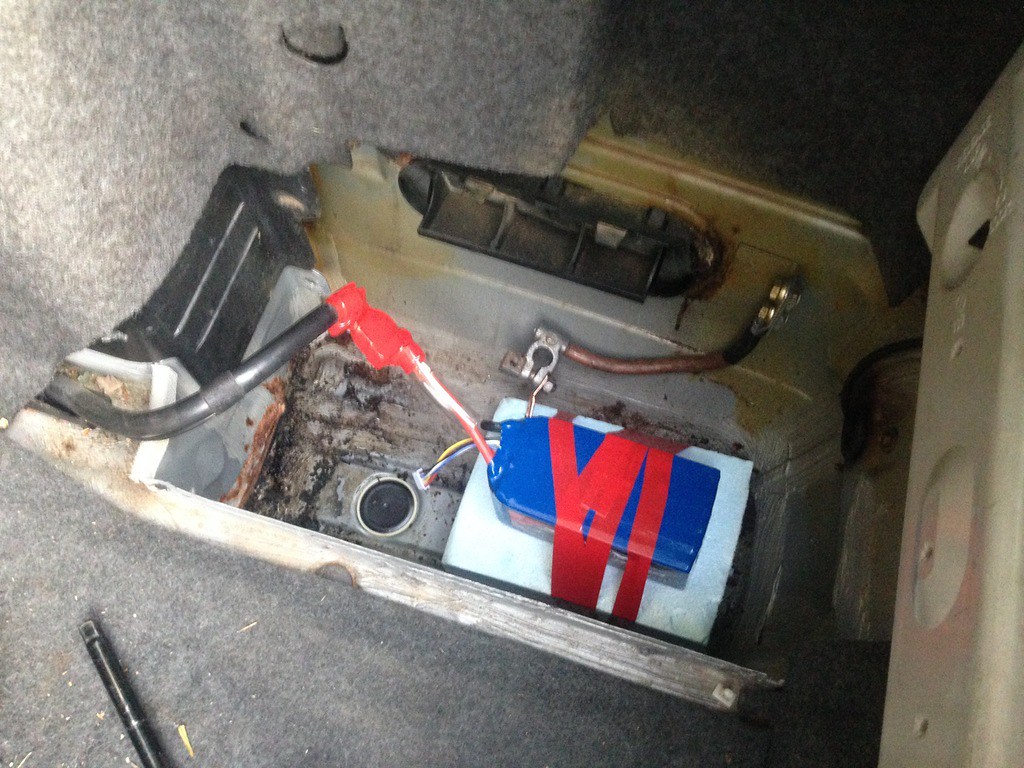
Spent a few minutes fitting my lightweight battery.
Battery is a "ZIPPY Flightmax 8400mAh 4S2P 30C LiFePo4 Pack" and weights just 2.1lbs!
The rated burst draw is 40C, which works out to 336A for cranking.
Believe it or not, it cranks the car without issue. I took 42.5lbs out of the car by switching to this battery. (1.4lbs of that was for the battery tray and battery expansion box)
They are normally used for RC hobby vehicles, and charged by a balance charger.
I'm not winter driving the car, so CCA isn't a concern.
It remains to be seen how the battery will hold up in a DD. I'll keep an eye on it and report back.
I probably also should make a better mount for it, and clean up the gunk from the rear pocket as the same time.
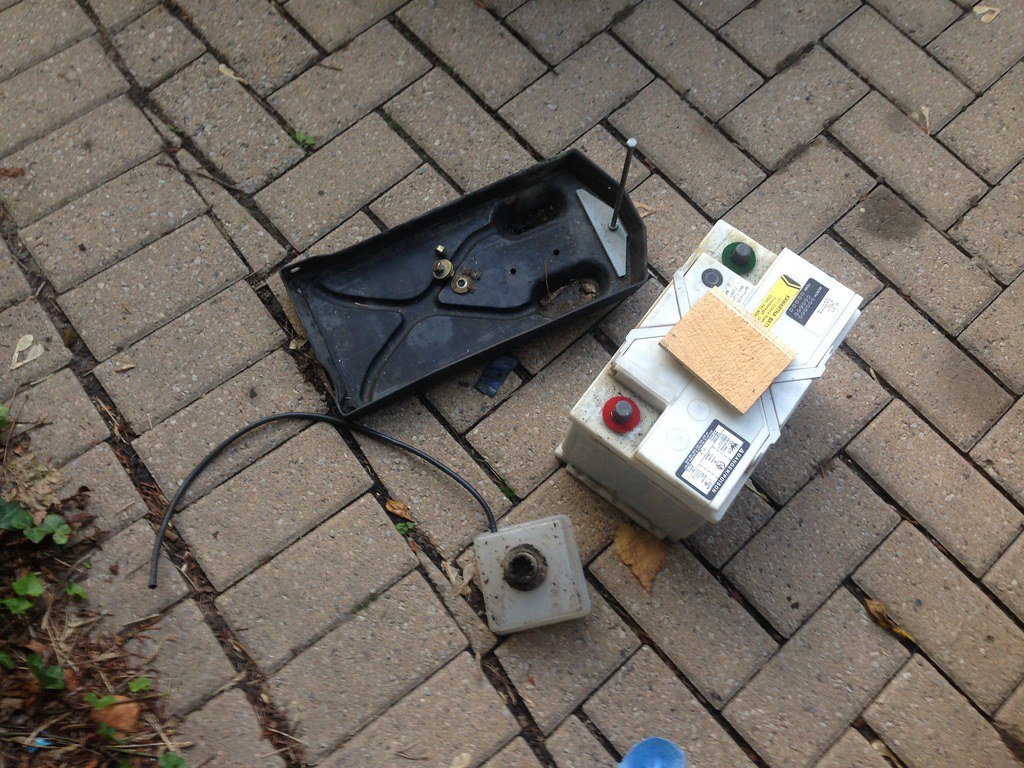
Oh, I also removed this strange box that was sitting under the battery tray. It has a small rubber hose that wasn't connected to anything, and the bottom has a fitting that goes through to the bottom of the car. I used a floor pan plug to fill the hole after removing it.
Any idea what its for? If I had to guess, I would say some sort of vent setup for the original battery?
Edit: I was right, it's an "Expansion tank" for the battery
I changed the oil last week.
Running some Dino 20w50 for now (Castrol IIRC), at least for a few (reduced interval) changes.
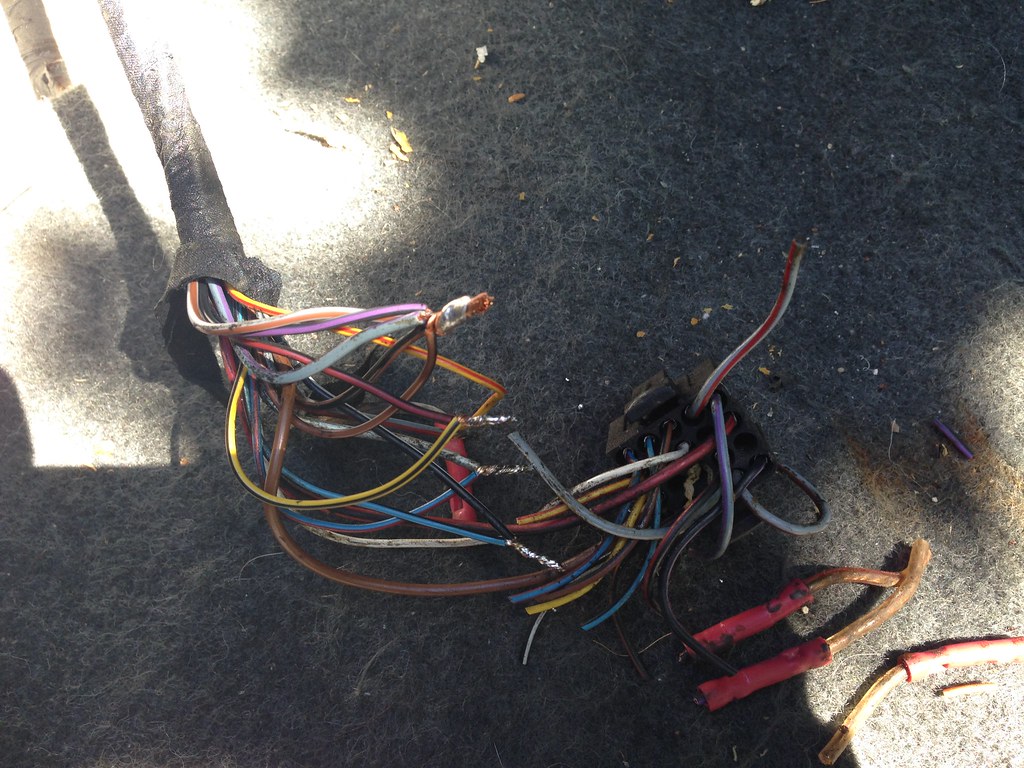
Also got tired of the lack of music, so I decided to try and make sense of how the previous owner had the stereo wired.
The crappy Sony headunit that was in the car when I bought it, had four pairs of wires running to the rear of the car, to the factory amp connector. They were crimped onto the factory speaker wires from there.
Unfortunately the factory amp was long gone. I had already stripped out the aftermarket wiring that was running from the headunit to the rear, so I set about using the factory wiring to run from the "headunit" to the amp connector.
Soldered and later heatshrunk the connections in the rear.
Interestingly enough, all four speakers share a common ground wire from the front of the car. It was originally intended to drive a low level signal to the factory amp, but in this case I'm using it to carry speaker-level current for all four speakers. This is definitely a bottleneck.
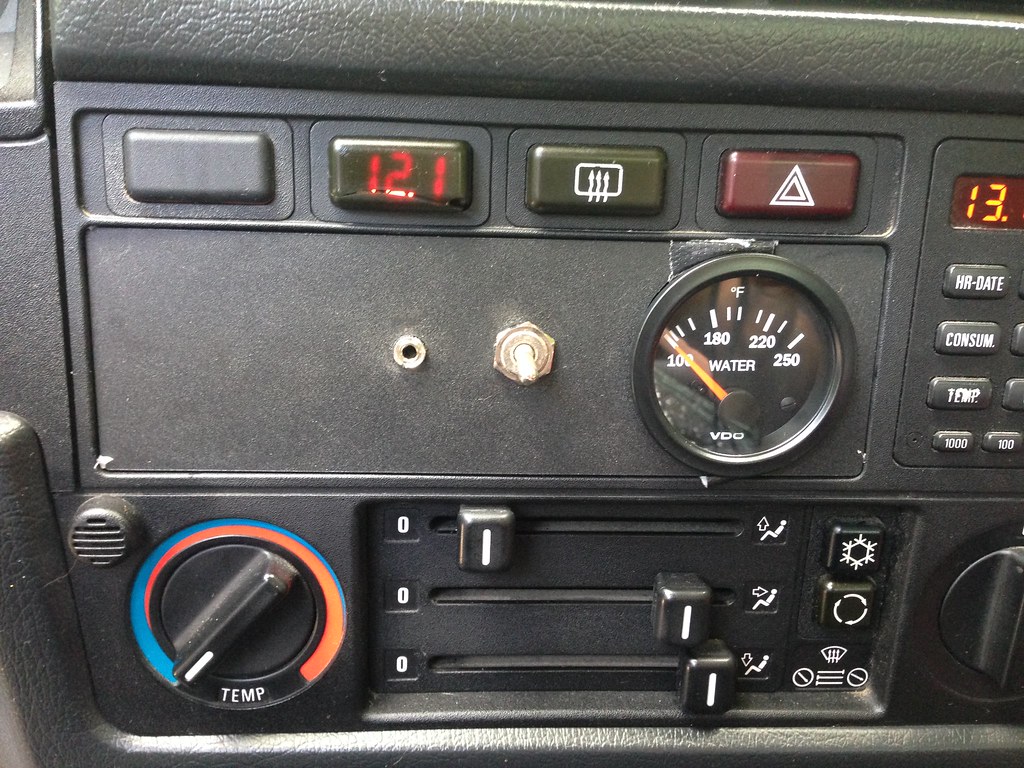
Then upfront, I did a quick and dirty job of wiring in a hefty 10 amp, 12v -> 24v step up DC-DC regulator along with a small Class-D amplifier board. These are both jammed behind the faceplate (on top of the climate control unit).
I am running both left (and both right) speakers in parallel right now, and I get the amp cutting out / bad distortion at medium volumes. I think the factory speakers are low impedance and in parallel are driving the amp down too low.
Anyways, I did a quick job of mounting a power switch and a 3.5mm aux jack beside my VDO gauge.
This setup is temporary until I get my other gauges installed, then I will probably hide the power and input switches, and potentially add balance and fade potentiometers.
I may also add a twin Class-D amp if I'm taxing the existing amp too much and that is the cause of my cut-outs. It's just as likely that there is a bad connection somewhere, as I did try to reuse as much of the (crimped) wiring that was left from the Sony HU, rather then cutting more off the factory harness.
When the other two VDO gauges go in, I'll probably be redoing all of the stereo wiring with fresh stuff, soldering all the connections as I go.
For now, I have more music then I did before!
---------------------- 08/17/15 Update
After putting about 2000KM on the car since the trans swap, I am comfortable enough saying that the clutch is broken in. I no longer get clutch chatter when slowly reversing either.
I gave it a good wheelspin launch the other day, and then proceeded to chirp both the 1-2 AND 2-3 shift. :D
The car is slowly turning into what I originally envisioned. Sporty when I want it, but still able to kick back, recline the sport seats, and cruise down the highway and relax.
---------------------- 09/01/15 Update
E30 is still bringing a smile to my face whenever I drive it.
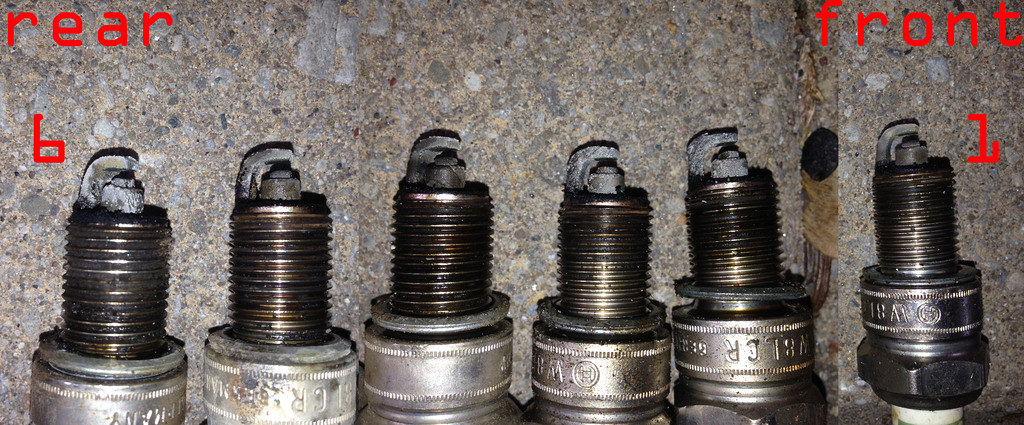
I changed the plugs today using a set of Bosch Super Plus (7909)
Here is a picture of the old plugs, mileage unknown. Sorry for the poor cellphone quality.
I was careful to clean out the plug recesses with compressed air, multiple times, before I removed the plugs.
I used antisieze and a small torque wrench to reassemble.
Car seems to idle a little better and has less hesitation under 2000rpm.


Leave a comment: