Announcement

Collapse
No announcement yet.

Hartge h26 project.....the long road:) Oct 2014 begins:)

Collapse
X
 
  • Filter
  • Time
  • Show
Clear All
new posts

    good idea

    Might just do that on the valve cover. Just clean it up and put a coat of paint on it for now. Then send it off this winter. Have to get my car on the road and enjoy it now!!!:)
    jm
    Last edited by 2002jm; 07-23-2015, 04:40 PM.

    Comment


      Originally posted by 411 View Post
      You should send the valve cover to rennewed finishes for powder coat.....it may take a few weeks but the result is incredible ( or wait till winter down time)
      Attached Files
      sigpic

      Comment


        Dam Barron!

        Looks like you have 2 m20 Hartge valve covers and 1 m30 Hartge valve cover?
        Projects Hartge,Alpina & AC Schnitzer Builds.http://www.r3vlimited.com/board/showthread.php?t=280601
        http://www.r3vlimited.com/board/showthread.php?t=227993
        http://www.r3vlimited.com/board/showthread.php?t=289362

        DSC04926 by Raul Salinas, on FlickrDSC03413 by Raul Salinas, on Flickr

        Comment


          Those do look exceptional. Price?
          ACS S3 Build / Dinan 5 E34

          Comment


            Originally posted by 411 View Post
            You should send the valve cover to rennewed finishes for powder coat.....it may take a few weeks but the result is incredible ( or wait till winter down time)
            Originally posted by TimeMachinE30 View Post
            Those do look exceptional. Price?
            Speak to Dave @ http://www.renewedfinishes.com/
            sigpic

            Comment


              Hartge 83-85 front airdam install DIY

              This airdam will actually fit on any <<<1988 e30, it was however designed for and is period correct For 82-85 "euro" models.
              That being said, if you are conveting the North American model, "euro" bumpers,brackets, 82-85 foglights&brackets will be needed. Your metal valance can be cut to fit or you can still buy part # 41331884353.
              If you have an 85-87 "euro" model you will still need the foglight brackets only,
              You could cut the valance but in this case I recommend selling it and buy #41331884353
              sigpic

              Comment


                The car in these pics is a 87 jspec ("euro") model. Fitment was started prior to
                receiving the new upper valance piece.

                #41331884353. Upper valance

                #63171370783 foglight bracket
                Attached Files
                Last edited by 411; 07-23-2015, 06:25 PM.
                sigpic

                Comment


                  Early days before conversion
                  Attached Files
                  sigpic

                  Comment


                    looks good

                    Just sent a message to renewedfinishes. We will see what the cost is for the hartge valve cover....yours do look great!
                    jm

                    Comment


                      Basically all the tools & hardware you will need:

                      Drill & 1/4" bit & small pilot bit
                      1 or 2 clamps
                      4 nuts & bolts
                      Asst washers & fender washers
                      (Something to put under valance to get it to the right height/ or a friend to give you a hand)
                      Dremmel & accessories is also very handy ( optional)
                      Attached Files
                      Last edited by 411; 07-24-2015, 05:54 AM.
                      sigpic

                      Comment


                        Let's get started😈
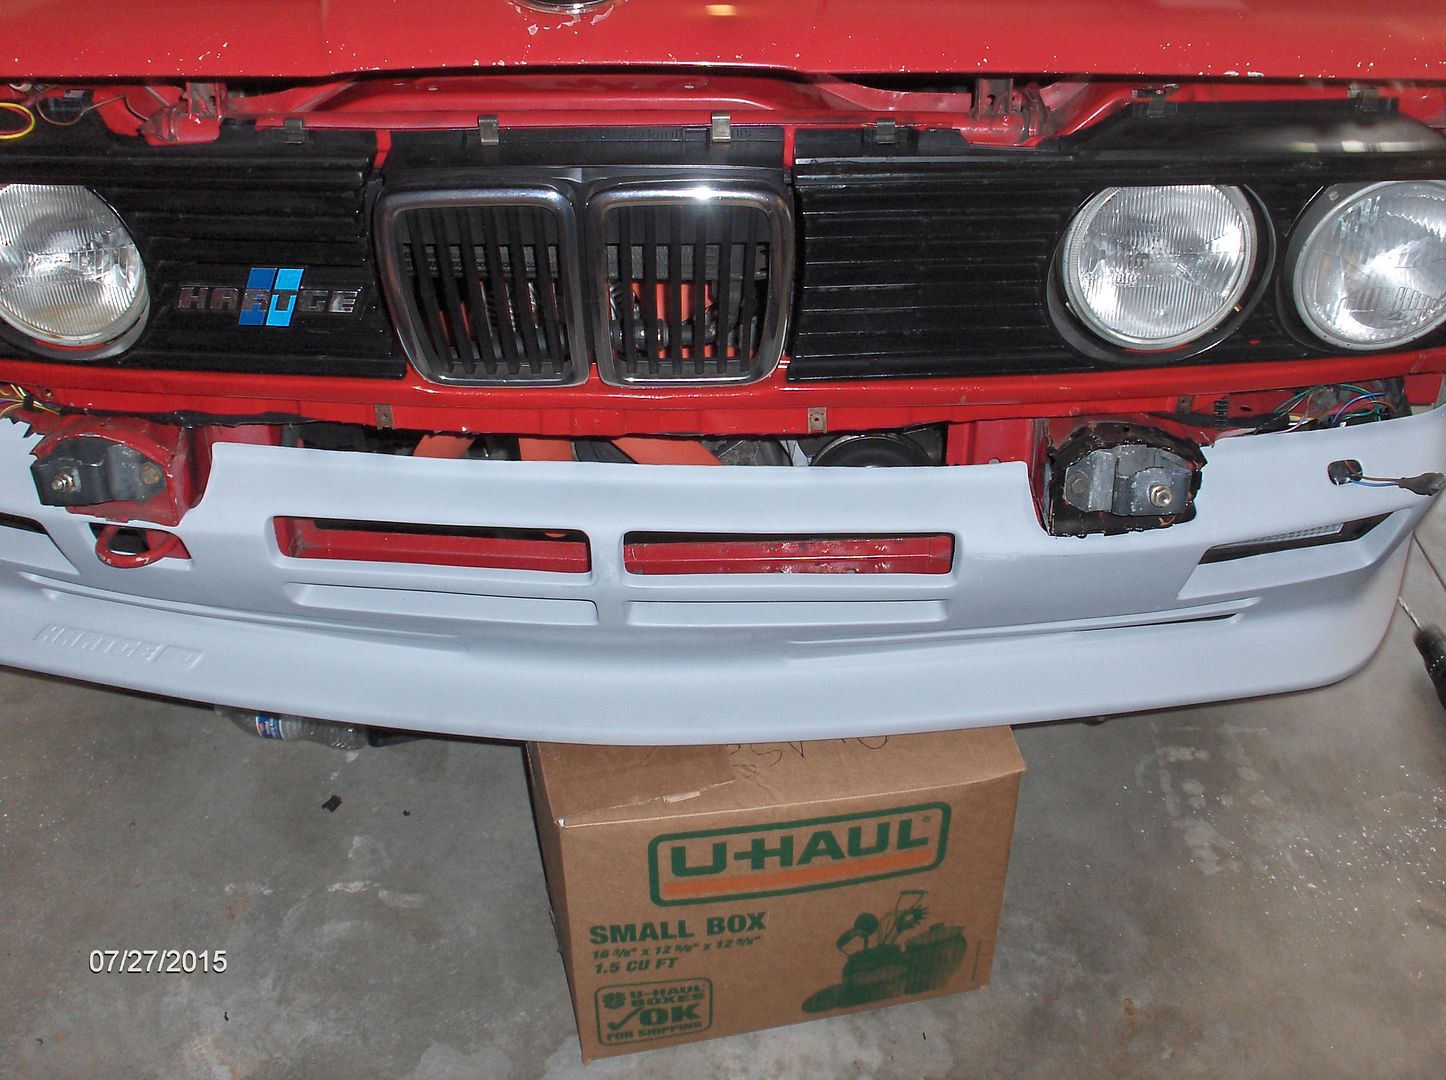
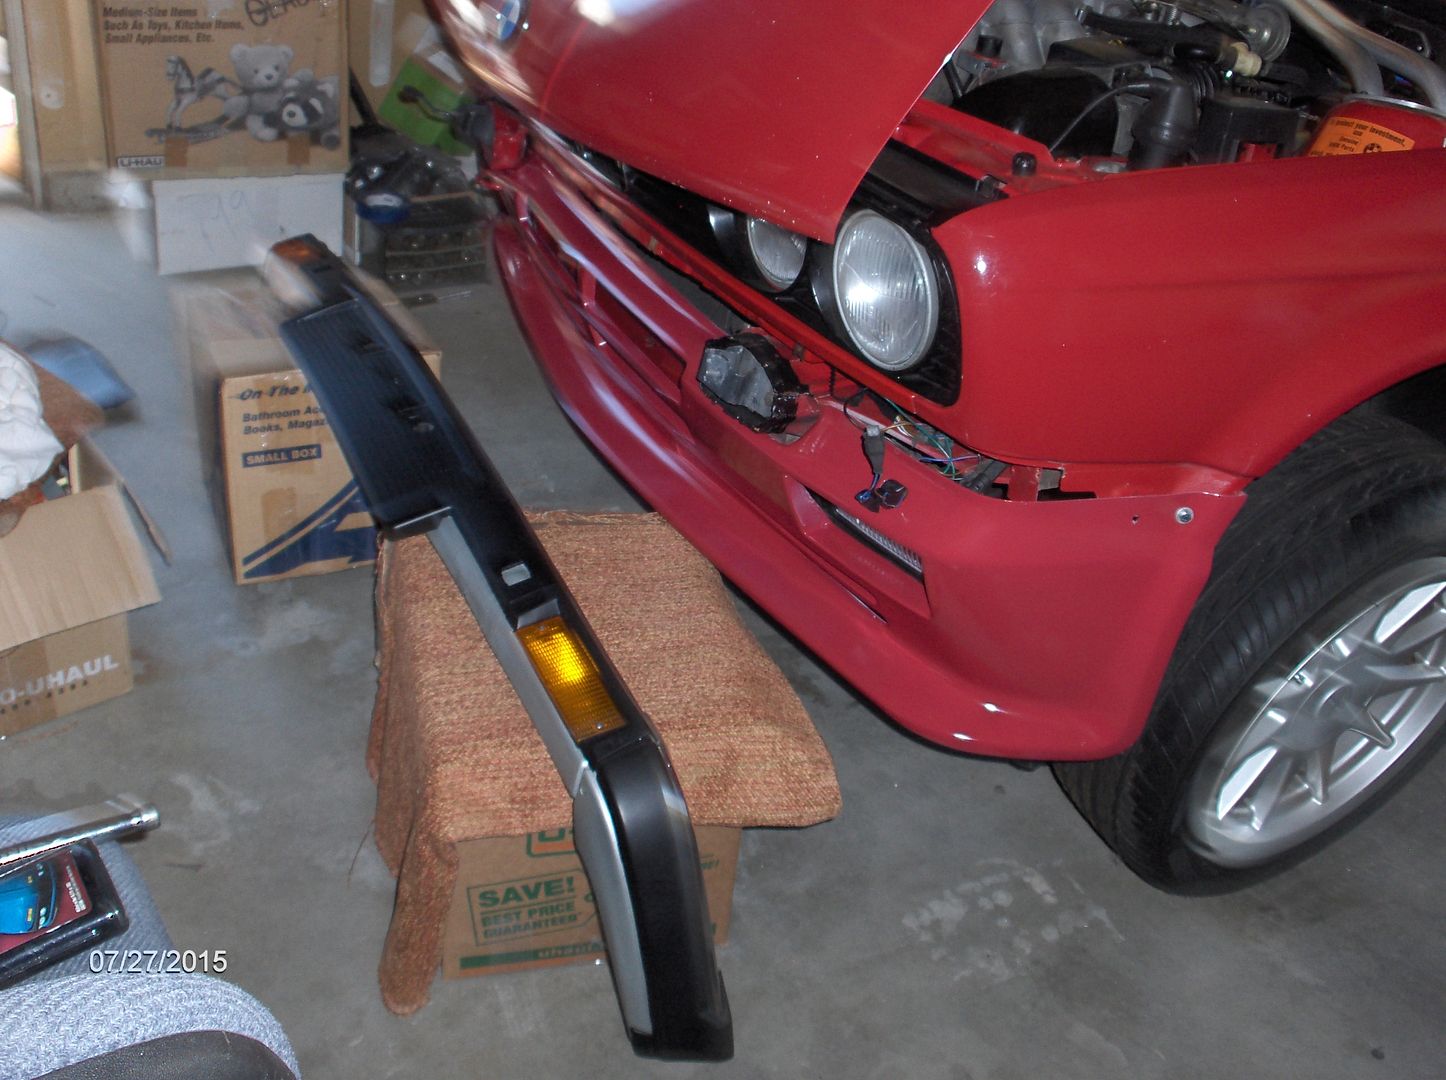
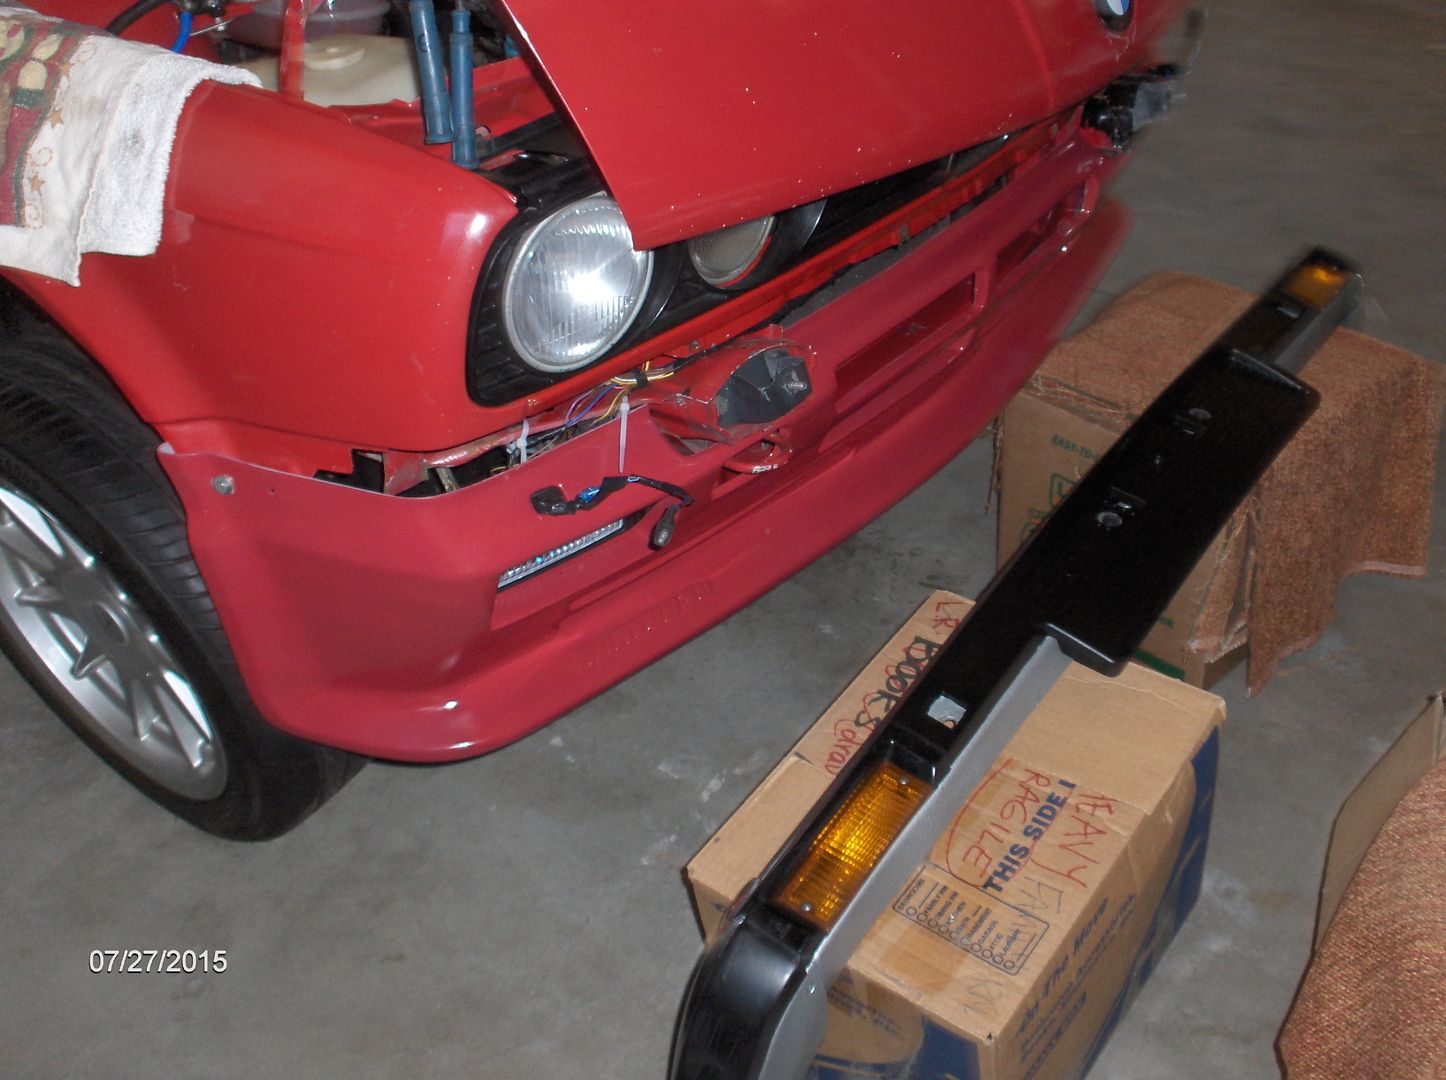
                        Bumpers and valance have been removed ( at this time I did not have upper valance yet.
                        Since I don't have any friends a box and carpet will have to do
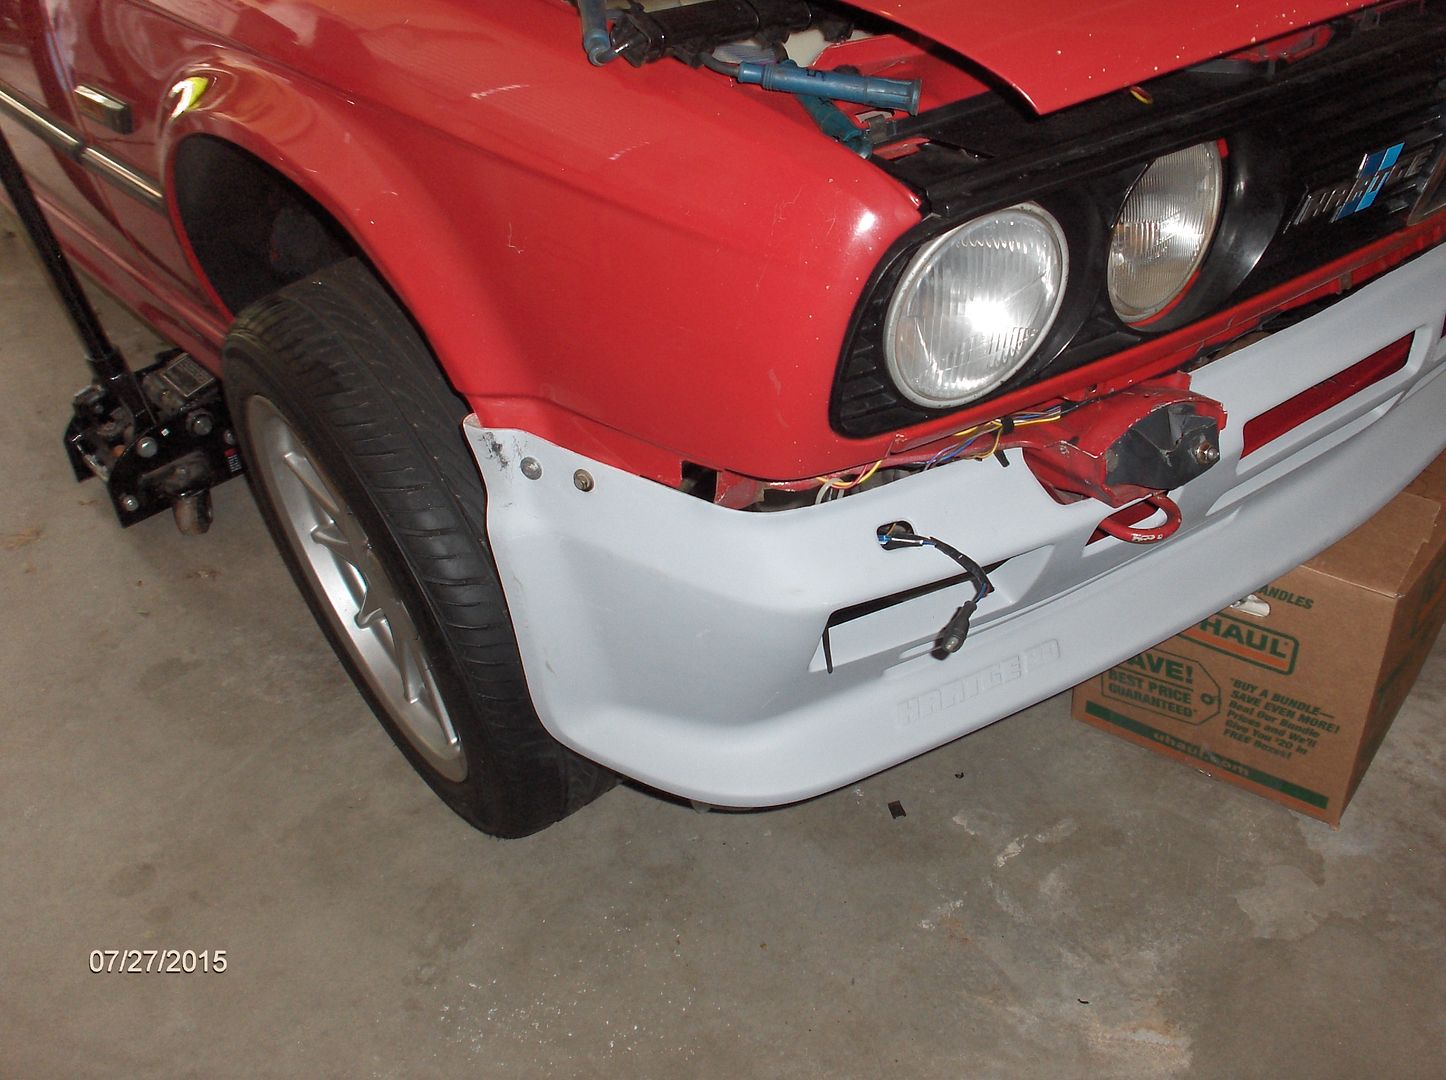
                        Attached Files
                        sigpic

                        Comment


                          Since the airdam wants to slip and slide, (& the lack of friends)I found something to stabilize it.
                          Attached Files
                          sigpic

                          Comment


                            This DIY was done a while ago so some pics will show a few steps in one.
                            First thing to do is clamp the out sides
                            Pilot holes should first be drilled first with a small drill bit
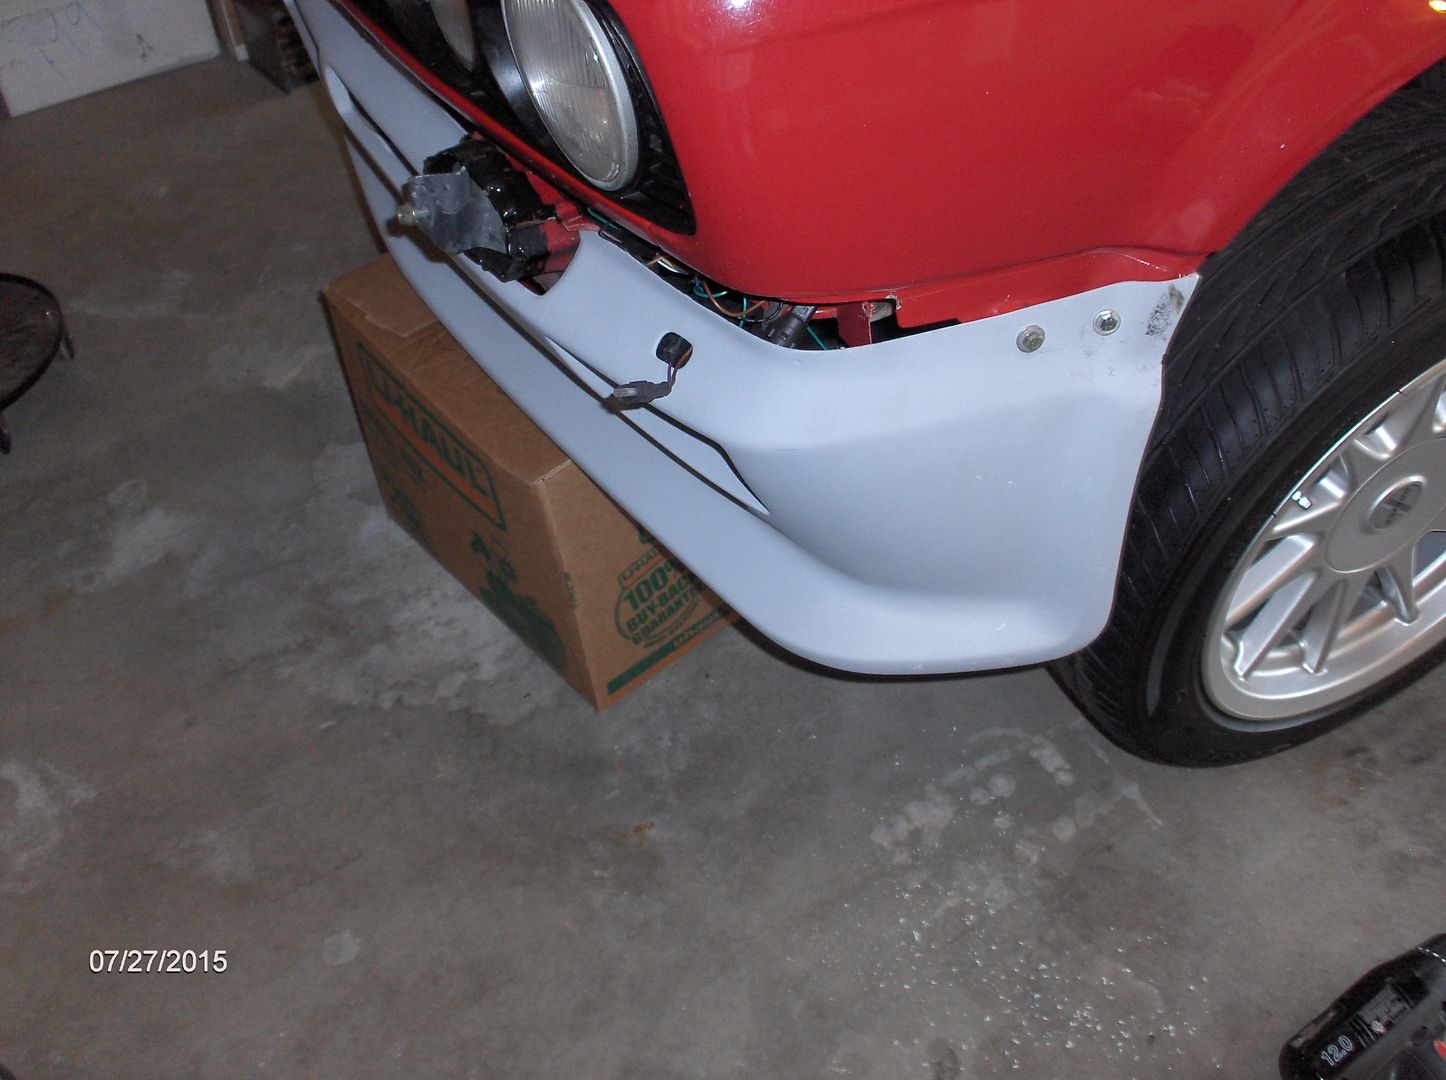
                            Then drill the hole that has no bolt in it (this where the "euro bumpers are secured) ( the hole on the fender already exists)and use a couple large fender washers and bolts to float into position. Once you have the fitment right then......
                            Next you will drill the hole where the image shows the screw The hole on the fender already exists, this will be screwed permanently (the use of washers is recommended when working with fiberglass)
                            When this is complete you can remove the fender washers and bolts from the bumper securing spots( those holes should be enlarged to the same size as in the metal)
                            Attached Files
                            sigpic

                            Comment


                              That is pretty much all you got to do before putting the bumper back on.
                              It's getting late here on the east coast and I will finish this off tomorrow, so if you have any questions I will be glad to answer them tomorrow .

                              cheers
                              Barron


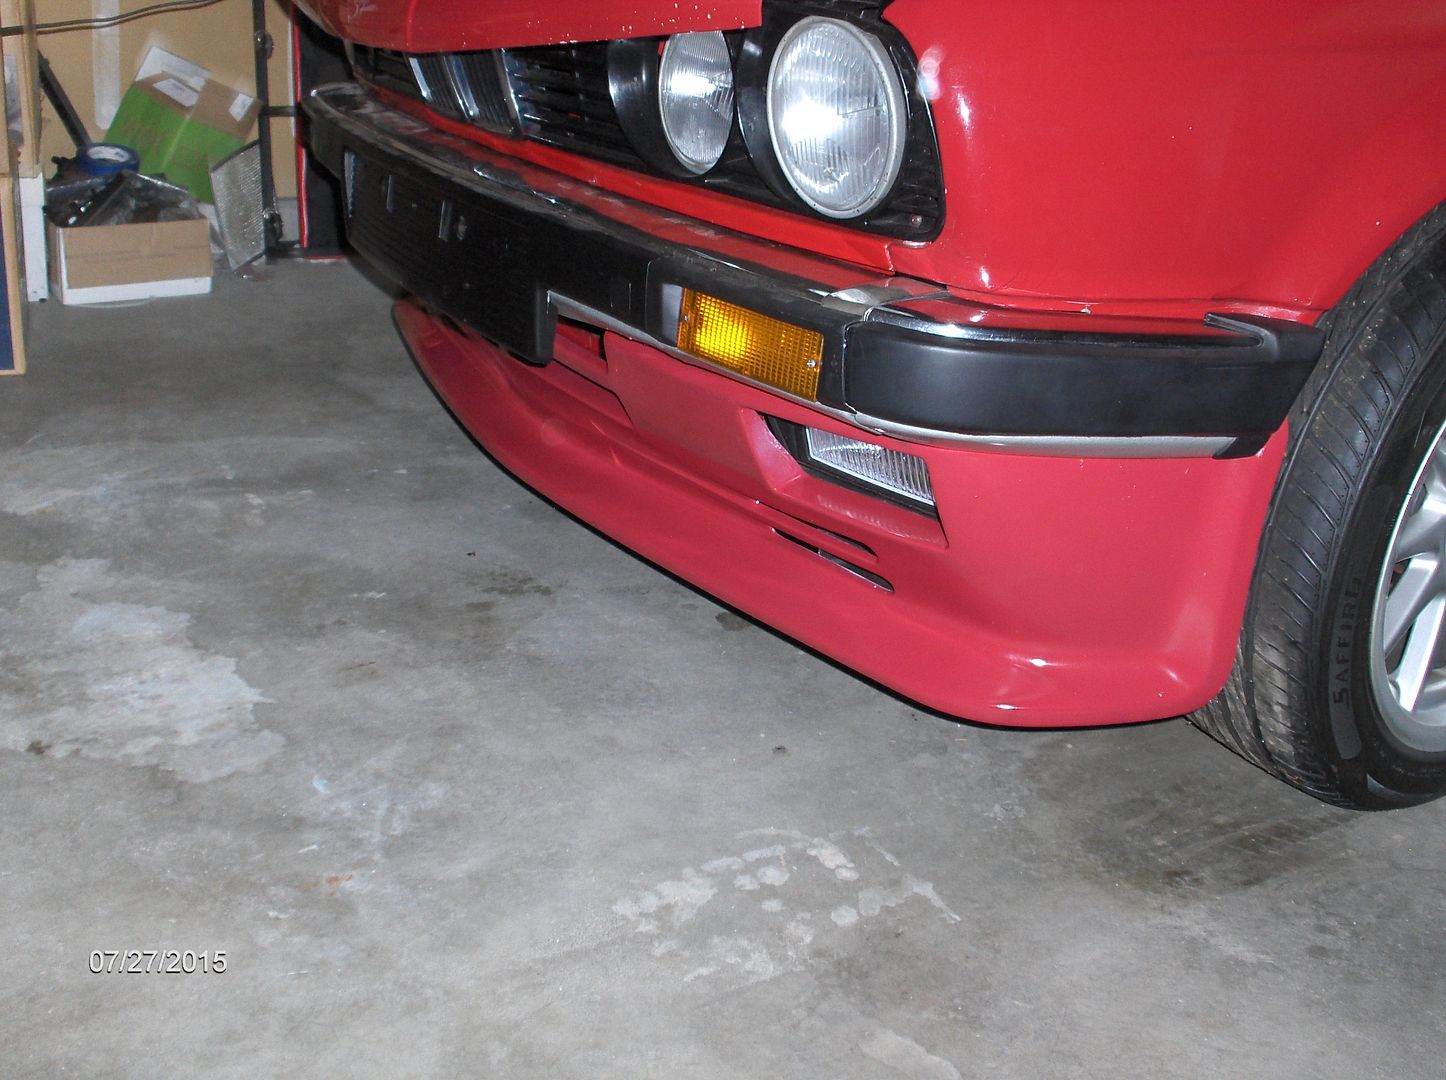
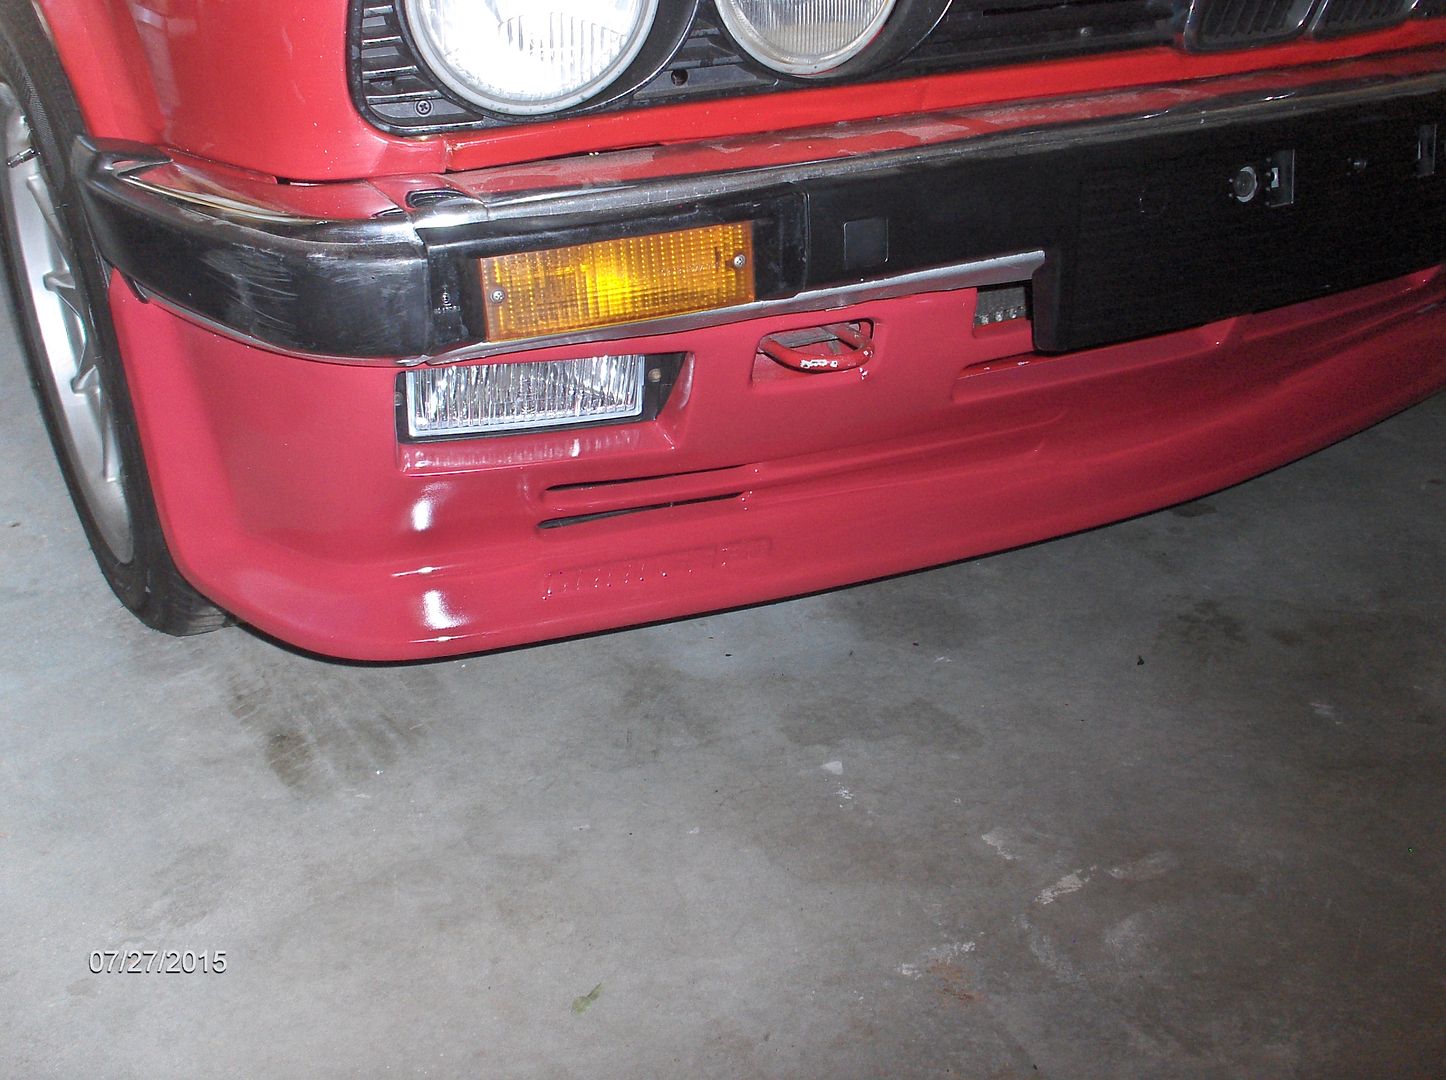
                              This pic shows the air dam attached with the upper valance installed
                              Attached Files
                              Last edited by 411; 07-23-2015, 08:29 PM.
                              sigpic

                              Comment


                                h26 spoiler on:)

                                Well, spent the day getting the spoiler on....here is what I learned in the process.
                                1985 euro 323i is the car I have with hartge conversion parts:)
                                First, read Barron's post above!! It is very helpful and I used the same tools...
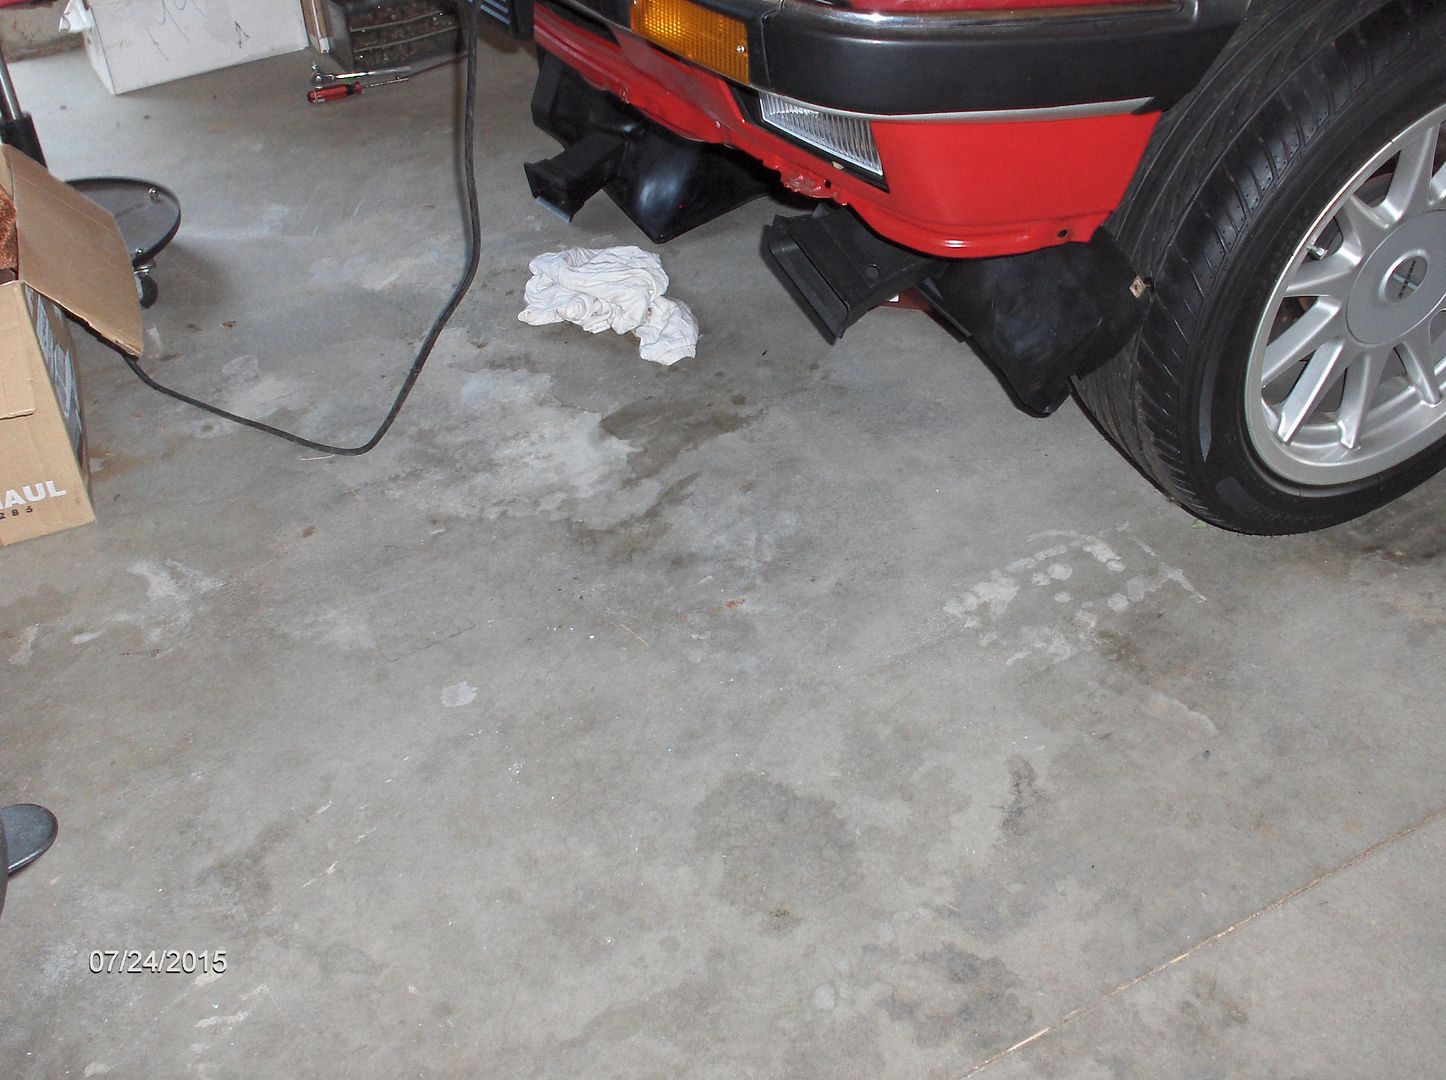
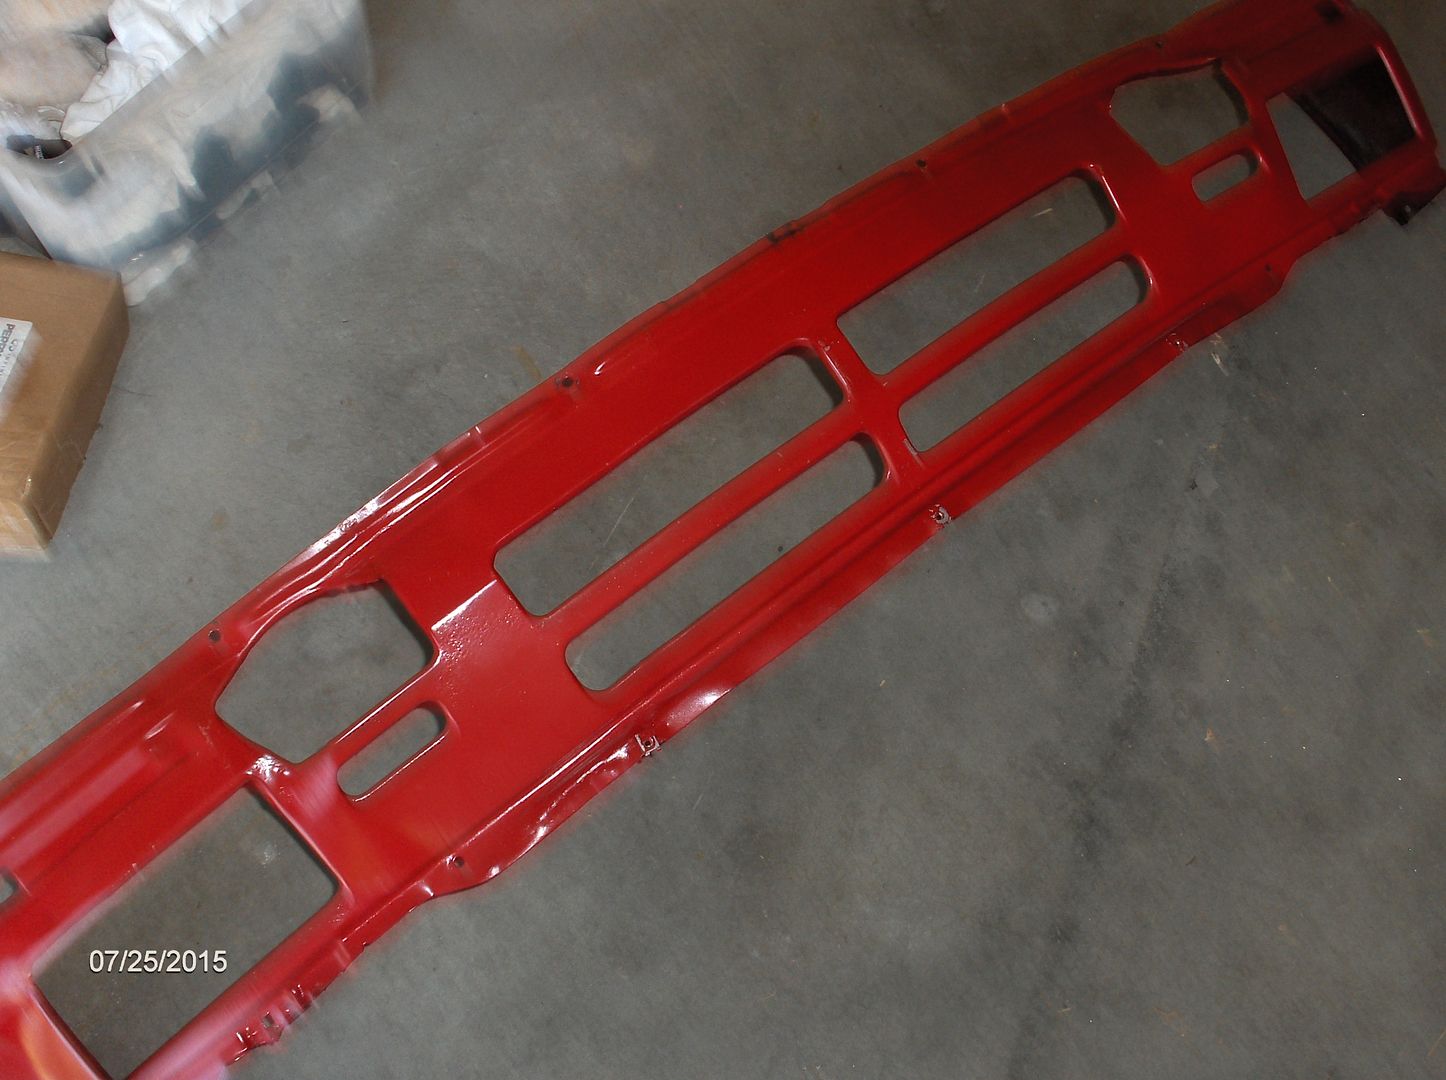
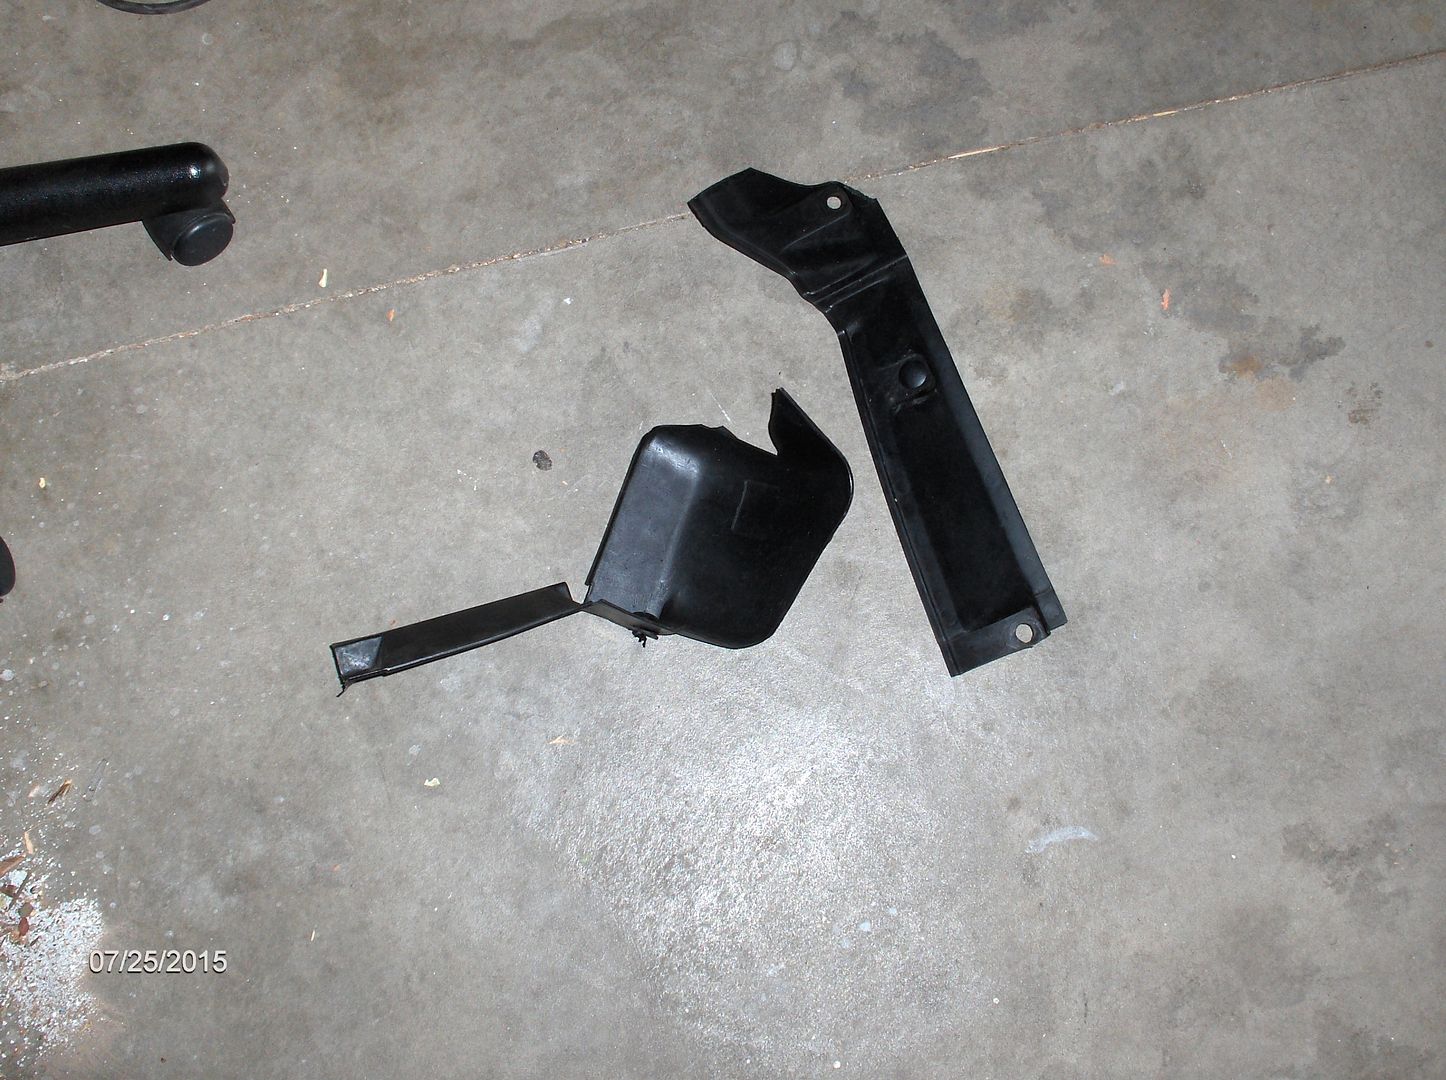
                                Second be sure the euro brake ducts are moved back out of the way, or the spoiler will not go on. also, be sure the black plastic surround for the radiator is removed.
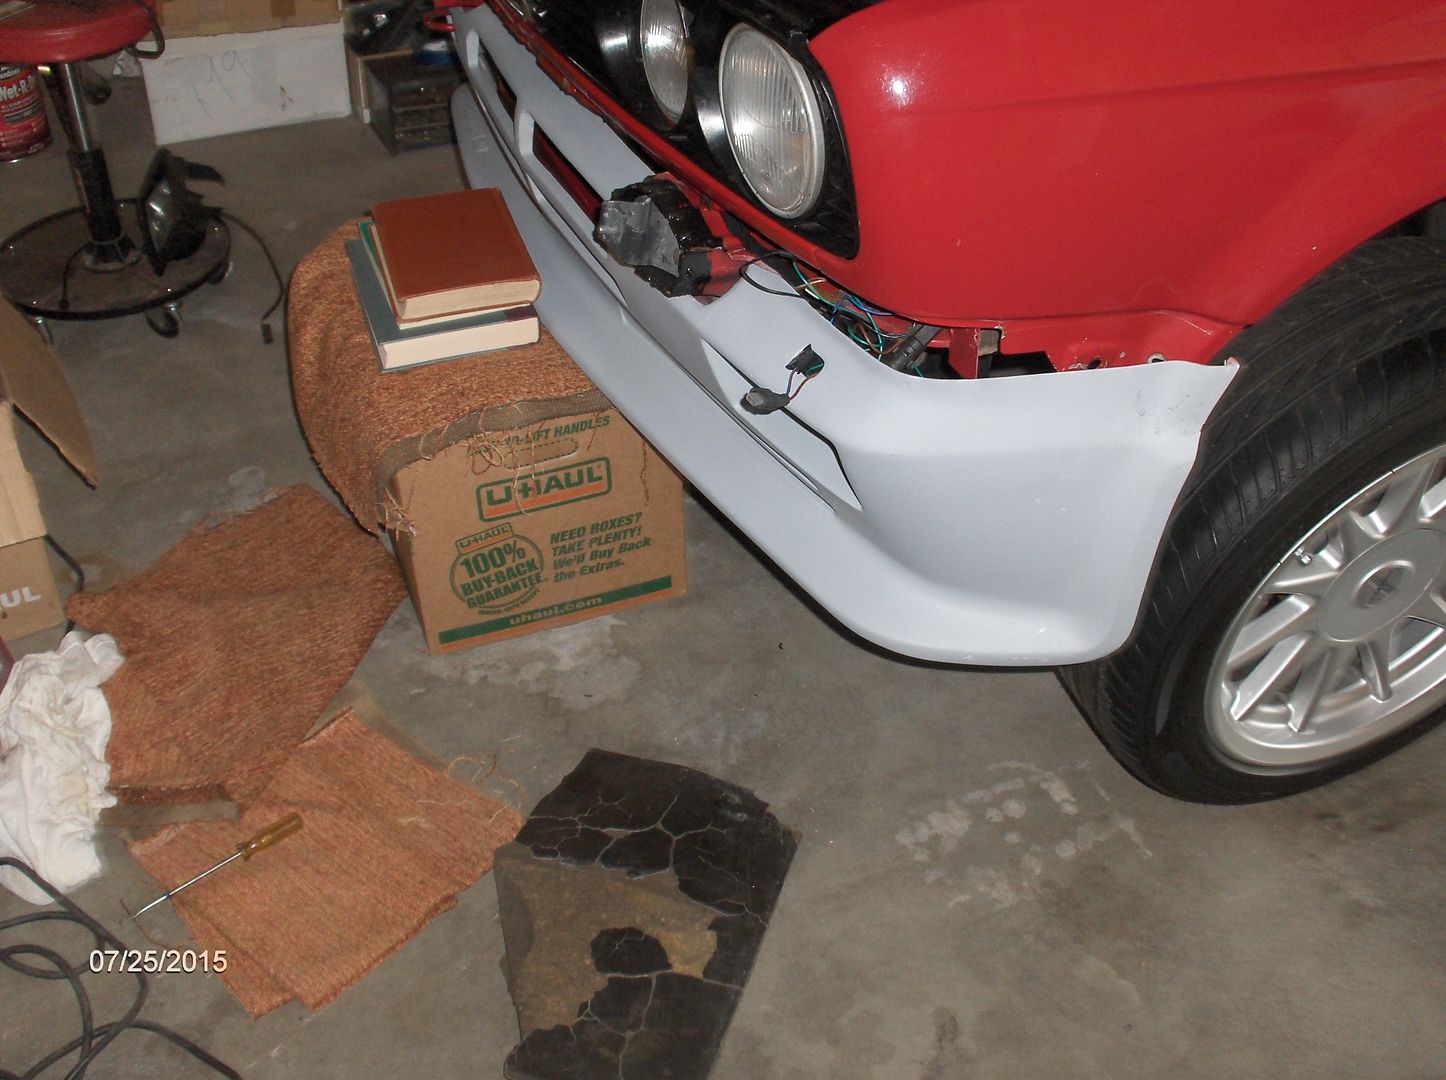
                                Use a box or two or a friend to hold the spoiler in place. The spoiler will fall forward and it is a pain if you can not hold it in place.
                                I started on the driver side, because the spoiler fit very good on that side.
                                Put the clamp on, then the bumper bolt on and then the fender/spoiler screw, or bolt. It works much better that way. Then once you have the bolts on tighten down the spoiler, fender bolt and remove the bumper bolt. You now can move to the other side.

                                Now since my car had a low speed impact in the front the fender is off a little. Expect to 'make it fit' if your car's front end is not perfect.
                                Once you have both sides on you can check for clearance and make sure the fog lights are in correctly. They fit right behind the spoiler, not inside the spoiler.
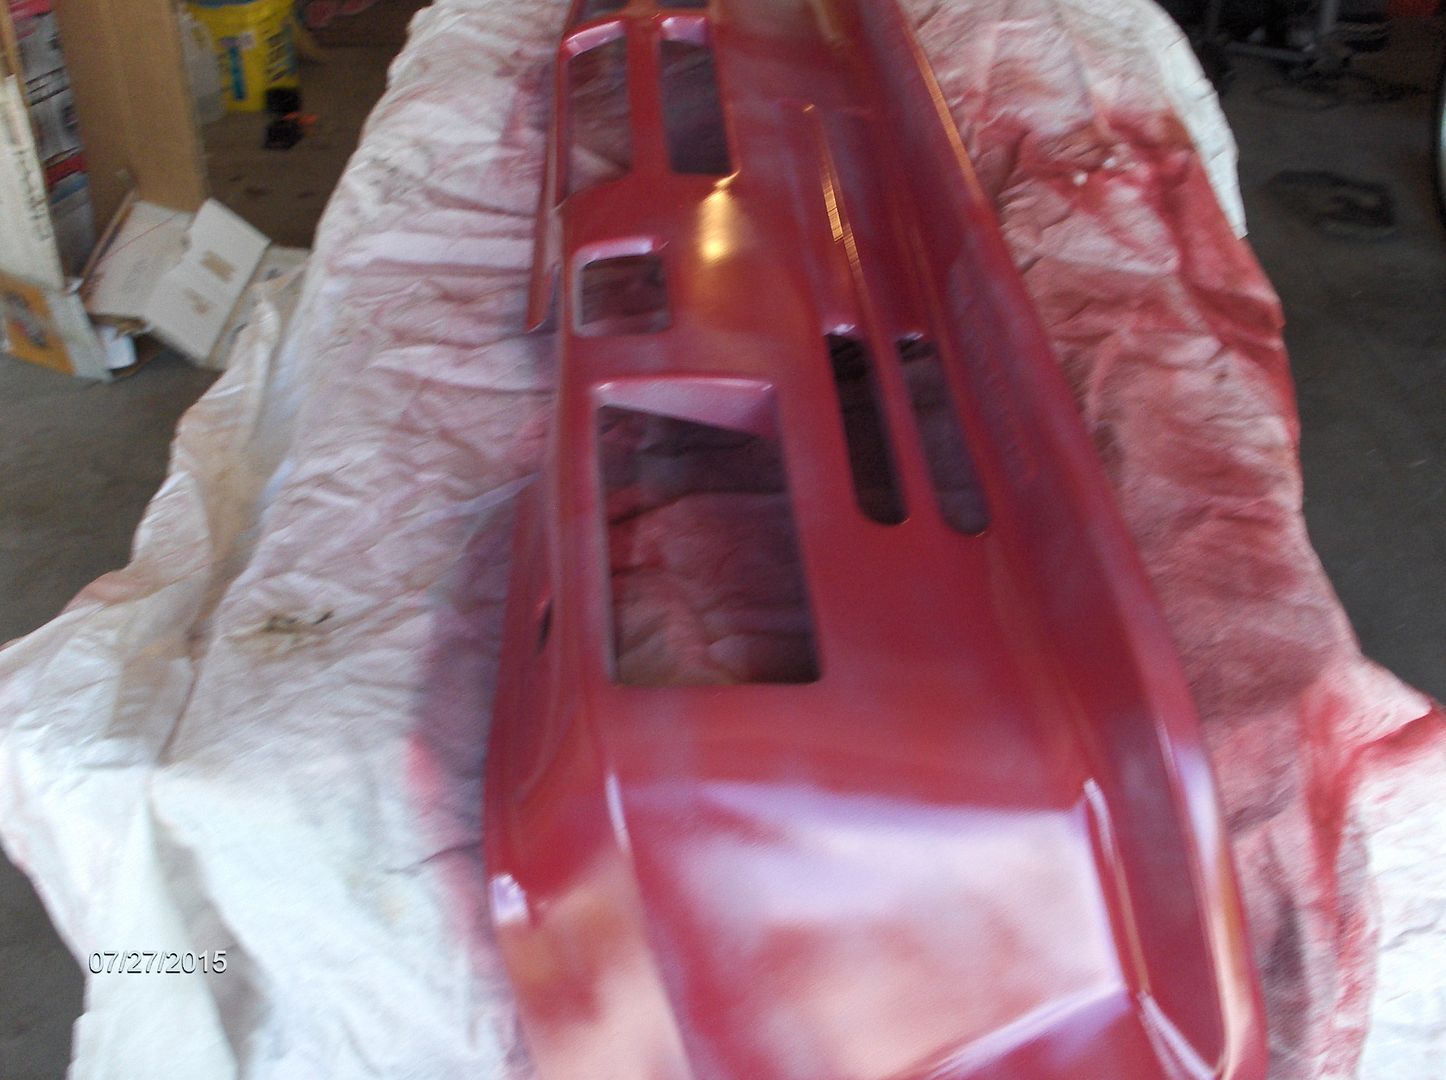
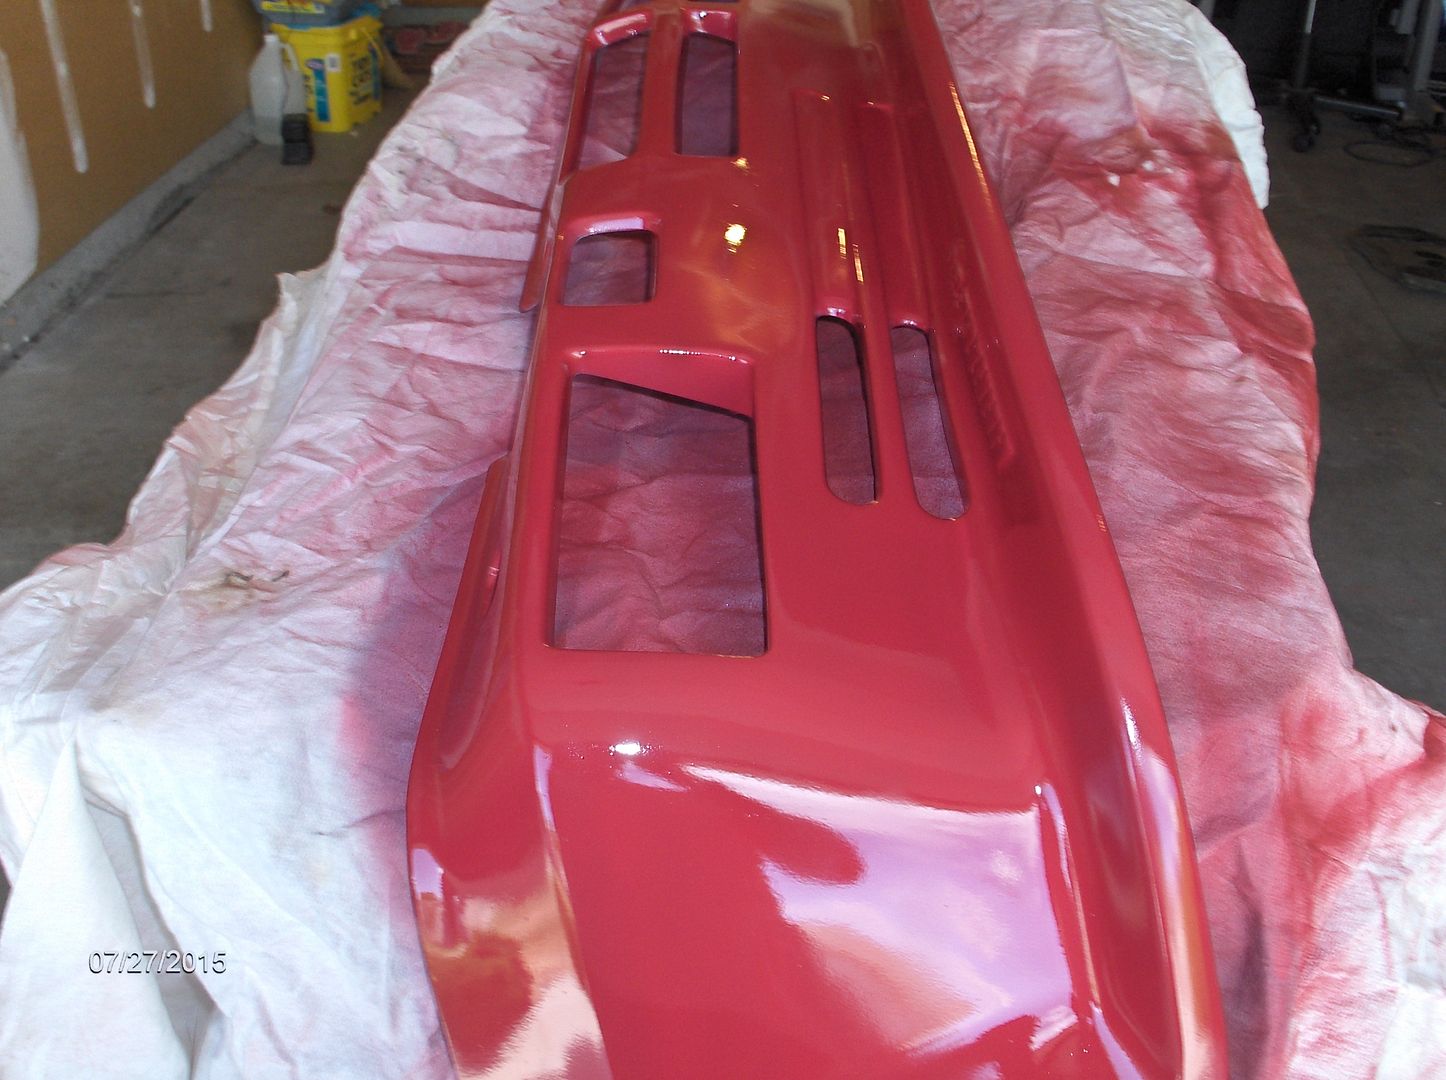
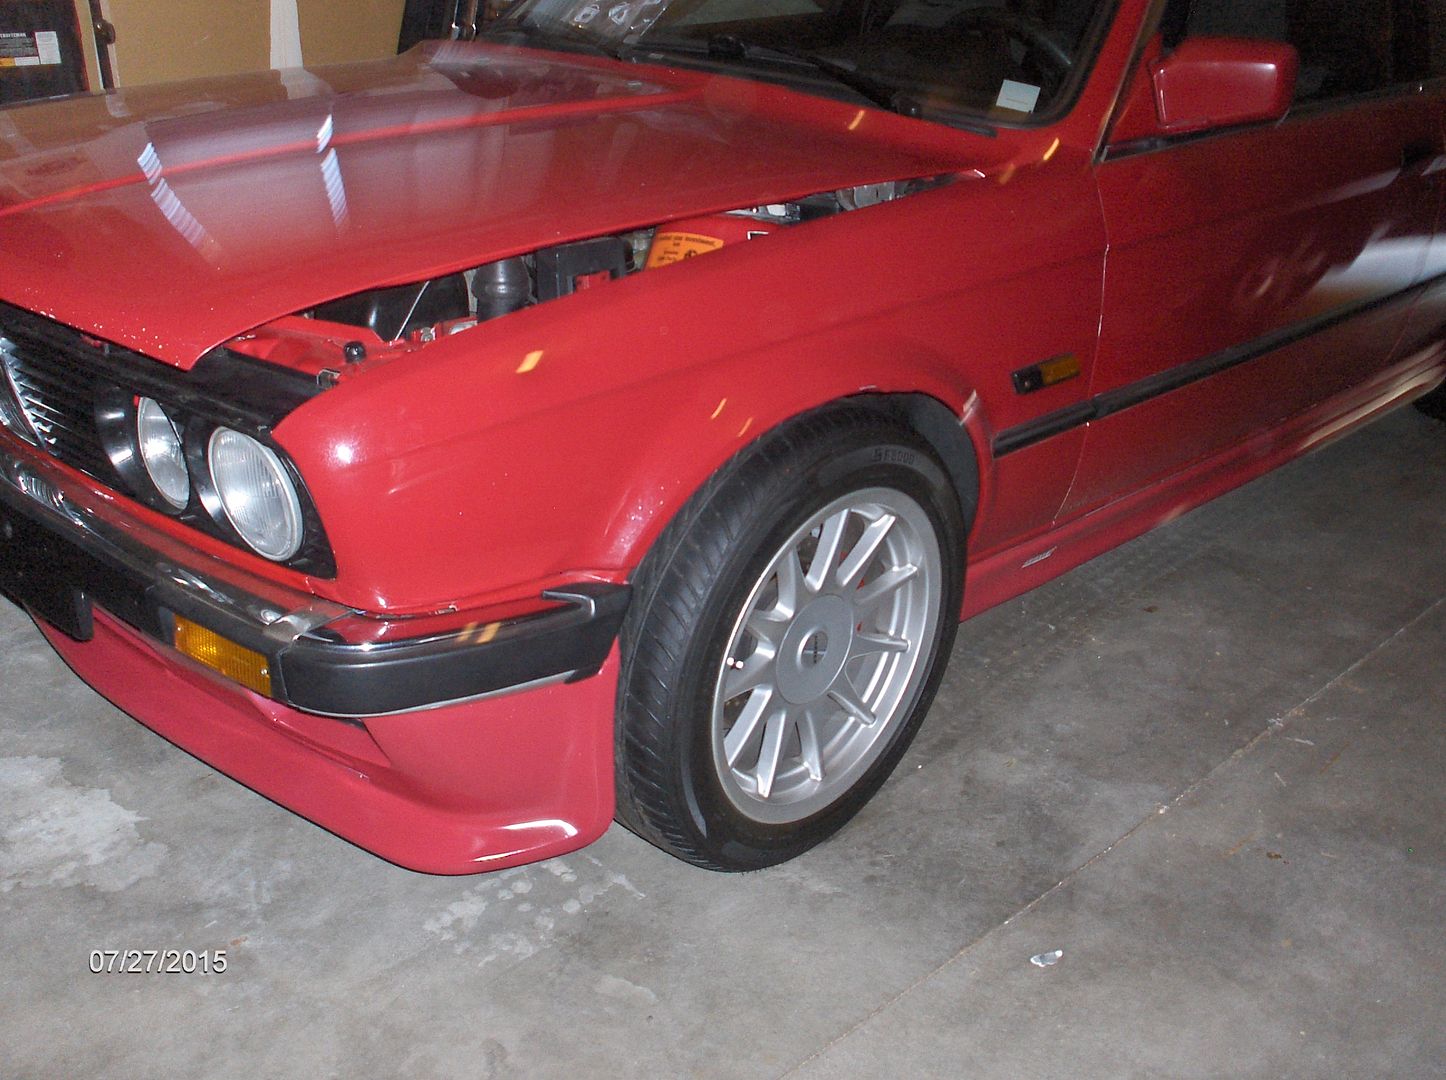
                                Ok now it is time to take it all off and paint the spoiler. You can take it in to a shop, or for much less you can paint it with a rattle can. Since my car will be taken apart in the future and repainted...that is the plan for now, I just used a rattle can to see what the spoiler would look like in red:)
                                You will have paint that is very soft, so you can wait a few days and scrape the spoiler up when putting the euro bumper on , or you can do it in a few hours and scrape the paint up a bit when the bumper goes back on:).
                                I will touch up my paint later....
                                Now when putting the bumper back on you need some boxes to hold it up and be sure to connect the turn signals before you place the bumper all the way on.....it is really handy to have a second set of hands to get this done without bumping the spoiler.....not good to bump the spoiler, paint will come right off!!!:)
                                Make sure the side of the bumpers are lined up correctly or you will never get the bumper on right.
                                Now it is time to put the brake ducts back on and lower the car.....
                                Took me 6 hours to do this project....most of the time was for painting since you have to wait about 15 minutes between coats.
                                Only problem I had was the passenger side did not want to go on, and the brake ducts were in the way...oh and don't force the spoiler on....you will hear a crack and it all over!
                                Now a real spoiler is rubber type material and would go on much easier. If you have a real hartge h26 spoiler sitting around let me know:)
                                All and all the car looks better and now has all the parts expect the mono wiper that it had back in 1985. I used the paper work that came with the car to determine what needs to go back on the car.......next project rear exhaust tip:)

                                These ducts need to be moved back out of the way

                                This valance has to come off.....maybe I should sell it:)

                                These have to come off!!!

                                Be sure wires for turn signals are pulled through...note books and carpet to keep the spoiler back!!! Or use a wife, friend:)


                                Note: Both bolts are in, but the forward one has to come back out before you put the bumper on.

                                Driver side fits better than other side.

                                Painting time 3 hours later......


                                Looks ok, shop will do better but will cost about 500:)

                                bumper is ready to go on

                                Other side, note one bolt on!!! Don't forget to take the other one out!!

                                bumper on....well not tight

                                other side, my fog light bracket broke:(, so it does not fit right

                                Car on the ground and ready to go:)
                                enjoy

                                Comment

                                Working...
                                X