I am going to document my partial-refresh of my suspension and driveline in this thread. It is an OEM+ type refresh since the car is mainly used on the street and in some autoX. From my experience, OEM suspension bits are really the best way to go on the street since they have enough compliance to absorb lousy road conditions, which helps a lot with traction. I ran all poly stuff and a 2.5" drop from 2002-2007, and while the "bcuzracecar" feeling was fun, it got old and made the car impractical for my needs. A big part of why I went with the poly bushings was the fact that I was a broke college kid and didn't want to pay a shop to press in new OEM parts lol. Anyway, in 2007 when I put in all new, all-stock parts, the car actually handled better on the street. Since it has been nearly a decade and around 70k miles, things are starting to wear out again and I am going to replace them, along with a bunch of other wear-items that probably need it.
All parts are either genuine BMW or made by an OEM supplier.
Stuff that is getting replaced:
- Front wheel bearings / hubs
- All front wheel bearing dust covers and the axle nuts
- Front control arm bushings (centered E36 M3 rubber bushings)
- All 16 lug nuts
- Rear wheel bearings
- All rear wheel bearing covers, circlips, nuts, etc
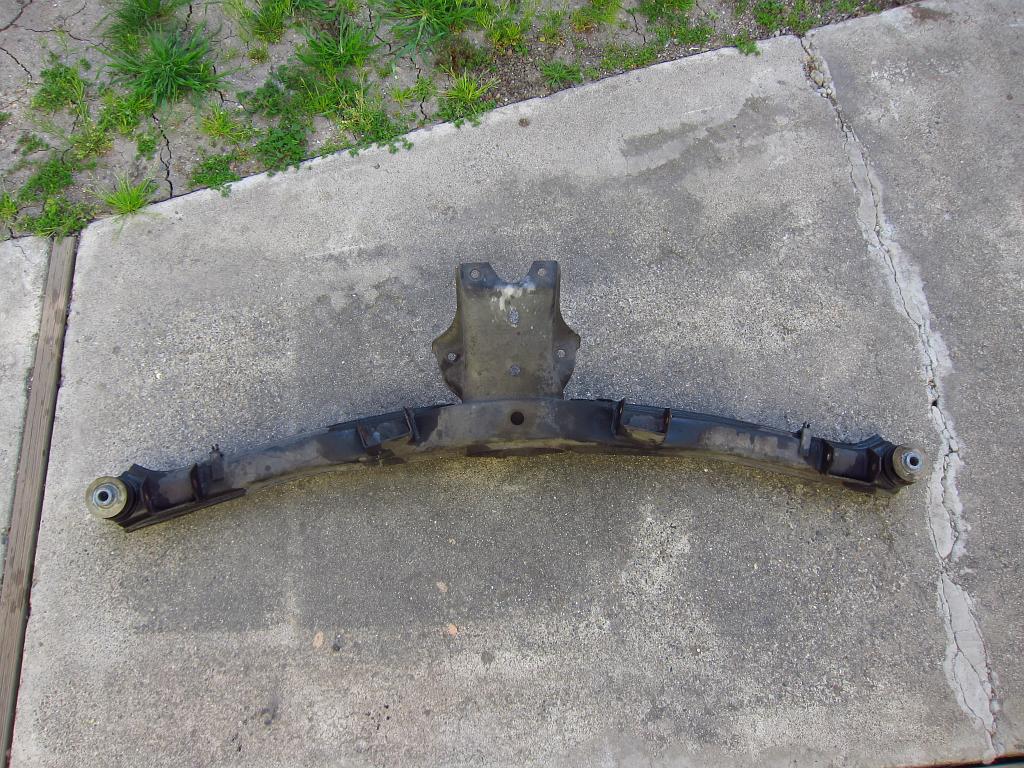
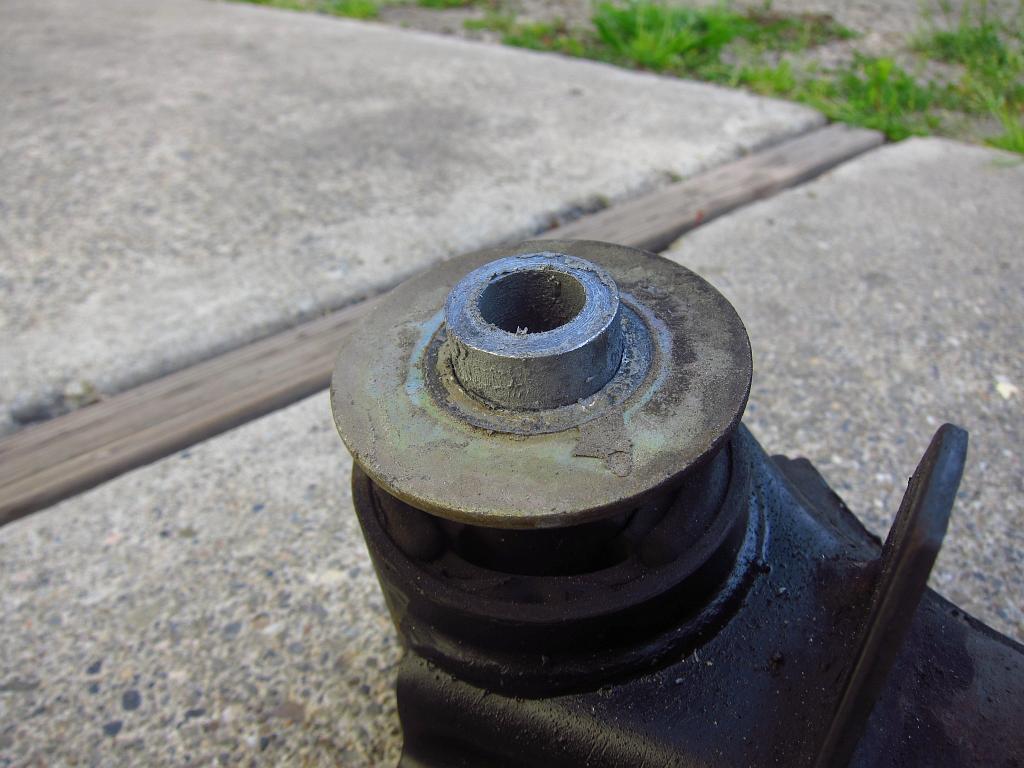
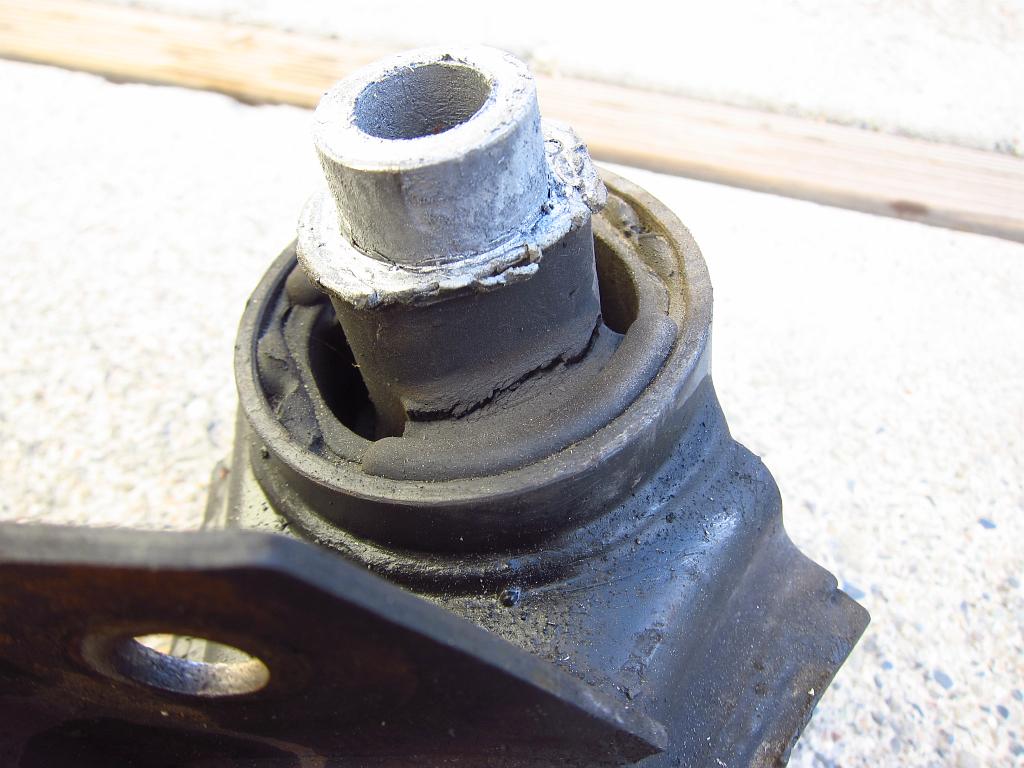
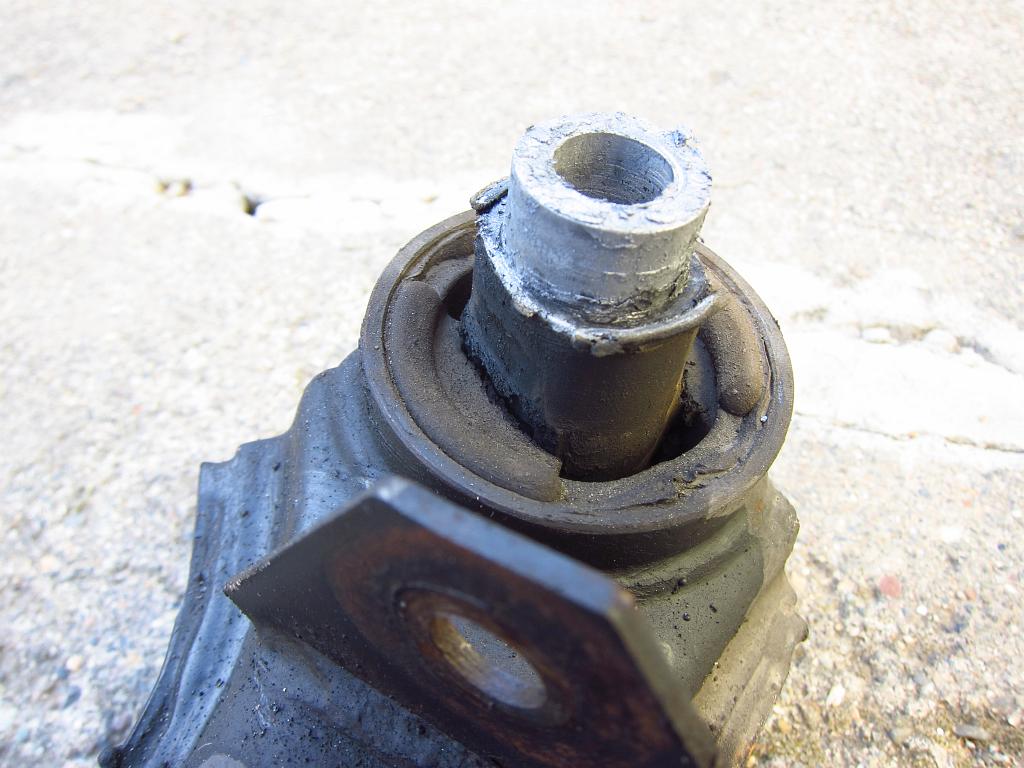
- Rear subframe bushings
- Rear trailing arm bushings
- Diff bushing (solid rubber 325iX version)
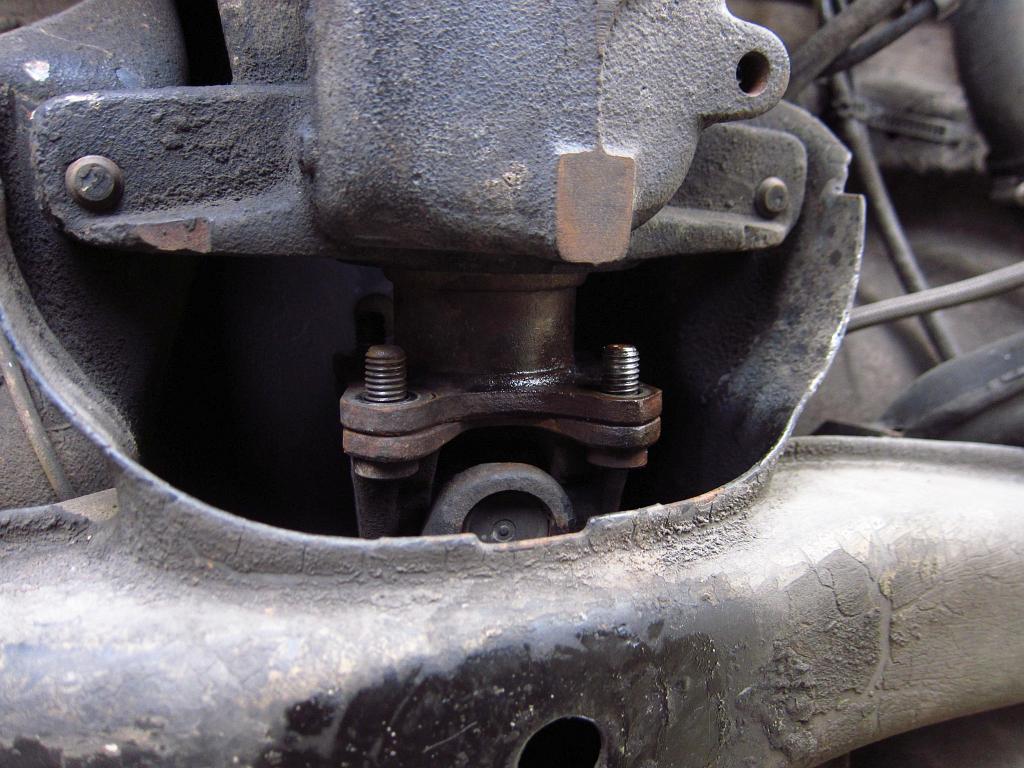
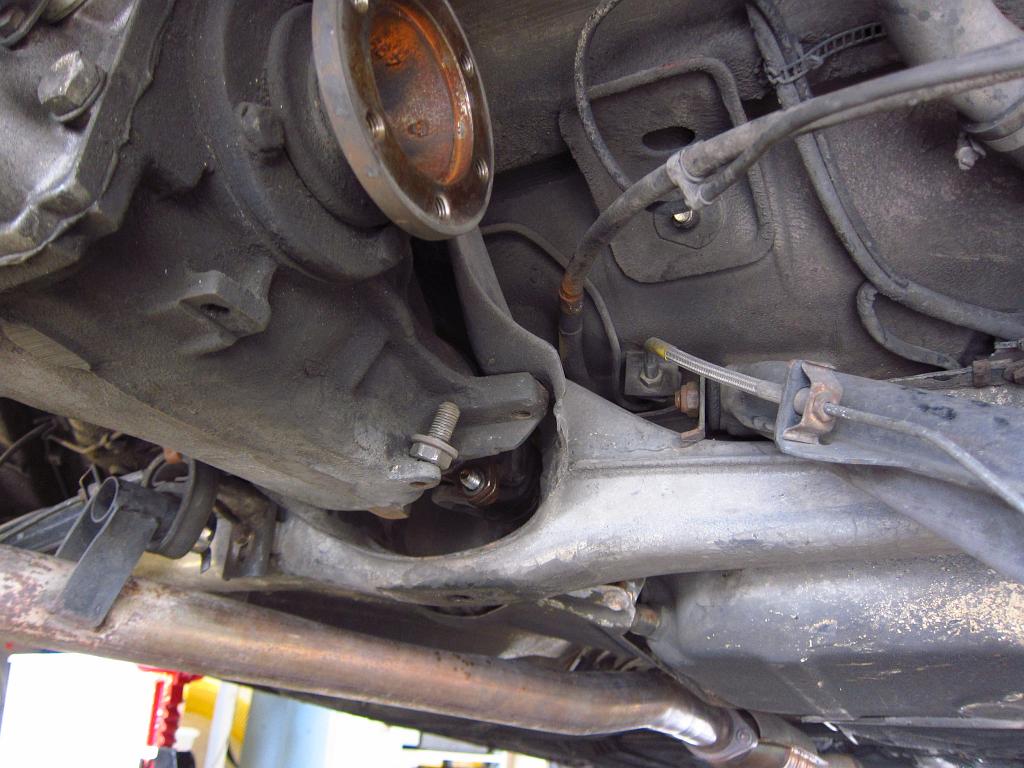
- Turner Motorsport rebuilt driveshaft (remanufactured by Beyer Driveline)
- New guibo and CSB
- EDIT: 325iX VLSD unit that was mistakenly sold to me as a Quaife (lol)...working on other options now
- Fuchs Titan Sintopoid 75W-90 gear oil and a new cover gasket
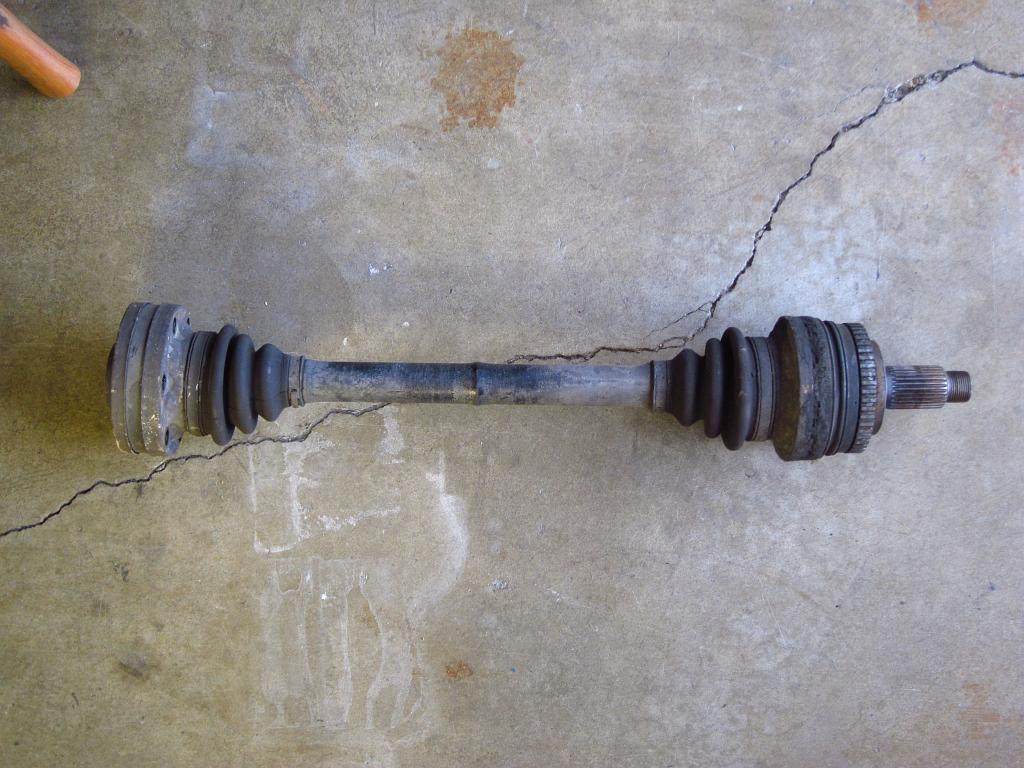
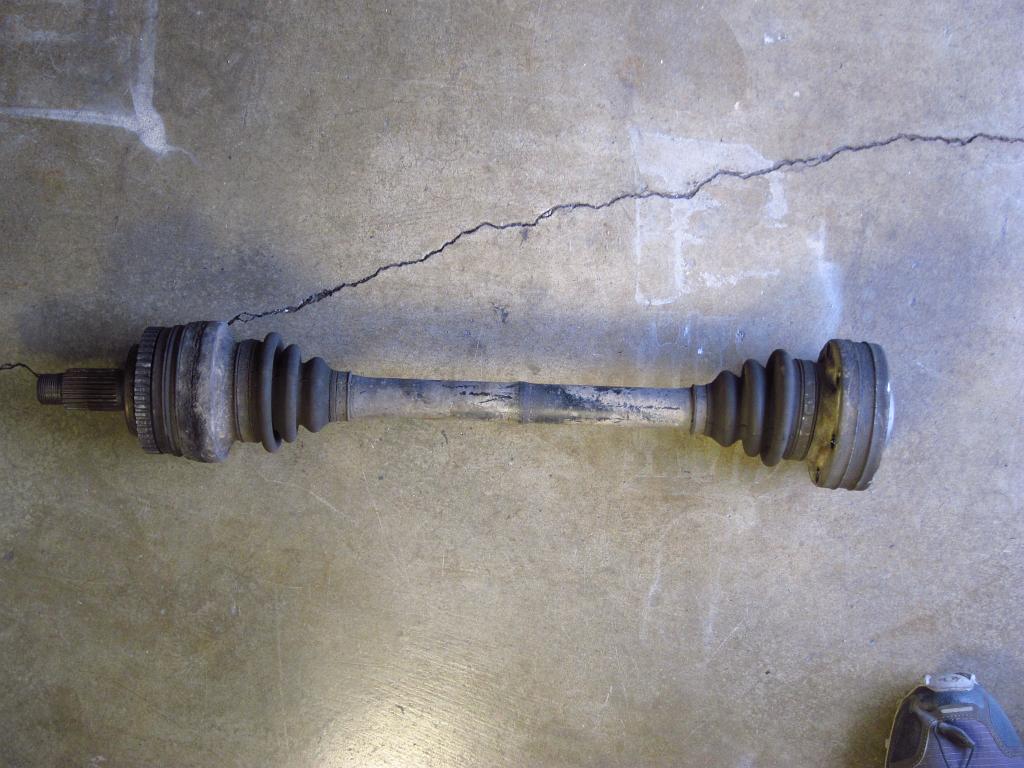
- Both axle half-shafts
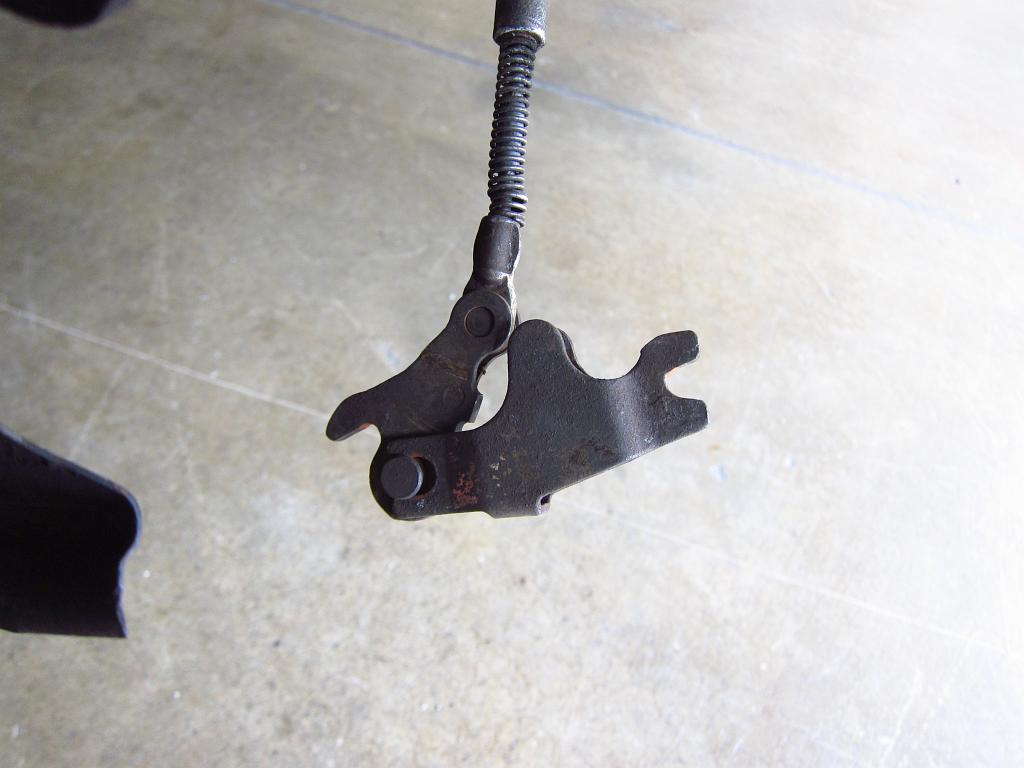
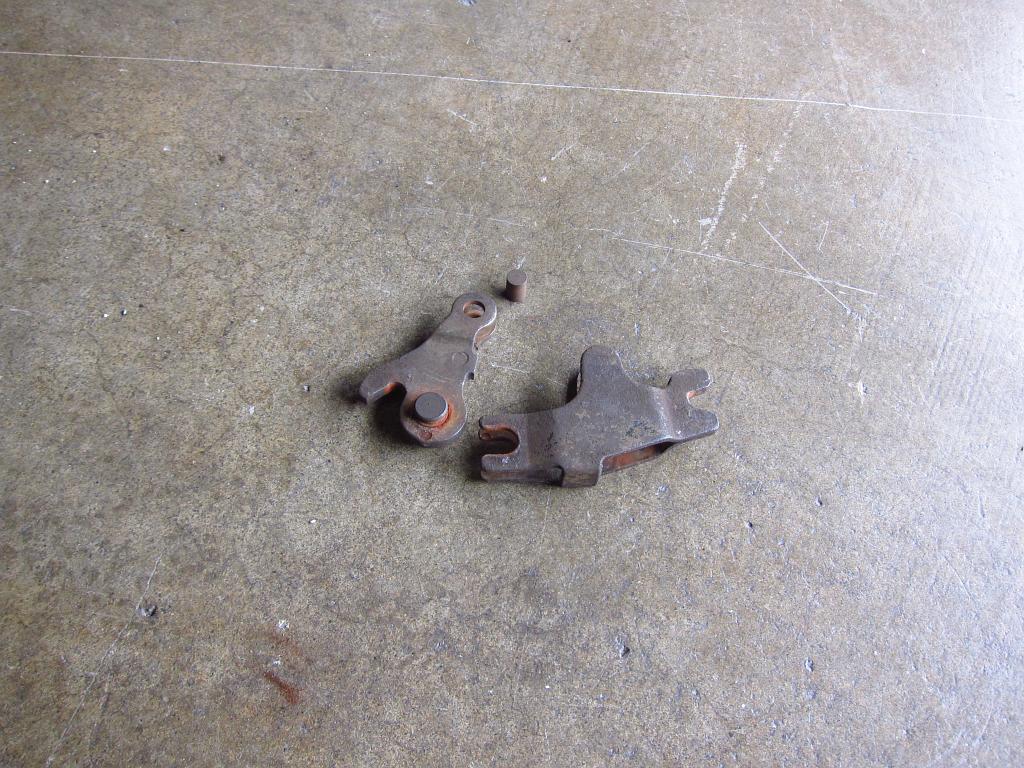
- E-brake shoes and related spring bits
- E-brake cables
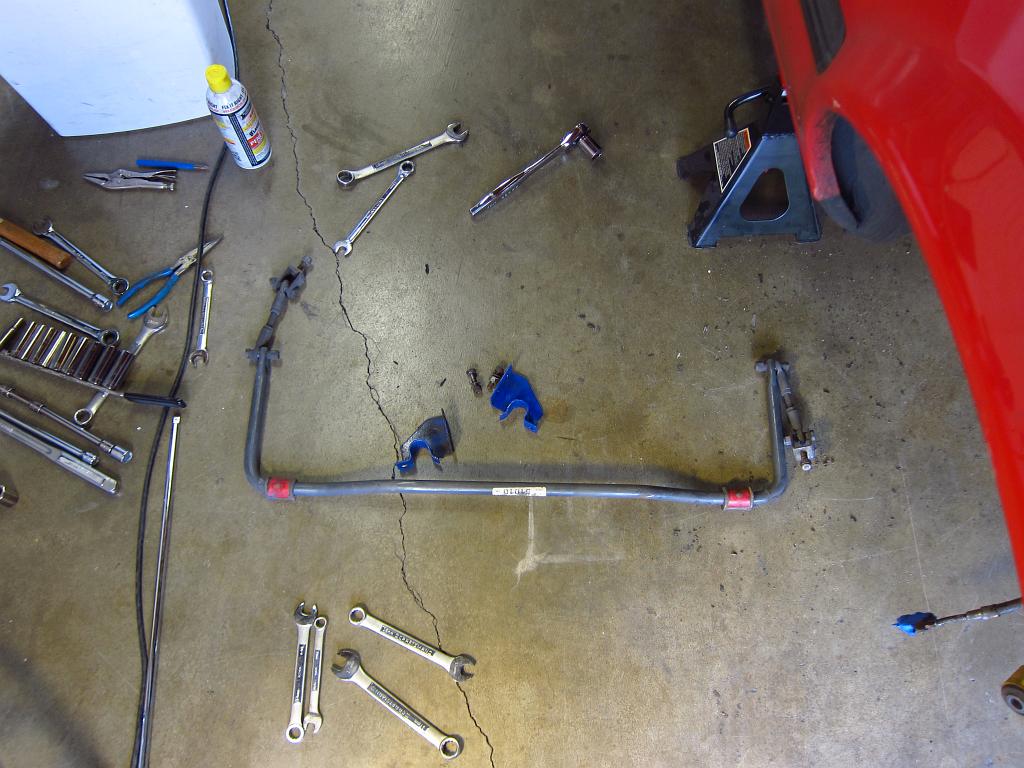
- Both sway bars (removing the beefy ST bars in favor of OEM/Mtech bars)
- All sway bar end links, shells and bushings
I installed Bilstein HD shocks about 25k miles ago, so those are most likely just fine still, hence why I am not replacing them.
Other than that, I am running stock springs and the car has ST sway bars in it still (22mm front / 19mm rear), but I am looking to go back to stock sways. This is because stiff sways don't really provide much benefit on the street (IMO) and I get nervous taking the car off-road with them since I already had one chassis mounting point rip out a while back. Once I find a set of OEM M-Tech sways (20mm front / 14.5mm rear) I will install those and all new links + bushings all around.
So, anyway, that's the background. Now it is time for some pictures and hopefully some useful how-to info for others. Today I replaced the front wheel bearings and front control arm bushings. These were super easy items and didn't require anything particularly special.
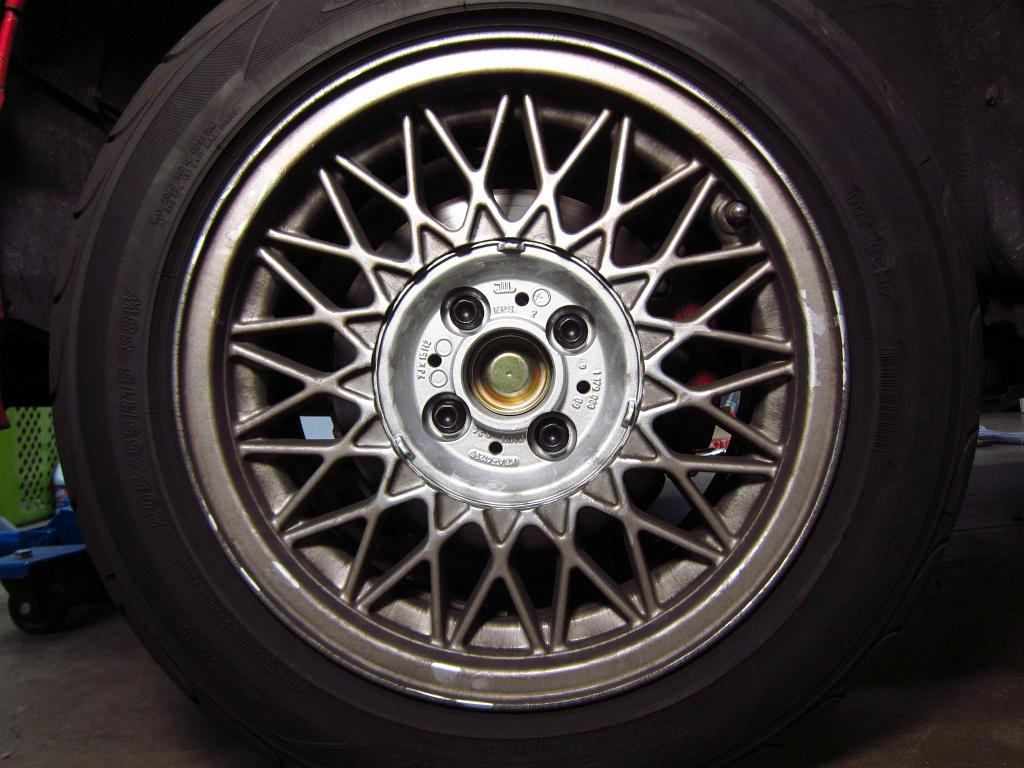
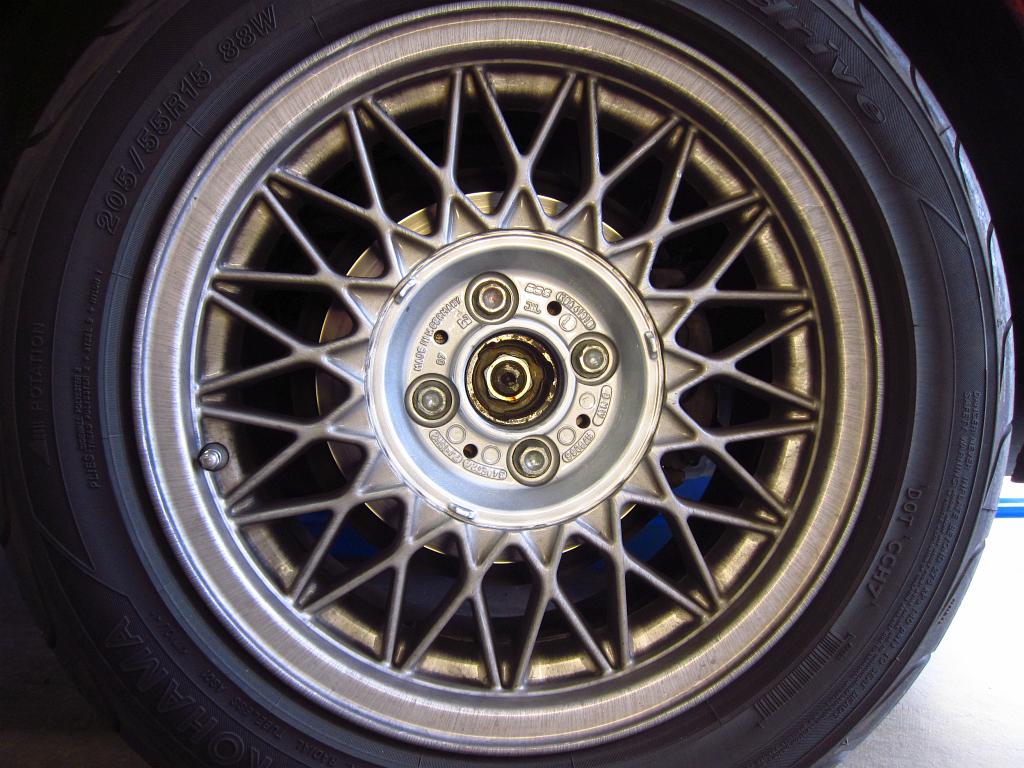
So, start off with the front wheels. Nothing too special here, just lots of brake dust!
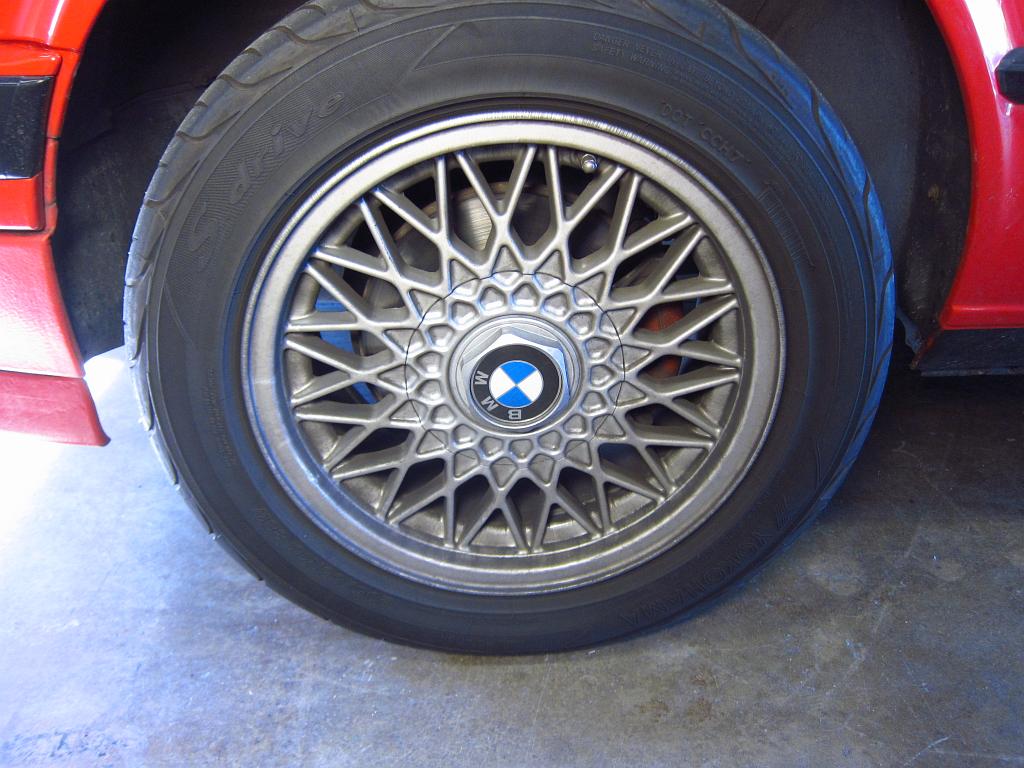
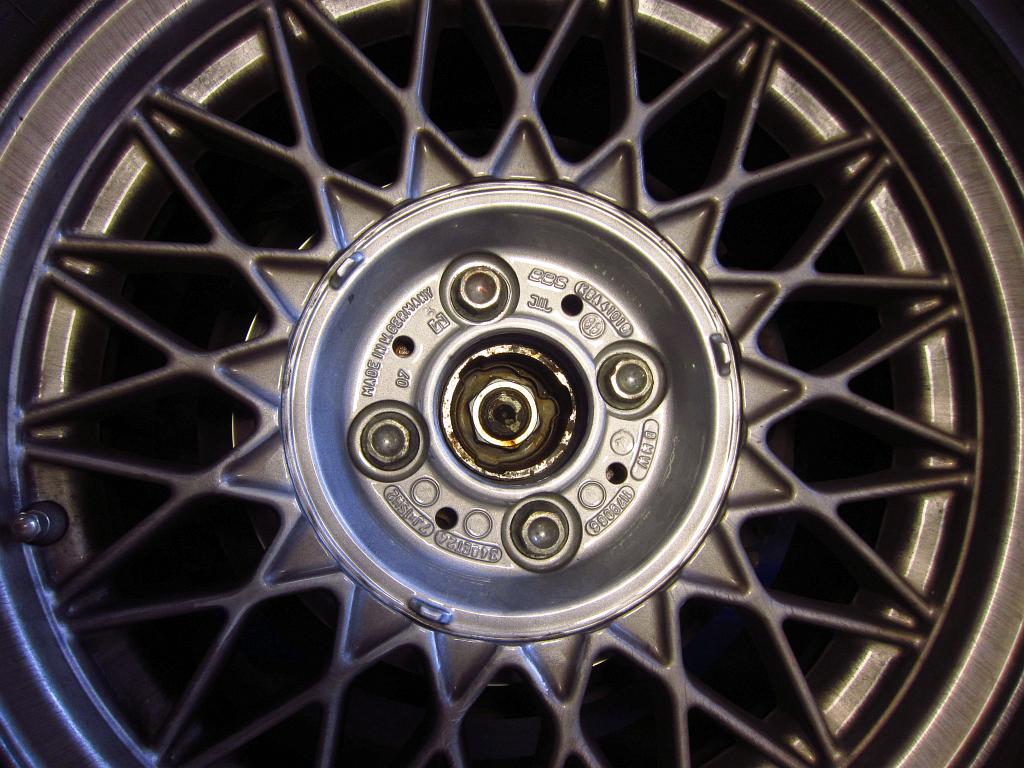
Pop the wheel cap off and you'll see the dust cover in the middle. I was thinking that I could pry it out with the wheels on the car, but I would have banged up the paint so I took the wheels off. The dust cap is in there tight, and you will almost assuredly wreck it during removal.
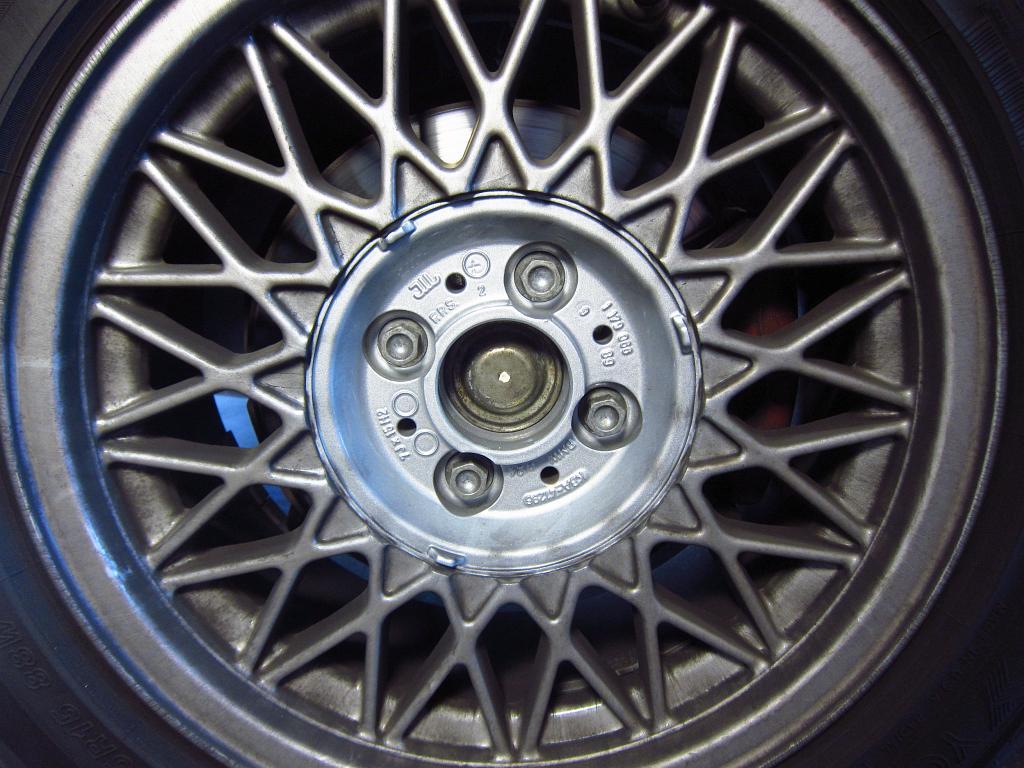
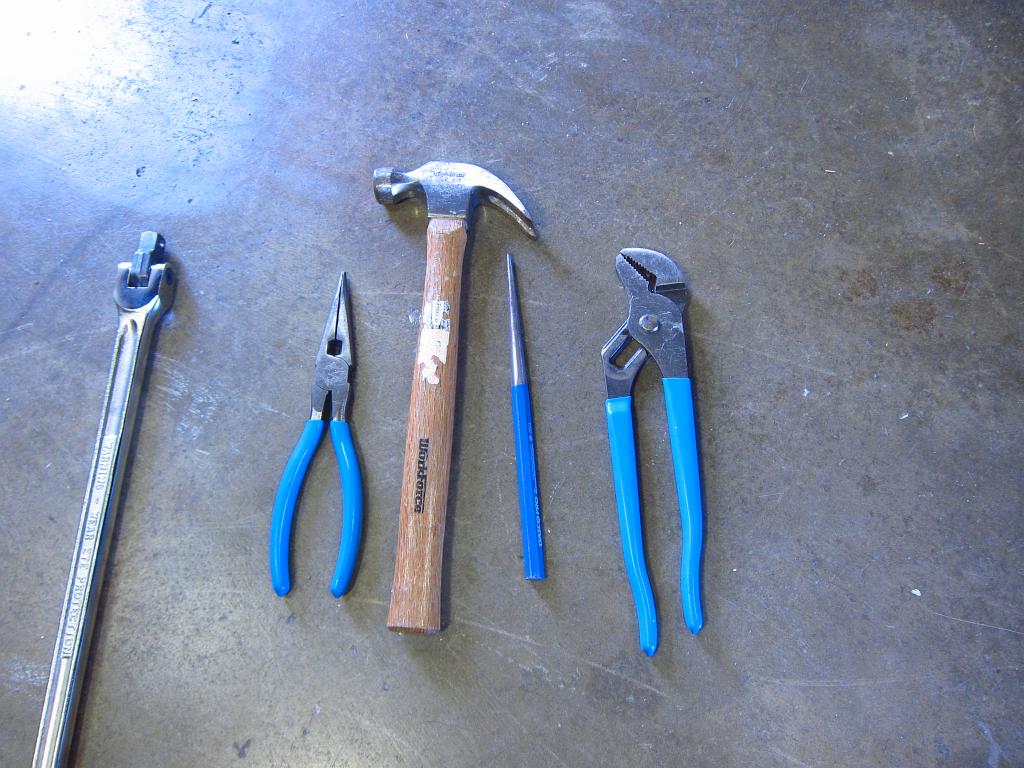
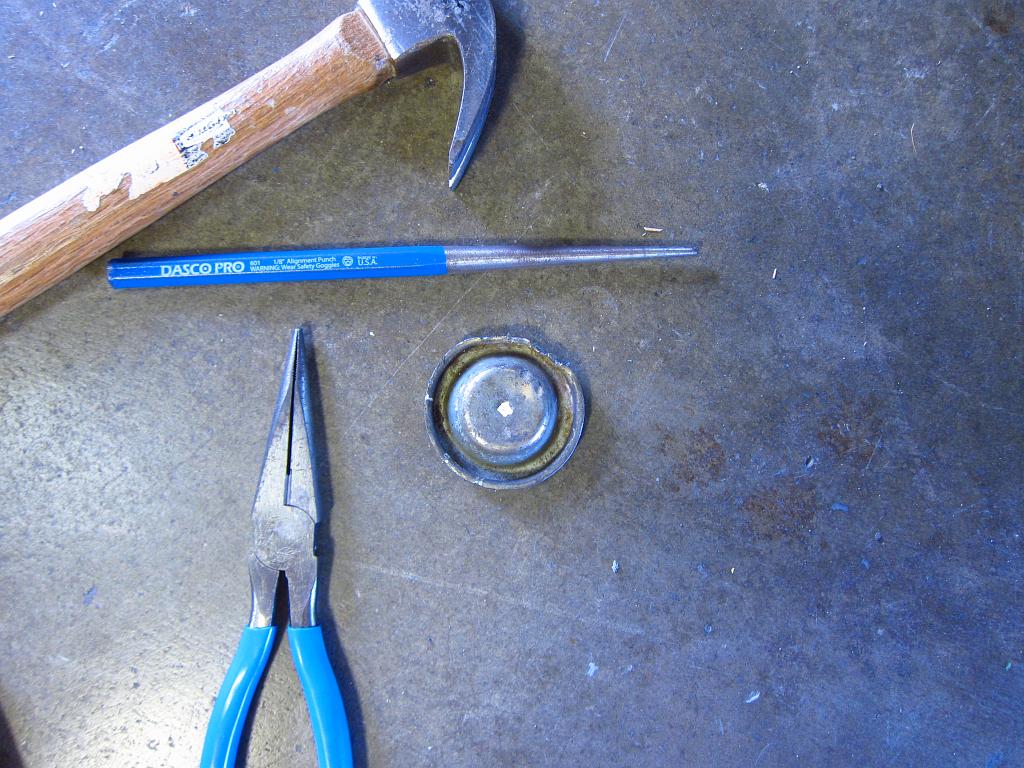
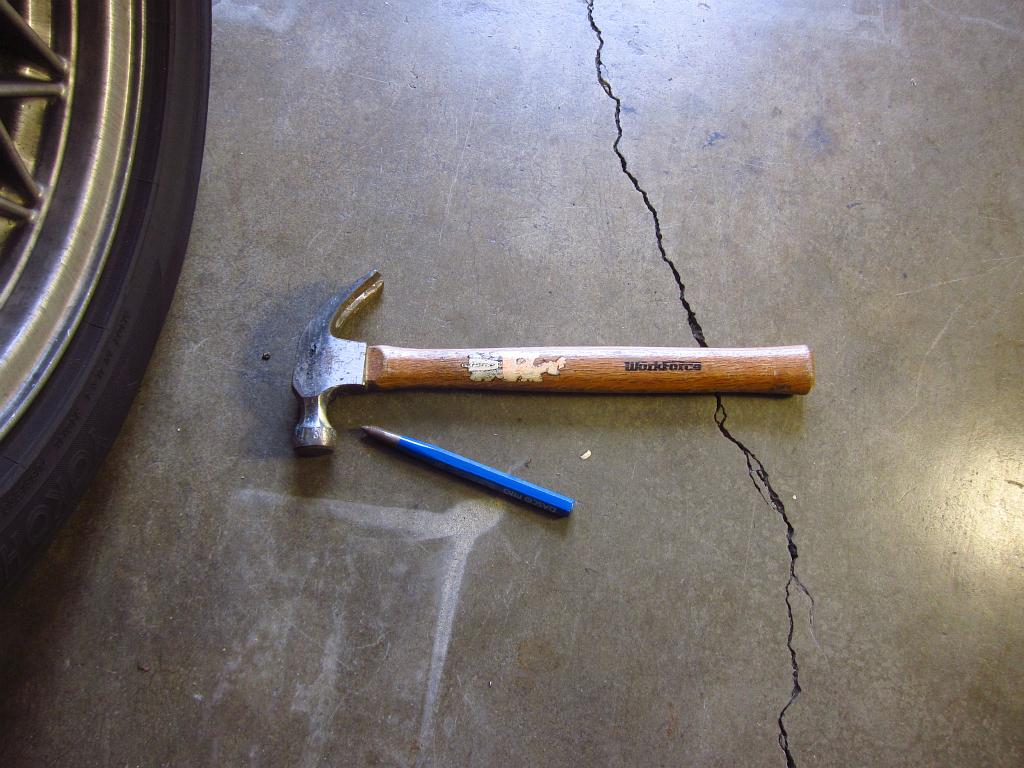
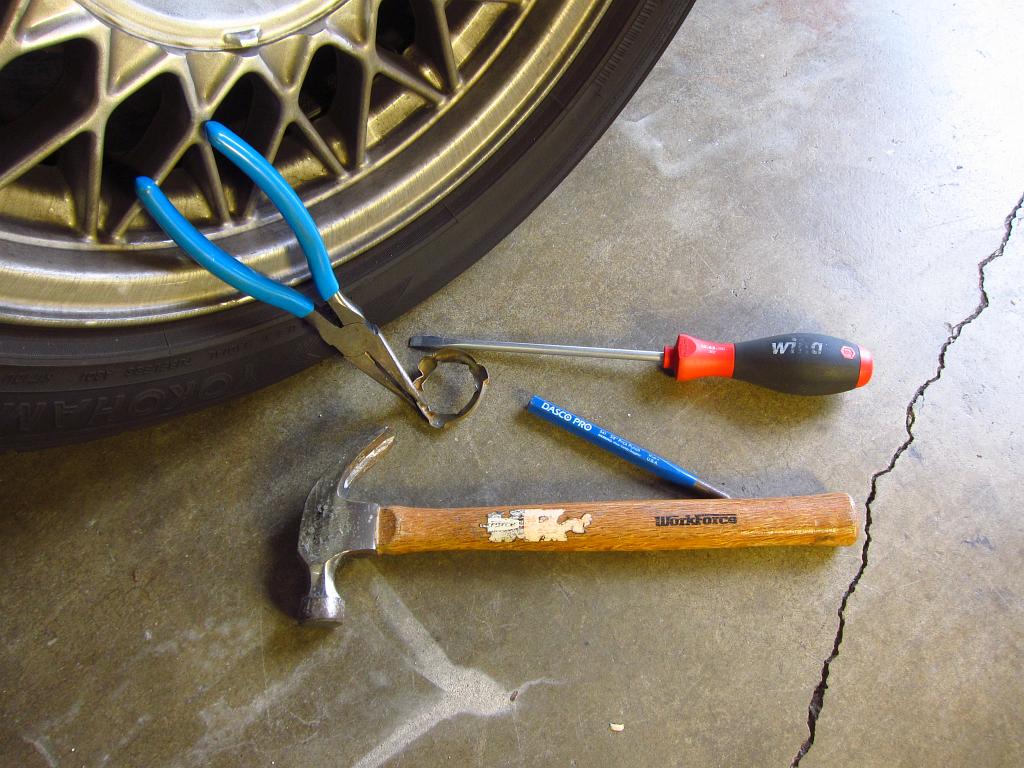
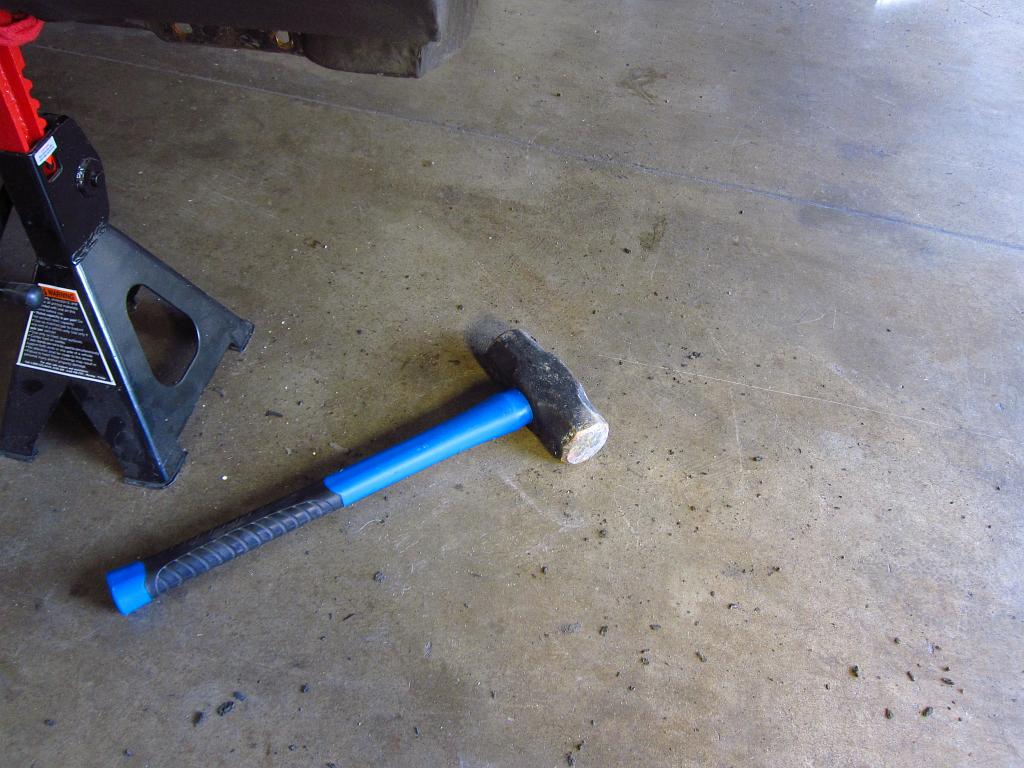
So, to get the dust cover off you just need a few basic tools. I like to use a small hammer for stuff like this to reduce the risk of damaging other stuff, and it is a lot easier to aim the swings. Just take your punch and use it to pop the cap's lip off in a few places. From there, you should be able to pull it off with some needle nosed pliers.
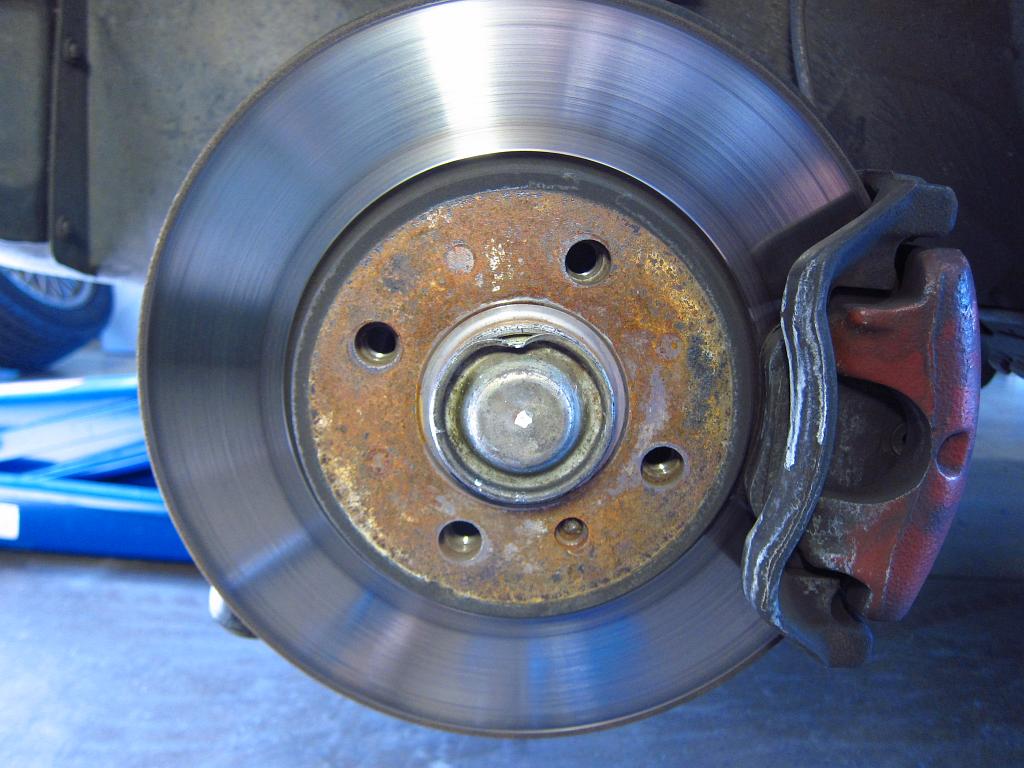
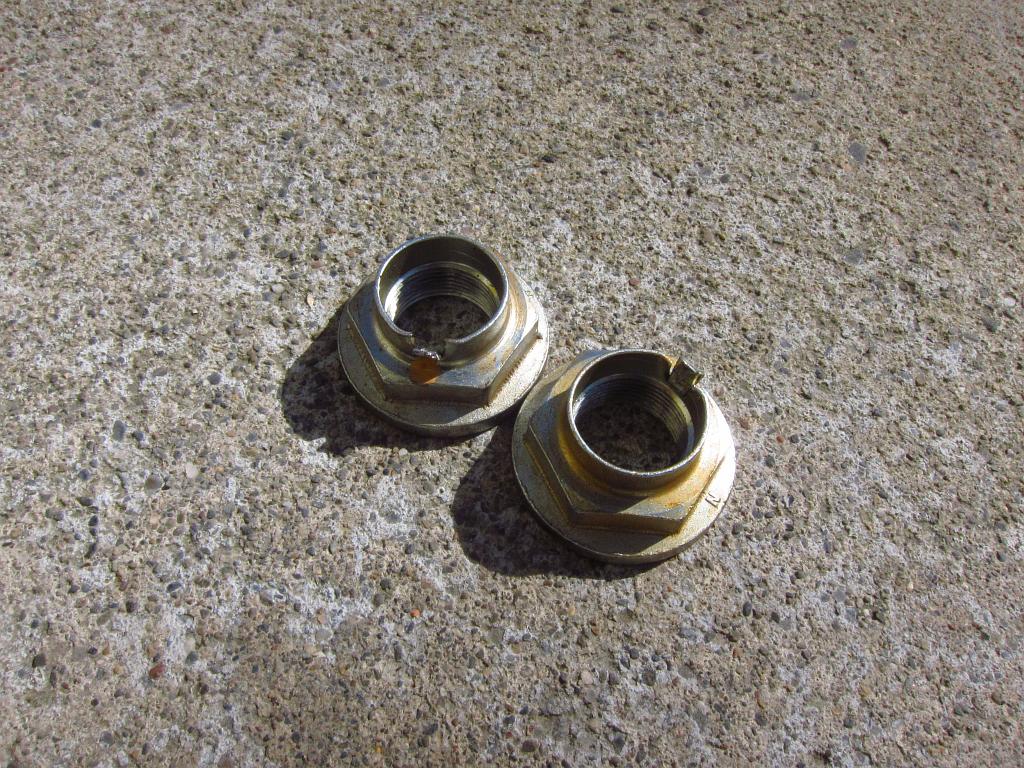
With the cap off, you can access the axle nut. You will need to bend the lock tab out to remove it. A few careful smacks with the hammer and punch will have it out of the way in no time. Be careful not to catch the punch on the axle shaft though; part of it is right below the tab so don't put the punch in too deep. Also, I used the mallet and a flat blade screwdriver to push the rest of the nut’s bent edges away from the axle just to make sure that nothing would catch.
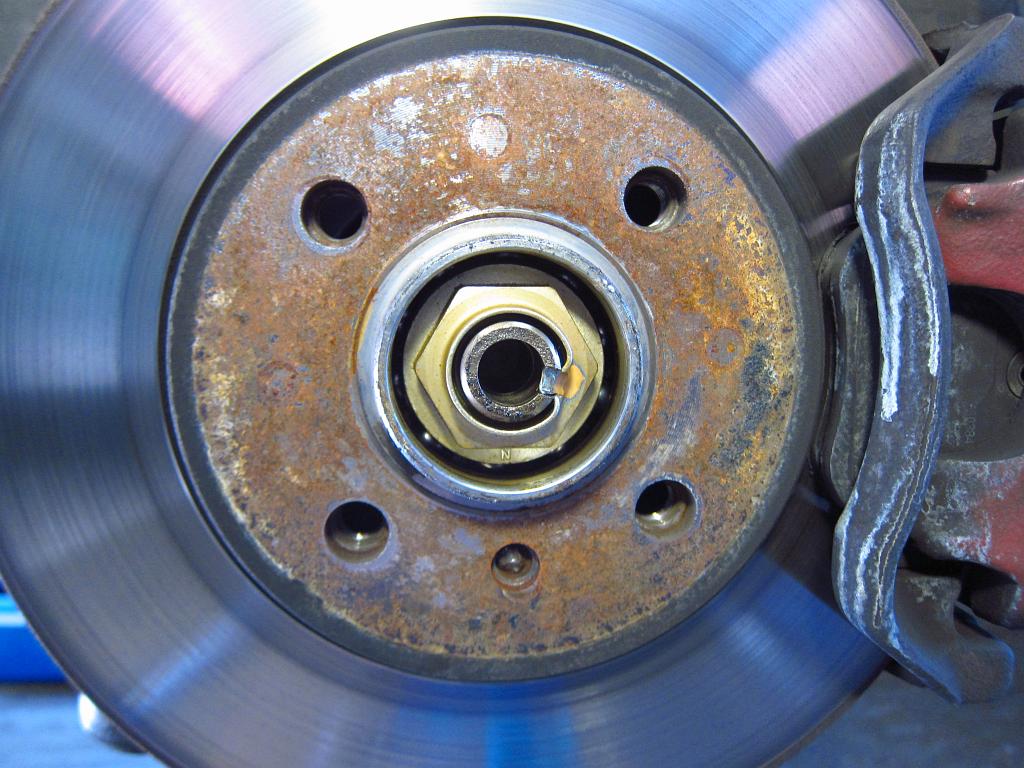
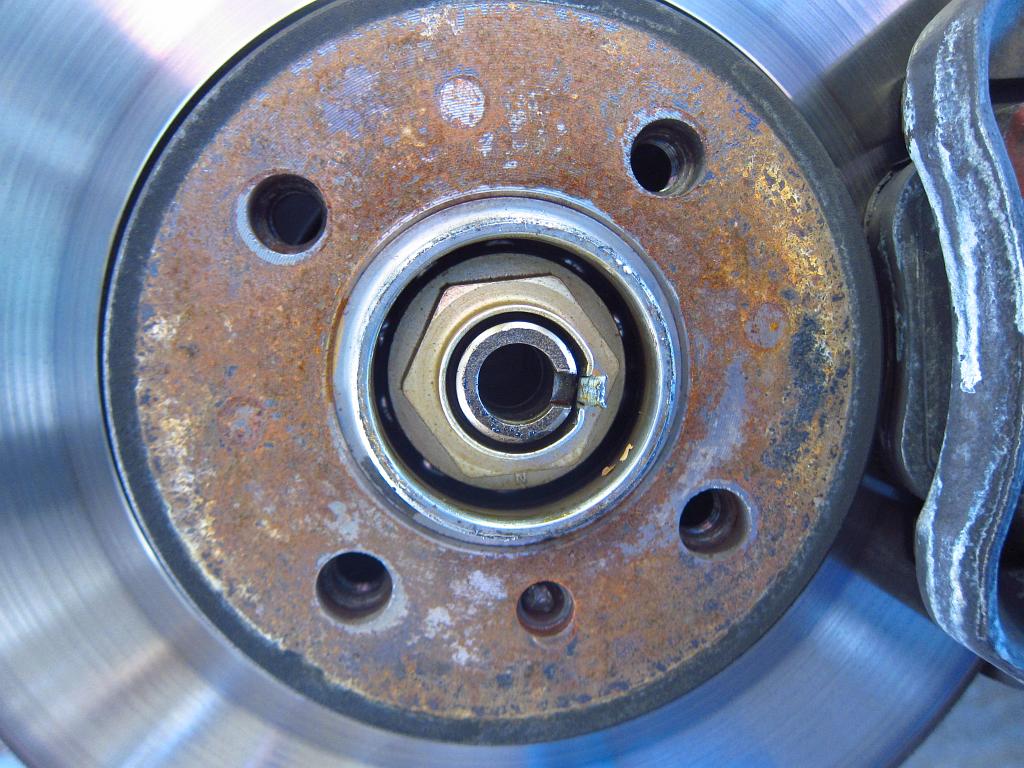
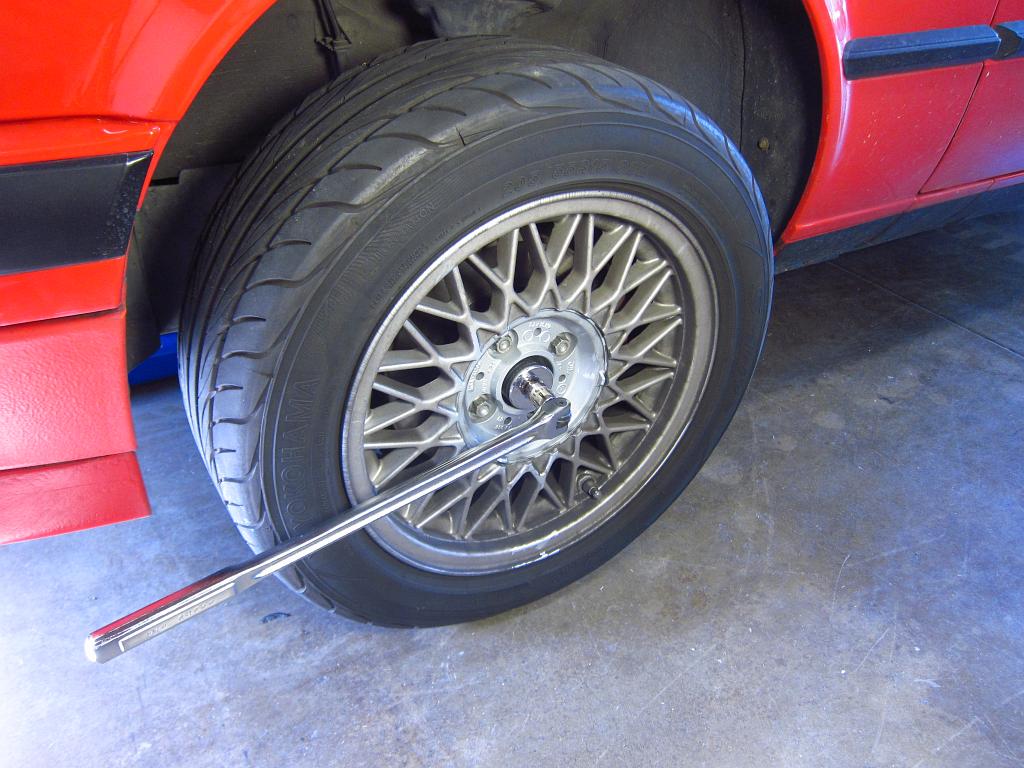
Now comes the fun part. This 36mm nut is spec'ed to 210 ft-lbs of torque, so you will need a breaker bar and 36mm socket to remove it. You must put the wheel back on for this because you don't want to load up the control arm's ball joints (or the shock) with your body weight. The wheel is just there to provide support to take the load off of the suspension. Get your breaker bar on there and step on it. Maybe give it a little bounce, just enough to get it to break loose. Do NOT turn the nut more than 30 degrees or so while the wheel is still on the ground. Once the nut is broken loose, jack the car back up and remove the wheel. Then you can remove the axle nut. This is because the bearing will probably come apart if the car's weight is on it when the nut is removed (the nut holds the inner and outer races together).
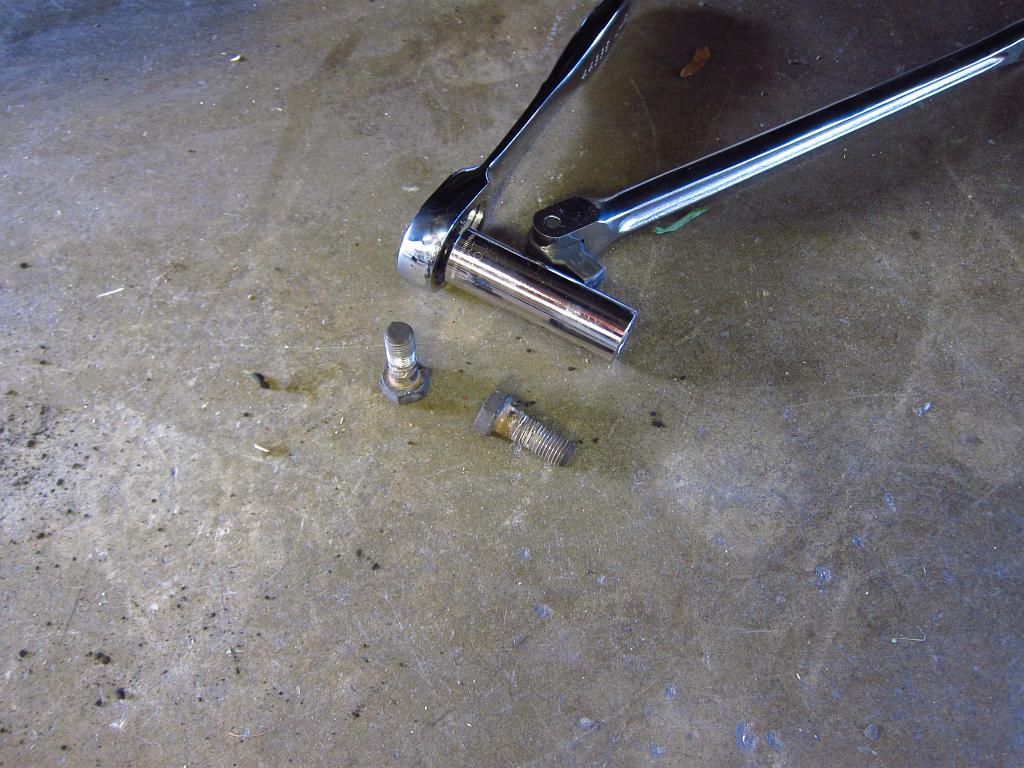
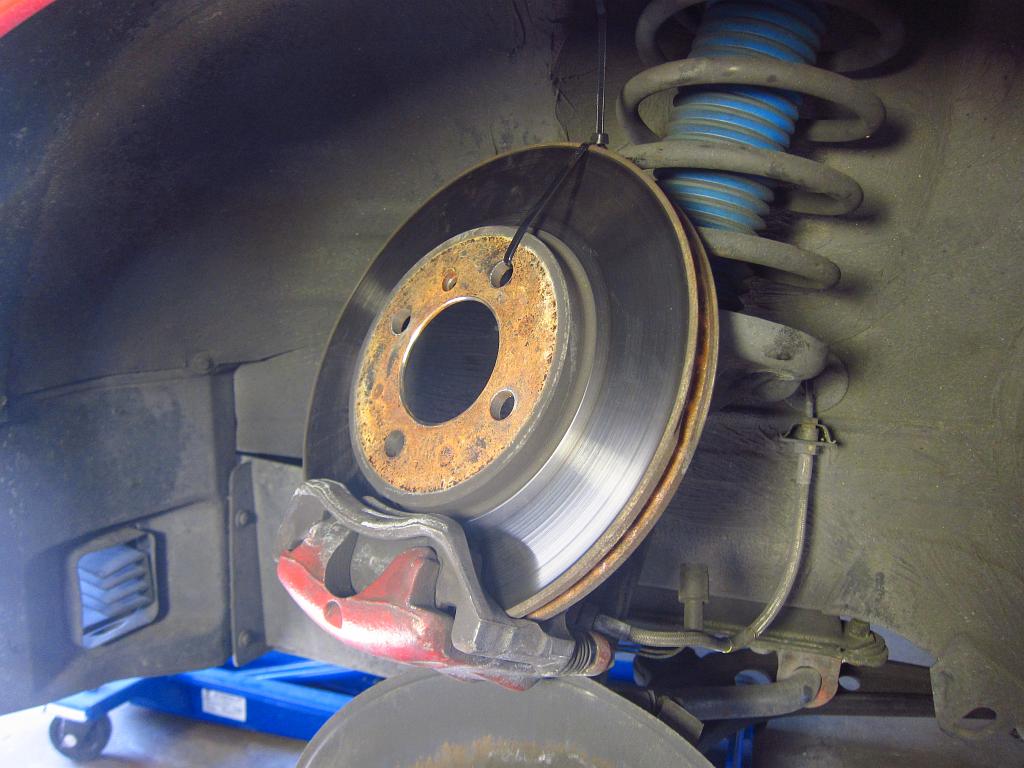
You will need to remove the brakes to get the hub off. This is pretty easy. Just take out the two 19mm bolts that hold the caliper carrier in and you can move the entire caliper + rotor assembly out of the way. Secure it to something so that the hydraulic line is not under tension (I zip tied things to the springs). Try not to get grease or anything on the rotor while you are handling it.
Next, you will be removing the bearing+hub assembly. Your results will vary here, but if the dust covers were intact there is a good chance that this will be VERY easy. In my case, I was able to get both bearings off of the axle by pulling with just my hands. Just make sure that you pull straight and don't cock things. Other people have reported that they needed a little help from gear pullers or that they were able to put the wheel back on and pull on that. A few unlucky souls have probably had to take it to a shop because things rusted somehow.
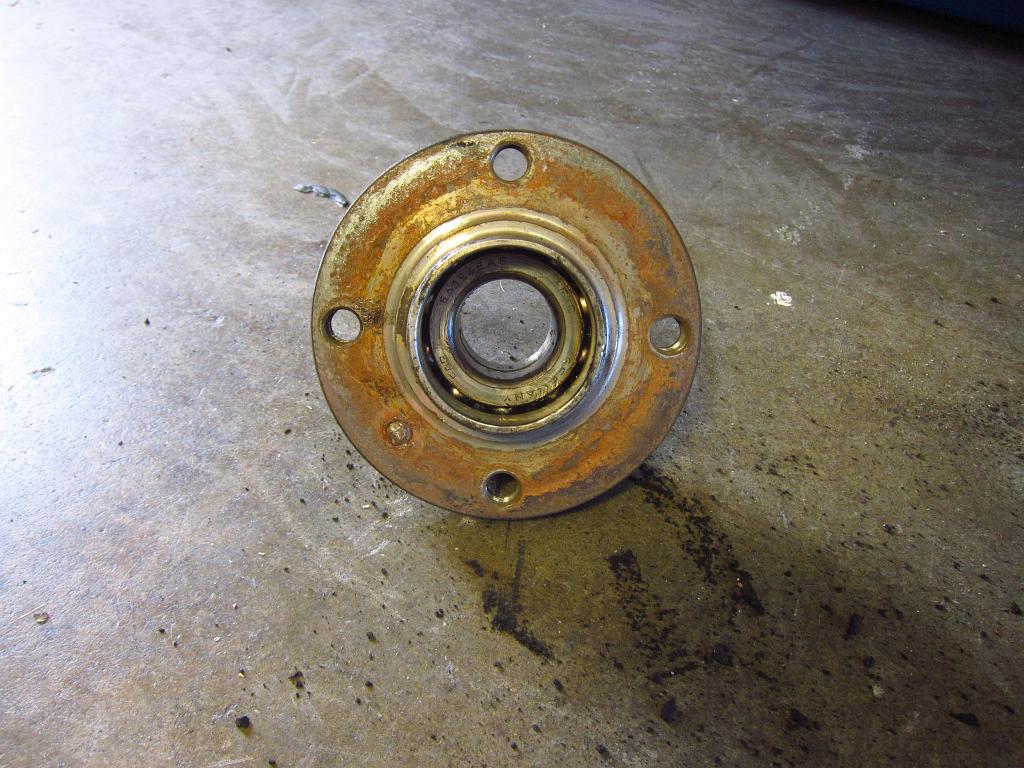
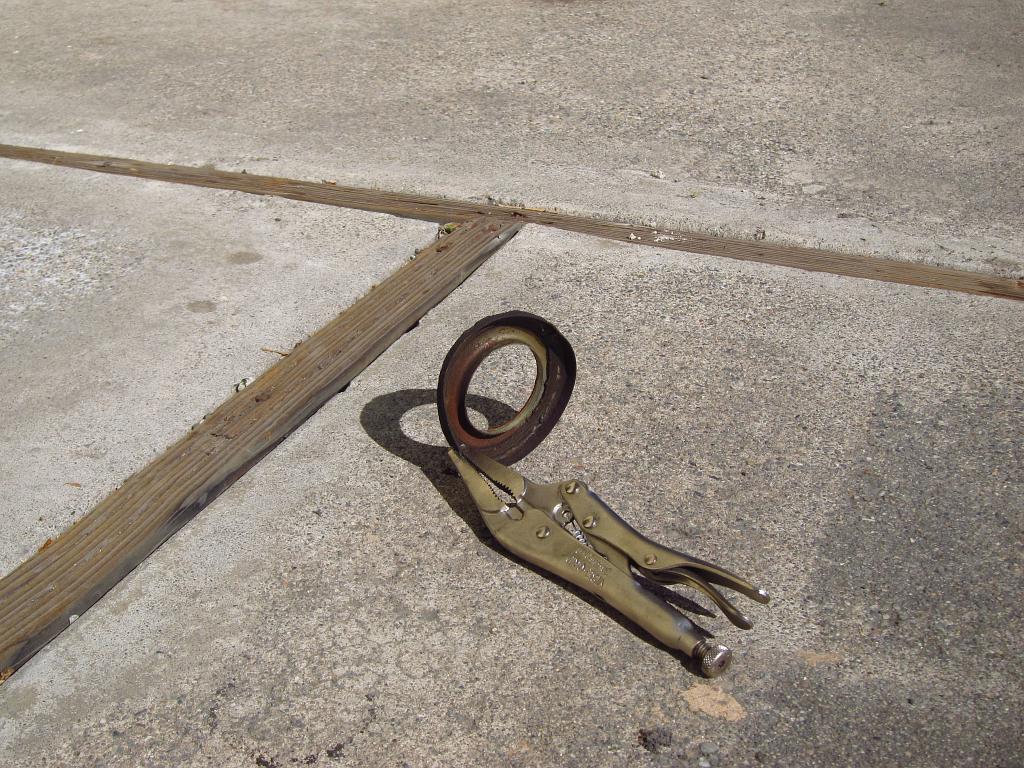
Removal of the inner dust covers is a little bit of a pain. These do not necessarily need to be replaced, and if you clean them off they are probably perfectly fine to re-use. I wanted to replace them anyway since they are inexpensive and I am sort of OCD about stuff like this. So, to get them out you should give them a few good whacks with a hammer and punch from behind, and then you should be able to pull them out with some needle nosed vise grips. Just be mindful of the axle shaft and don’t scrape it up.
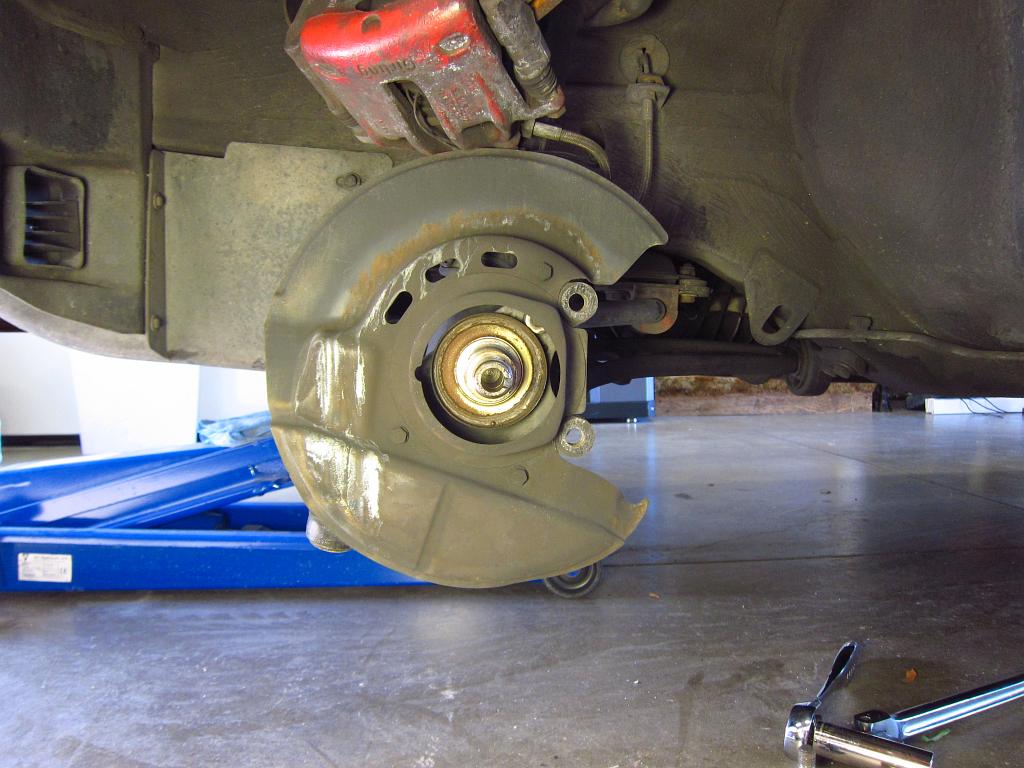
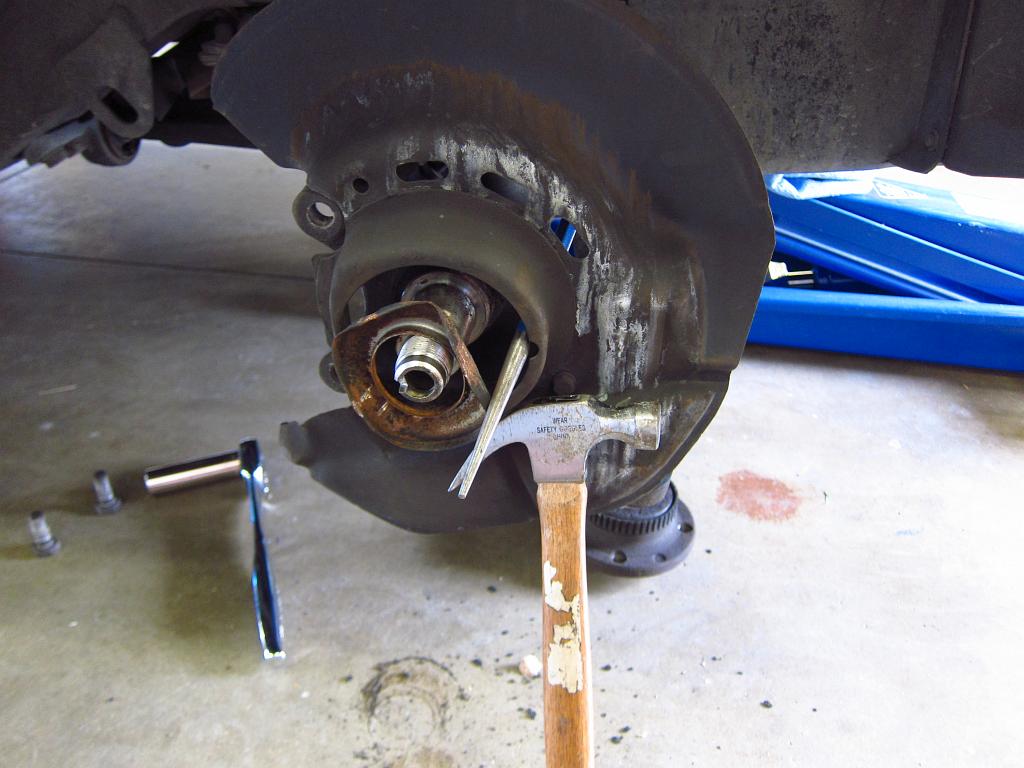
With the old cover out, clean things up and scrub off any rust or brake dust that has built up in the back.
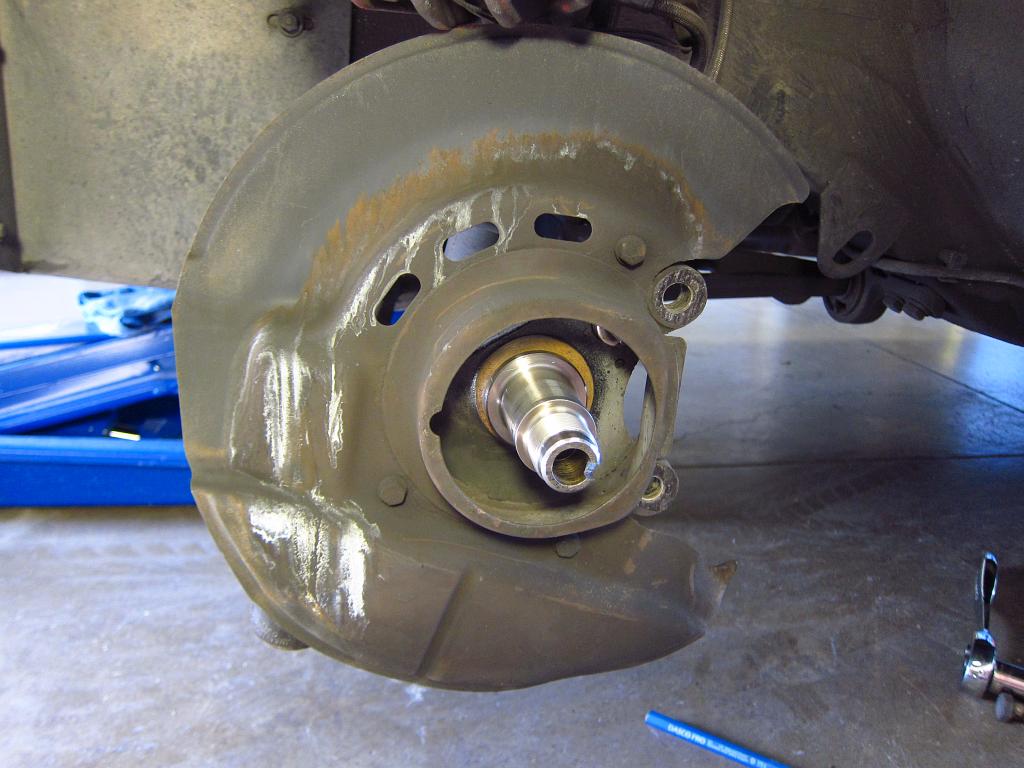
Installation of the new covers is pretty easy. You can use the old bearing assembly, the 36mm socket and a mallet to press the cover onto the axle shoulder. Make sure to leave a little grease on the axle shaft so that the bearings slide on without binding, and make SURE that they are straight so that they don't cock. The inner race can pop off, and you will be screwed if it gets stuck on the inside of the shaft. Anyway, smack it until the new cover is all the way on (flush with the end of the axle shoulder).
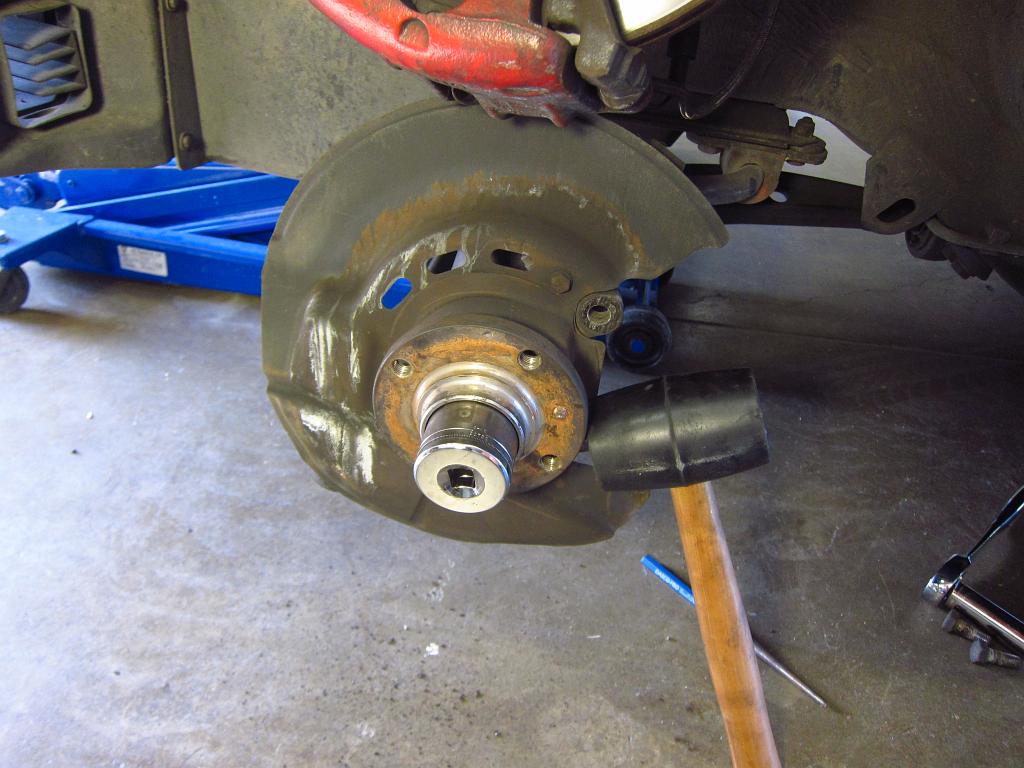
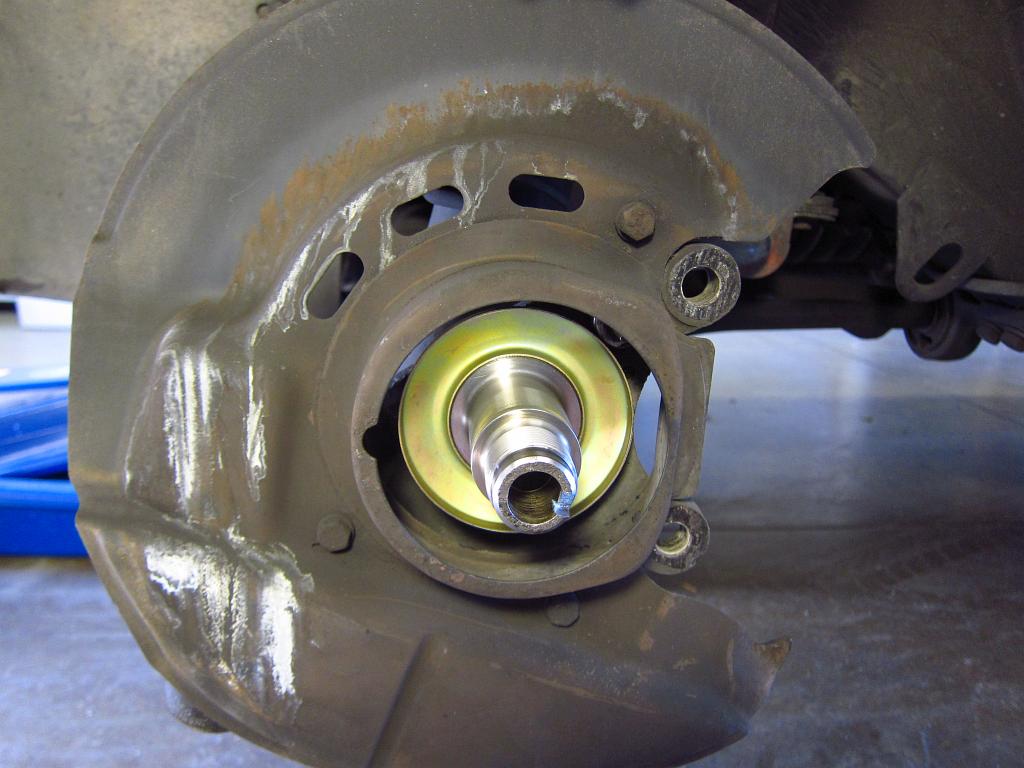
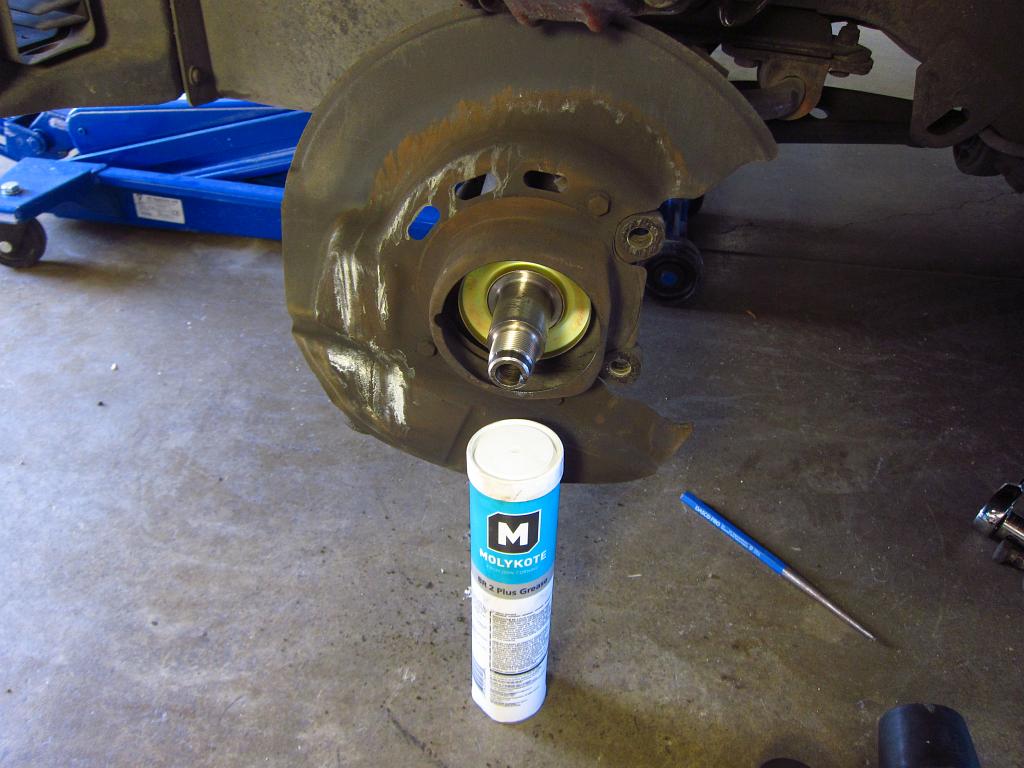
Now you can install the new bearing + hub assembly. Wipe any remaining crud off of the axle shaft and apply a tiny bit of grease to it so that the bearing will slide on easily. I had some Molykote left from a clutch job, so I used that. Installation will be super easy if the axle shaft is clean and not pitted with rust. Slide it on, and again use the 36mm socket and mallet. Do NOT push on the hub assembly or put any sort of load on anything EXCEPT the inner race. The bearing can come apart if you push on anything other than the inner race.
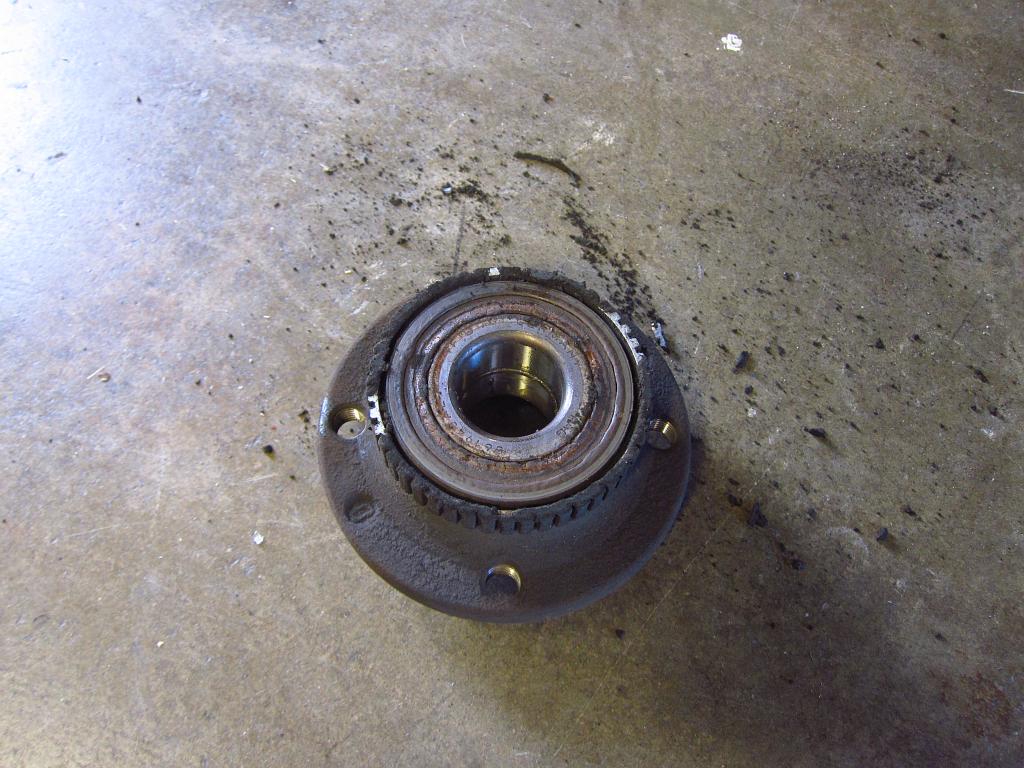
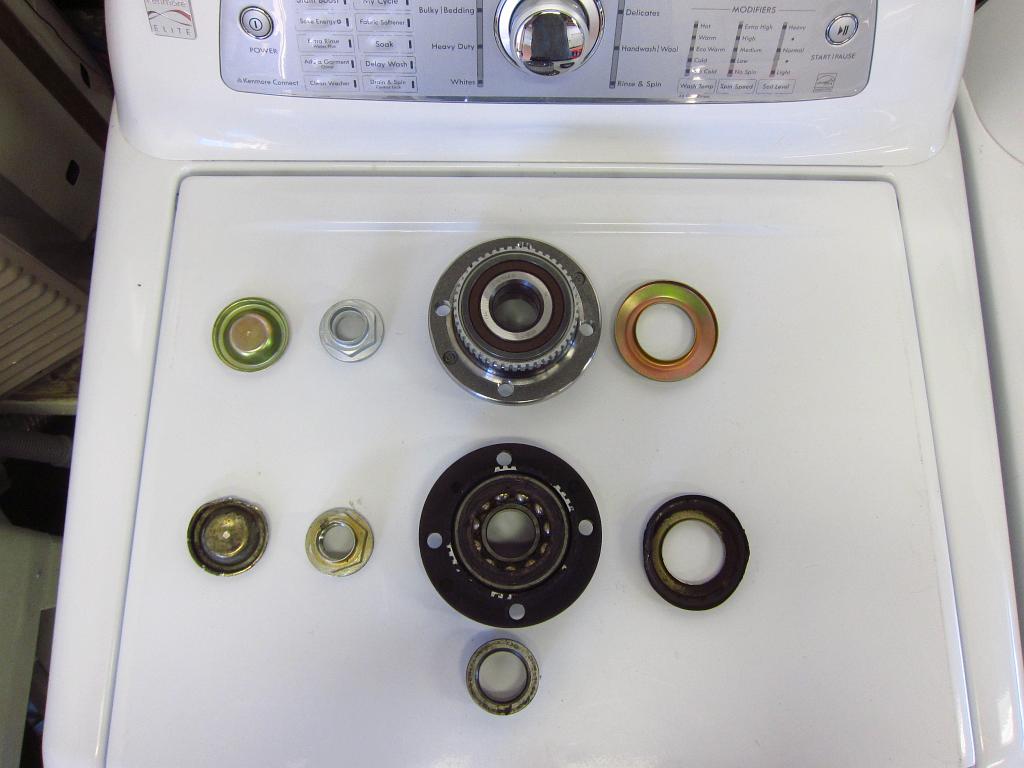
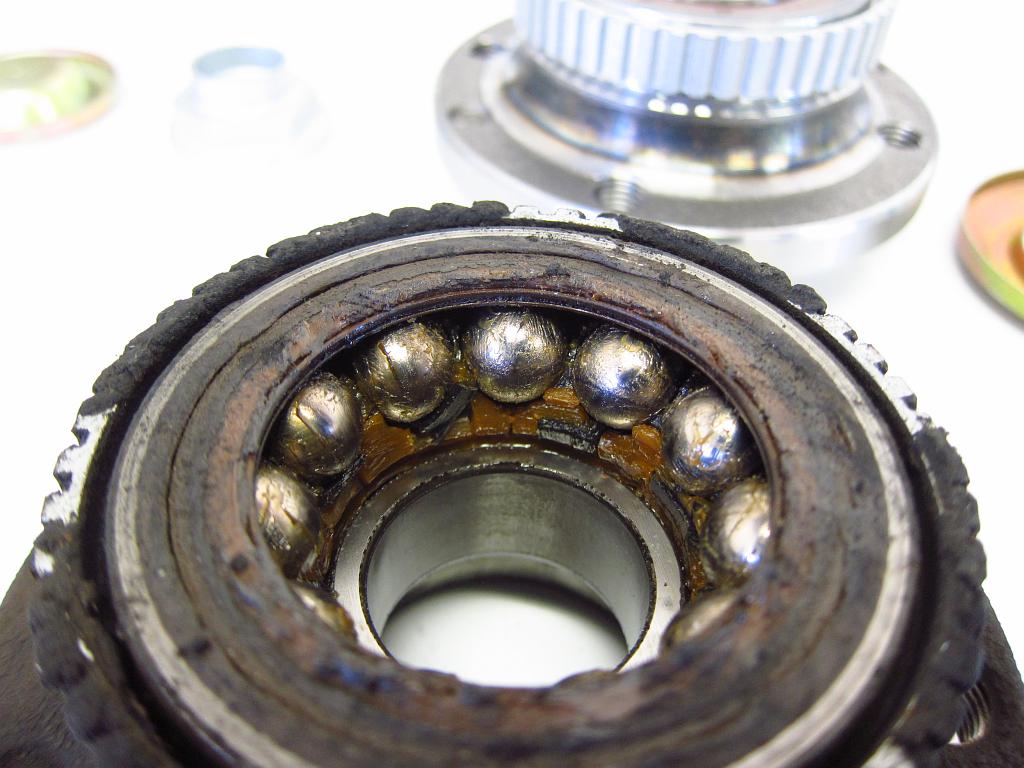
Here you can see the parts that were replaced. The old bearing was not in great shape. There was a bit of runout, and the balls' plastic inner race was totally destroyed. In fact, the inner metal race fell right off when I was removing it (but thankfully it was easy to slide off of the axle).
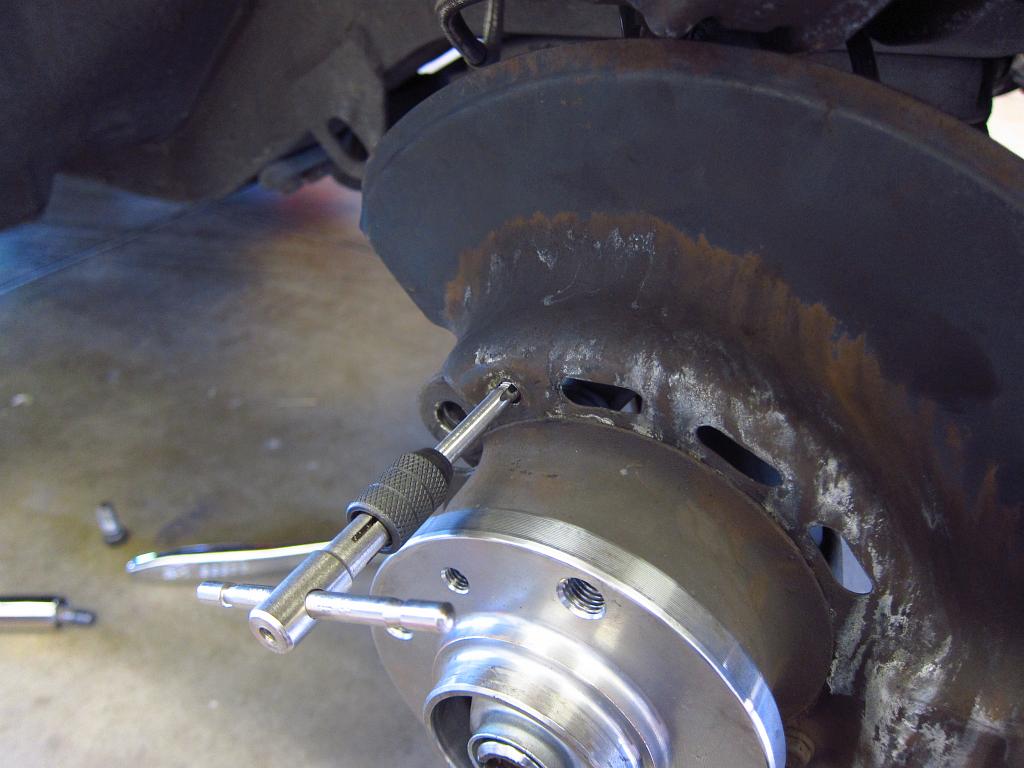
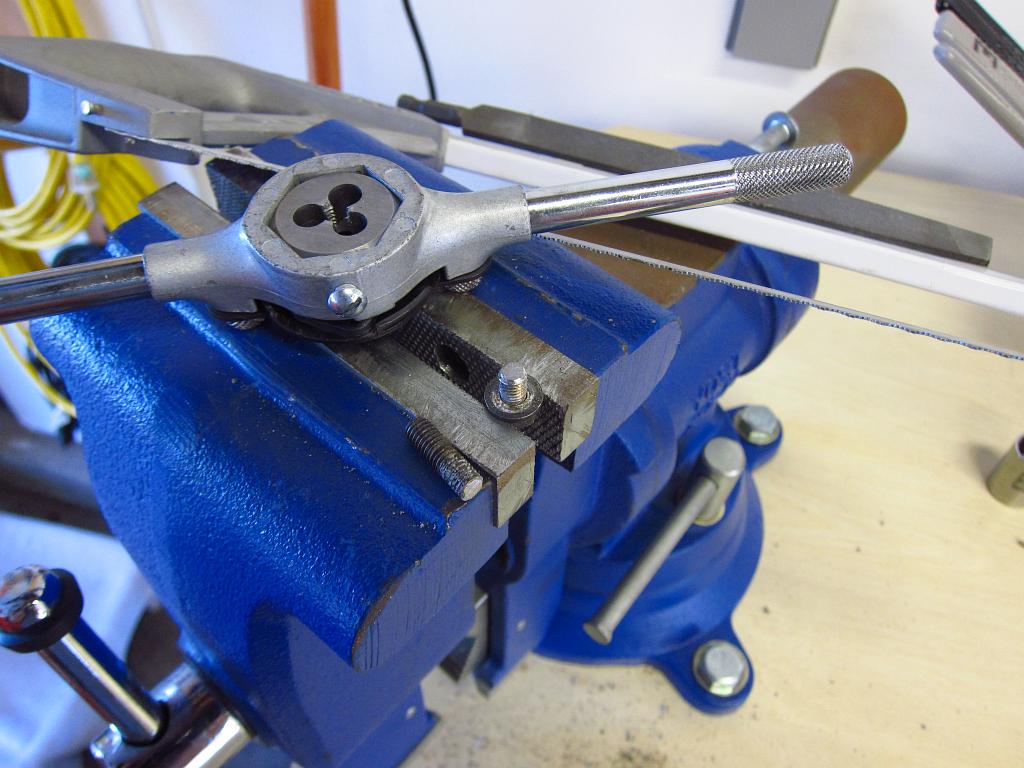
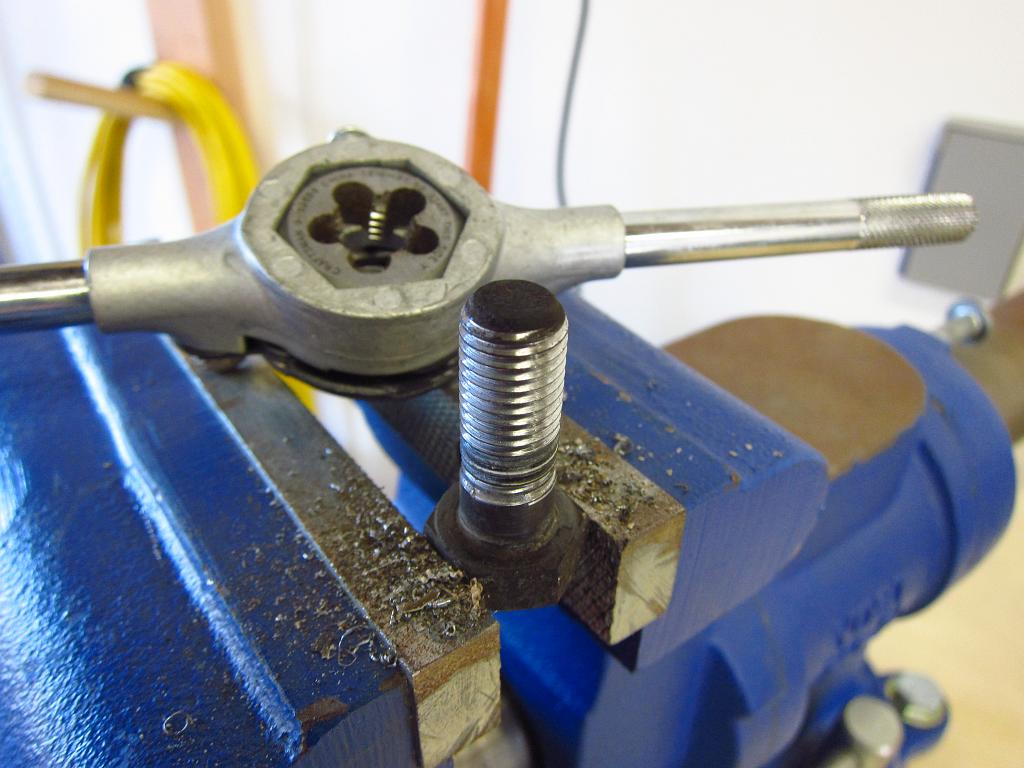
A small aside...when I was putting the passenger side stuff back on, I noticed that the rotor's dust shield was loose. At first I thought that the top M6 bolt had fallen out since it was not present, but it was actually (surprisingly!) the case that the top hole had never been tapped in the first place! I have done 3 or 4 brake jobs on this car and I can't believe that I never noticed this! So, I drilled the hole to the right diameter and tapped the needed M6x1 threads into it. As for the fastener, I have a box of spare E30 nuts and bolts, so I got an M6 one with a captive washer and chopped it down to size. Problem solved! This might explain a weird rattle/buzz that has been bugging me for quite some time lol.
Also, at this point you should put the new axle nut in. Do not torque it down yet since you will need the wheel for support again. Just get it on there and apply enough torque to seat everything firmly (maybe 50 ft-lbs or so).
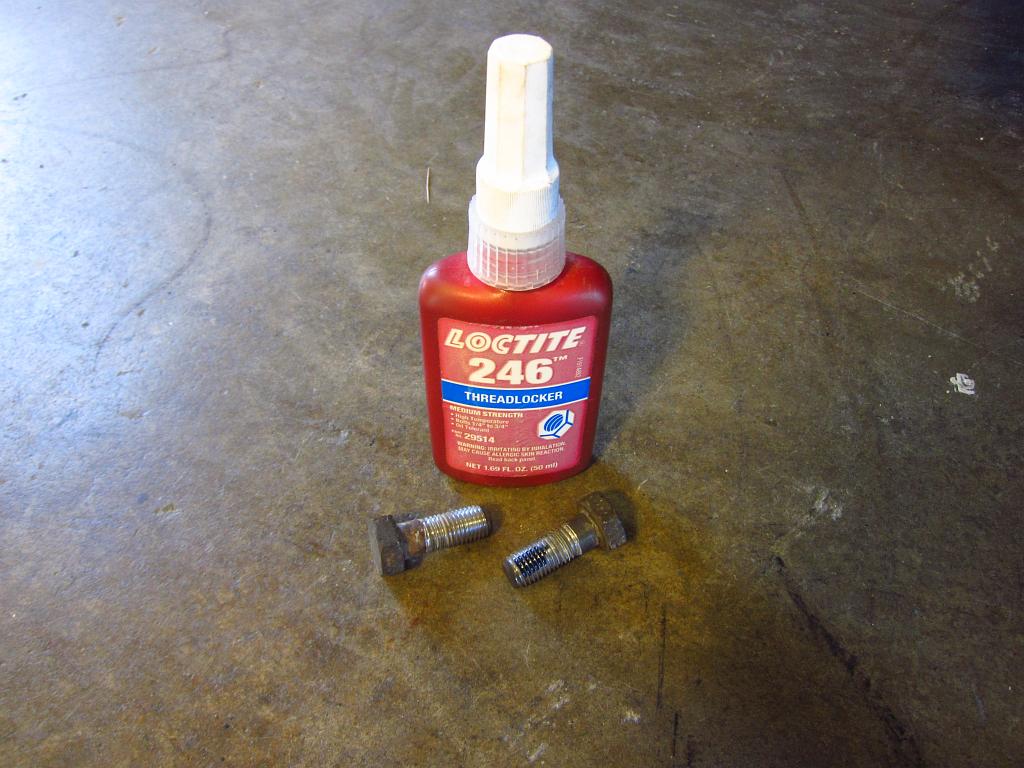
With that bit of nonsense taken care of, I cleaned up the brake carrier bolts a bit since they were full of crap. With these bolts, it is also a very good idea to use a little thread locker since they experience a lot of thermal cycling and cyclical mechanical loading.
Now you will put the wheels back on and tighten the lug bolts a bit to make sure that the wheel is seated on the hub. Lower the car so that the suspension compresses an inch or two, ensuring that the wheel will take the vertical load when you tighten the axle nut. The axle nut needs to be torqued to 210 ft-lbs. I accomplished this with an 18" breaker bar and my own 165lb weight. With my weight applied at ~15", I got around 210 ft-lbs on there, and I bounced on it a little so it probably ended up closer to 240 ft-lbs. Unfortunately, the nut is sort of shallow and it can be tricky to keep the socket on it. On one side, it did manage to slip off and bang up the nut a little, but I still got it torqued down just fine. So, just be careful when you are doing this and make sure that you don't apply any lateral force when standing on the bar.
Once the nut is on at full torque, you need to make a lock tab. I got a slightly larger punch and used it to hammer the lip on the nut into the axle's lock groove. You want a punch that is only slightly narrower than the groove so that the lip will shear as you mash it in. Just be sure to aim carefully so that you don't mess up the axle.
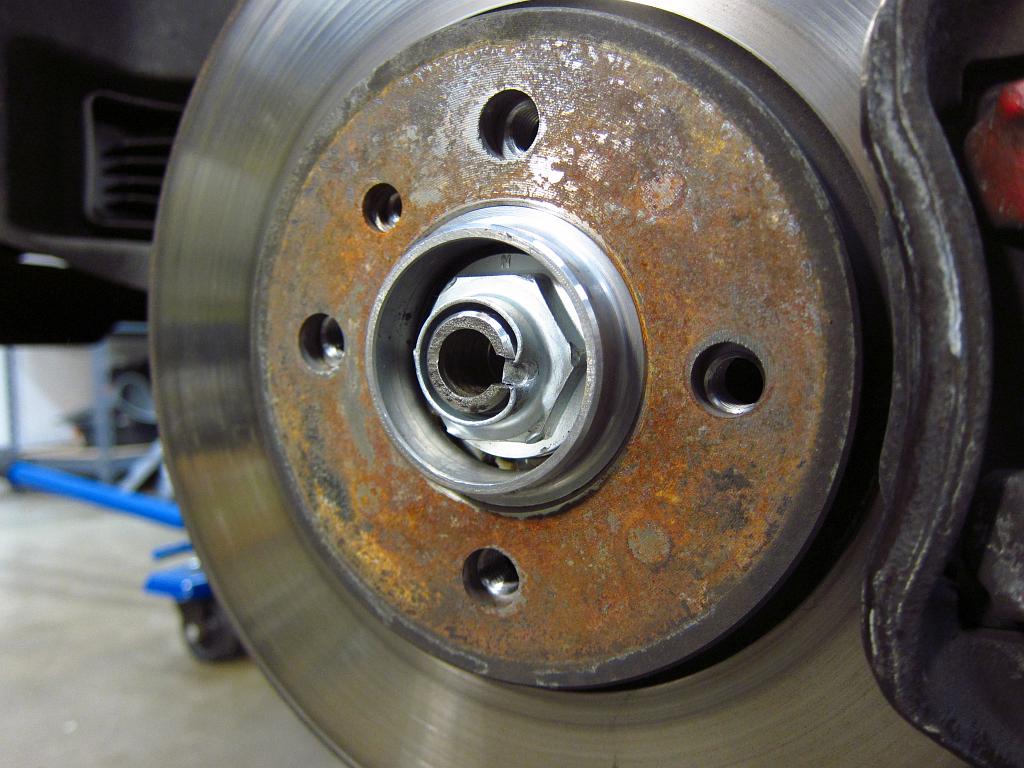
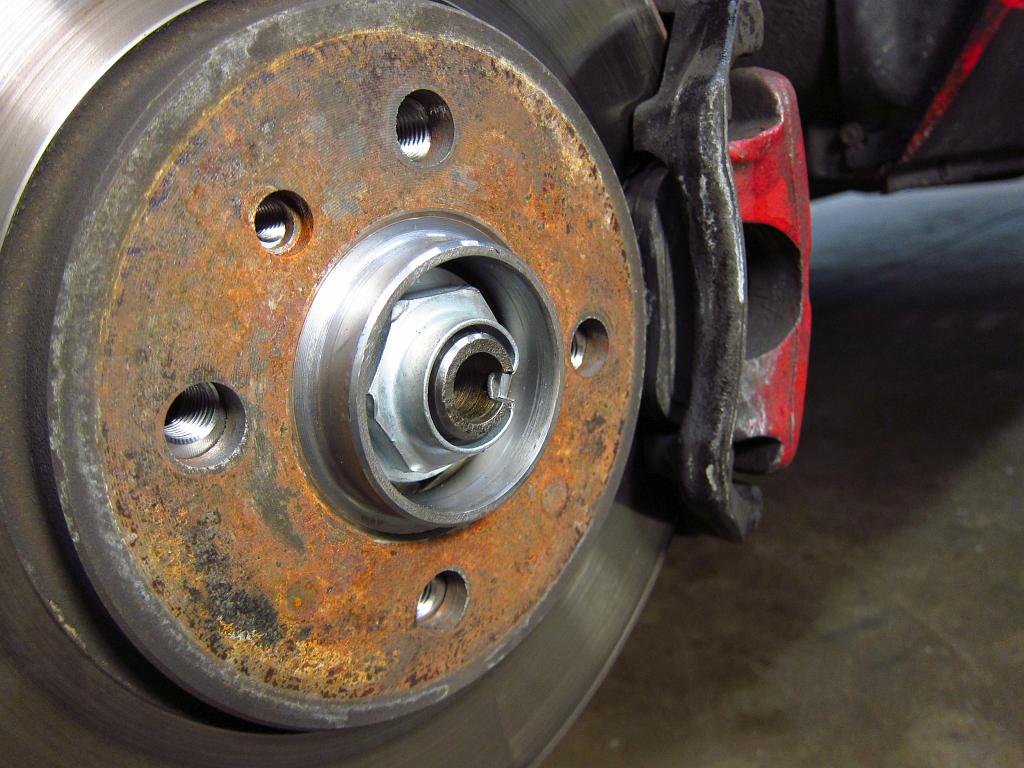
Finally, you need to put the on the new outer dust cap. This is pretty easy. I used a mallet and the 36mm socket again. You can also try hitting the cap's lip a little at a time in a circumferential pattern to seat it. Just don't whack the middle of it or it will just collapse in. The dust caps are SUPER important, and you need them installed properly or your new bearings will not last very long.
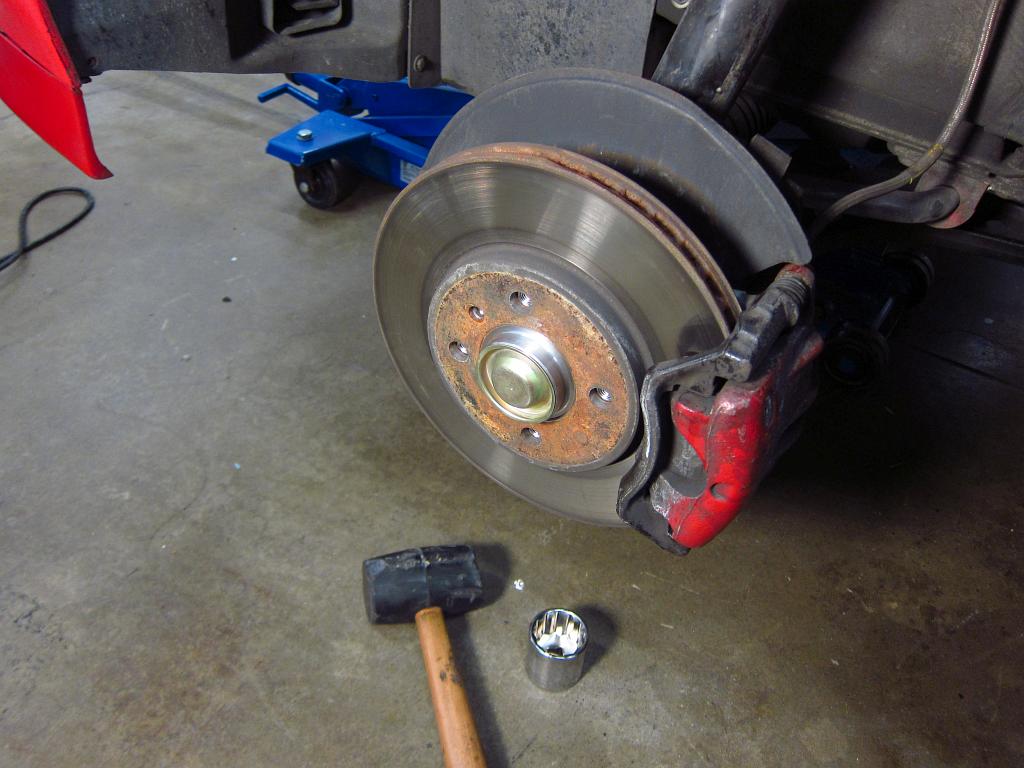
And there you have it, nice new front wheel bearings!
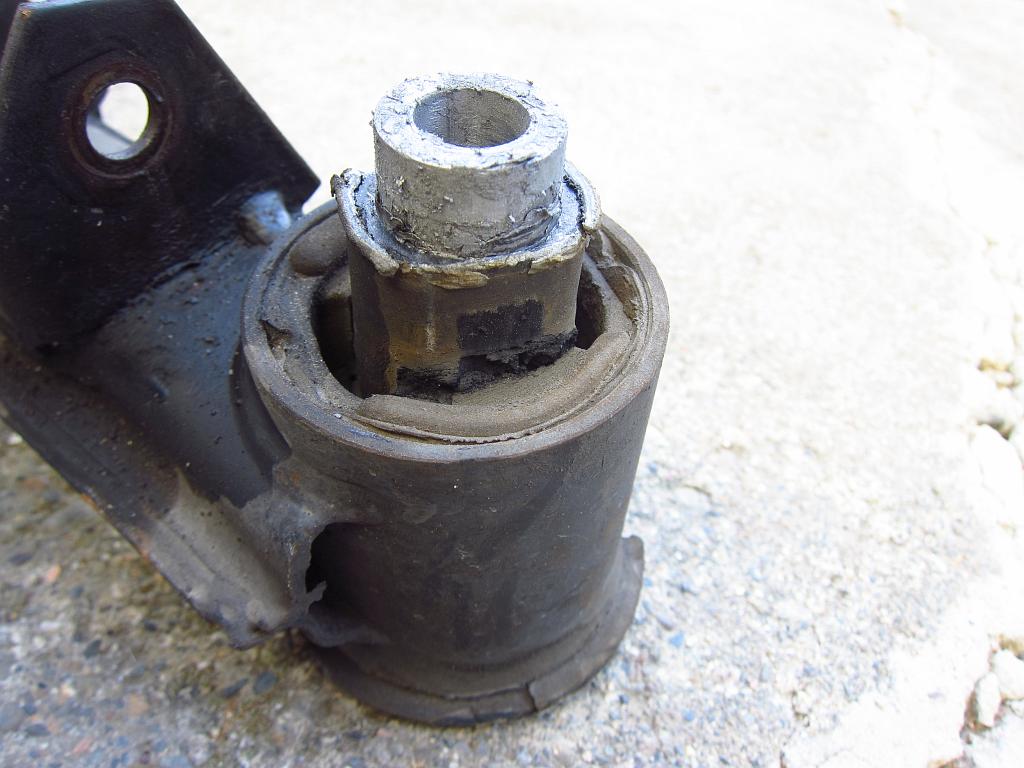
The other order of business today was to replace the front control arm bushings. Mine were almost a decade old, and while they were not torn, I had installed them in the wrong orientation (patience was not my strong suit back in college haha) and they were probably close to needing replacement anyway.
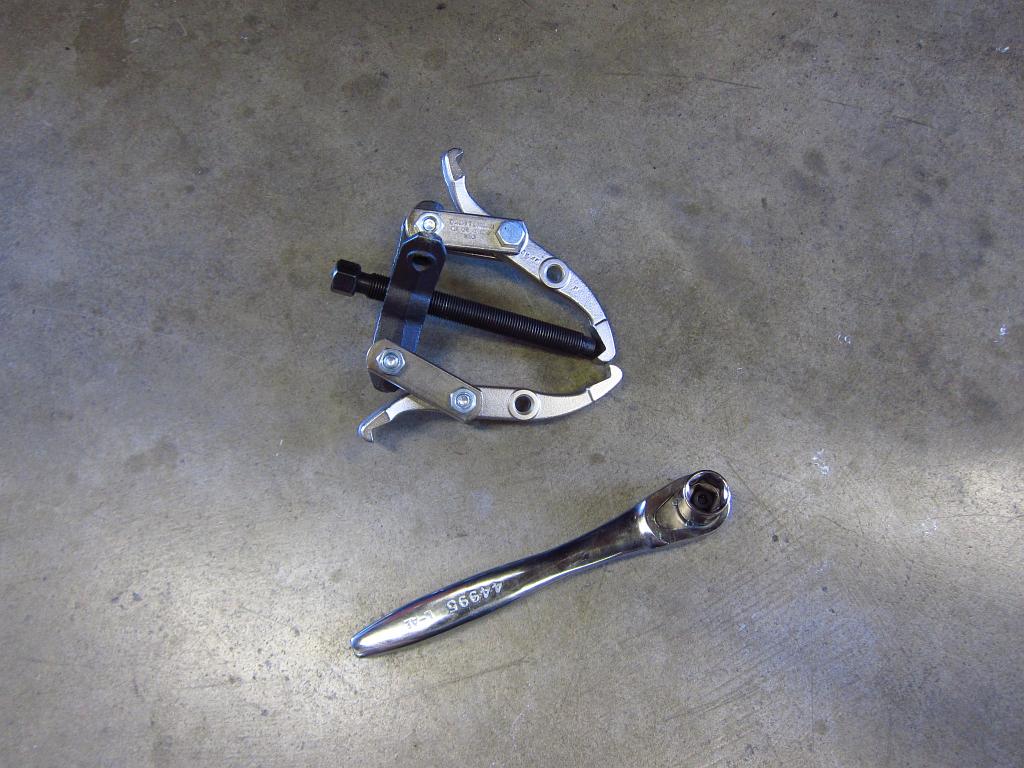
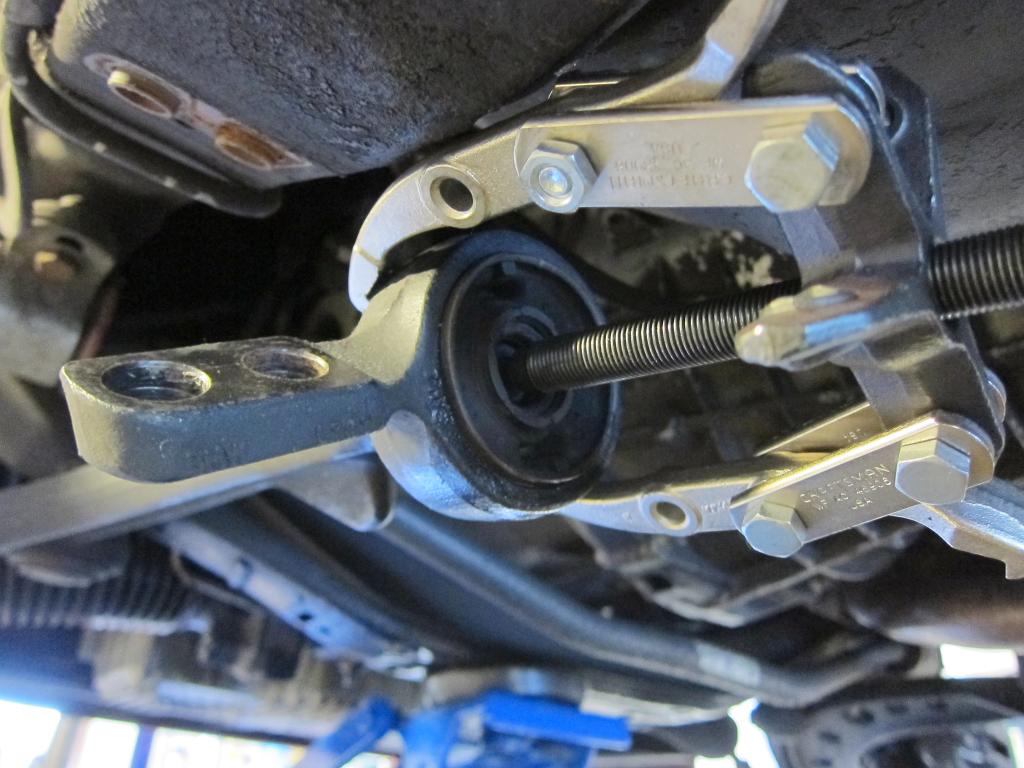
Removing them from the control arms was simple. I shot them with some PB Blaster and then used some gear pullers to get them off of the arms.
Getting the bushing out of the bracket was a little bit of a pain, but still doable with a bench vise. I hit it with some more PB Blaster and used some sockets as spacers to start pushing it out. Once it moved the first 3mm or so, I was able to stick a 1.5" (~38mm) socket in there and push on the rubber web to push the bushing out. Your results may vary here, and if you have a shredded bushing or just a standard E30 one (this was an E36 M3 bushing) the rubber might not be strong enough. Note that the 1.5" socket is still smaller than the outer metal ring and it was pushing on the rubber just inside the ring. It was the biggest socket I had on-hand, so I decided to give it a shot.
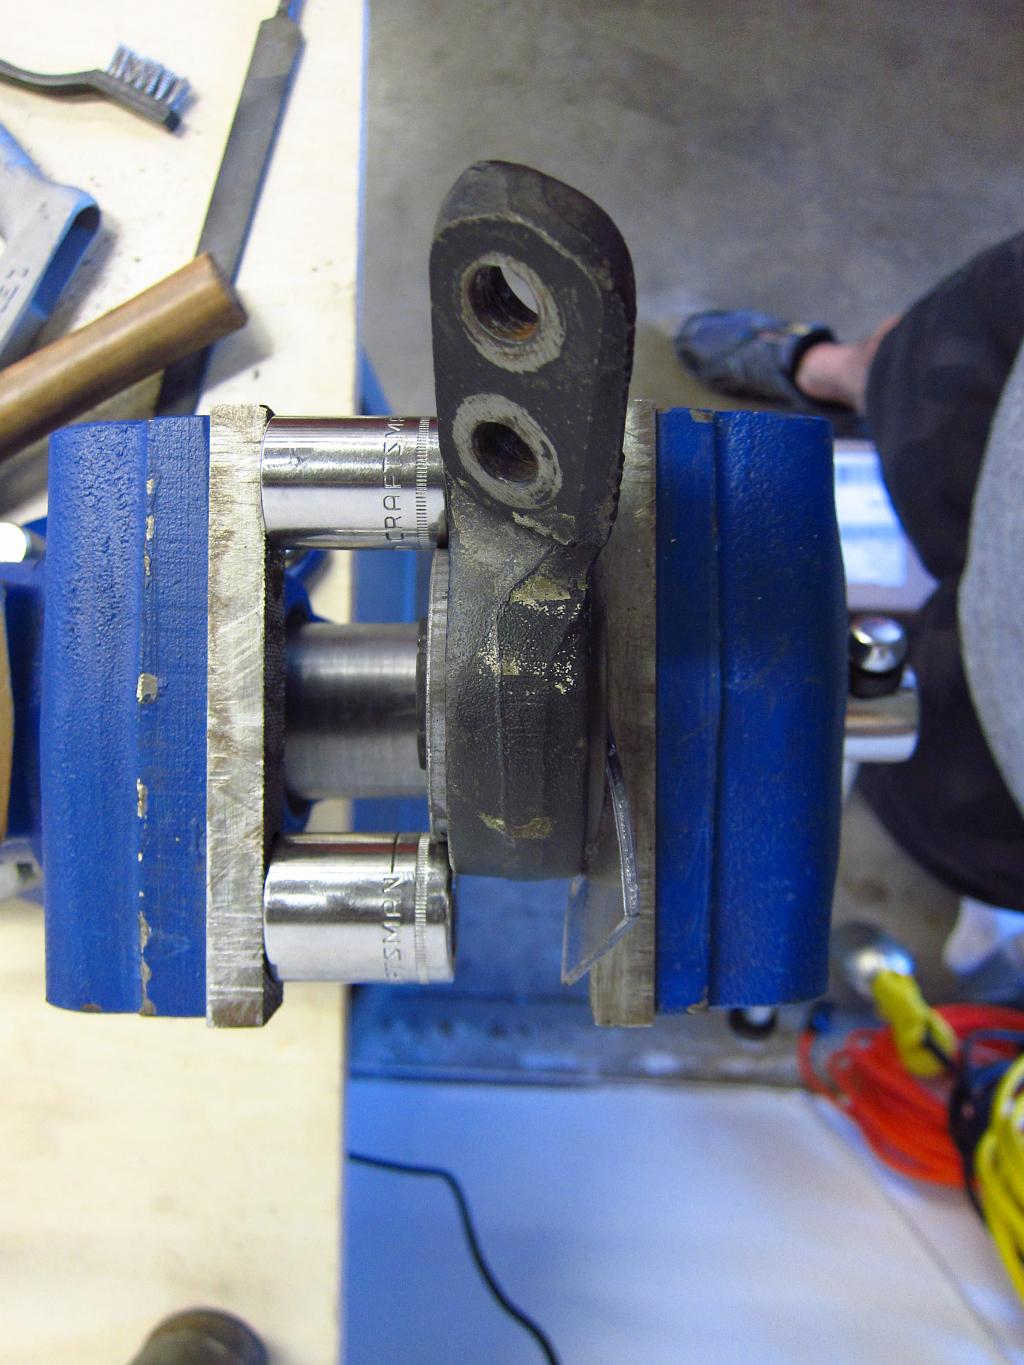
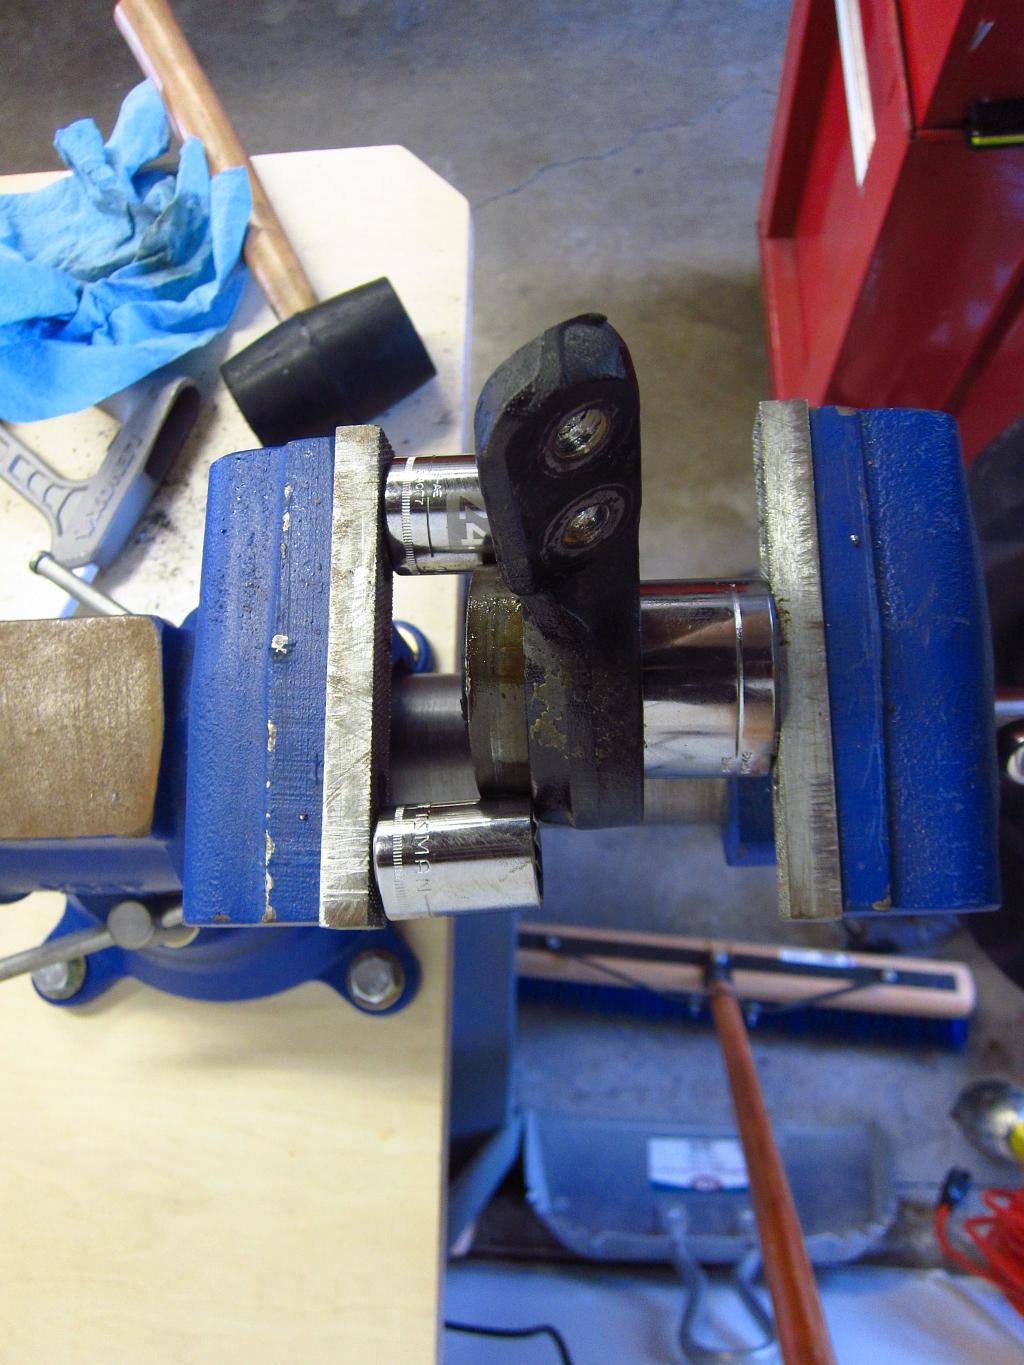
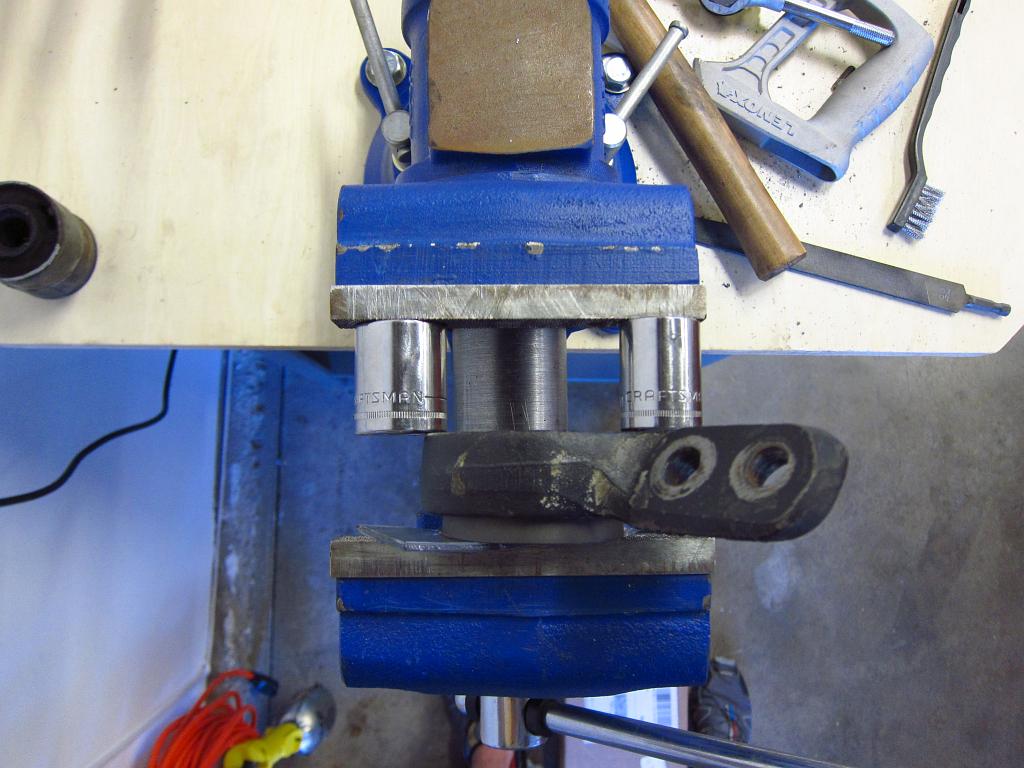
Once the bushing is out, clean out the bracket. I blasted it off with some brake cleaner to get the oil off. After that, you need to press the new bushing in. It is about as much of a pain as removing the old one. You can get the bushing in 95% of the way very easily by just sticking the bracket and bushing in the vise and paying attention to make sure that it goes in straight. Stick a piece of wood or plastic between the vise's jaw faces and the bushing so that you don't chew it up. Note that with the centered E36 M3 bushings, you will have the "holes" on the sides, and the little square nubs in them are supposed to align with the mark on the bracket.
To finish installing the bushing, just use some sockets as spacers again. Once it is pushed in enough to be evenly centered, you are done. Easy!

Getting the bushings onto the control arm is also VERY easy. A lot of people have trouble with this (I used to as well). Well, a little trick that I read on the forums was to use some glass cleaner on the bushing to make it slide on. This worked FLAWLESSLY. I sprayed the bushing down and was able to get it onto the control arm with 3 whacks with the mallet. From there, a 23mm socket was all I needed to get the bushing pressed the rest of the way on. The glass cleaner also made it super easy to rotate the bushing once it was on so that the bracket would be aligned with the chassis without adding any unwanted torque pre-load to the rubber.
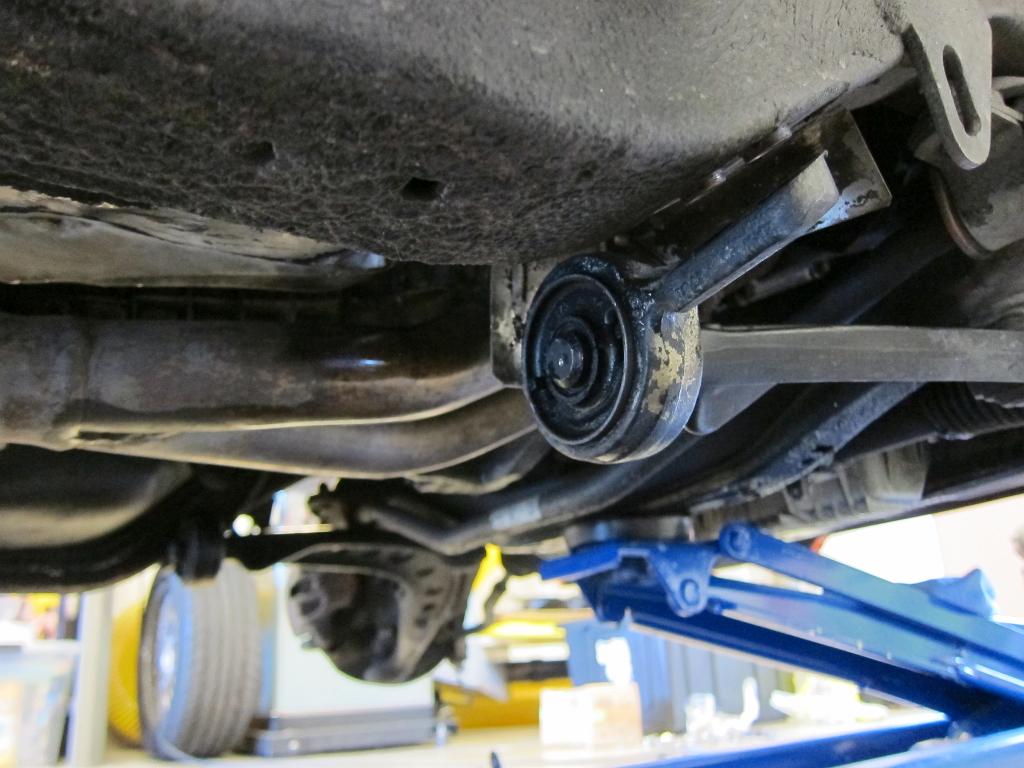
Here's the progress after a few whacks.
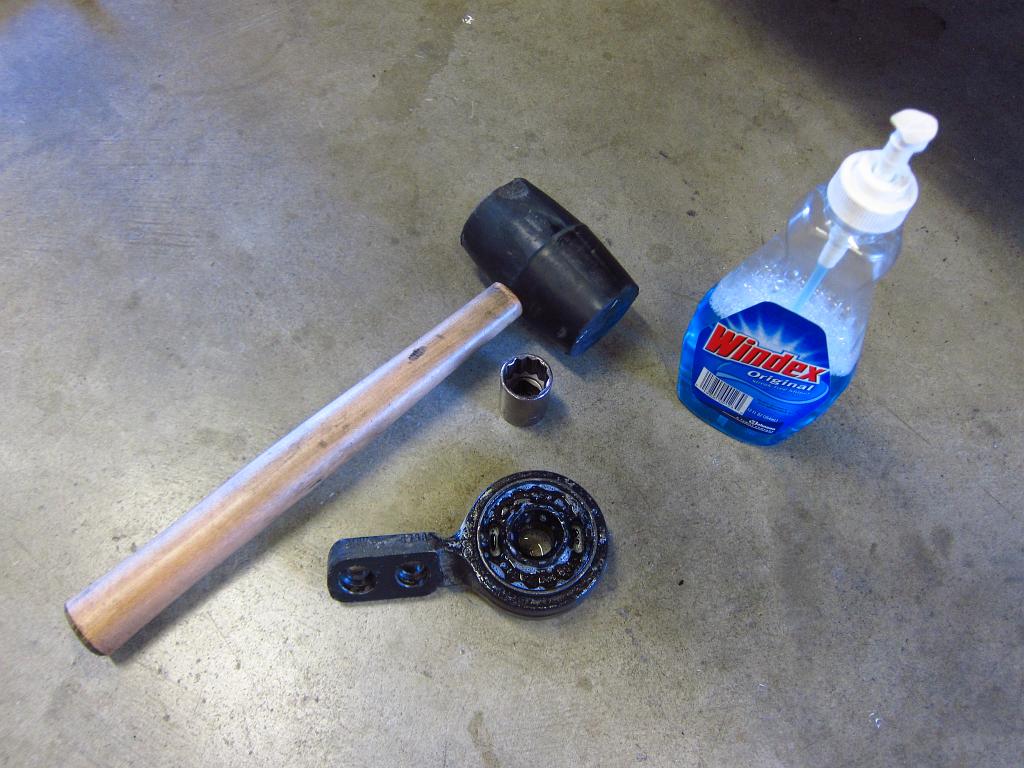
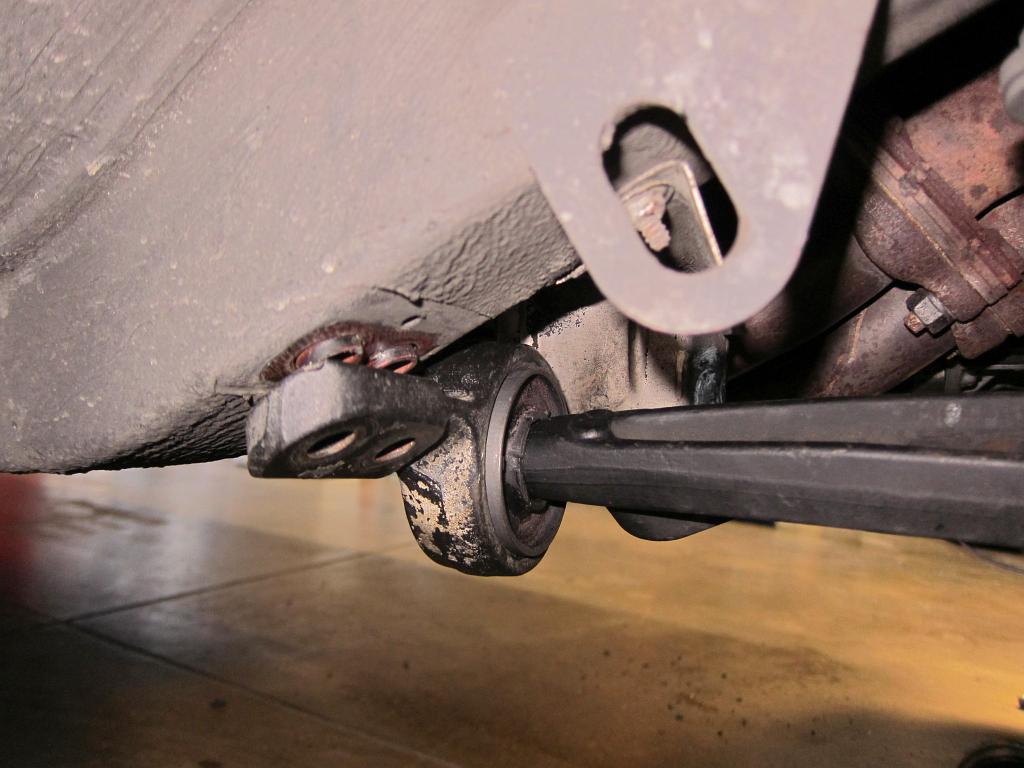
And after some whacks with the socket...
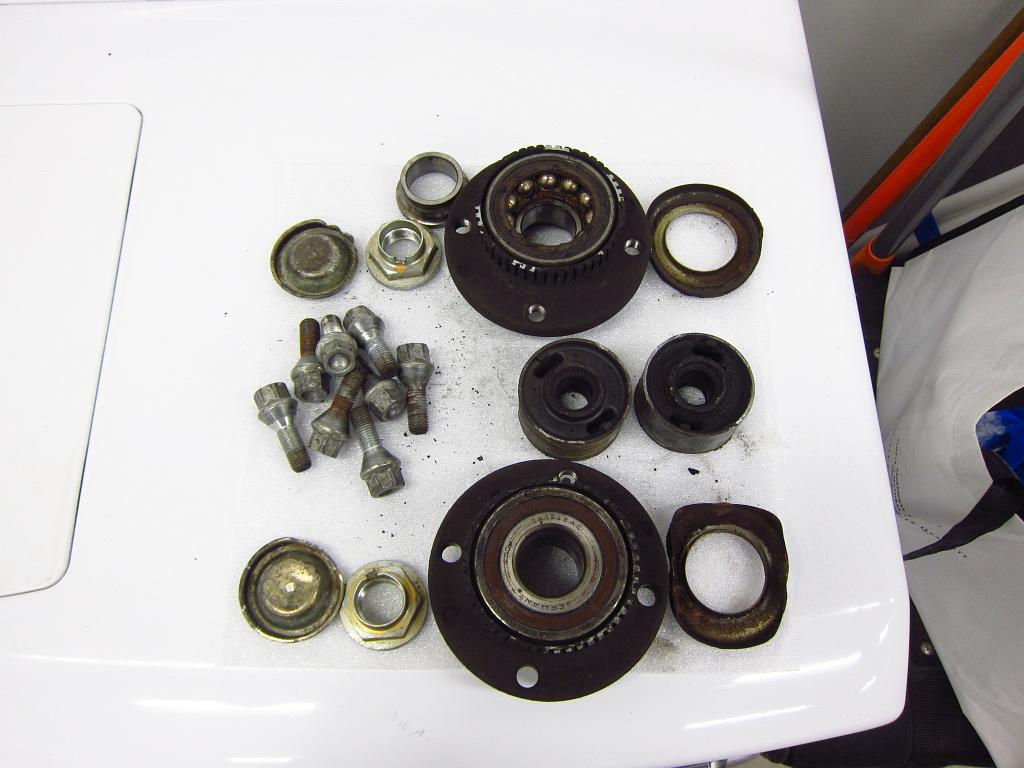
And here's a nice pile of junk parts. I am particularly looking forward to having fresh front wheel bearings since at least one of them was starting to crap out.
So, that's it for today. Tomorrow I will start ripping apart the rear end. All of the related bushings and wheel bearings will get pressed by a local suspension shop though. My vise only opens 5" which is not enough for most of these, and I am pretty sure that it would break if I tried to do the diff bushing with it. I have done all of the rear bushings myself in the past using pipe fittings and threaded rod, but it was a pain in the ass and I was not able to get the subframe bushings all the way in (came up ~3mm short).
All parts are either genuine BMW or made by an OEM supplier.
Stuff that is getting replaced:
- Front wheel bearings / hubs
- All front wheel bearing dust covers and the axle nuts
- Front control arm bushings (centered E36 M3 rubber bushings)
- All 16 lug nuts
- Rear wheel bearings
- All rear wheel bearing covers, circlips, nuts, etc
- Rear subframe bushings
- Rear trailing arm bushings
- Diff bushing (solid rubber 325iX version)
- Turner Motorsport rebuilt driveshaft (remanufactured by Beyer Driveline)
- New guibo and CSB
- EDIT: 325iX VLSD unit that was mistakenly sold to me as a Quaife (lol)...working on other options now
- Fuchs Titan Sintopoid 75W-90 gear oil and a new cover gasket
- Both axle half-shafts
- E-brake shoes and related spring bits
- E-brake cables
- Both sway bars (removing the beefy ST bars in favor of OEM/Mtech bars)
- All sway bar end links, shells and bushings
I installed Bilstein HD shocks about 25k miles ago, so those are most likely just fine still, hence why I am not replacing them.
Other than that, I am running stock springs and the car has ST sway bars in it still (22mm front / 19mm rear), but I am looking to go back to stock sways. This is because stiff sways don't really provide much benefit on the street (IMO) and I get nervous taking the car off-road with them since I already had one chassis mounting point rip out a while back. Once I find a set of OEM M-Tech sways (20mm front / 14.5mm rear) I will install those and all new links + bushings all around.
So, anyway, that's the background. Now it is time for some pictures and hopefully some useful how-to info for others. Today I replaced the front wheel bearings and front control arm bushings. These were super easy items and didn't require anything particularly special.
So, start off with the front wheels. Nothing too special here, just lots of brake dust!

Pop the wheel cap off and you'll see the dust cover in the middle. I was thinking that I could pry it out with the wheels on the car, but I would have banged up the paint so I took the wheels off. The dust cap is in there tight, and you will almost assuredly wreck it during removal.

So, to get the dust cover off you just need a few basic tools. I like to use a small hammer for stuff like this to reduce the risk of damaging other stuff, and it is a lot easier to aim the swings. Just take your punch and use it to pop the cap's lip off in a few places. From there, you should be able to pull it off with some needle nosed pliers.


With the cap off, you can access the axle nut. You will need to bend the lock tab out to remove it. A few careful smacks with the hammer and punch will have it out of the way in no time. Be careful not to catch the punch on the axle shaft though; part of it is right below the tab so don't put the punch in too deep. Also, I used the mallet and a flat blade screwdriver to push the rest of the nut’s bent edges away from the axle just to make sure that nothing would catch.


Now comes the fun part. This 36mm nut is spec'ed to 210 ft-lbs of torque, so you will need a breaker bar and 36mm socket to remove it. You must put the wheel back on for this because you don't want to load up the control arm's ball joints (or the shock) with your body weight. The wheel is just there to provide support to take the load off of the suspension. Get your breaker bar on there and step on it. Maybe give it a little bounce, just enough to get it to break loose. Do NOT turn the nut more than 30 degrees or so while the wheel is still on the ground. Once the nut is broken loose, jack the car back up and remove the wheel. Then you can remove the axle nut. This is because the bearing will probably come apart if the car's weight is on it when the nut is removed (the nut holds the inner and outer races together).


You will need to remove the brakes to get the hub off. This is pretty easy. Just take out the two 19mm bolts that hold the caliper carrier in and you can move the entire caliper + rotor assembly out of the way. Secure it to something so that the hydraulic line is not under tension (I zip tied things to the springs). Try not to get grease or anything on the rotor while you are handling it.


Next, you will be removing the bearing+hub assembly. Your results will vary here, but if the dust covers were intact there is a good chance that this will be VERY easy. In my case, I was able to get both bearings off of the axle by pulling with just my hands. Just make sure that you pull straight and don't cock things. Other people have reported that they needed a little help from gear pullers or that they were able to put the wheel back on and pull on that. A few unlucky souls have probably had to take it to a shop because things rusted somehow.


Removal of the inner dust covers is a little bit of a pain. These do not necessarily need to be replaced, and if you clean them off they are probably perfectly fine to re-use. I wanted to replace them anyway since they are inexpensive and I am sort of OCD about stuff like this. So, to get them out you should give them a few good whacks with a hammer and punch from behind, and then you should be able to pull them out with some needle nosed vise grips. Just be mindful of the axle shaft and don’t scrape it up.


With the old cover out, clean things up and scrub off any rust or brake dust that has built up in the back.

Installation of the new covers is pretty easy. You can use the old bearing assembly, the 36mm socket and a mallet to press the cover onto the axle shoulder. Make sure to leave a little grease on the axle shaft so that the bearings slide on without binding, and make SURE that they are straight so that they don't cock. The inner race can pop off, and you will be screwed if it gets stuck on the inside of the shaft. Anyway, smack it until the new cover is all the way on (flush with the end of the axle shoulder).


Now you can install the new bearing + hub assembly. Wipe any remaining crud off of the axle shaft and apply a tiny bit of grease to it so that the bearing will slide on easily. I had some Molykote left from a clutch job, so I used that. Installation will be super easy if the axle shaft is clean and not pitted with rust. Slide it on, and again use the 36mm socket and mallet. Do NOT push on the hub assembly or put any sort of load on anything EXCEPT the inner race. The bearing can come apart if you push on anything other than the inner race.

Here you can see the parts that were replaced. The old bearing was not in great shape. There was a bit of runout, and the balls' plastic inner race was totally destroyed. In fact, the inner metal race fell right off when I was removing it (but thankfully it was easy to slide off of the axle).


A small aside...when I was putting the passenger side stuff back on, I noticed that the rotor's dust shield was loose. At first I thought that the top M6 bolt had fallen out since it was not present, but it was actually (surprisingly!) the case that the top hole had never been tapped in the first place! I have done 3 or 4 brake jobs on this car and I can't believe that I never noticed this! So, I drilled the hole to the right diameter and tapped the needed M6x1 threads into it. As for the fastener, I have a box of spare E30 nuts and bolts, so I got an M6 one with a captive washer and chopped it down to size. Problem solved! This might explain a weird rattle/buzz that has been bugging me for quite some time lol.
Also, at this point you should put the new axle nut in. Do not torque it down yet since you will need the wheel for support again. Just get it on there and apply enough torque to seat everything firmly (maybe 50 ft-lbs or so).


With that bit of nonsense taken care of, I cleaned up the brake carrier bolts a bit since they were full of crap. With these bolts, it is also a very good idea to use a little thread locker since they experience a lot of thermal cycling and cyclical mechanical loading.


Now you will put the wheels back on and tighten the lug bolts a bit to make sure that the wheel is seated on the hub. Lower the car so that the suspension compresses an inch or two, ensuring that the wheel will take the vertical load when you tighten the axle nut. The axle nut needs to be torqued to 210 ft-lbs. I accomplished this with an 18" breaker bar and my own 165lb weight. With my weight applied at ~15", I got around 210 ft-lbs on there, and I bounced on it a little so it probably ended up closer to 240 ft-lbs. Unfortunately, the nut is sort of shallow and it can be tricky to keep the socket on it. On one side, it did manage to slip off and bang up the nut a little, but I still got it torqued down just fine. So, just be careful when you are doing this and make sure that you don't apply any lateral force when standing on the bar.
Once the nut is on at full torque, you need to make a lock tab. I got a slightly larger punch and used it to hammer the lip on the nut into the axle's lock groove. You want a punch that is only slightly narrower than the groove so that the lip will shear as you mash it in. Just be sure to aim carefully so that you don't mess up the axle.


Finally, you need to put the on the new outer dust cap. This is pretty easy. I used a mallet and the 36mm socket again. You can also try hitting the cap's lip a little at a time in a circumferential pattern to seat it. Just don't whack the middle of it or it will just collapse in. The dust caps are SUPER important, and you need them installed properly or your new bearings will not last very long.

And there you have it, nice new front wheel bearings!

The other order of business today was to replace the front control arm bushings. Mine were almost a decade old, and while they were not torn, I had installed them in the wrong orientation (patience was not my strong suit back in college haha) and they were probably close to needing replacement anyway.
Removing them from the control arms was simple. I shot them with some PB Blaster and then used some gear pullers to get them off of the arms.


Getting the bushing out of the bracket was a little bit of a pain, but still doable with a bench vise. I hit it with some more PB Blaster and used some sockets as spacers to start pushing it out. Once it moved the first 3mm or so, I was able to stick a 1.5" (~38mm) socket in there and push on the rubber web to push the bushing out. Your results may vary here, and if you have a shredded bushing or just a standard E30 one (this was an E36 M3 bushing) the rubber might not be strong enough. Note that the 1.5" socket is still smaller than the outer metal ring and it was pushing on the rubber just inside the ring. It was the biggest socket I had on-hand, so I decided to give it a shot.


Once the bushing is out, clean out the bracket. I blasted it off with some brake cleaner to get the oil off. After that, you need to press the new bushing in. It is about as much of a pain as removing the old one. You can get the bushing in 95% of the way very easily by just sticking the bracket and bushing in the vise and paying attention to make sure that it goes in straight. Stick a piece of wood or plastic between the vise's jaw faces and the bushing so that you don't chew it up. Note that with the centered E36 M3 bushings, you will have the "holes" on the sides, and the little square nubs in them are supposed to align with the mark on the bracket.
To finish installing the bushing, just use some sockets as spacers again. Once it is pushed in enough to be evenly centered, you are done. Easy!


Getting the bushings onto the control arm is also VERY easy. A lot of people have trouble with this (I used to as well). Well, a little trick that I read on the forums was to use some glass cleaner on the bushing to make it slide on. This worked FLAWLESSLY. I sprayed the bushing down and was able to get it onto the control arm with 3 whacks with the mallet. From there, a 23mm socket was all I needed to get the bushing pressed the rest of the way on. The glass cleaner also made it super easy to rotate the bushing once it was on so that the bracket would be aligned with the chassis without adding any unwanted torque pre-load to the rubber.
Here's the progress after a few whacks.


And after some whacks with the socket...

And here's a nice pile of junk parts. I am particularly looking forward to having fresh front wheel bearings since at least one of them was starting to crap out.

So, that's it for today. Tomorrow I will start ripping apart the rear end. All of the related bushings and wheel bearings will get pressed by a local suspension shop though. My vise only opens 5" which is not enough for most of these, and I am pretty sure that it would break if I tried to do the diff bushing with it. I have done all of the rear bushings myself in the past using pipe fittings and threaded rod, but it was a pain in the ass and I was not able to get the subframe bushings all the way in (came up ~3mm short).

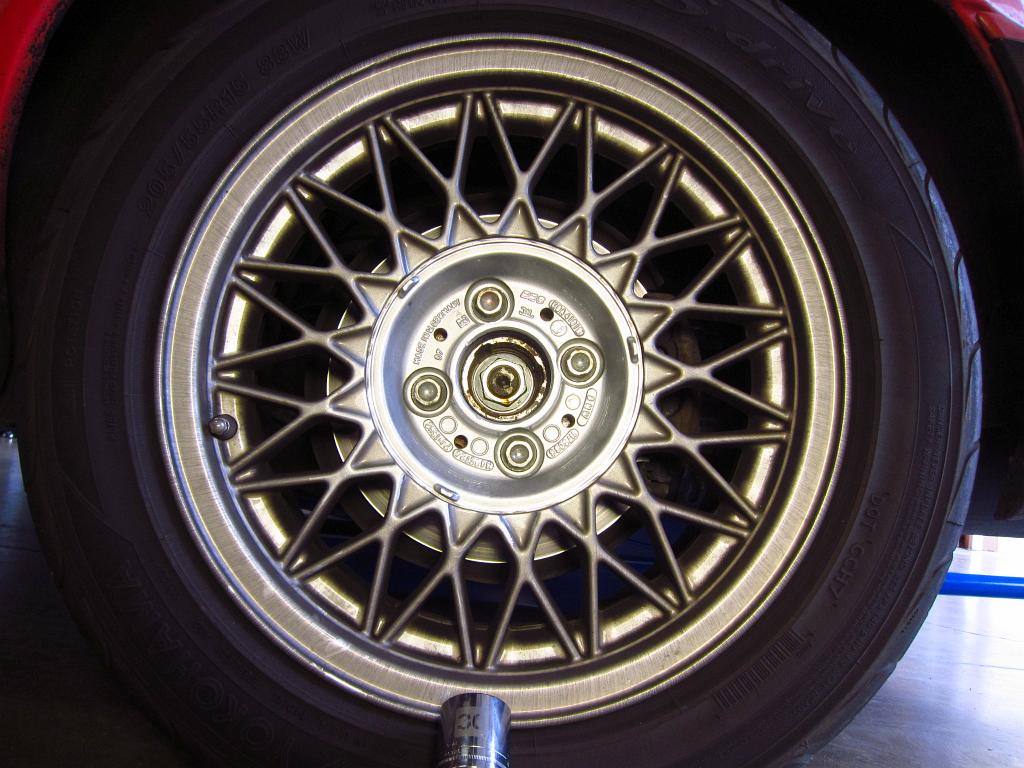
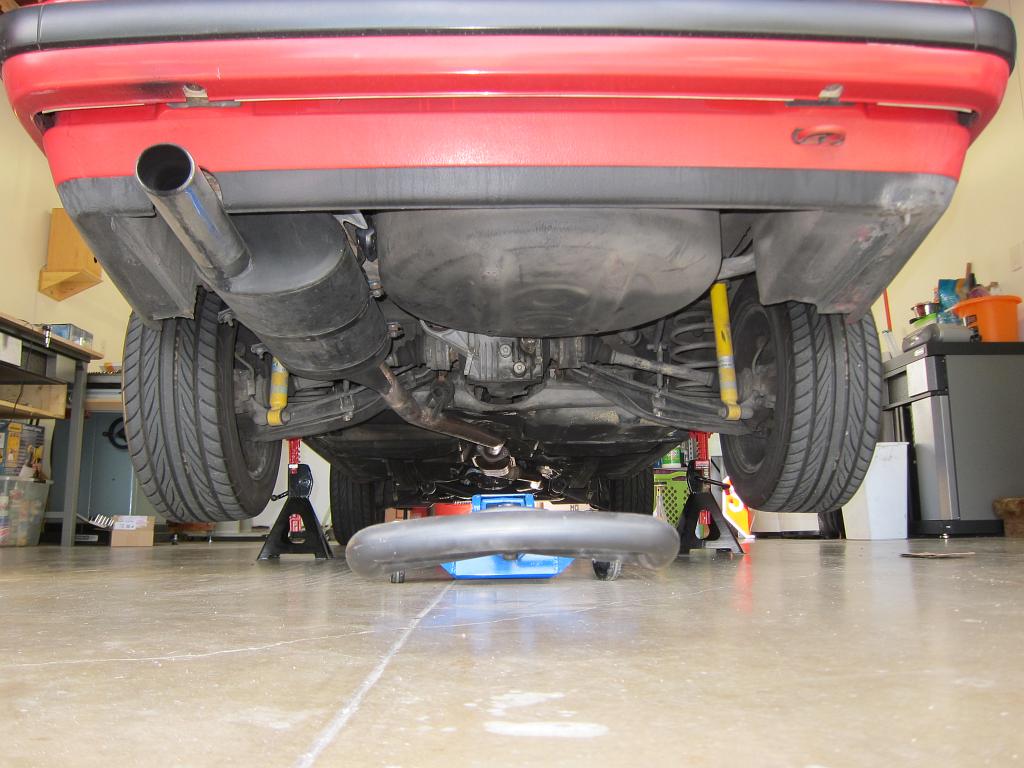
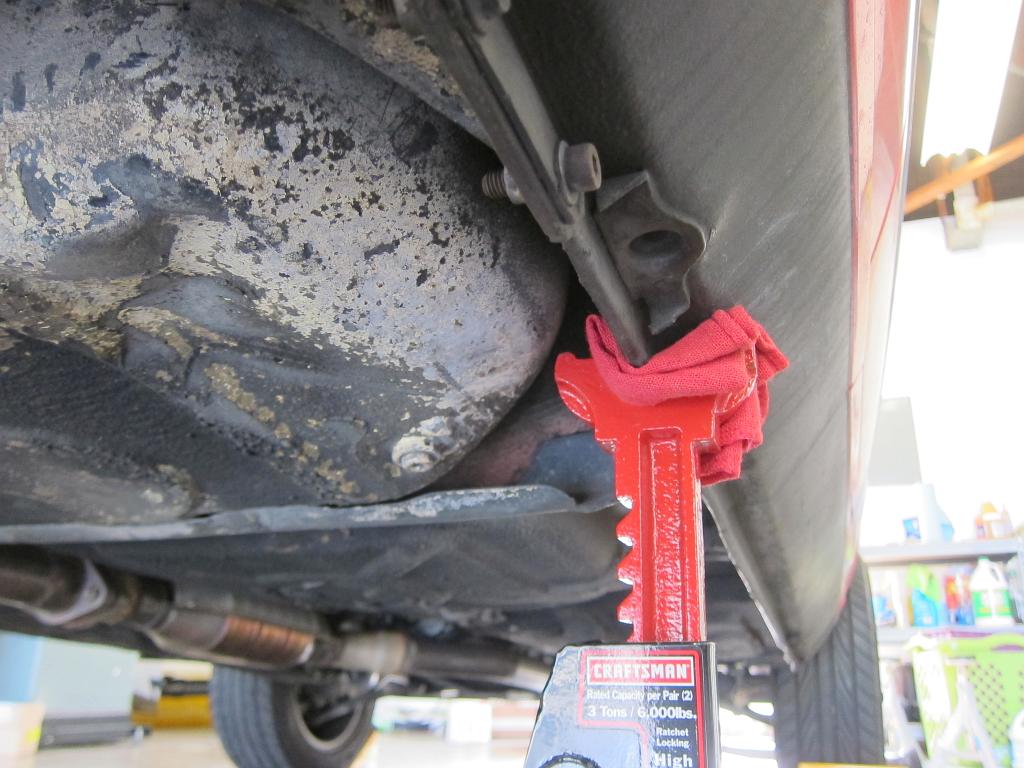
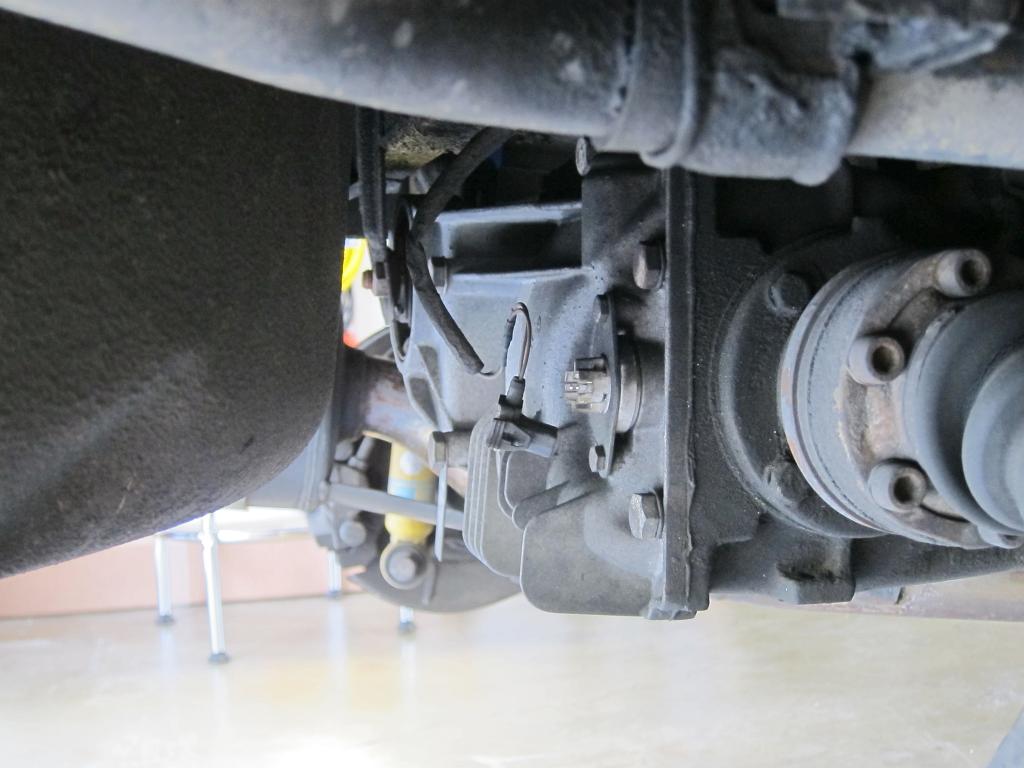
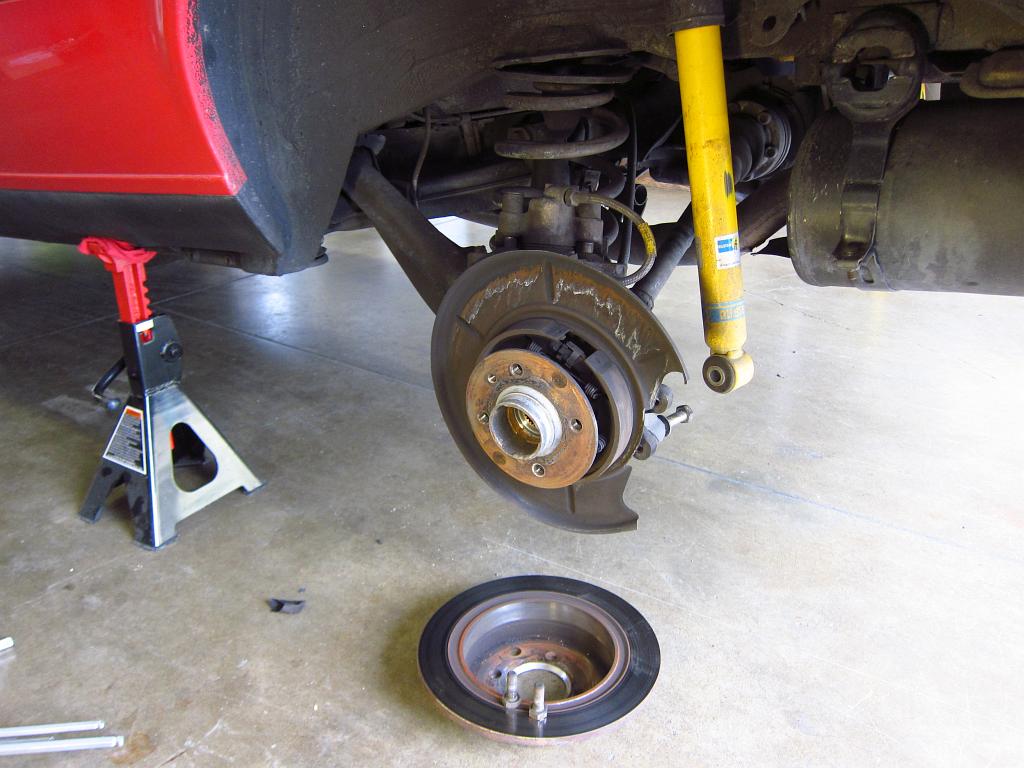
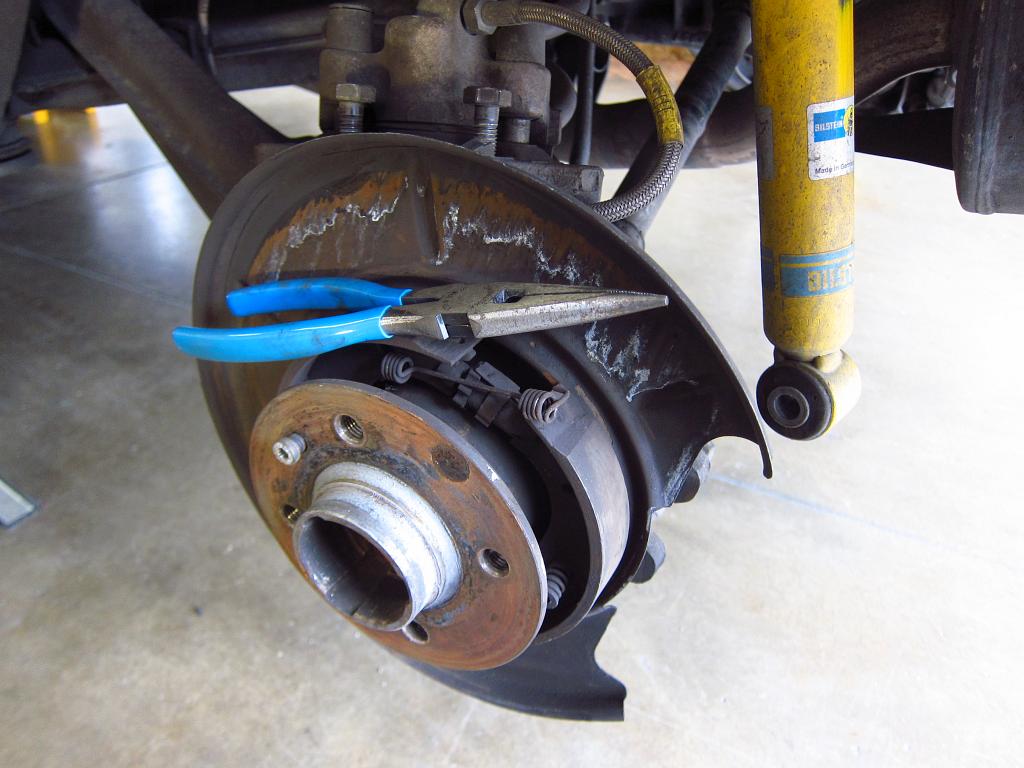
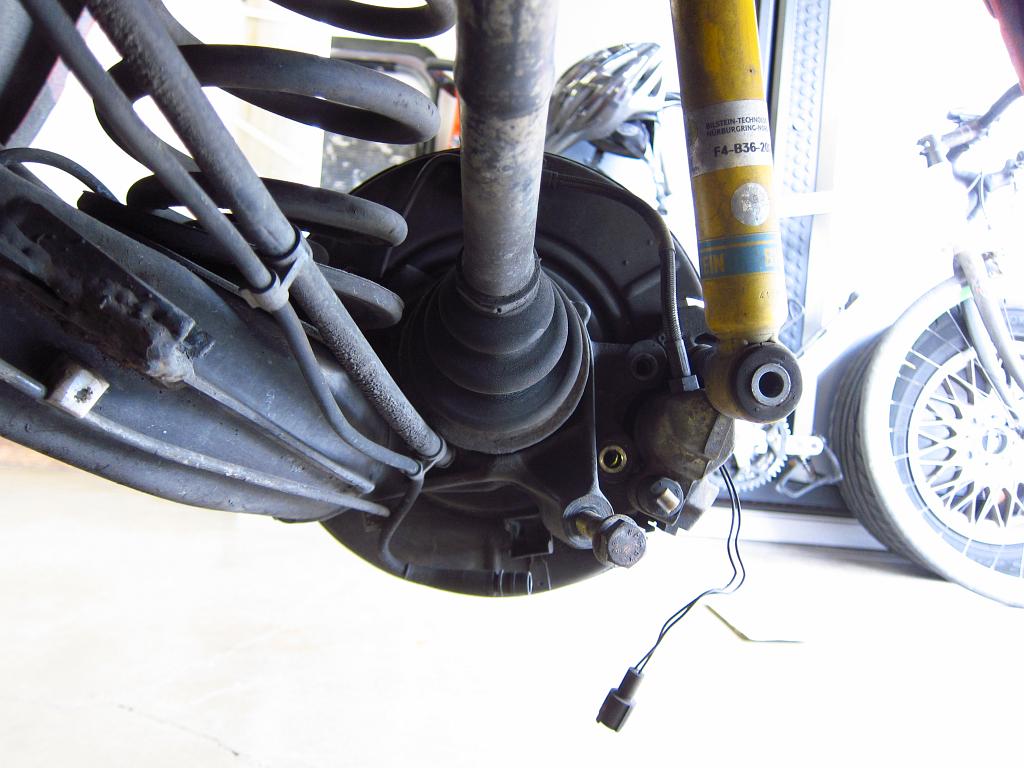
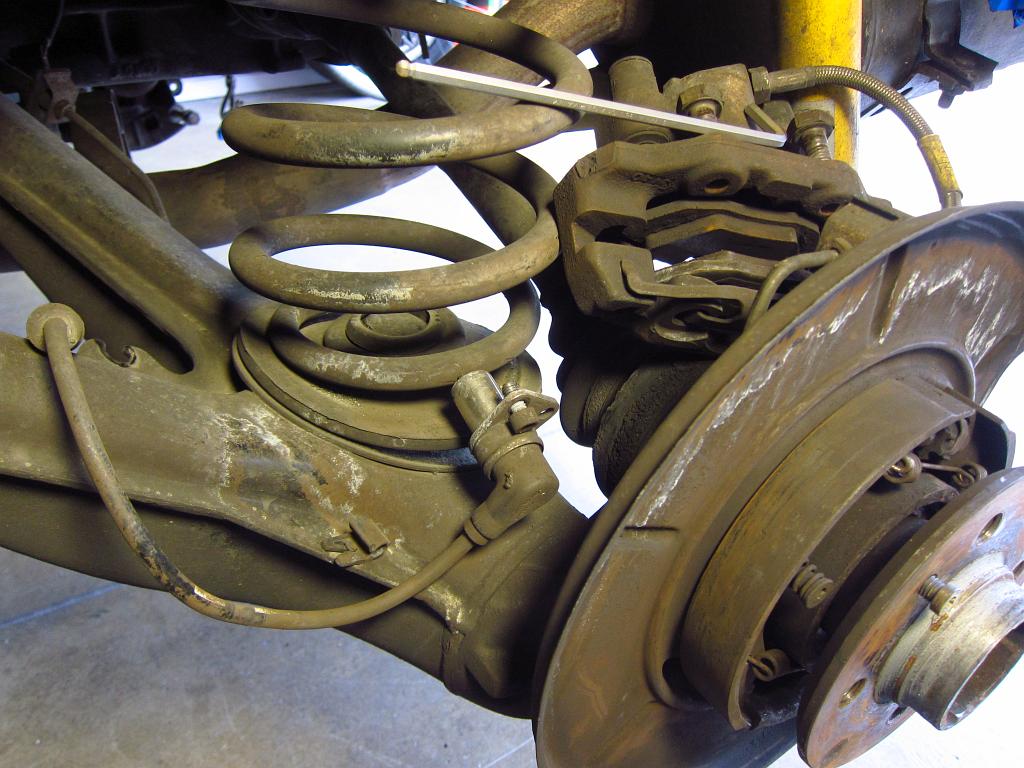
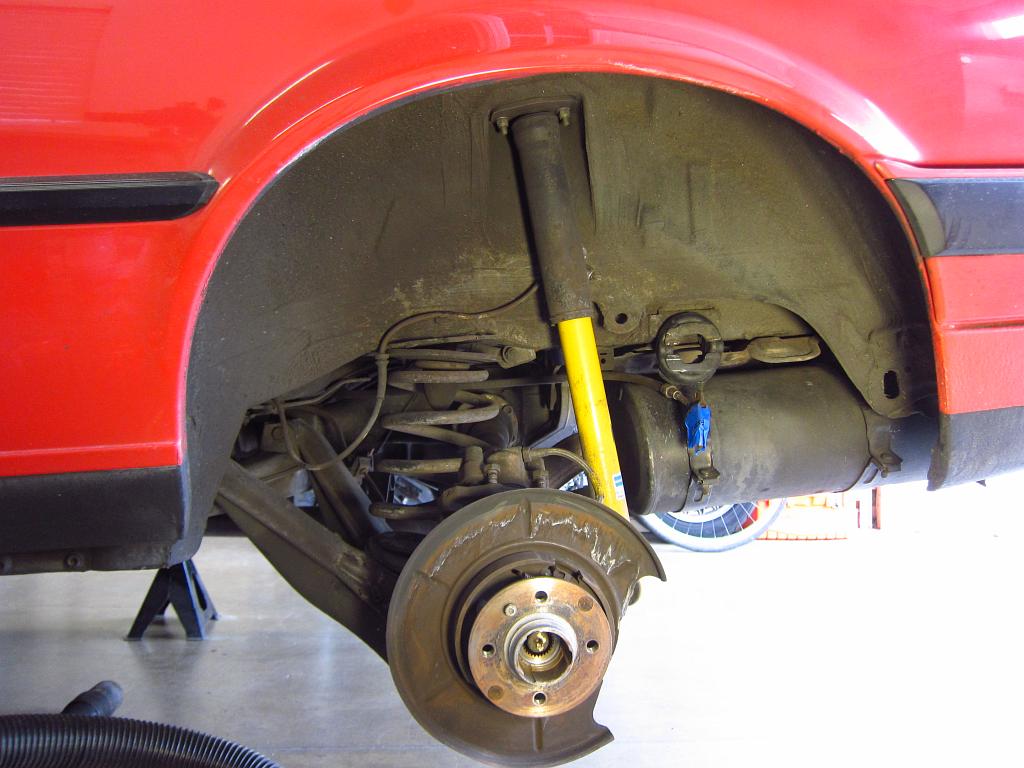
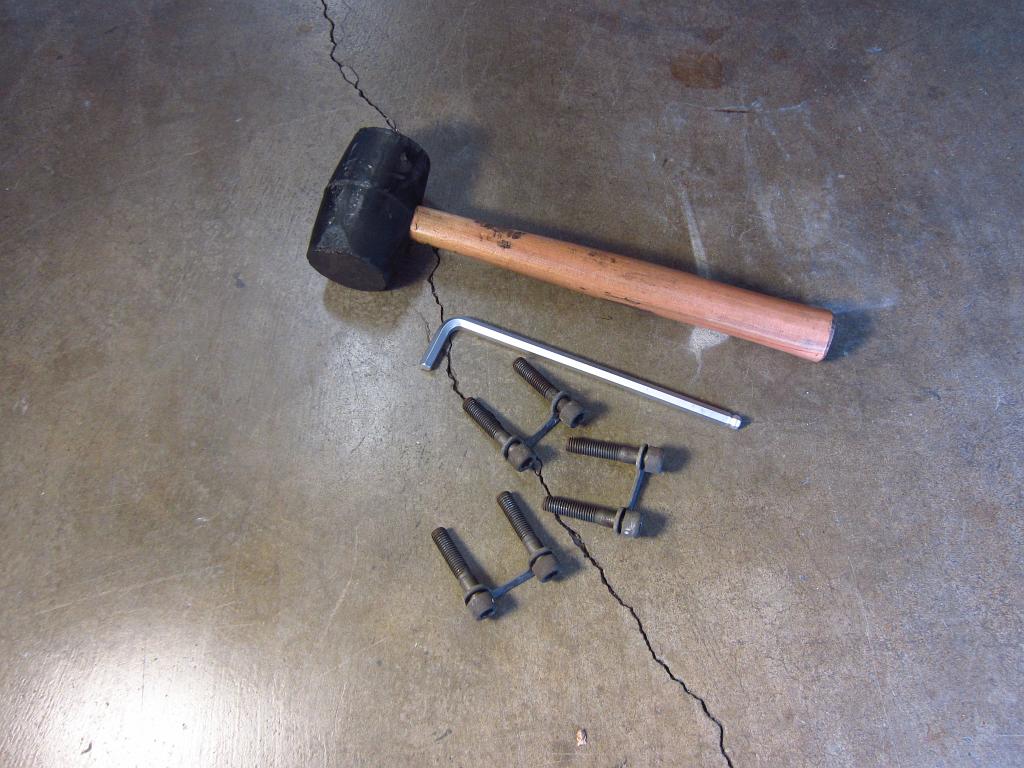
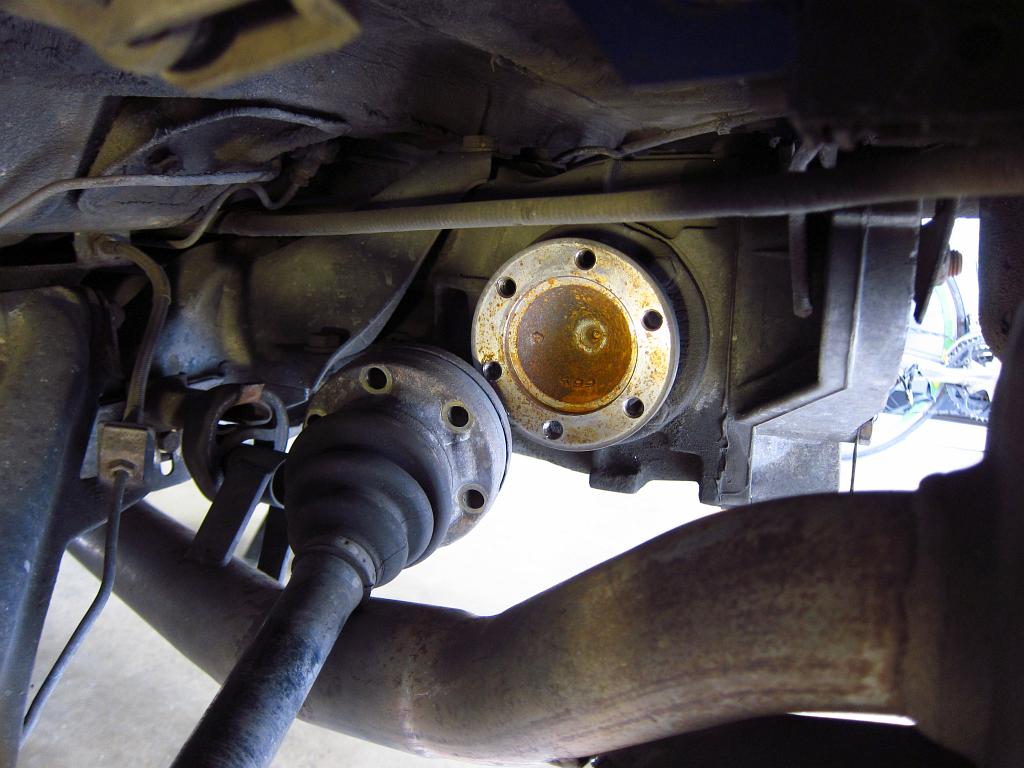
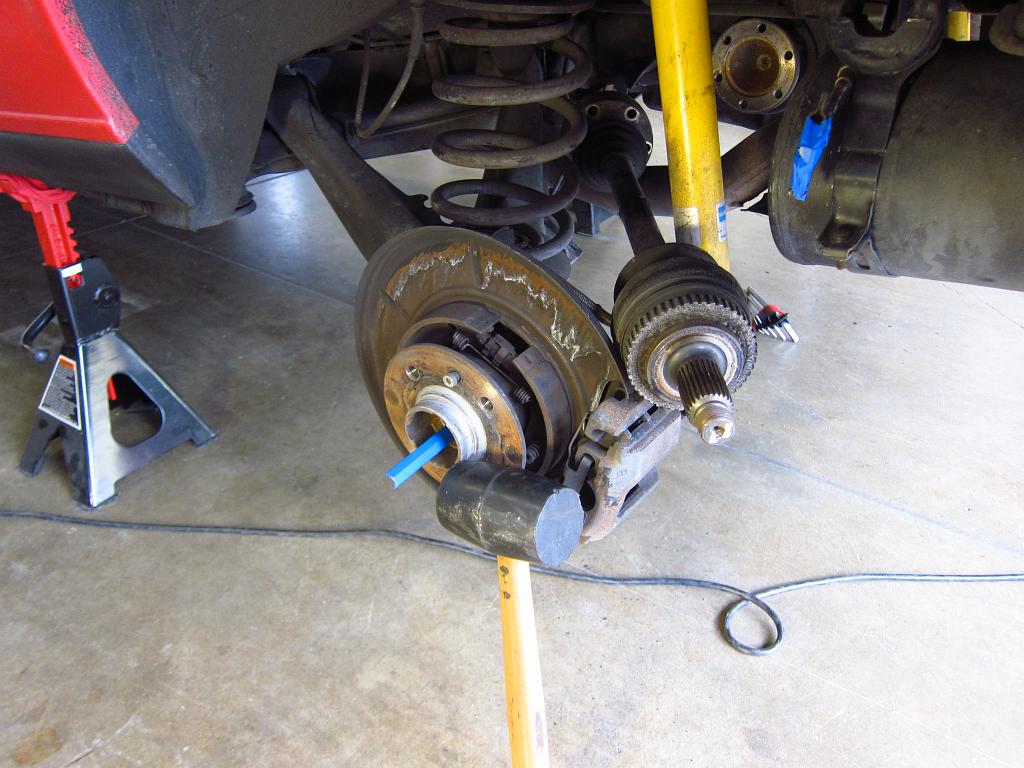
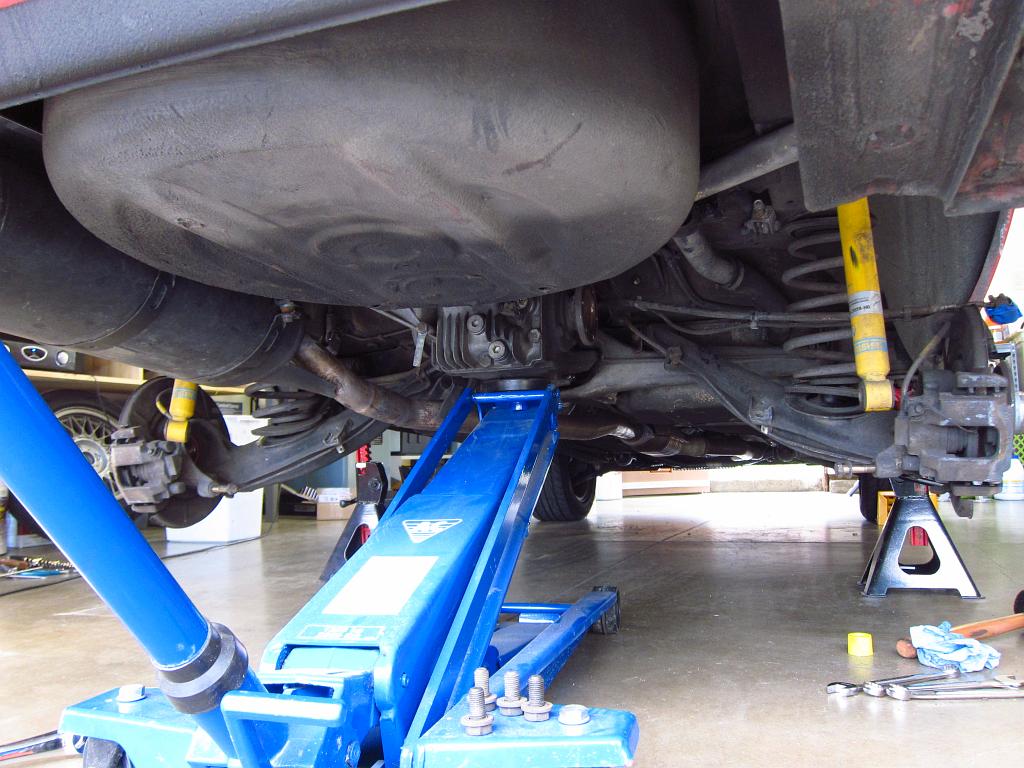
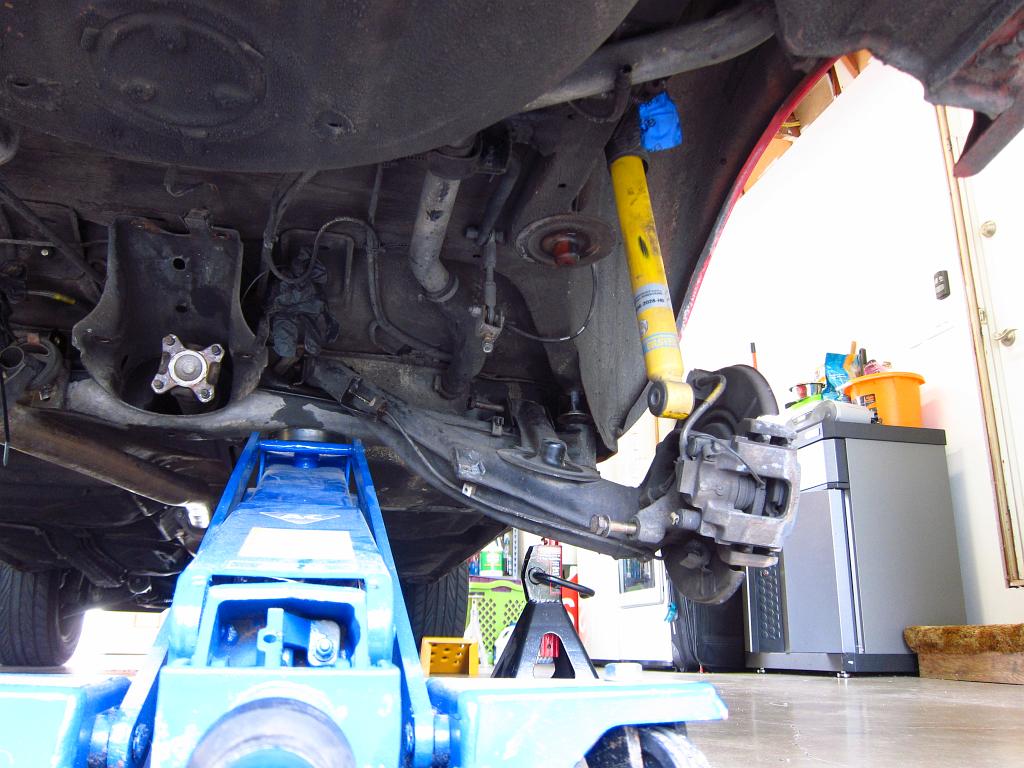
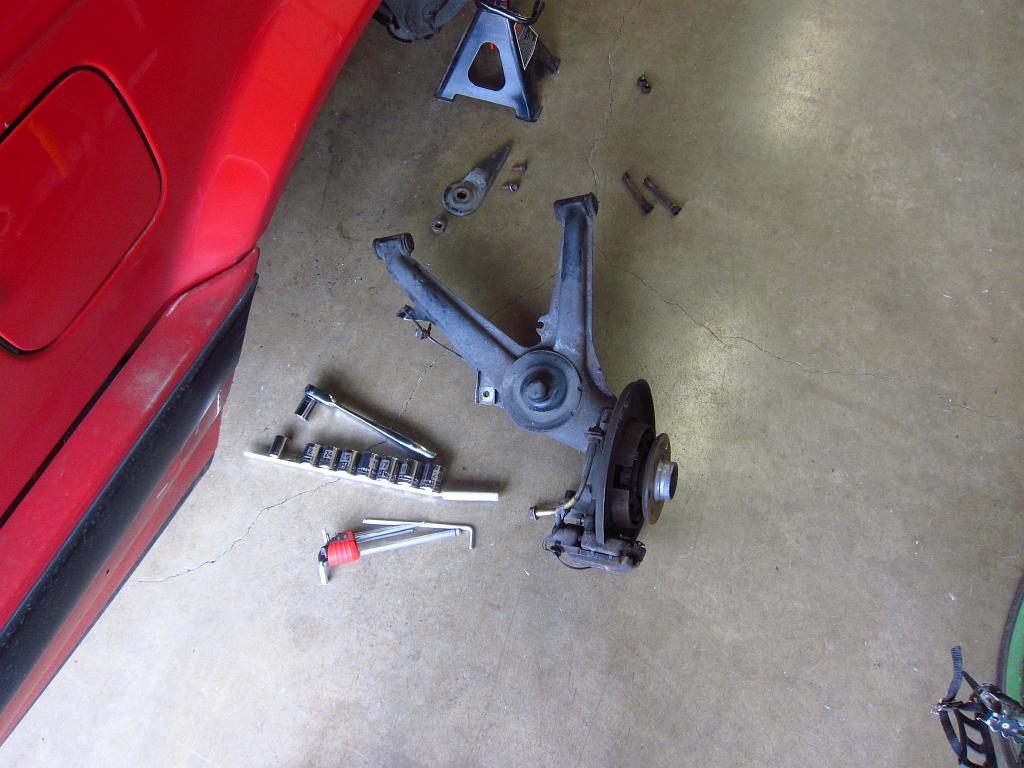
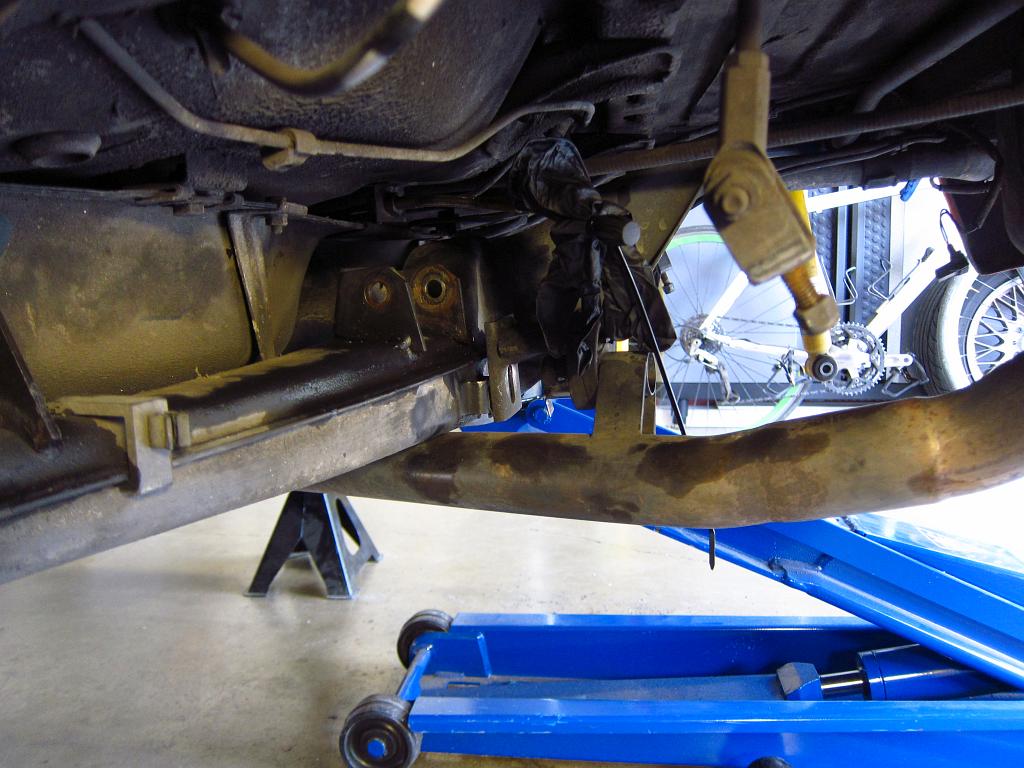
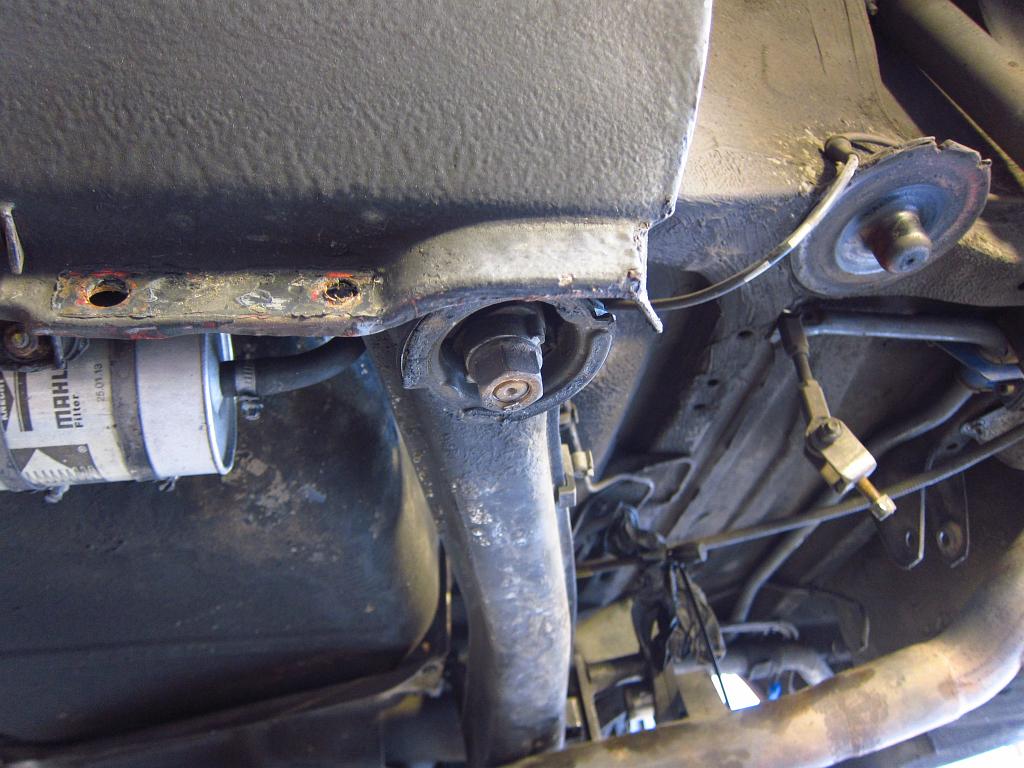
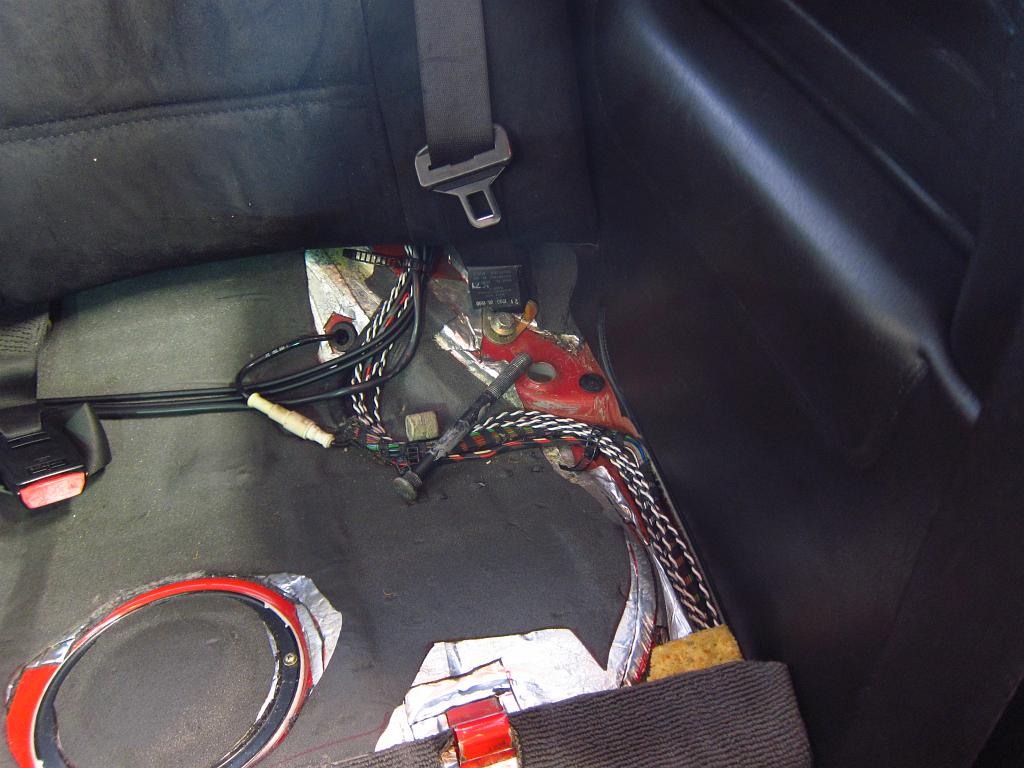
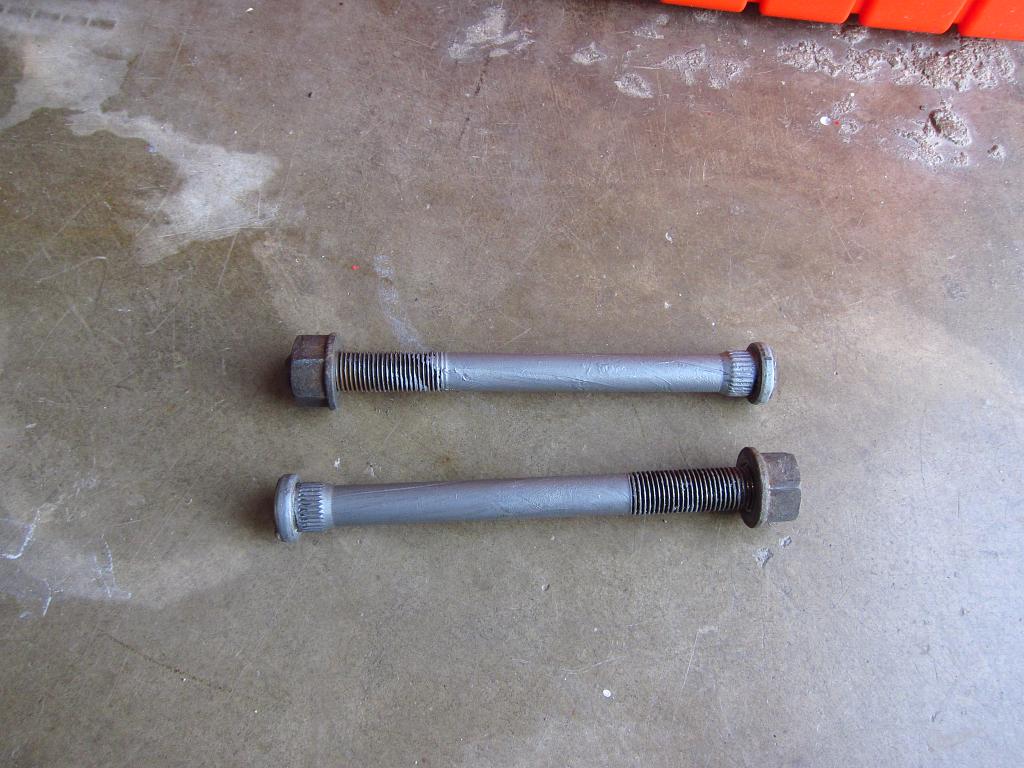
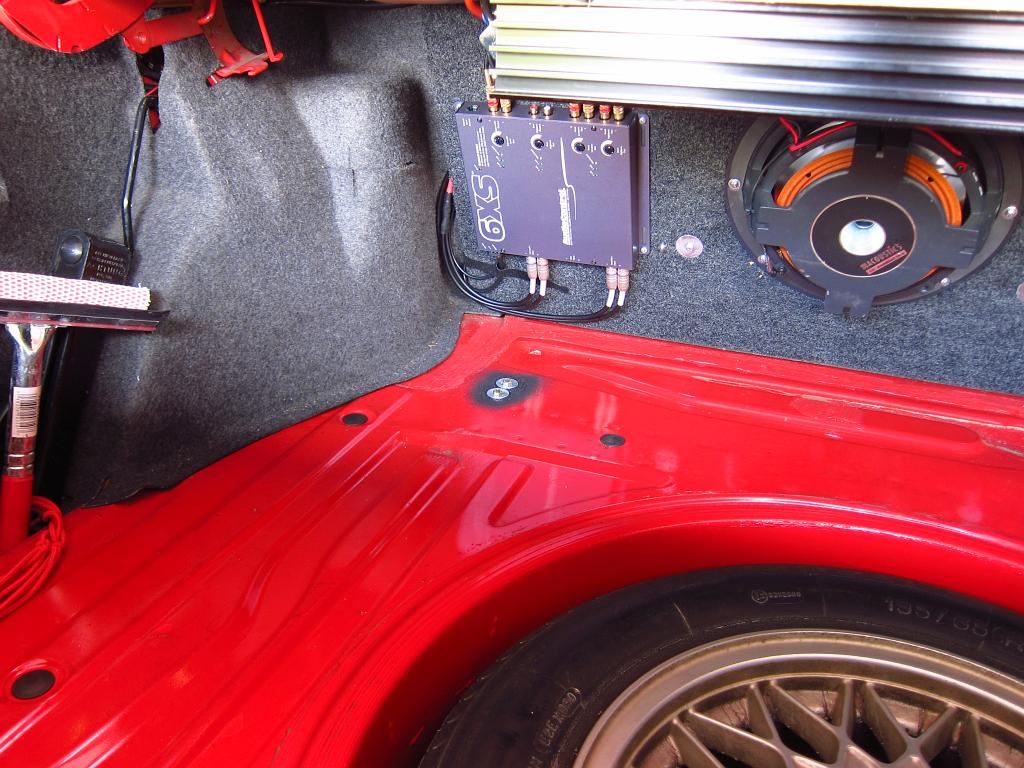
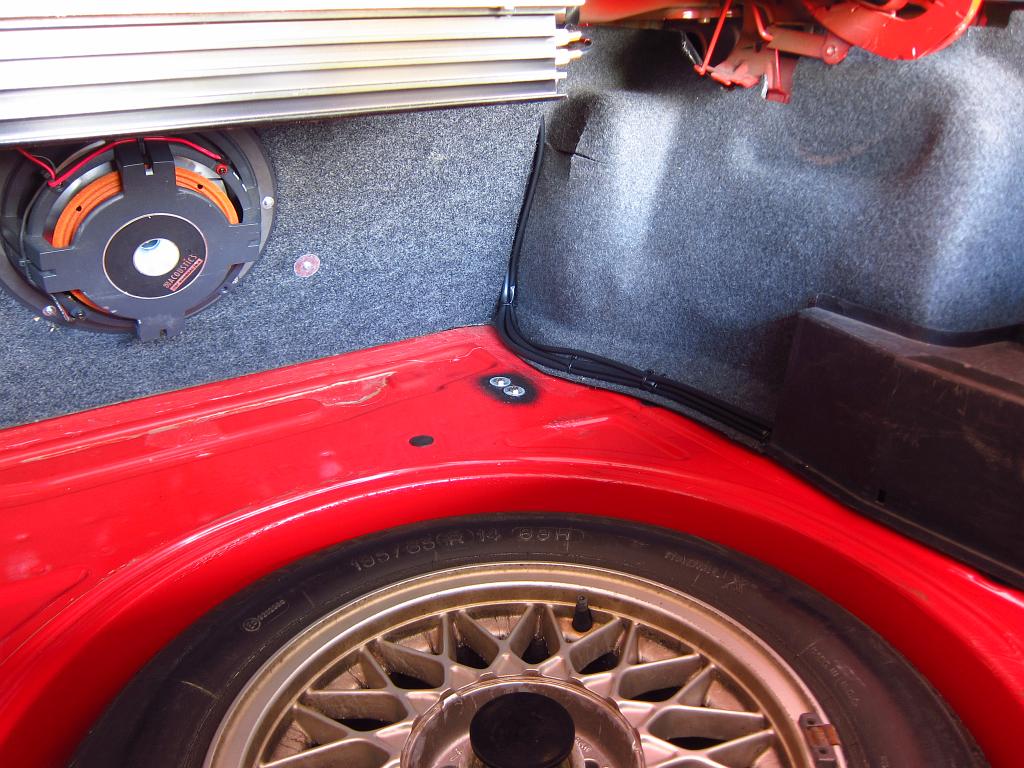
 ). You will need a 30mm socket and breaker bar. The torque spec is 145 ft-lbs so you will probably need to stand on the breaker bar to break things loose. Again, just break the 30mm loose, but don’t do much more than that until you jack the wheels up off of the ground.


 -
-
Comment