-
That'd be my dad's '71 MGB (and most likely the reason I'm into cars in the first place). He's had it since he was 19, so it's basically a family heirloom now. Unfortunately barn rot has set in pretty badly and it's in desperate need of restoration. He gave it to me so I could work on it. I have grand plans involving Miata suspension and a V8, but that's a whole different thread...Leave a comment:
-
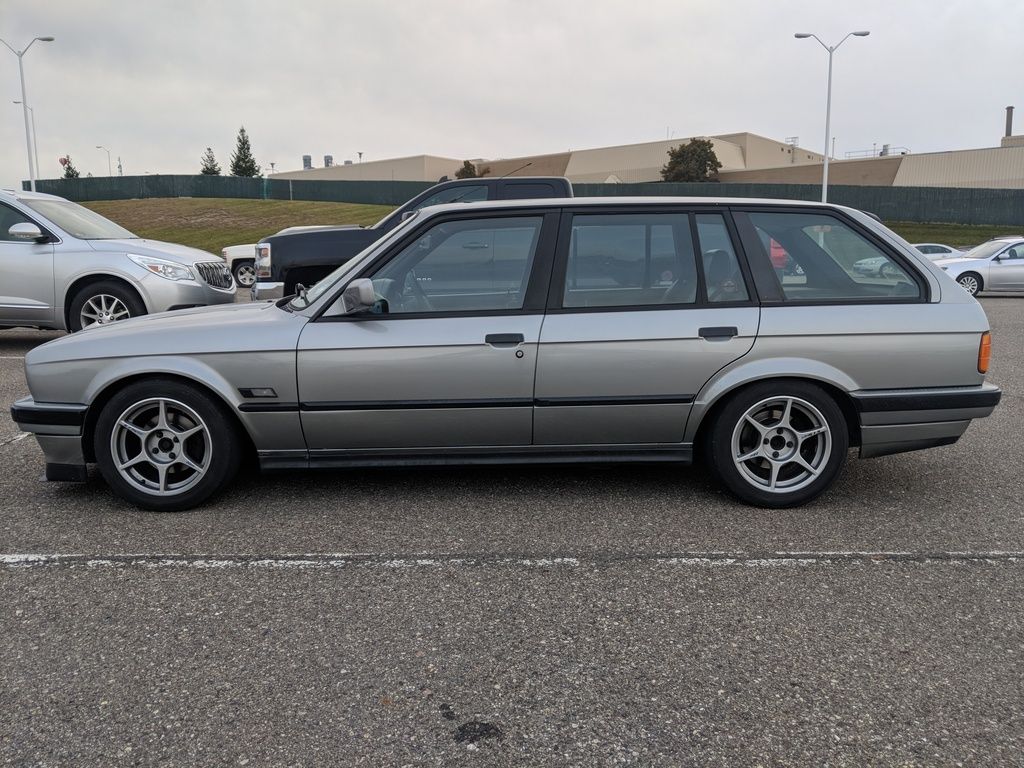
Love the updates but I must ask about the banana colored MG in the background.Leave a comment:
-
While I build up funds for the S54 swap, I'm focused on the chassis upgrades. The Elcoy/Nasieg kit calls for E46 M3 fronts and E39 5'er rears. I pulled the M3 calipers off my donor car and ordered some used rears from Classic Daily. Then I got to work:

Old and busted

Blown apart for rebuild

After some time with the wire wheel, it became clear that the left and right E46 M3 calipers were different. The darker one had the factory M logo and the bright one didn't. That one was clearly a new casting re-man part, and I have trust issues. So, a quick internet search and 60 bucks later a genuine caliper was on its way.
Once the proper caliper came in I wire wheeled the hell out of everything in preparation for paint.

Many wire wheels were harmed in the making of this photo. Also, my respirator filters

As for paint, I went with G2 caliper epoxy. I used it for my Spec Miata's calipers years back and it's still holding despite constant heat cycles. And as for color, well...

I guess I'm just a boy racer at heart

The calipers were rebuilt using new ATE seal kits and, ATE TYP200 fluid, and Permatex Ceramic Extreme brake lube. It's the combo I use for the Spec Miata and it's worked well. The pistons and pins were in good shape so I gave them a polish and reused them.


I'm pumped to get these on the car
While I waited for the new caliper to arrive I started cleaning up the diff. I sourced a relatively clean 3.73 S a few years ago and used that as a base.


Still rocking the factory S
I wire wheeled it to hell but still couldn't get the stubborn rust off, so I went with Evapo-rust rust remover. It did a decent job but still wasn't perfect, so I sprayed rust converter. That did the trick.

Piss off, oxidation

Ahh, that's better. Primed and painted with VHT Engine enamel in GM Black
The cover was pretty well oxidized as well, so some more wire wheel time was in order.


The diff bushing was pretty spent as well. It'll be replaced by a Revshift 80a poly bushing

Primed and painted with VHT Engine enamel. I really wish I had access to a vapor blaster, but this'll have to do for now
For the important spinny bits, I opted for the MFactory clutch-style LSD. It's a hell of a value considering the adjustability it offers, and it's backed up with a warranty. Fingers crossed that it delivers.

MFactory on the left, stock LSD on the right

The E30 version of the MFactory clutch type features 20 plates (10 per side)
It appears to be a well built diff with good machine work and tolerances. I anticipate adjusting it a few times so I'll be able to check wear as it ages.

Considering I have a stock M20, I chose to deactivate some plates and run low preload. It'll be configured as a 1.5 way with 6 plates engaged, 4 preload springs installed, and the thinnest preload washers. Further iterations are expected after break-in

Ready for assembly

And... POOF. Fresh, clean, and ready to lock

I forgot how much of a pain in the ass it is to clean all of these parts by hand, wash, paint, assemble, etc... But damn is it worth it. My OCD is pleased.Leave a comment:
-
-
Thanks!
I can't say for sure because I haven't driven on them, but the V1's appear to be the fixed-damping version of what I've got. If the core damping curves are the same (digressive) I'd say the V1's should ride just as well as the V3's. I held out for the V3's because no one makes a Touring-specific damper set and I knew I'd have to go the adjustable route to get the ride right.
The V1's height adjustment range also appears to be the same as the V3's, and I can say first hand that it's plenty. Being able to properly corner-weight the car is a huge advantage over most other entry level kits.Leave a comment:
-
Amazing build! I'd trade my coupe for a touring in a heartbeat
Do you think that KW V1 would be a good choice for a street driven car? Or should I wait till I can afford the V3 variant? Looking for good handling and somewhat of a comfortable ride since roads here are similar to what you mention.Leave a comment:
-
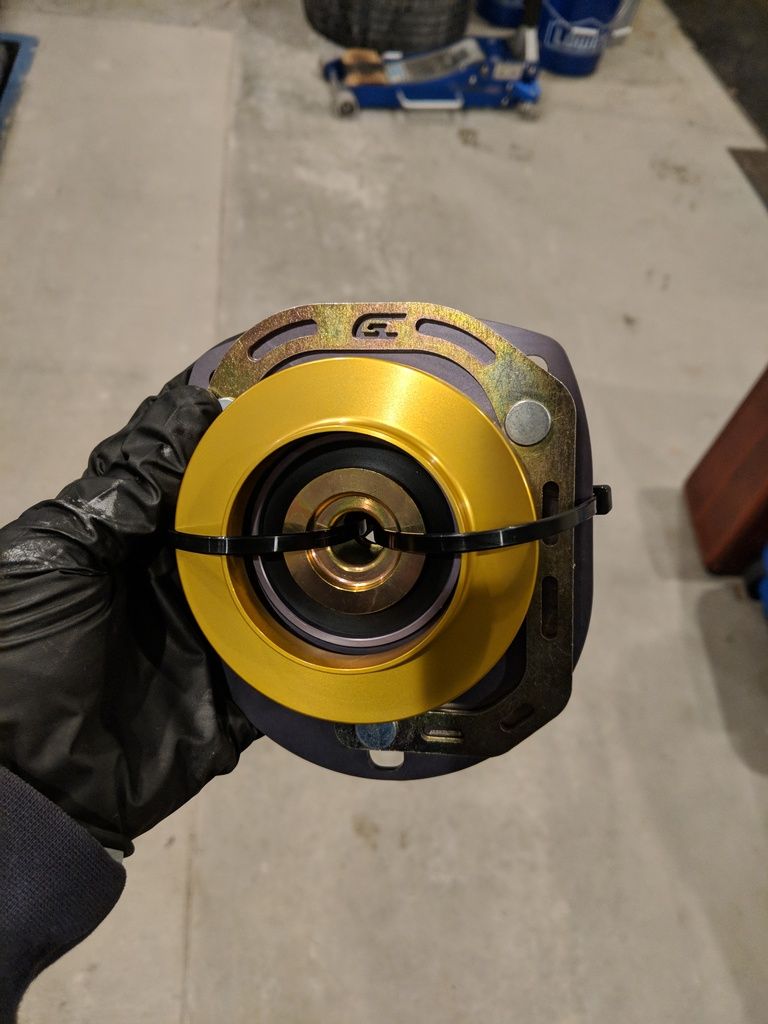
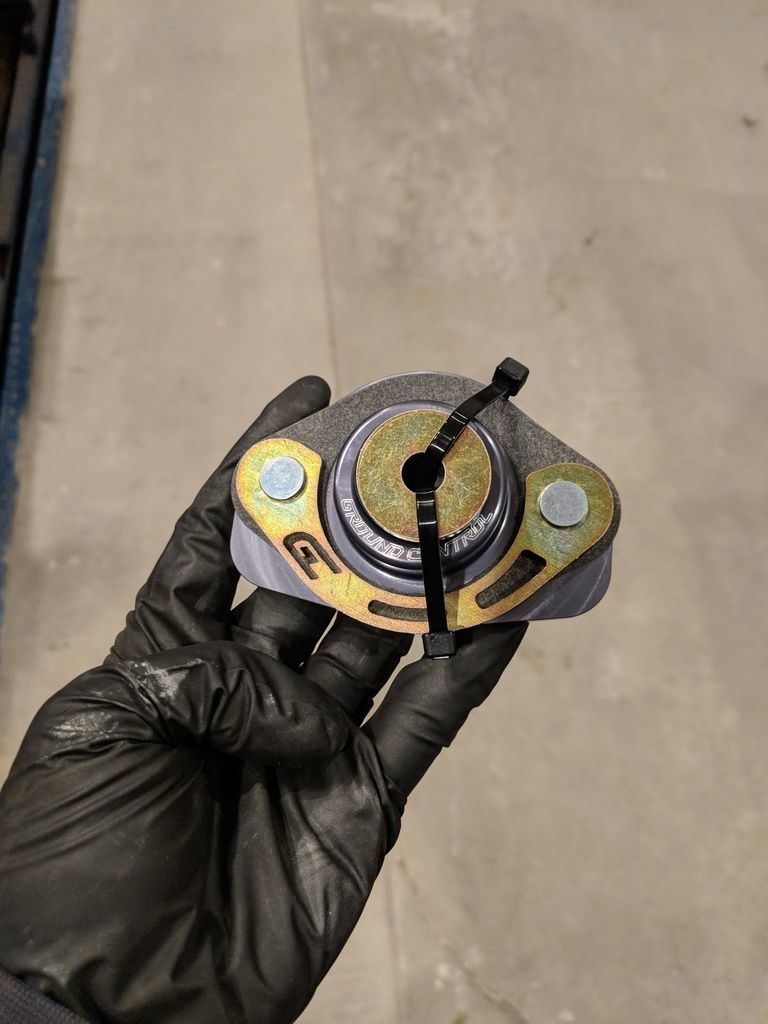
Managed to get the Ground Control plates and mounts installed last week. I went with the "Street" camber plates and "Sport" rear damper mounts. Both have polyurethane within the mounts and feel roughly like 80a hardness, which should match the rest of the bushings I picked up from Revshift.
As most have documented on this site, the Ground Control parts are pure pornography.
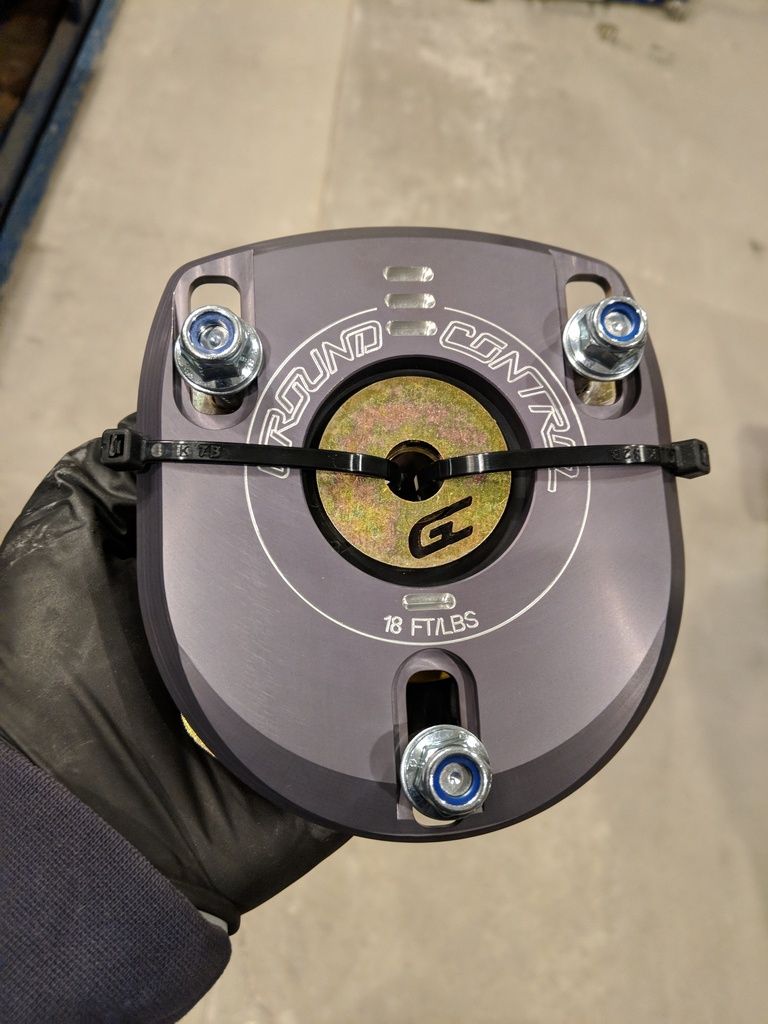
The install went smoothly, as expected.

To pull the strut apart I used a 1/4in deep well and the Craftsman "Max Axess" socket. I got the Craftsman set as a Christmas gift and figured it was another gimmick kit, but it quickly became my favorite socket set. It makes PITA jobs like this trivial.
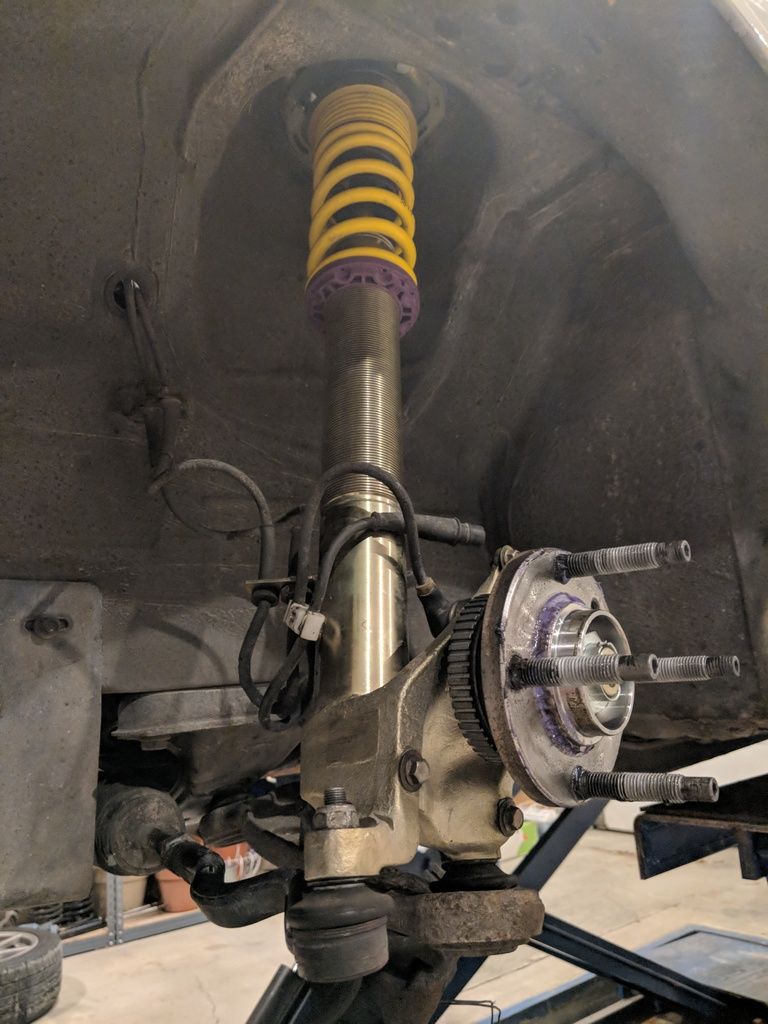
Since I neglected to take an installed picture of sexy new KW spindle

FYI this is what's required to access the rear damper mounts on a Touring. That includes rebound adjustments on the KWs...
Once installed I set the front camber to -2.6 in the front and with questionable confidence in my abilities, I proceeded to drive across the state. Luckily this car is a champ and I didn't screw up, so it made the 600+ mile round trip no problem.
I only had a chance to drive on them for a week before the snow (read: salt) set in, but the NVH hit is certainly noticeable. I had to dial back the damping even more to reduce the harshness but it has a comfortably firm ride now. The most noticeable improvement, however, is to the steering response. Holy hell does this thing turn in now. As a result I've had to dial back the turn in points to my most familiar local corners. The steering precision has absolutely gone up a notch with these plates and mounts and I couldn't be happier with them. Buy Ground Control stuff. It's worth it.Leave a comment:
-
Interesting, I've never heard of non-linearity like that in production Mac strut designs. Anything is possible though, and the E30 isn't without its (many) faults.
When I install the camber plates I'll do a travel sweep to measure the camber gain and report back with the data.Leave a comment:
-
nice job. you've clearly full-assed this whole thing.
FYI it's more complex than measuring static camber. There is a point in the e30 strut design where it loses camber on compression, which causes some wacky handling. You generally want to set it a decent bit higher than that point, because you want to gain camber on the outside tires in a corner to keep contact patch as the car is pitching over and compressing the outboard suspension. Otherwise it will fold the wheel over and you'll understeer more.Leave a comment:
-
You guys.
The KWs. Are. Awesome.
The parts are very high quality and the install went smoothly, although I did find some small cosmetic knicks on the rear adjusters when I went to install. They don't affect operation though. Because I am the engineer that I am (and the fact that the KW website doesn't list the spring rates clearly) I went ahead and disassembled the fronts and measured the spring rates.
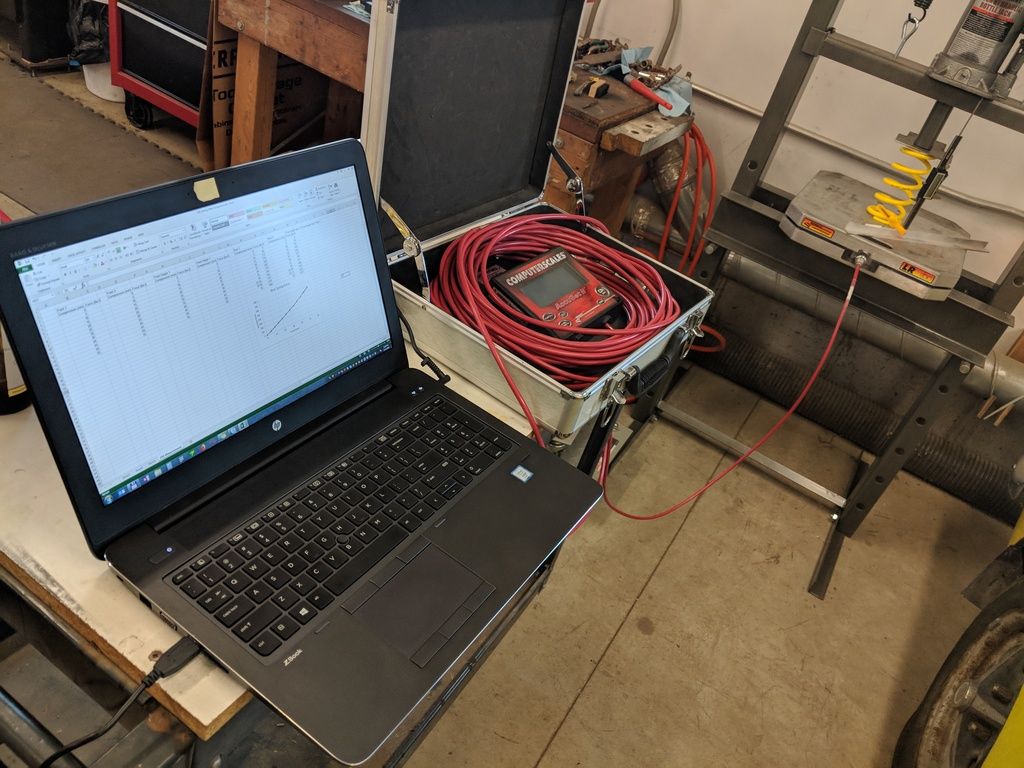
Don't mind me, just doing sketchy nerd shit
And here are the results:
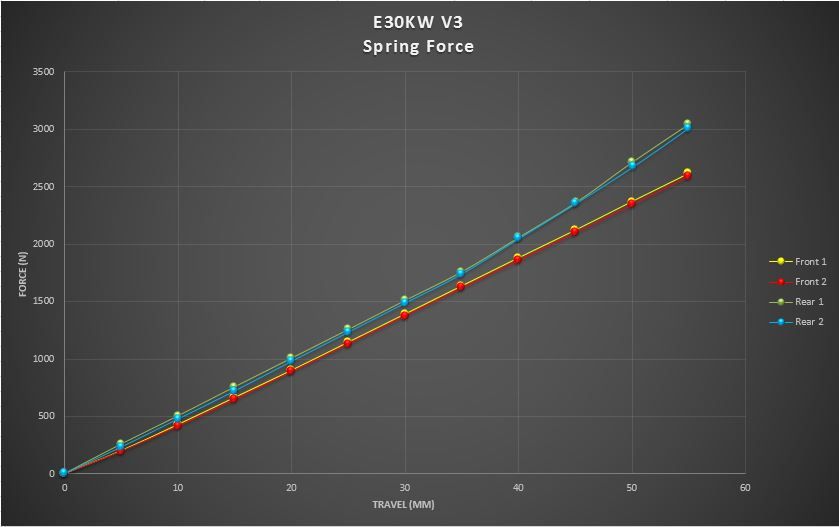
Fronts at a very linear 47N/mm (268lbs-force/in) and a progressive rear with a 70N/mm (400lbs-force/in) rate at ride height.
The discrepancy in measured height and spring rate fall well within the measurement error of my jank setup so I'm confident in saying that these springs are dead nuts consistent. The sharp change in the rate profile occurs when the center coils bind, which is at roughly 35mm. From there the conical design dictates that it's a non-linear curve until coil bind, but the travel on the calipers ran out before the whole curve could be captured.
Once they were back together the old parts had to come out. The only parts going back in were the front strut mounts and rear damper mounts. Ground Control plates and mounts will go in later, but I wanted to do an A to B with the soft stock parts to eval NVH. New C-Tek front wheel bearings were used on install. No dust shields were used because I straight up forgot and my old ones were hanging on by a thread.
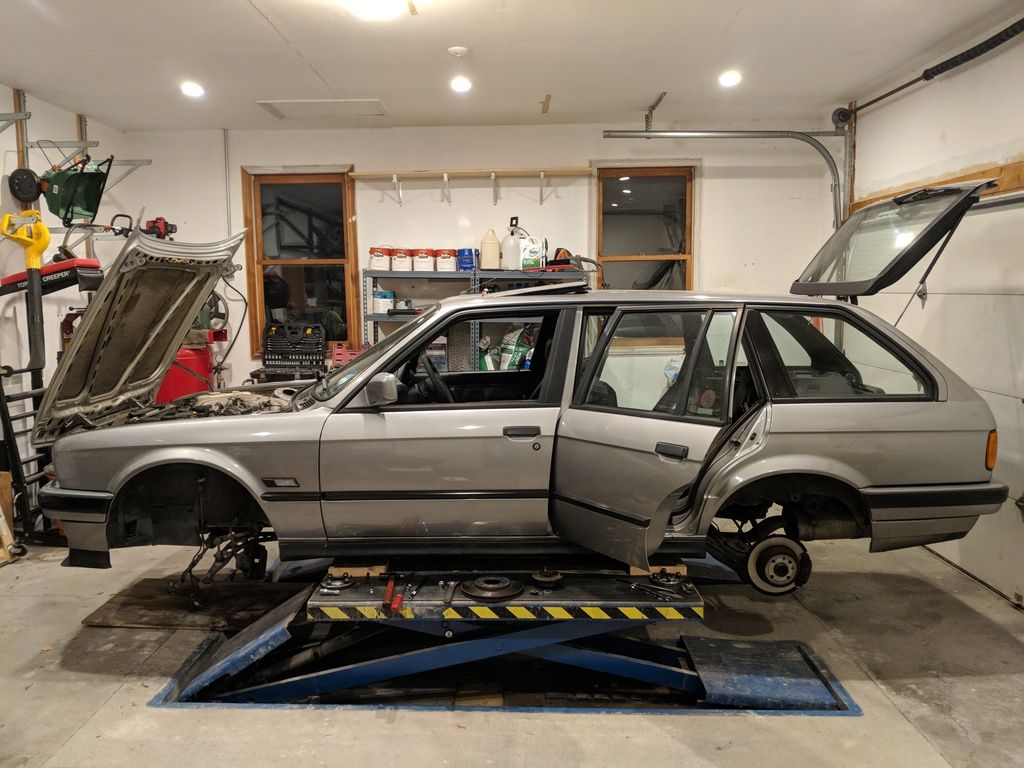
Ready for the new legs
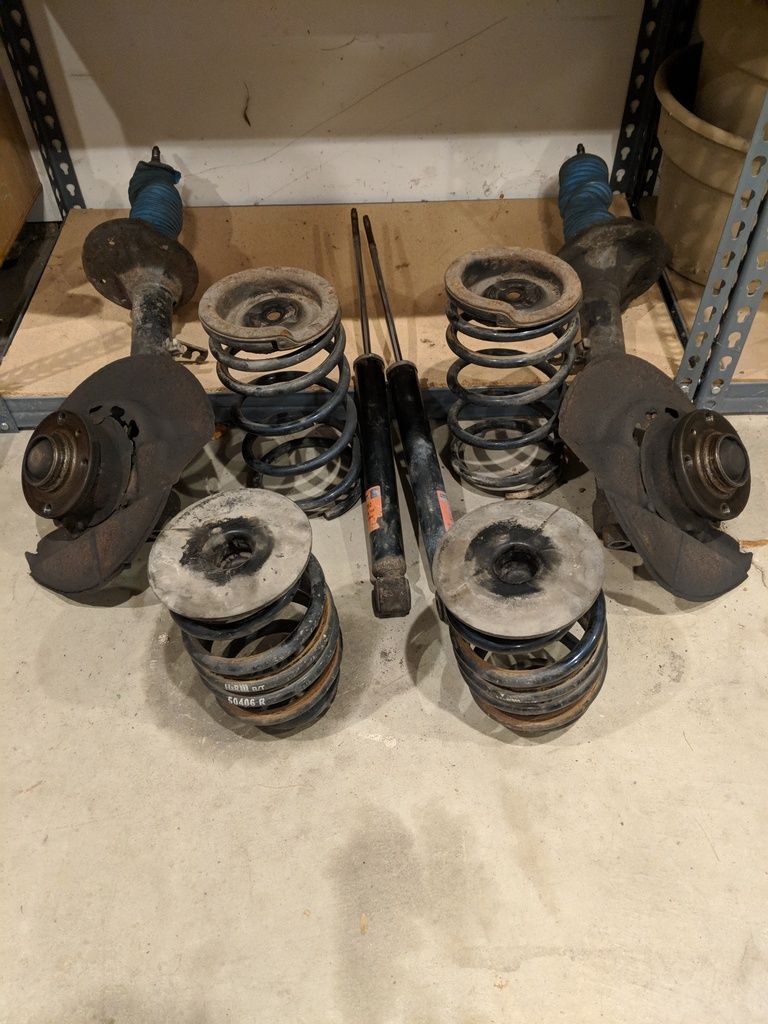
Fair thee well, 200,000mile struts
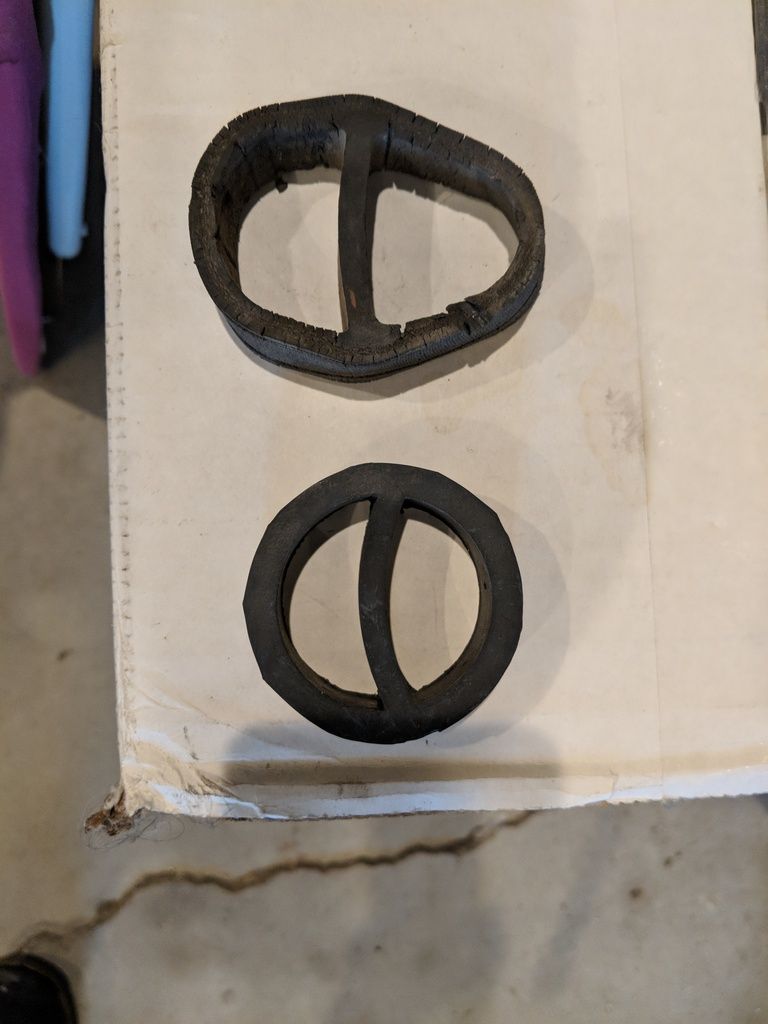
Also replaced the manifold gasket and rear rubber hanger while I was under there. This is after a year of use:
Needless to say the first guess at ride height was a little low... It looked sweet but the oil pan would have become a maintenance item at that height. It was so low that the low profile jack wouldn't fit under the front frame rail, haha. Also worth noting that the front spring can sit lower depending on adjustment and a 5mm spacer was needed to prevent tire rubbing.
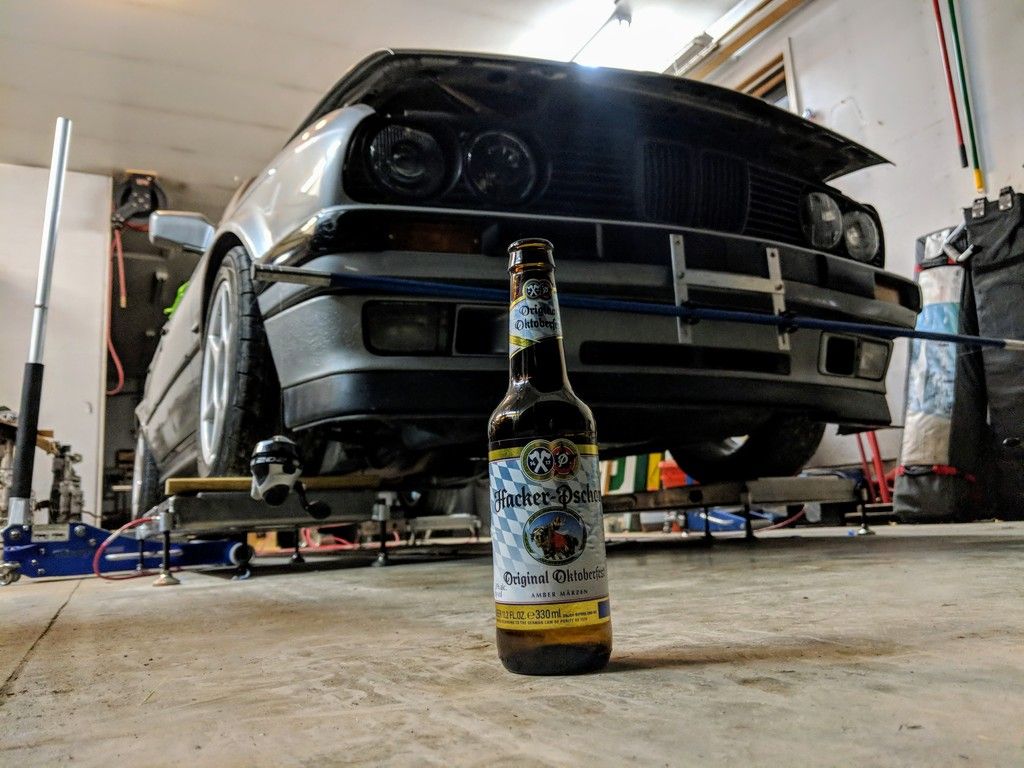
Oktoberfest, bitches
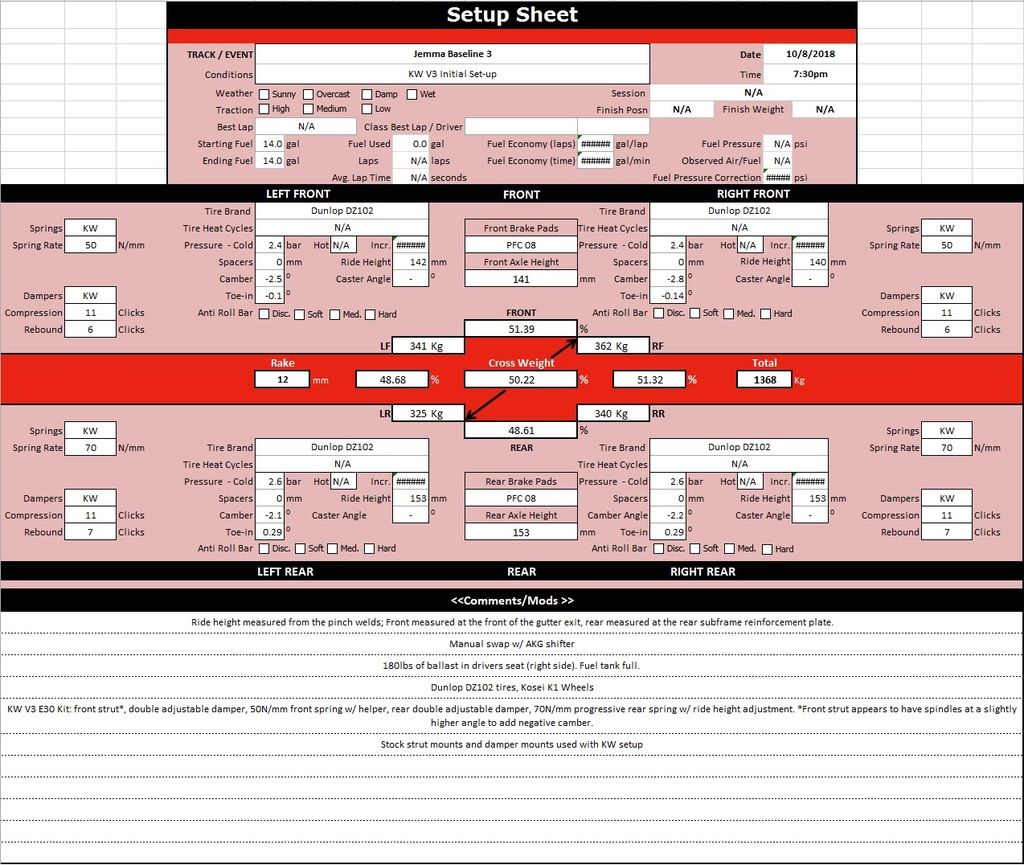
And here's where the setup landed. 50% cross is ideal but the suspension will definitely settle so being perfect here is irrelevant. Luckily it didn't take much work for the ride heights and cross to come in. Well, way less work than the Spec Miata at least... Rake was set to near-stock level. The rear toe is a little aggressive but it's currently not adjustable so it'll have to do. The front toe was set slightly out to compensate. Suck it, tire wear!
It's also worth noting that at a slightly higher ride height in the front there is more negative camber now. To me that says the spindles are cast at a slightly higher angle to give more negative camber without needing offset bushings or camber plates. Pretty neat. Unfortunately the camber isn't even so plates will be necessary anyway.
Onto the burning question: "how does it feel?" I'm still dialing in the damping for these shitty Michigan roads but the ride is way better right out of the box. The ride on pitted earth of US23 now feels better than stock, with a slight increase in harshness. This can be attributed to the high speed blowoff valves that allow a digressive damping curve (less stiff at higher damper speeds). This let's the dampers soak up the big bumps.
The whole chassis is way more composed than before, despite being on original 30 year-old bushings and stock mounts. The cornering confidence is also way higher, and the balance has gone away from soul-sucking understeer to just a hair loose of neutral. I can't wait to get fresh bushings in to see the improvement in response.
Every adjustment of the damping can also be immediately felt. I didn't think it'd be that apparent for 2-click adjustments, so I'm pleasantly surprised. So far I've adjusted fronts and rears down two clicks for both compression and rebound. It feels like it could use some more control in heave so I'll keep iterating.
And lastly, here's where the ride height ended up:
Nice and comfortable.
Next up are the Ground Control front camber plates and rear damper mounts.Leave a comment:
-


Leave a comment: