-
I agree. And don't sell yourself short. If I was you, I would list this for sale as 100k obo. It is a better than factory, no corners cut detailed documentation full concourse rebuild. This is probably the best factory rebuild of an E30 ever. And people will pay good money for just that. -
RE the diff - I made studs to be fixed in the diff permanently, which made it 999x easier. No it's not factory but I couldn't care lessLeave a comment:
-
Looking great man, and after the paint delays I'll bet you're enjoying every minute of it. I hope you're having in Houston like we're having in BR, it's been gorgeous.Leave a comment:
-
Just amazing. If BMW made them like this a '90 318 would have been 100k.
lolLeave a comment:
-
I love inspiring others to take it up a notch, even if not full retard like me, something is always more :-)
I have new hockey pucks between the jack stands and the front frame rails. They are wide and non marring. We buy them by the case at work to use on each lift arm to space the arms down off rocker skirts and such.
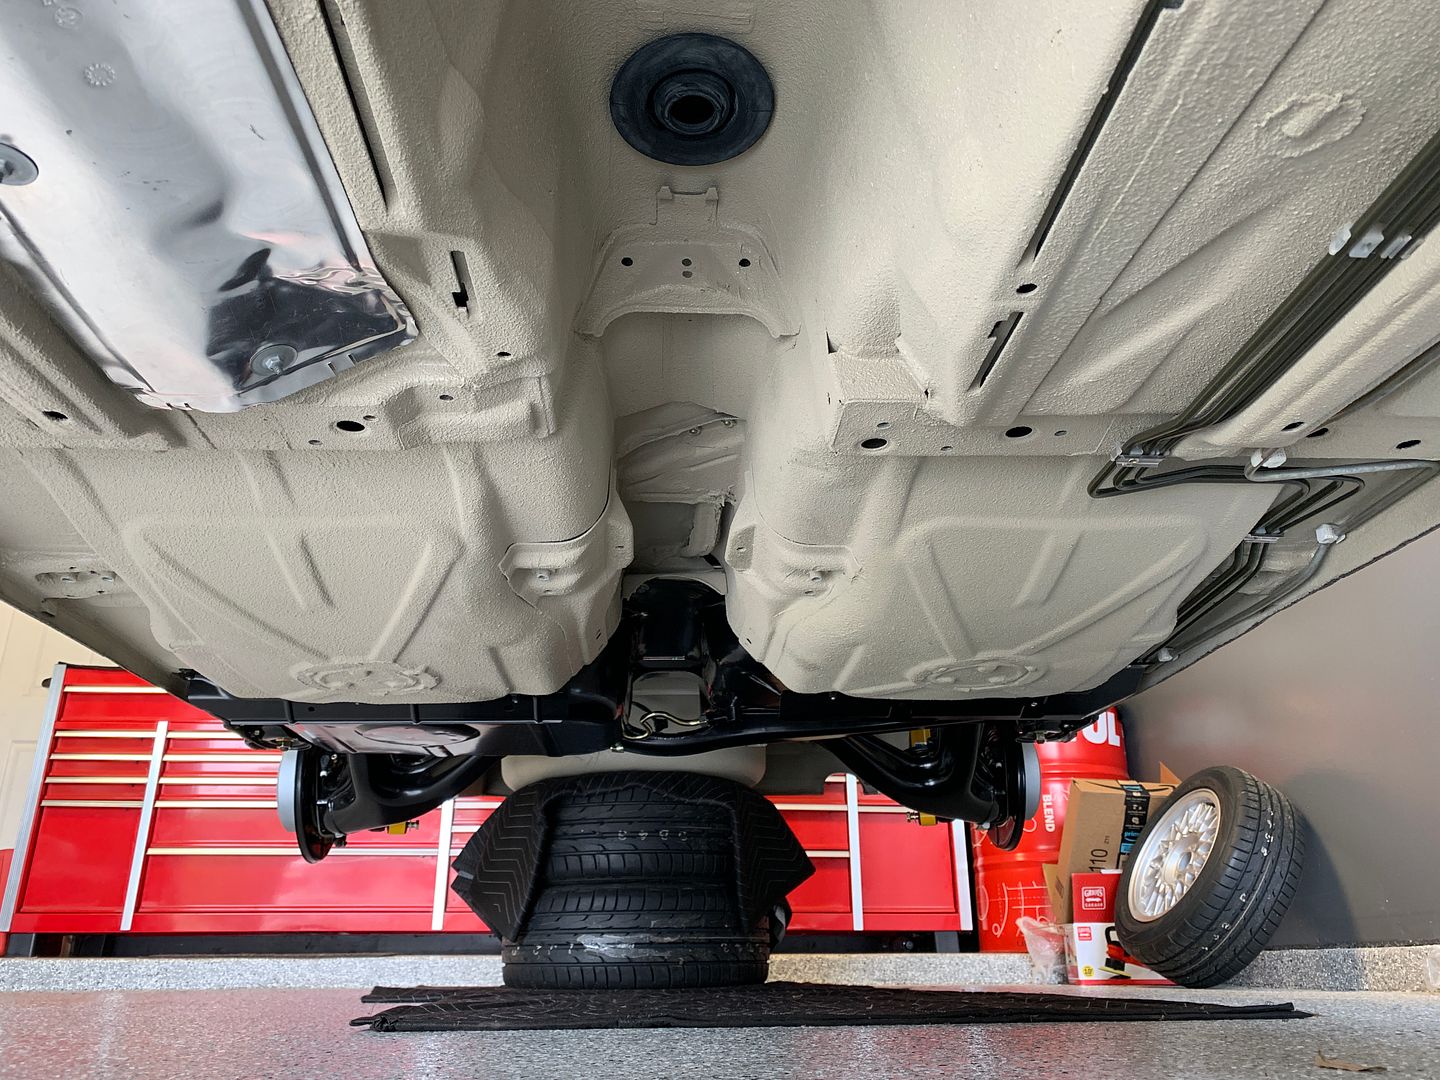
Yes, 100% two of the cars wheel and tires lol, with moving blankets padding the tires top and bottom. I was moderately concerned the spare tire tub might be dented but the car is now back on all fours and the tub is fine you can't even tell.
With the rear suspension out and freshly refinished pinch welds I couldn't really work out a better place to support the ass end and this worked well.
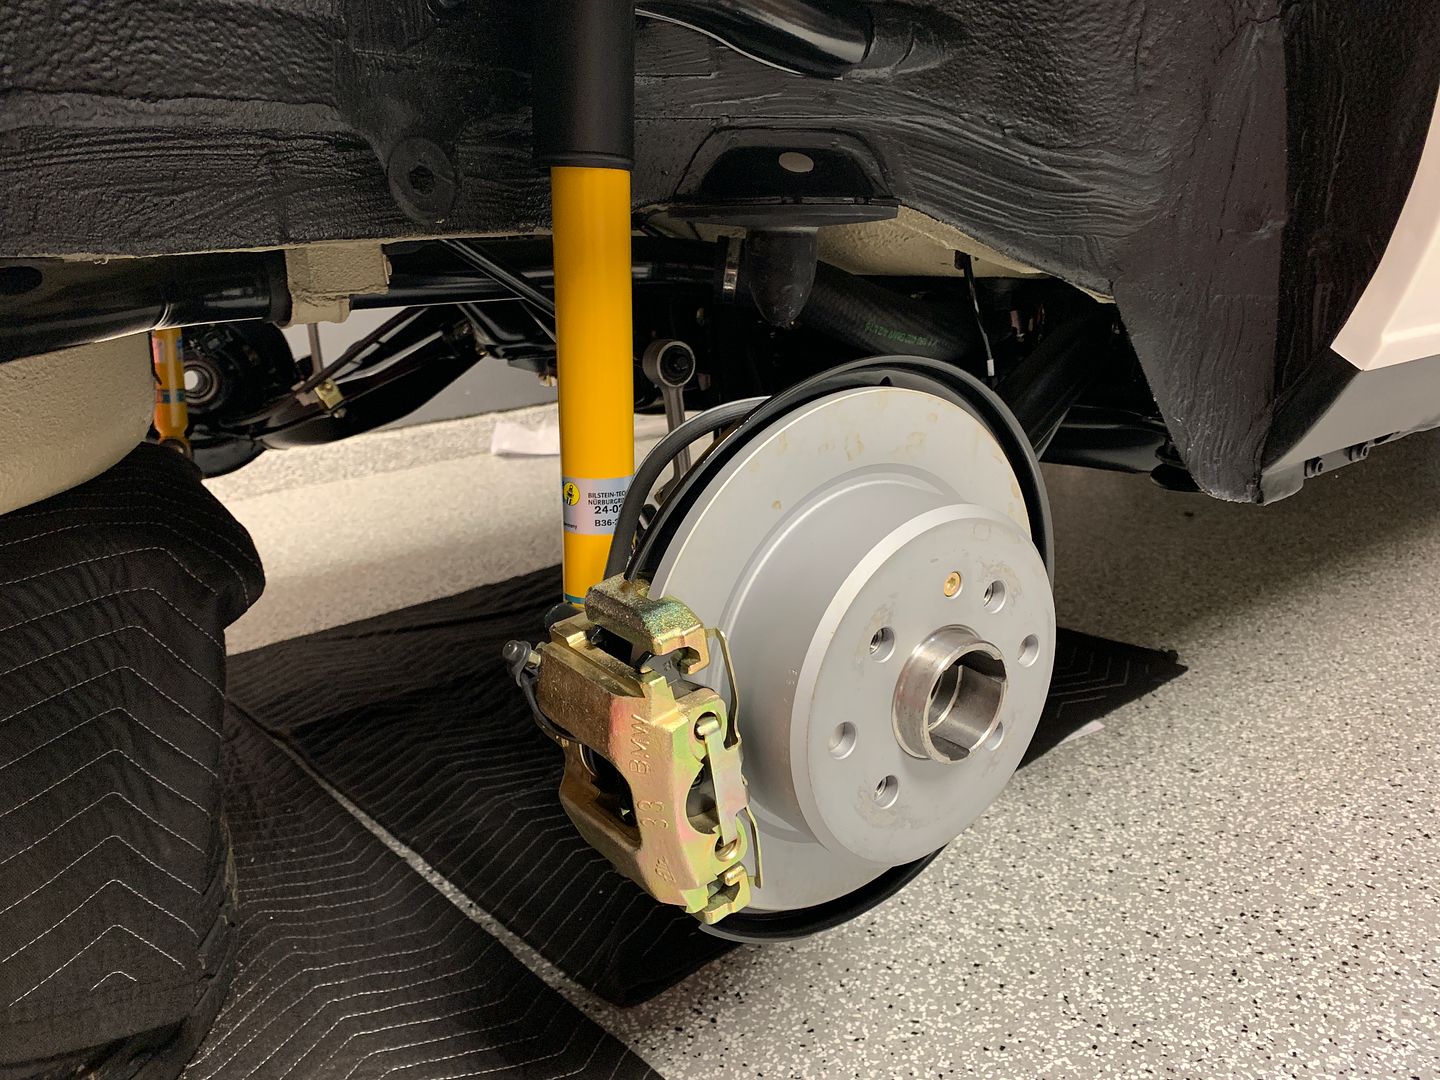
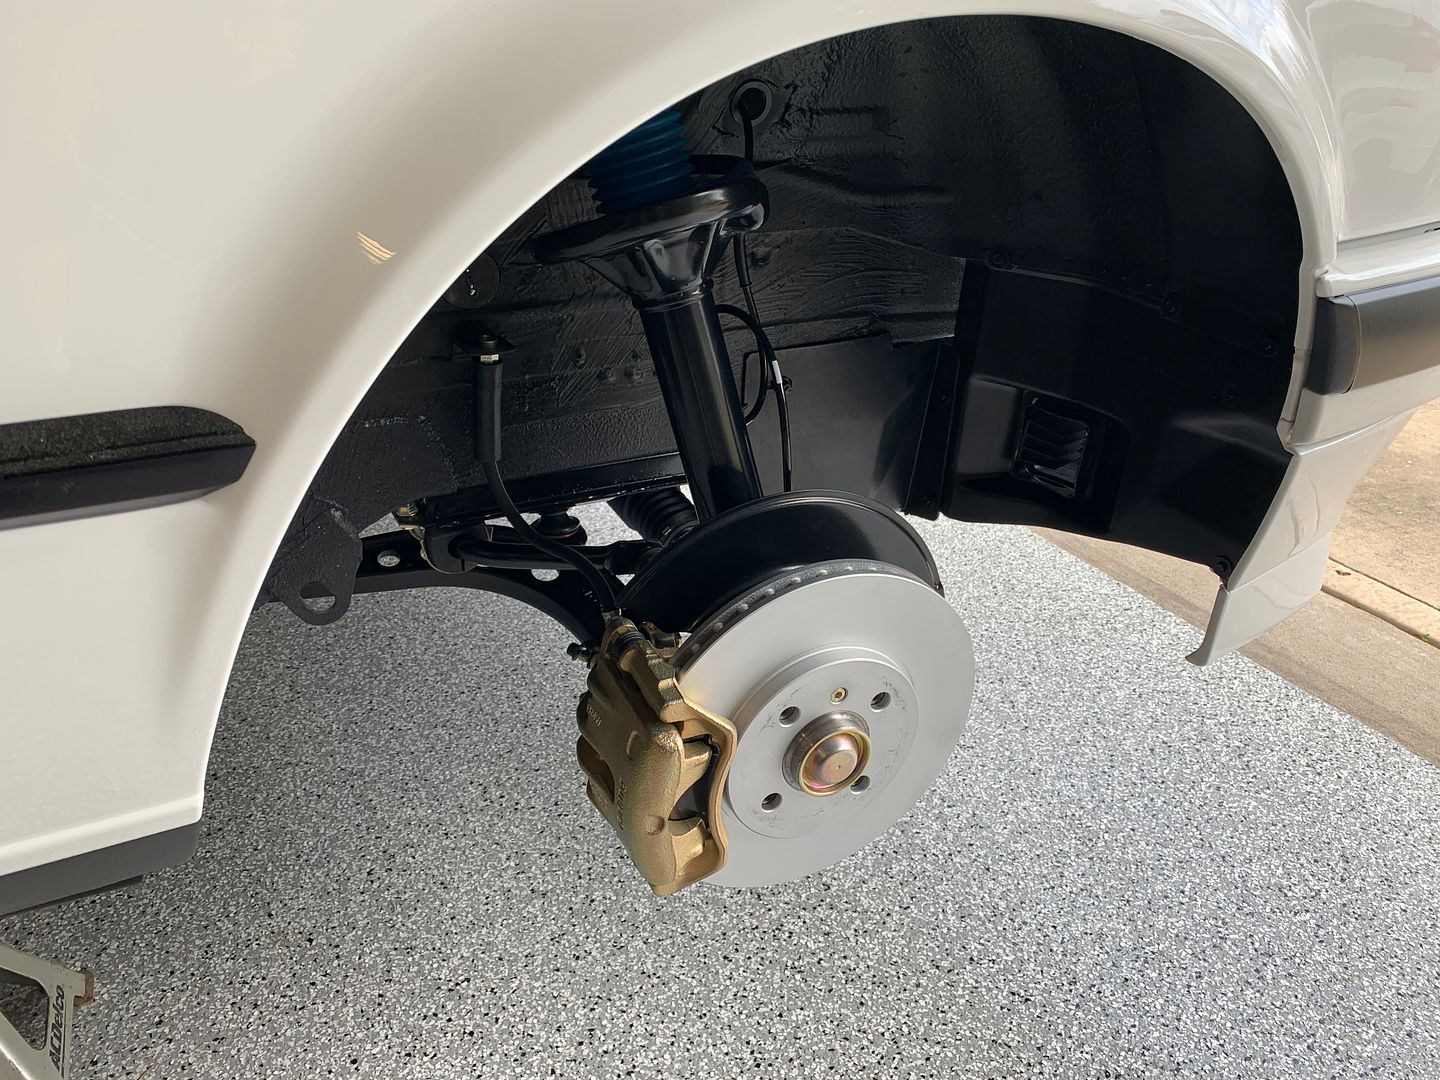
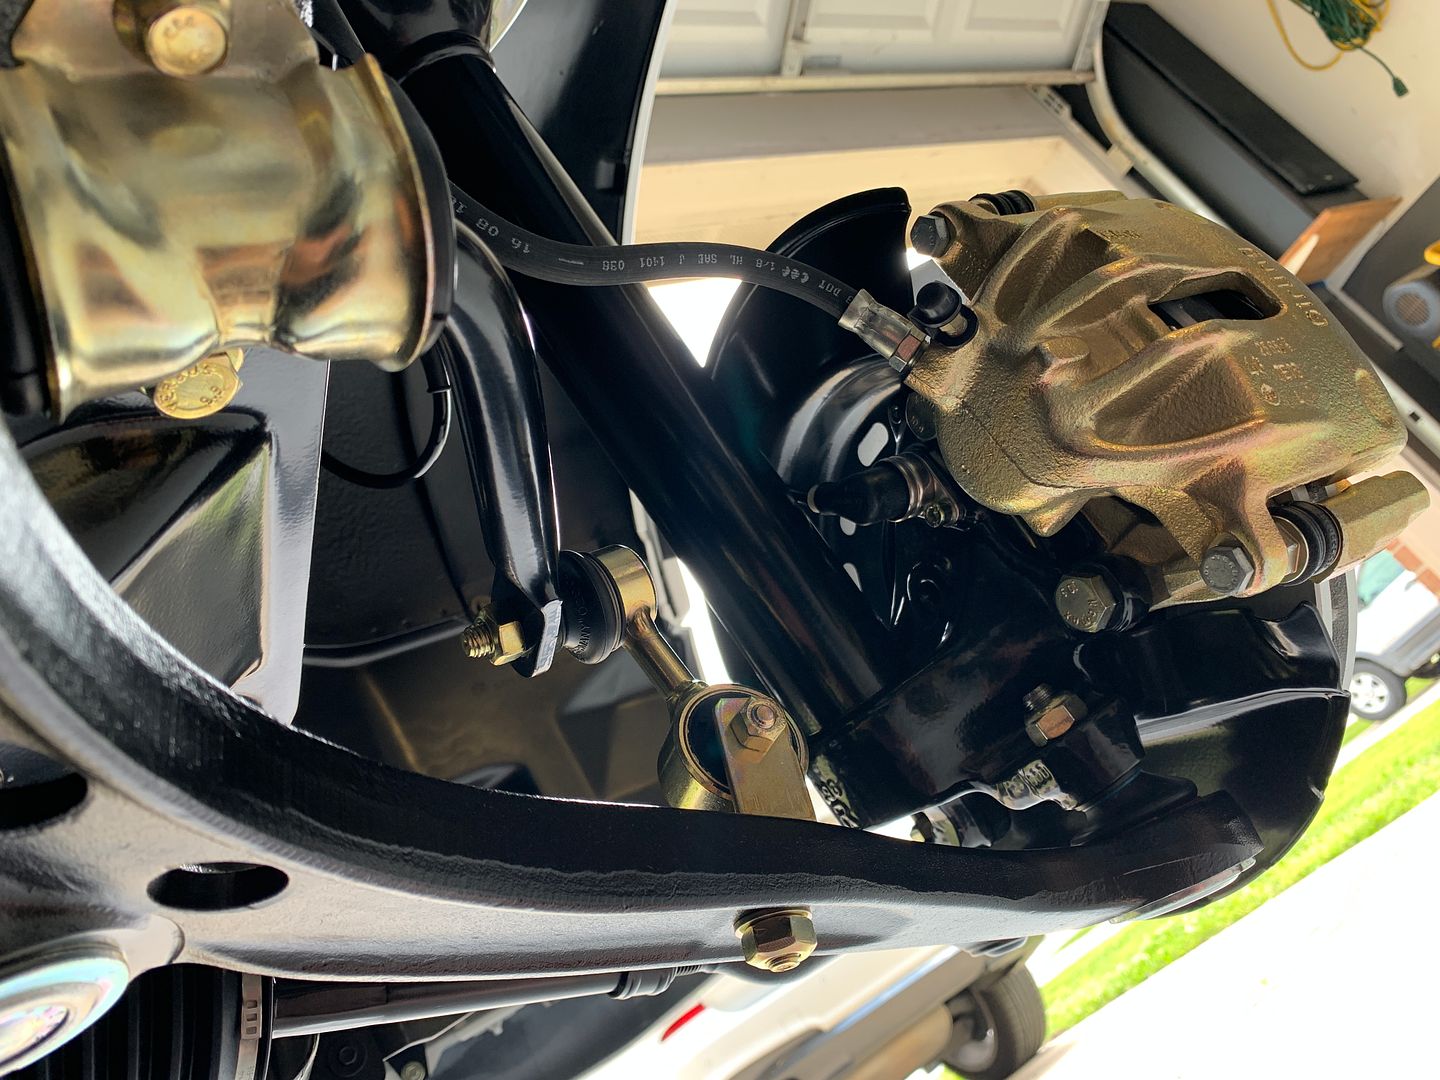
For the smart asses here are the trailing arms now installed, along with hubs, rotors, calipers etc.
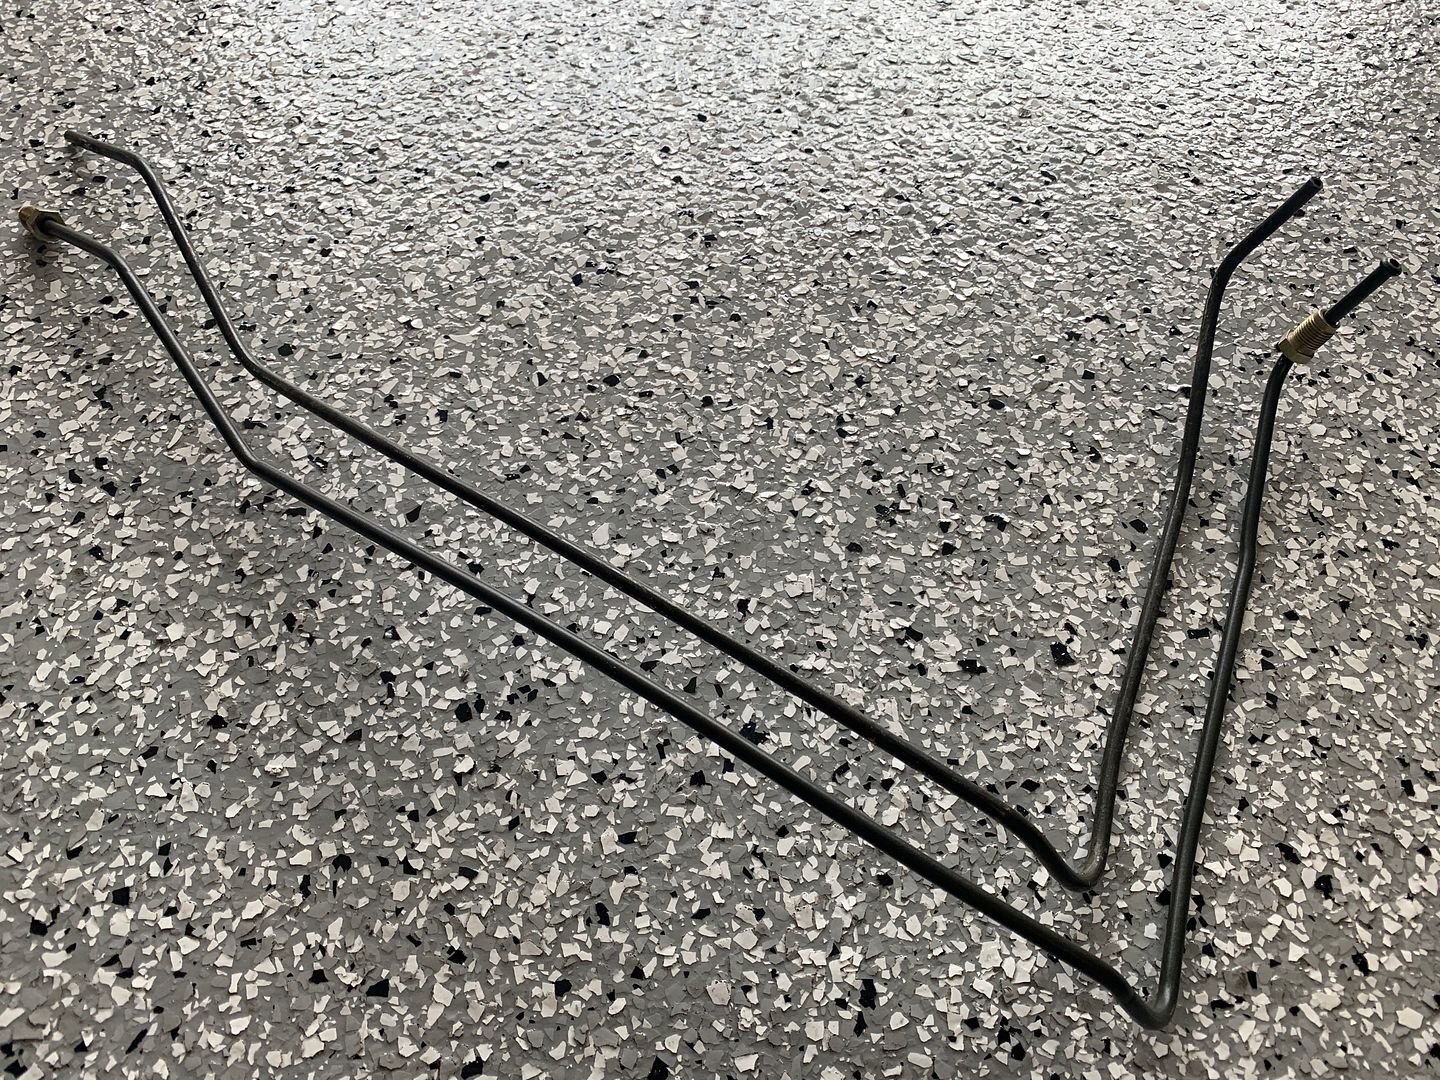
The only hard brake line that will be reused on the car is the mega long run from the proportioning valve under the master cylinder back to the T under the rear seat. It was in great shape but all of the other lines have scratches, dings and mild corrosion that is simply not acceptable. I will remake each line by hand from new bulk tubing which also allows to be slip on freshly plated flare nuts.
Rear brake line that mounts to the trailing arm, new one has the nuts in place.
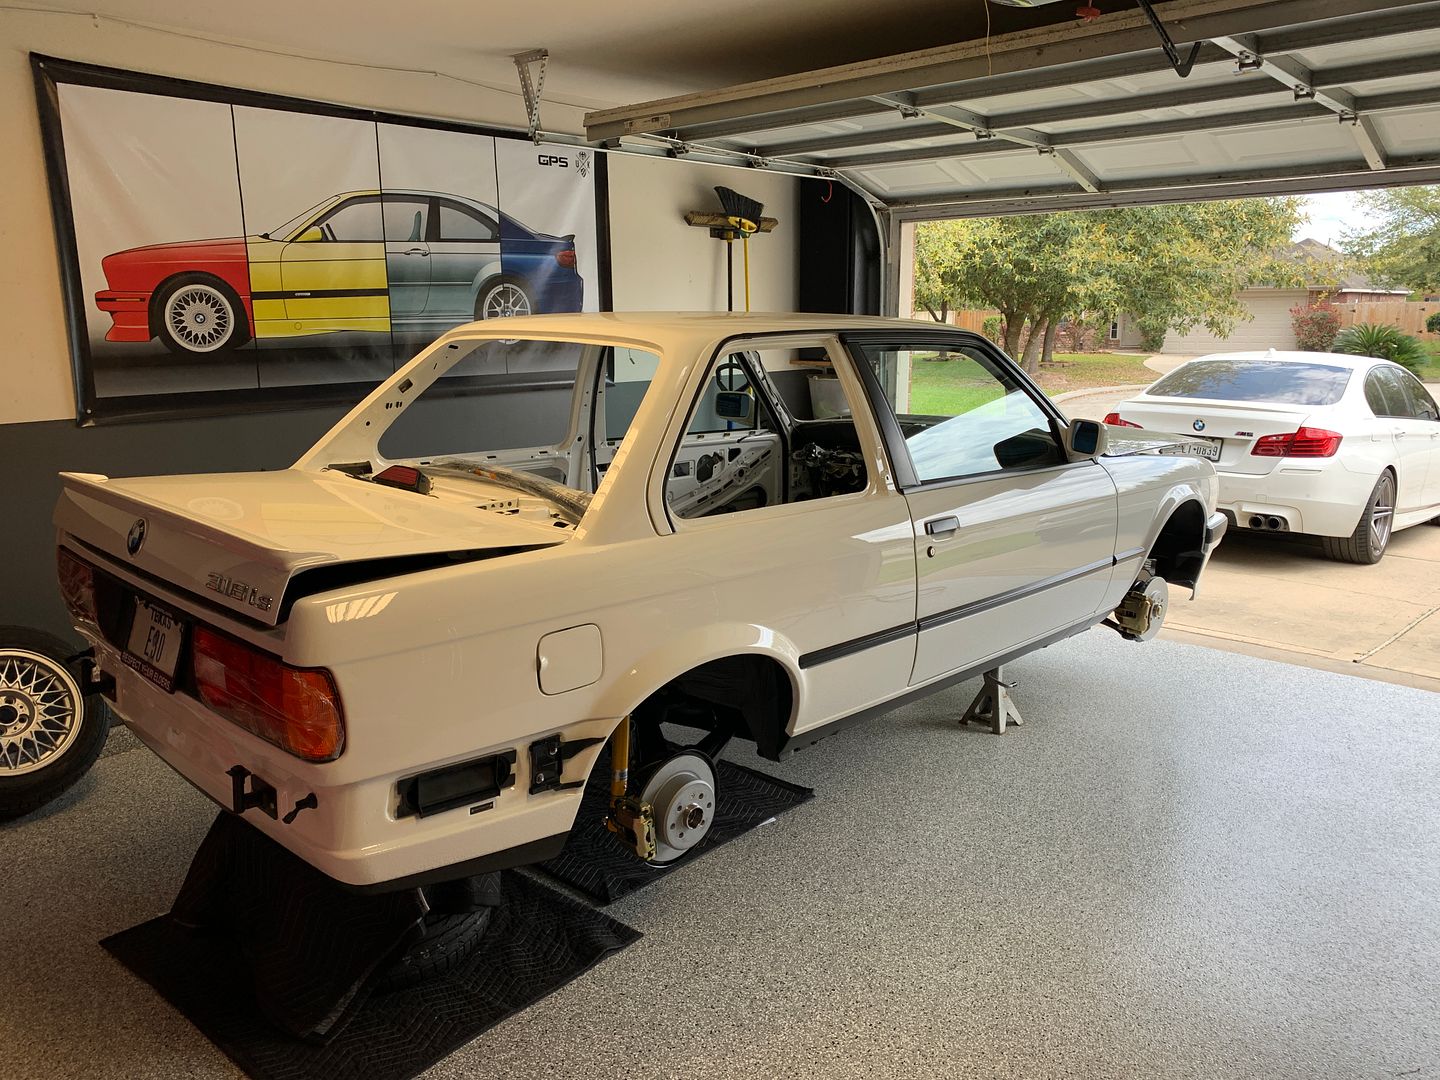
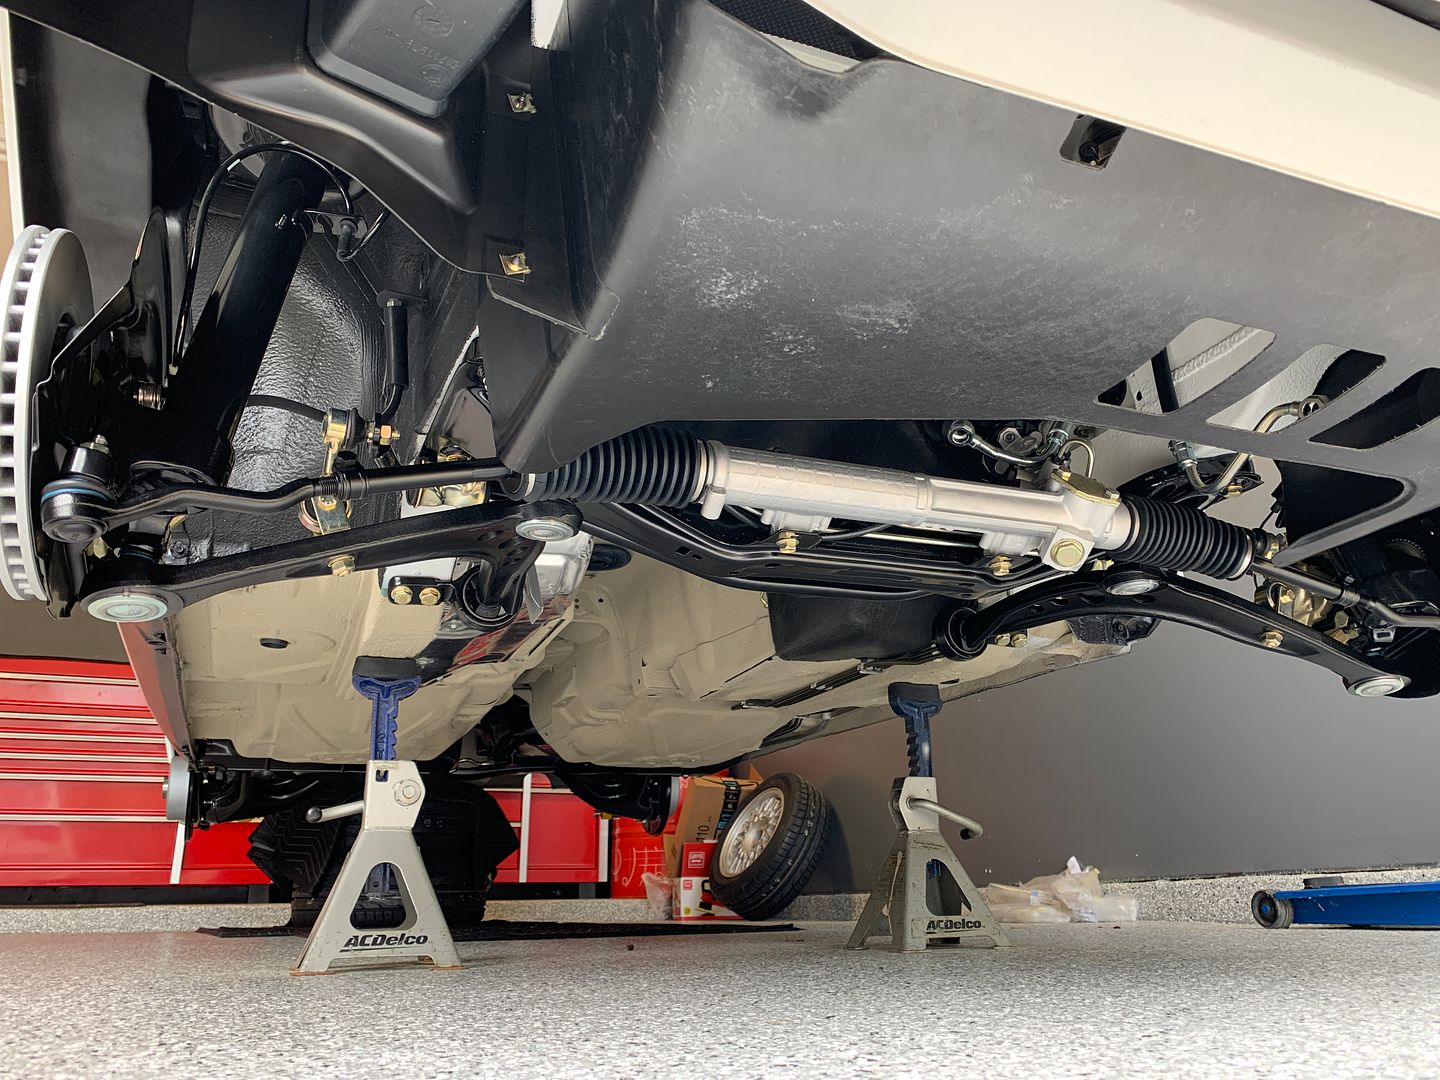
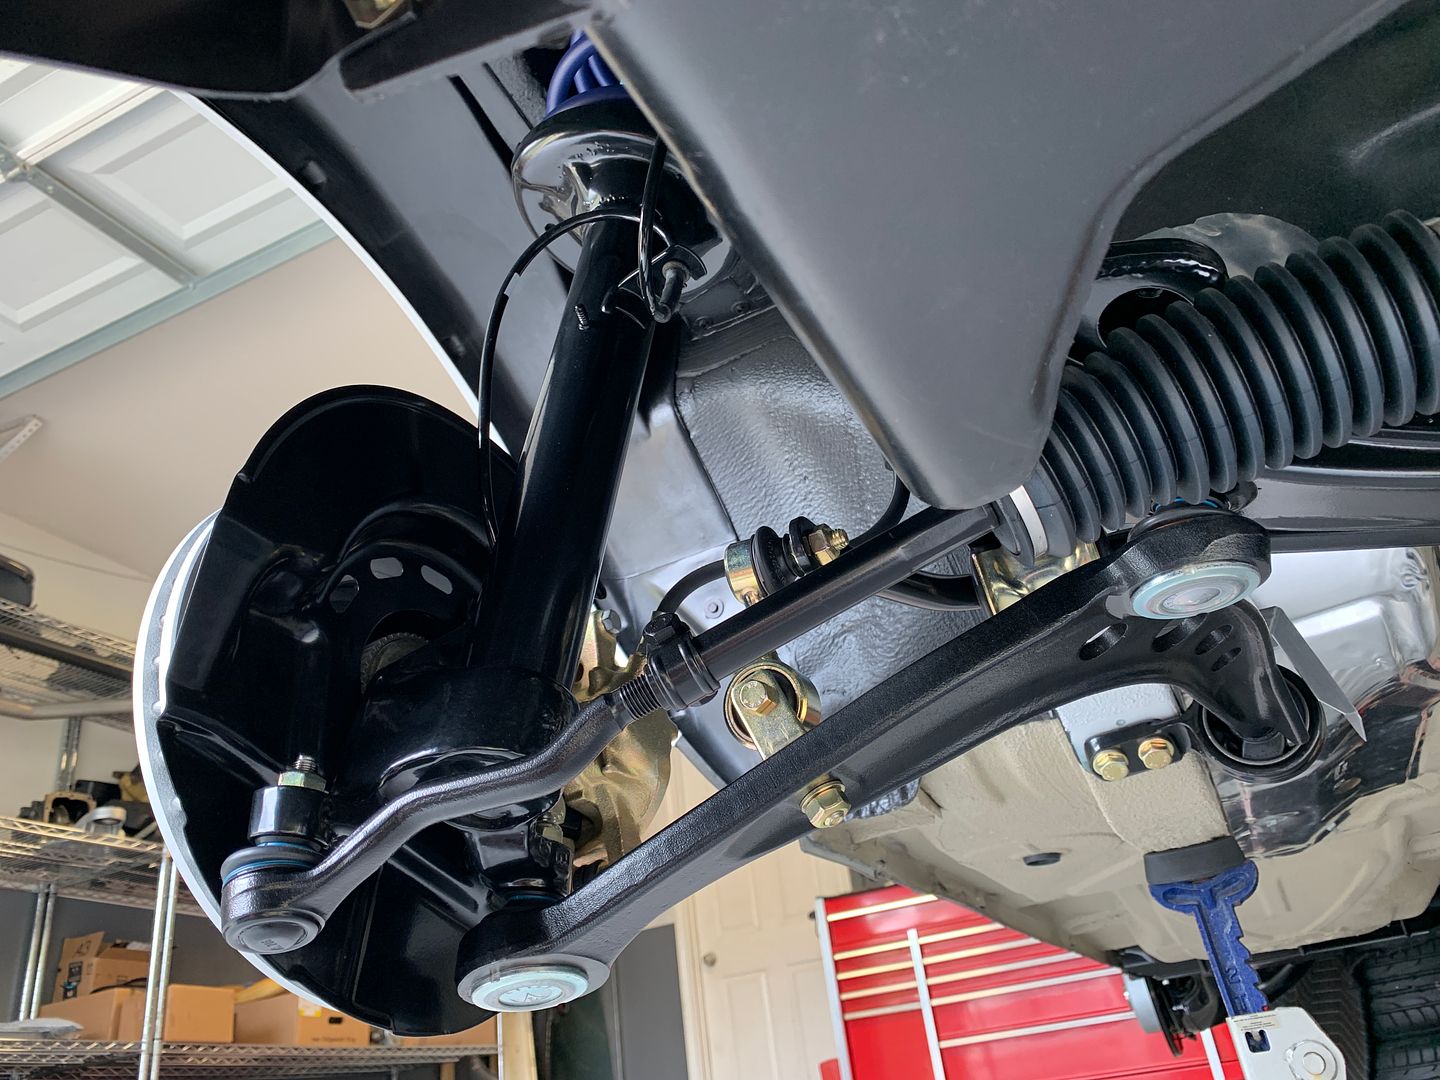
Hovercar, now with its suspension in place.
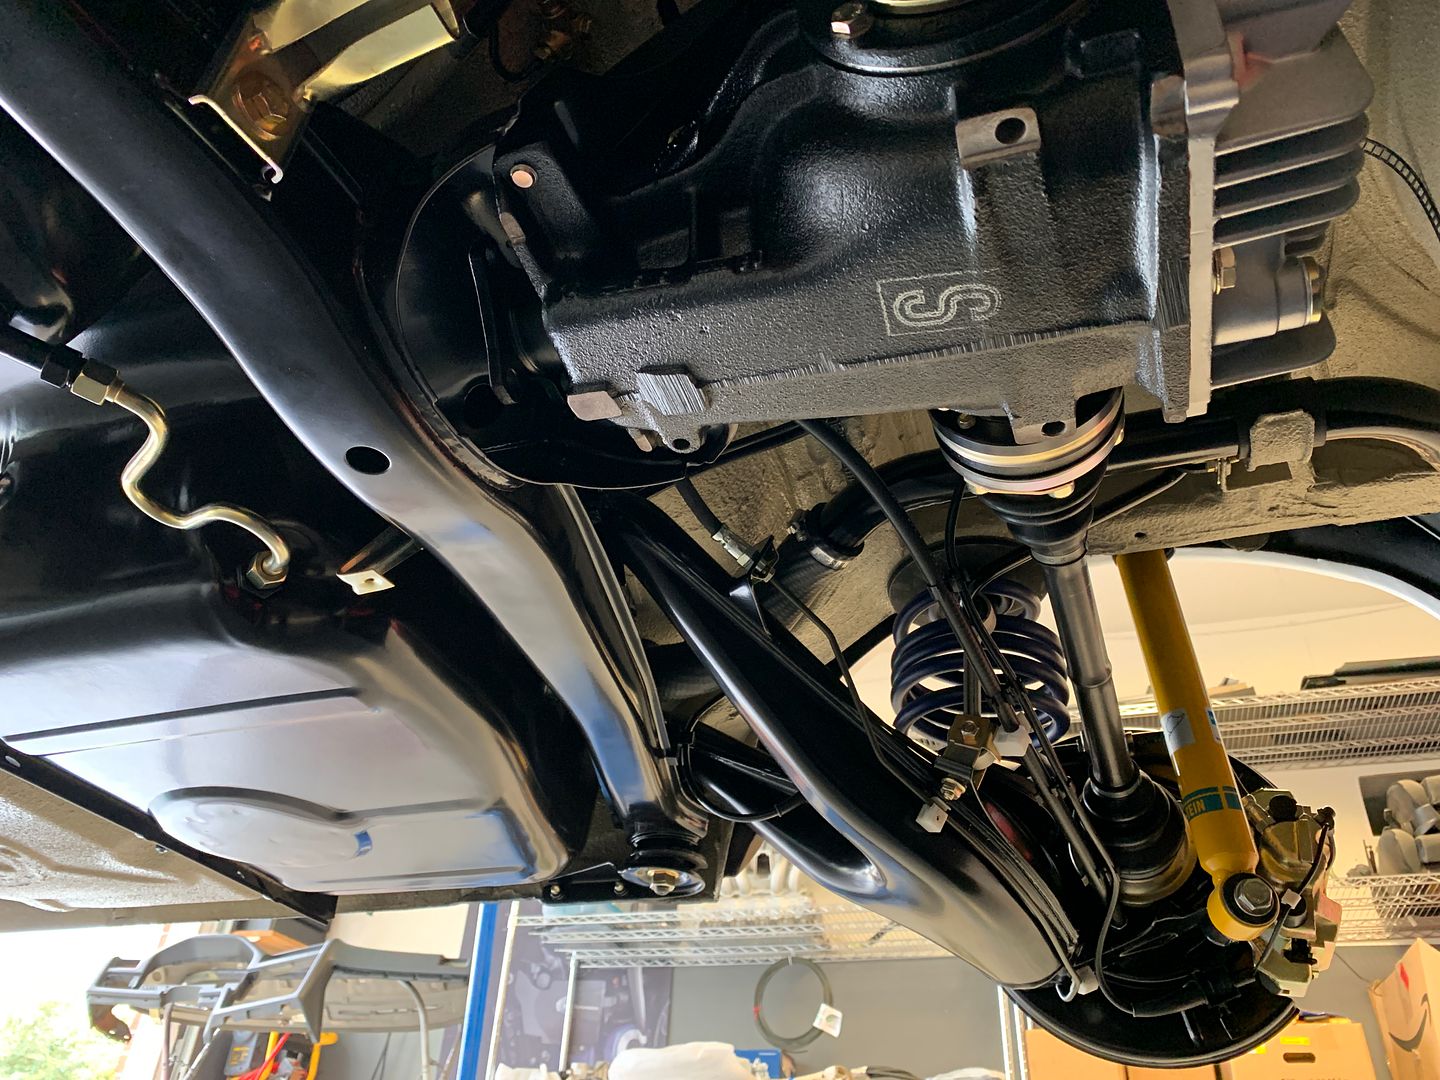
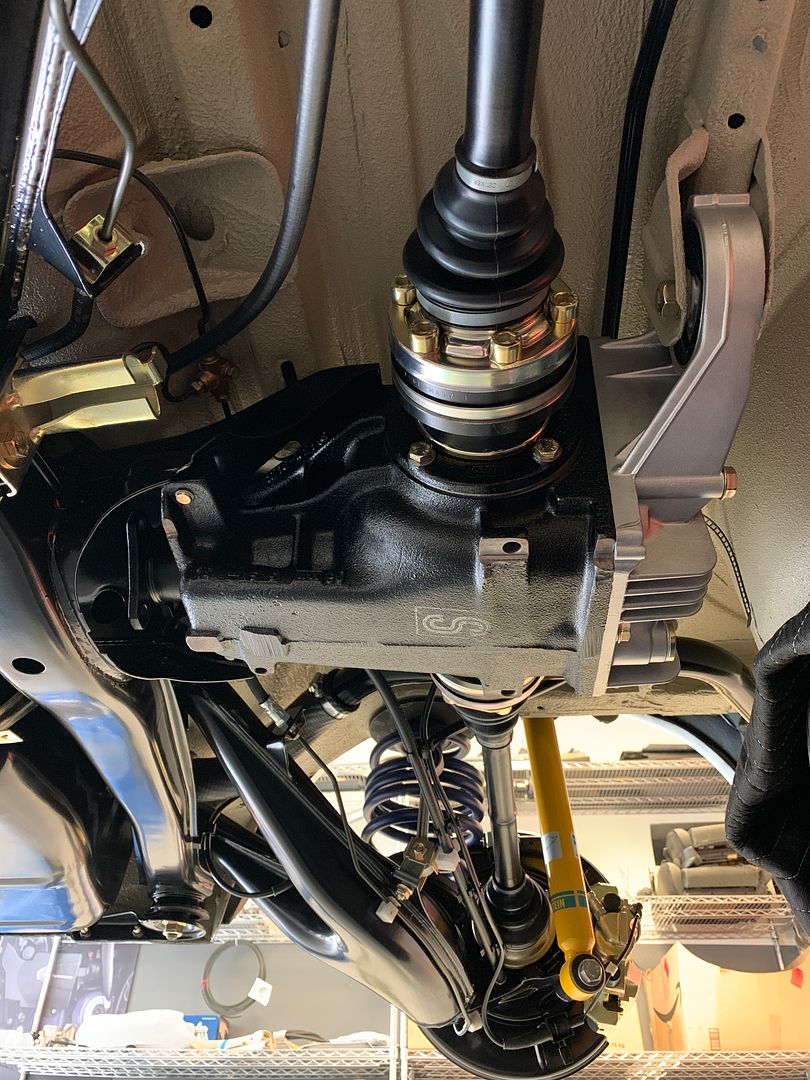
Front suspension, with rotor and caliper in place.
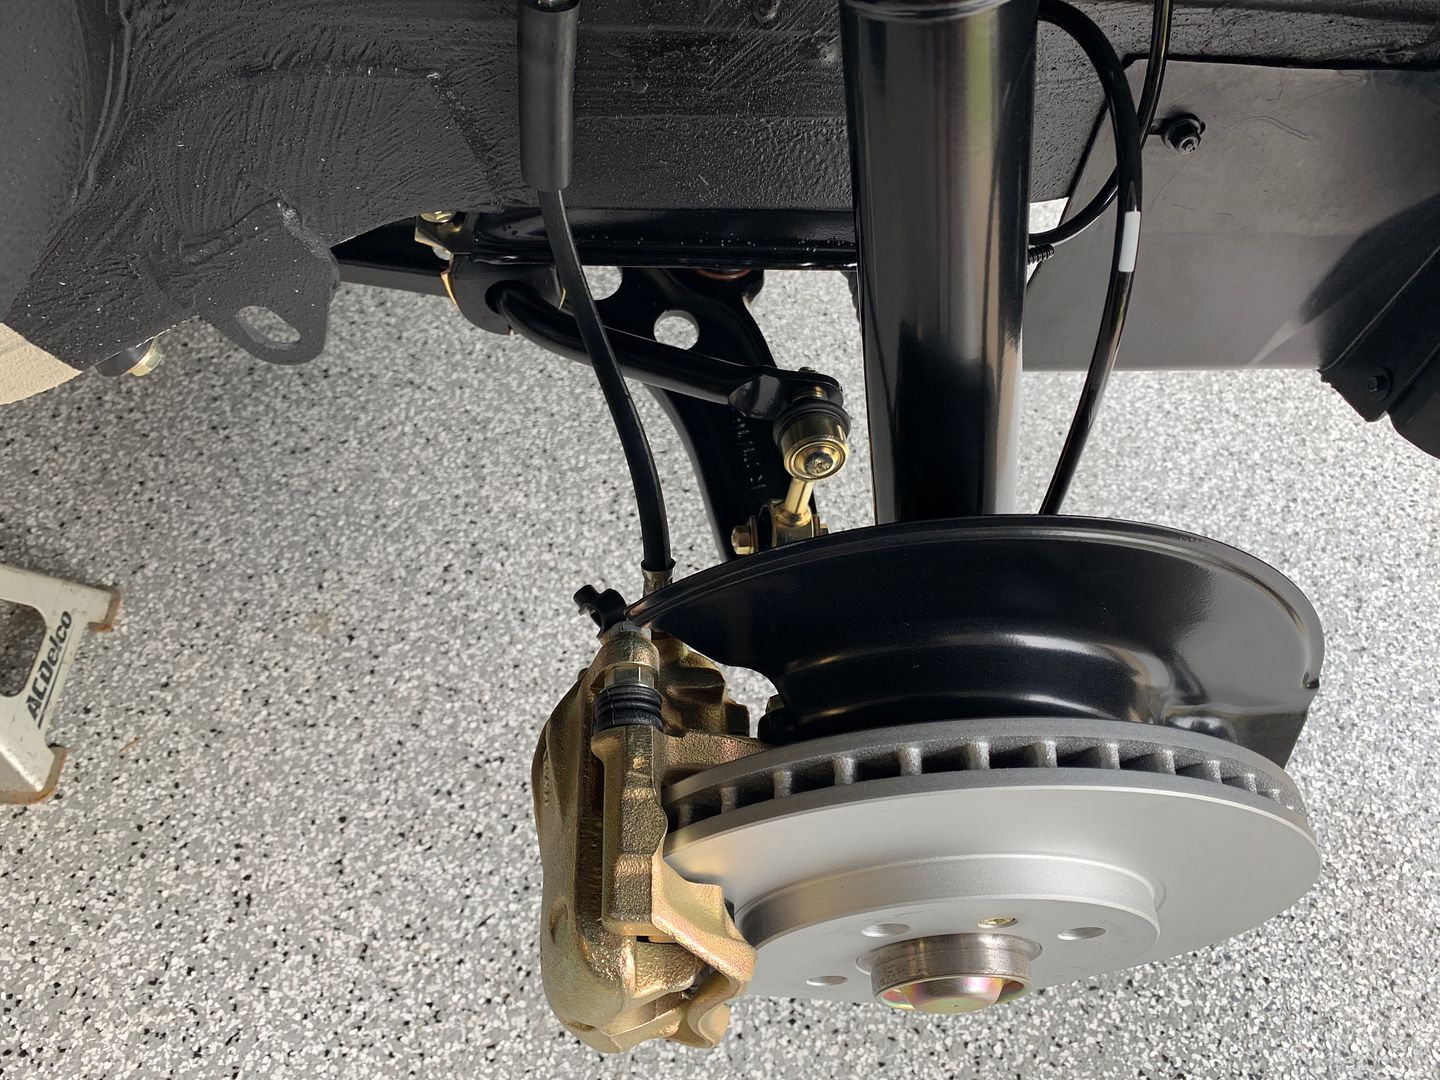
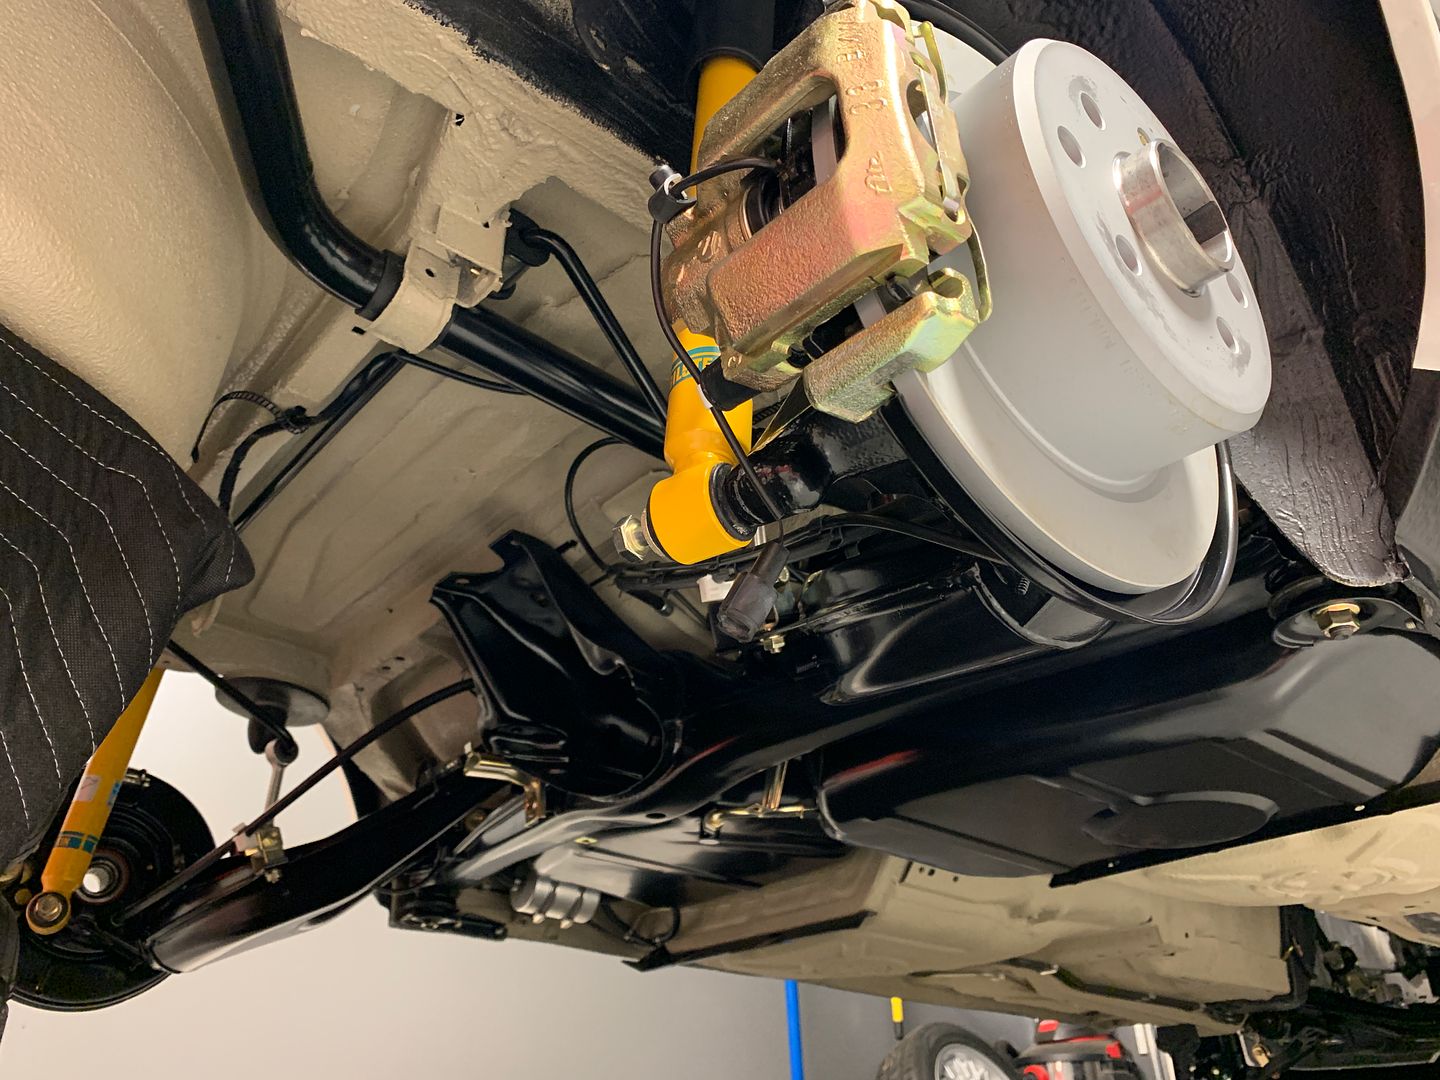
Underside of the front suspension
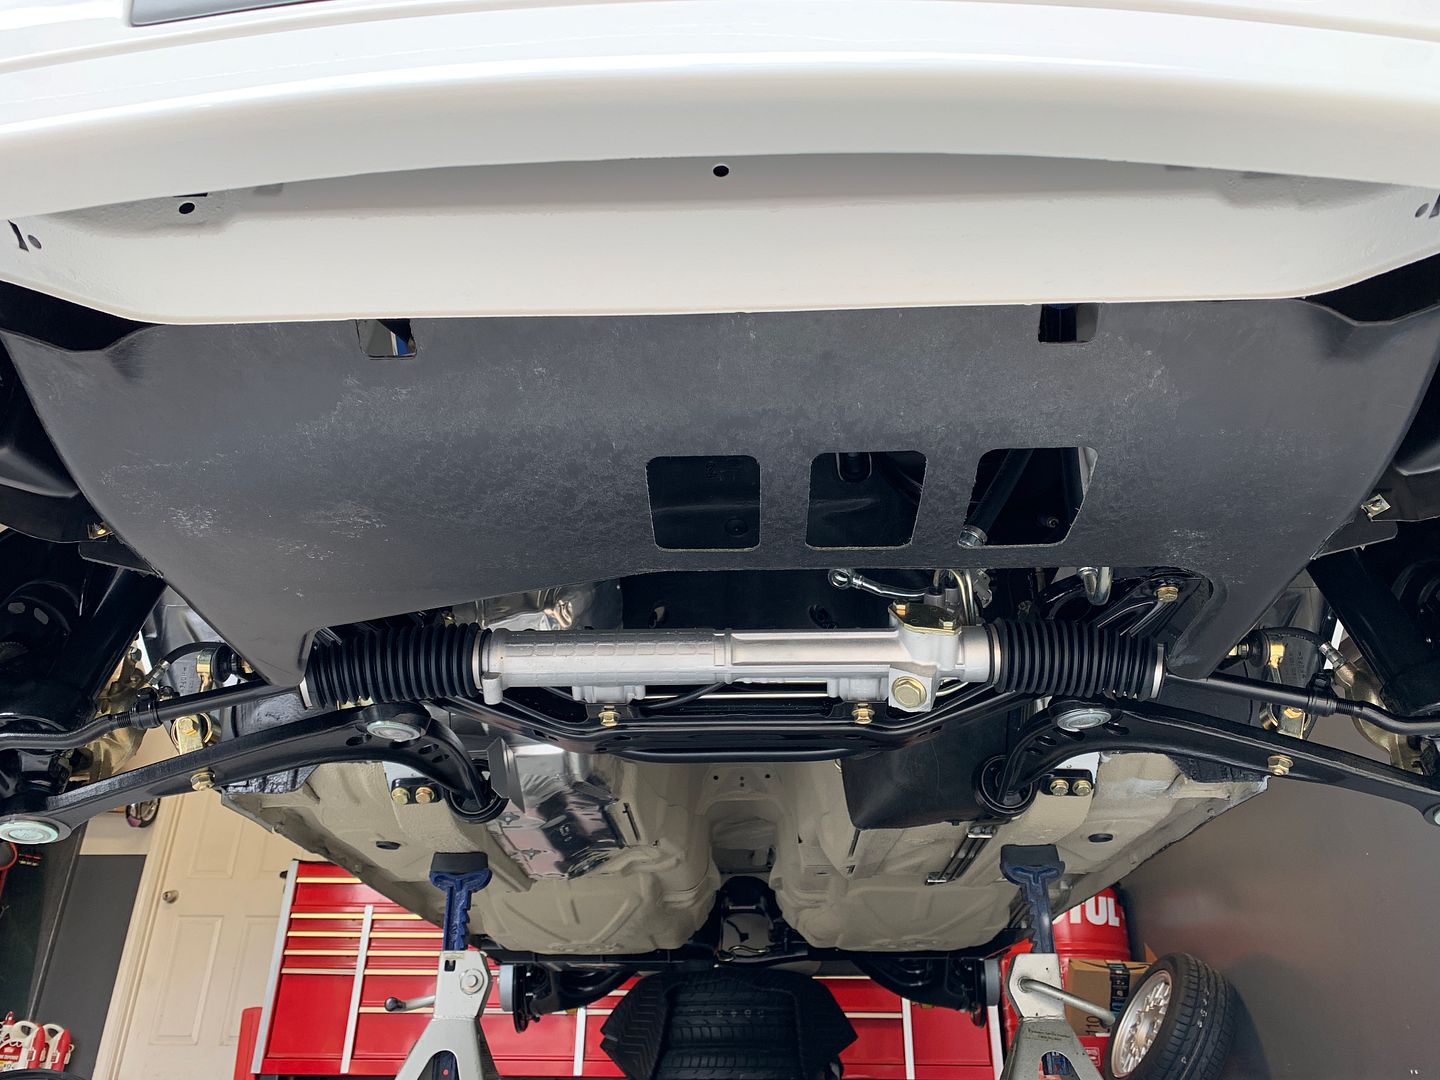
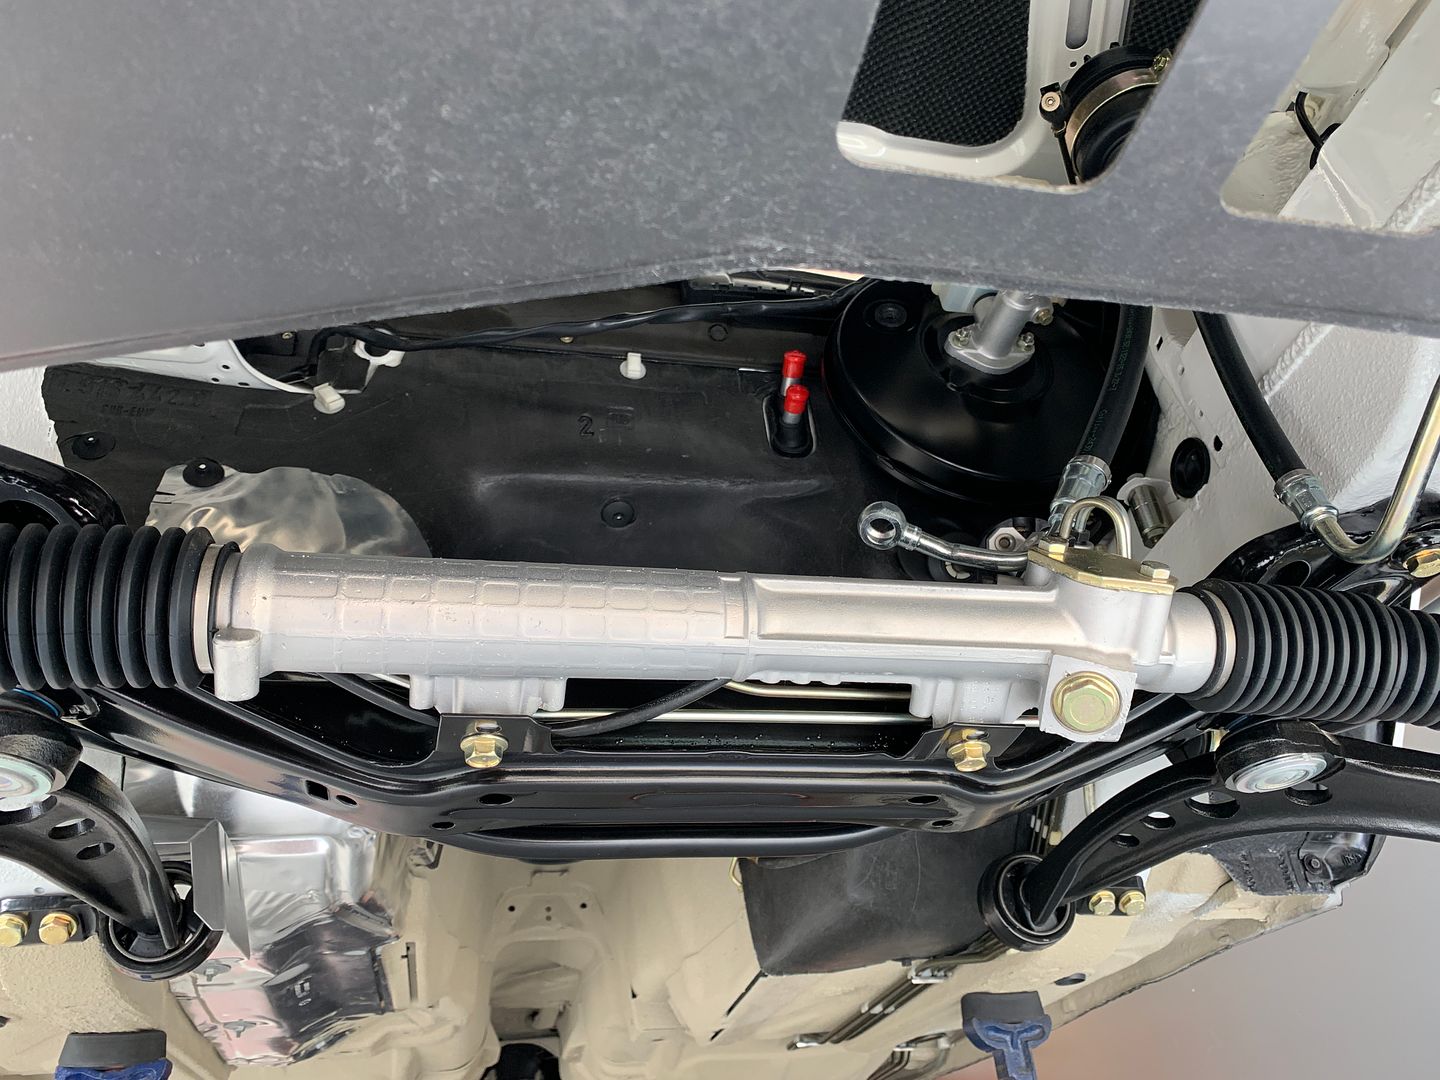
Transmission tunnel
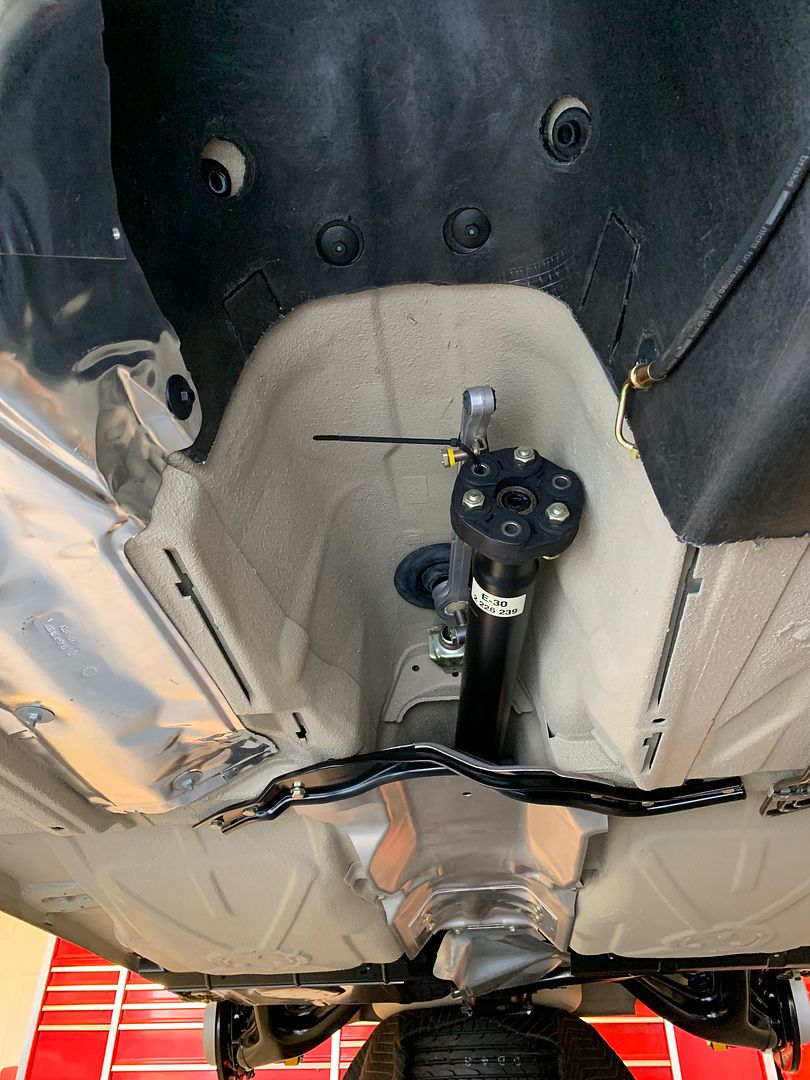
Rear differential hoisted up into place and bolted in. Getting the four bolts that support this thing started I swear are the worst shit to do on these cars. Been there done that more times than I can count and its always the same shit
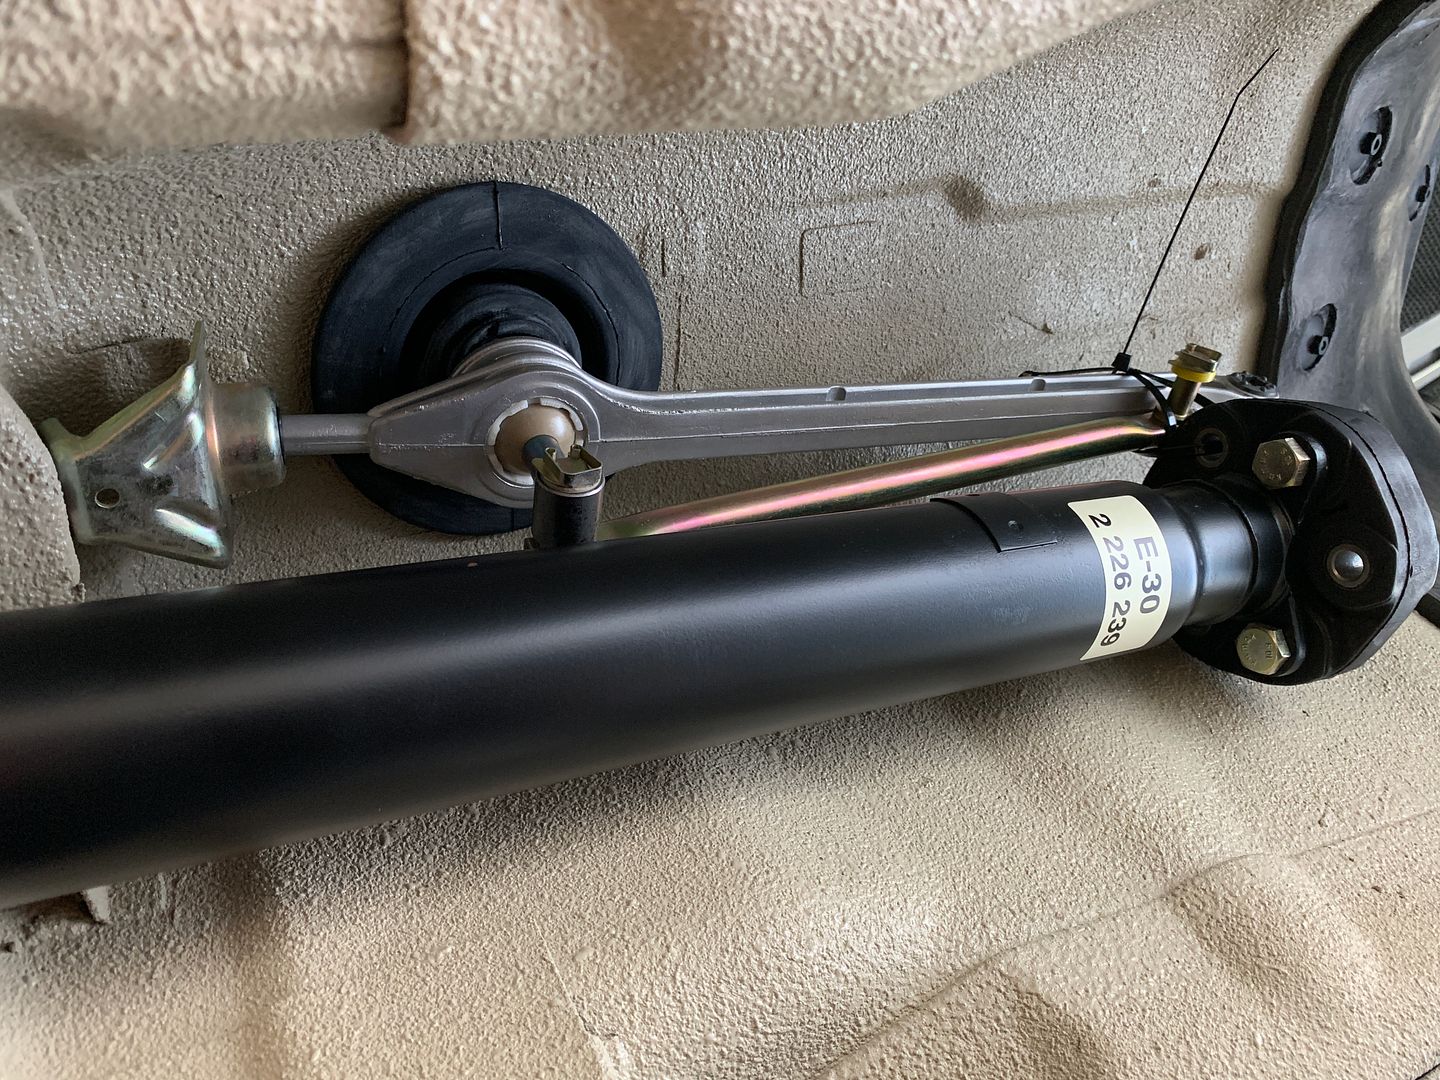
Hey a driveshaft!
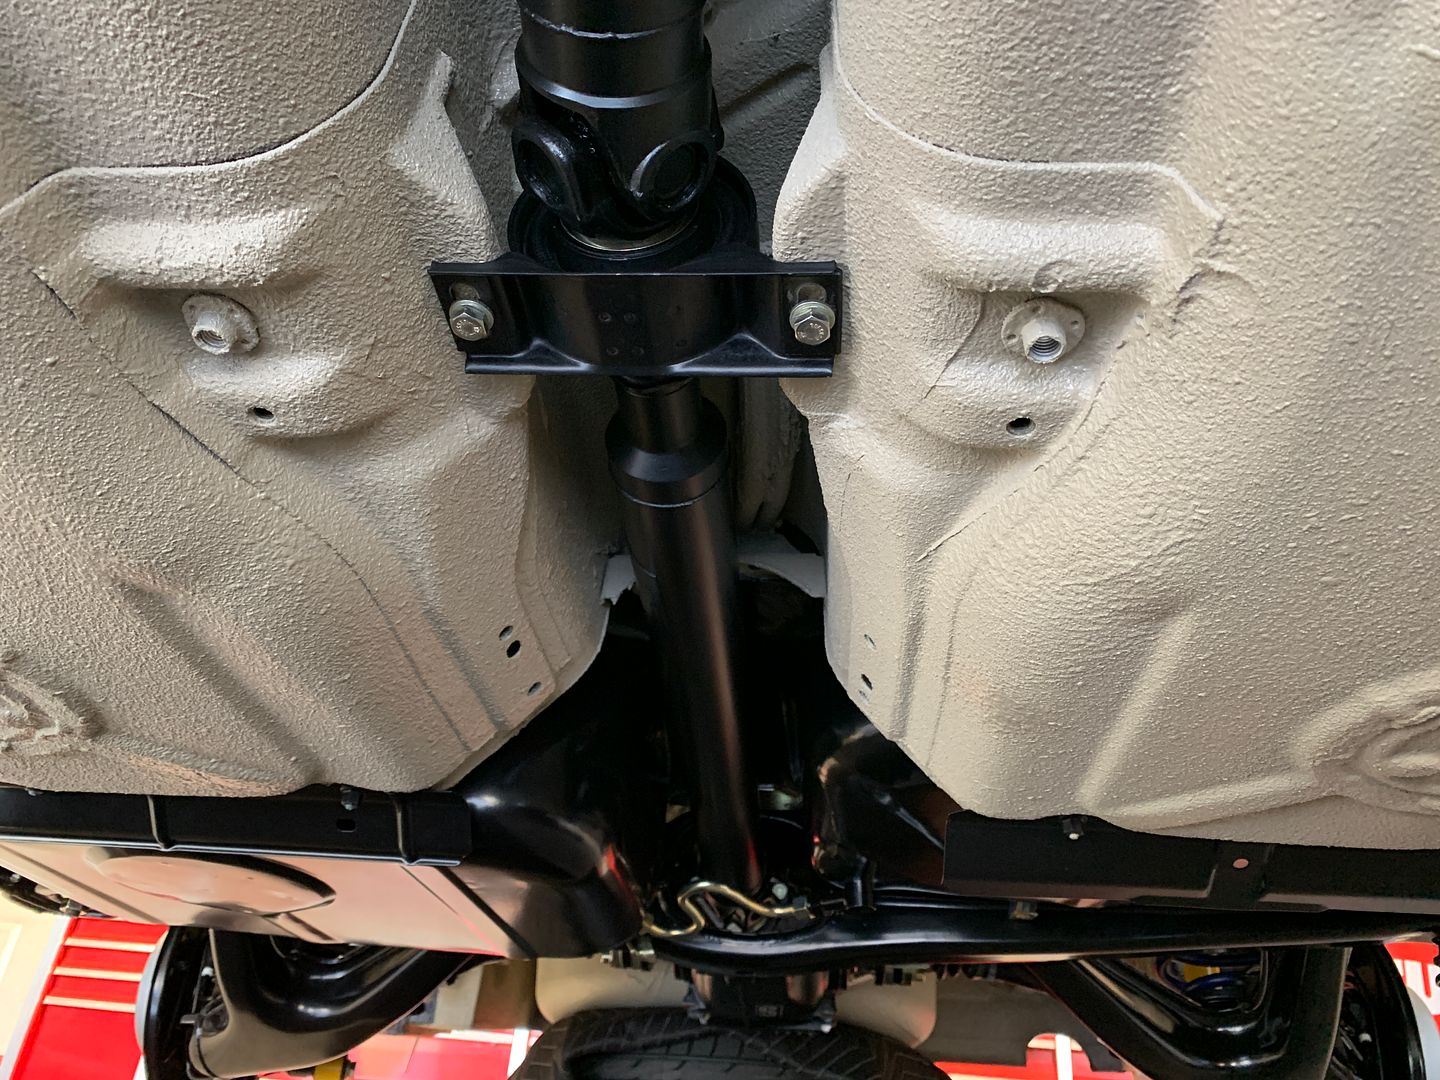
Shoved the shifter up into its home while I was under here, supporting the front of the shifter and driveshaft with zipties through the rear evaporator drain for the time being. Another Pukar sticker on the driveshaft.
With heatshields and chassis brace in place.
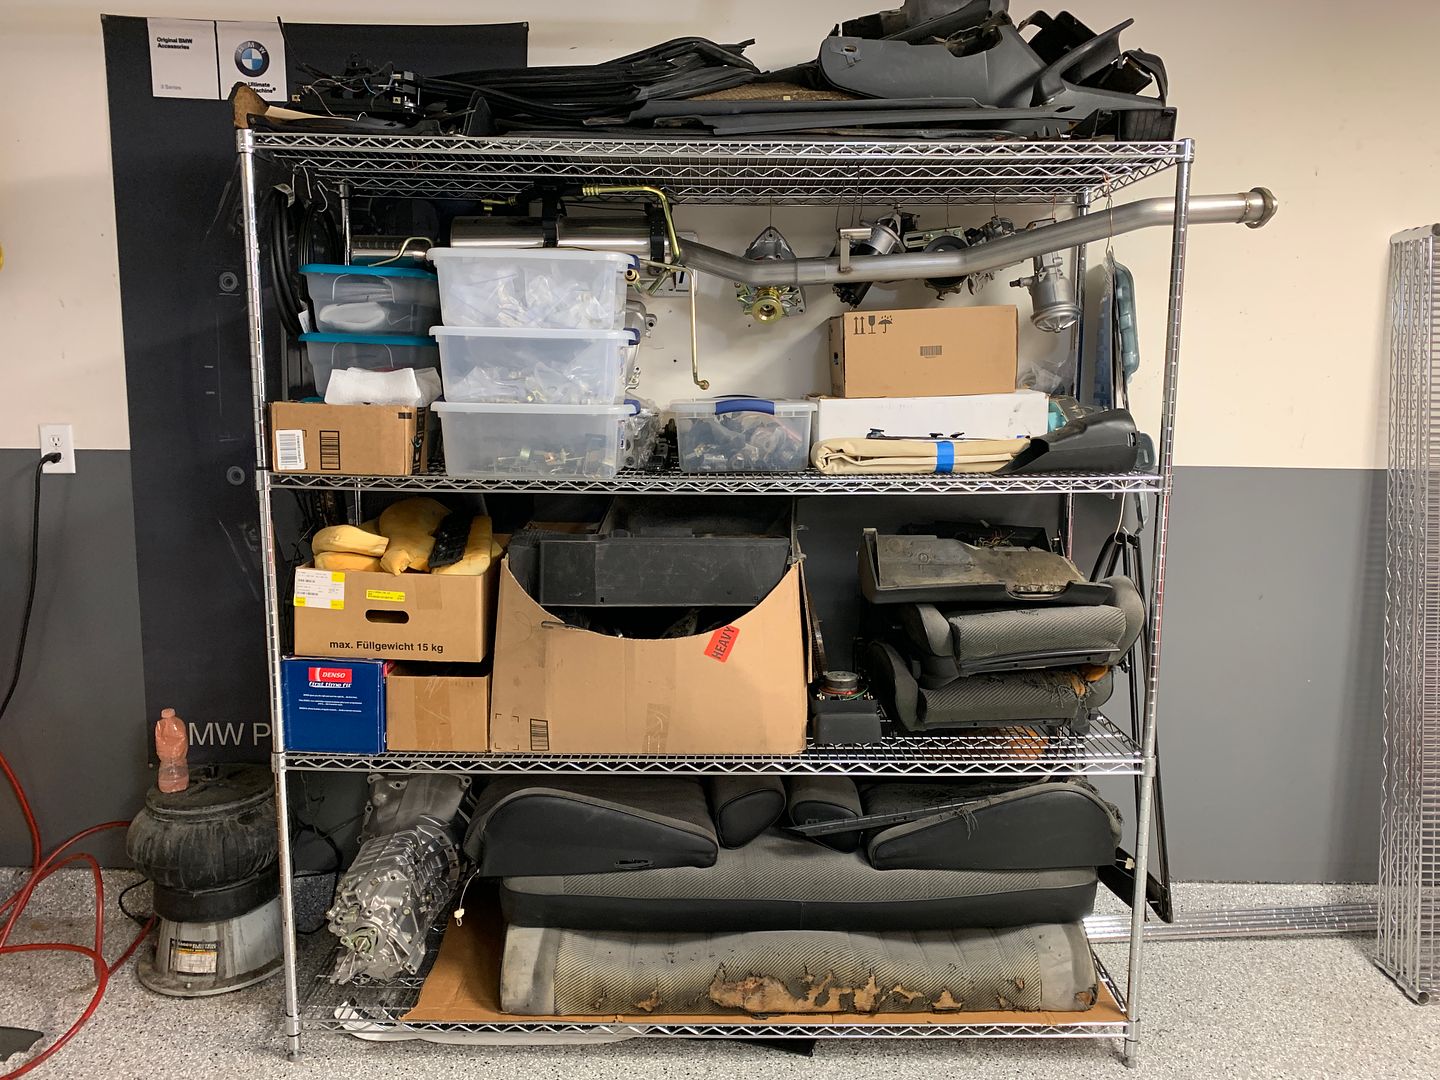
Lastly I closed out today breaking down the second shelf to take back to work as I'm now able to consolidate the remaining parts onto just the one shelf.
Leave a comment:
-
A real inspiration to not cut costs on my own restoration.
What are you using between the jack stands and front frame rail? Are those two stacked tires under the spare wheel well supporting the rear end while the subframe/diff/accessories are out? Thanks.Leave a comment:
-
-
Simply beautiful...
Is that PS reservoir bracket/holder OEM m42 or required some mods on your end??Leave a comment:
-
I just finished reading through the red e30 build and this one and I'm absolutely amazed at the attention to detail! So excited to see this car finished! But I'm also sad I don't have more to look through. I also learned a ton! So thank you for taking all the time to show all the work your doing!Leave a comment:
-
As did I and initially the doors were a serious pain in the ass to close. After having been latched closed for almost two weeks the closing effort is nearly normal. The seals should relax a bit more over time and become completely normal. The imola car was the same way with its new seals.Leave a comment:
-
Question:
I lined up my door strikers so that the door sits flush with the body, but it takes a little gusto to close it. Is this normal with new door seals, or should I go back and readjust the striker?Leave a comment:
-
I never knew that LHD scuttle panel covers (the plastic bits where the wipers are) are different to RHD. Something new every dayLeave a comment:


Leave a comment: