-
Wow! I love what you did on the check panel trim piece... Mine is peeling away near the mirror too and I don't know what to do about it. Really interested in trying what you've done. Any other advice or things you'd do differently a second time? Sent from my moto g(6) using Tapatalk -
That is so cool, I love seeing the updates and the transformation of the car. It's so satisfying to follow. Thanks for sharing.Leave a comment:
-
Alright, some updates as promised:
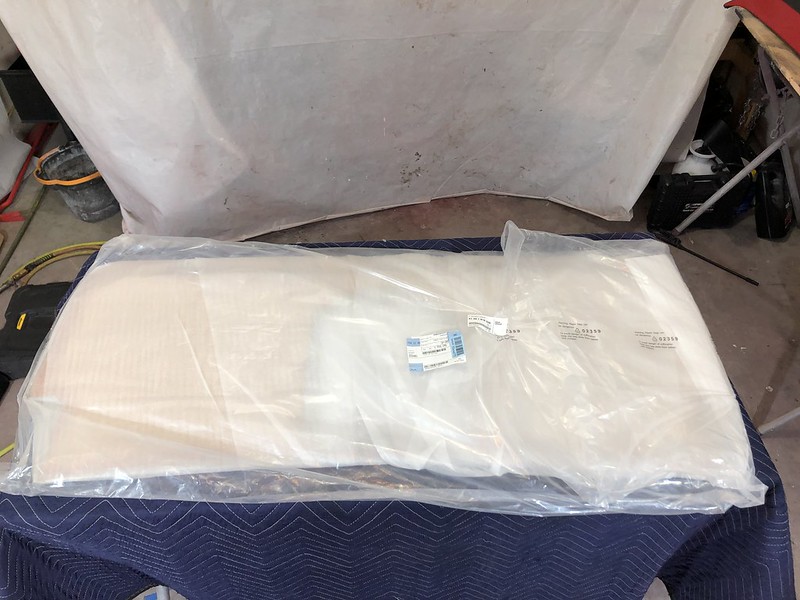
I wanted to get the interior basically finished and one of the last things on the list was recovering my check panel trim piece. The vinyl was bubbling and peeling in a few spots:


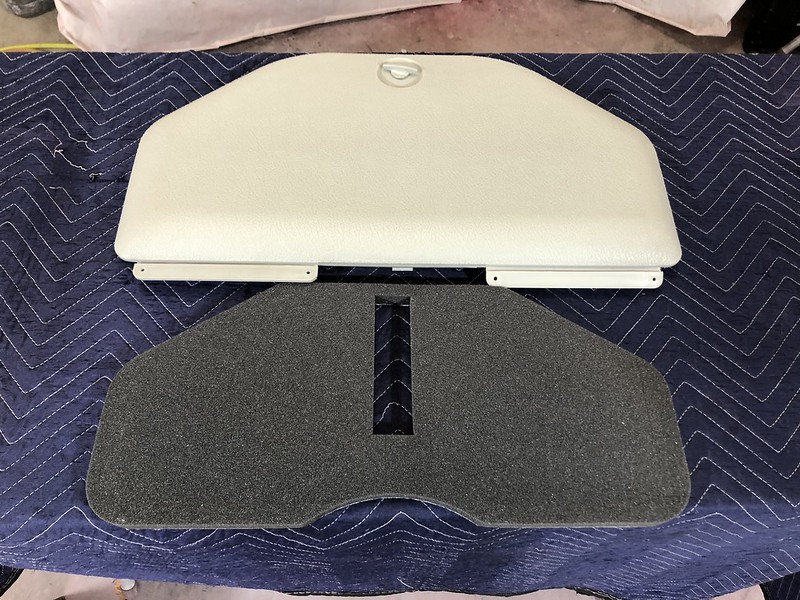
The old vinyl was pretty tired and hard from baking in the sun for so long, basically peeled right off pretty easily:

I bought a few yards of some really good quality german made vinyl a while back for this purpose:


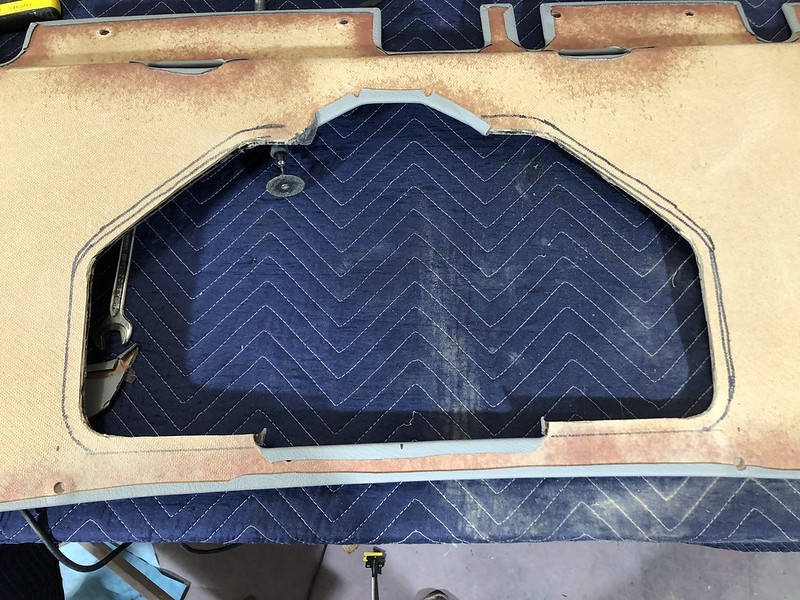
Got a general outline marked out from the old section:

Then got to work getting it adhered to the cardboard panel:


Used a roller and a heat gun to get the vinyl stretched and adhered to all the intricate corners, it came out really well:


Installed:

Next, I moved on to the trunk. I mentioned having a nice little upgrade for the tool box:
Ended up buying a trunk panel cover, pricey but makes it look really nice:

Except I also got an NOS e28 tool box, so now I needed to cut the panel to fit:

Was a little nervous to cut up a pretty expensive part but I think it worked well. First, I cut just inside of the line I needed to make the toolbox fit:
Then peeled back the vinyl to cut the rest of the cardboard and fold the excess vinyl back over:

All done:

I didn't get it installed as I still need to mount the MTech spoiler and the panel covers the bolt holes.
Speaking of the spoiler, the rubber had one defect in it that I needed to address:

First I tried filling it with some silicone gasket maker and it didn't work very well. I was at Home Depot getting some Christmas lights and passed by the weather sealant aisle. I decided to give it a try since it's supposed to stay malleable and is "crack proof," it worked really well:


After some primer/filler:

It's barely noticeable now, I may try another couple coats and see if I can get it completely out, I didn't want to spray on too many layers at one time for fear of the primer cracking. I'll end up Plasti-dipping the whole rubber portion the same way I did to my IS spoiler, it works really well for the foam/rubber spoilers.
Next, my trunk carpet had a bunch of rust stains from some of the old tools:


I ended up renting a rug shampooer and cleaned them all off, got every spot except one really bad one totally out. Not the best pic as it was starting to rain, I'll get a better one once they're all installed:

I also got the Euroweaves in some Yokohama Advan Flevas in 205/55/R15, I had a mobile mounting service called Tread Connection come out and do it and I can't recommend them enough. They had it all done in 30 mins:

And a spare:

Last but not least, I got all the MTech parts wet-sanded and buffed out. I'll spare you the process as you're probably tired of it by now:


And with all that, I ran out of time to get anything mounted. Now I'll take extra care to get the garage nice and tidy and all the MTech mounting parts and accessories (there are A LOT) organized and laid out so they look nice for some photos! I'll be out of the garage until late next week, but hope to have a really nice update next weekend!Leave a comment:
-
-
I just checked the PN against ECS for a picture and wow, still black.
https://www.ecstuning.com/b-genuine-...e/61661357388/Leave a comment:
-
-
-
So here are my pics.
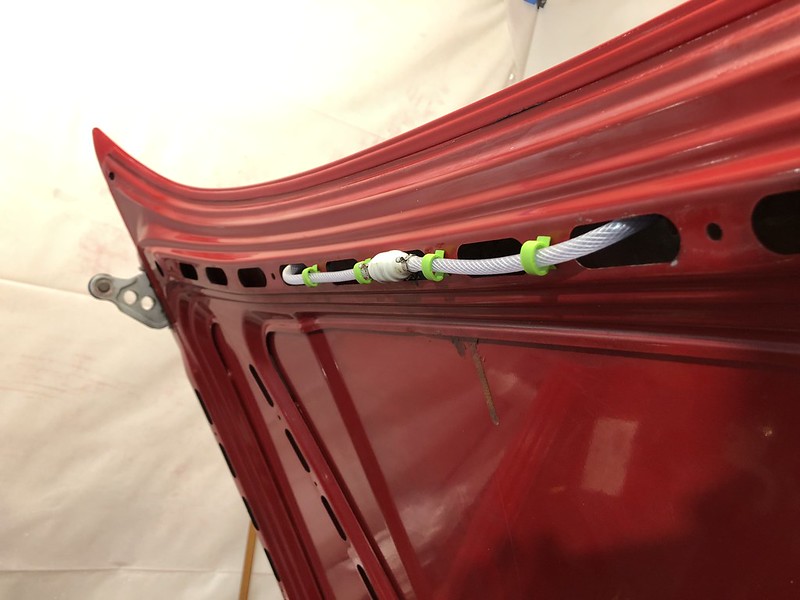
Here you can see how I routed it up. Looking at your and some other low mileage cars, I need to remove the highest green clip and route the hose through the round opening after the first green clip on the hood.

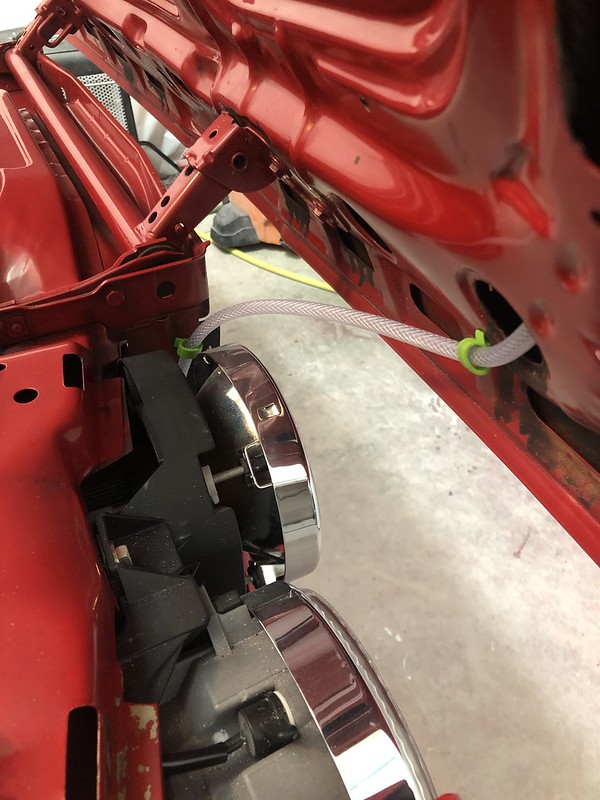
Here is how I routed the hose and kept the t-valve inside the hood.You can barely make out one of the double c clamps on the right.
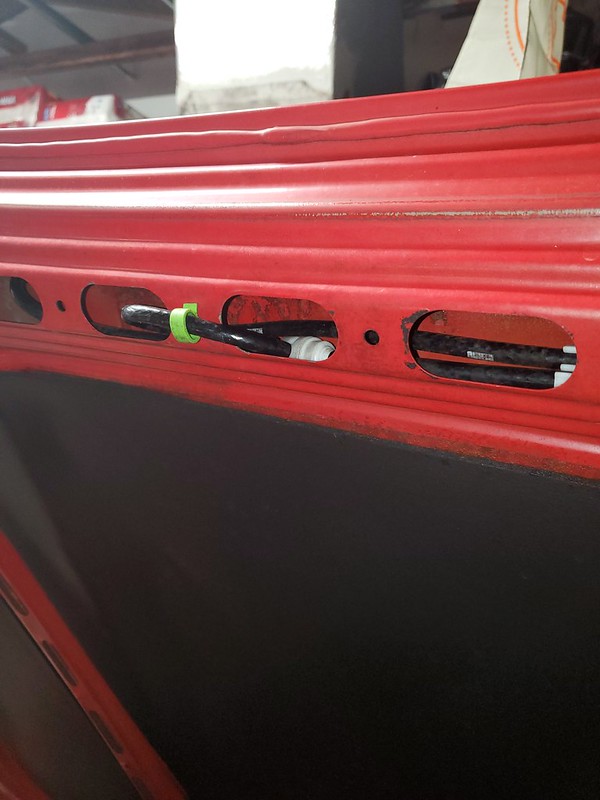
Here is one of the double c clamps, clamping it to the hose that runs up the hood to the t-valve and then with one of the nozzles. I did the same for the other side.
I know plan to flip the t-valve to match yours, then only using 2 green clips, one for each side, run the hose through the first hole to get to the nozzle. I will use the double clamp in the same way. On the left/driver side, I will do what I did which is run the hose long to then curve into the t-valve and the extra slack will provide me a way to use the double clamp for that side.
Leave a comment:
-
Thanks. I will take pics and show you my setup. I used 3 of the clips where the line goes from the body up to the hood, where I see 2 should go. I need to move that extra up to the top. I will show you how I used the c-clamps.Leave a comment:
-
monty23psk the hoses had never been changed, so should have been in the OE configuration. I just put the new items back in the same way the old ones came out. Looking back at the pics I took before removal, there were actually only 2 of the green clips for the T-connector at the hood. I must have ordered extra and just used them all since there's extra holes there anyway. I did buy those 2 c-clams you mentioned, however there were none on the original setup and I can't figure out where they would go, there's nowhere where 2 hoses are next to each other that would require the clamp. If you have any insight lemme know!
Also, I think I bought my clear hose from the same seller as mjweimer mentioned. it worked great and was identical to the old. I didn't use the black hose (I ordered some and instead of one long section, they sent me 3-4 short sections that would have needed a splice) as I didn't like the look either.
Here's how I routed the hose from the tank, gets incorporated with the wiring straps for the headlights/A/C system:

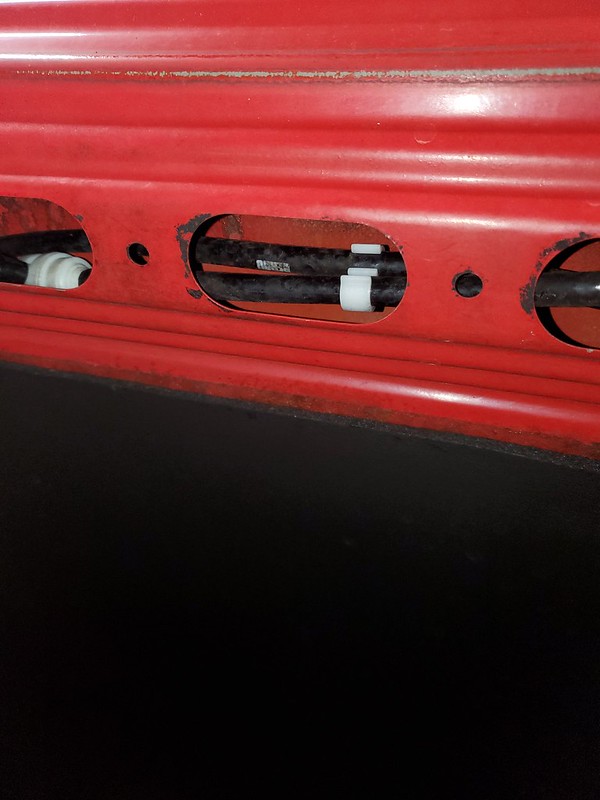
Then through the opening for the headlights where there are 2 more clips before getting routed inside the hood:
Then the hose gets routed up the right side of the inner hood and out through the middle slot at the top, where it connects to the T-connector:

That's how it was when I removed it, but with 2 clips instead of 4 as I mentioned. Maybe there's different setups for different models/years? Not sure but it's back how it was, works, and looks nice so I'll leave it alone. Also, that's not all dirt and grime on the underside of the hood, it's all the cosmoline that I couldn't scrape off without taking paint with it. It's kept the hood rust-free for over 30 years so I think I'll just let it be.
Also, was watching TV the other night and a Banana Republic holiday commercial came on, and there was a quick shot of an early model E30 vert in the commercial! I guess we're just so mainstream now:

I'll post up last weekend's work probably tomorrow nightLast edited by Albie325; 12-09-2020, 03:29 PM.Leave a comment:
-
Thanks. I will use this next time I have to redo the hoses. The black version hides better for sure, just doesn't look classic enough. I have everything in the channels of the hood but the clips are on the outside. I think I can redo it to use to green clips at the top and only use 2 instead of three at the bottom. Looking at some very low mileage examples of e30s (mostly m3's), looks like only 2 are used at the bottom. I have a 318is, so the hood trim cover is not the complete one as the m20 cars so nothing is hidden.Leave a comment:


Leave a comment: