-
Quick update:
Ended up getting the new ABS pump installed:

While it was out of the way, I went and swapped out the smiley city light bulb connectors with new ones. The old ones were functional but cracked:


Old vs. Newm pump:

All buttoned up:

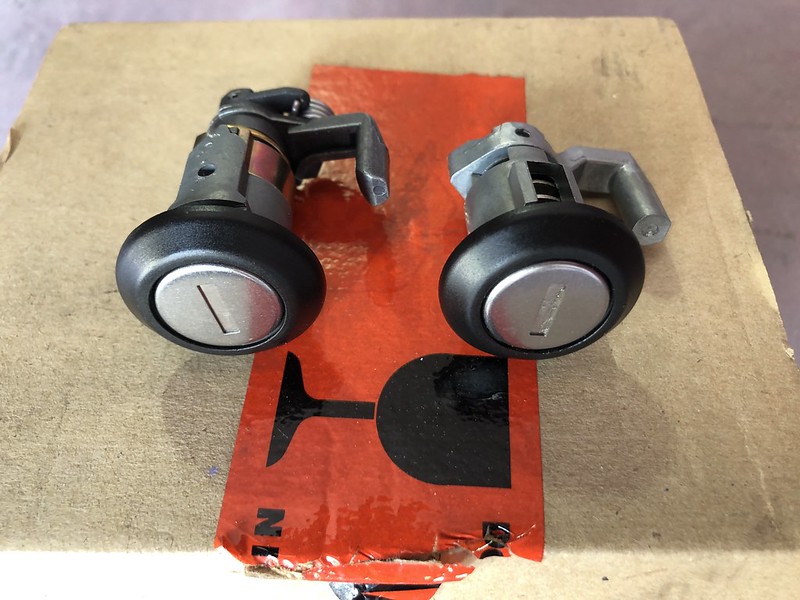
Next, I wanted to get started on buffing out more panels but the more I buff, the more I keep getting compound in the trunk and interior. Instead, I decided it best to get the doors, trunk, and remaining glass back in the car to keep everything clean. Prior to being able to do that, I needed to rebuild all the lock cylinders with new kits:

I didn't do a full writeup of this process as there are already some really good DIY's out there if you google, my favorite was this one:
https://www.google.com/url?sa=t&rct=...ehk5s-3dig9-2O
It outlines only the driver's door rebuild but it is essentially the same process for all the cylinders. The key differences for the door locks are:
The driver's door lock has 6 and 5 key shims while the passenger and trunk cylinders have 4 and 3. The extra 2 shims on the drivers door I believe are for the central locking mechanism. Also, the newer driver's side mechanism uses a roller bearing rather than a ball bearing but otherwise assembles the same way as the old one. The passenger side lock was essentially identical to the old style.
There was a difference in the old and new style trunk lock, however. The piece that connects the lock to the actuator in the trunk was a 2-piece design with a spring and C-clip on the old style, the new style is a 1-piece design with no internal spring:


The spring in this pic is not present in the new lock kit:

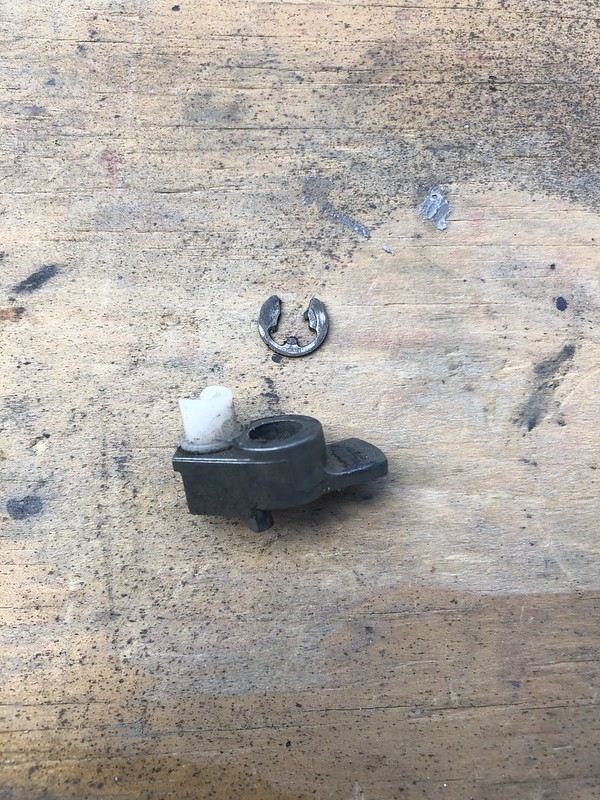
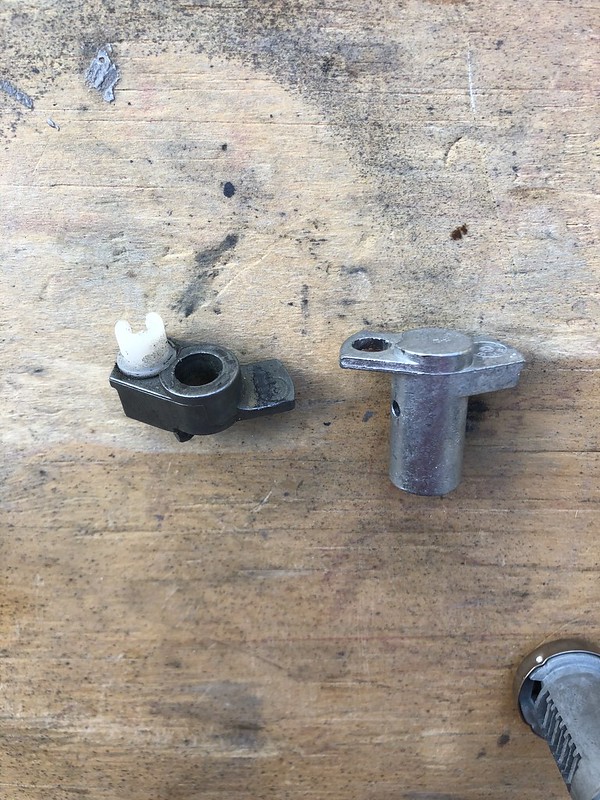
I swapped that little white plastic piece over to the new connector. I should have taken a few more pictures to make this more evident, I think I'll get the parts back out and edit this post with some when I have a chance.
The only other difference I noticed with the trunk lock is that once I got the new one installed, I found that there was no spring in the lock that brings the lock back to the neutral position once you turn it to unlock the trunk. With the old lock, if I remember correctly, you would put the key in, and turn the key clockwise 90 degrees to unlock the car, and upon letting go of the key the internal spring would bring the key back to the neutral position without you having to turn it back manually. With the new lock, if you turn the key clockwise to unlock the car, it will stay turned 90 degrees. To bring it back to neutral, you have to manually turn it back. The new lock kit didn't contain an internal spring, and there wasn't one on the picture for the assembly diagram so it's not like it was missing. I found this a little strange, but it worked once installed so I don't really care too much about it. Wondering if anyone else has the same issue.
Rebuilding the locks is not hard at all, my only advice is to take plenty of pictures of everything prior to disassembly. Most of the parts can only go back together one way. Total time for all three locks was about an hour-hour and a half and I was taking my sweet time.
All buttoned up:

Last, I've been searching for a properly sized "filler" for the hole in the rear trunk panel for the rear turn signal wires. After trying several BMW hole plugs that didn't quite fit, I ended up settling on these:


Fit nice and snuggly, will scuff and seal/paint them and then install them with some seam sealer to keep the water out of the trunk.
For now I'm off to CT, will be getting married this coming weekend so am out of the garage until next week. I ended up getting the doors and trunk mounted but didn't have time to take many pics, will update with that once I'm back.
Last edited by Albie325; 10-05-2020, 03:37 PM.Leave a comment:
-
Wow! That looks fantastic - especially after the buffer LOVE this thread!Leave a comment:
-
Thank you sir! Have been loving your updates lately as well, your car is going to be phenomenalOriginally posted by burkey001
Thanks! Luckily I didn't have to remove the liner from the sunroof, it looks like it would have been a real painOriginally posted by Pootis
In addition to getting the glass in last weekend, I needed to get the front driver's side tow hook cut off in order for the MTech front valance to fit. There's only a tow hook cutout on the passenger side of the valance, as you'll (hopefully) see in a post coming soon!


Coated the bare metal in epoxy to seal it. Wanted to get that done prior to mounting the euro 772 valance:
Got everything all cleaned up from all the sanding dust and overspray:

Fit like a glove:


Then I got to work on getting the paint cut and buffed. I started by using a tungsten carbide blade to cut out any dust nibs. Its a pretty awesome tool, and pricey, about $100 but man does it work well:


The edge is slightly beveled and acts as a "blade" that is equivalent to a 2500 grit sand paper:

You lay the blade down flat on the surface and gently rub it over any dust dibs or runs and it shaves them down flat with ease:


I started on the roof, I figured it best to start at the top and work my way down to prevent scratching up any areas that you've already cut and polished. After using the blade on all the dust nibs I moved on to 3M Trizact 1500 folllowed by 3000 grit wet sandpaper on a DA sander to correct the orange peel. Next I followed up with Mequiar's M100 mirror glaze pro speed compound and finished up with Mequiar's M210 ultra pro finishing polish:

Starting out with the 1500:


I probably could have started with 1000 grit by hand to make it go faster, but REALLY didn't want to cut through the clear.
Here's how it looked after leveling with 1500:

After 3000 grit it starts to get a bit of reflection in it:

After the cutting compound on a cutting foam pad at ~2000rpm:

And after the finishing polish on a finishing pad at ~1500rpm:


It was hard to capture the difference between cutting compound and polish in the pics, but the finish was WAY more uniform and glossy. I've never used a buffer before and I'll have to go back over a few spots that I missed, but I was very pleased with the initial effort, and I didn't burn through the clear!
The roof and hood had the worst of the peel just because the roof was the hardest to reach and was the largest (and first) part of the car I painted. The hood was nice and shiny off the gun initially, but I sprayed an extra coat on it because I mixed a little too much clear and I rushed the last coat to avoid any runs and it came out a little dry. By the looks of how the roof came out, the hood should be no problem, hope to get a nice chunk of the car buffed out this weekend. I'll also get to installing the new ABS pump and re-bleeding the brakes, and also hope to get the door lock cylinders rebuilt so I can re-mount the doors and keep as much of the compound out of the interior as possible, it gets friggin everywhere.
Last edited by Albie325; 09-30-2020, 07:33 PM.Leave a comment:
-
Great work! I am almost done with my headliner install. The sunroof area is the hardest part for sure
Leave a comment:
-
Got a bunch of random stuff knocked out last weekend.
Started by separating my side view mirrors for paint, otherwise there's no way I'd be able to cover them completely without some of the black plastic being visible. They are held together with a long tubular rivet, you need to drill out the rivet to release the spring underneath. To reconnect them, you basically need a new rivet and a special tool to roll the edge back in place:

Inside view:

I found it easiest to drill out the outer end of the rivet with a stepped bit:

The rolled end of the rivet will eventually pop off and you can then pull out the rivet and separate the two halves. For whatever reason, the driver's side had an extra washer in addition to the rivet and spring, while the passenger side had no washer.

The mirror housings had some rock chips so I decided to prime them in high-build so I could sand them out:


These got 4 total coats so I will wait to paint them until they have some time to gas out for a bit, should be ready by this weekend after some sanding. The remainder of the odds and ends I have left to paint were pretty much ready to be scuffed and painted.
For the vent window trim pieces, they had a little rubber pad on the back bottom corner to prevent vibrations against the car, the rubber was completely shot. Luckily, I found an almost identical product on Amazon to replace them:


They were 0.75" sound system pads, here's a link:
https://www.amazon.com/gp/product/B0...?ie=UTF8&psc=1
I also bought MTech specific trunk springs, they're a little beefier than the regular springs to accommodate the larger spoiler:


Scuffed these up and then got everything cleaned, sanded and prepped:


And painted:


So now all I have left to paint is the mirror housings and we're done!
Next, I used some gummi pflege to recondition the windshield gaskets:

They were in overall excellent shape for being 30 years old, but had developed some chalkiness to them:

I got the seals pretty soaked in the liquid and then used a microfiber towel to scrub away the residue. Here's how it comes out:

They look brand new!
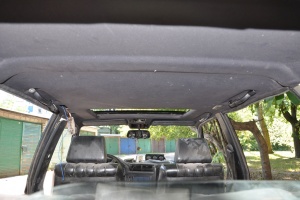
Then I reglued the headliner in place so that I could install the windshield gaskets. I used this contact adhesive, it worked great:

I must have deleted the pic of the rear headliner going in, but here's a good link explaining how to go about it:
Start with the rear windshield area from the center out and work your way down the back of the C-pillar. I used some small clips to hold in place for about an hour or so until the cement set enough to hold on its own, then I installed the rear windshield gasket to hold it in place as I continued to the rest of the car:

As the above link explains, the order for gluing the liner in is:- Rear windshield and rear C-pillar
- Front C-pillar and top of the vent windows
- Front windshield
- Sunroof (if present)
- Top of the doors


Leave a comment:
-
-
Melon been going back to your thread quite a bit lately, very helpful!
I was at the local BMW dealer the other day getting the F82 its annual service so decided to stop by the parts department. I ended up ordering two new keys as well as a new VIN sticker, was expecting it to take 6 weeks+. This was on a Tuesday.
My phone rings Friday, and the keys and sticker were already at the dealer! I was pleasantly surprised:


I definitely needed the keys, mine are totally worn out:


The best part is, they both worked in the ignition! I have door lock and trunk lock rebuild kits that I'll be installing once I start getting everything put back together as well. The VIN sticker unfortunately isn't the same as the old original, but it will still look better than the old fading/peeling one I had to remove.
Also, I decided to splurge and purchase one of Jordan 's rebuilt ABS units since its such a great service and the pricing seemed more than fair. I know I had already "cleaned" mine however was not nearly as thorough:

I'll have to re-bleed all the brakes as well as the pump, but it'll be well worth it in my opinion. Hoping to do that within the next week or so.
Last, I ended up getting the doors done the other day:


They came out great, but of course I got a small fly in the last coat of clear on the passenger door. Son of a bitch. I ended up waiting til the next day, wet sanding the blemish out with 1000 grit, and shooting another two coats of clear.
This weekend I'll plan on doing the last small bits, and may even get to do some buffing if I decide to do the ABS another time. Waiting on some new brake fluid to come in so might not be able to do that this weekend anyway.Leave a comment:
-
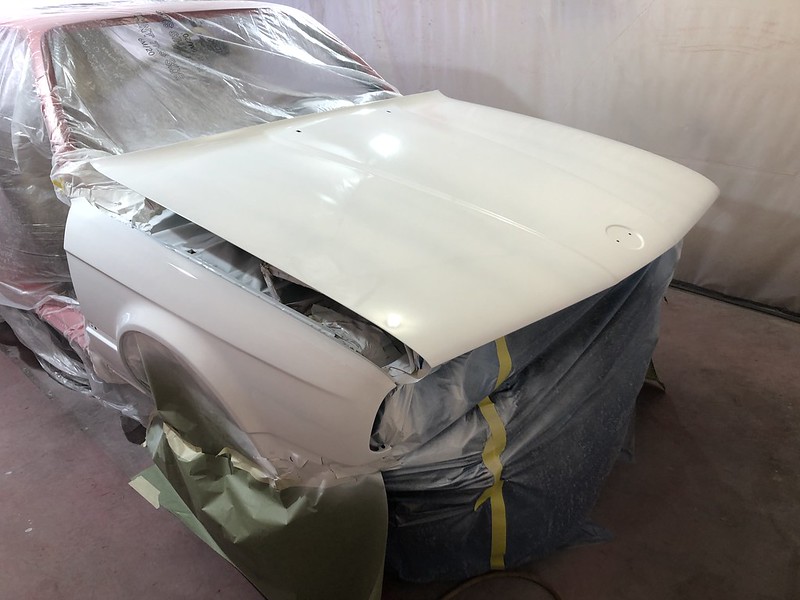
After getting the hood/fenders done, I was almost out of base and clear and the paint shop wasn't open until the next day. I didn't want to waste the day and had enough paint for a smallish part so decided to get the euro 772 valance done.
Got it scuffed and then taped off for some gravel guard, based on the old OEM one the gravel guard stops just at the top of the cutouts for the bumper attachment points:


Drove the car out of the garage to get it covered, stopped to admire it for a bit:


The paint really pops in the sun, really happy with how things are going. Cant wait to cut/buff this thing and get it put back together!
For the gravel guard, I used SEM 39793, it came out looking very close to OEM texture:

I'll spare you the sealer/base coat pics, here it is all done. Came out the cleanest of all the panels I've done so far:


Here's how the chip guard came out:

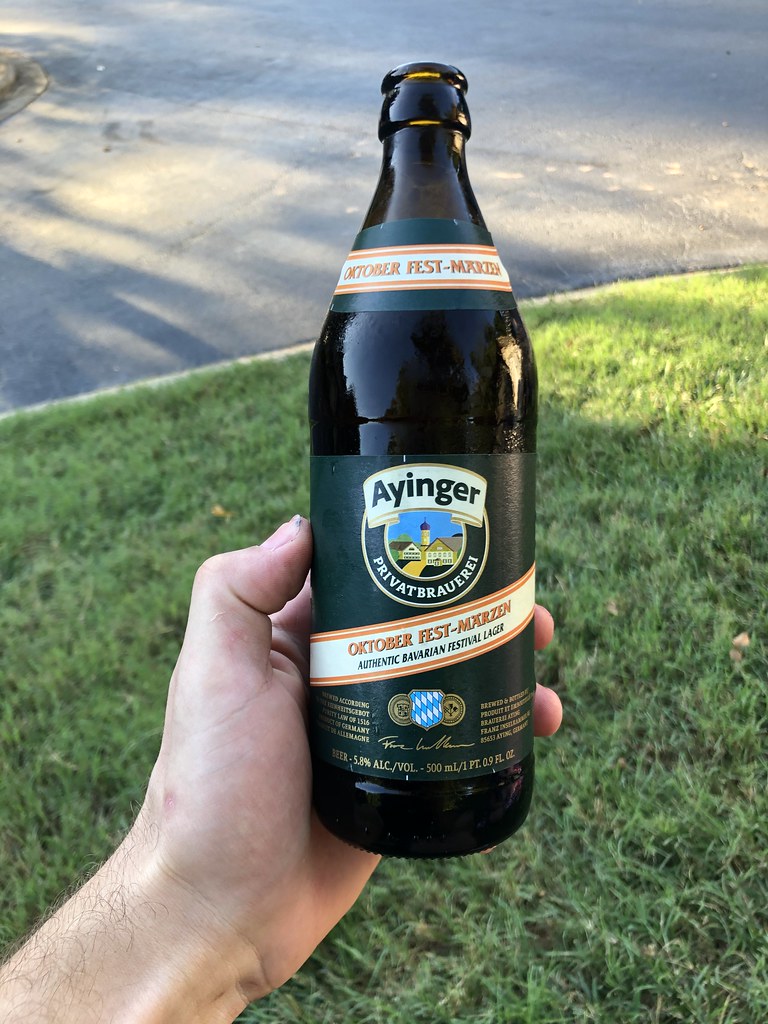
That day's project was brought to you by my all-time favorite Oktoberfest beer:

The next morning I ran out to the paint shop and picked up another 1/2 gallon of base and a full gallon of clear, more than enough to finish up the pieces I have left. Knocked out the trunk and sunroof panel:


And that's where I'm at at this point, had to drive back out to Charlotte to work the next 6 days in a row. All I have left to paint are the doors, the side view mirrors, fuel filler door, and the vent window trim pieces and I'll be ready to start color sanding and buffing, getting really close!!
Leave a comment:
-
Thanks man, hope to have it buttoned up soon. Couldn't have gotten the fender ironed out without your help!Originally posted by AWDBOB
Speaking of fenders...
I basically spent the entirety of LDW in the garage getting stuff done so have been slacking on the posts, but not on the progress!
After getting the body done, I got the wheels back on and spun the car around so I could get the fenders re-mounted and aligned. I then rescuffed the hood and fenders as they've been sitting for awhile prior to going to work:

I wanted to seam-seal the fenders to the body even though I didn't paint the body and fenders in one shot for both the "factoriness" as well as utility of it.. The clear coat takes a full 24 hours to cure and will still cross-link with new clear if sprayed within that window. Painting the fenders together with the body was just too much for my setup (and skill level) to handle, so this was the next best option.
I used 3M 08308:
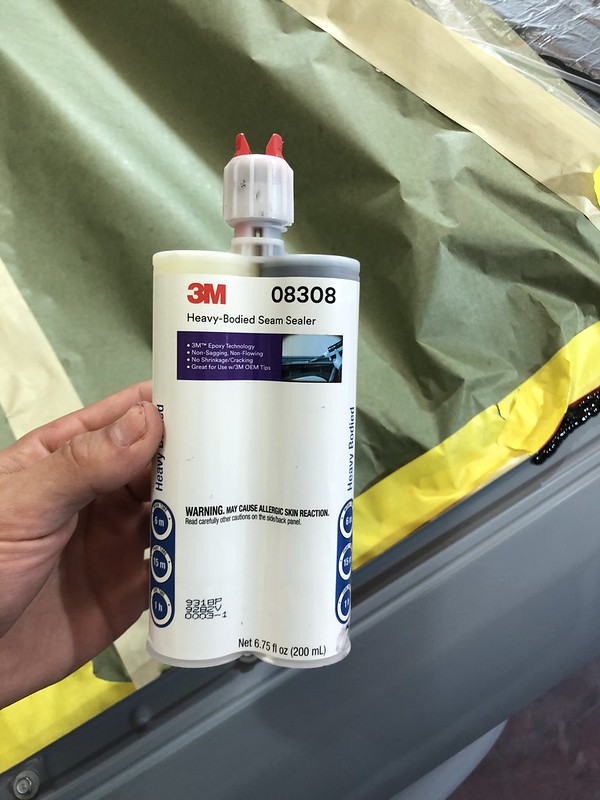
It was good stuff and accomplished the task, however I was expecting it to lay down a little flatter and it ended up coming out a little lumpy. It basically stayed exactly where you put it and so didn't come out as I'd hoped, I was a little bummed about that. I tried to smooth out the passenger side with a spreader but it was just too thick for that to work. The driver's side came out the better of the two:

I went and looked up any other seam sealer by 3M, and it turns out they have a self-leveling seam sealer, 3m 08307, which is what I wished I had bought. Ugh, oh well. Too late now...
Anyway, got the front clip in sealer:
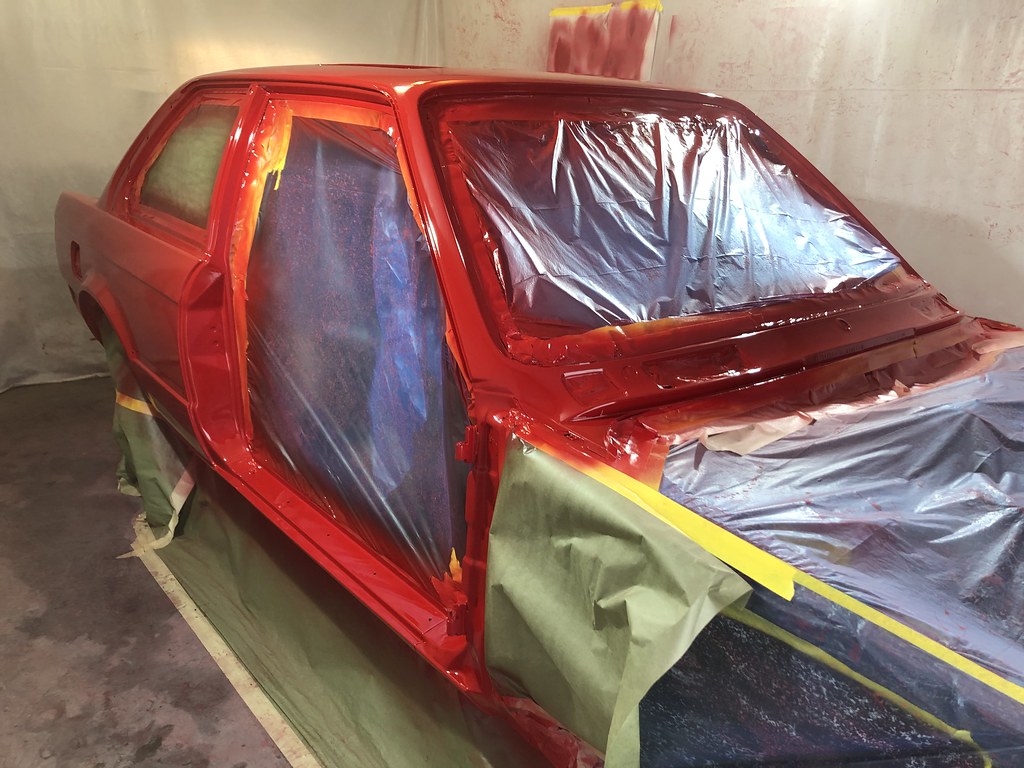
Base:

And....CLEAR!


I had some extra clear after spraying everything so decided to add a 3rd coat to the hood. I rushed it a bit to avoid any runs and it went on a little orange-peely, It had been nice and smooth like the fenders prior. It should buff out OK but we'll see. If not, I may re-sand the clear in 1000 grit and add another fresh coat or two, would add to the depth of color as well as rock-chip protection. The fenders came out great though!
Here's how the seam sealer came out, not bad but not OEM smooth

A well-deserved post-paint bier to celebrate! It's finally cool enough to enjoy some Oktoberfest brews, the fall is by far my favorite season for beer bar-none. Ayinger makes one of my favs:
Finally starting to look like a car again:

Plenty more pics and progress to post up in the coming days, stay tuned!
Last edited by Albie325; 09-09-2020, 05:51 PM.Leave a comment:
-
Wow, that looks fantastic. Congrats, and can’t wait to see it buttoned up!Leave a comment:
-
Originally posted by luckybkThanks guys! Love that you're enjoying all the hard work. Makes it all worth itOriginally posted by Tzantushka
Pretty much the concept. The Ideal Gas Law is PV=nRT, basically shows that temperature and pressure are directly proportional. So for an increase in temperature (a hot as balls day, for instance), you have to lower your pressure to achieve steady sate. If the temp drops, you have to increase your pressure proportionally to achieve the same steady state. I was chem major in school, had to mention it, the nerd I am.Originally posted by paynemw
Ask and you shall receive brother!Originally posted by mike.bmw
So I got home early from work on Friday and got the whole car wet sanded back down in 600 grit so I could blend the sealer back in, and re-masked the whole car to avoid any of the old dry paint from flaking into the new:

Saturday morning, I set out to blend in the sealer, recoat the base, and get this pile in clear:

Then I dropped a few fast, dry coats of base over the newly sealed areas to cover/blend, followed by another full base coat layer to finish up:

Can't even tell the run was there:

Then moved on to clear, with the lighting at that time of day it was hard to get great photos but you get the gist:


Here's a quick walkaound, does it a little more justice:
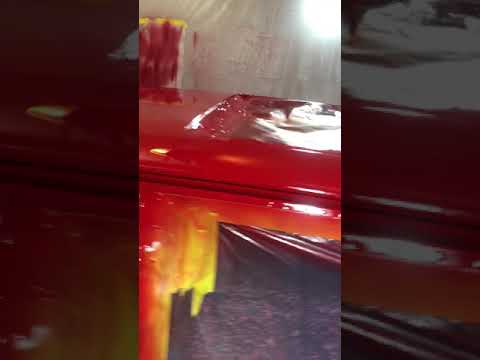
This was the most technically challenging part of the whole repaint, and it came out great! I was equally relieved and excited, I only found one small, shallow run in the clearcoat on the windshield cowl which won't be too hard to sand down and buff out:

There's a bit of orange peel and the expected dust nibs here and there for sure, but a cut/buff is in the plans anyway and will take care of all that. I am beyond ecstatic!
Got this all done yesterday, don't think I've been sitting on my thumb in the meantime! Got a bunch done today, will post up tomorrow Last edited by Albie325; 09-12-2020, 02:20 PM.
Leave a comment:


Leave a comment: