
Coat the flange with hylomar, line up with opening, hammer them in with a form fitting socket which was a deep well 24mm if I recall.
Getting them out was much more difficult.
-
What was your process for installing the freeze plugs? I need to do them on my S14 in the near future.Leave a comment:
-
Waiting on the cylinder head to come back from the machine shop... because surprise surprise they failed on their commitment to have it done for me Friday so I could finish building the engine this past weekend.
Hopefully I'll have it this week.Leave a comment:
-
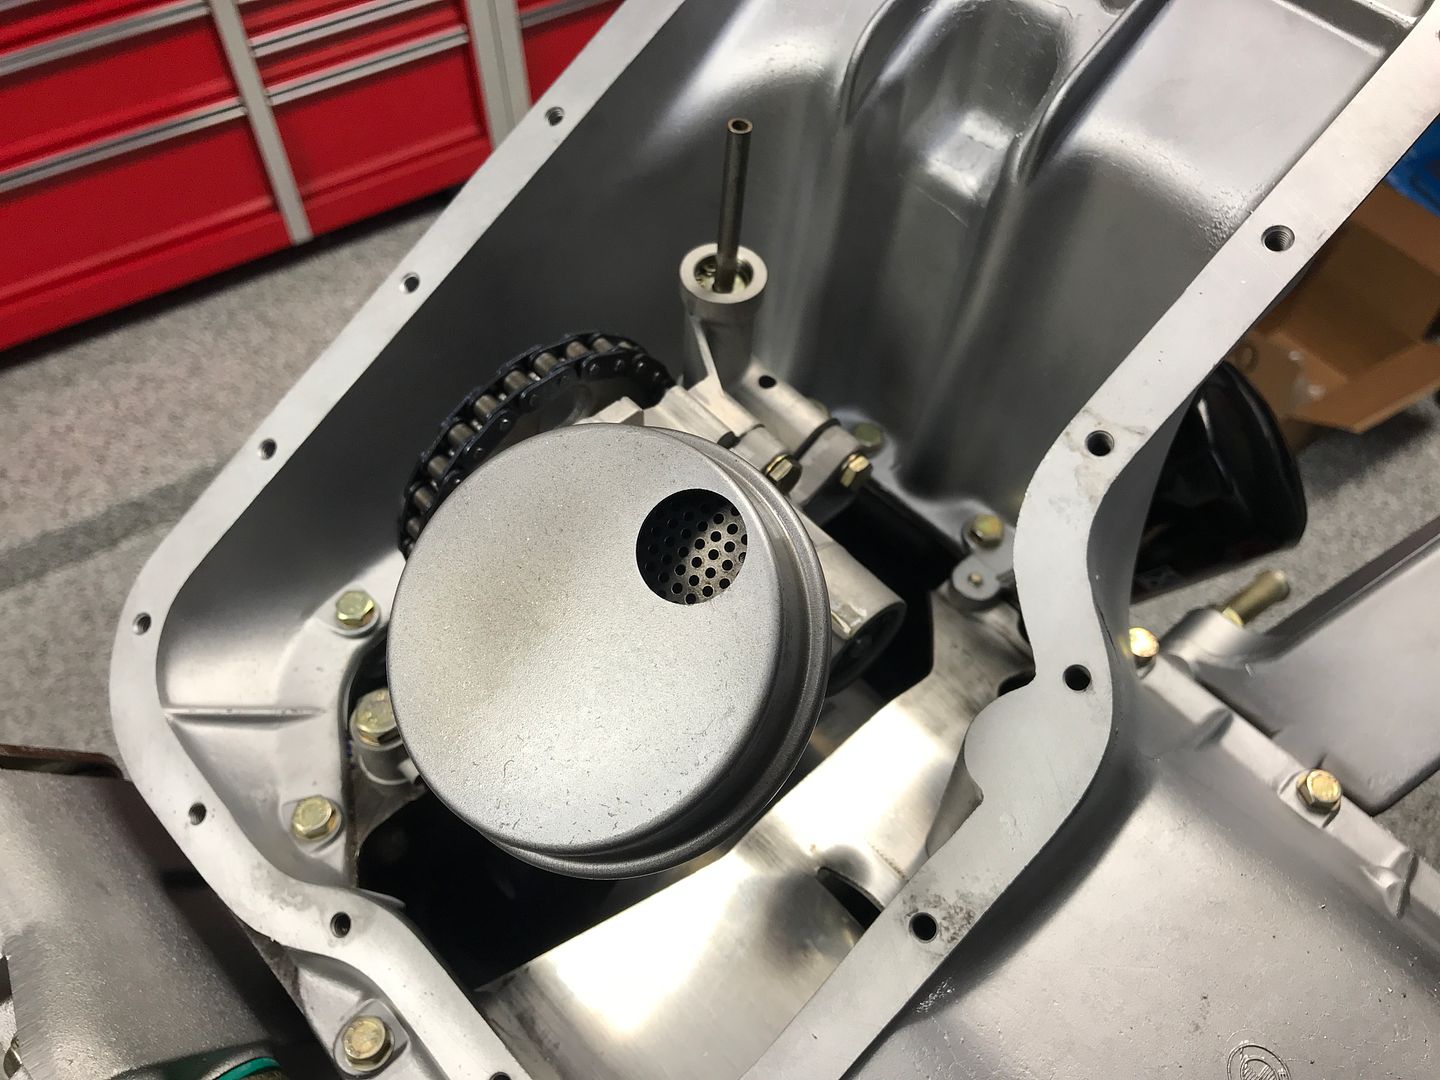
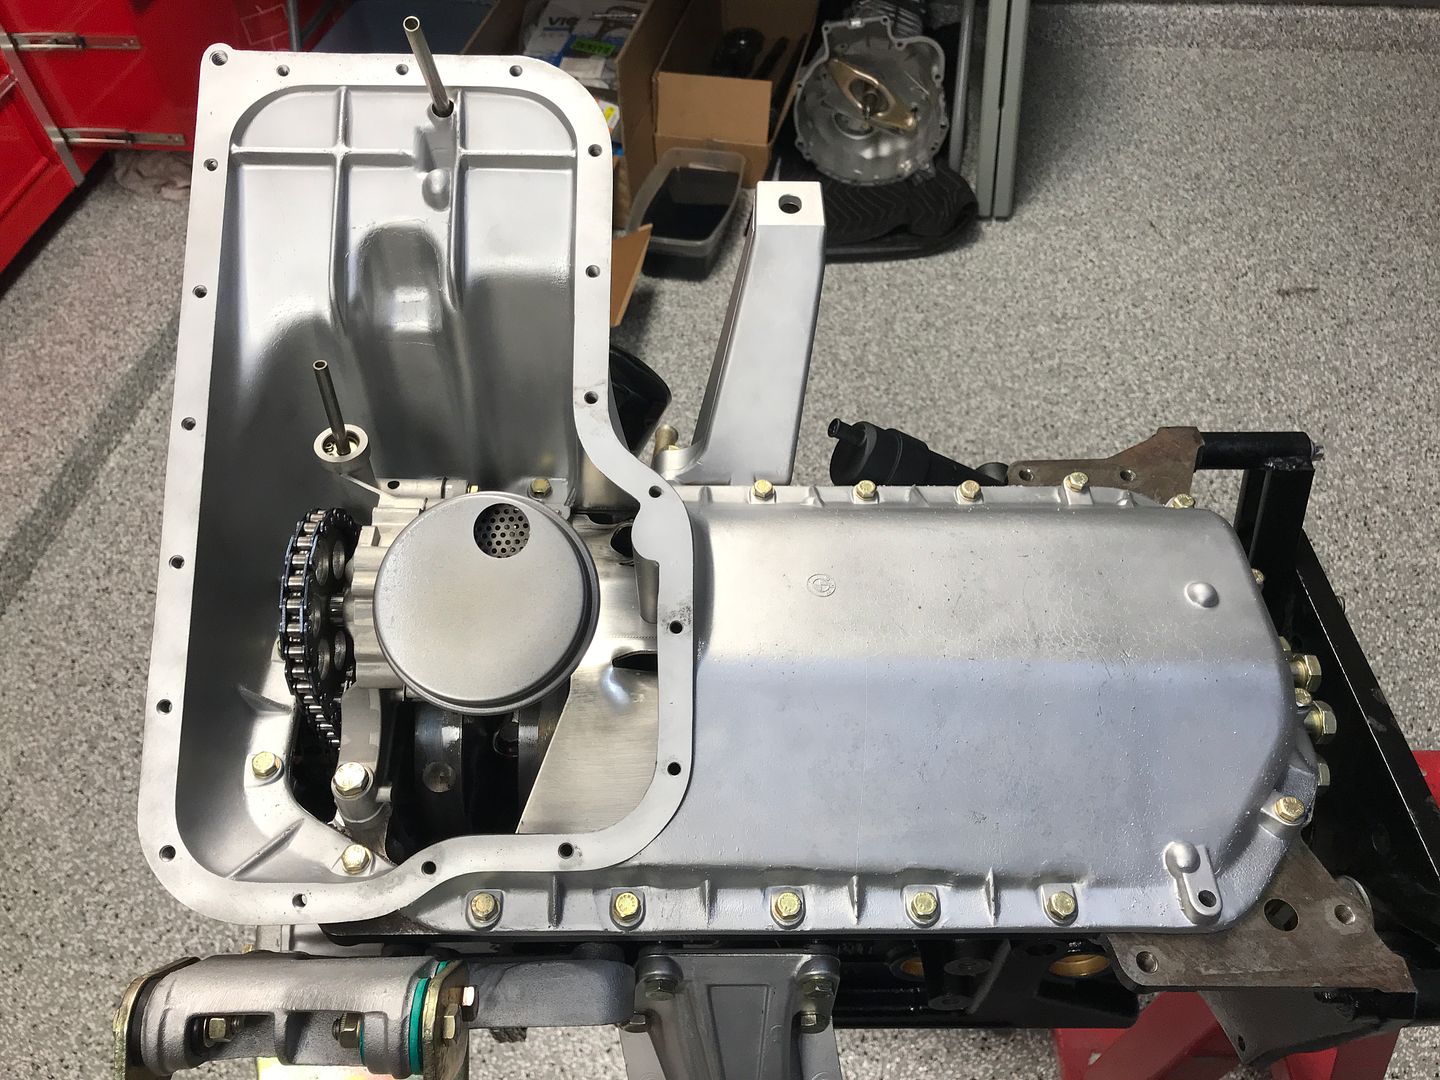
Few more parts came in so I was able to install the oil pan and button up the bottom end. Somehow I seem to have lost of of the rear most M6 oil pan bolts so I'll need to find another, but other than that going smooth and loosing great.

Leave a comment:
-
A level of clean I aspire to get..but know I'll never achieve. Fantastic work.Leave a comment:
-
^lol yea wtf is that
just kidding this is outrageously clean. I am not worthyLeave a comment:
-
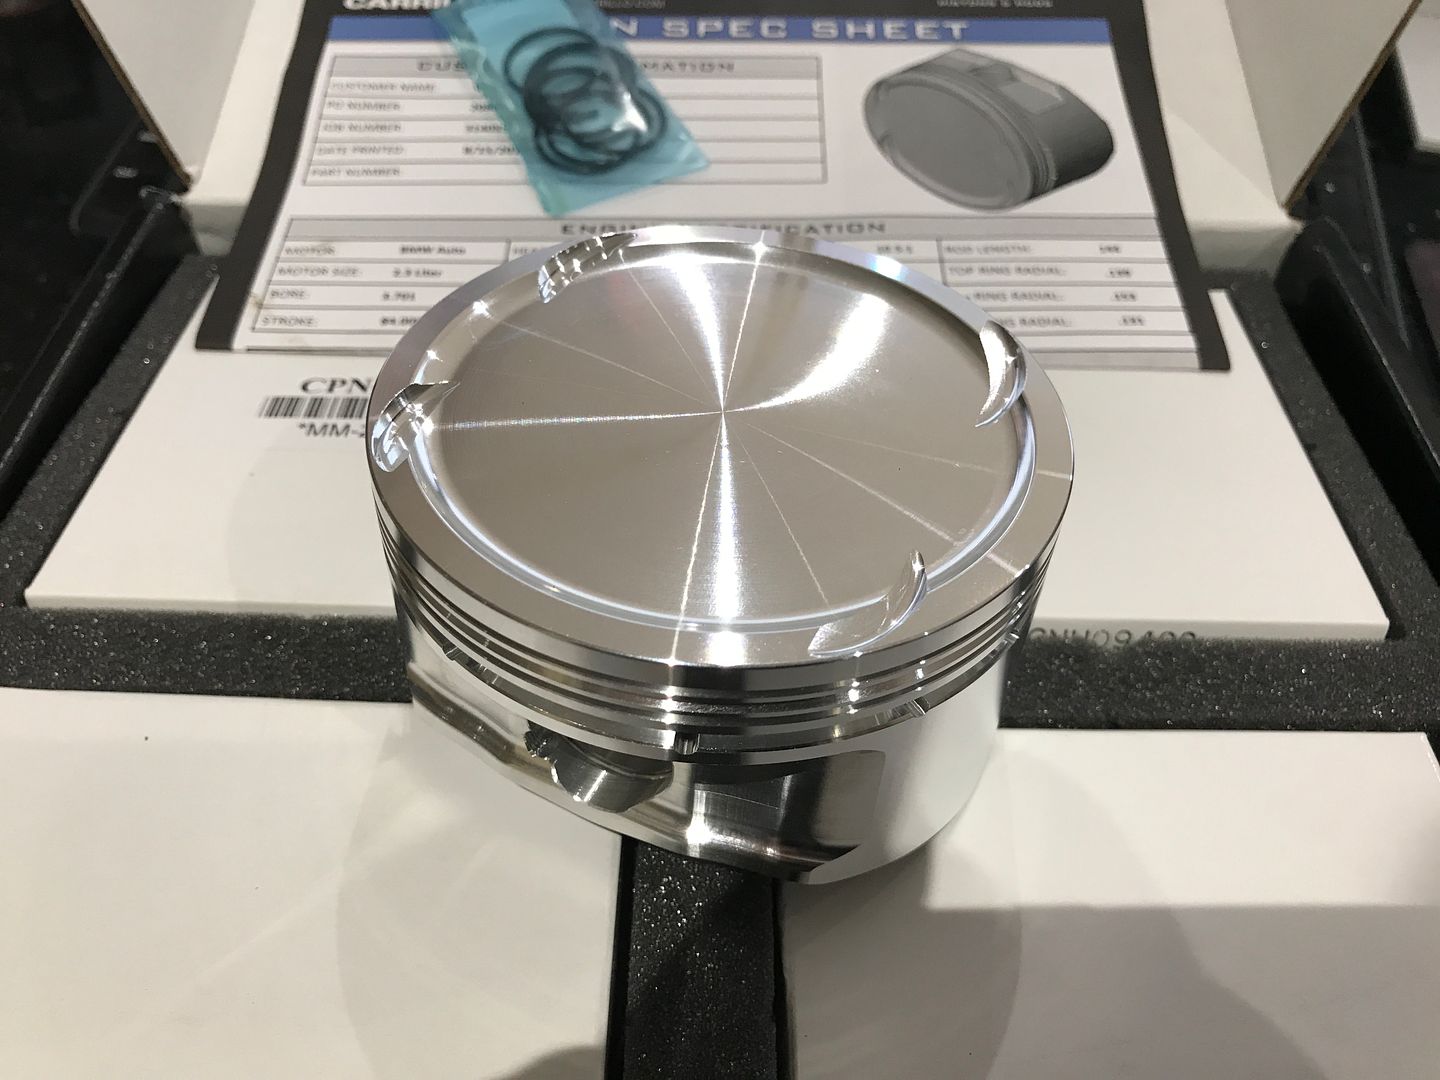
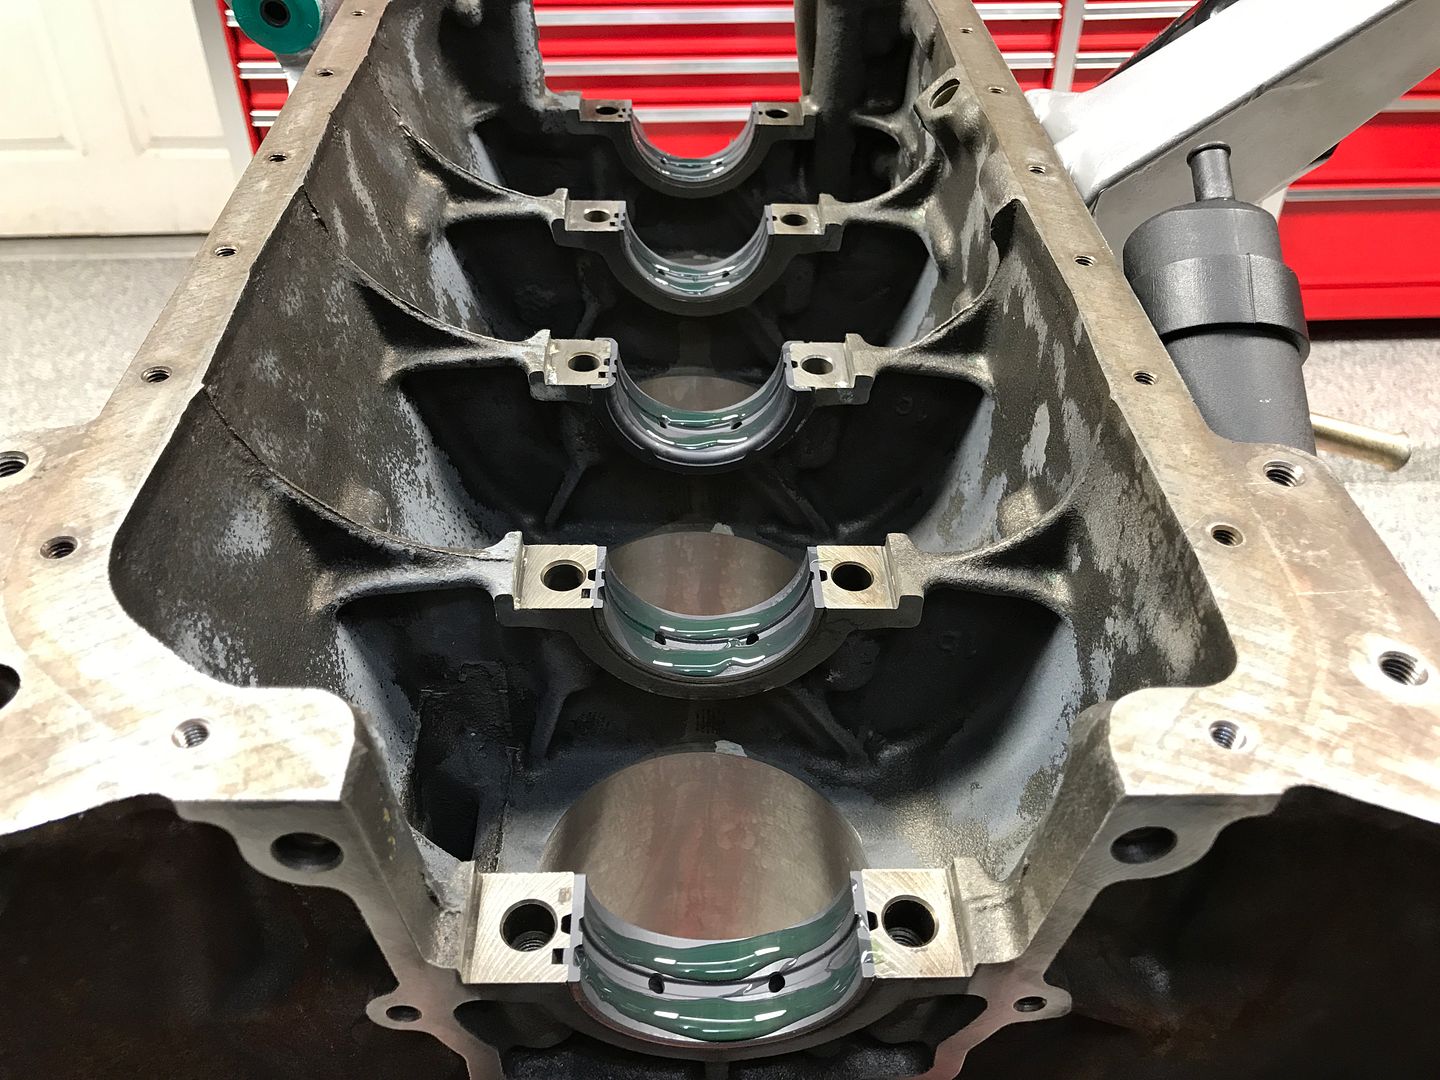
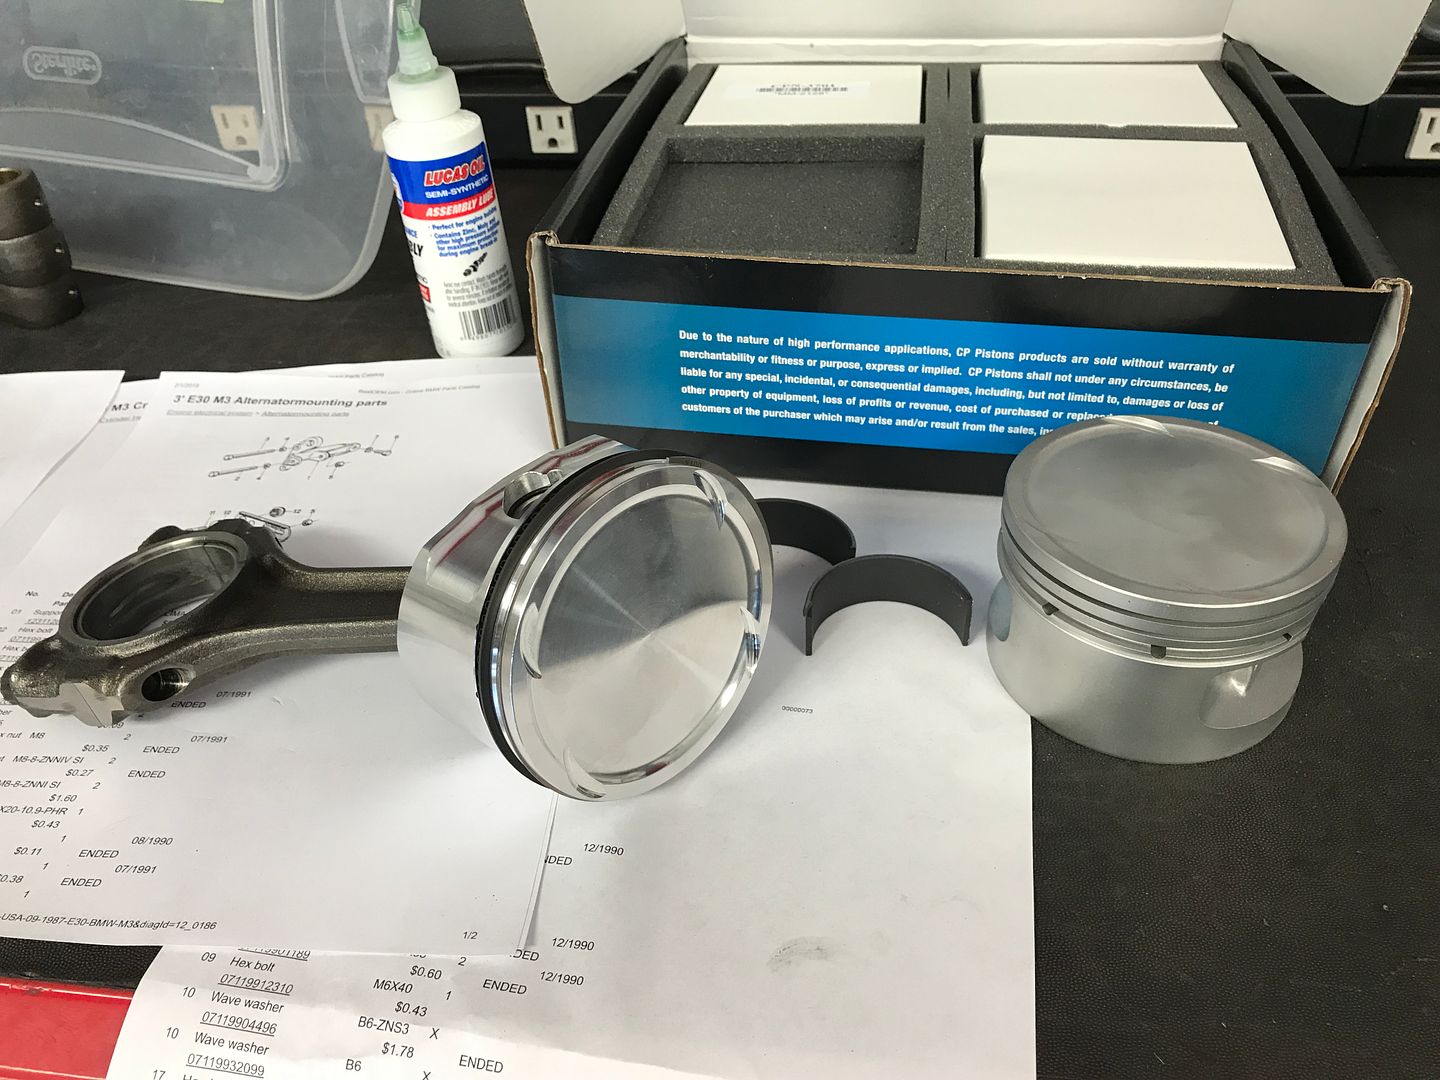
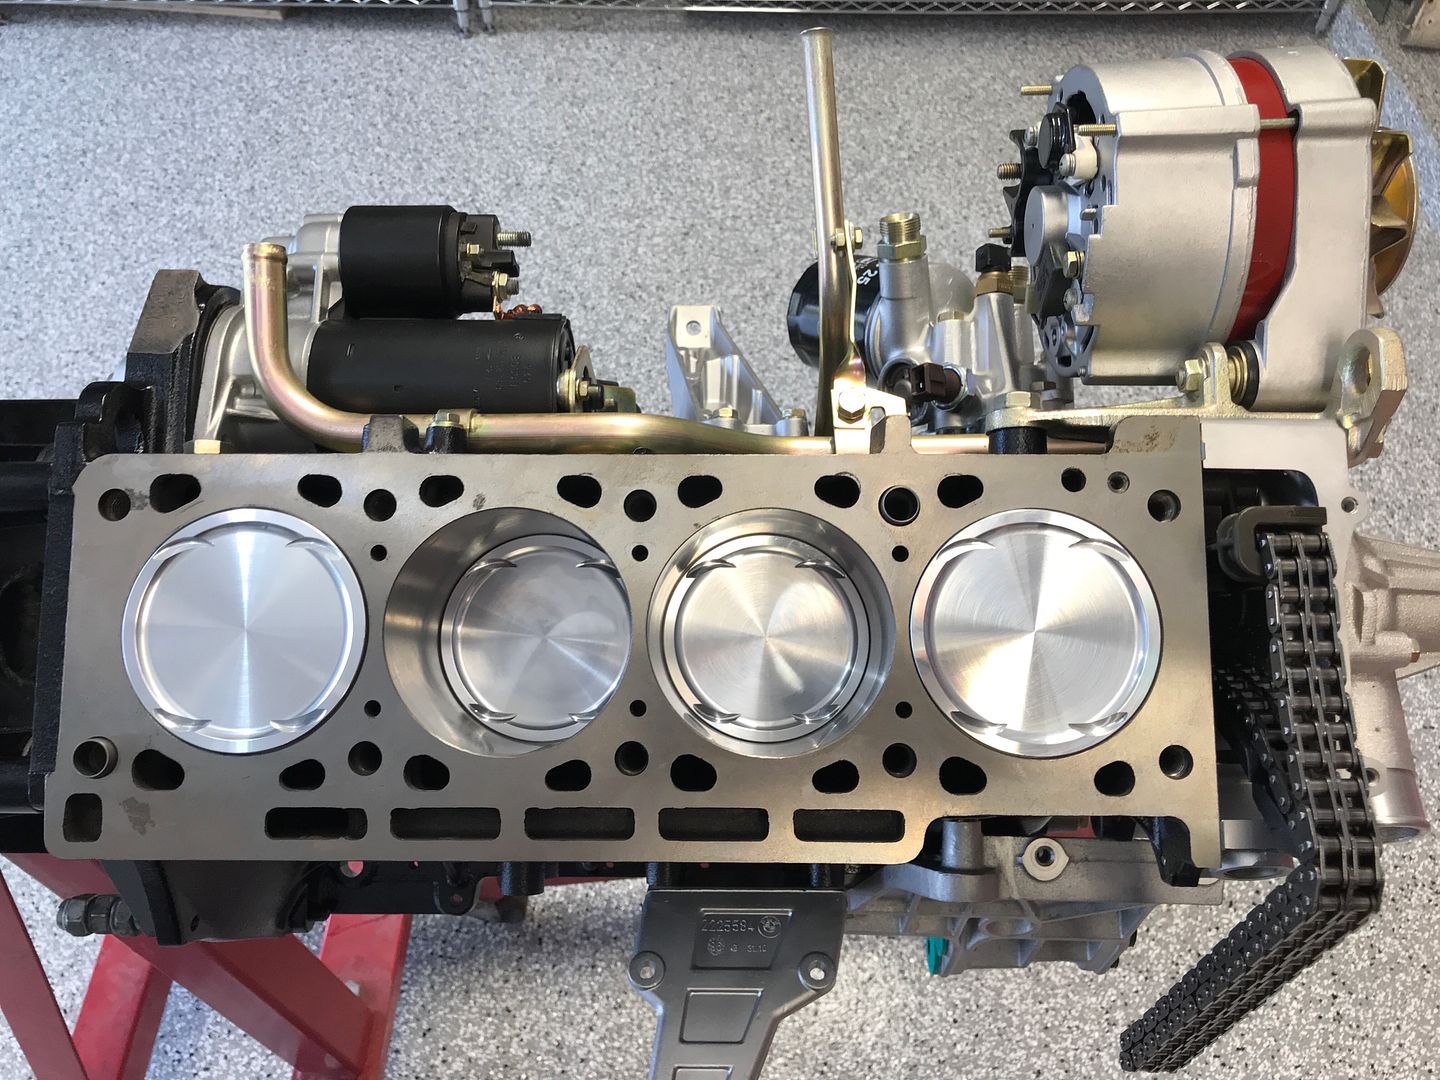
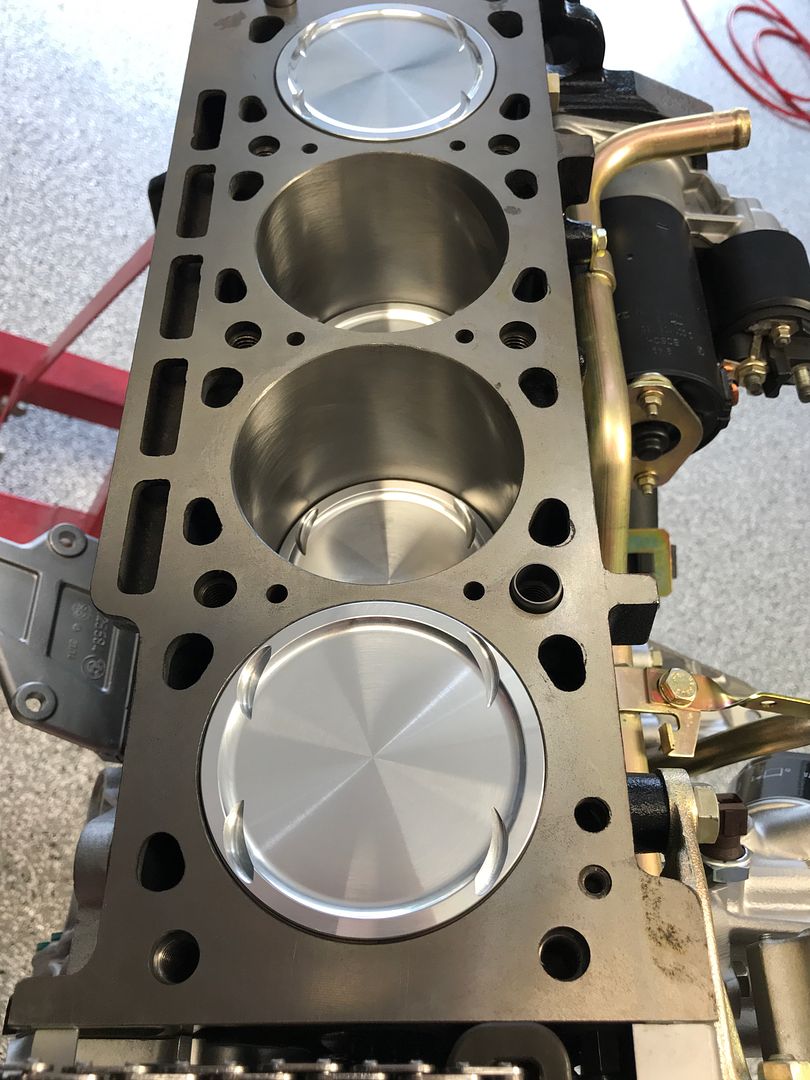
A much anticipated road block lifted with the engine block returning from the machine shop. The cylinder wall of #2 was too pitted to be able to use the original pistons and the block had to be bored out .020" to 94mm to clean up. Sucks but this meant ordering new pistons. Original style CP's were ordered from VAC along with Calico coated rod and main bearings for assembling the bottom end.
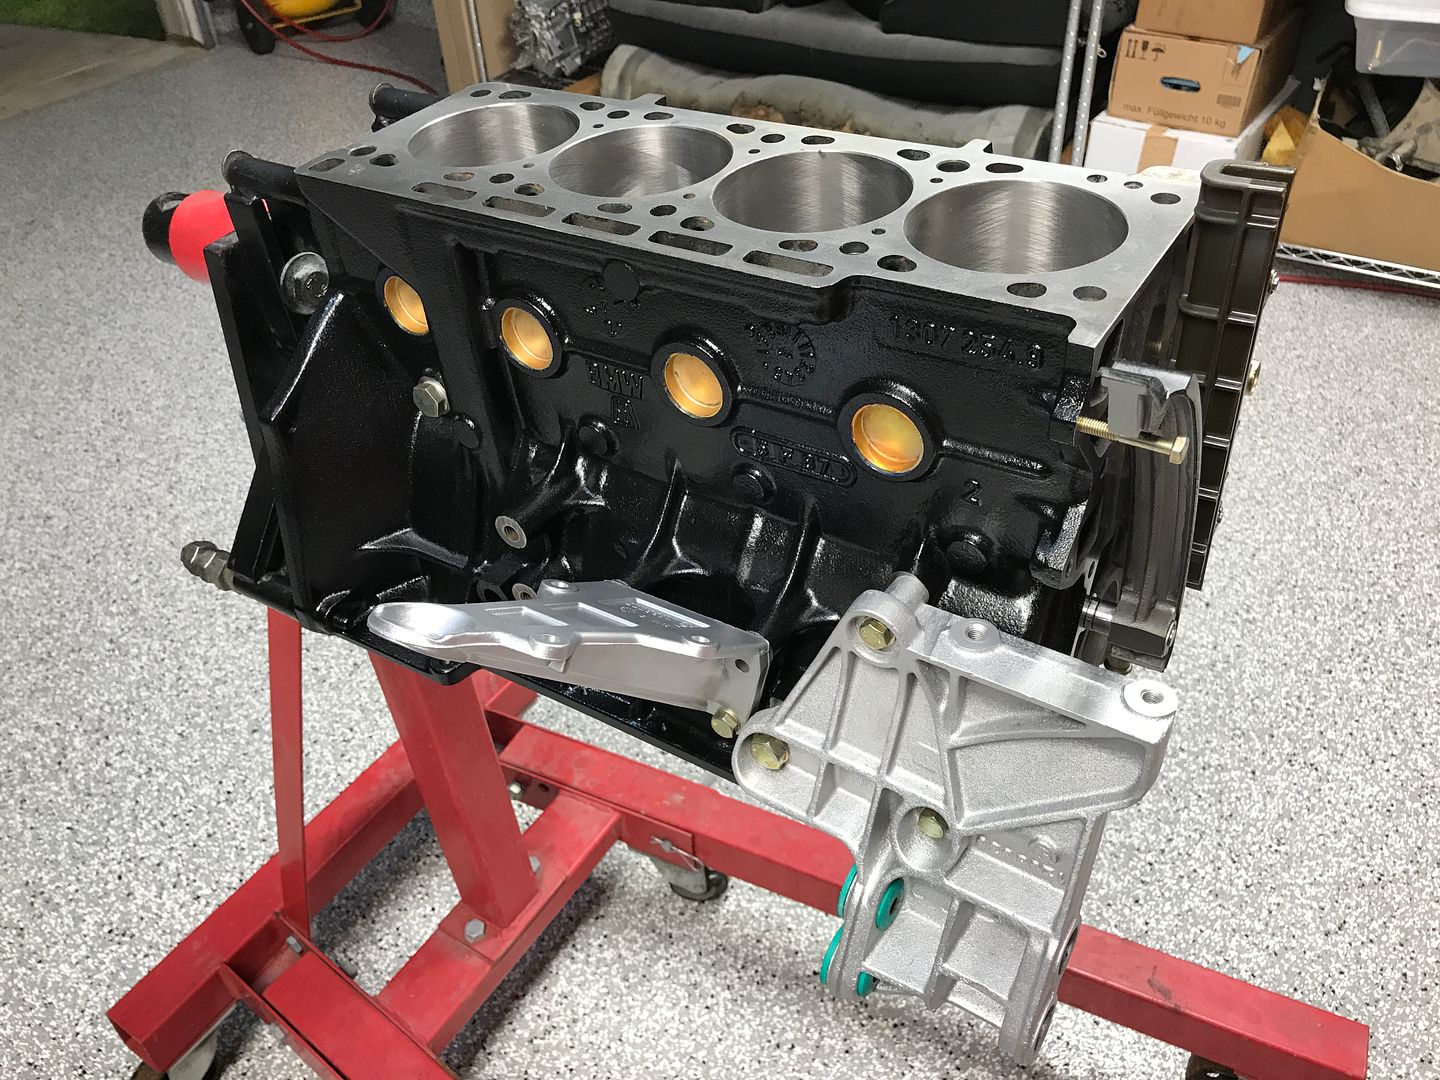
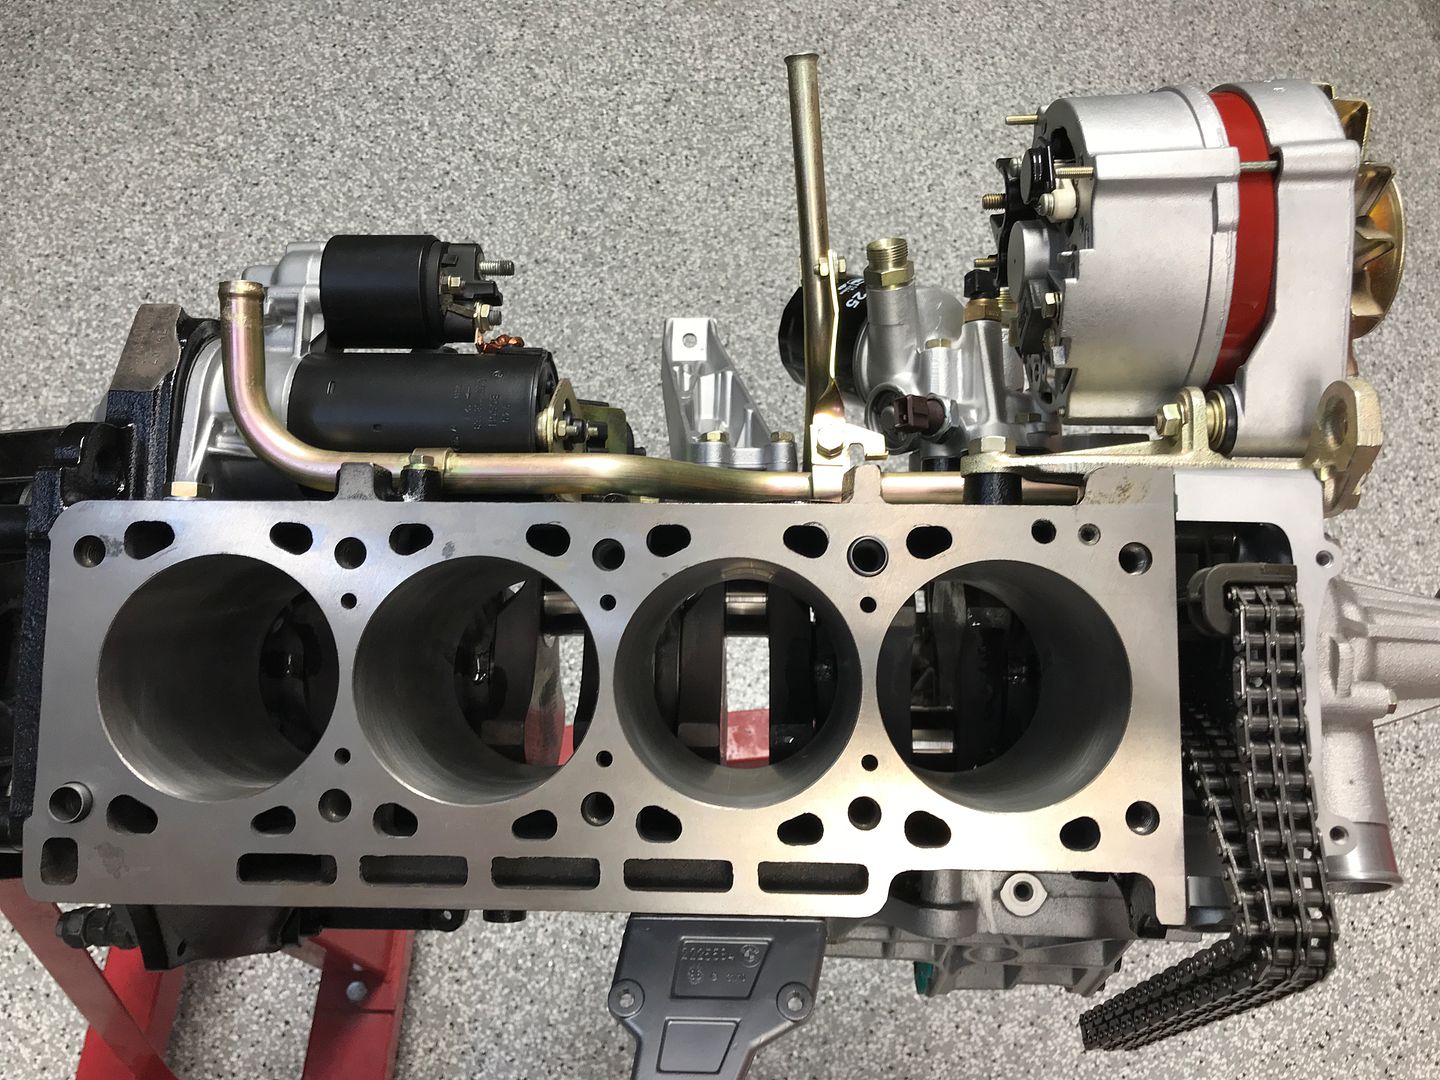
Here is the block freshly returned from the machinist, bored out to 94mm, and after a hour long bath in the ultrasonic cleaner at the shop that blitzed most of the old paint off.
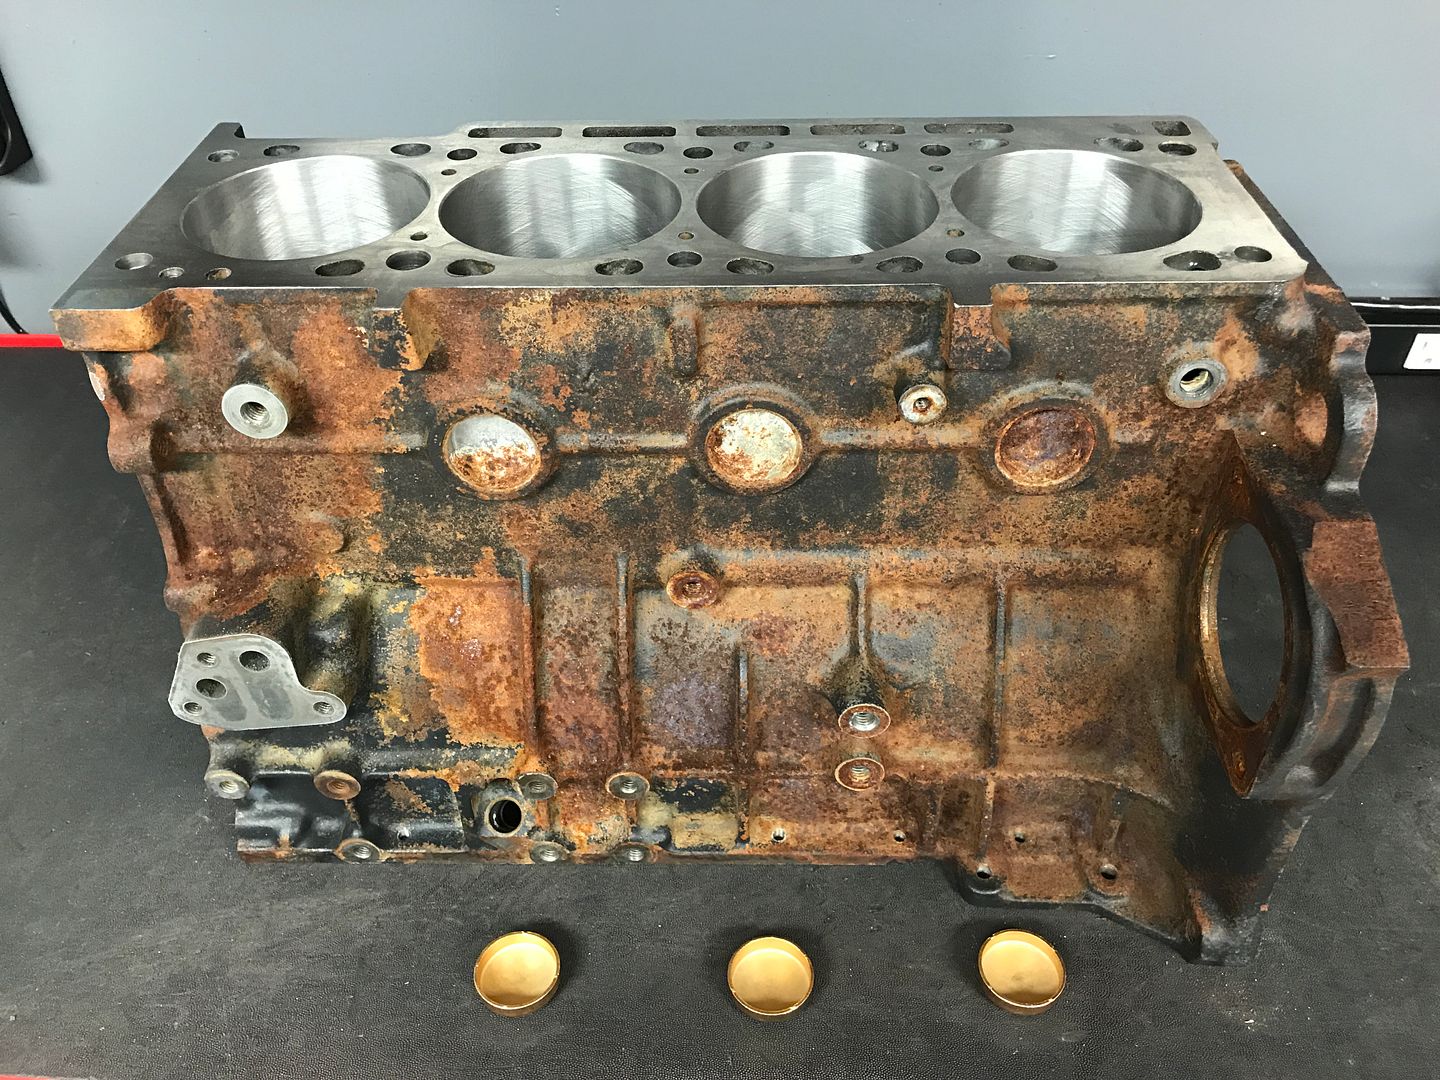
Strangely enough it does about nothing for rust so that got attacked with wire brushes and sanding rolls until it was super clean and painted.
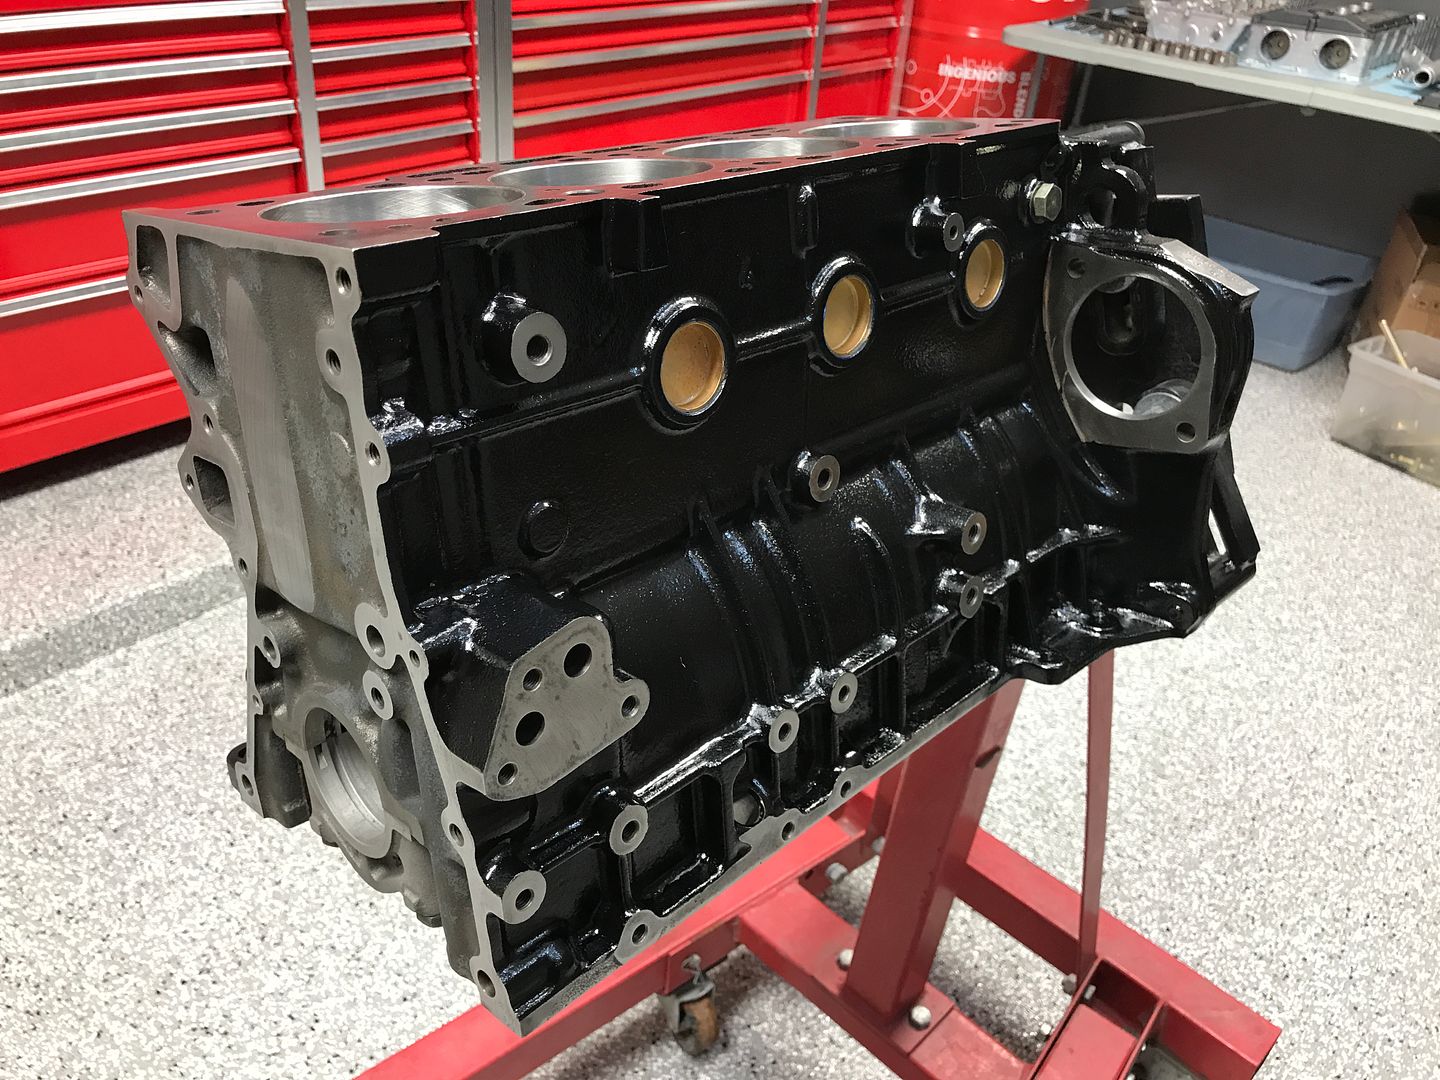
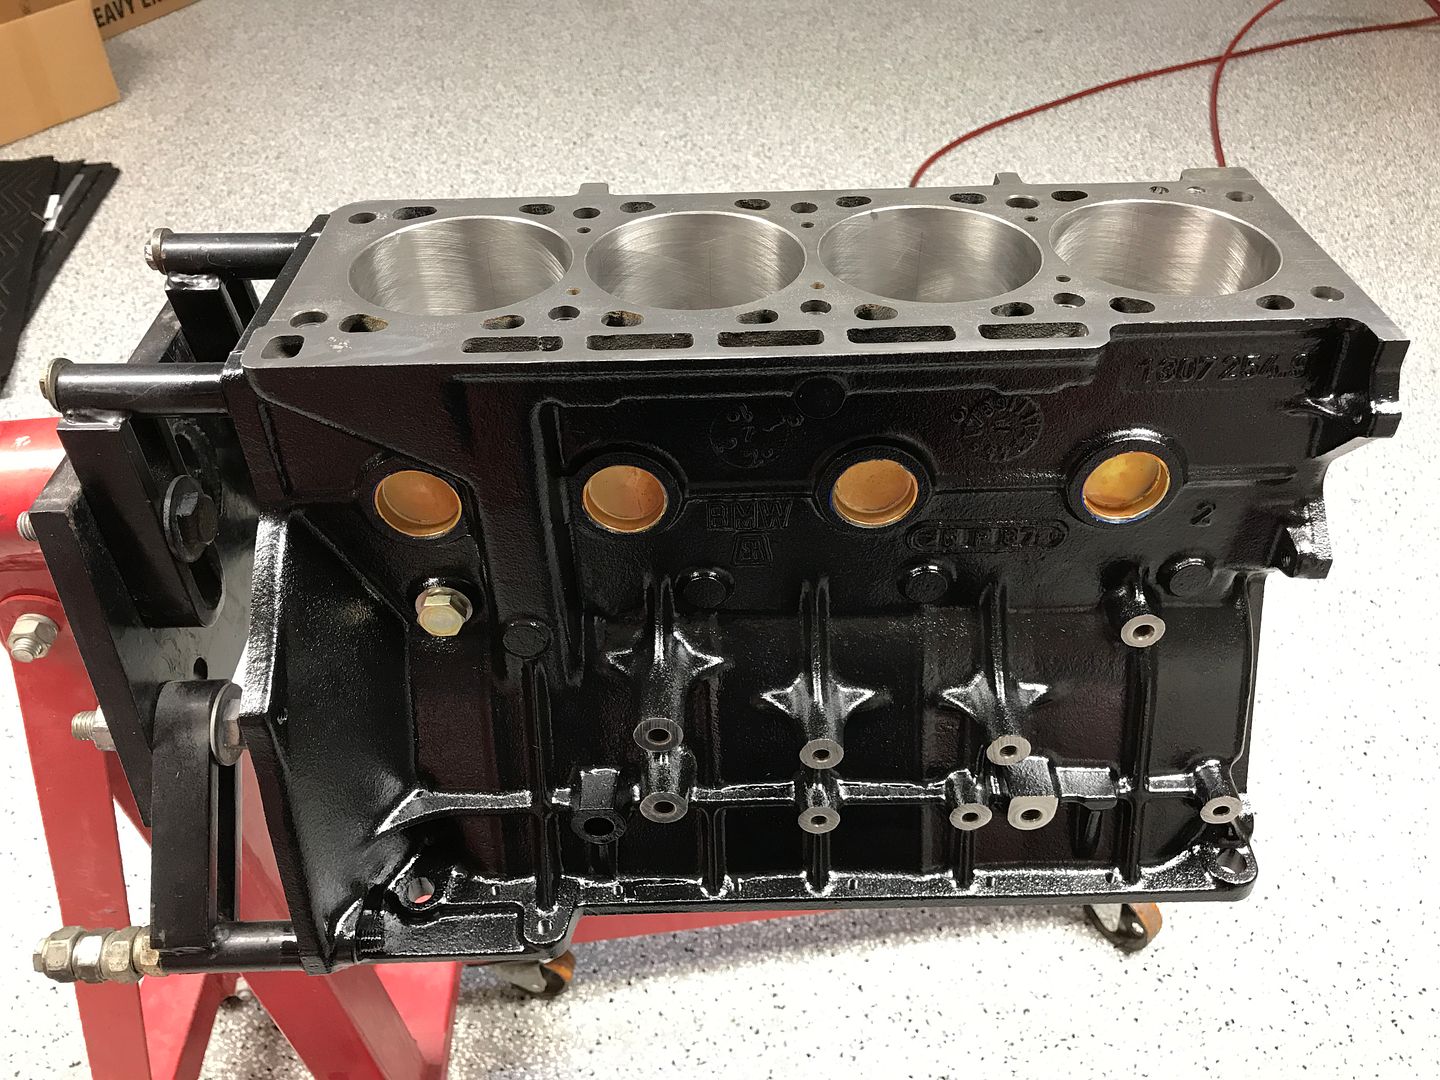
Here it is again after hours of meticulous cleaning, masking and a coat of fresh gloss black.
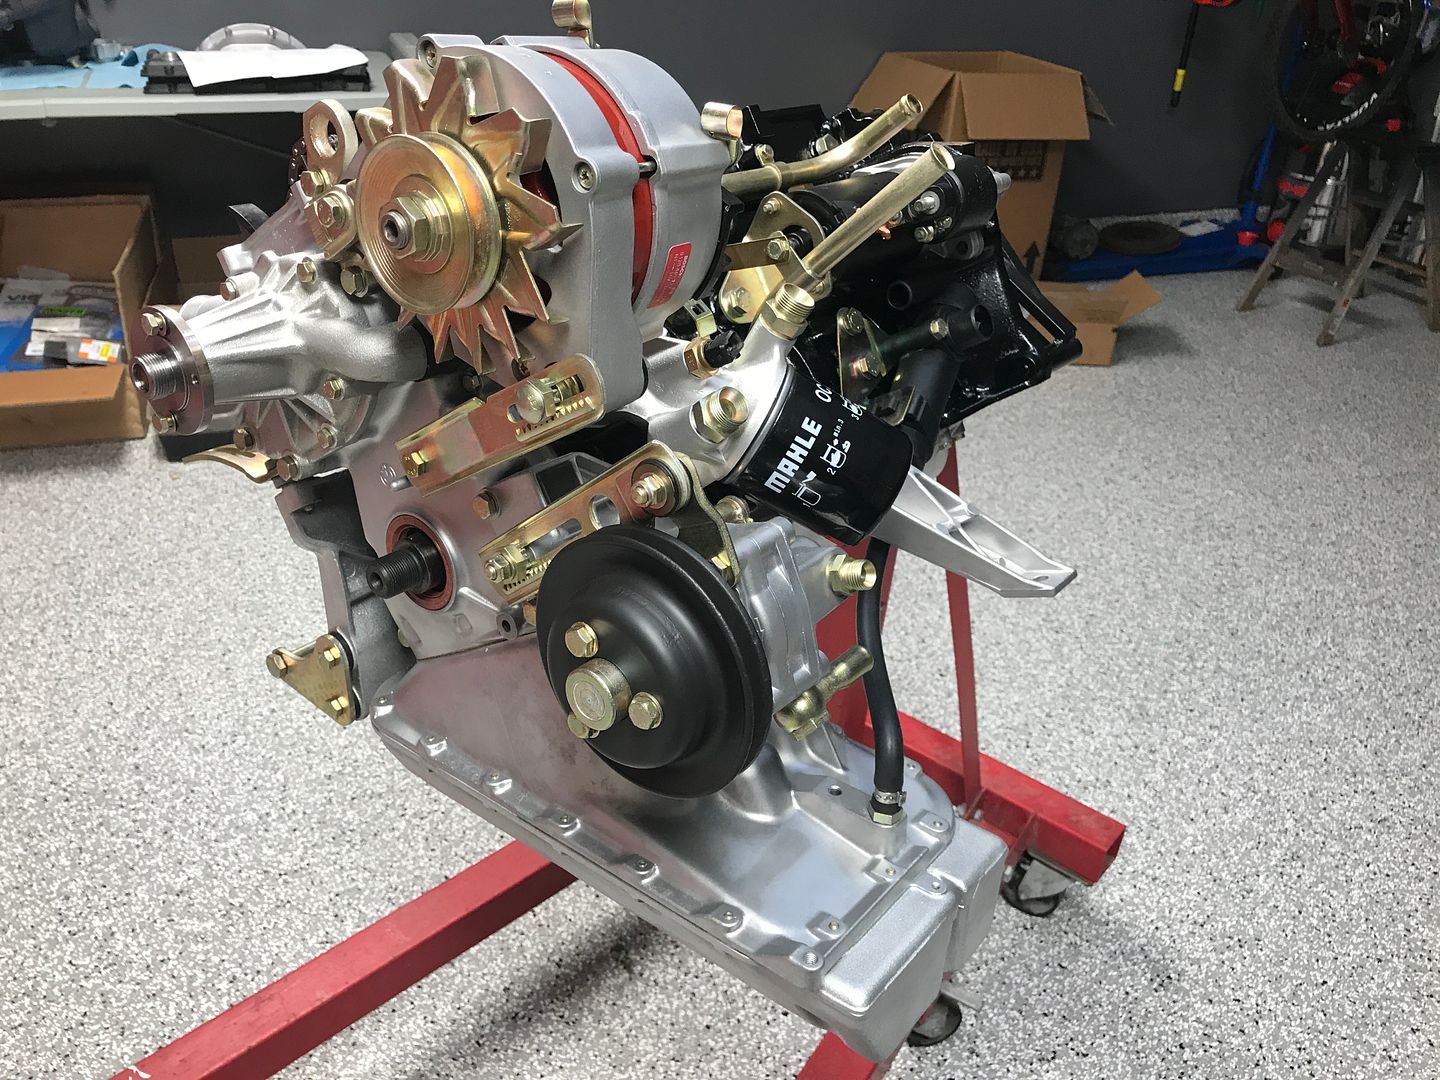
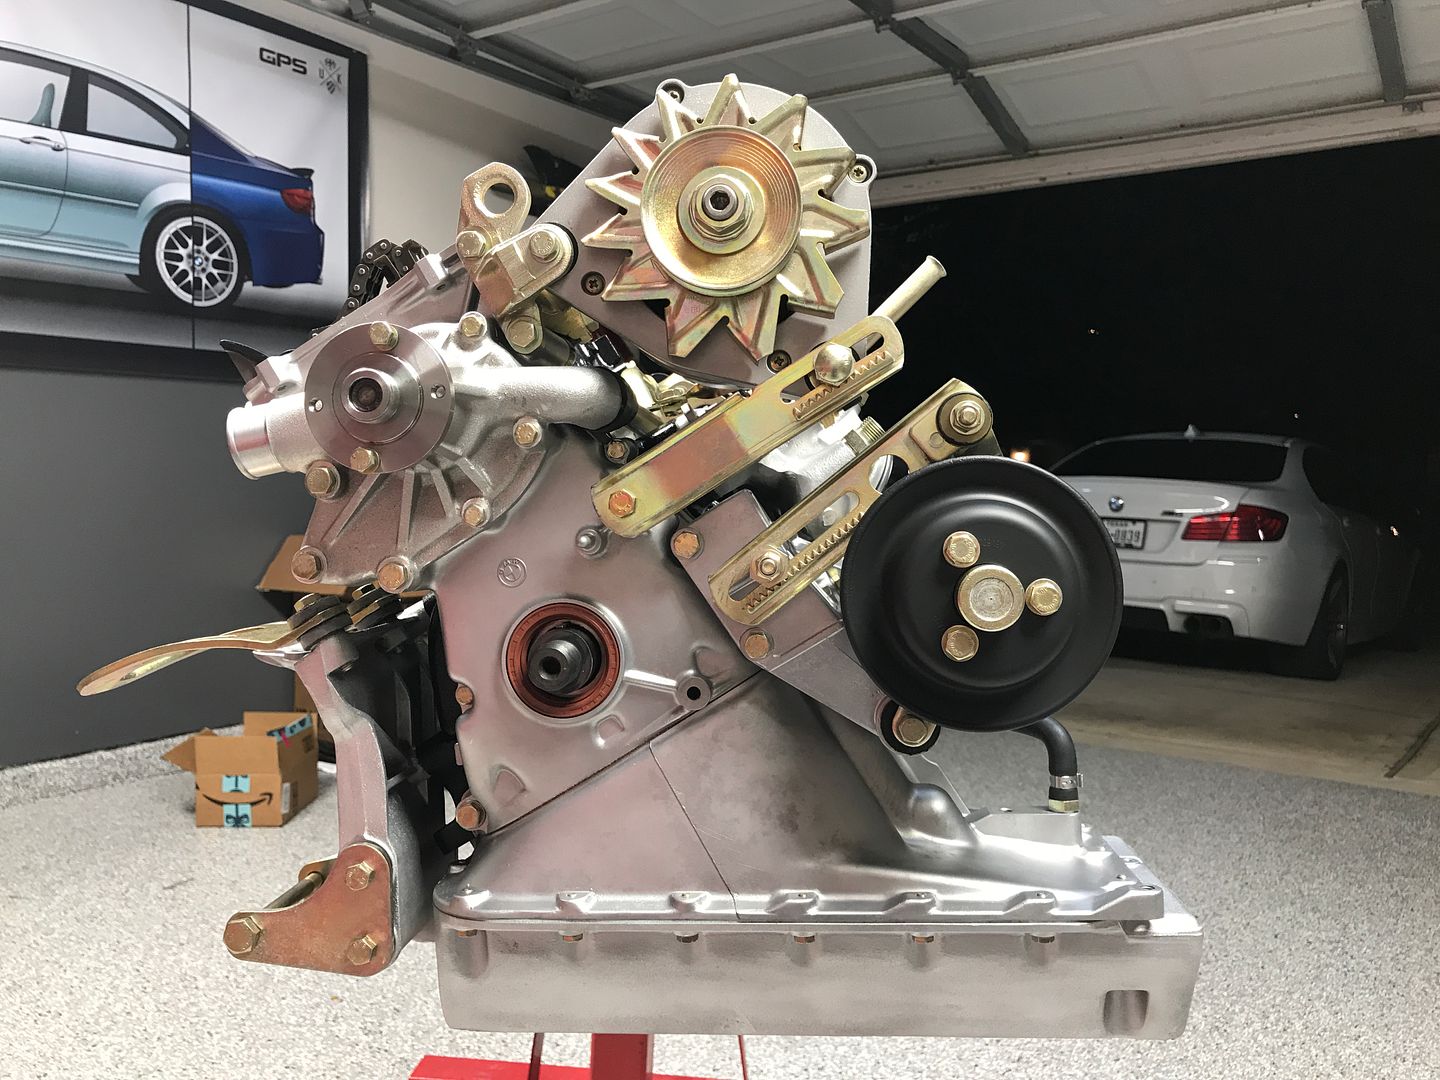
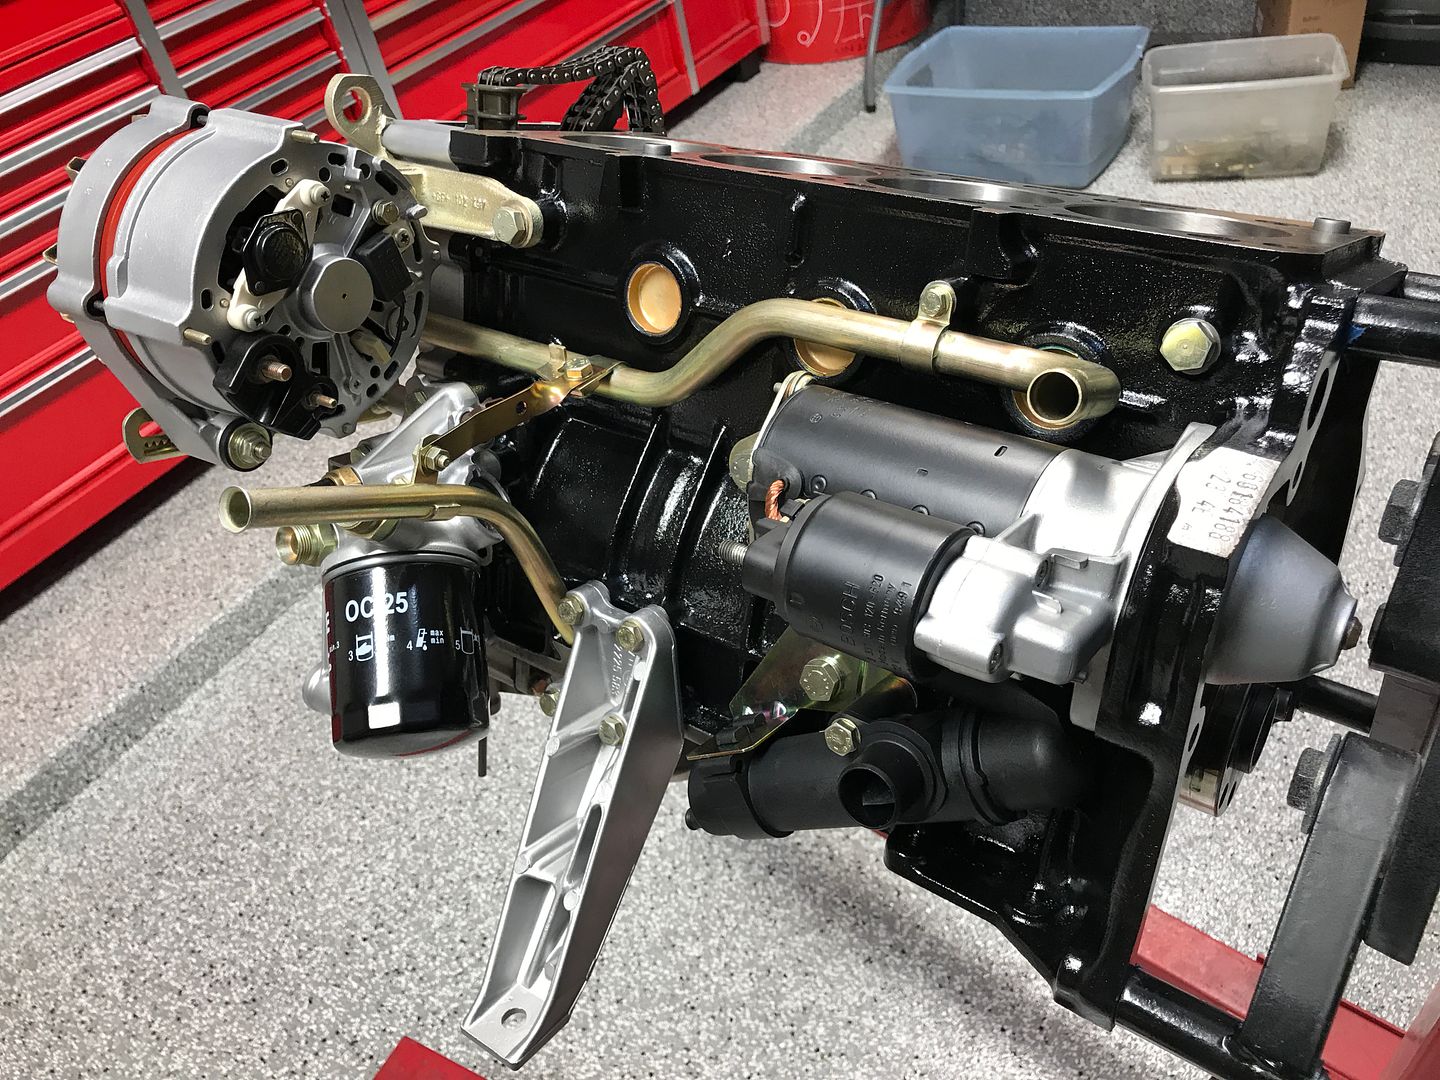
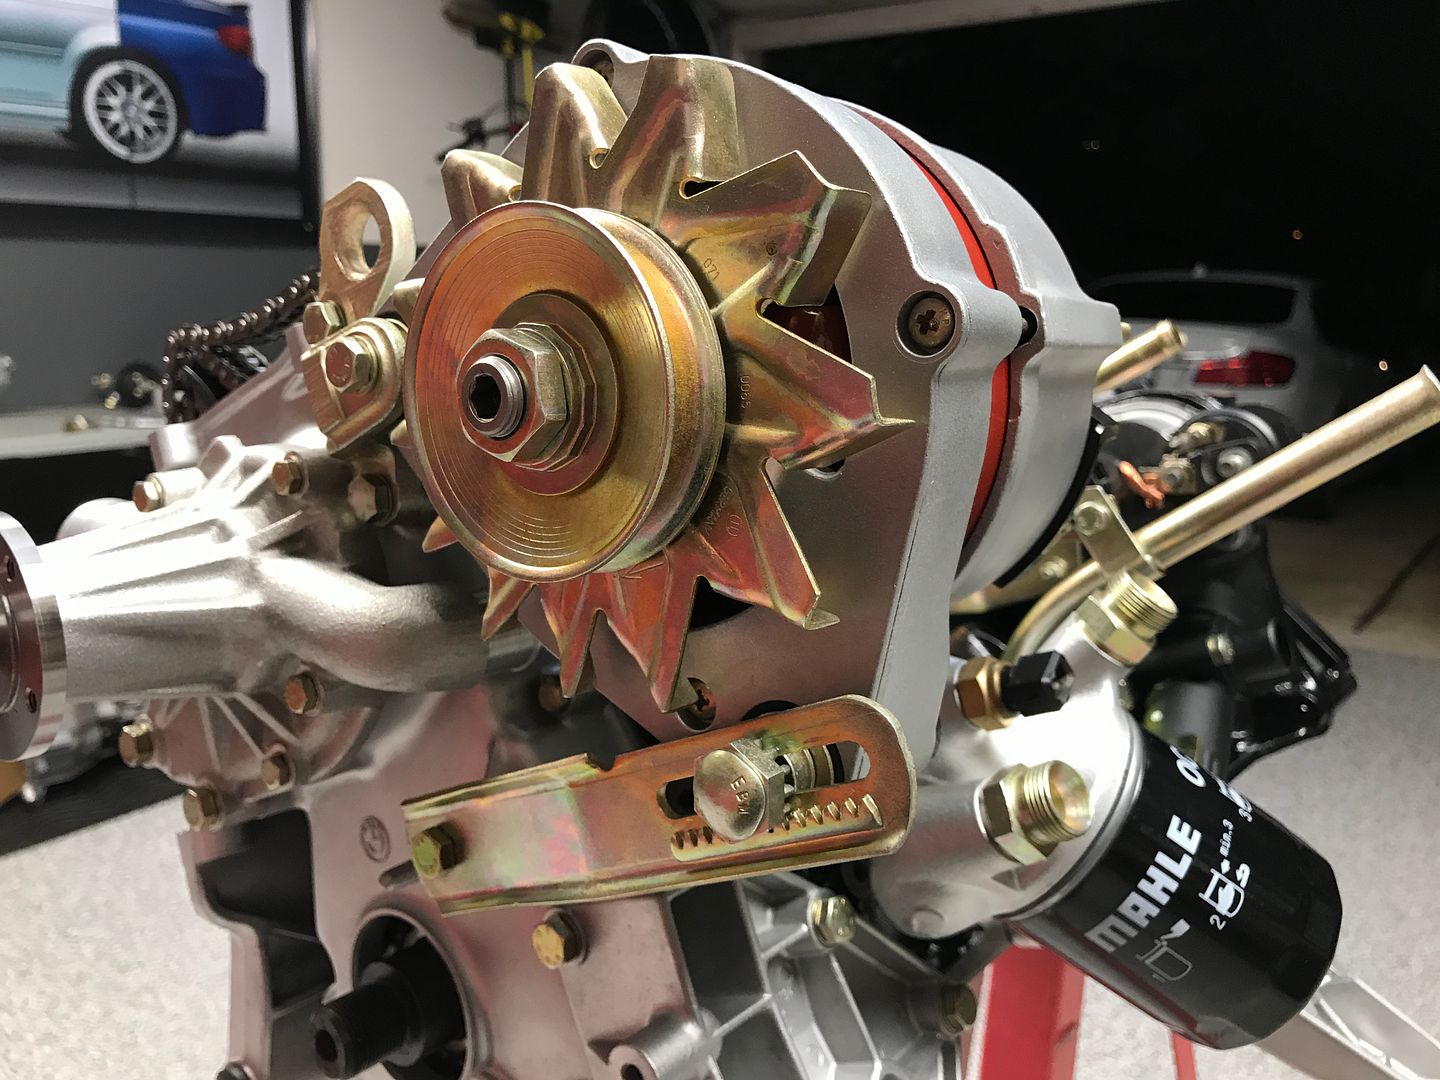
Waiting for the package from VAC to show up I starting hanging accessories.
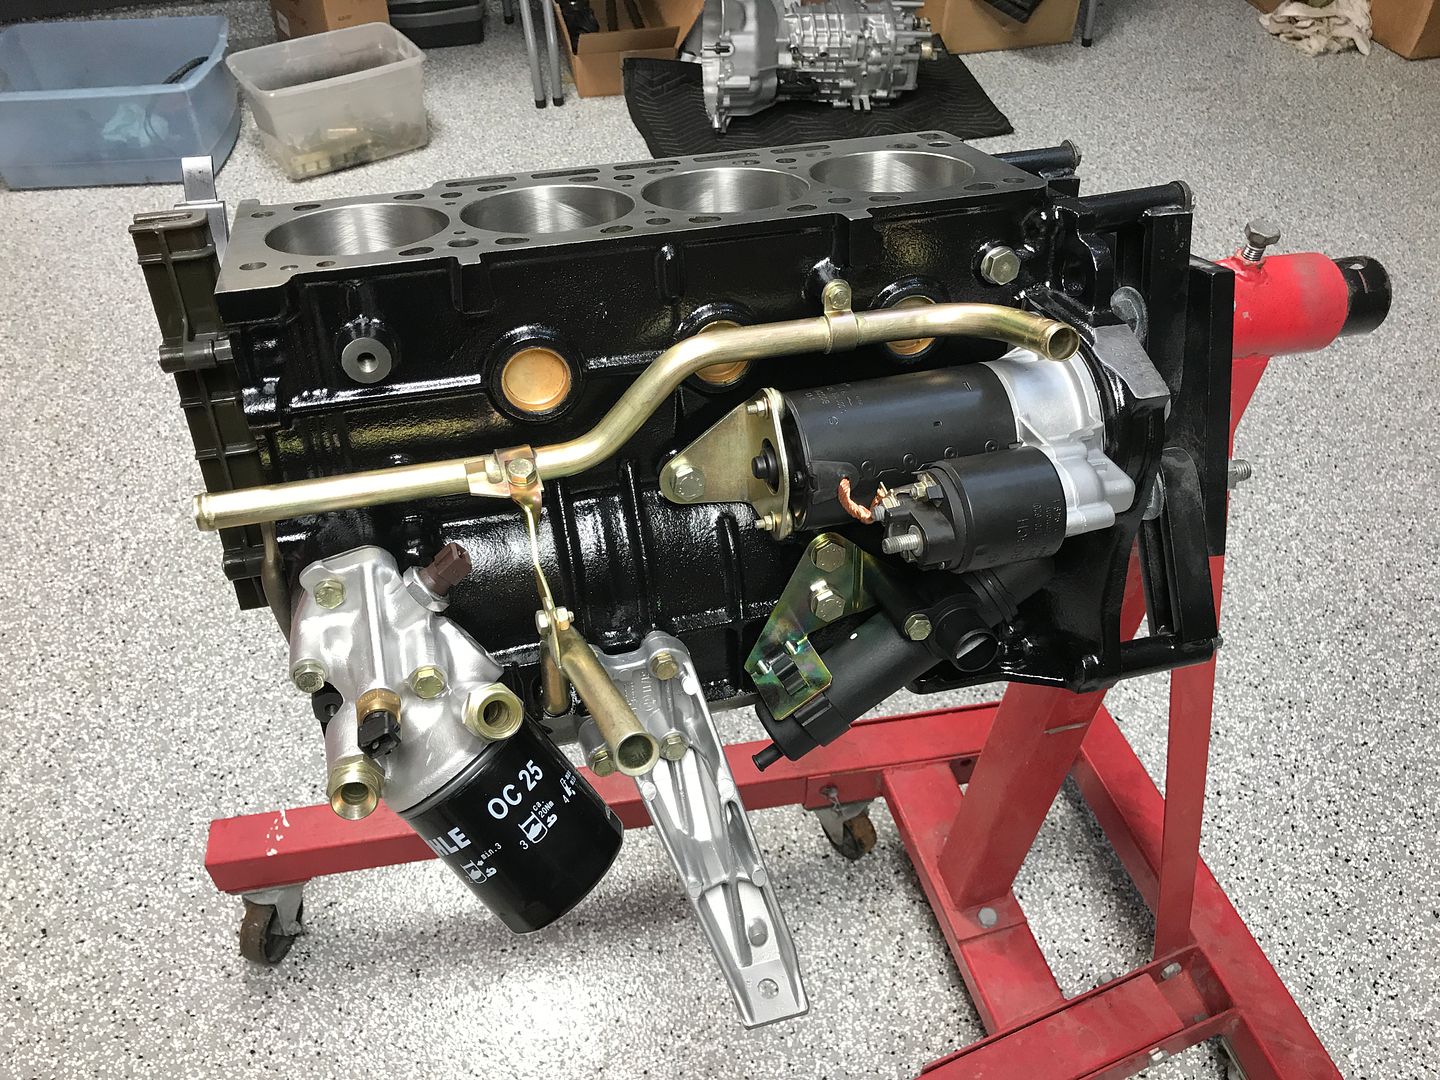
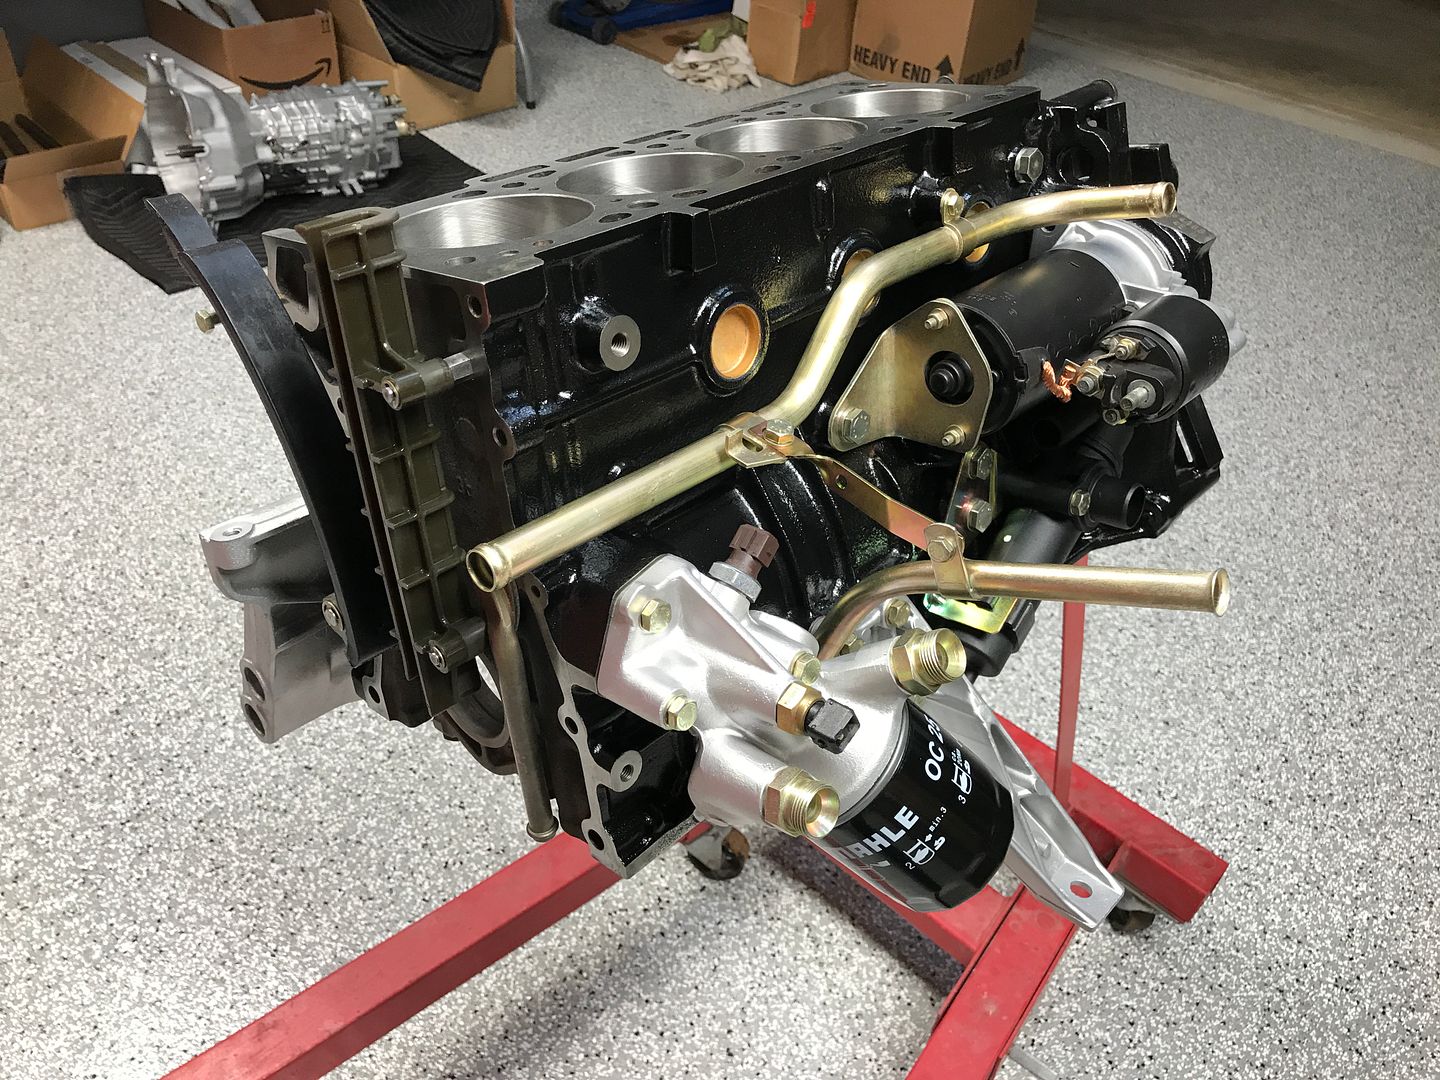
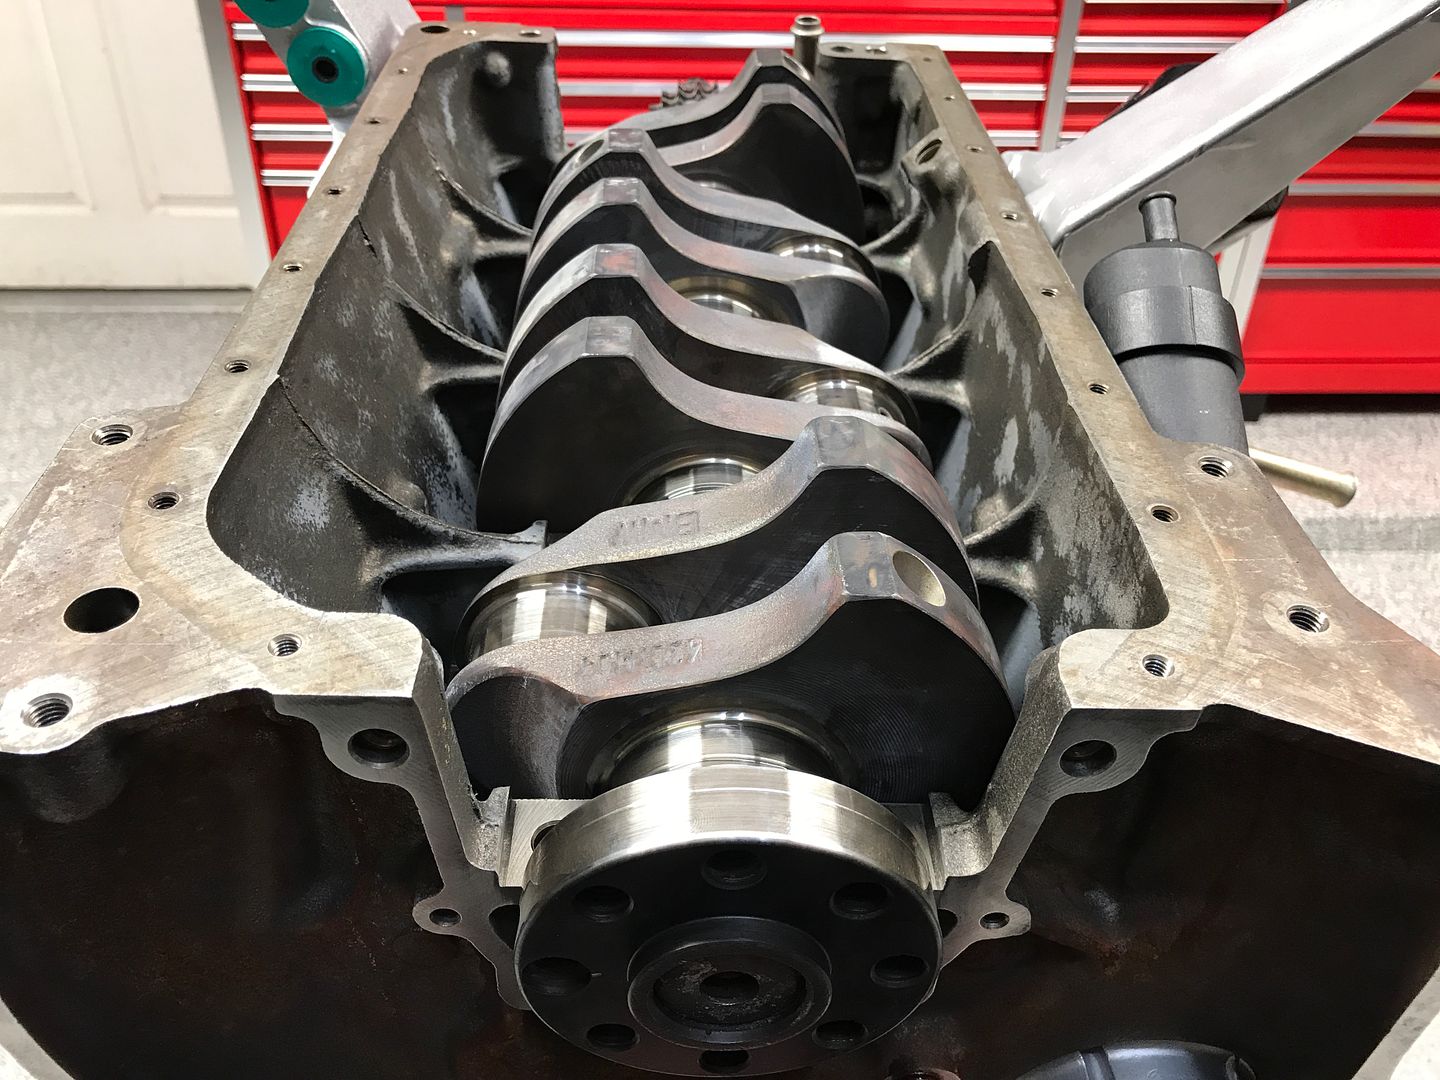
Package from VAC arrived yesterday so time to drop the crank in and check clearance, looked good so bolted down the mains.
Bolt on some more accessories.

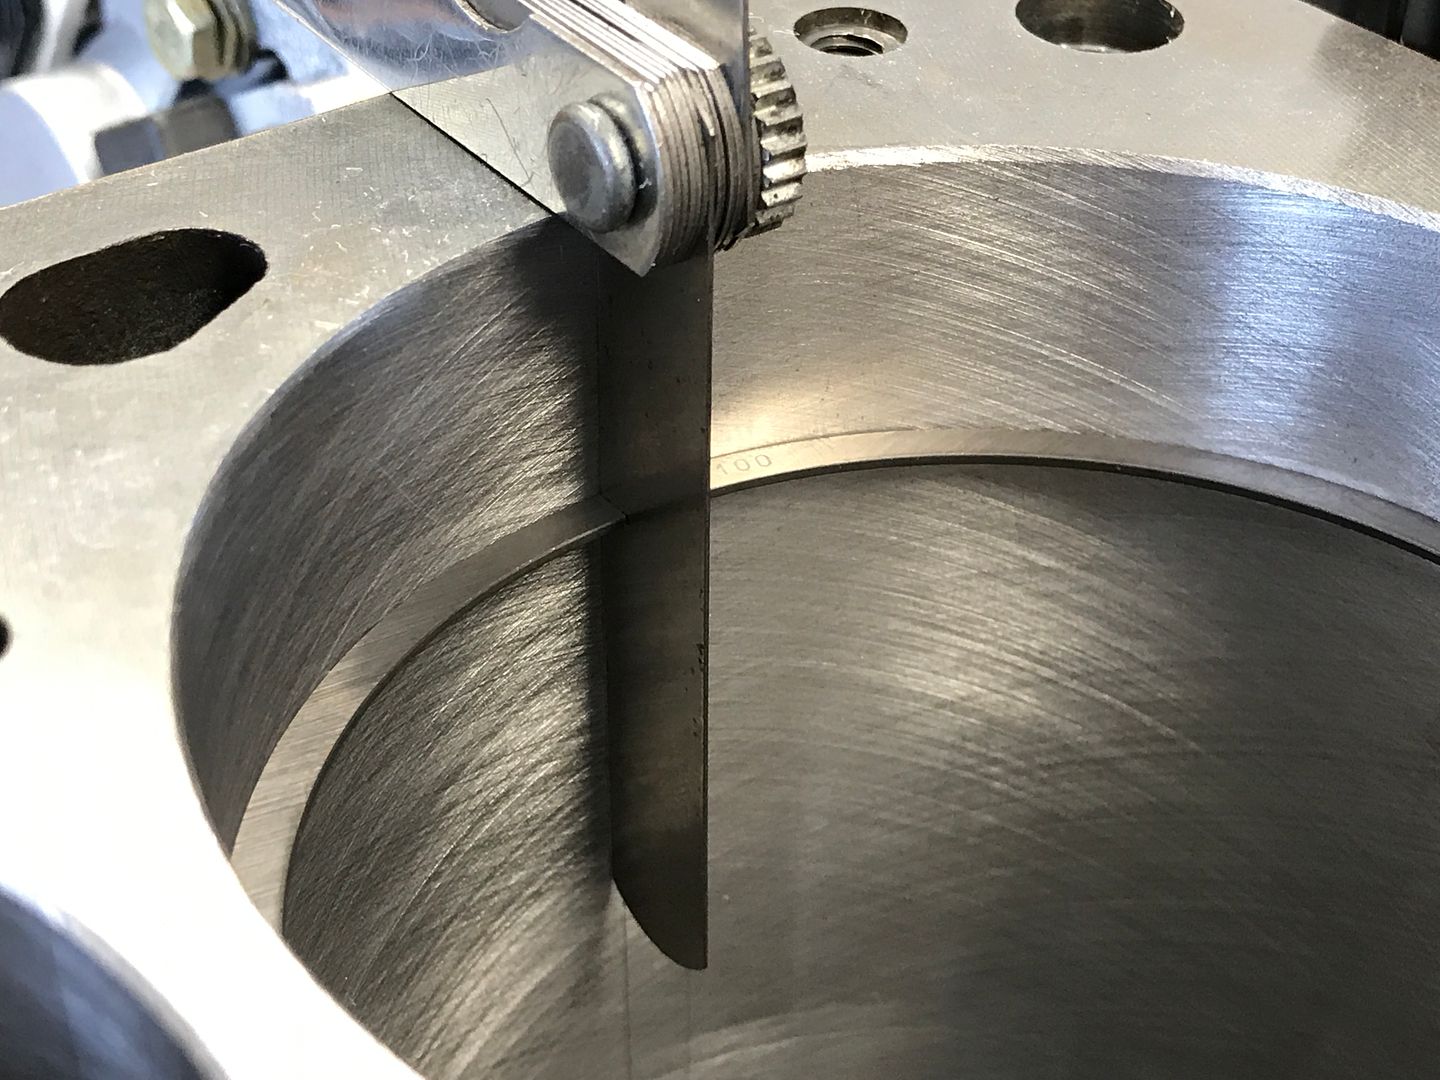
Now its time to file the rings to fit the bores. Using CP's use guide I decided on .016 for the top ring and .022 for the 2nd ring.
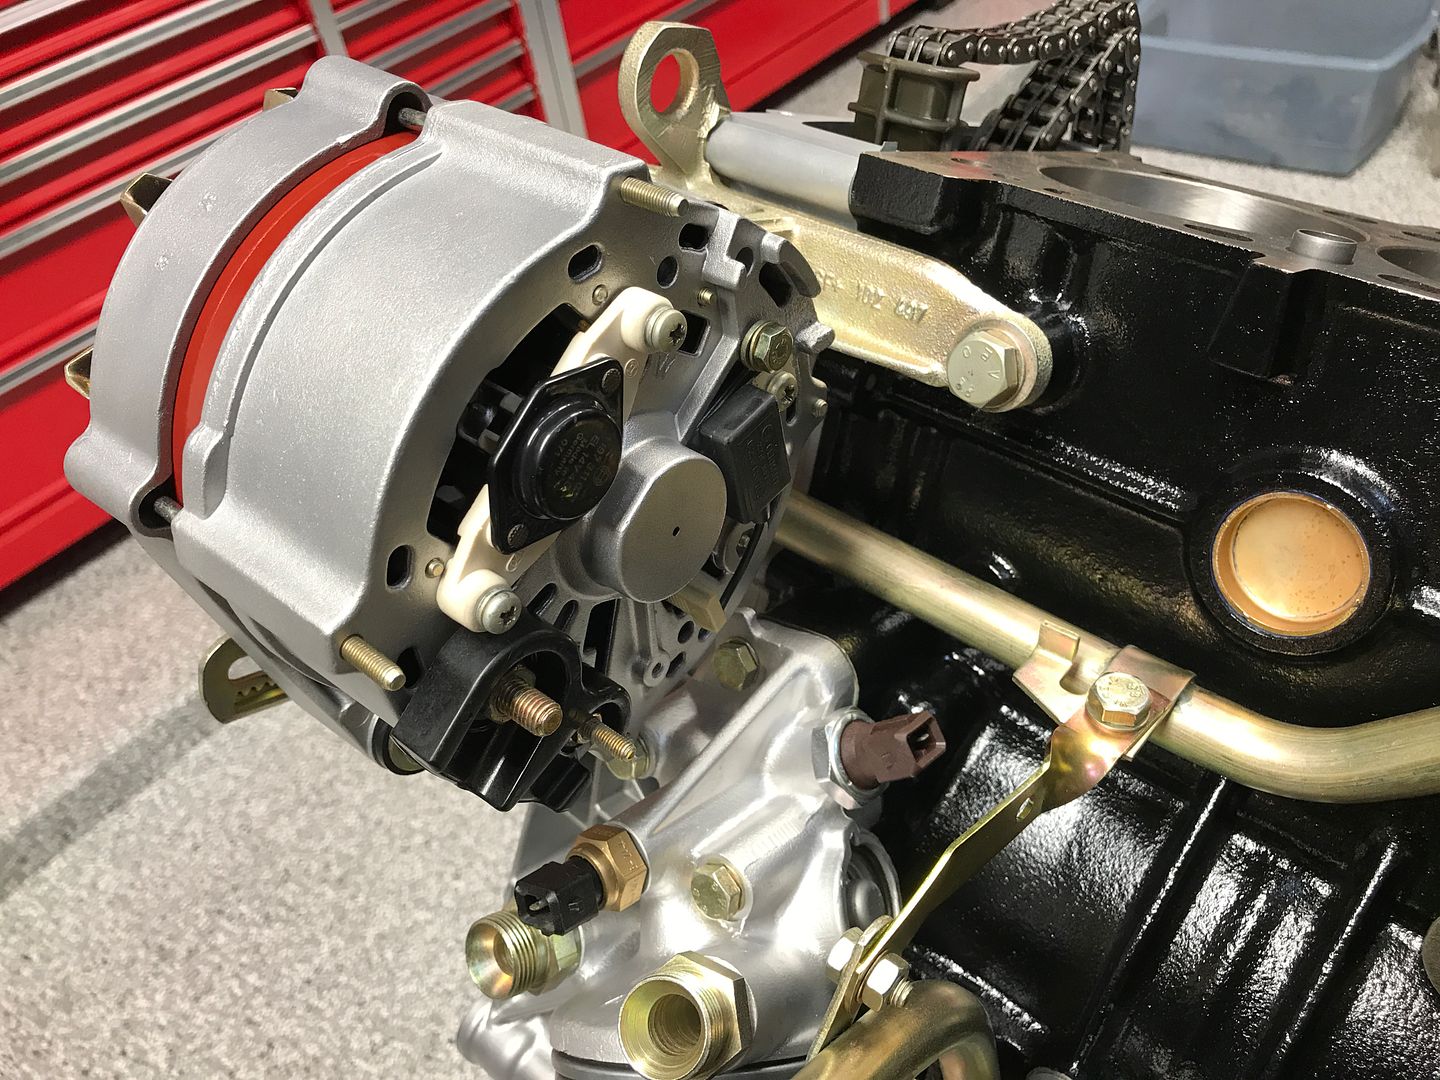
and finished today off by fitting one of the Pukar Designs reproduction stickers to the alternator.
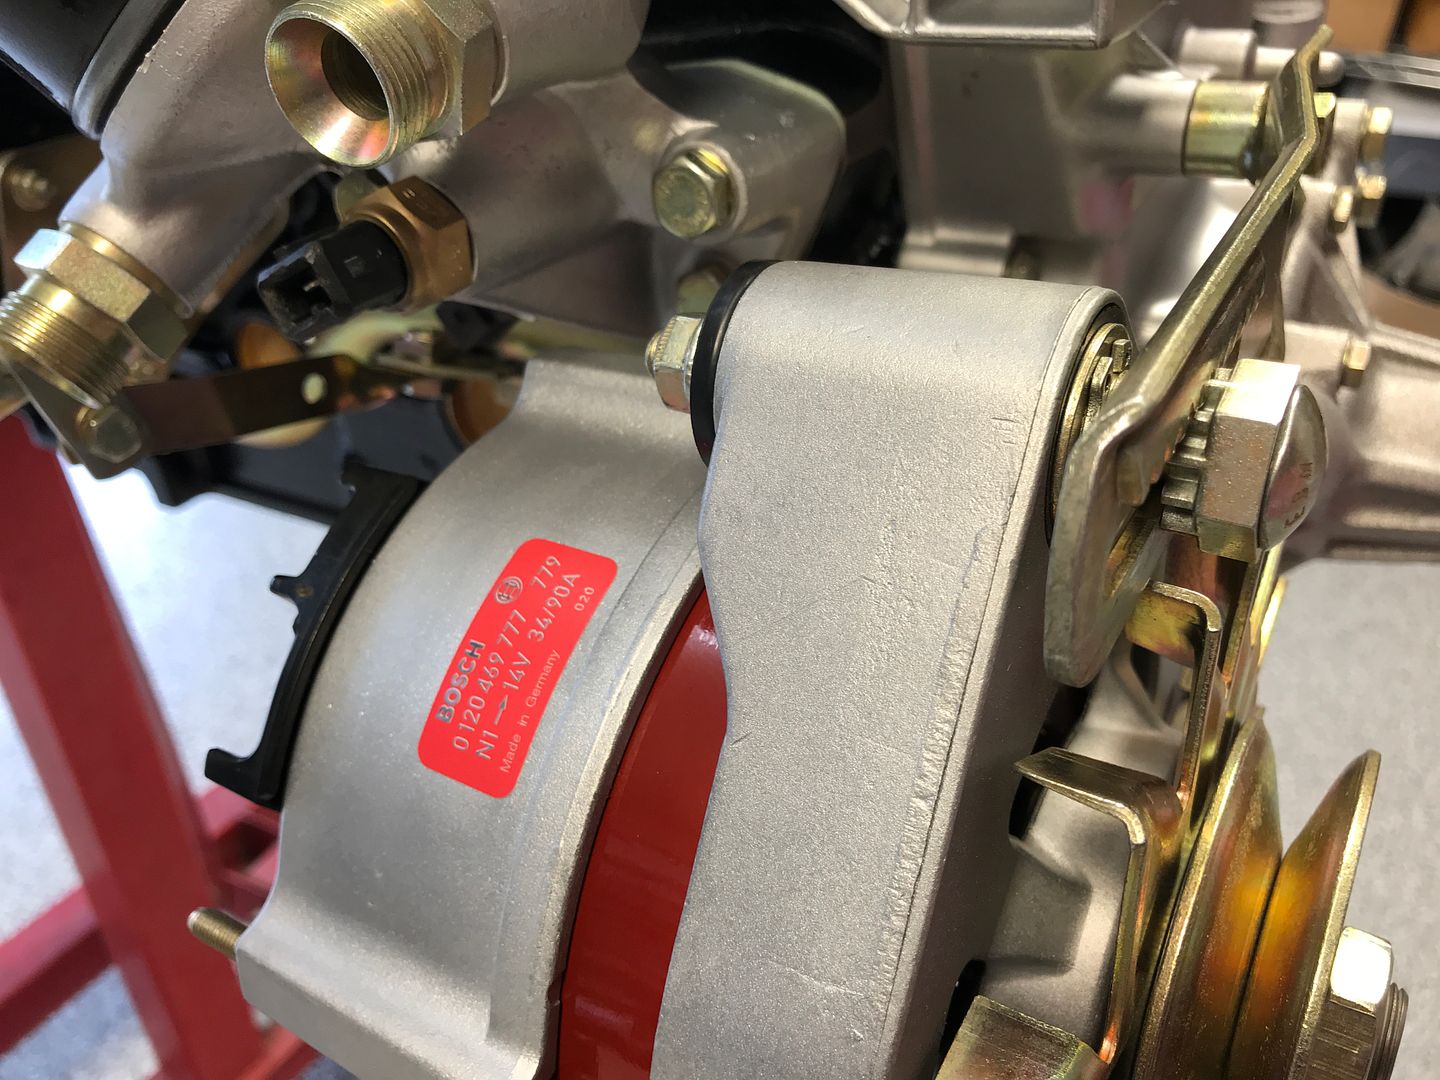
Leave a comment:
-
don't think pictures do that transmission justice, beautiful work.Leave a comment:


Leave a comment: