Tackling the exhaust was high on the priority list while the car was up in the air on jack stands. The exhaust that came on the car was basically junk so we scrapped everything rearward of the header collector.
After cutting/shaping/ fitting repeatedly, we ended up with this: Front and mid section joined together by V-bands.
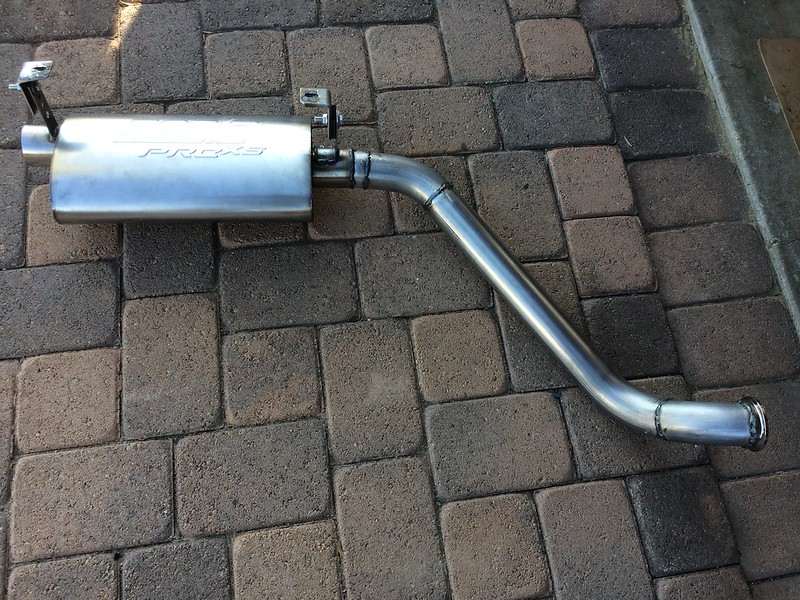
Muffler selected was a Borla Pro XS. Below you can see the rear section all welded up with hangers included.
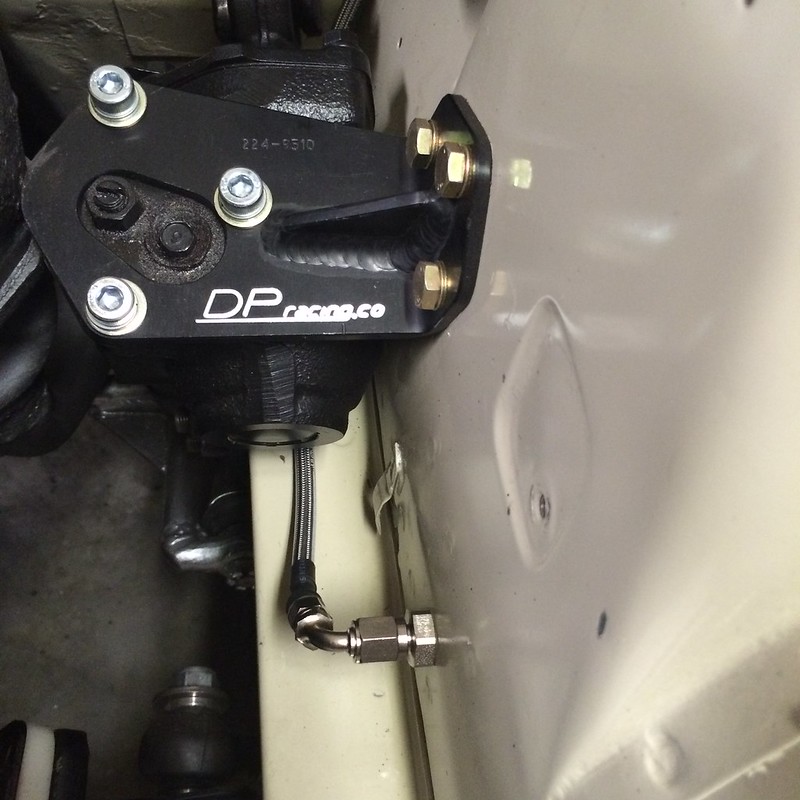
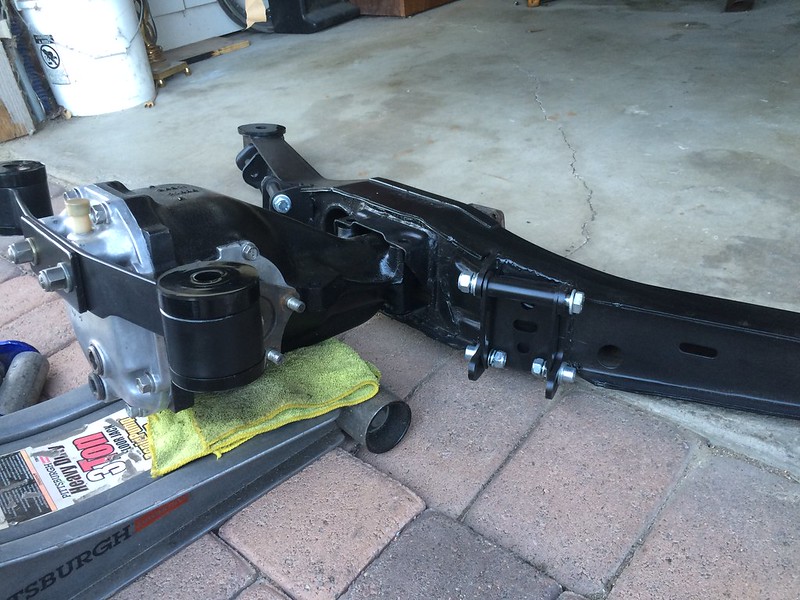
Here is how the subframe area looks all mocked up. Pretty clean!
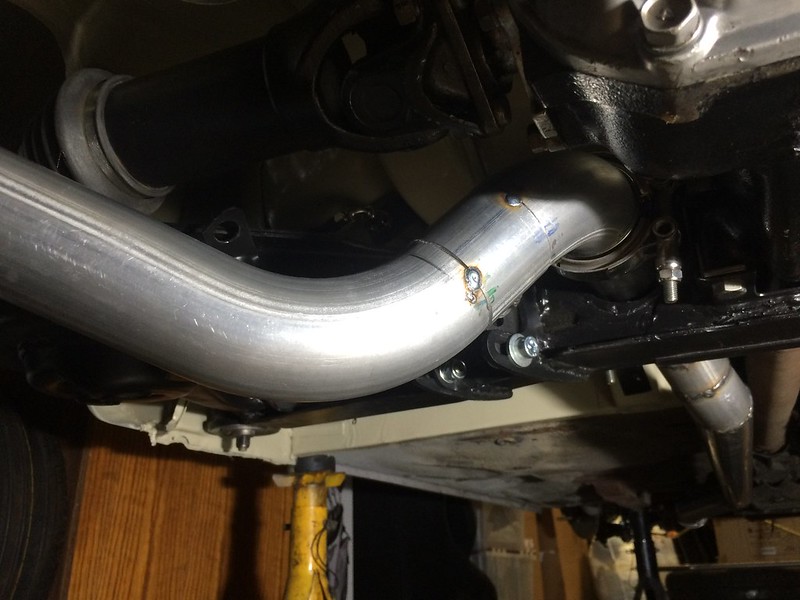
A small section was removed to get the bend a bit tighter to the body after we fit everything up.
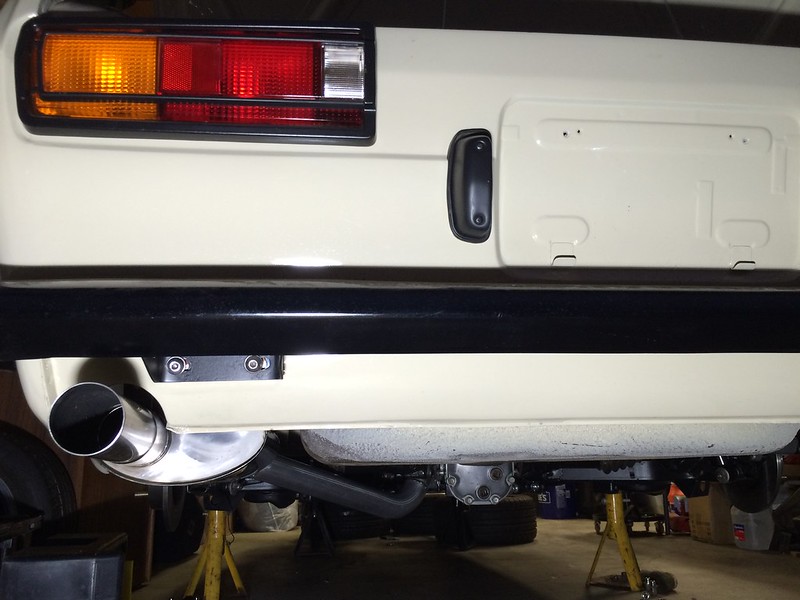
And final fitment with a stainless tip cut at approximately a 10-15 degree slant-cut. Looks awesome and is rock solid!
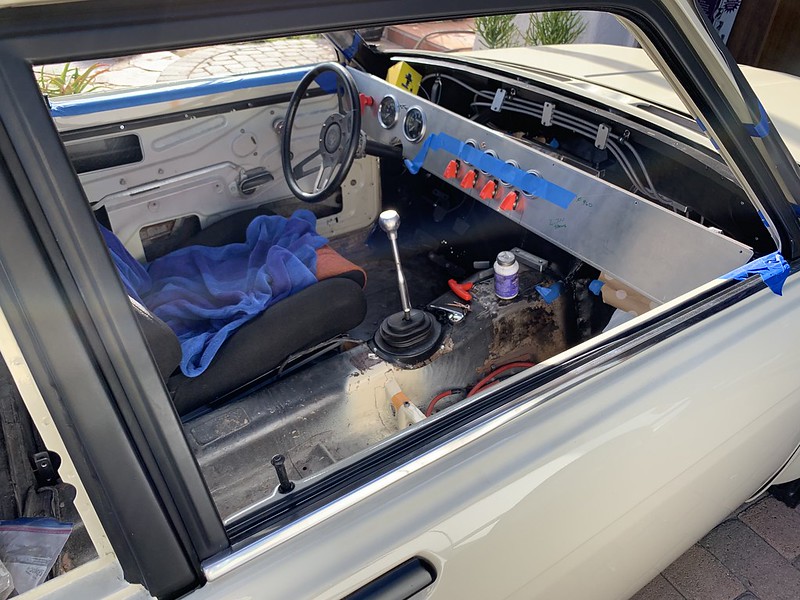
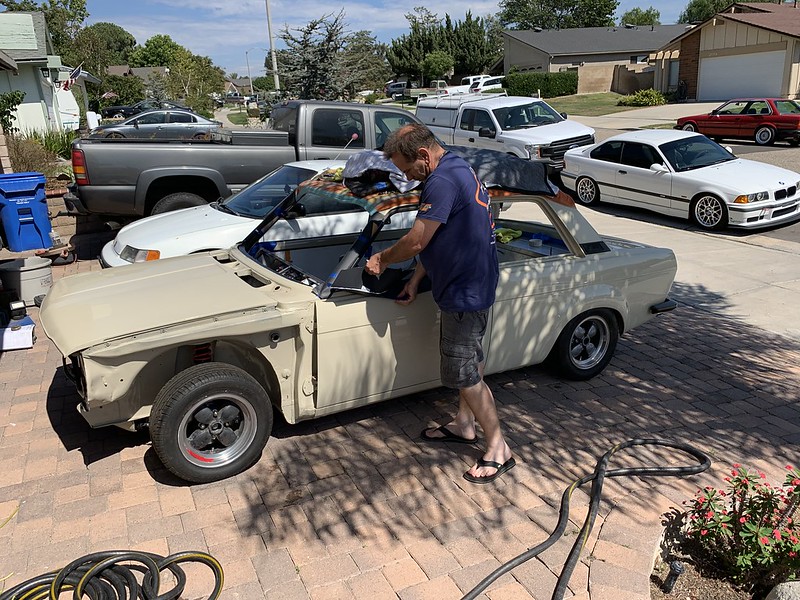
Once that was all buttoned up, the car got rolled into the sun on all fours for the first time since the build began! Looks fantastic in the sun!
The maestro himself!
Wiring is next!
Announcement
Collapse
No announcement yet.
Dad's Datsun 510
Collapse
X
-
Since we got the car the brake pedal never had any pressure, so now that the suspension was sorted it was time to address the braking system.
Ideas for front hardlines were kicked around, but at the end of the day we determined stainless steel softlines would do the job just find and be much more workable. All front lines were custom/hand made out of DOT approved braided lines/fittings and diligently checked over after a good bleed. The results speak for themselves! Below is an example of the fittings/lines used throughout.
And all buttoned up!
Close up!
Clutch master cylinder mounted and its line/bulkhead fitting made.
Then the brake master and lines!
Here you can see the fitting that goes out to the driver’s side front wheel.
And here is what inside the cabin looks like with all the bulkhead fittings and lines. Some aluminum dividers were whipped up to clean things up a bit!
After all that, rear softlines were made in a similar manner and everything got bled and checked for leaks. The system was air tight and we finally had a brake pedal!
Here’s a nice shot showing all the bling under the car including the front brake line installed.
- Likes 1
Leave a comment:
-
That's an R200, he more likely has an R160 or R180 diff. Subaru diff swap or OS Giken LSD is likely the way to go for the 510. I'm not a 510 guy, but I don't get the impression that R200s are popular for them.
Leave a comment:
-
that is nice.... my dad had 3 at different times when I was a kid - part of the reason I went dual webers on my 2002. great build so far.
Leave a comment:
-
Originally posted by Balleristic31 View Post
Differential is unfortunately open with 4:10 ratio. That will be addressed at some point…
I think this is the style you need
Originally posted by IRON-E View PostI really enjoy coming in here for all the updates. I'm glad you get to share this build with your Dad. Tell him I said hello and can't wait to do a shakedown drive in Algeles Crest when the car is ready.
- Likes 1
Leave a comment:
-
I really enjoy coming in here for all the updates. I'm glad you get to share this build with your Dad. Tell him I said hello and can't wait to do a shakedown drive in Algeles Crest when the car is ready.
Leave a comment:
-
Originally posted by 2mAn View PostLoving how this is coming along, is the metal dash and rear seat delete staying bare or is there a surprises in the works for that stuff too?
Rear-end time. 510s are very similar to E30s in that the rear suspension is a semi-trailing arm with inboard spring. The plan for this car is to convert to true rear coilovers which is much safer to do on 510s than E30s without reinforcement (according to my Dad at least, I told him we should box in the towers but he seems convinced).
First Dad dropped own the crusty old rear end. We have a running theory that the car was semi-submerged at some point, as evidenced by the insane level of crud all over everything.
All blown apart and semi cleaned up. No serious rust or damage on the trailing arms and subframe!
Differential is unfortunately open with 4:10 ratio. That will be addressed at some point…
Subframe getting prepped for weld-in camber and toe adjusters. Super substantial heavy-duty pieces!
Got everything all welded in!
Trailing arms got cleaned up and painted. Then sleeves for the spherical trailing arm bushings were pressed in and tacked into place. Original Datsun hardware was retained when possible. All bolts were media blasted and coated with high strength clear coat for a pretty cool looking finish.
As with the front wheel wells, the entire rear end of the car was stripped of its undercoating, inspected, and repainted in body color. Dad also made up a thin sheet aluminum cover to fill the gap between the sliced up fenders and the flares (all the horrific cavity foam was left over PO body work… real high quality stuff…). Results were very satisfying to say the least!
And some finished shots! Aluminum panels were riveted in place and sealed up with some seam sealer before paint.
Hmmmm whats this?
Time for the rear end to go back in. Poly bushings for the subframe and differential mounts.
And the money shots….
Rear Wilwood disc conversion!
And finally, a little teaser of the rear wheel fitment. You can really see the quality of the paint in body work in these shots as well!
Leave a comment:
-
Loving how this is coming along, is the metal dash and rear seat delete staying bare or is there a surprises in the works for that stuff too?
Leave a comment:
-
Let’s talk about the dash.
In these first few photos you can see the dash that came with the car. Basically the bent/twisted and bare frame of the original Datsun dashboard. Reskinning the original dash was an option on the table, but at the end of the day a full custom dash was really the only way to go.
Some more CAD work and we had a nice template to work from. Note the gauge placement mock up.
Oh look, real versions of the printed pictures! Stewart Warner was used for all but one of the gauges. These are period correct gauges and were used in the 510 Trans Am cars.
First piece of sheet aluminum cut and shaped.
Next the dash face was bent and formed.
Some bar stock brackets were fabbed up and tacked together.
And and more final fit with gauge mock-up. Note the steering wheel which will eventually be the replacement for the horrific parts store wheel that came with the car.
Now let’s cut some holes.
Looking good! More to come.
Leave a comment:
-
Next let’s take a look at some of the interior items. First off, the seats. As this car will be mainly driven on the street, have no rear seat, and a roll bar, the front seats needed to be sporty, but still comfortable enough to drive for long durations and fit multiple drivers/passengers. We never really liked the look of more modern Sparco/Recaro/Bride seat in 510s, and wanted a bit more period correct set of buckets. Like most of us, I browse craigslist daily for deals, and randomly ran across some interesting seats that I had never seen before. They were advertised as vintage rally seats, for less than what E30 sport seats generally run, so we figured why not!
As it turns out, the seats were being sold by a long time car buddy of my Dad who goes back all the way to his white 510 days! Small world stuff.
The seats are Paddy Hopkirk Carrera Recliners, a period correct seat designed by Paddy Hopkirk the legendary Irish rally driver. Perfect! Below is a photo that I found of them online before we had them reupholstered.
And after being reupholstered. The foam in the center is actually quite compliant so you sink into the seat bottom and the bolsters become much more aggressive/Recaro LS style. The upholstery guy didn’t do exactly what we wanted color wise, but they are definitely acceptable for now and go well with the tan. We haven’t exactly figured out how to incorporate the orange into the rest of the interior but we will probably do something on the door cards to match.
A bit of work on some angle aluminum and we have seat mounts! Some new sliders and mounts and the seats fit great.
The rear seat delete will be made out of sheet aluminum. After making a couple CAD (cardboard aided design) templates and a homemade sheet metal break we ended up with this:
The plain aluminum looked a little boring, so Dad borrowed this beast to help make things a bit more interesting.
First test bead rolled!
And some bead rolling on the top panel.
Much better! These panels will eventually be painted wrinkle black and the large seat back section will get bead rolled as well. Next post we will go over the custom dash setup!
Leave a comment:
-
so much aftermarket support for the 510s... cant get any of that stuff for the Roadster
Leave a comment:
-
You’re killin it dude. Keep it up. So fun to be able to work with your pops on this!
Leave a comment:
Leave a comment: