-
-
Awesome thread! You and I have a very similar set up car and time progression with our track days (had my first ever track day in September at lime Rock) so this was great to read through and looking forward to updates! Your car is coming along great!Comment
-
This weekend included one success and one failure. I got the new UUC Skid plate installed. This did require some cutting into the radiator support to give the top mounting plate enough surface area to mount. Other than that, the install was easy.
As for the failure. I took the car to a buddies house to see if we could fab up a way to create more ground clearance by picking the rear of the exhaust up. As you can see in the picture above, the exhaust is very low in the back. My buddy basically convinced me to just do a whole new exhaust and we would rig something up for the time being. Well our "fix" worked until the weight of the rear assembly broke the tac weld on the previously made exhaust hanger. So now I'm just as bad, maybe even worse than I was before. So in the future, I'm hoping to run some long-tube headers and a single, 2.5in exhaust with a muffler. Stay tuned for that...
I'm leaving for the track Friday, so more fun to comeComment
-
Syncro design works sells a 2.5" system. You would have to fit your pipes into in thought, Its designed for twin cam swaps.Comment
-
Back on track!
I had a great weekend with NASA-SE at Roebling Road. This track has such a great flow and many different ways to be fast. The new springs made a huge difference in how the car handles on track. A lot more grip in the corners. My best timed lap in my car was a 1:30.165. This was a great improvement over the 1:33 from my last visit there. At the end of the weekend, my instructor recommended me to be moved to DE2. That's him in front of me in the picture above. I need to get another SD card for my camera because I missed the fastest lap. I did capture a good lap of 1:30.4. I also got the chance to drive my friend's Spec E30 during one of my sessions. The difference coil overs, RR tires and good brakes makes is incredible. They timed me at 1:28.6 in his car which was a shock to me as he ran a 1:26.6 in his qualifying session. The car made it home in one piece which is the biggest achievement.
Please enjoy the following videos. The Spec E30 video shows me sliding around and saving it for a couple laps.
[/YOUTUBE]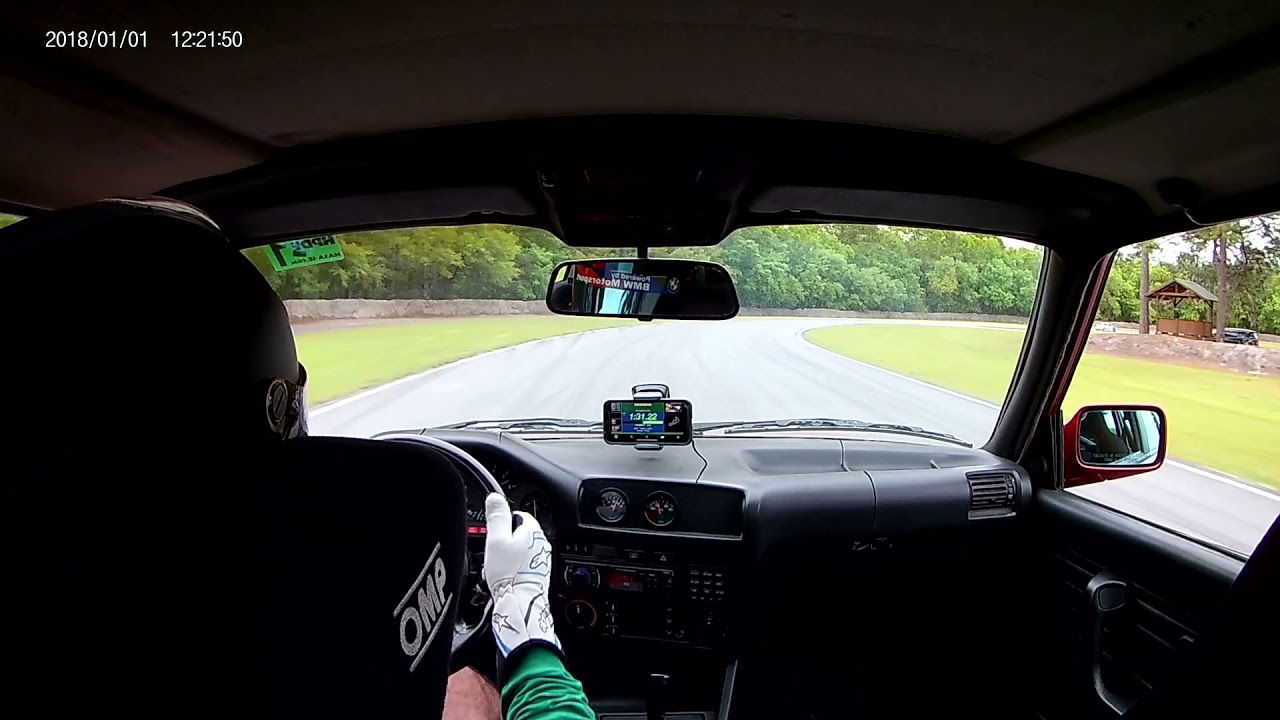
Comment
-
Looks awesome man! That’s so rad that you got to try a spec e30 right after your car to really get a sense of the differences between the two.
looks like a ton of fun!!
Also, random question... where did you get your bmw helmet visor sticker?Comment
-
Yeah it was a blast! We are planning on doing an enduro in his car later this year so I needed to get some seat time.
As for the visor decal, I got it off EBay. https://www.ebay.com/itm/BMW-Motorsp....m46890.l49286Comment
-
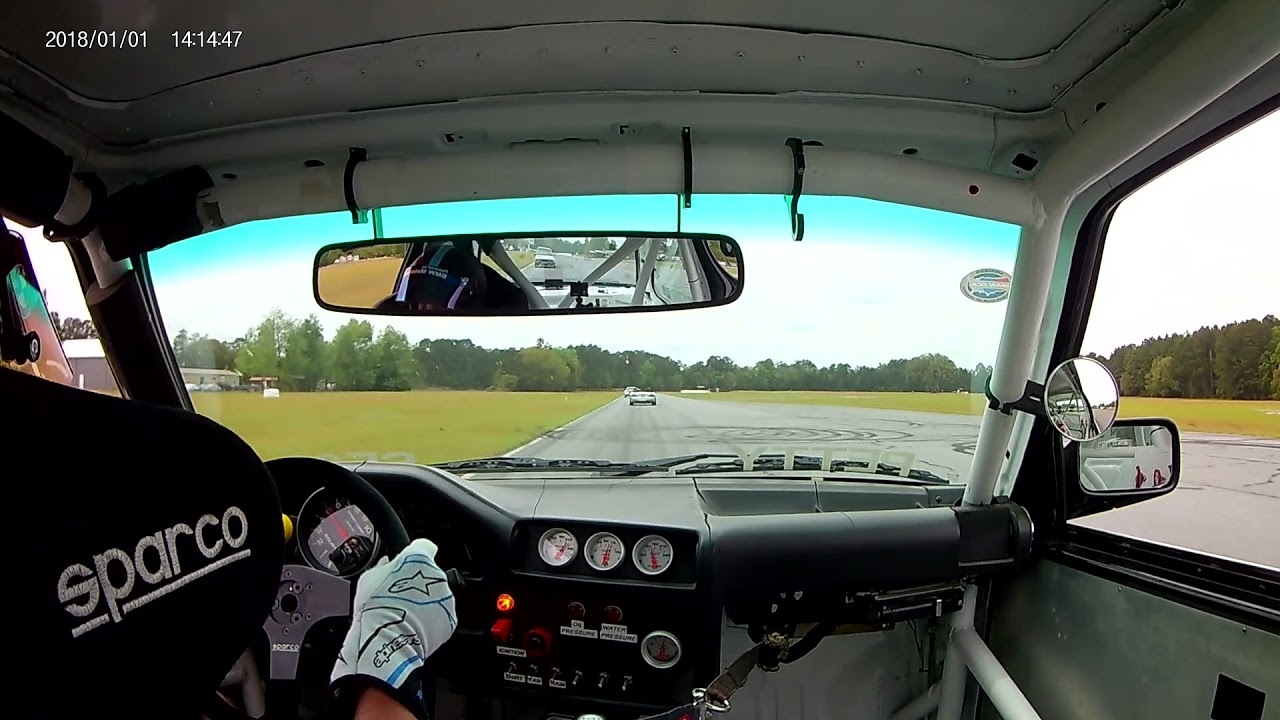
I took a little break from this thread due to life events, but the wrenching and racing still carried on. I'll update as I can to get caught up. But to give a preview, I participated in my first wheel to wheel race in NASA-SE's TREC series in my buddies SPECE30, drove my car at Road Atlanta for the first time, and I'll leave the biggest accomplishment for a surprise later.
As for my first race. NASA-SE holds a 4hr endurance race for their TREC series at Roebling Road, every year in July and/or September. So in July of 2021, my racing buddy decided we should give it a try in his SPECE30. For TREC, drivers are not required to have a racing license to participate, just the appropriate safety gear. In preparation for the race, we took the car Carolina Motorsports Park for a shakedown and for me to get some seat time. After the shakedown, we were set to go racing. Ed would be starting the race, I would pick-up the middle stint and Dave would bring it home. Each driver would do roughly 1 hour and 20 minutes in the car. Ed got us up to 2nd in our class (TREC4) by the end of his stint. Once I got in the car, the field was fairly spread apart, so the only thing I had to do was drive. My session was pretty uneventful, with only one off track excursion. I maintained our place during my drive and handed the car off to Dave to bring it home. Even with a spin from Dave, we were able to clinch 2nd in class and 3rd overall. Not bad for my first race and a nice little beer mug to remember it by. This was another dream achieved for me to just get to race.
The link is to a quick video of the two offs we had during the race
Last edited by GSU_ENGR; 09-26-2022, 08:52 AM.Comment
-
My RTAB's reached the end of their hard life so I decided, what better time to replace them and do a whole bunch of unnecessary work at the same time. Somehow I came to the conclusion that removing the subframe and diff all at the same time would be my easiest option, so that's what I did. Subframe came out ok, I had to unbolt the diff from the subframe while leaving the axels attached to clear the driveshaft along with some finesse.
Took the trailing arms off of the subframe, removed the old bushings and then prepped everything for paint.
Comment
-
Some before and after:
I'm really pleased with how all of this turned out. I do have a lesson learned. I read somewhere that with aftermarket bushings you can torque the trailing arms before you put them in the car. This did not work for me. I torqued them on the ground, installed everything on the car and noticed the car now sat about 2" higher in the rear. WTH. I even added some condor spring pads in replacement of the factory rubber ones to lower the car. So, what I learned was that torquing the bolts on the ground set the preload on the suspension. The next step was to loosen the trailing arm bolts, get the weight of the car on the suspension and re-torque the bolts. Problem solved but torquing the trailing arm bolts while they are in the car is a real PITA. Took the car to Road Atlanta last Friday and all is good!Comment


Comment