
August 21st, 2020
Over the past couple days I spent some more time working on the M3 in various ways.
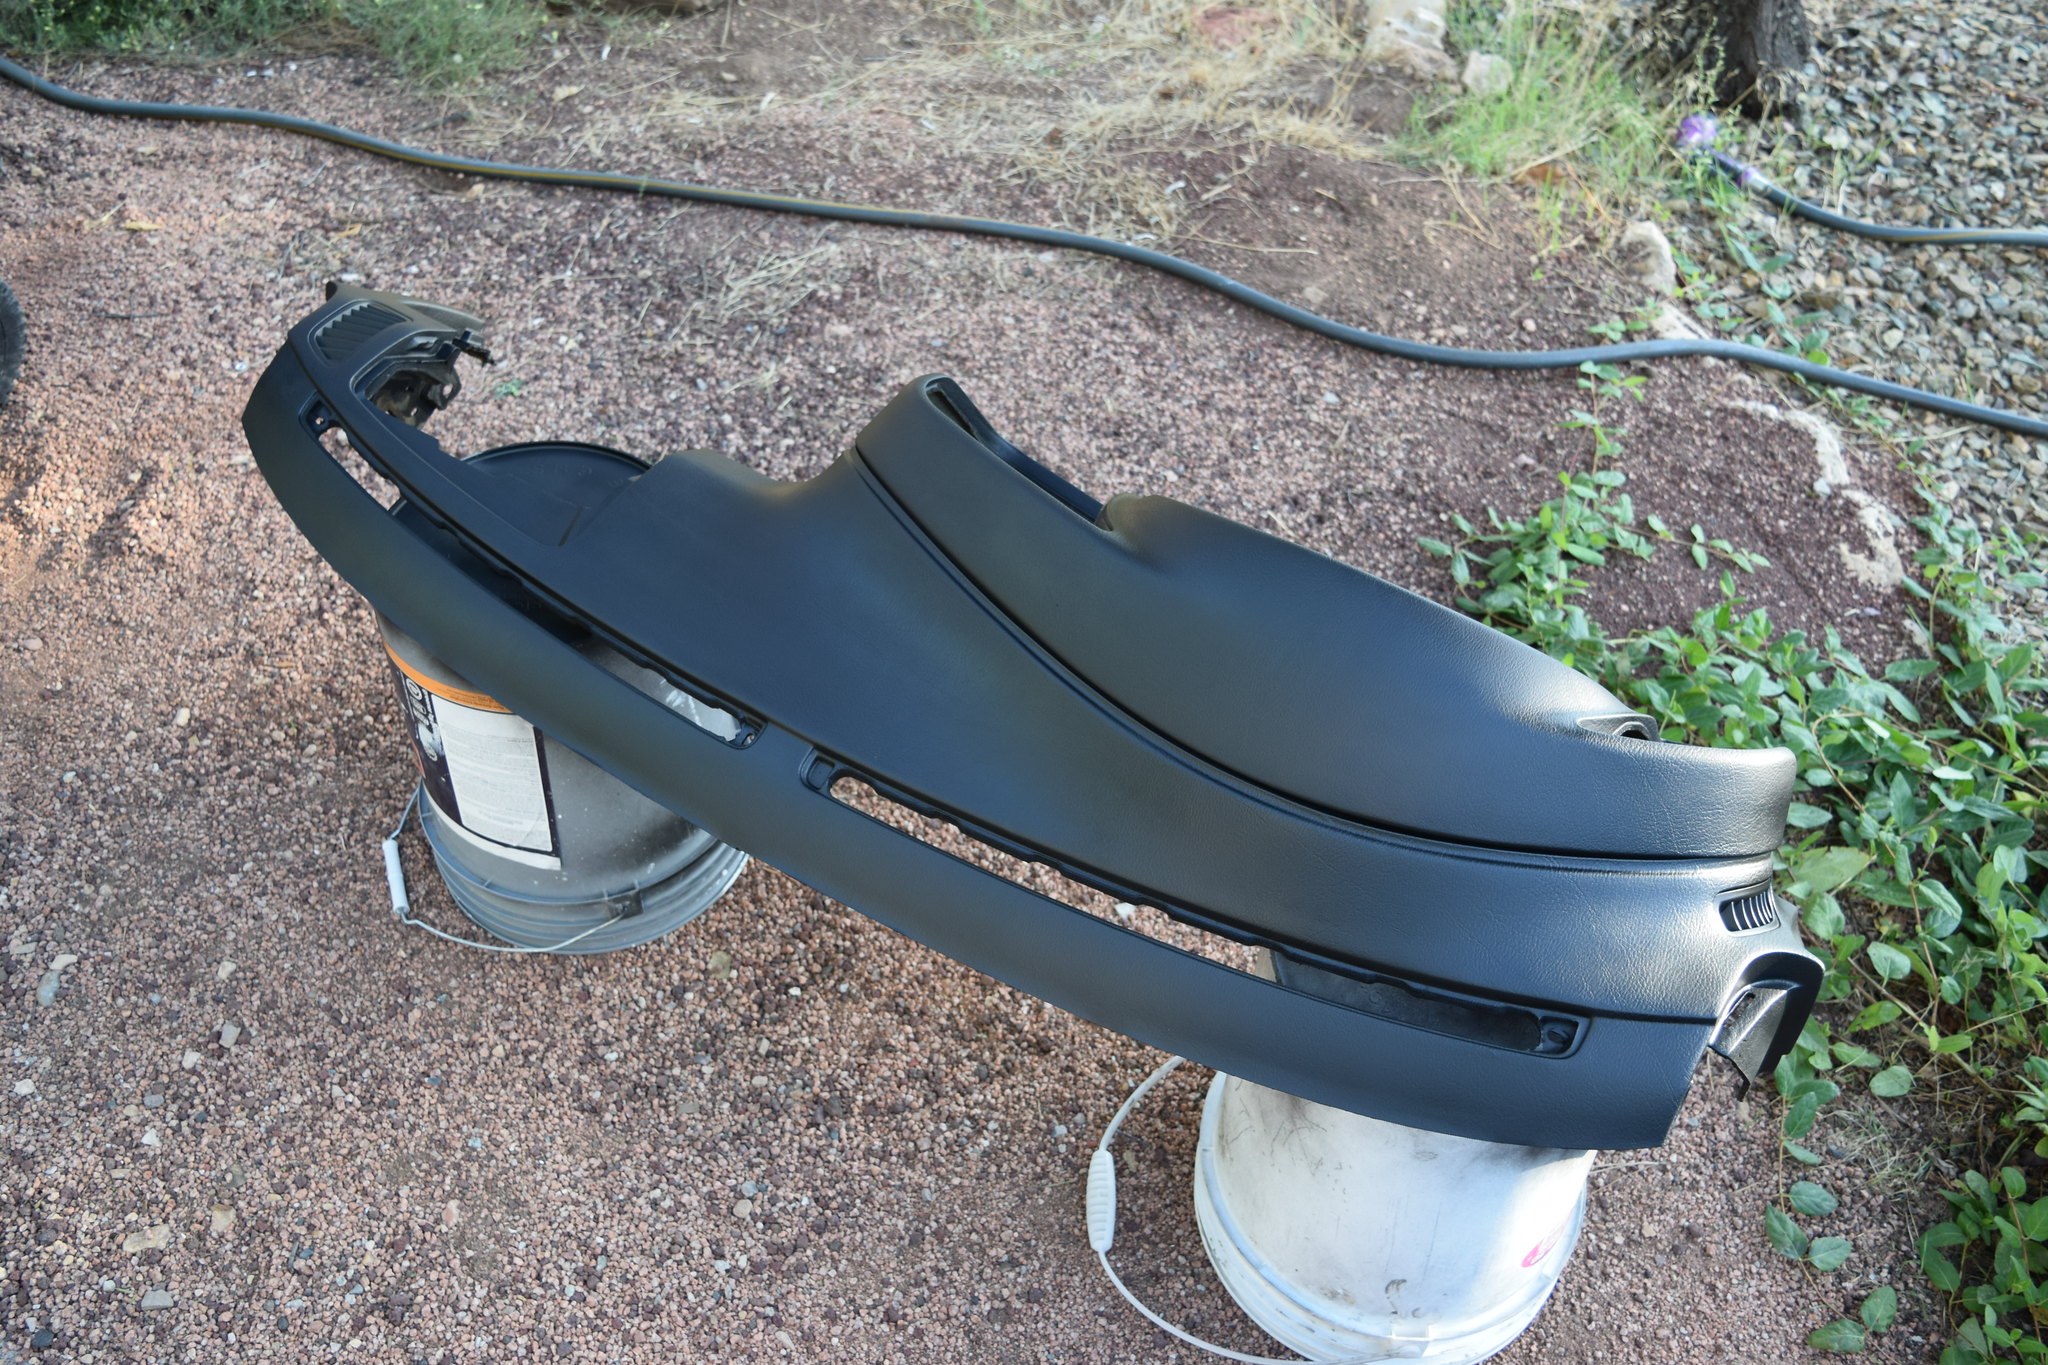
Realized I hadn't updated the B pillar trim while working on the interior, so I pulled that out, disassembled it, and changed its color to black before reinstalling.
This is what they looked like before, though I haven't taken an after picture yet.
 17 - Faded B Pillar Covers by Michael Rickerd, on Flickr
While doing this I knew my seat belts needed attention. They look fine, but they retract slowly, especially near the end of the belt, a problem which is common in many cars.
This led me down a deep rabbit whole of opening up a seat belt, exploding a strip spring everywhere, finding the patent for the design to understand how it functioned, to coming up with and then documenting a disassembly/reassembly guide, learning how best to clean them, then to reinstalling them.
This all went well, all in all 5 hours for me plus another hour from a buddy to help control the springs.
And at the end I reinstalled everything I was feeling pretty good. That was until I went to try out the seat belt, and...... all that work barely made a difference. Passenger side still can't pull itself all the way back in, though the drivers side now barely does it on its own.
So all of that work for very very marginal gains. Oh well. I'll probably still create and post up the how-to guide for the seat belt mechanism just so it exists on the internet, but I'll be sure to say that it probably isn't worth it.
Anyways, I went to the local JY and was able to find a good condition blower motor door to finish my heater box refresh.
I also scooped up a black center console from a 4 door. The bases are the same, but the shifter surround portions are different, as the slots on the sides accommodate (2) extra switches. It is in far better shape than the one that came with my car. So it got me thinking about what I could use those (2) extra clean OEM switches for. One thing has come to mind so far, but I'll keep stewing on it.
After the JY I went to a friends house to help him diagnose non-functioning brake lights on his 1971 Plymouth Duster. When I got there he insisted on taking a spin in his recently finished 69 Camaro, 350 small block with a 5 speed. And he let me drive it.
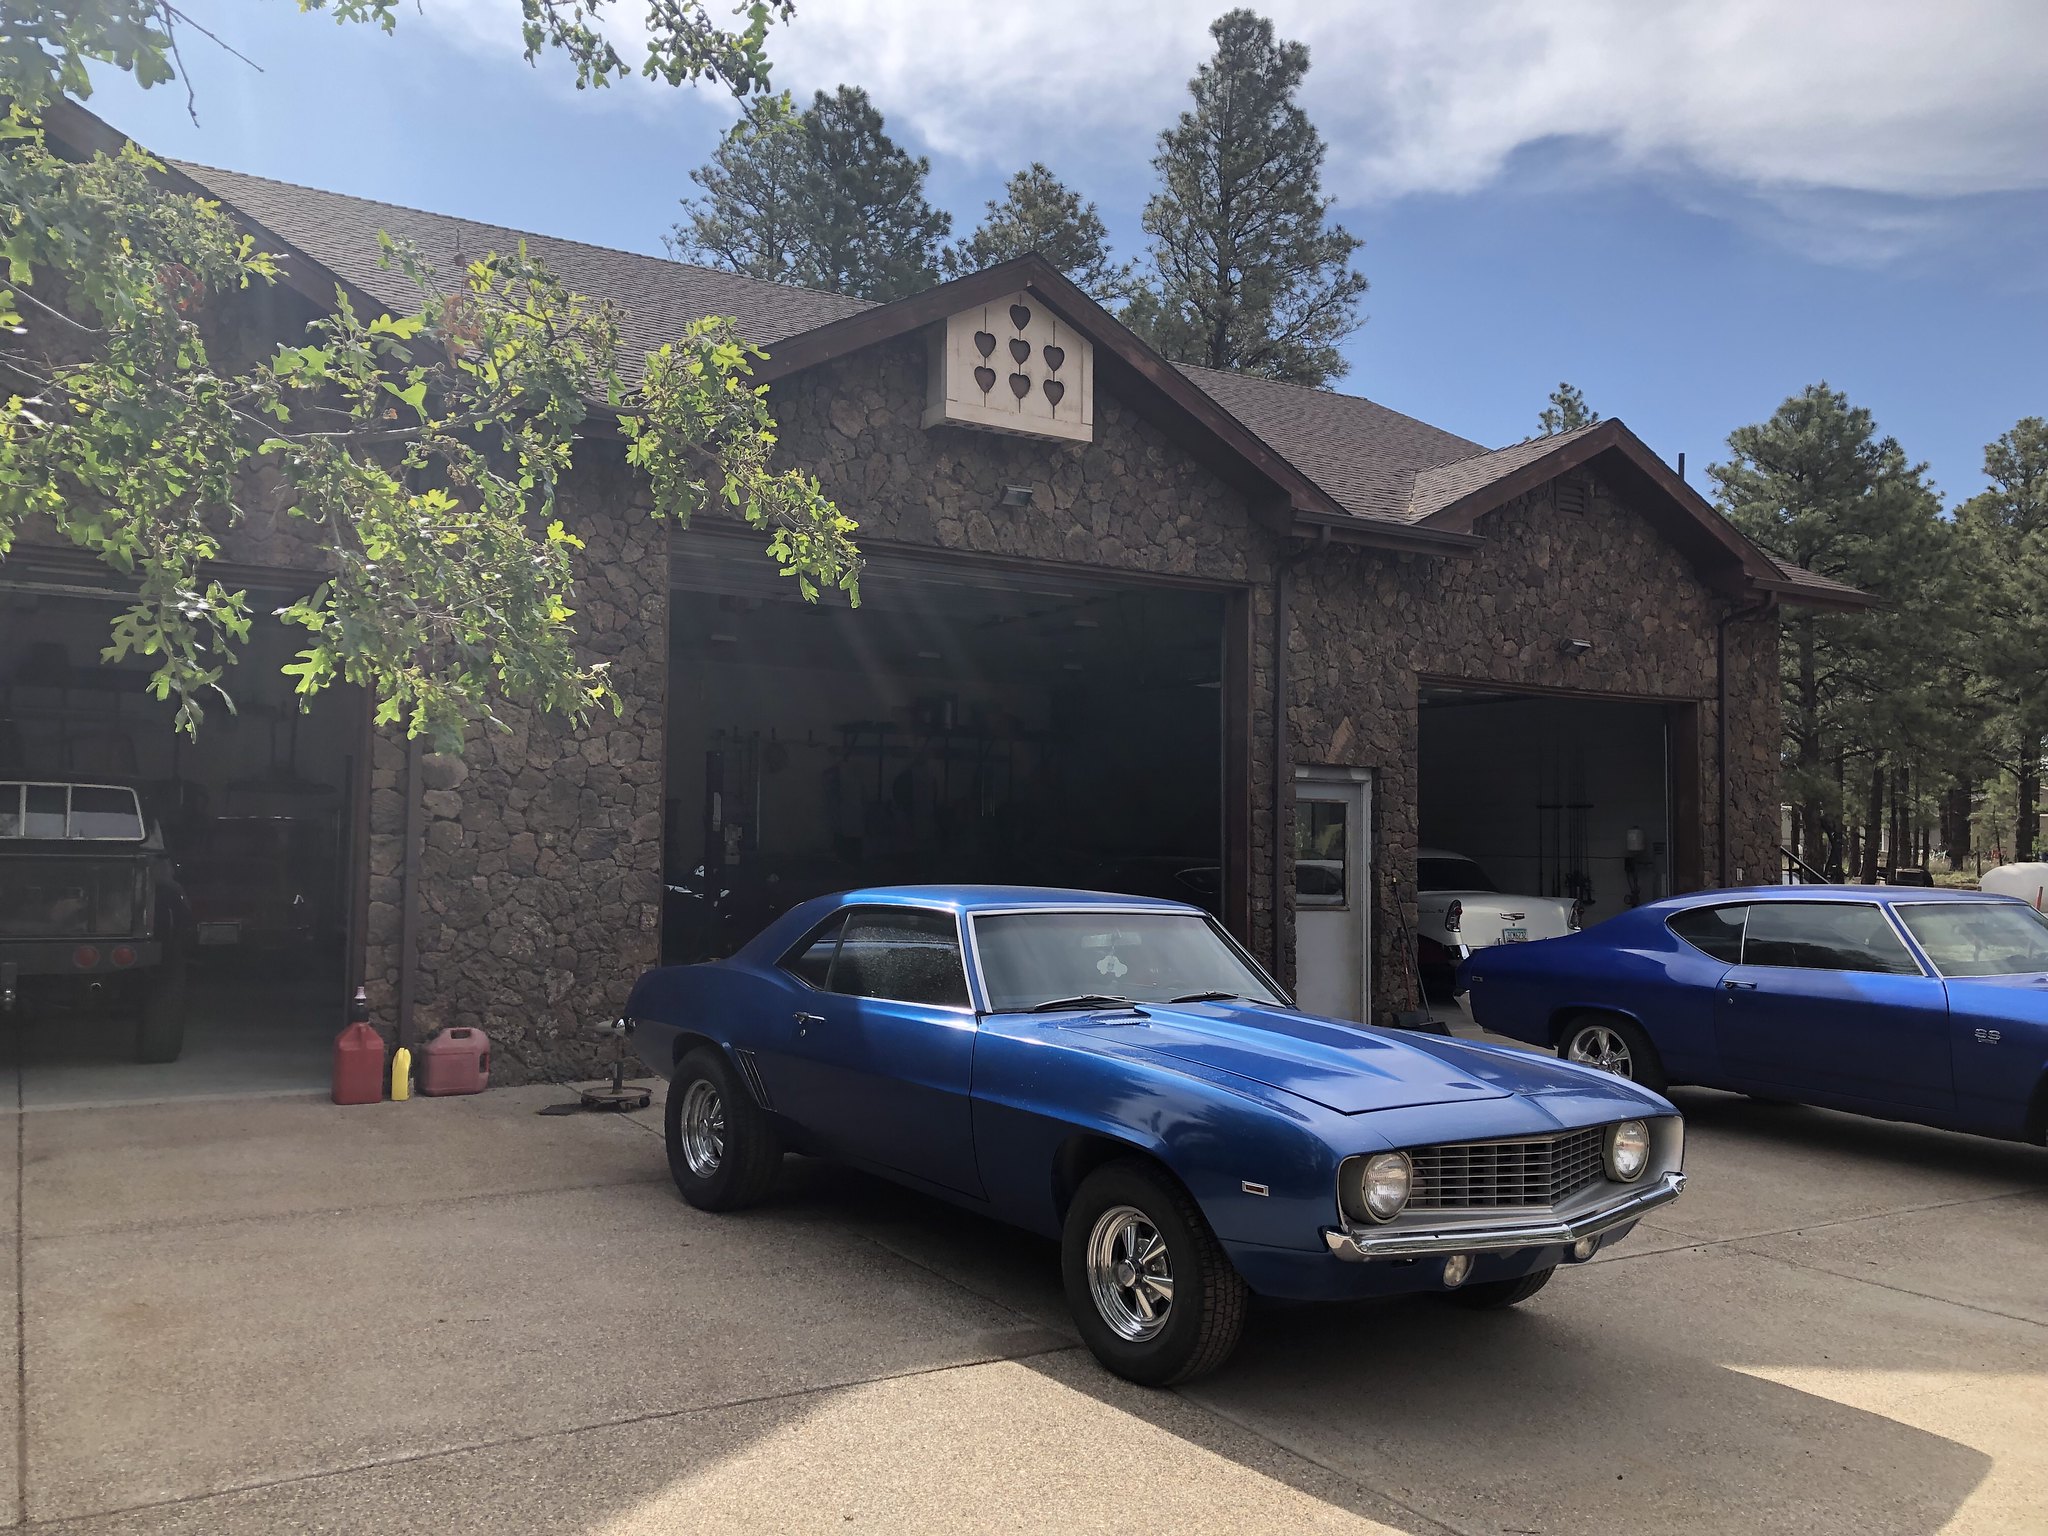 Untitled by Michael Rickerd, on Flickr
It was a hoot to say the least, offering plenty of power on hand to have fun with. I can definitely see the appeal associated with these muscle cars.
The garage in the background of the photo above is most likely where I will be storing and working on my M3 during the winter months. I know. How sad. Haha
After helping him out I spent part of the afternoon finishing the heater box, and I did a bit more work to it this morning. All that is left before re-installation into the chassis is cleaning the space in/near the firewall that is easier to access now without the box in the way. It's plenty dirty in there.
Until next time.
Approximate Hours Invested in Project Since Purchase: 100 (Woot!)
Over the past couple days I spent some more time working on the M3 in various ways.
Realized I hadn't updated the B pillar trim while working on the interior, so I pulled that out, disassembled it, and changed its color to black before reinstalling.
This is what they looked like before, though I haven't taken an after picture yet.
17 - Faded B Pillar Covers by Michael Rickerd, on FlickrWhile doing this I knew my seat belts needed attention. They look fine, but they retract slowly, especially near the end of the belt, a problem which is common in many cars.
This led me down a deep rabbit whole of opening up a seat belt, exploding a strip spring everywhere, finding the patent for the design to understand how it functioned, to coming up with and then documenting a disassembly/reassembly guide, learning how best to clean them, then to reinstalling them.
This all went well, all in all 5 hours for me plus another hour from a buddy to help control the springs.
And at the end I reinstalled everything I was feeling pretty good. That was until I went to try out the seat belt, and...... all that work barely made a difference. Passenger side still can't pull itself all the way back in, though the drivers side now barely does it on its own.
So all of that work for very very marginal gains. Oh well. I'll probably still create and post up the how-to guide for the seat belt mechanism just so it exists on the internet, but I'll be sure to say that it probably isn't worth it.
Anyways, I went to the local JY and was able to find a good condition blower motor door to finish my heater box refresh.
I also scooped up a black center console from a 4 door. The bases are the same, but the shifter surround portions are different, as the slots on the sides accommodate (2) extra switches. It is in far better shape than the one that came with my car. So it got me thinking about what I could use those (2) extra clean OEM switches for. One thing has come to mind so far, but I'll keep stewing on it.
After the JY I went to a friends house to help him diagnose non-functioning brake lights on his 1971 Plymouth Duster. When I got there he insisted on taking a spin in his recently finished 69 Camaro, 350 small block with a 5 speed. And he let me drive it.
Untitled by Michael Rickerd, on FlickrIt was a hoot to say the least, offering plenty of power on hand to have fun with. I can definitely see the appeal associated with these muscle cars.
The garage in the background of the photo above is most likely where I will be storing and working on my M3 during the winter months. I know. How sad. Haha
After helping him out I spent part of the afternoon finishing the heater box, and I did a bit more work to it this morning. All that is left before re-installation into the chassis is cleaning the space in/near the firewall that is easier to access now without the box in the way. It's plenty dirty in there.
Until next time.
Approximate Hours Invested in Project Since Purchase: 100 (Woot!)


Comment