Good work. I'm wondering about your removal process - was the rear of the car resting on the ground (on the tires) or did you have it supported as well? I was thinking of using ramps to get additional height.
What kind of height do you think you needed at the frame rails below the doors in order to get the power unit out on the dolly?
M54 Madness, the remix
Collapse
X
-
I've had parts back from Tyler for over a year now, exciting to finally install them. Fortunately everything is fitting like a glove. Modified front subframe already has the tabs sized for e36 steering rack, no spacer required. I also sent him a pair of generic Raceland headers which got his blessing.Leave a comment:
-
Removal was quick and painless.
My only mistake was that I overlooked the throttle cable and clutch slave line. No big deal...
I found that the dolly height of around 4" left plenty of clearance to access all bolts once the engine was lowered to rest on it. I raised the body by placing one jack on each side of the body, under the rail beneath each door. It was necessary to tap and pry the subframe after the body was raised the first several inches because the alignment pins were causing it to hang-up.
The engine was also not perfectly balanced on the dolly so it tipped a little.Leave a comment:
-
The sub frame has a shape that will allow the bolts to go in. May I suggest using some spare sub frame bolts and cut the heads off (I have 10mm threaded rod I cut in pieces). Insert the cut bolts/rod into the two rear bolt holes that have the alignment pins. This will "guide" the sub frame into the pins much easier than without.Leave a comment:
-
Begin swap!
So I have everything unbolted/removed. driveshaft, exhaust, radiator, A-arms, sway bar and steering shaft. Fuel lines, grounds, etc, etc.
So my plan is to lower the the car back onto the furniture dolly, unbolt the remaining two bolts in the subframe and the two 13mm for tranny mount.
It all seems pretty straightforward. I assume I'll have clearance to reach the subframe bolts with the body lowered? The furniture dollies are only about 4" tall so I'm guessing I may need some wood spacers.
I'll have it out this weekend, fer sure.Leave a comment:
-
That's kinda how I imagined it. Jordan's post is good and to his point, I've always removed the hood and wouldn't need to like this. He said "no hoist required..." and if I can avoid that it resolves a lot of logistics, except how to move motor from engine stand to furniture dolly and vice-versa?
Would I be able to raise car body with a jack and progressively get it higher with wood blocks until I can pull the motor clear?
Would I lower the motor onto the furniture dolly after disconnecting drive line, exhaust, etc by just lowering the body off the jackstands with the dolly under the motor?
I like the concept, just need to work details.Leave a comment:
-
Furniture dollies are awesome. I have about 10 or 15 of them around the shop. Even made a giant one that a suspension-less car can go on, and one that's 3'x6' that works great for sliding drive trains in.Leave a comment:
-
I would assemble the motor, trans, subframe and everything all together and install it all from the bottom if you have the means to do it this way. Im quoting the post that Jordan did showing how his all went it in
My neighbor wandered on over this evening to help me lower the engine off the stand onto the furniture dolly. Between the two of use we just managed.
With some scrap seat belt between the lifting loops, and a 6ft 2x4 through the center we easily shouldered the load and lowered it to the dolly. Easy peasy.
6spd specific flywheel and new clutch kit installed.
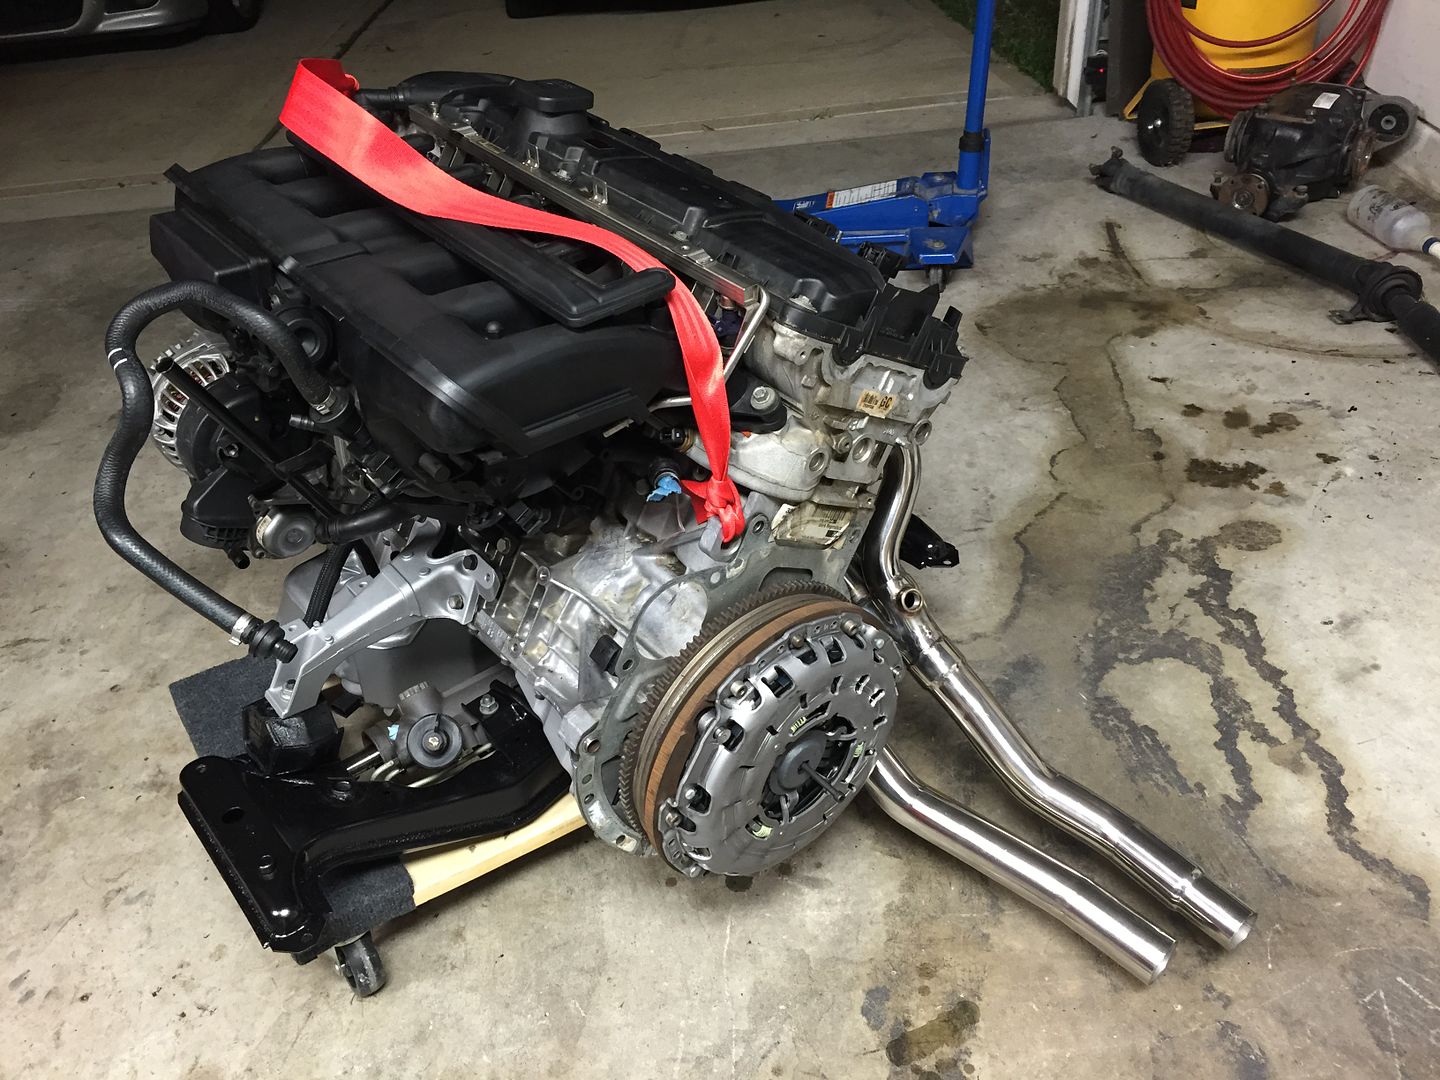
Transmission and starter installed, so much easier to slide together here than try to bench press under the car.
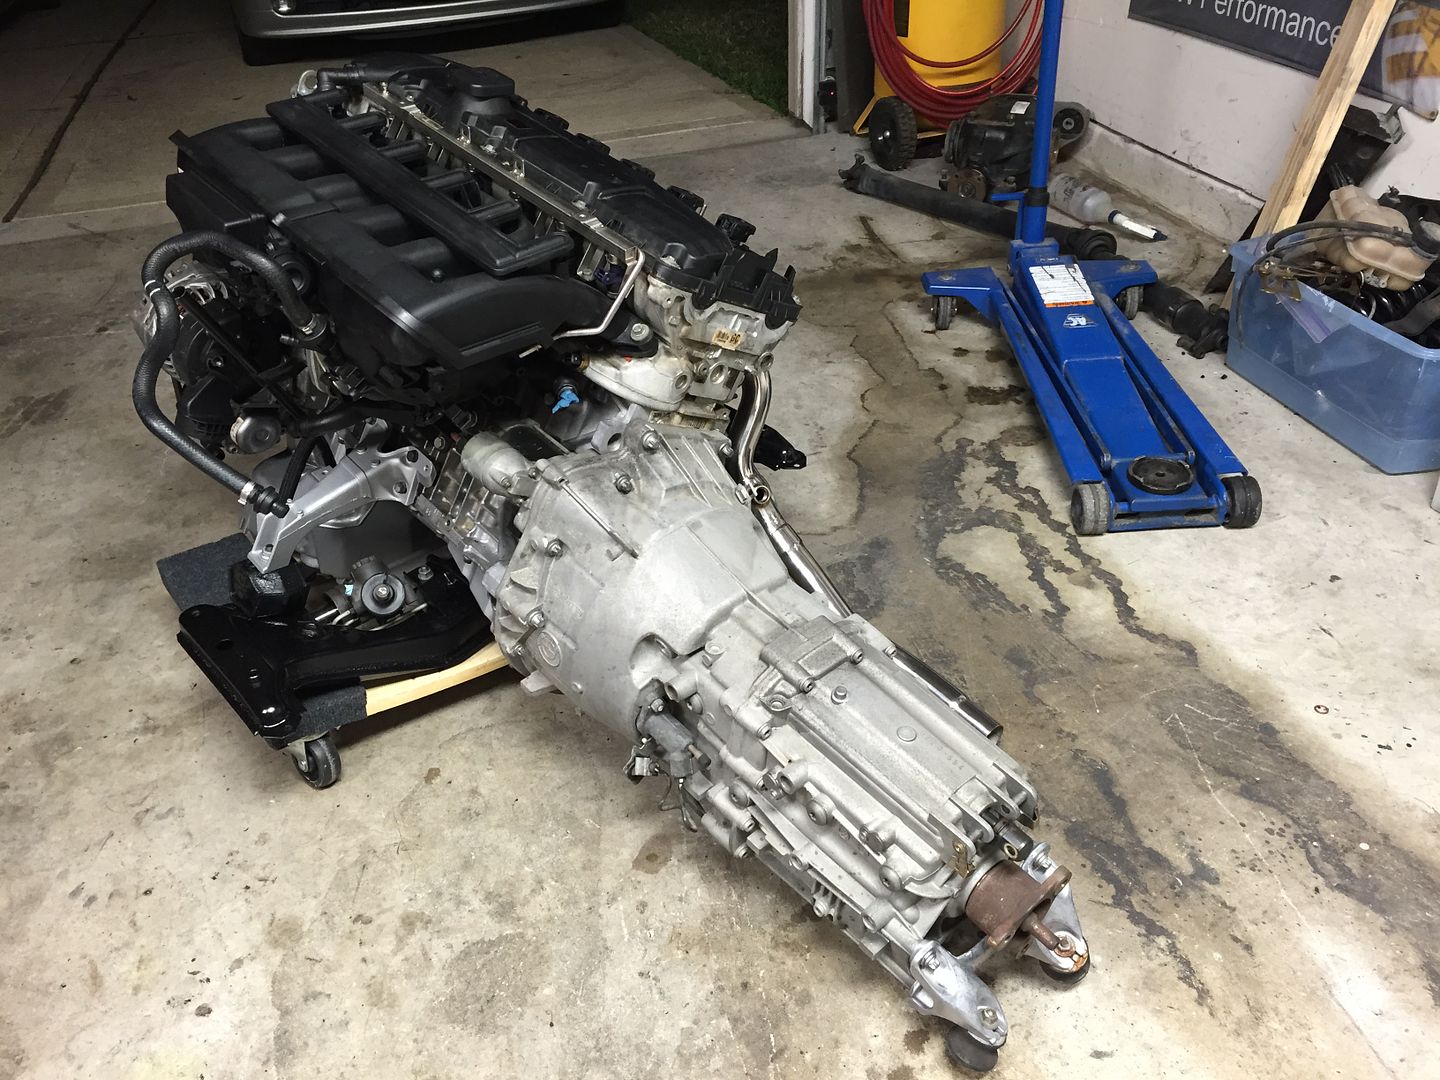
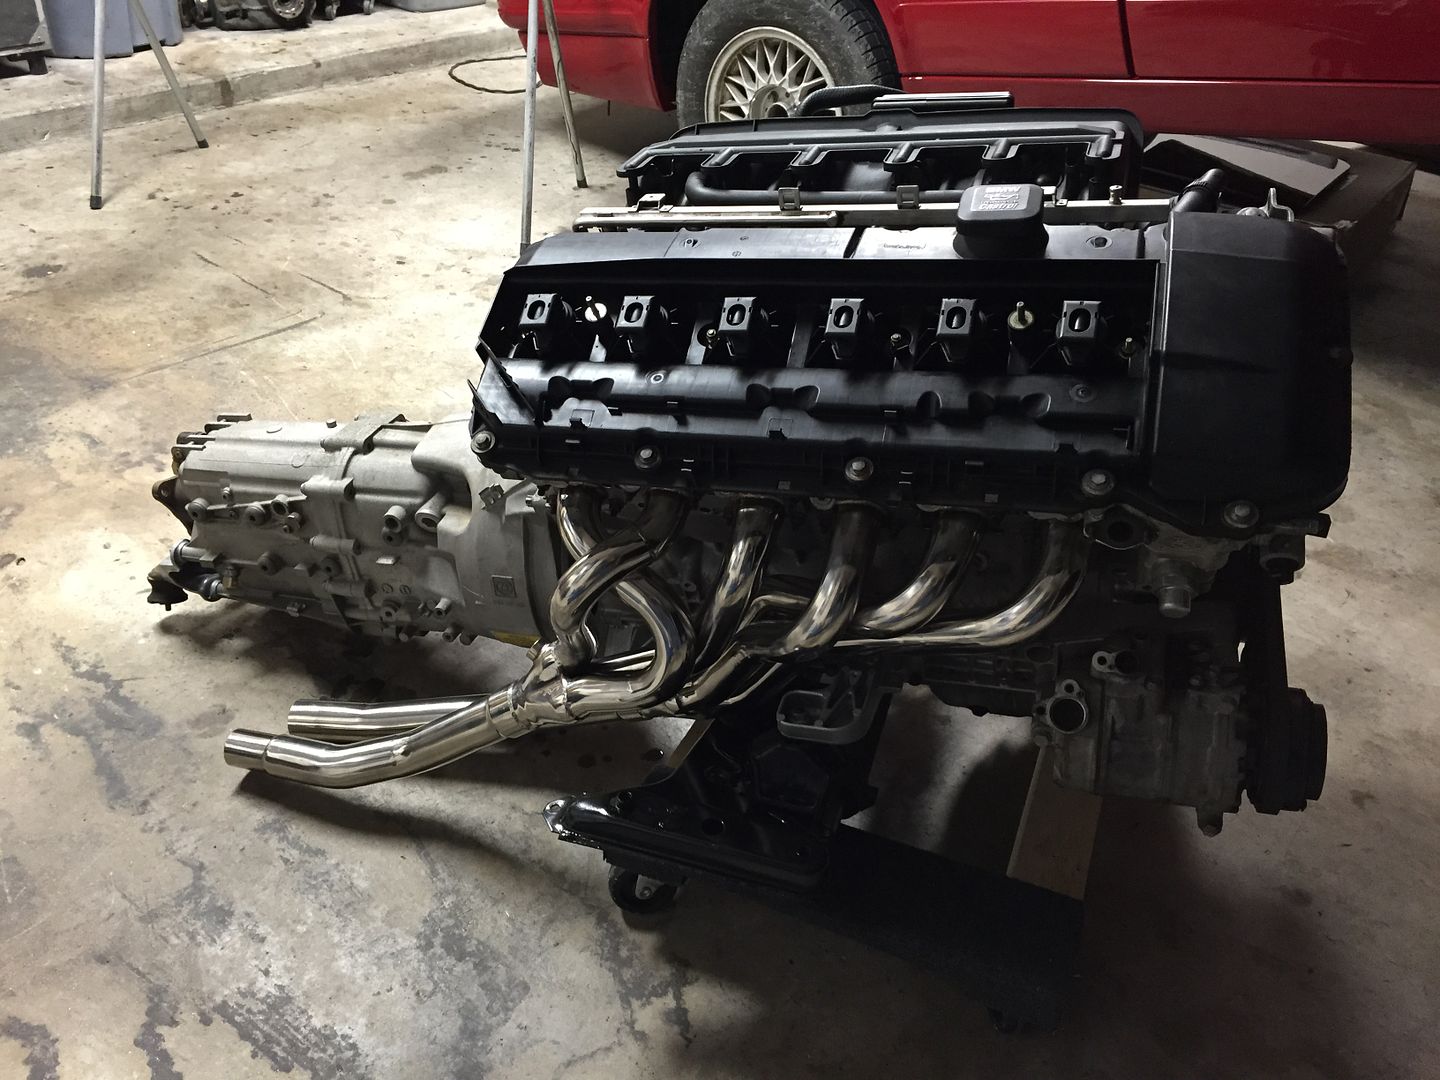
Rolled under the vehicle.
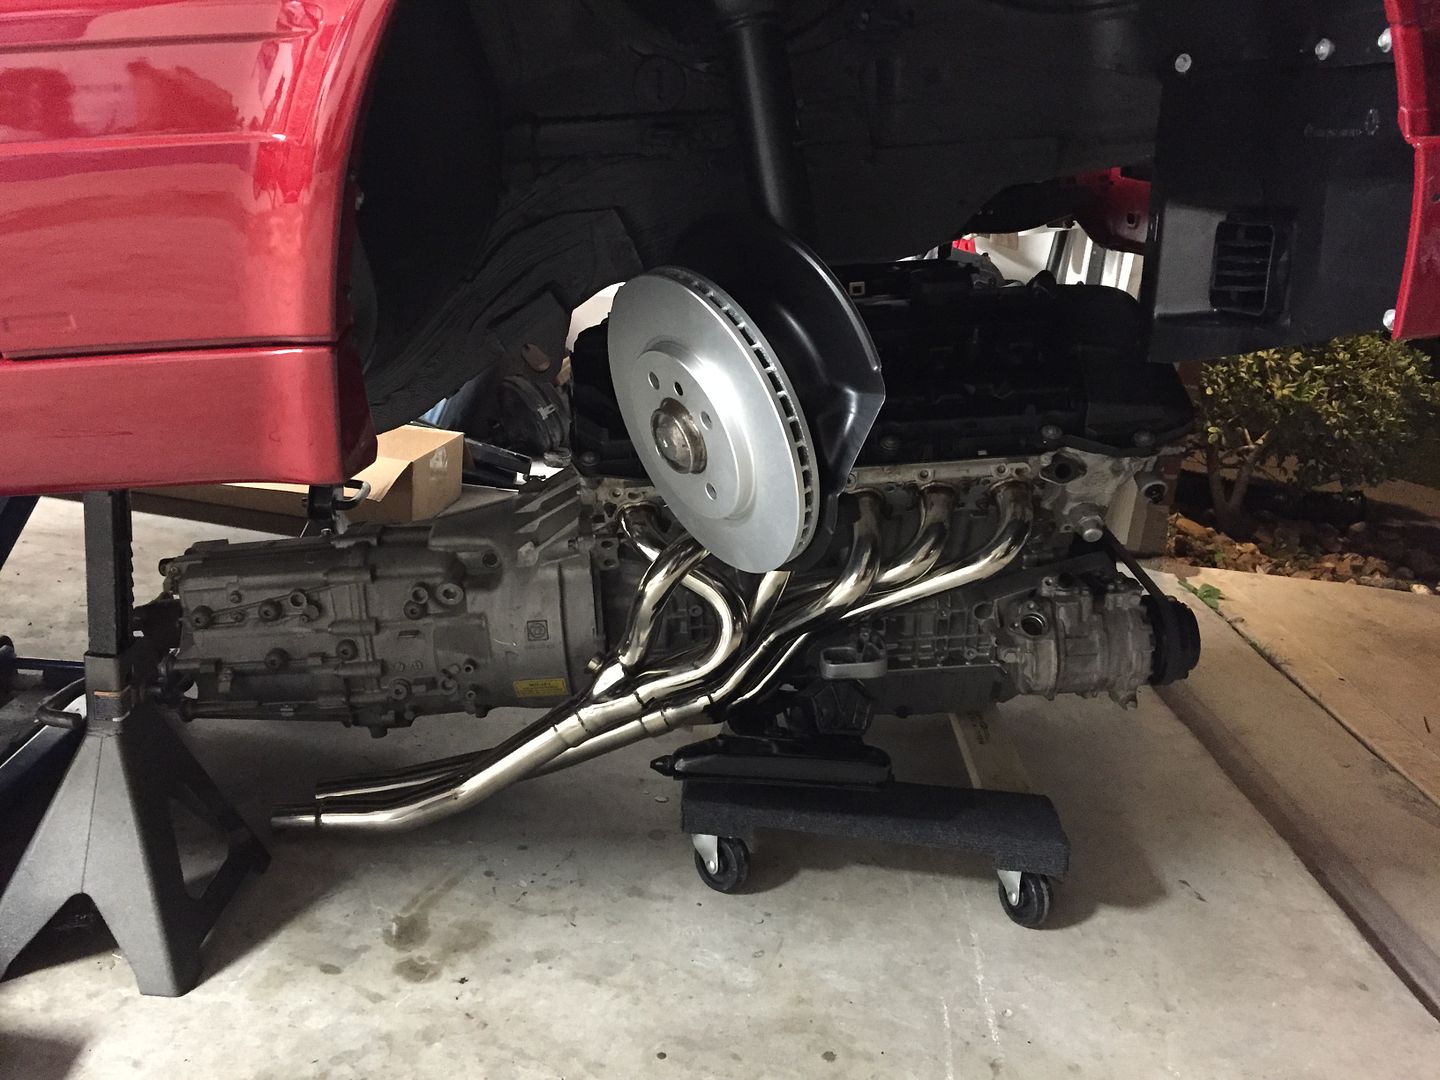
Then it was as easy as lowering the car slowly and controlled with my jack down over the powertrain package. No removing the hood, no paint damage, and no hoist required!
Engine installed with subframe bolted up to the body.
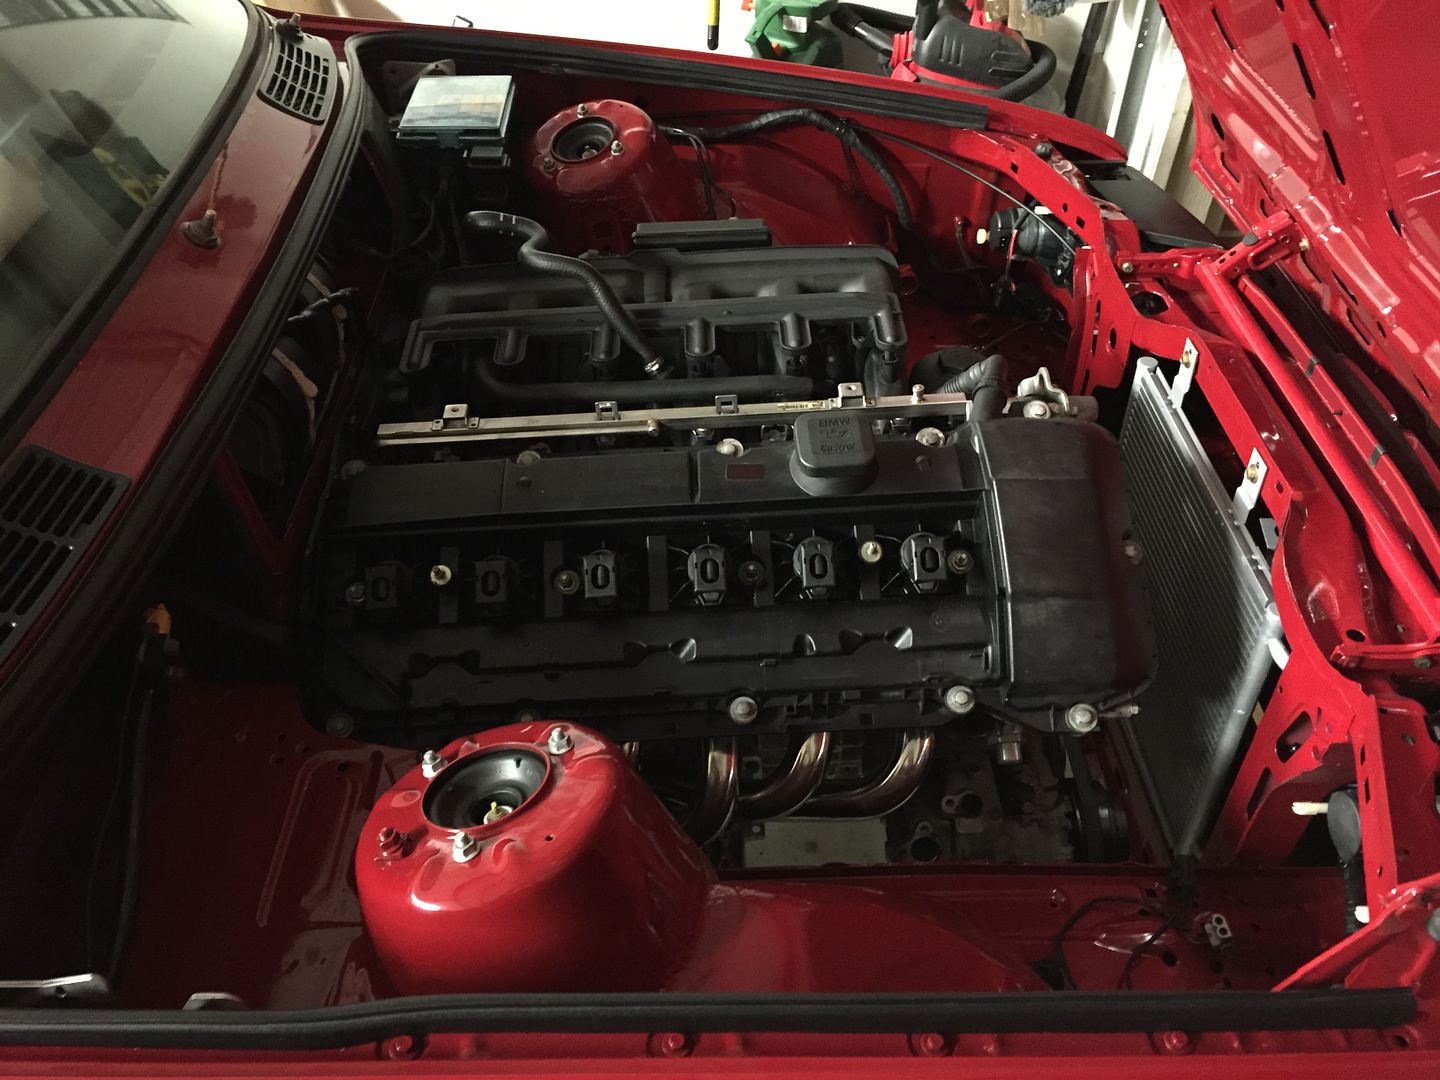
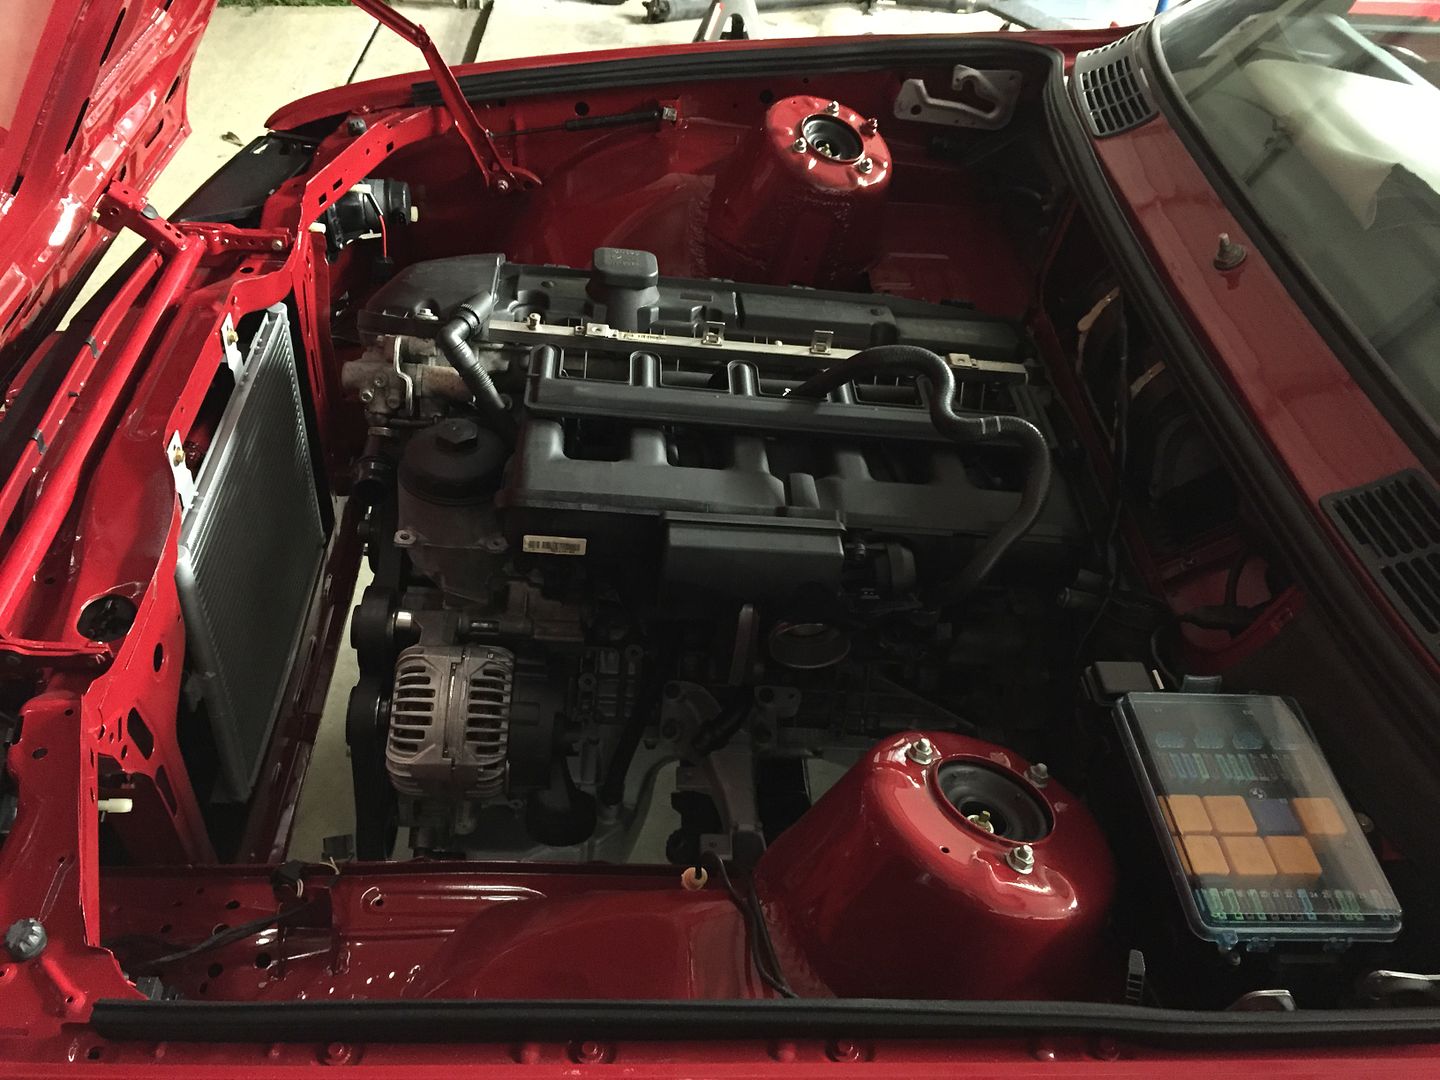
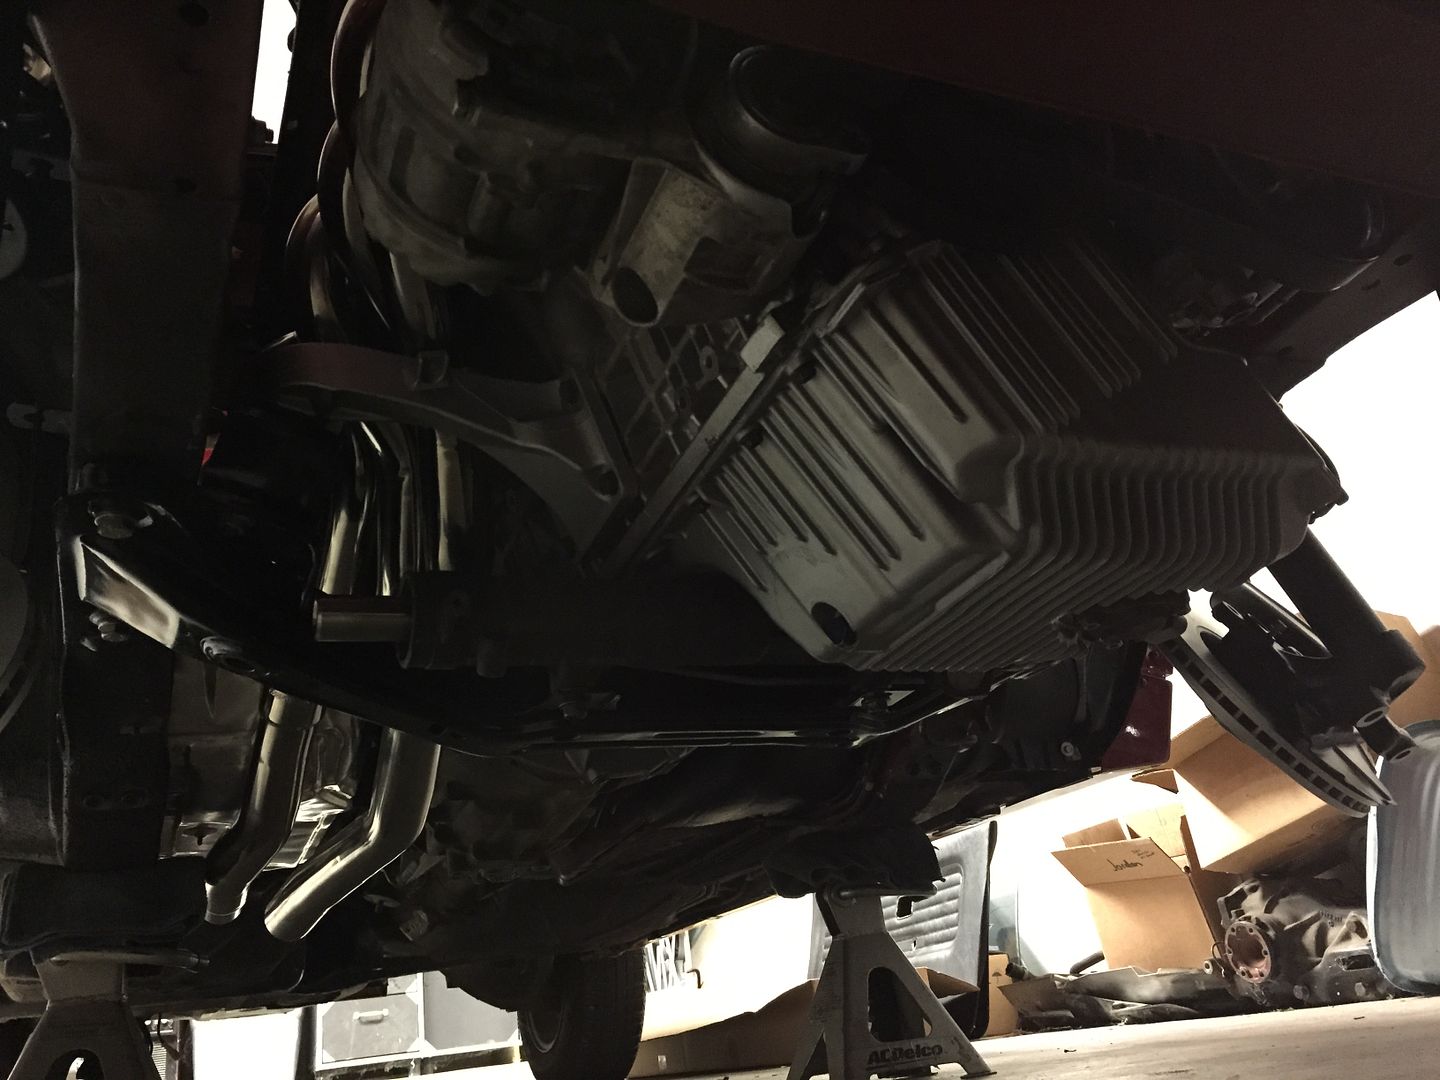
Some might chuckle at the furniture dolly method, but I'll be damned if it didn't work slick as hell.Leave a comment:
-
I prefer to pull them out the bottom. Get everything disconnected except the sub frame bolts. Support from the bottom and remove the last 4. Then you can use an engine hoist with a strap on the bumper to lift the car off the drive train. Usually I do it on a floor lift, but have used an engine hoist many times at home, and once at the shop when the lifts were full.Leave a comment:
-
Ok, question:
I've always pulled my motors with a crane and lifted forward and up. In this case, I'll also need to change my subframe for the ArcAsylum rear oil pan modification.
Is it still better to lift the motor or should I think about removing with the subframe? I've just never done it that way.Leave a comment:
-
I'm down to final details before starting the swap. I connected the MS3 yesterday and the nice thing about it is that I can test almost all of my sensors and systems before actually installing the motor. Fuel injectors fire appropriately, the coils spark (which is a big win, because with the Toyota igniter box was kinda complicated..). Fuel pump gets power on command. The only thing I couldn't test is my crank signal because the MS3 is still configured for the VR sensor in the old motor, and this one has Hall which will require some hardware configuration.
I also need to clean the wiring now that everything is verified working.
Swap in a few weeks??Leave a comment:
-
Motor is 99% wired. I have a few small details, like adding some pins to the C101 because it came from an older car.
Re-creating the entire engine harness in megasquirt is kinda time consuming. I'll need to power the engine and "run" it on the stand to test that the main relay and and all of the connections are doing what they should be. I should be able to turn it by hand and see the crank signal, etc.
I'm really hoping to install it in the next 3 months.Leave a comment:

Leave a comment: