

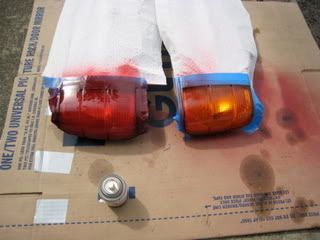
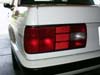
Haven't read through all of this, but the issue isn't that they can't be sprayed from the inside and turn out red, the issue is that there's no way to get to the corners (you'll notice the C shape i'm talking about if you look at them). What my old roomie did was put a light coat on the inside and a light coat on the outside and a little thicker coat on those C sections. Turned out pretty good, reduced the amber you saw with just it on the outside.
-
-
Technically no, altering the lights to anything but red or clear is illegal. Altering the reverse is bad too, aside from general ascetics thats why i left mine un-tinted. Altho running euro trim is illegal too, dot requires all cars to have an amber sidemarker in the front and a red in the back. But no one seems to care about that either =]-Alex

Comment
-
If I'm redoing them will acetone mess up the finish or is it safe?88 325is

Comment
-
posting some updates, since updates are good :)
first time go around
products
- testor candy apple red
- duplicolor clear coat 1 coat
human error
- didn't know how to spray paint 2.5 years ago.
- never polished or sanded or wax.
- rarely wash the tails when I wash my car
result
- faded after 2.5 years. flaking only recently
- it definitely faded from sun exposure
- no garage, I park outside
second time go around
will be using
- metal cast red
- nightshade vht
- duplicolor clear 3 coats
will also be
- wet sanding, polishing, and all the shabang.
One thing I did notice since I still have some left over of the testor.
the advantage of using duplicolor is that they have the fan nozzle. It beats the hell out of the regular spray can with the splotch sprayer found on the model paint cans.
will post pics when done.Comment
-
Duplicolor's rattlecan nozzles are amazing. They deliver the best application of any spray can I've ever used.Comment
-
might be a repost but what the hell. it might help some one.
all read tail light diy right up:

this guy has some other cool diy stuff on his page
sigpic
"The bitterness of poor quality remains long after the sweetness of low price is forgotten."
Comment
-
From what I've seen in real life Metalcast is a much better match than Testors anyways.88 325is
Comment
-
I'll hit some pictures up later, still in the process of doing this. but the duplicolor spray nozzle is must better than when I was using the testor. The paint match I think is about the same. I dont think one matches better than the other, it depends on the person doing the spraying.
I hit it with some vht nightshade after the metalcast and will do two or three coats of clear after that. In general the metalcast I will say is easier to work with than the model paint. I spray too thick on one of them and I was able to easily wet sand and polish down so the two tails look the same. I dont recall the testor being as easy to work with. I remember trying to sand it down when doing the testor and having to respray because the model paint tend to flake when sanded.
Nightshade is difficutl to get jsut the right shade. It seems like its all or nothing with the night shade. You can barely see the difference to a little too much tinting. well thats jsut my experience.Comment
-
great write up i am gonna be doing this very soon should look good on a henna car.Comment
-
I think if you're going to spend all the time to redo them then you should spend the few extra bucks and spray them with urethane clear coat. Grab a can of Spraymax 2-part urethane clear coat, comes in a special spray can. It sells for $20 at automotive paint supply stores.
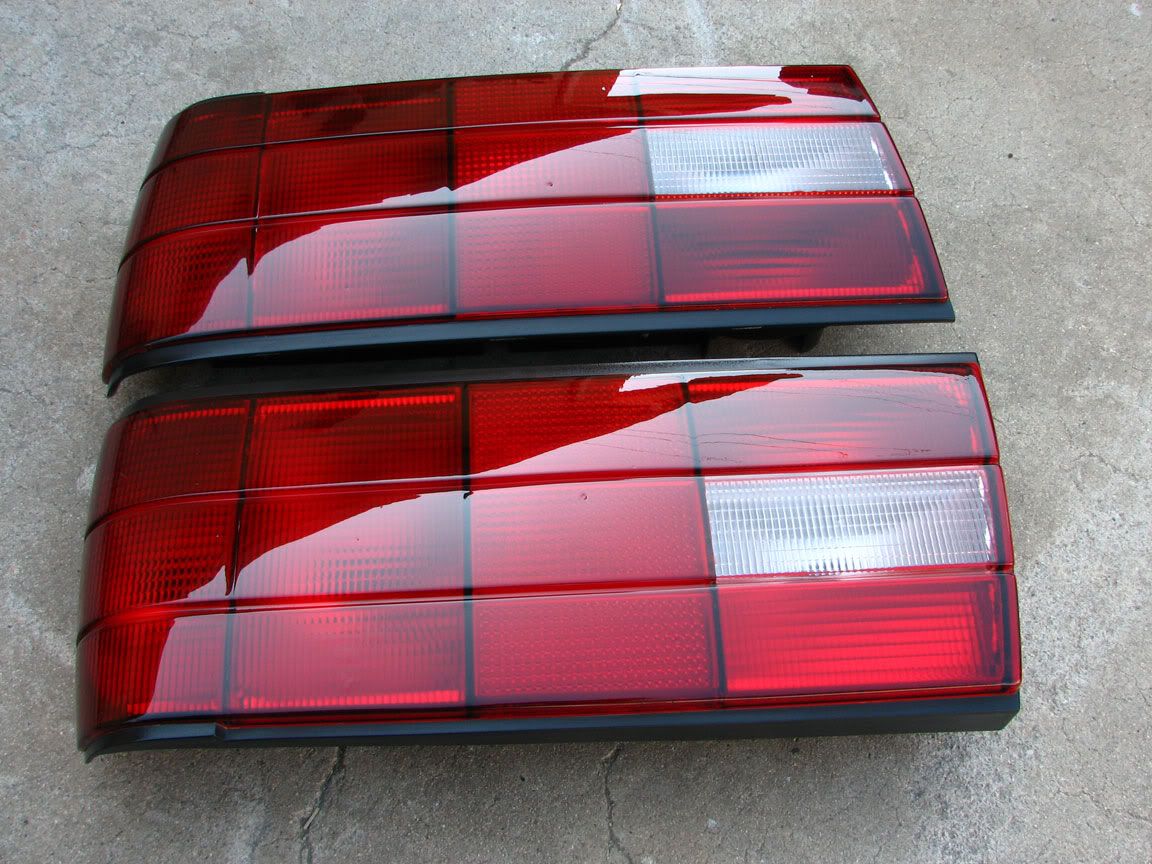
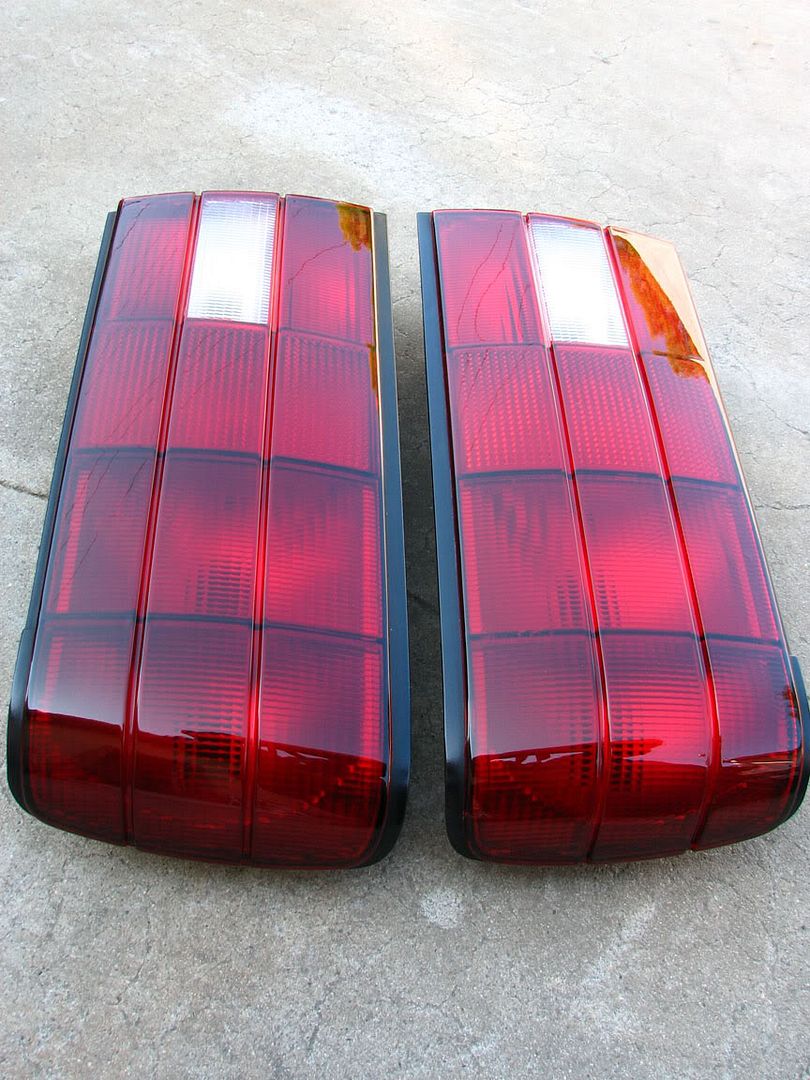
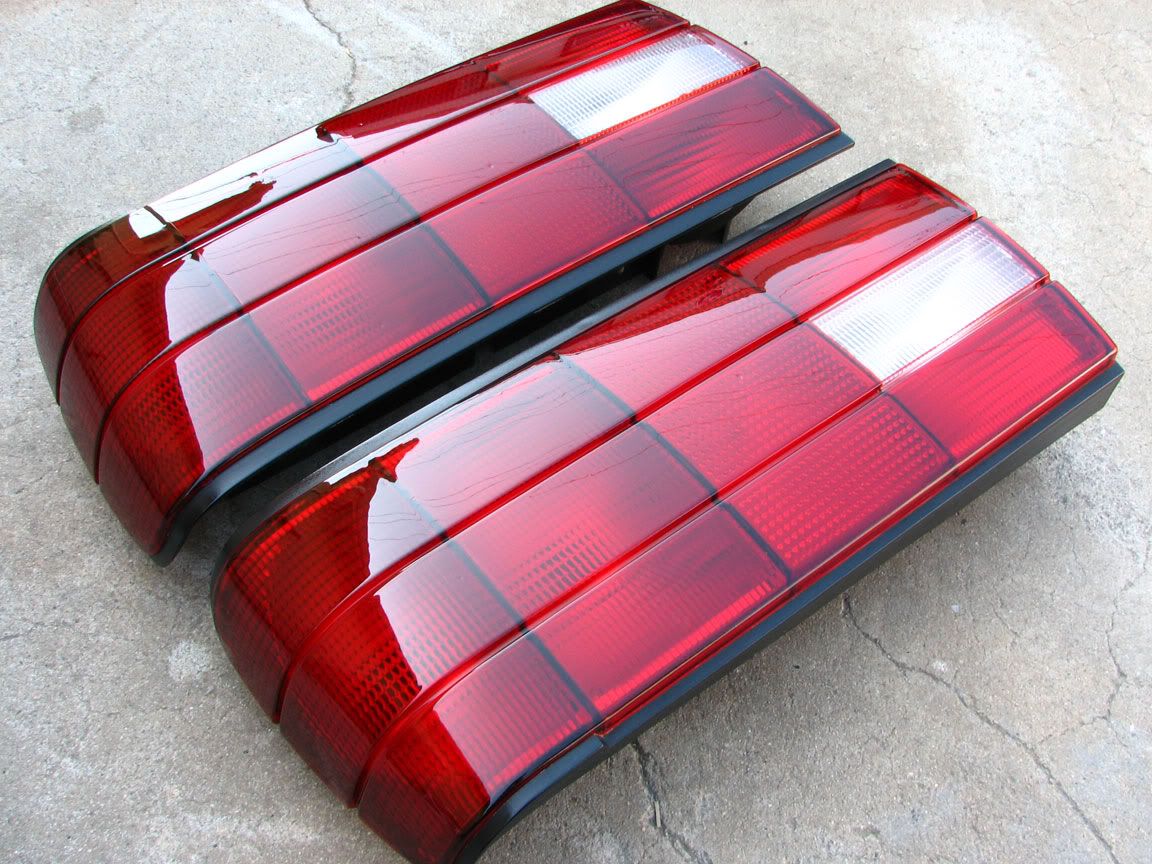
Here's some tail lights I did last fall:
They are done with Duplicolor MetalCast Red. First sprayed 3 light coats on the amber, then sprayed the whole light with 2 medium coats.
Waited a few days for metalcast paint to cure
Then sprayed with SprayMax 2-part Urethane Clear Coat Aerosol
Let cure for a couple days then wetsanded with 1500 - 2000.
Used Porter Cable 7424, polished out sanding scratches with 3M Rubbing Compound and orange foam pad. Finished off with Menzerna Micro Polish and Gray foam pad.
YouTube Video


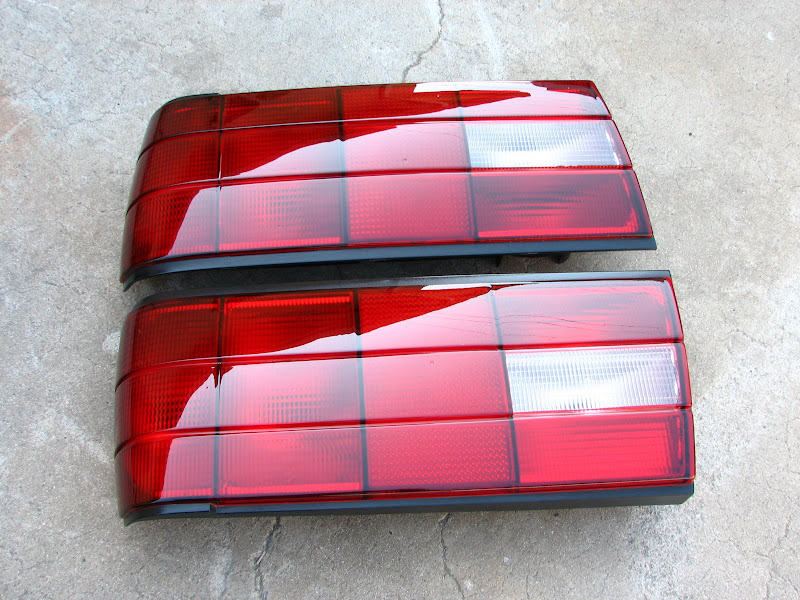
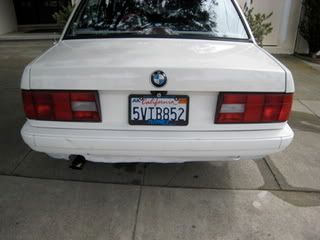
Pictures not enhanced at all, that is exactly what they look like in personComment
-
hey td325ic those look like after market lights great work.Comment
-

i followed the diy article i posted above and they came out great!sigpic
"The bitterness of poor quality remains long after the sweetness of low price is forgotten."
Comment
-
I used Rustoleum Stained Glass paint on mine, no clear. It's meant for outdoors, so it didn't need it.
 .
.

S54B32 swap in progress. Status: Getting ThereComment


Comment