If this is your first visit, be sure to
check out the FAQ by clicking the
link above. You may have to register
before you can post: click the register link above to proceed. To start viewing messages,
select the forum that you want to visit from the selection below.
E30 1986 2-door from ESTONIA - restoration project.
I don't know about you, but woke up around six am(i think i'm getting old) and thought this would be the perfect time to update my thread a little bit.
Total 89.5 hours spent for cutting, welding and fabricating and the result is visible on the pictures. But lot of hours ahead to make this car good solid E30 again.
I ordered this rear frame piece 25th of May. 28th of August finally recieved it. I hope it will fit..
As i mentioned in my last post, that the ventilation pipe metal piece was wrong thickness and we couldn't use it. So my friend made a new one and it fits like a glove! We have a saying in our country: There is no unsolvable situations, there is only incapable people.
Other side there is a tank ventilation pipe. I bought https://www.specialclassicparts.de/e...vent-repairkit and the plate thickness is bit different than the original. Original sheet used to build the car is 0.8mm but the one i got is 1.2mm thick. 0.4mm thicker and if you gonna install it like it should be then there will be stupid and ugly looking lip. And i don't want and like that. So he will fabricate this small piece of metal.
Again i can post some updates of restoration progress. At first i thought i should buy new ones. One German company makes them, but discussed with my friend and we decided that he will fabricate these himself. The end result will be the same, maybe even better.
Rear spring perch (i think it's the right word for that?)
Small update. I have owned many E30 in the past and every one had the same rust problem and had to deal with it. This project is not an exception. Fuel tank/petrol tank attachment points were pretty bad looking and needed to fix them.
How it looked before.
Finally i have some updates. My friend decided that midsummer party is over, time to get sober and start to weld my E30. :D There is not much done, but small steps takes you to the destination you want. For me the time doesn't matter, but the quality of the final product what matters. Everything has to be done good and properly.
Rear brake hose attachment bracket points.
And after.
Rear heatshield attachment points.
Before.
When you are good with metal and hammer and make the metal pieces you need by yourself.
And one done!
That's all at the time. But i will keep you updated as much as i'm able to.
The elevator is very good. Too bad I have a garage in the basement so the ceiling is low enough for that.
You were rightly told about 28 days, it is during this period that concrete reaches its calculated strength. But I didn't understand why you didn't immediately make out of concrete the studs for mounting the lift? It would be easier and stronger than drilling concrete and setting anchors now.
Low ceiling solution is scissor lift.For example: scissor lift
Actually i did think about it, but everything happened so fast and didn't have the time to get the studs. But i'm not worried because those anchors will hold the lifts in place for sure. If i remember there is 6 anchors per one post and diameter is 10-12mm and lenght i haven't thought about it yet.
The elevator is very good. Too bad I have a garage in the basement so the ceiling is low enough for that.
You were rightly told about 28 days, it is during this period that concrete reaches its calculated strength. But I didn't understand why you didn't immediately make out of concrete the studs for mounting the lift? It would be easier and stronger than drilling concrete and setting anchors now.
Holy moses, it has been a while. The car in in the body shop and to be straight with you, i have no idea how she's doing. I better not bother the welder or otherwise he will be pissed off and won't do anything at all. I just let him do he's job and i will mind my own business. I have lot of other stuff to do in the garage. At first era of doing your own maintenance on the garage floor has ended. Decided to purchase a 2-post lift. But before installation i checked the thickness of the concrete floor. It's an old cowfarm and some of the floor is old and thats the exact place where i needed to install the lift. So i did the drilling and found out that maximum thickness was only 10cm. And thats not enough at all. Perfect would be 20-30cm. So i gave a call to a garage owner, talked to him and decided that we need to support somehow the weight of the lifts. For me there was only one solution. Cut the 1x1m and 30cm deep holes to the floor, installed metal rebar in and poured concrete in. From the factory the suggested that i should wait at least 2-3 weeks before installing the lift. By the book its should dry at least 28 days. And im gonna do it by the book. :)
I remember how I drove my car in the same way - it was not easy to pull and remove it from the trailer on the cart. Then, when she was already on her wheels, I tried to tow her on a hard hitch. It was a horror when she broke away in a turn on the Kyiv district road! After that, I ride it only on a carriage or a tow truck)
When shes ready, i might just take the axels with me and install them. So it would be much easier to transport it. And installing axels is a pretty easy and fast job.
I remember how I drove my car in the same way - it was not easy to pull and remove it from the trailer on the cart. Then, when she was already on her wheels, I tried to tow her on a hard hitch. It was a horror when she broke away in a turn on the Kyiv district road! After that, I ride it only on a carriage or a tow truck)
Bodyshop guy called me and asked if i could bring him the car 17th of June. I was like, yeah sure, but just first let me figure out who will tow the trailer. Made few calls and found myself a driver. My friend who does own a towing company. Luckily he was very happy to help. So the plan was sure. I bought the ferry tickets. Yeah, i live in the capital of Estonia, Tallinn. And my friend who's gonna do the welding lives on an island called Saaremaa. Not very long trip but exhausting. Back and forth around 550-600km.
Yesterday evening i went to the garage and started packing. Because the ferry departures 9 in the morning and i had almost 2 hour drive so we had to leave early. I don't like to rush because otherwise I will mess up or forget something. I like to take time and think everything through. I packed everything my friend asked. Hopefully i did not forget anything.
Bumper, hood, doors, trunk lid, fenders and etc.
Next mission was to get that chassis on the trailer. It was bit of a fight, because the bodycart was not as wide as it should have been. But after 15 minutes of struggeling we managed to get that on the trailer and tied it properly. Trust me i don't want to find myself on the side of a road and looking for my car from the woods. We are proffesionals, we dont use blutetooth straps.
I know it looks like towing skyscraper behind your back but it wasn't as scary as it looks.
Ready to go!
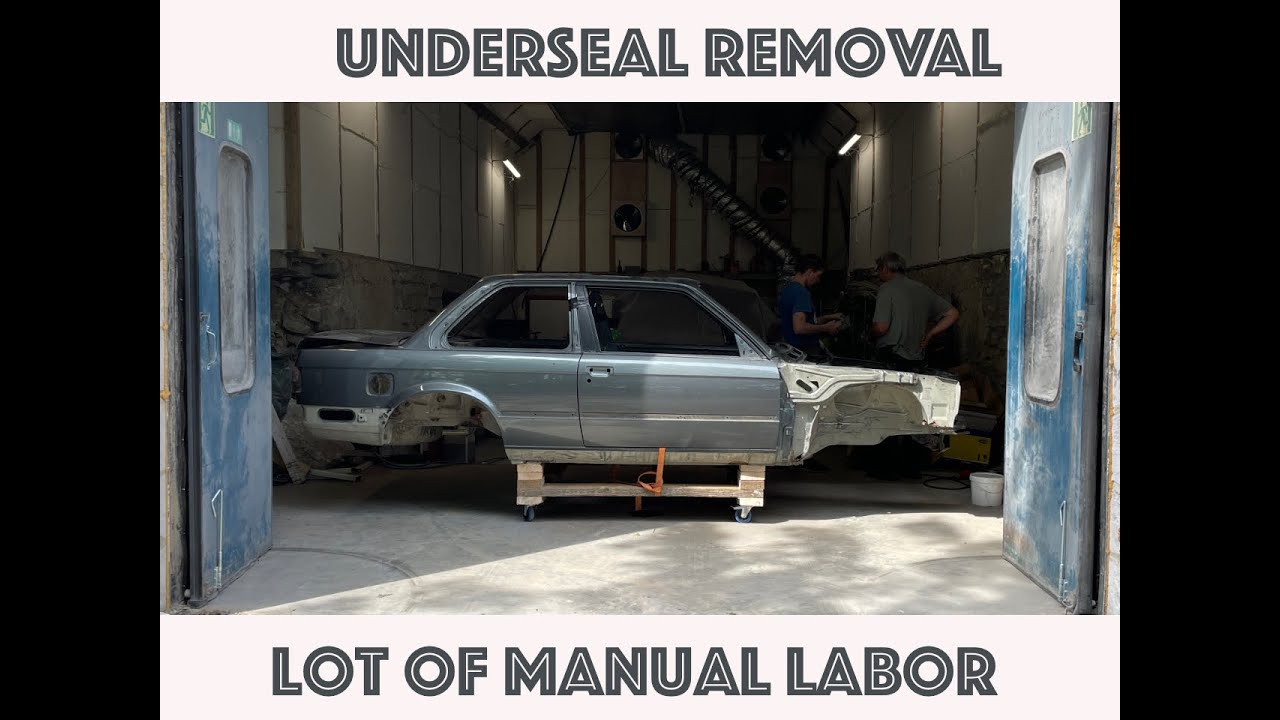
And new home for few months. You are probably asking when it will be ready ? I don't know actually. He will begin cutting it open after midsummer. And in my head i have thought at least 3-4 months. I want it to be not good, but very good. I wanted to say perfect, but i think with my budget its impossible. But we will see! :) Im quite sure that my friend is up to the task and he will do really good job because after that project he still want to be friends with me. :D


Leave a comment: