
I ran in to a trouble. When removing the brackets, i had to remove also the seatbelt subframe. But it was so rusted and i had no choice but to break it to get it off from the chassis. I was pretty sure that i will find new one without any problems. Or at least used one, but hell no! I could find only one place in Europe who produces it https://www.schmiedmann.com/en/produ...=E30GN-0105SCM
I made the order and they told me that producing time with the delivery is about 4-5 weeks. Luckily i can send it later to the bodyshop. He has lot of else to do before hea will start welding that. :)
-
Good morning!
Last thing what bothered me was the inside of the boot. This was the only place which was untouched by the wirebursh. Because yesterday was a great weather and i thought why sit at home when you can be productive and do something ? So i grabbed my stuff and head to the garage. There is not much to talk about, because pictures says a whole lot more.
Leave a comment:
-
Today i got an email that my parts have arrived. Its like christmas for me, all year around when getting new shiny parts for my project.
New original exhaust brackets and few blind plugs.
Leave a comment:
-
I had some free time on the weekend and decided to build a home made bodycart out of wood. Bought 360 degrees turnable wheels and wood i bought from my summerhouse. Little bit of measuring and cutting and that was it. Now its basically ready for transportation. Few spots i found what i need to clean before take it to bodyshop.
Finally it on its "wheels" :D
Leave a comment:
-
Thanks!
If i could, i would buy everything from the dealership, but unfortunately i need to eat too. So i have to compromise and find a bit better solution. In this brackets case there is no alternative than get new ones because trying make them look beautiful again takes more time and effort. :)Leave a comment:
-
Great progress on the body! Good idea to remove some of the brackets as there can be still rust present between the shell and bracket!
It does take some time but it'll be worth it.
Yeah, sometimes it's better to spend the money and find new panels then trying to save what you currently have.!Leave a comment:
-
Yes, in Ukraine, two-axle trailers and carriages for transporting cars also require a special category of driver's license. But I found out about it already after I took the car on a carriage and picked it up from the bodywork and painting works - lucky )) That's why I ordered a tow truck the last time, so as not to risk with the police. )
In the future, it will probably be necessary to get that category just in case.Leave a comment:
-
Hellish is a pretty polite way to put it. There were times when i wanted to burn that s*it. But finally managed to finish it. 19th of January 2023 i attached the chassis to a body rotisserie. Then i started to remove the axels and all the fuel and brake lines. First time i showed wire bursh to it was 22nd of January. It took me 8 days, which means 4 weekends to get where i am now. Not bad actually. It felt like forever. I also spoke with the bodyshop yesterday and we agreed to take the car there in the end of this month or in the beginning of June. I hope i can get my license done before that. I dont know about other countries, but in Estonia if you want to tow a car on a trailer you need an extra class for that and its E-class in our country.
Drilling was quite easy part but took some time to get used to it and your eye trying to find the spotwelds. I could probably drill the whole body apart, but next destination will be scrapyard and not a bodyshop. My friend would tell me to piss off with the trailer full of bodyparts. So im gonna keep it like this and let him do the work from now on.
When all the brackets removed i inspected them and realized that few of them needs some fixing before i can weld them back. But then i remembered to check the bmwfans.info page just in case if they are available any more ? I took the product codes and sent them to the dealership. You know what ? After i got the list of prices i buried any idea to restore them. All the exhaust rubber mounting brackets cost for me less than 30 euros. Im not gonna think twice.
Leave a comment:
-
Cleaning the bottom is hellish work - I know from my experience. But also drilling all the brackets is already a super approach. I didn't dare to do that. Just sandblasted the body...Leave a comment:
-
Hola!
Just got home from garage. 10+ hours spent and i am exhausted! Würth drill bits was well spent money. Rear section of the car is bracket free. Kept the differential bracket because i didn't have any small tool to cut through the weld. Also rear seatbelt subframe was pretty bad after seatbelt brackets removed. So i decided not to reuse it and threw it to scrap. Now i have to find new one. I was able to find one place where i could buy that subframe but i try to find something cheaper maybe.
Lego.
Leave a comment:
-
Yes, some of the brackets weren't needed because of the M52 engine. But others like the relay box I relocated to another spot so there was less clutter.
If you are going through the effort of cutting the original brackets off, you might as well see if you can make a custom setup. It will still look close to original but a little bit "special".
I also have a soft spot for the E28. I have a 1986 that will be my next restoration project. 🙂
Leave a comment:
-
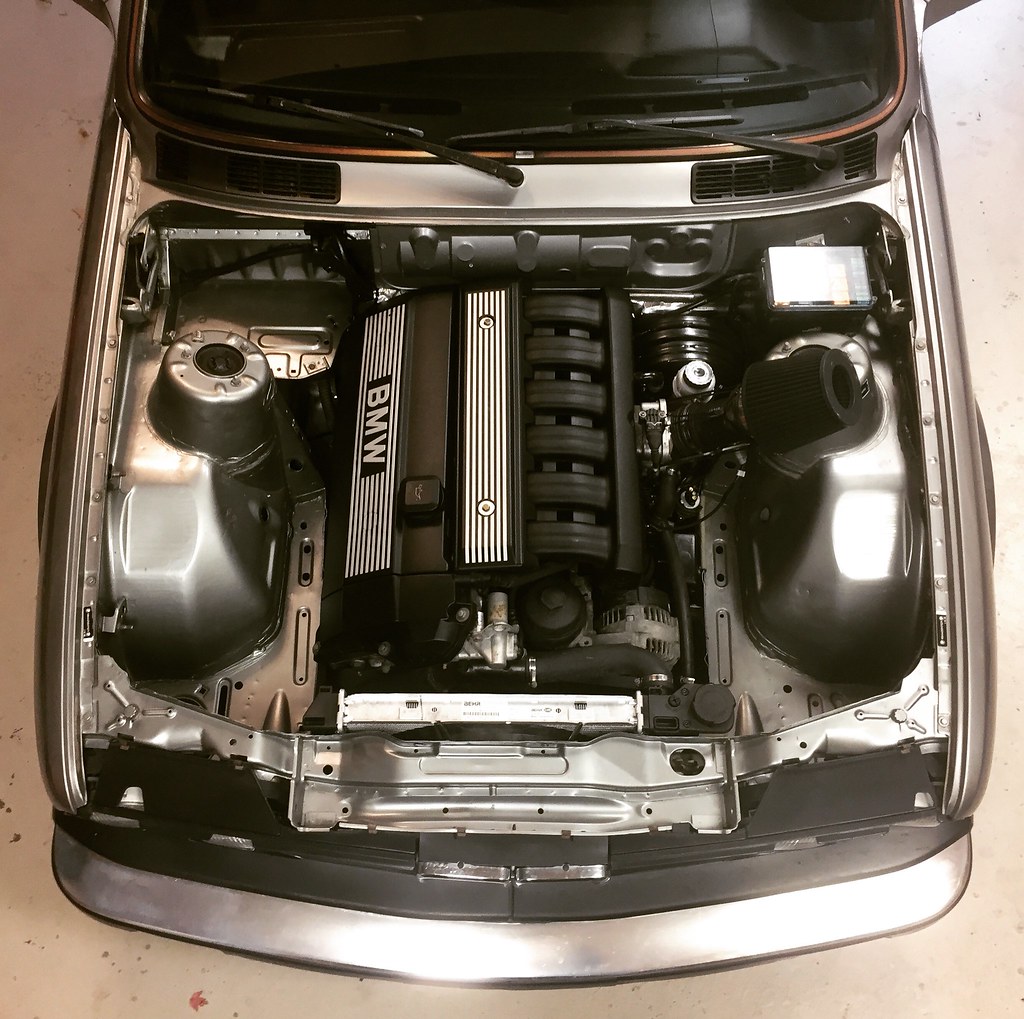
As i see you didn't install back any of these brackets you removed because you have M54 engine ? Mine will have the M20 engine with all the original brackets. I probably don't remove all of them but only these where i can see some surface rust and is not possible to clean without removing them. I try to keep it as original as possible. In the engine bay most of the brackets are in okay/good condition but underneath there are lots of bad looking brackets and i have no idea are they reusable after sandblasting or do i have to find a donor where i can get better ones. We will see after they are removed and blasted.
I think and i hope the next project will be something different. Replacing engines and stuff. I mean first im gonna drag this one over the finish line and then start looking for the next project. I haven't decided what would be the next victim. I want to do a E28 because i had two of them back in the day or then E30 wagon which would be more practical car sort of. I know myself that as the time goes on the more i start appreciate the originality of the car. This one i also wanted to restore to a historical vehicle which means black licence plates but it needs to be at least 95% original. Previous owners has replaced the engine and a gearbox so its out of the question. And i have to be straight with you, i don't like the way it sits with original suspension. Its like a offroader.Leave a comment:
-
FWIW, I didn't use a spot welder drill bit when I removed my engine bay brackets.
Just carefully used a grinder with a cutoff wheel to trim down the brackets to the sheetmetal.
Didn't even use any filler before painting on version 1 and it looked pretty good (but not perfect).

Leave a comment:
-
I had a chat with the guy whos gonna do the welding on my car and decided i will remove most of the brackets from the body. It will be much easier to clean and also less time spent by the welder. And i want to educate myself so i went to the shop and bought special drill bits for the spot welding. I hope i don't f*ck it up! :D
Leave a comment:
Leave a comment: