Announcement

Collapse
No announcement yet.

IronJoe's back in an e30... 1989 Zinno M3!

Collapse
X
 
  • Filter
  • Time
  • Show
Clear All
new posts

    #31
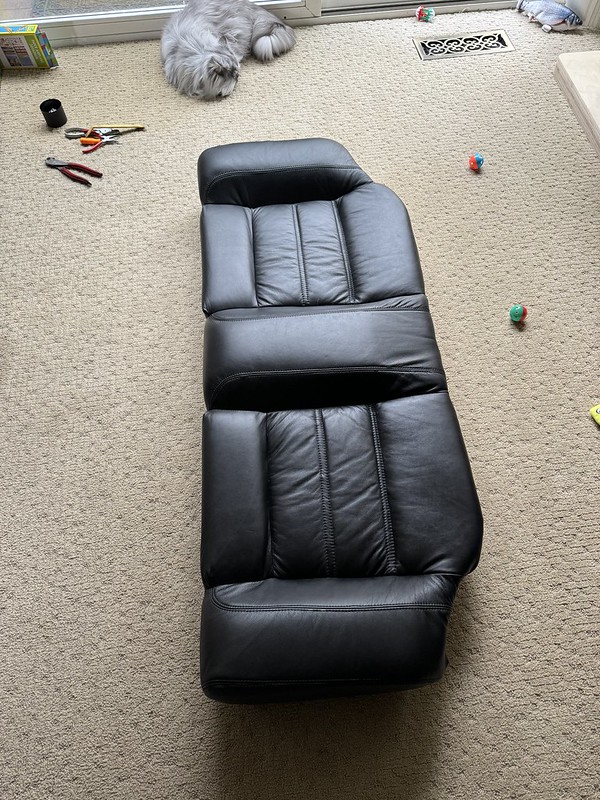
    Interior update! I had a lot of fun with this project, as the old tan interior was a major sticking point when buying this car. Now I feel like it's pretty much where I want it, I'll be making a few small changes here and there but this is where I've ended up:

    E30 M3 Sport Evolution interior by IronJoeT16S, on Flickr


    My first job was working on the door panels, I knew I wanted to go with the Sport Evo style Mtech cloth inserts. I've seen a lot of folks simply wrap a board with fabric and insert it into the door panel, but it always looks wrong to me compared to the factory style, which is inlaid behind the vinyl.
    See here (not my car, obviously):

    Door panel insert example - not my car. by IronJoeT16S, on Flickr

    vs the real deal:
    sport_evo_door_cards by IronJoeT16S, on Flickr


    So I took it upon myself to cut out the horizontal line sections of a good set of black donor door cards, and got to work:

    Untitled by IronJoeT16S, on Flickr


    I sourced replica fabric from Relicate which is super nice and comes with a foam backing, that saved me a tedious step! I carefully traced patterns based on the angle of the Mtech lines using a protractor and several photos from the real thing. EAG's website was very helpful here. I was able to fit everything onto one yard of fabric!

    Untitled by IronJoeT16S, on Flickr

    Untitled by IronJoeT16S, on Flickr


    Here's the test of the cloth panel set in, loose. This inlay requires two steps: first, gluing the foam to the carboard backing. Second, gluing down the vinyl edge to the cloth.

    Untitled by IronJoeT16S, on Flickr

    For the first step I used a foam-specific spray adhesive, taping off the edges of the vinyl so I didn't overspray any glue onto the black part. For the second step, I used Gorilla Glue super glue tape as I was afraid of glue residue seeping out. I am not fully confident about the glue tape so I might go back and redo this with Barge or some similar adhesive. Here's the first panel all done:
    Untitled by IronJoeT16S, on Flickr


    Finishing the other rear, I moved onto the fronts. Same process.

    Untitled by IronJoeT16S, on Flickr

    Fabric inlaid loose, taped off:
    Untitled by IronJoeT16S, on Flickr

    I peeled back one side at a time, spraying both sides with adhesive, letting it tack up, then pressing down into place.
    Untitled by IronJoeT16S, on Flickr


    Both halves glued down:
    by IronJoeT16S, on Flickr

    And installed on the car:
    E30 M3 Sport Evolution interior by IronJoeT16S, on Flickr

    More to come!
    Last edited by IronJoe; 03-20-2024, 09:36 AM.
    '89 Schwarz E30 M3 Cabriolet Build

    Comment


      #32
      Wow that is quite a difference from tan to your custom work!

      Agree that the wrapped board approach just doesn't look correct.

      Comment


        #33
        Great job on the panels Joe, that looks great. Most people don't take the time to do that so they opt for the quick and easy solution but it's all in the details.
        "I'd probably take the E30 M3 in this case just because I love that little car, and how tanky that inline 6 is." - thecj

        85 323i M TECH 1 S52 - ALPINEWEISS/SCHWARZE
        88 M3 - LACHSSILBER/SCHWARZE
        89 M3 - ALPINEWEISS II/M TECH CLOTH-ALCANTARA
        91 M TECHNIC CABRIO TURBO - MACAOBLAU/M TECH CLOTH-LEATHER

        Comment


          #34
          Originally posted by Panici View Post
          Wow that is quite a difference from tan to your custom work!

          Agree that the wrapped board approach just doesn't look correct.

          Originally posted by reelizmpro View Post
          Great job on the panels Joe, that looks great. Most people don't take the time to do that so they opt for the quick and easy solution but it's all in the details.
          Thank you both! I'm so happy this is coming together.
          '89 Schwarz E30 M3 Cabriolet Build

          Comment


            #35
            Great attention to detail. I've been enjoying following your progress on IG!

            Comment


              #36
              The most obvious upgrade in the interior are the seats.
              Before:
              Untitled by IronJoeT16S, on Flickr

              After:
              E30 M3 Sport Evolution interior by IronJoeT16S, on Flickr


              I thought a lot about what I was going to do regarding seats. My original front seats were in Ok shape, too nice to recover but not nice enough for what I wanted my interior to look like. I looked into Lseat and GAHH covers, but for a nice full set of GAHH covers I could get a recovered set of Recaro SRDs and a matching back seat leather cover from Jean on S14.net.

              The Sport Evo-style interior was a no-brainer for me since this car has a 2.5L, it felt only appropriate. So I went with the M stripe recaros in leather, and sold my front seats along with other tan parts locally.

              Untitled by IronJoeT16S, on Flickr


              I used Massive's seat brackets to adapt my factory E30 rails to the Recaros and it was a breeze to install.
              E30 M3 Sport Evolution interior by IronJoeT16S, on Flickr


              The rear seats were a different story... this was a tough job. I started by removing the original skins by clipping all the hog rings, removing the rods, and transferring them over to the new seat skins. I didn't get a lot of photos of the process, but it involved a lot of patience in stretching and smoothing the bolsters.
              Untitled by IronJoeT16S, on Flickr

              Untitled by IronJoeT16S, on Flickr

              Untitled by IronJoeT16S, on Flickr

              Untitled by IronJoeT16S, on Flickr


              Back seat installed:
              Untitled by IronJoeT16S, on Flickr


              '89 Schwarz E30 M3 Cabriolet Build

              Comment


                #37
                I'm sure reskinning the rear seats also involved a fair amount of swearing, but damn, that's amazing looking!

                Comment


                  #38
                  Incredible!
                  1989 325is ✨

                  Comment


                    #39
                    beautiful work. just dropped in to tank up on my daily dose of jealousy lol

                    Comment


                      #40
                      Update time! I've done a lot of work to the car since the interior was finished, here's a summary of the jobs done.

                      To finish off the interior update, I was able to get a nice used OEM anthracite carpet from my friend e30austin which finished off the interior perfectly.
                      Untitled by IronJoeT16S, on Flickr

                      Sport Evolution interior by IronJoeT16S, on Flickr

                      One more glamour shot:
                      E30 M3 Sport Evolution interior by IronJoeT16S, on Flickr


                      One final interior upgrade for my passengers, rear headrests!

                      Untitled by IronJoeT16S, on Flickr


                      Next up was the two-piece Evo style with the carbon gurney flap. I've lusted after one of these for a very long time, but I was never brave enough to do it on the Henna car.
                      Test-fitted:
                      Untitled by IronJoeT16S, on Flickr

                      Look at that glorious carbon weave:
                      Untitled by IronJoeT16S, on Flickr


                      Since I had to paint it, I took the opportunity to remove and repaint the passenger side skirt at the same time. I had an unfortunate incident with the factory scissor jack that slipped on me due to a folded-over pinch weld, so I ended up cracking the paint on that side. Luckily the factory side skirt was pliable enough to not be damaged!


                      Untitled by IronJoeT16S, on Flickr

                      30+ years of gunk? Had to get the pressure washer out after this!
                      Untitled by IronJoeT16S, on Flickr

                      Side skirt sanded, primed, and ready for paint:
                      Untitled by IronJoeT16S, on Flickr

                      Three coats of base coat, color sanded, then 3 coats of 2k clear. Shot through my Iwata HVLP in my garage.
                      Untitled by IronJoeT16S, on Flickr


                      Installed. I'm in love!
                      Untitled by IronJoeT16S, on Flickr
                      Last edited by IronJoe; 04-19-2024, 11:30 AM.
                      '89 Schwarz E30 M3 Cabriolet Build

                      Comment


                        #41
                        Next was a sentimental upgrade for me. I loved running the Startec taillights on my Henna M3, but I remember at one point I grew weary of having them on a car that I drove so frequently. I ended up trading them away to a friend because I was afraid of them getting damaged... sure enough, the worst did happen to me. Those tails are still out there somewhere so I am so glad they weren't on my car when I was rear-ended.


                        So for this build I had to get another set. A few used sets came and went, I wasn't happy with the condition for the current asking prices so I pony'd up for a brand new set from Startec. A lot of people call these "reproductions" but I don't think that's accurate - they are by Startec, not copies from another company, so I'd just call them the "new run" or "current run" Startec tails.

                        They are on the darker side compared to my old pink set but I don't mind. They look incredible.
                        Untitled by IronJoeT16S, on Flickr

                        About the same time, I went about sorting the exhaust. At some point in this car's life, the factory catalytic converters were cut out of the center section and replaced with resonators. It was loud and a hack job, so I replaced it with a Supersprint resonated non-cat stainless center section. This was great, but then my exhaust note was almost too quiet. So I swapped out the Rogue Engineering muffler I'd just bought in November for a Supersprint race muffler, and now we're right about where I want to be. Not too loud and no drone on the highway, but when you get on it from a low RPM it sounds great.

                        Startecs, Evo III wing+gurney flap, stainless exhaust. What a combo.
                        Untitled by IronJoeT16S, on Flickr
                        '89 Schwarz E30 M3 Cabriolet Build

                        Comment


                          #42
                          Are you going to take this to Exotics at RTC at some point?

                          Comment


                            #43
                            Startecs and carbon gurney flap really tie the back end together.
                            Looking great!

                            Comment


                              #44
                              wow where did you find the Startecs new?

                              Comment


                                #45
                                they're being made again. I've seen a couple ads in IG - I think Garagistic is a dealer?
                                cars beep boop

                                Comment

                                Working...
                                X