
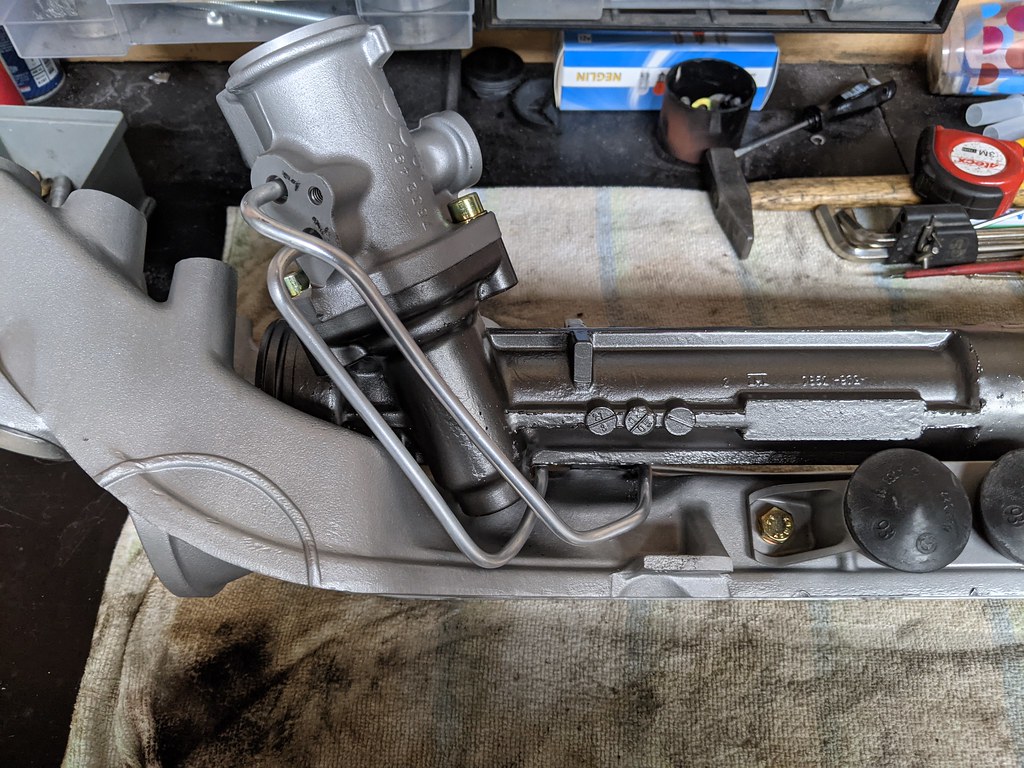
In the evening after work I test fitted them and they were pretty much spot on, I might 3D print a little holder to keep the two lines together


While we were in the workshop, we wend ahead and test fitted the rack + subframe for the first time since all of the modification were done.
The steering rack was touching on the lower reinforcement rib as well as very closen to hitting the ribs on one of the connections of the hard lines.


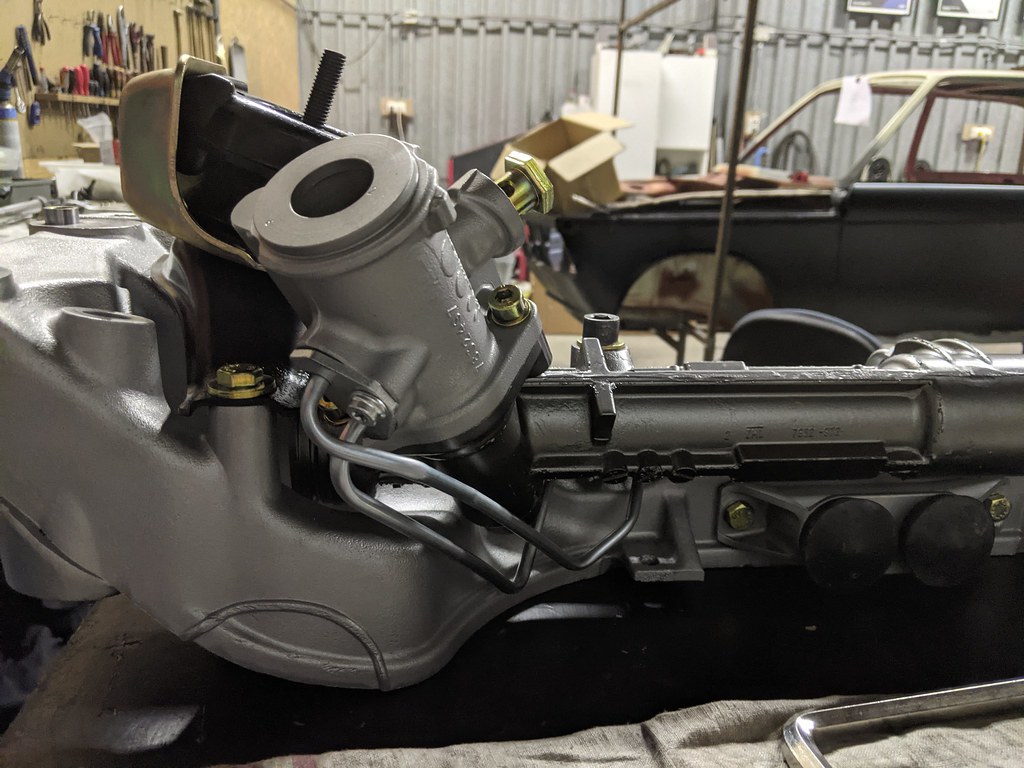
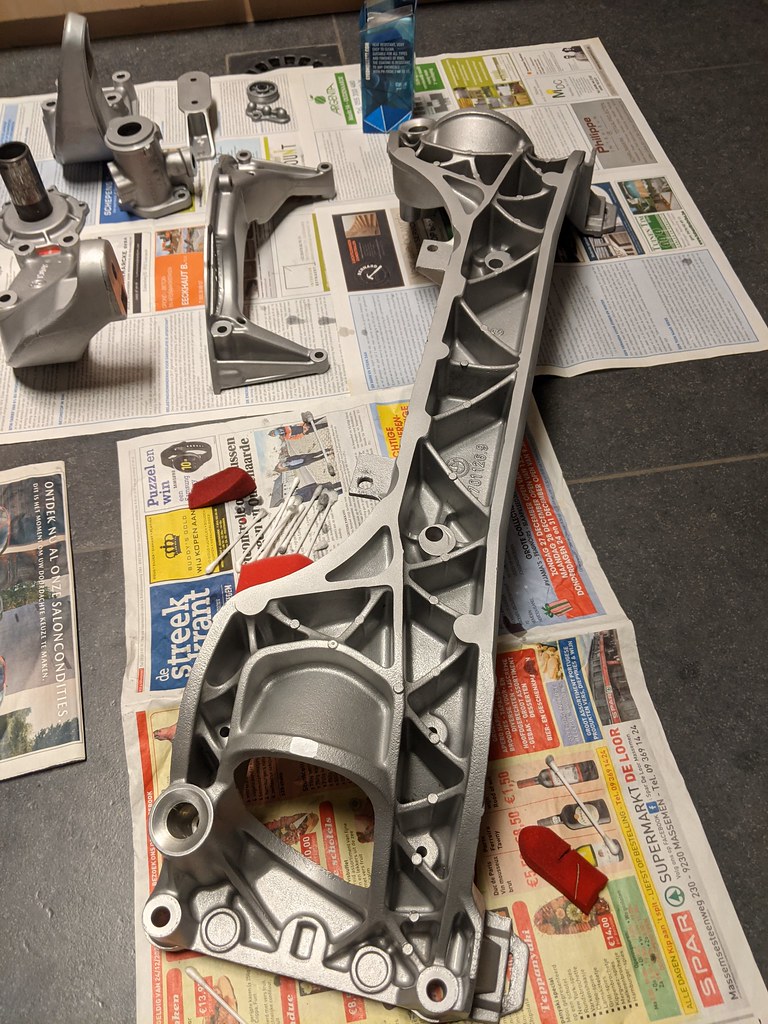
This weekend I removed some more material on the steering rack housing, after giving it some quick touch up paint, we got started on reassembling the rack.
Unfortunately not all of the oring were the correct size in the kit.. So I ended up reusing the old ones, they still looked fine though
Rack centered on both ends

And fitted (hopefully for good.)

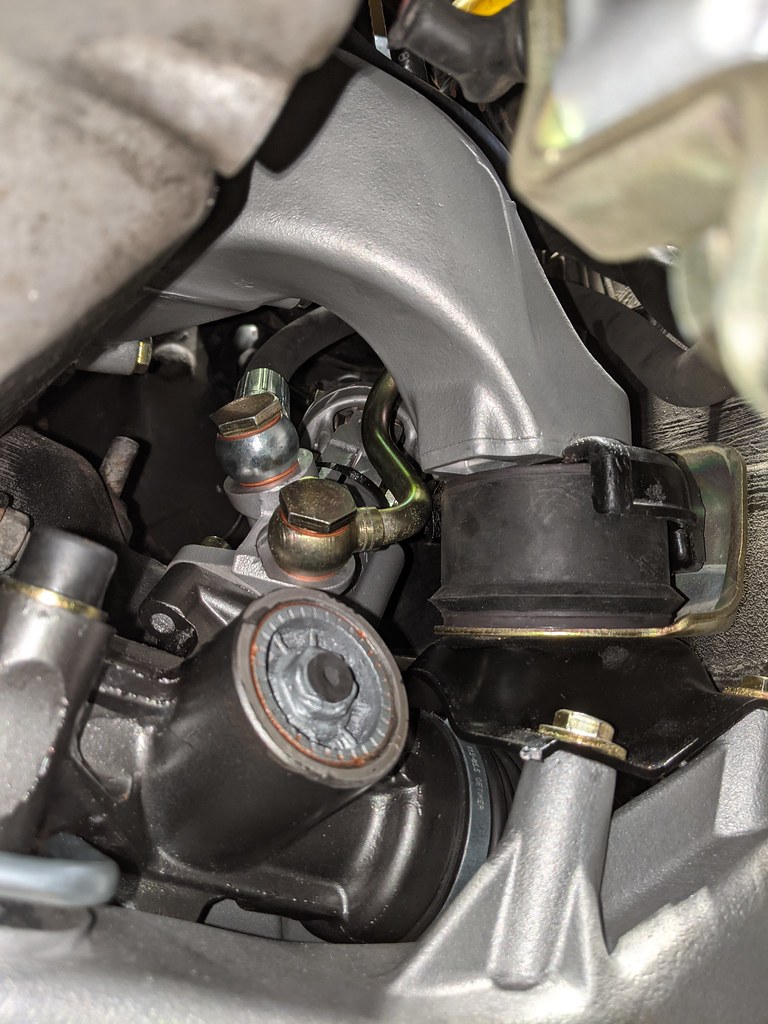
Checking clearance


I knew the clearance between the hard steering rack lines and the front left driveshaft would get close, but before going and further, I needed to fit the transmission and transfercase back into the car.
So everything was sitting right as it should

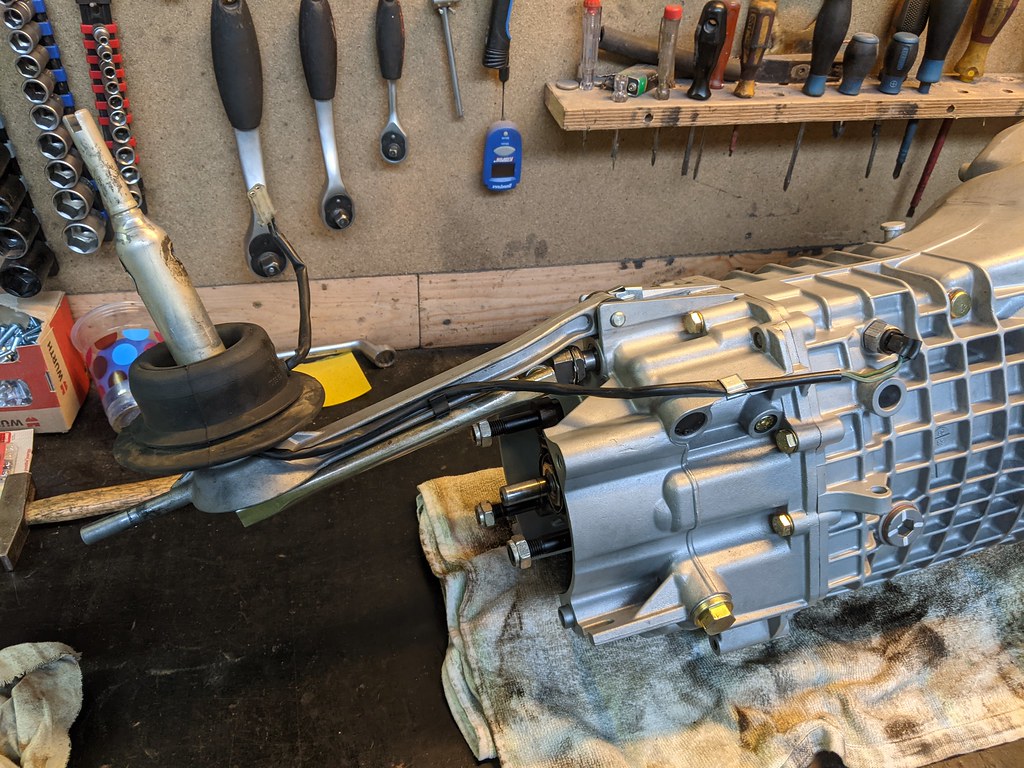
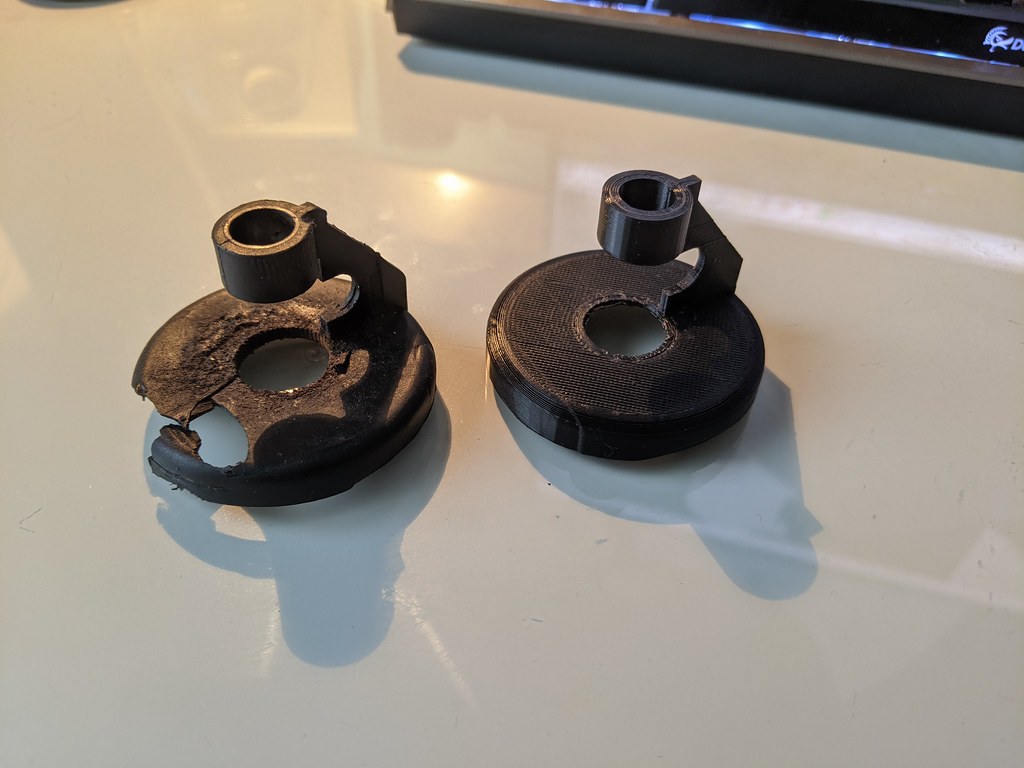
Z3 shifter fitted back, with the new poly rear shifter mount instead of the derlin that was fitted before

Transfer case, drive shaft and heatshields mounted
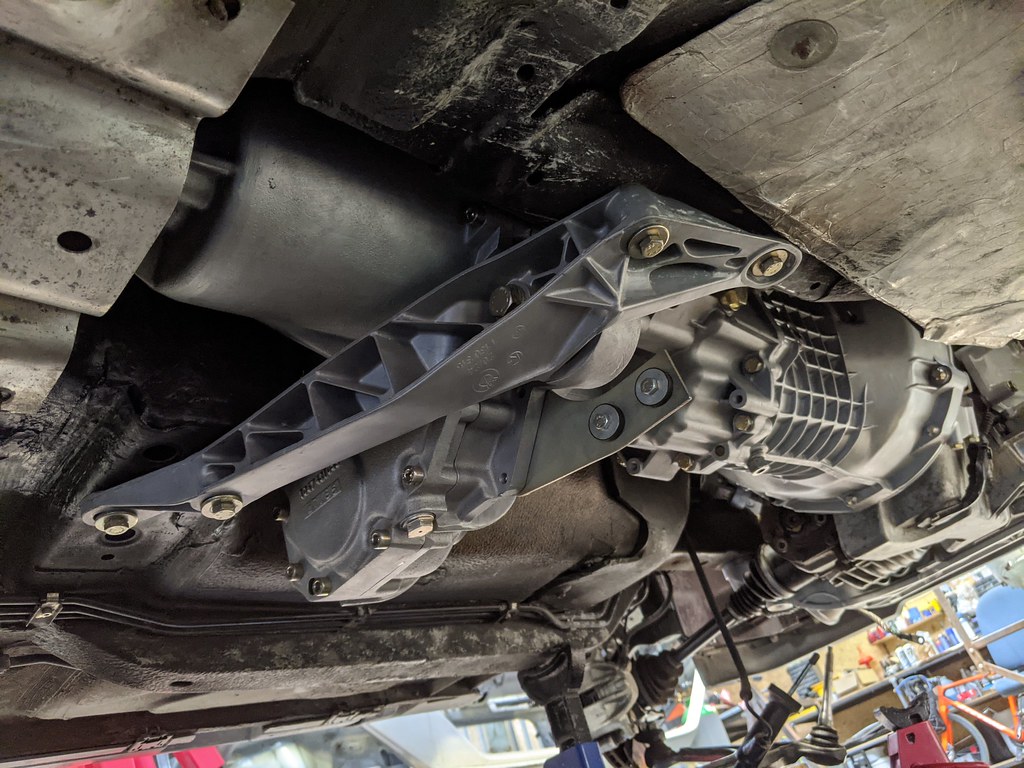
And this is how much clearance we ended up with. Not much but still, clearance is clearance right?

To prevent the engine from shifting/rocking forward, I decided to put some shims between the front rubber stops to keep the engine from shifting.

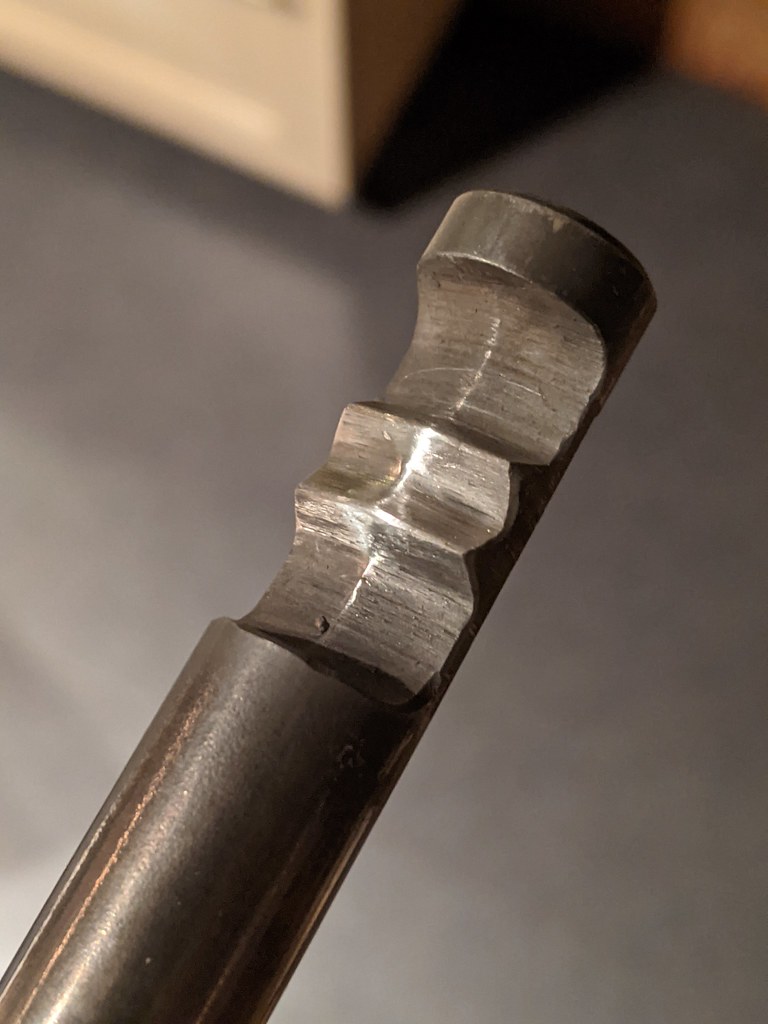
Steering coupler fitted, it's crazy how easy it slides together when the splines are nice and clean! PITA to get them loose!

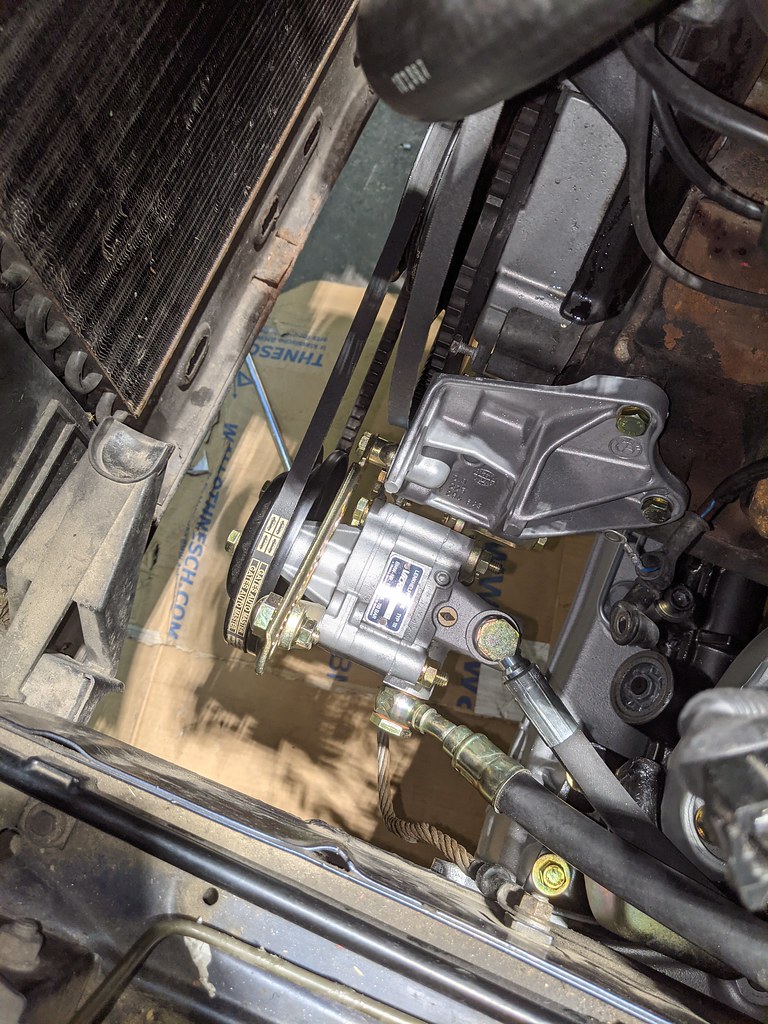
New high pressure hose was made locally and everything fitted again
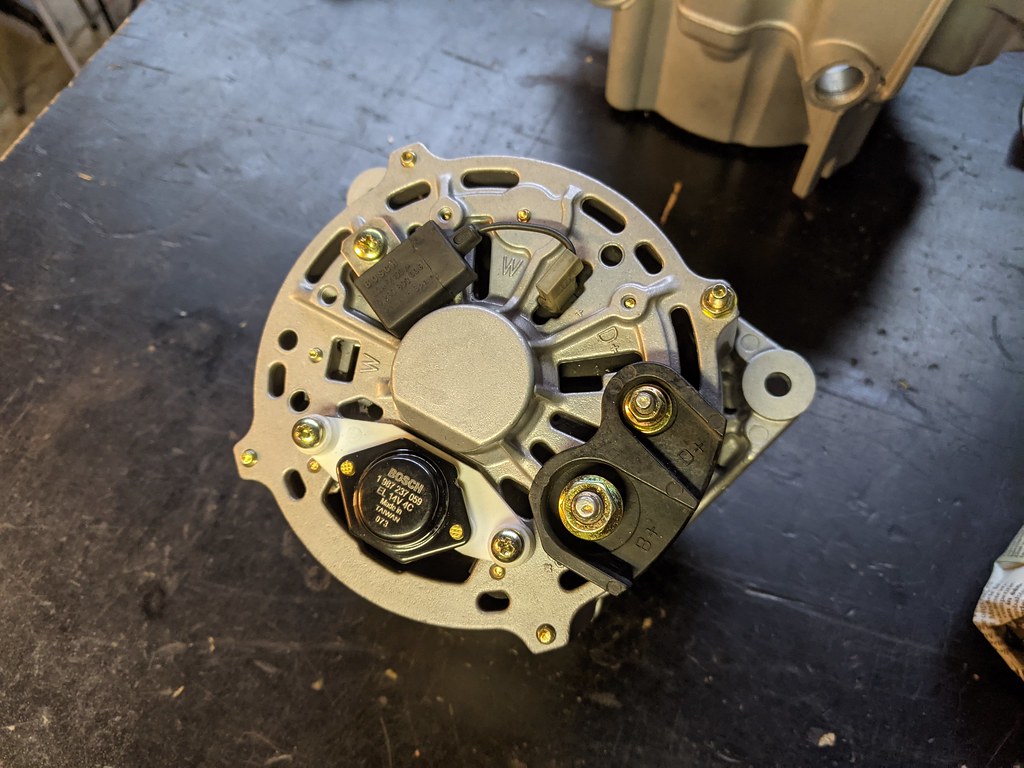
Finally the steering pump mounted back into it's place


Leave a comment: