Local DMV. Went the next day of course and picked it up.
Growing up I always had a fond appreciation for the Porsche GT3RS. Working through Richards BMW shop peaked my interest in race cars. And when BMW released it's M3 GTS version I made it my goal to build my e30 with the GT3RS and M3 GTS as the goal for the end result. Lightweight, caged,recaros,louder, wider, lower, more powerful and better handling the most important of all. Natalie finally gets some custom plates.

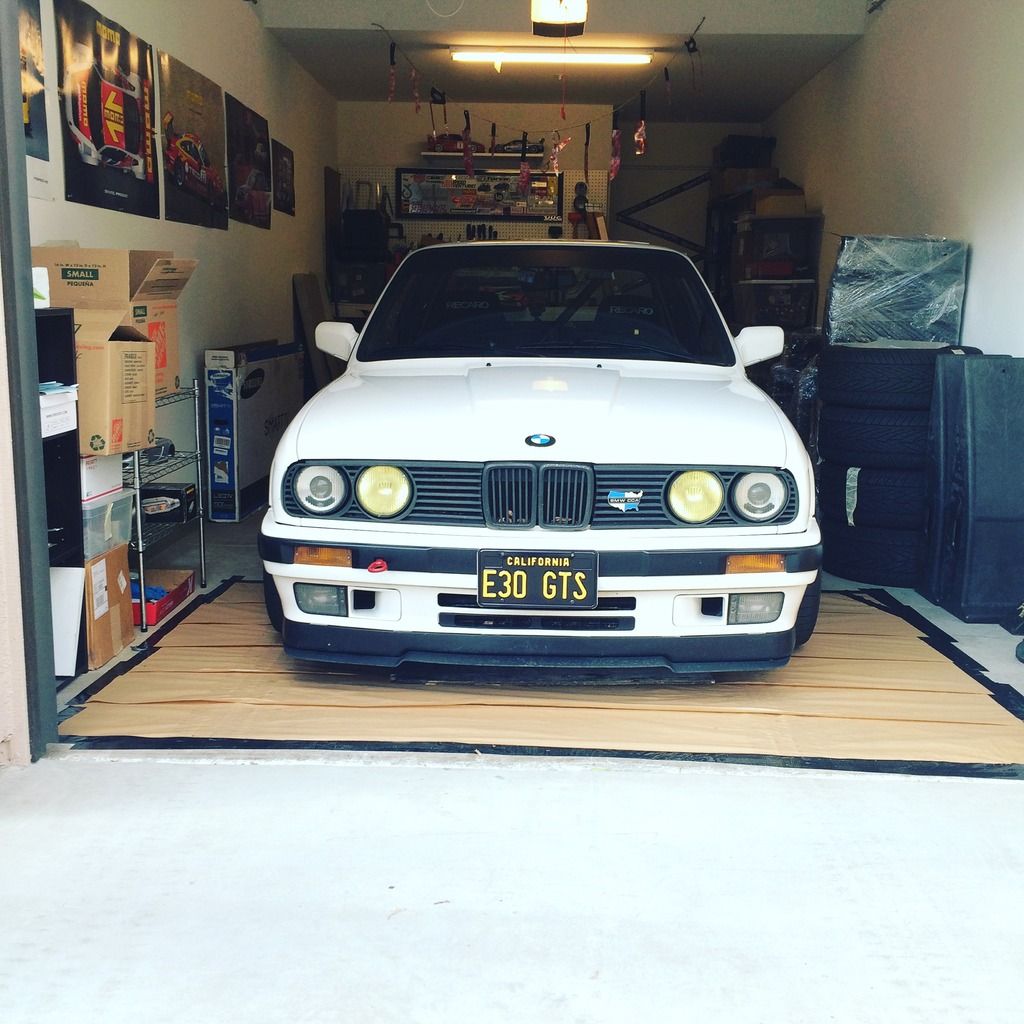
Natalie with her new plates and in the new garage it's a foot wider and 8 feet deeper not including the work bench I just built.
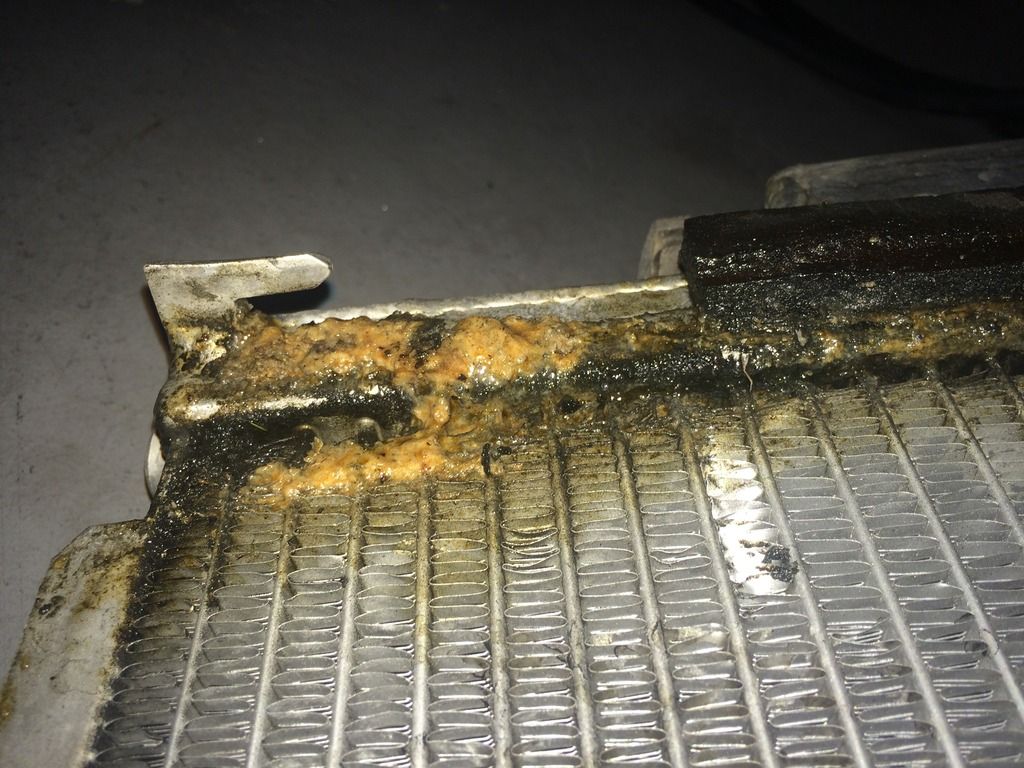
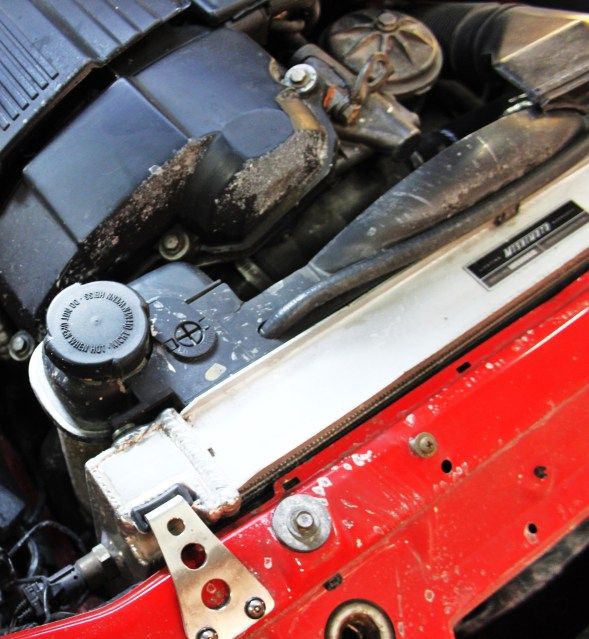
When I was doing my timing belt I noticed that mishimoto radiator was in poor condition.
I purchased the radiator December 2011 and it's been good from day 1
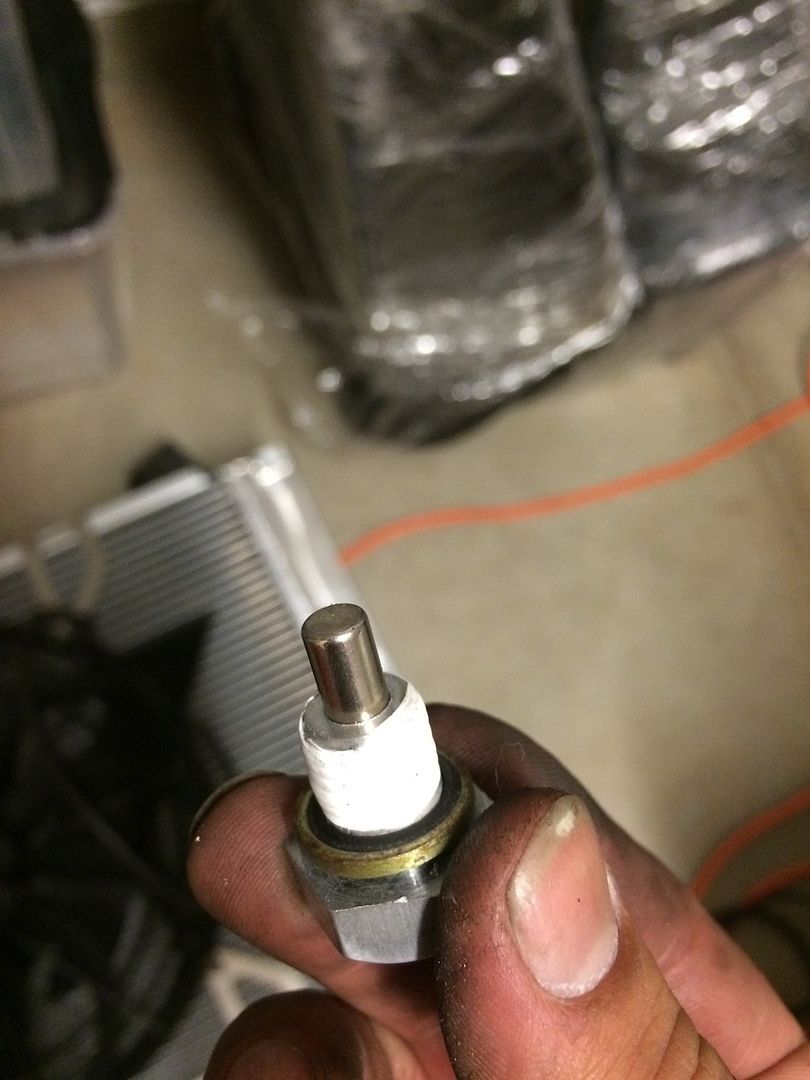
The threads for the drain and the sensor on the side where a little loose so you need to wrap the plugs a few extra times with Teflon tape to prevent leaks.
The upper outlet on the driver side is way to close to the overflow hose causing difficulty to install them.
All of those little issues have been solved with there new product.
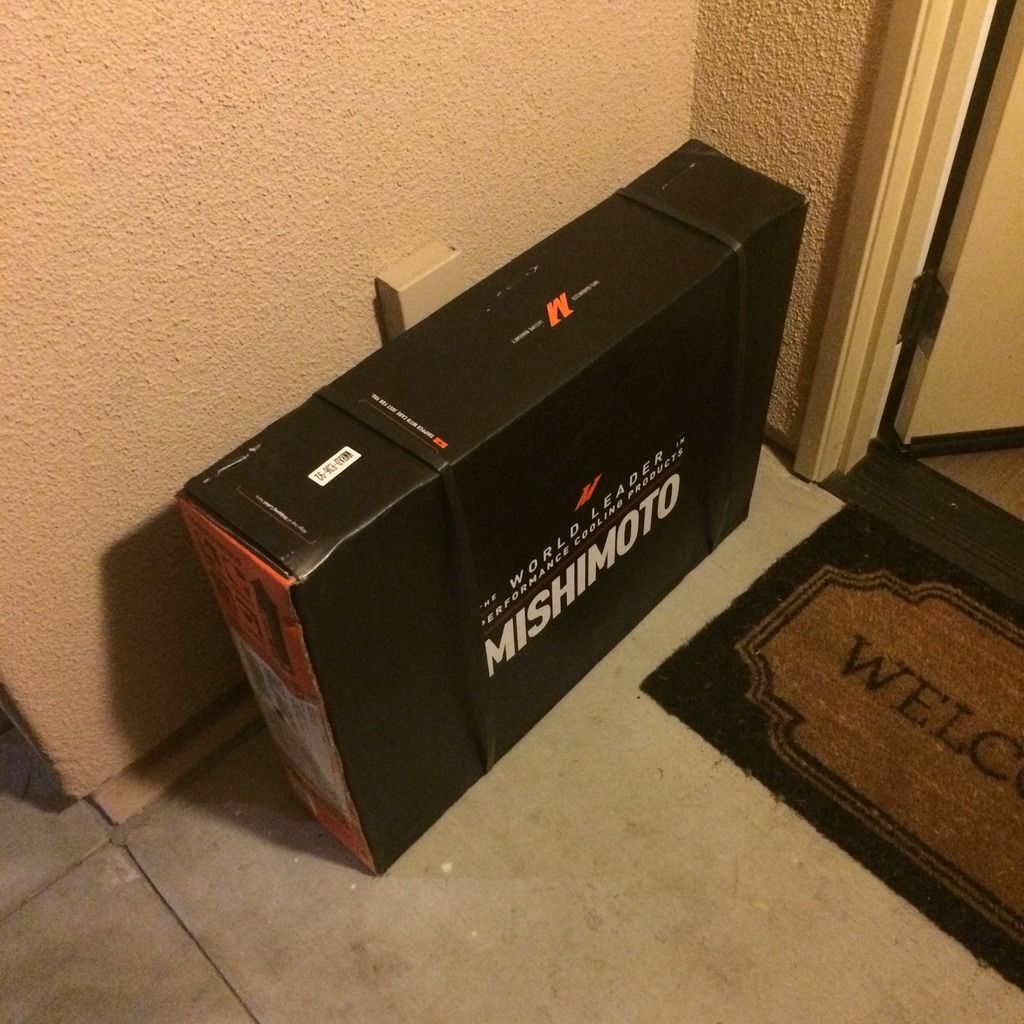
I took some pictures and filed a warranty claim through mishimoto's website. After 2 days I submitted a payment of 55 for shipping and they overnighted the radiator.
Yuck
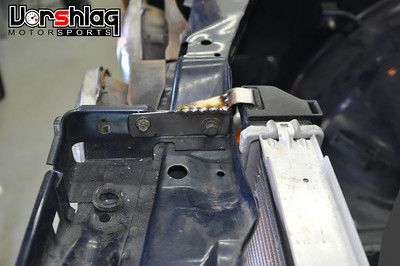
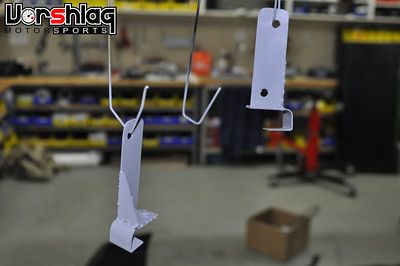
Was considering fabricating. A new mount. My upper plastic radiator mount always looked stressed and bent upward. I really like these ideas from
Vorschlag and one from a member on bimmerforums.
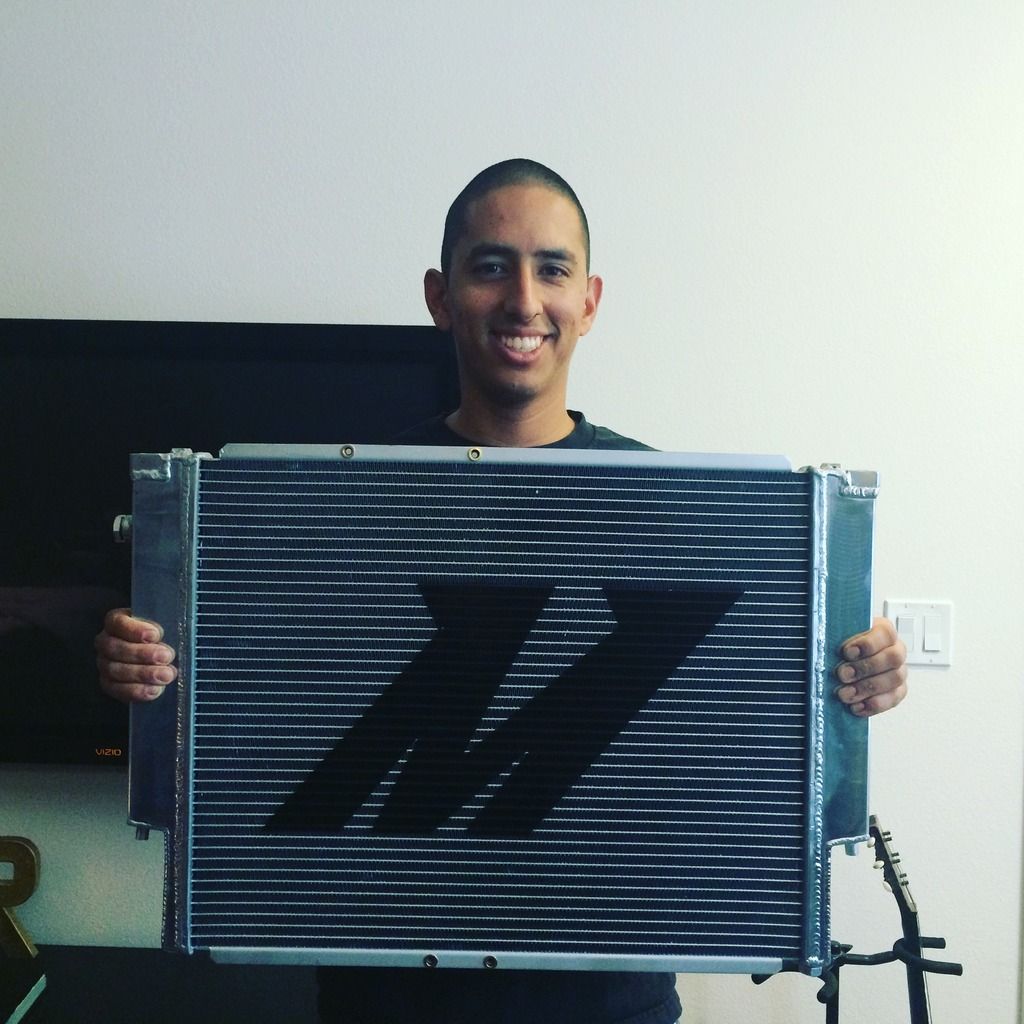
So stoked on this free radiator
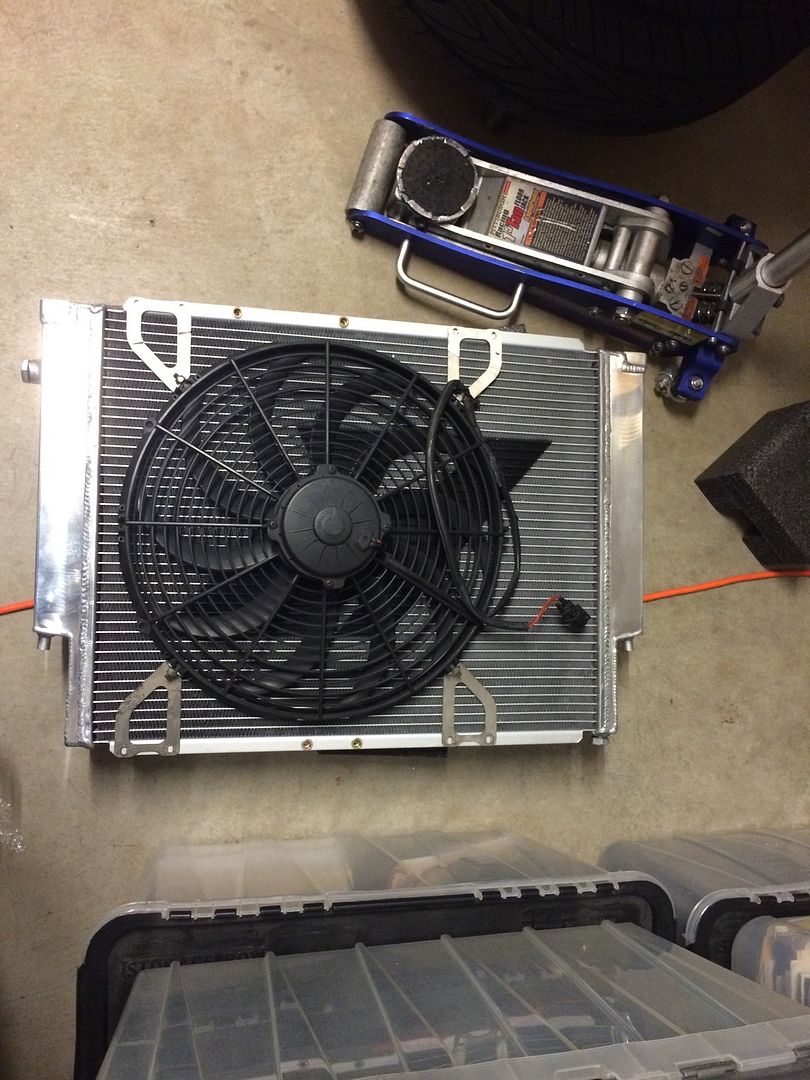
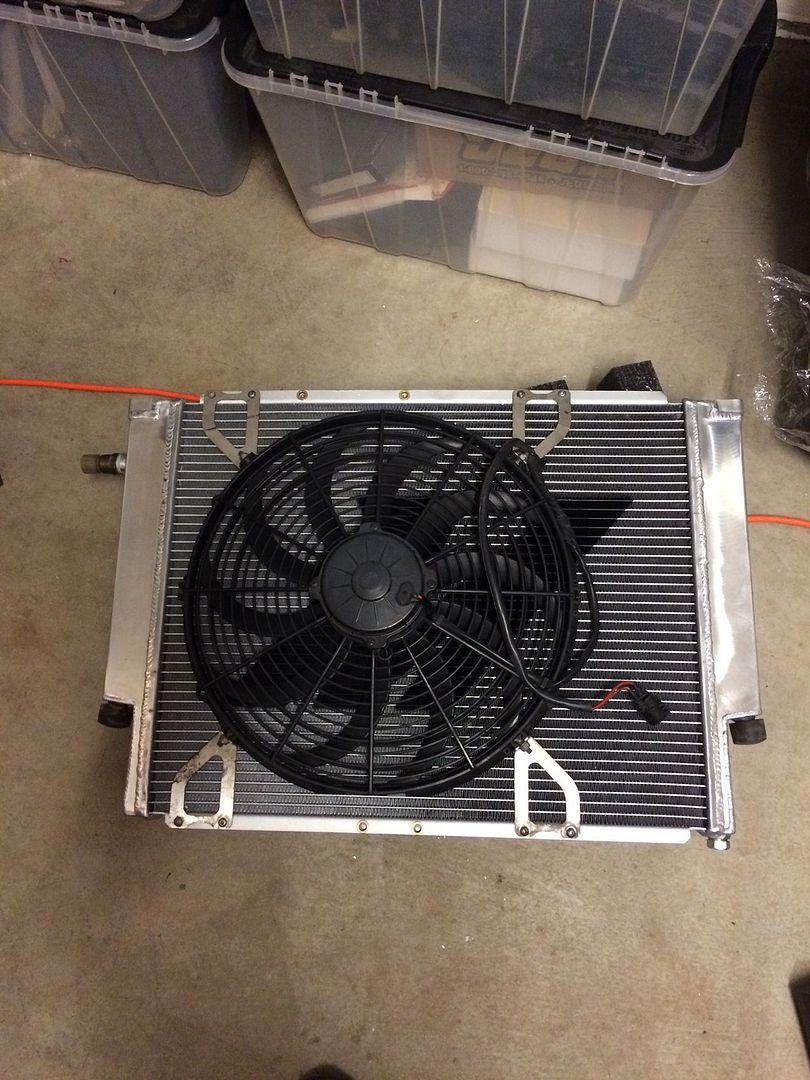
Prepping the new radiator with the Spal pusher fan and the Massive Lee trick fan bracket mounts.
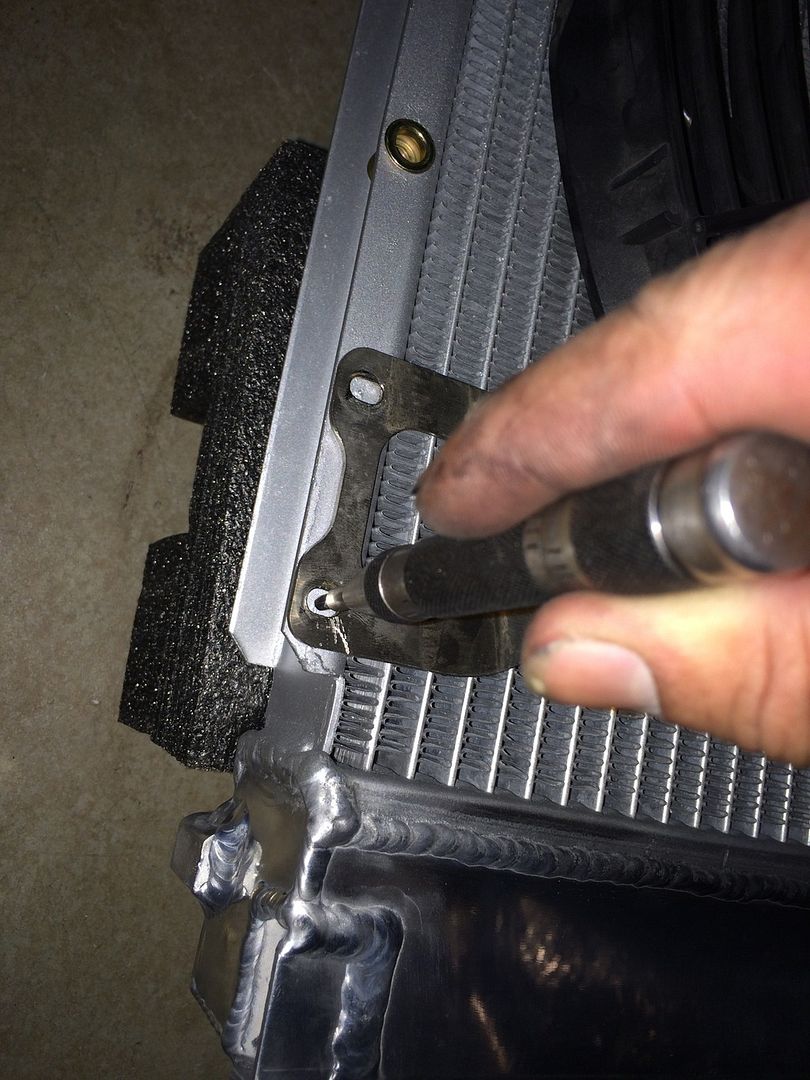
Use a spring loaded center punch to make sure the drill doesn't start to walk and puncture your radiator.
All prepped and ready to go in.
Lots of cash in this picture.
-Mishimoto radiator 340
-Spal fan 115
-Massive Lee spal fan bracket mounts 75
-E36ti temperature switch 30
-cutoff stock auxiliary fan wiring hard wired to the spal
Wrap a lot of Teflon tape to help prevent leaks.
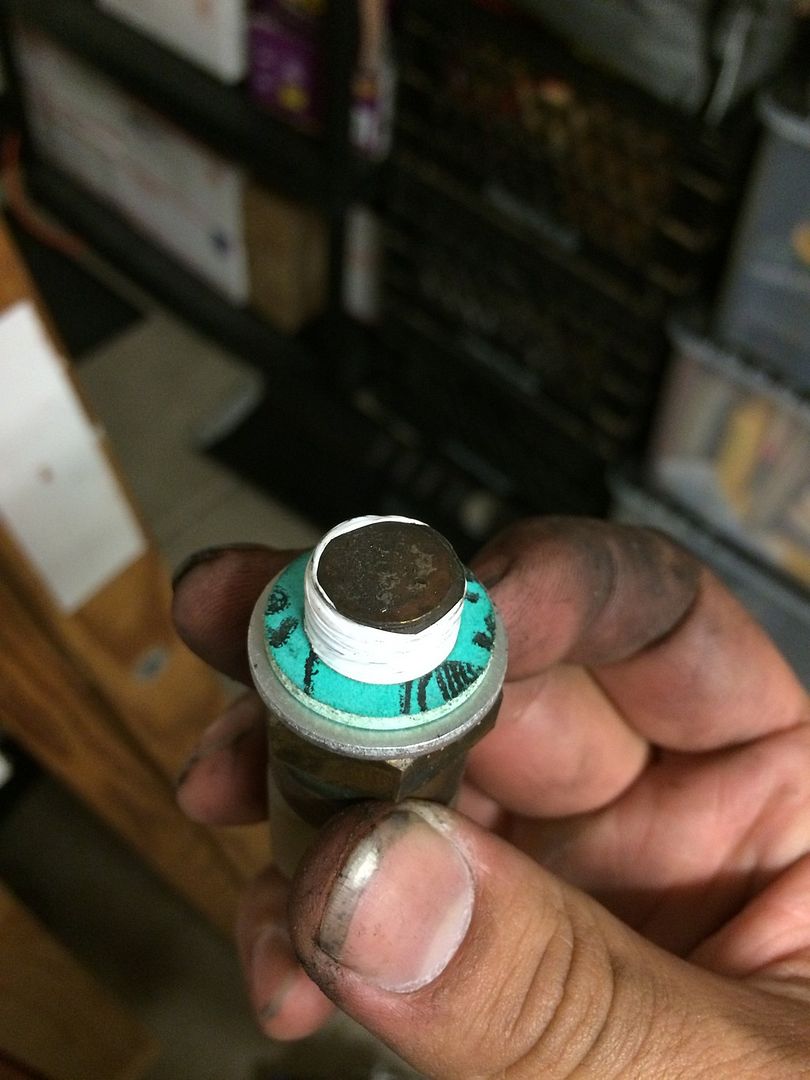
On the e36 sensor I found this combo to work well.
Lots of Teflon tape
A green m14 cork washer and an aluminum m14 crush washers to help seal the sensor properly.
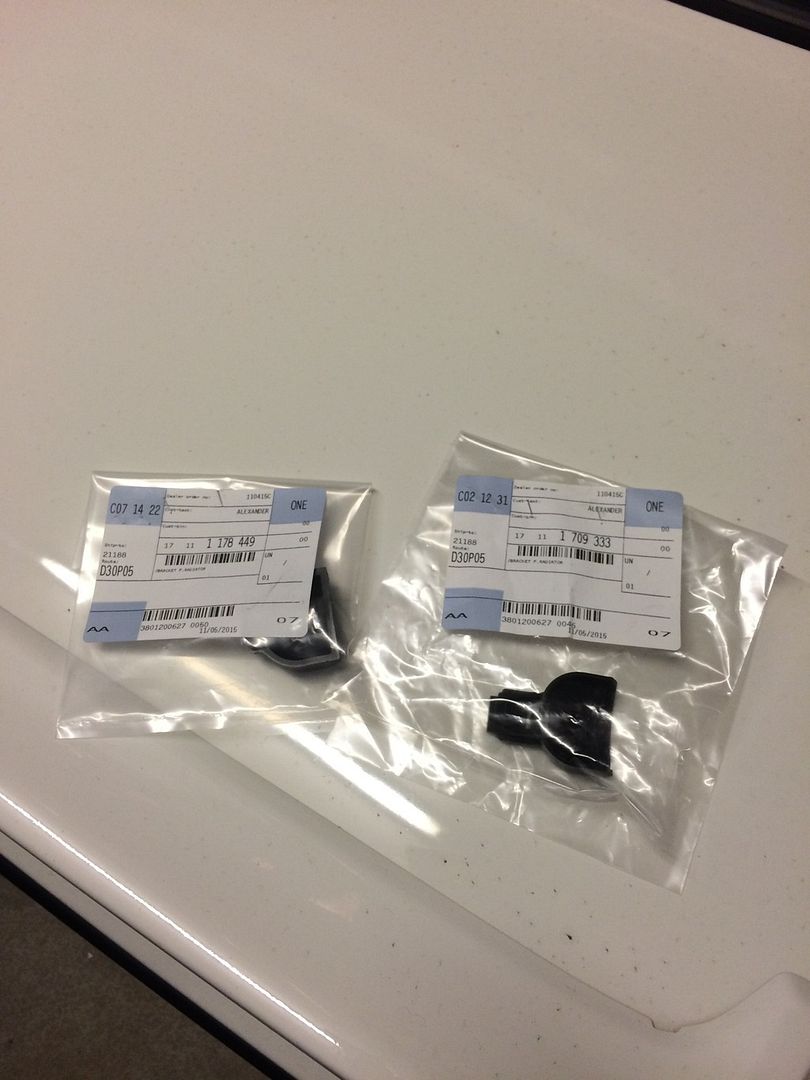
New radiator mounts for the core support
To fill the system I bought a new fluid
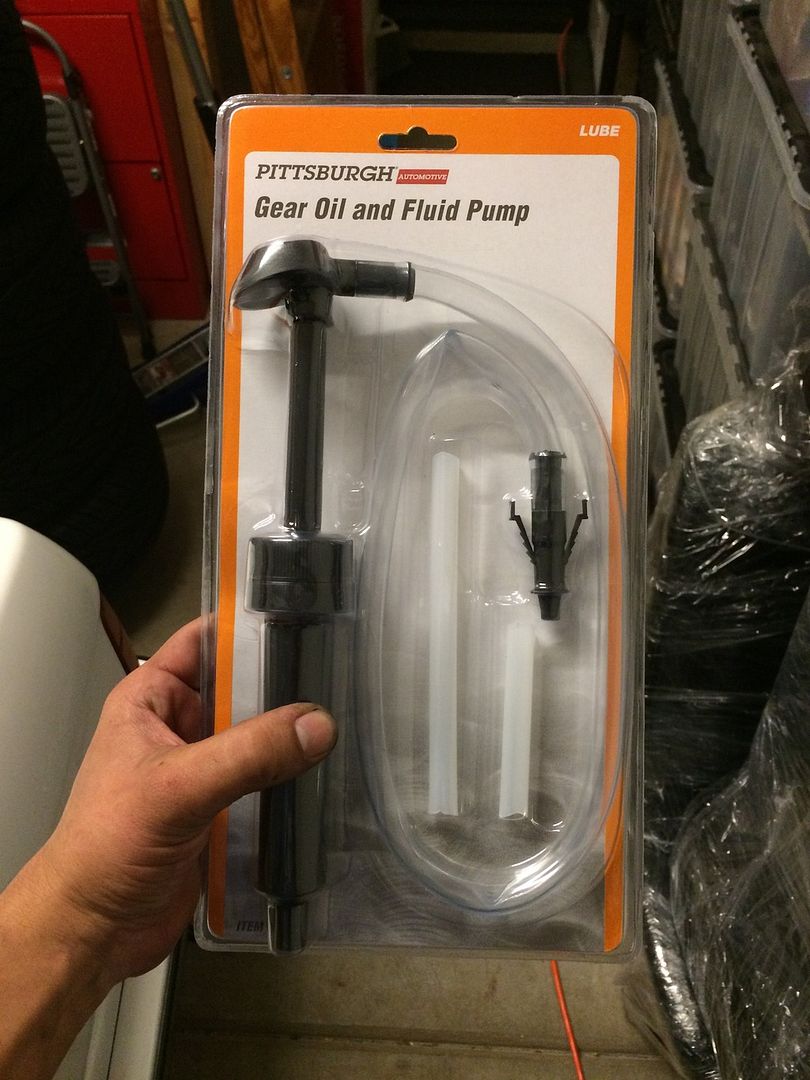
Pump per the recomendation by fello r3v member tim88325is
The technique is detailed here
This method requires a small hole to Be drilled in the thermostat housing
I used one gallon of Full Strength coolant One gallon of distilled water
Harbor freight gallon fluid hand pump
1)
I primed the pump by just pumping a little to get coolant to the tip of the hose. Point the hose in the resivoir to Prevent spilling.
2)
Unplug the overflow hose on the top of the radiator
3)
Plug the vinyl hose into the overflow spot on the radiator.
4)
Slide all vents to open in the dash and turn the dial to max heat
5)
Use a 8mm box wrench and open the bleeder screw
6) start pumping slowly
7)once you see coolant come out of the bleeder screw close it.
8)keeping pumping slowly until you see it start to fill the overflow bottle.
9) quickly remove the vinyl hose from
The pump and reinstall the stock overflow hose and make sure the clamp
Is already on the hose. Some coolant will spill out when you do this.
10) place the cap on the overflow bottle and tighten it.
11)
start the car
Turn the fan speed to 4 with dial at max heat
check for leaks and monitor your water temp gauge.
Once it gets close to the middle crack the bleeder screw. I didn't notice any air bubbles at all. Very impressed with this method.
A few pics of how it went.
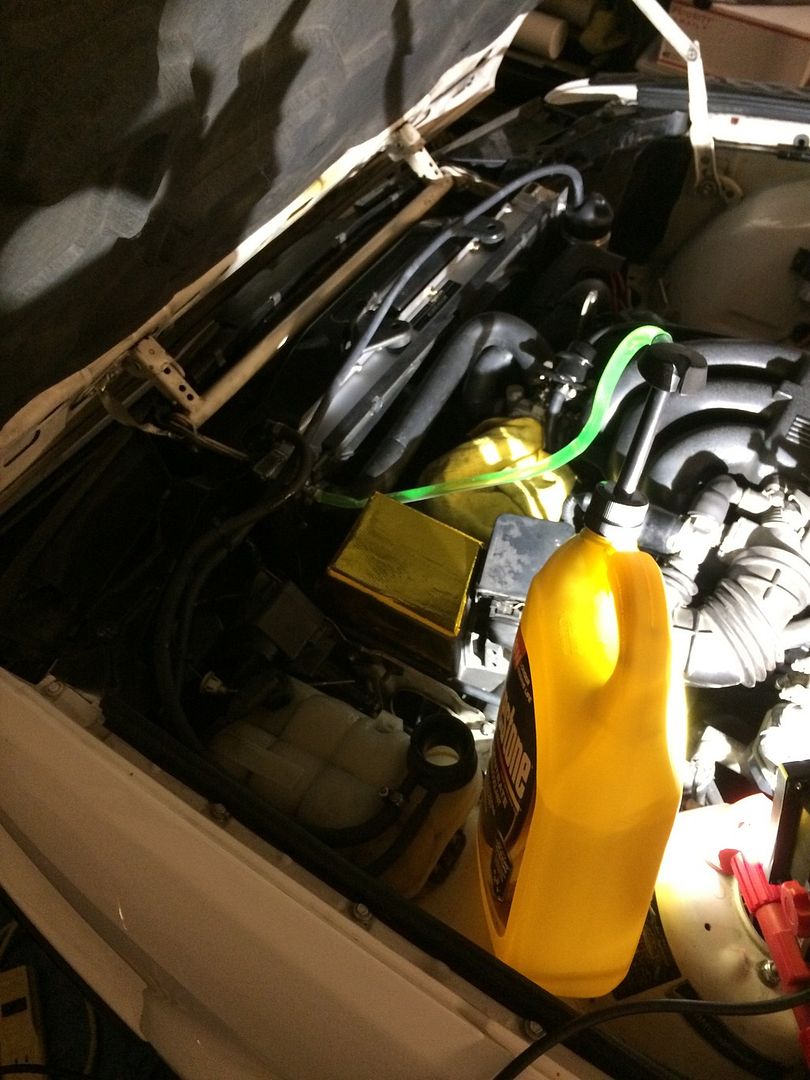
Pump primed and ready with coolant and plugged into the overflow nipple on radiator.
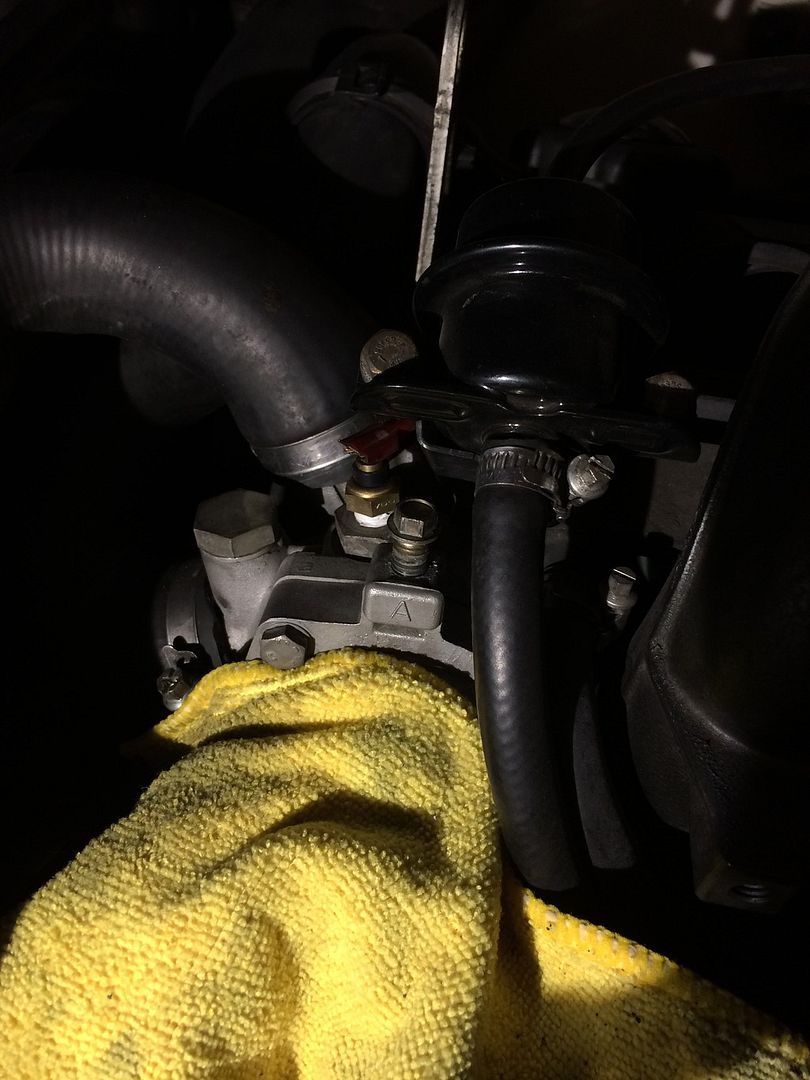
Coolant dribbling out of the bleeder vent. Rag is there to soak the moisture
Dem late nights. Probably close to 3am here.
Filling with distilled water now almost done.
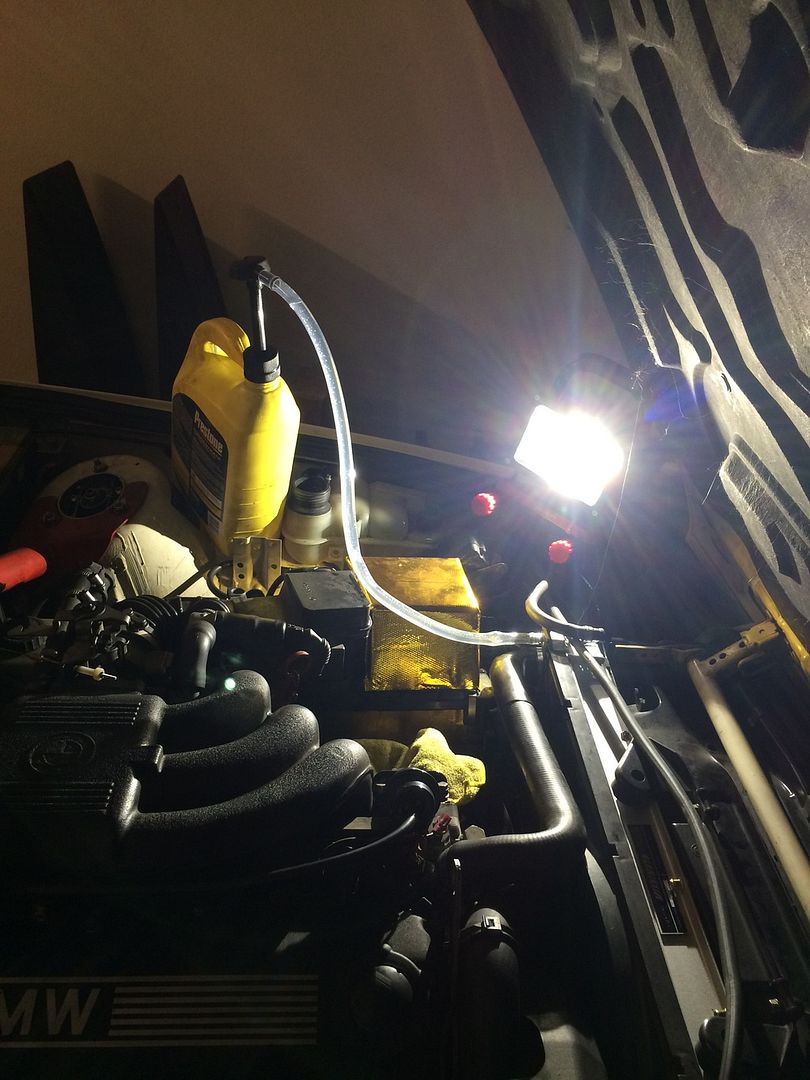
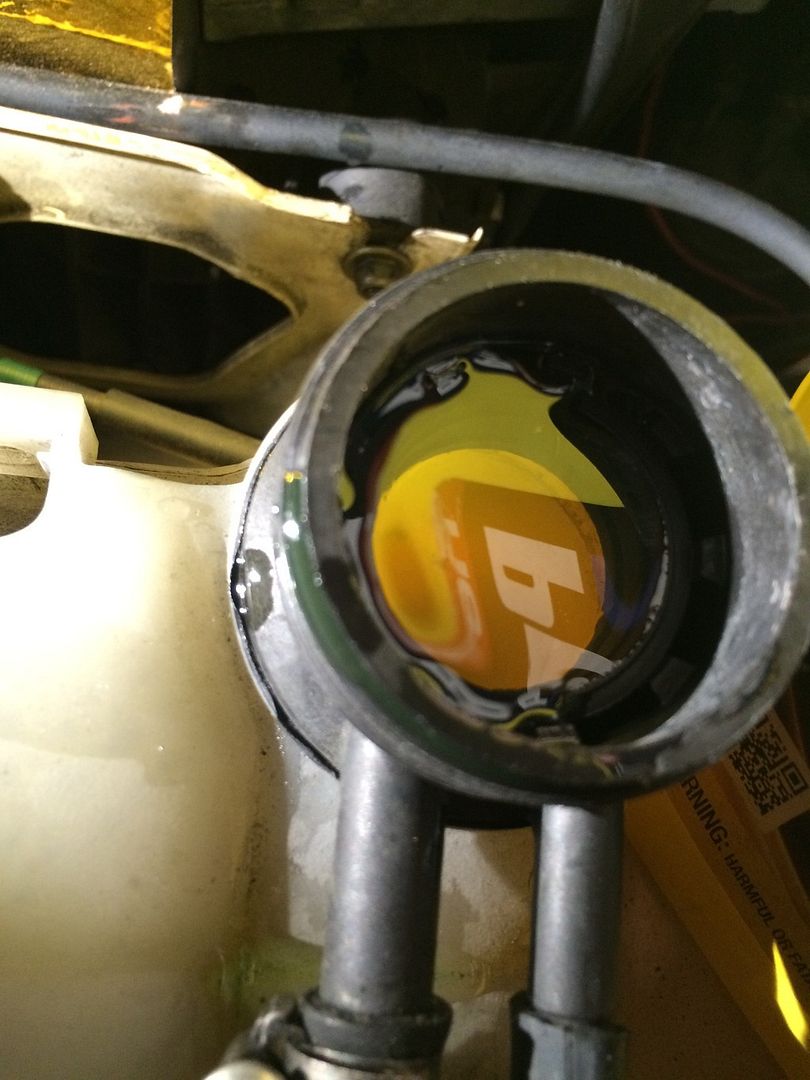
Success. No bubbles. Bleeding the engine with the engine off and completely cold at 3 in the morning with out pissing the neighbors off. So awesome.









Leave a comment: