-
Lisa's car is gorgeous.... but I've never liked 2002's in "boring colors". It's a bit like trying to put a surfer dude or ski bum into a slick Armani suit. It works, but they can't wait to take it off. I'll stick the classy colors onto an E9 while rocking bright colors on the 2002.
Ha, to each their own, that's just my opinion.
Thanks Matt, great to be back in the fold.
Solid mounted! #becauseracecarLeave a comment:
-
Andrew, congrats on the new job! Definitely more your style. ;)
I'm very excited to see progress continuing on the car! Love the new suspension too. :DLeave a comment:
-
-
Can you blame them Andrew? You are a very suspicious looking person! HahaLeave a comment:
-
Things have been moving! Fabrication date set for Saturday after next.
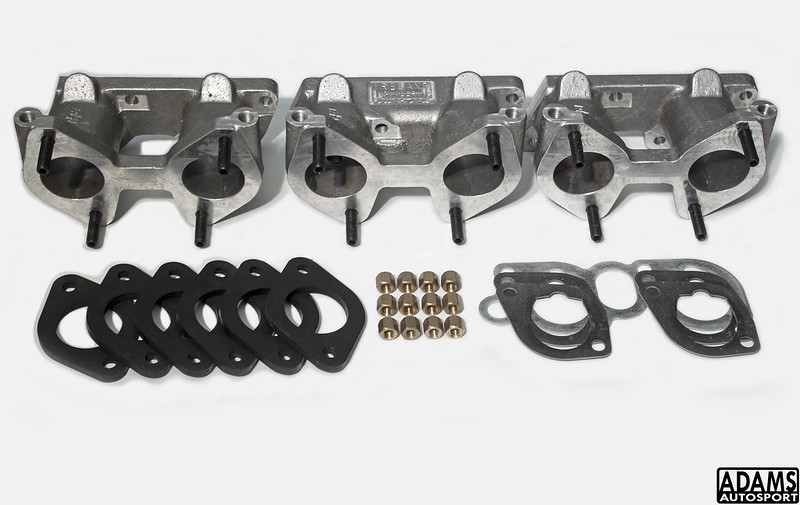
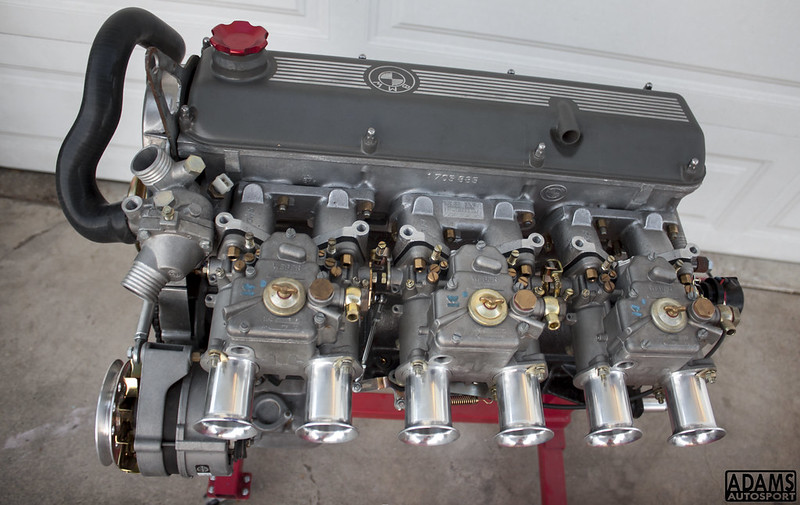
Got another update, the first batch of production manifolds are done and ready! Grabbed a set and did the final mock-up in the engine bay (this was prior to getting it towed to media blasting).
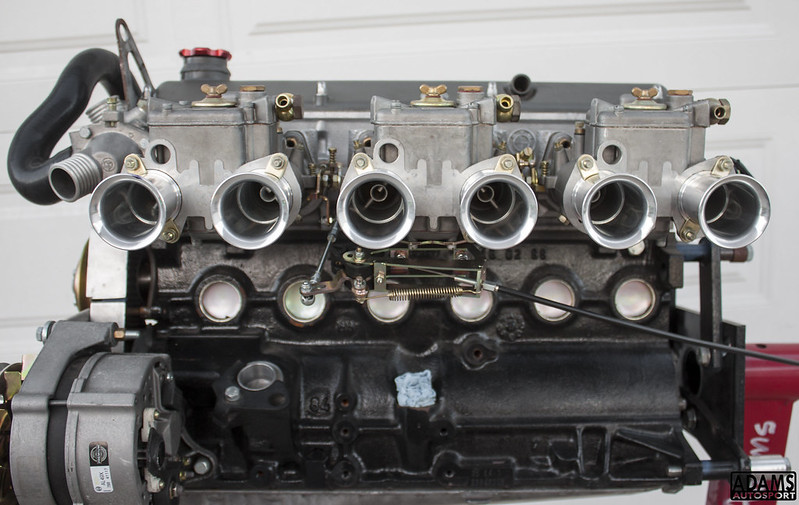
Also note, the linkage is nearly sorted. Went for a combination of linkages to get a clean stealth-look. Still not %100 if this is the route I’ll go, the only way I’ll feel comfortable with it is to run a second cable or a Lokar cable.
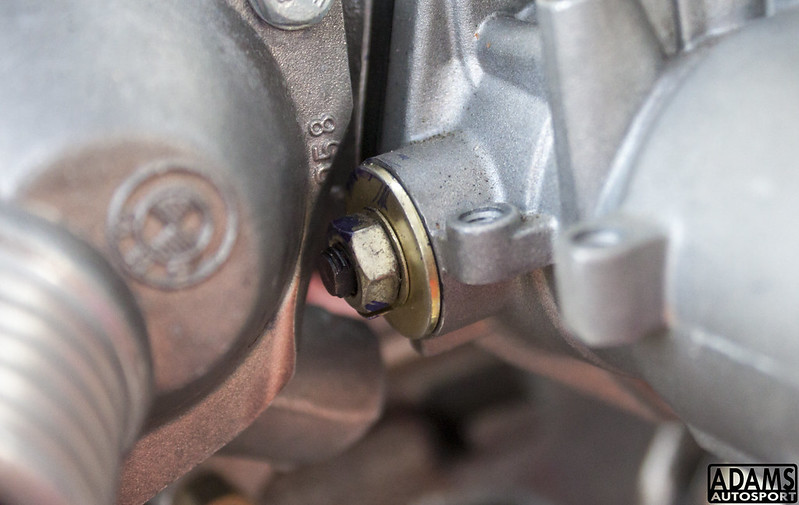
A little clearancing is needed on the thermostat cap, nothing five minutes with a die-grinder can’t fix.
-=---------------------------
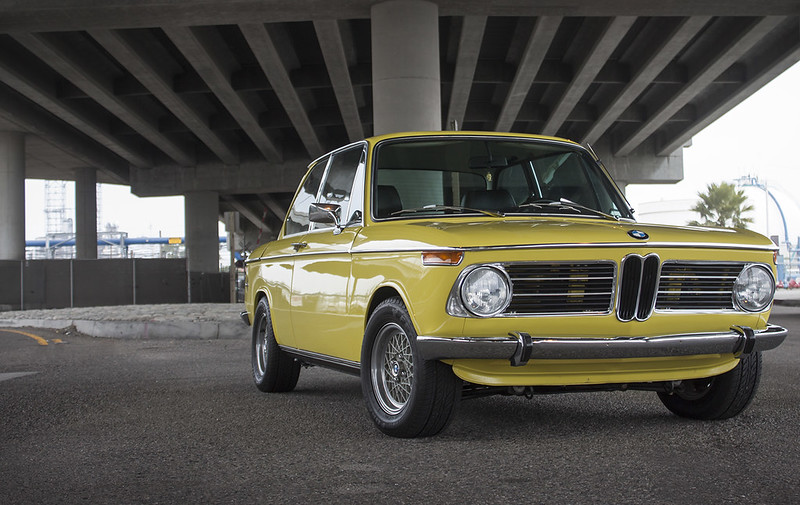
Also, funny story. I did a photoshoot on this Golf-yellow 2002 a week ago. Took pictures near the oil refinery in LongBeach. Great time, fun location. Even talked to an Engineer from the plant.
Fast forward today. Got a visit from a nice lady and fellow who said they were from the FBI. Apparently security got fidgety about my shooting there, so they called it in. The FBI said it's perfectly legal to take pictures there, only that the security can call in anything suspicious to follow up on. Crazy.
 Last edited by SkiFree; 09-14-2017, 11:06 AM.
Leave a comment:
-
-
Congrats andrew hopefully this thing is sitting pretty by the end of this yearLeave a comment:
-
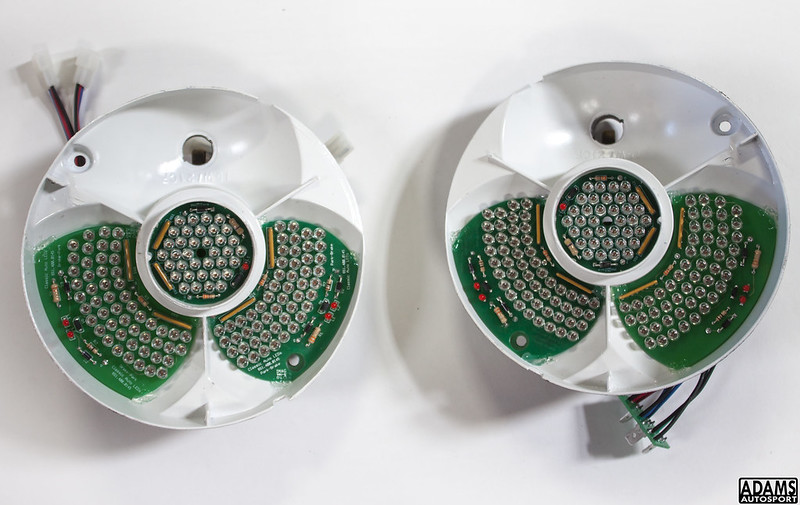
Tailights are done and ready, except that reverse light. One more thing to check off. Thank you to BluntTech to offering these awesome LED conversions.
- Painted lenses white
- BluntTech LED Taillight conversion
- Rechromed trim rings
- New gasket seals
- New lenses

Leave a comment:
-
-
Damn Andrew, this will be so incredible once it's painted. Can't wait to see it!!Leave a comment:
-
Ha, thank you Brad! Feels great to be back. Some days I've got to pinch myself.Leave a comment:
-
congrats on the move and welcome back to roundel land :-)
those body pics are just incredible.Leave a comment:
-
Time for another update! Things are moving forward. Not the least of which I left (on good terms) my job at GMG and went to work with Erik at CoupeKing. He'd been rather insistent and made one of those offers it would be stupid not to take. So, back to BMW-land!
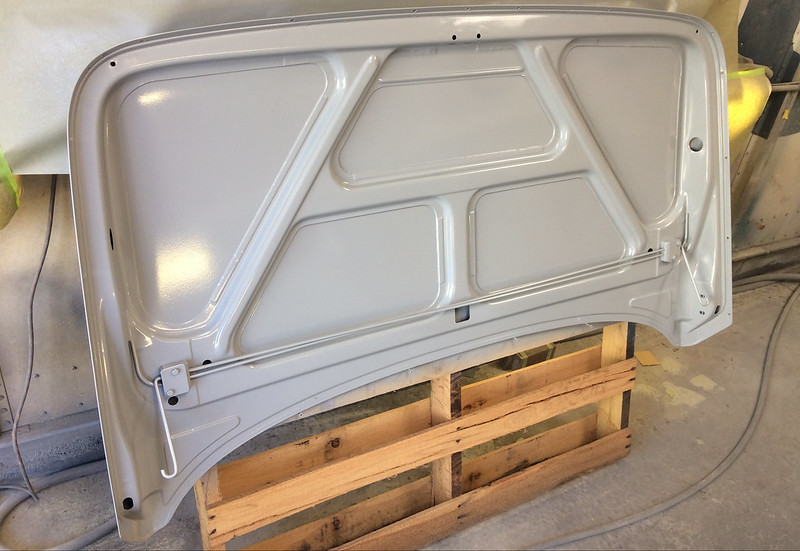
With the bare chassis now media-blasted to bare metal, I had it dropped off at work. Here are a couple pictures of it being dropped off and temporarily tucked in for the night.
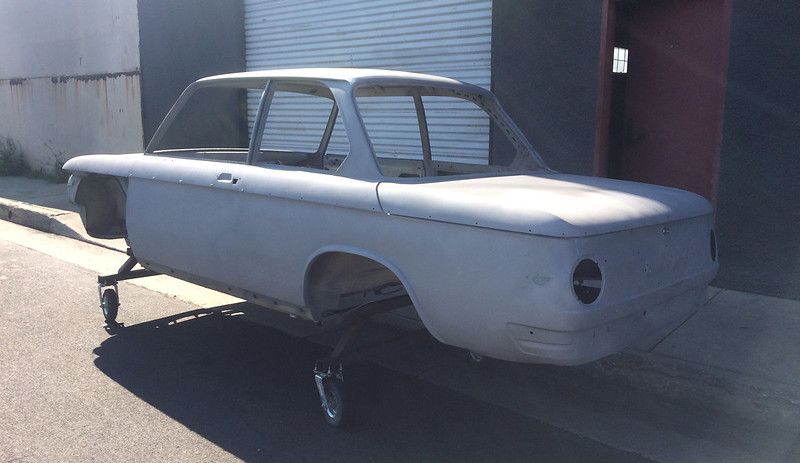
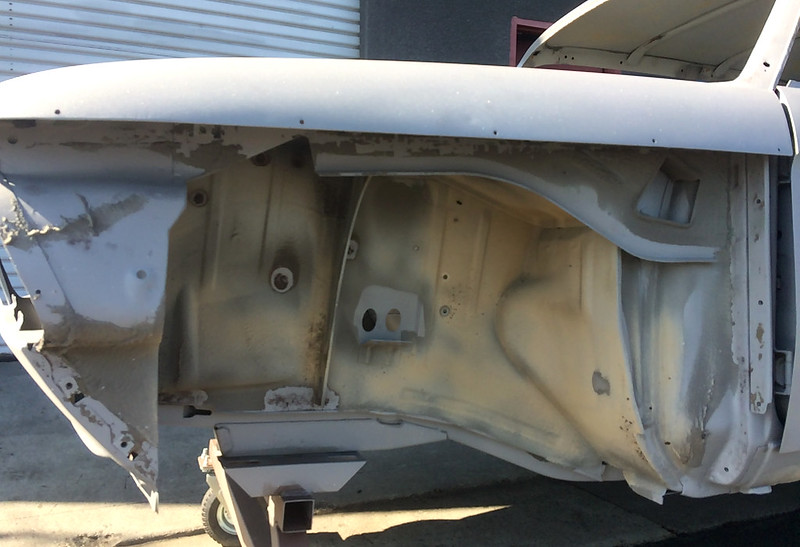
It's pretty neat to be able to see the original brazed spots.
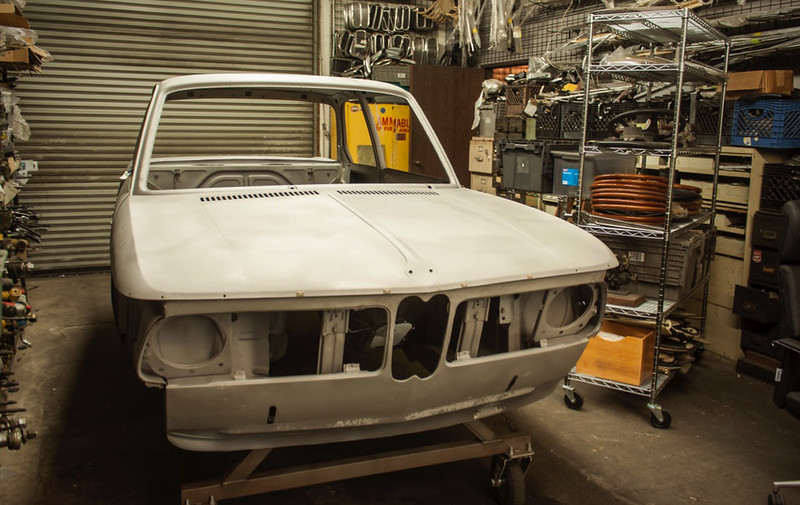
I don't care what anyone tries to say, there is no such thing as a "rust free unrestored classic car". There is rust in there somewhere. In this case the fenders needed a bit more work (previously a lower section on the nose and spots on the lower fenders were cut out and replaced).
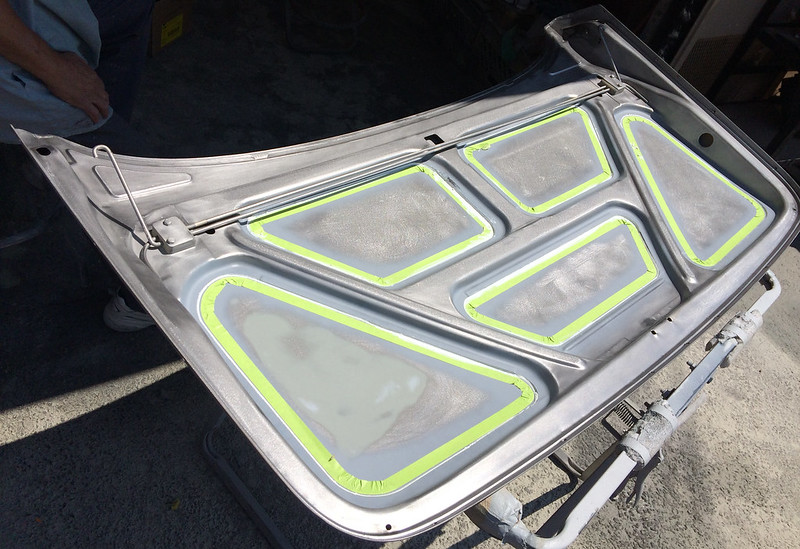
The next day into the body-work booth it went. Honestly, doing the bodywork myself was just never a realistic option. Especially not when I've now got access an incredibly talented body-man keen to strut his stuff.
We simply call him “Maestro”, he's been tapping hammers for the better part of four decades. It's honestly a bit mesmerizing to watch him work. Would you figure he's got an old 4-door Lincoln and a '65 Caddy Convertible?
It was interesting to see how each panel was further ground smooth and hammered straight before being coated in epoxy primer. I tried a bit of the hammer work with Maestro's tutelage, don't know how he does it so seemingly effortlessly, it's an art.

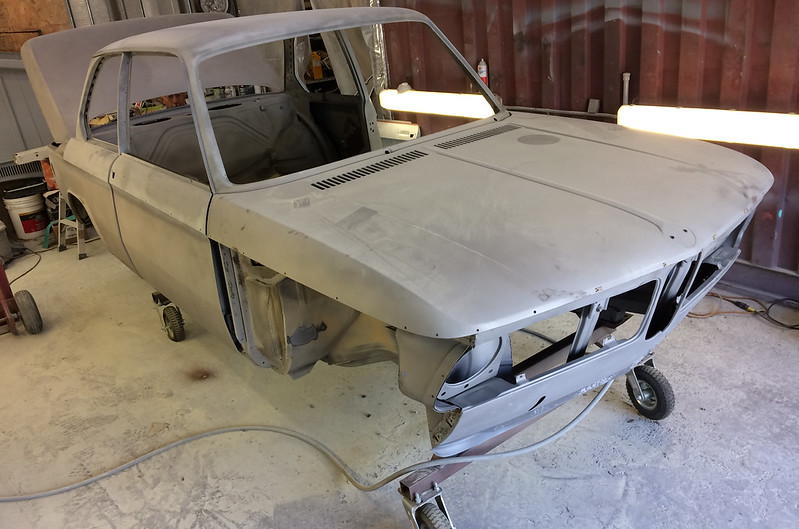
Here's how the chassis sits as of this morning, this represents three weeks of eight hour days and counting. After the priming, the panels were mounted and then sanded to a uniform surface. Getting the door gaps perfectly aligned with the fenders and rear ¾ took some time, but the end result will be a nice, continuous, paint reflection.
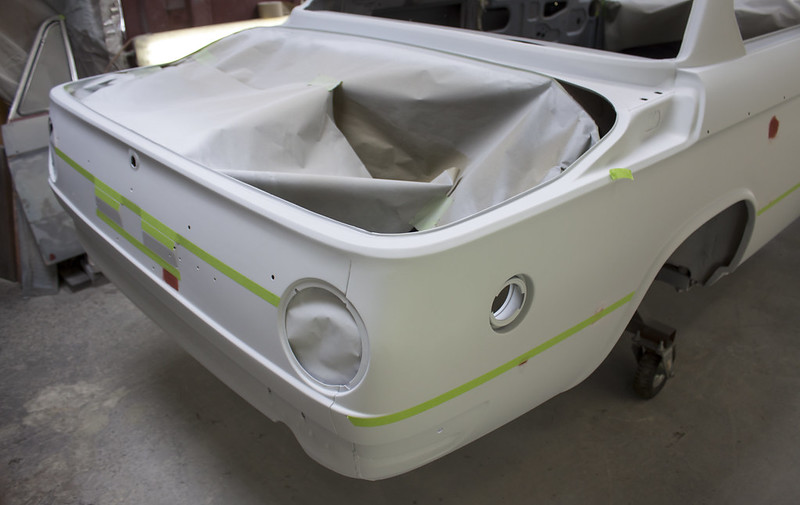
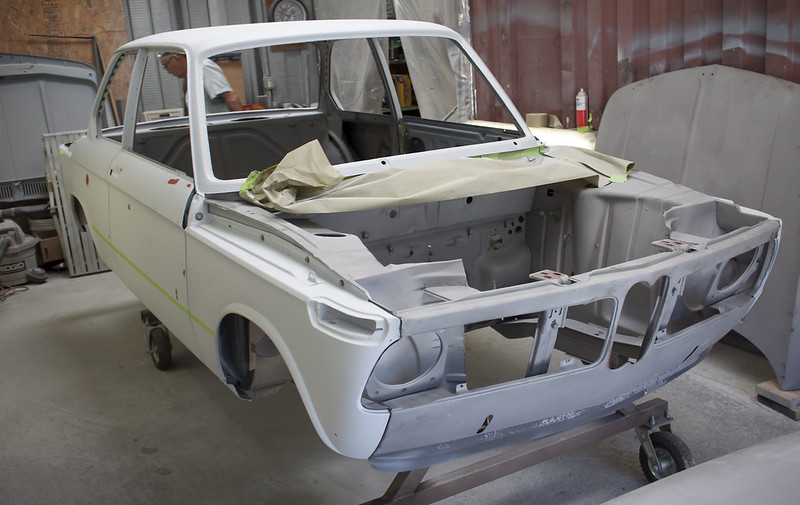
I have a little fabrication left to do in the coming two weeks. After that it's time for paint!
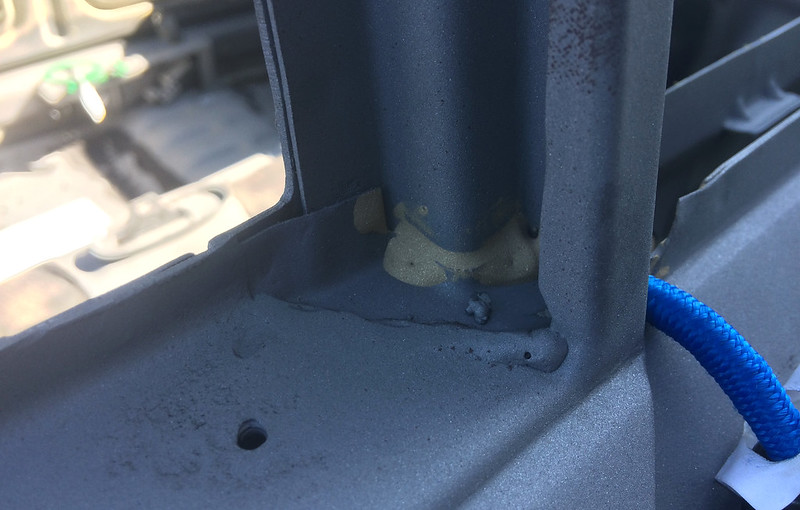
1) Stitch welding and additional subtle chassis reinforcements.
2) Nuts welded to the B-pillar, and new relocated holes for the new front seat belts
3) Slots, nuts, and mounting brackets for the new 318-style rear seat belts. (We want something as safe as possible for the kids. These will position the strap up on a pivot to be located on the C-pillar, vs the not-as-ideal generic system with the shoulder strap simply laying over top the rear seat.)
4) Cut final hole for oil-cooler
5) Weld tabs with captive nuts for the radiator shroud.
Onward and upward.Leave a comment:


Leave a comment: