
-------------------------------------
10.4.17 Wurth Texturing
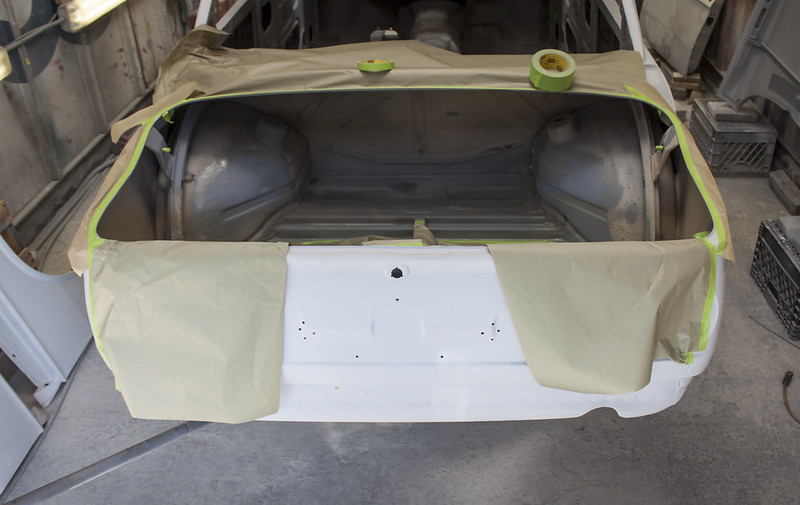
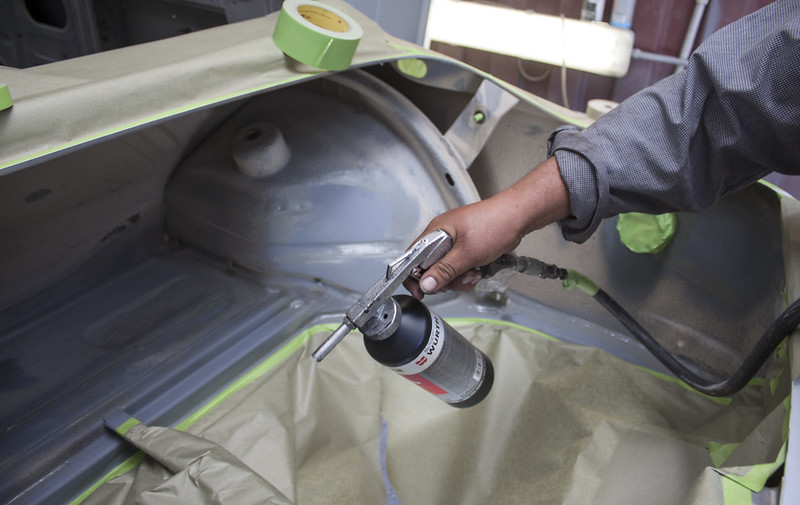
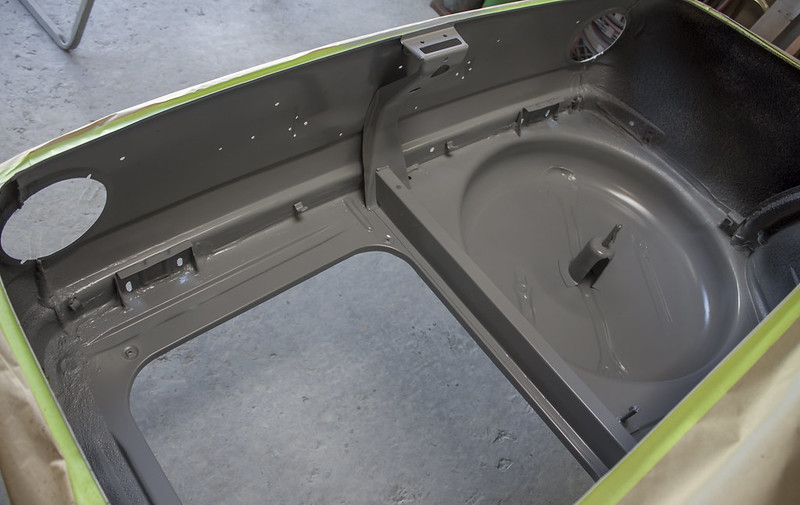
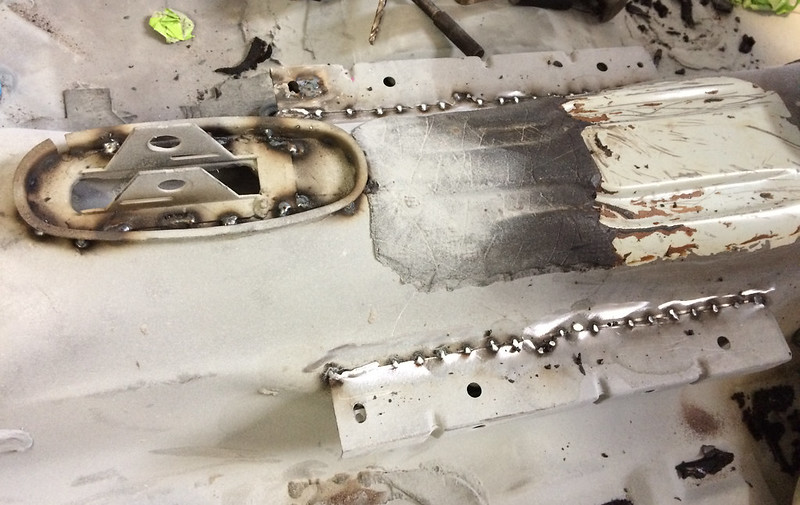
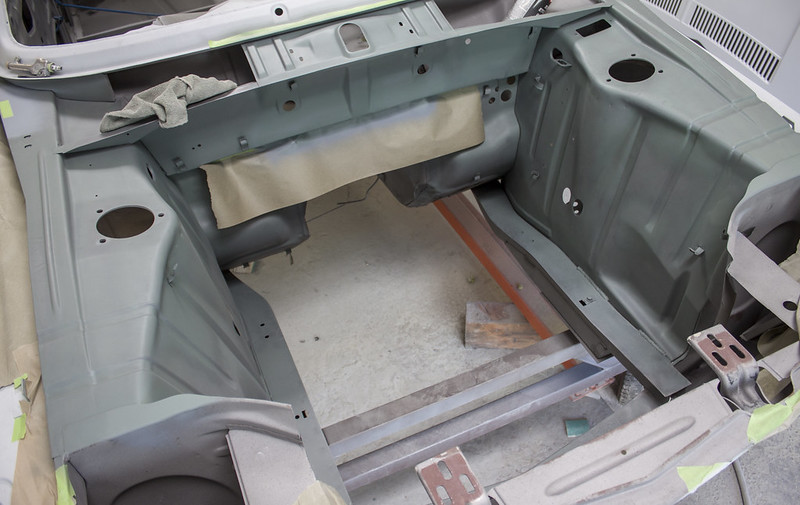
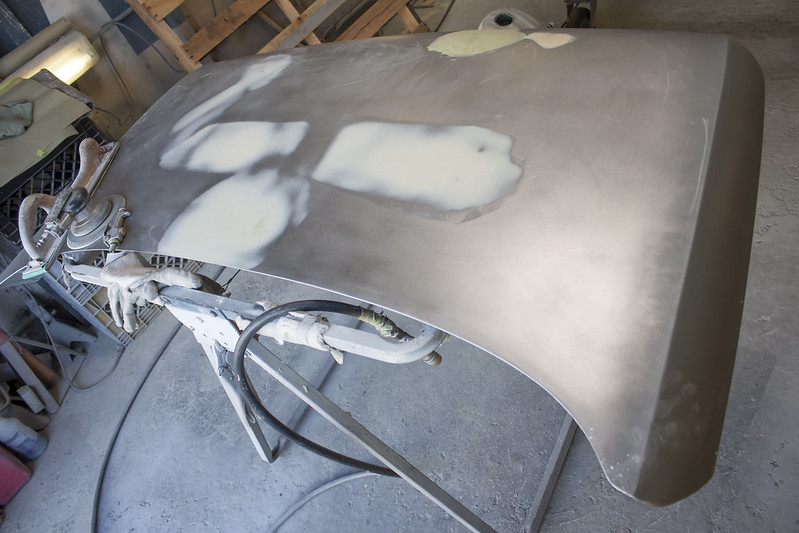
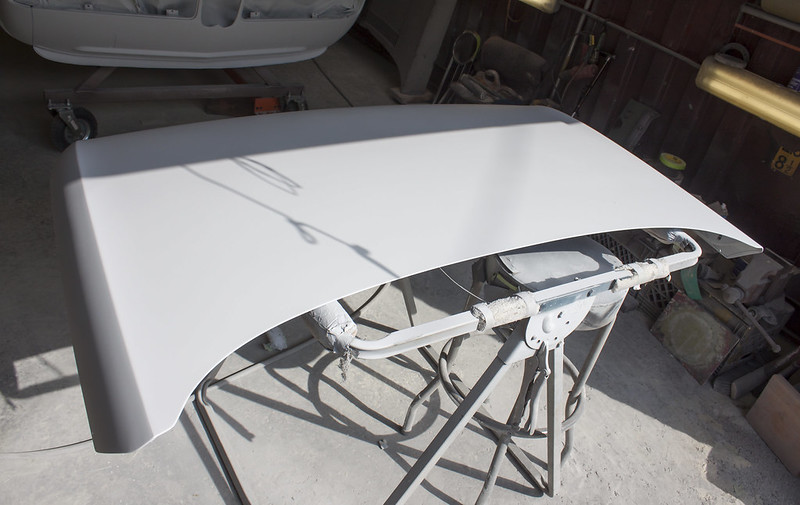
With the media blasting and trunk repairs, a lot of the factory texturing was removed or in bad shape. The Wurth texturing gun was brought out to get back to the OEM look.
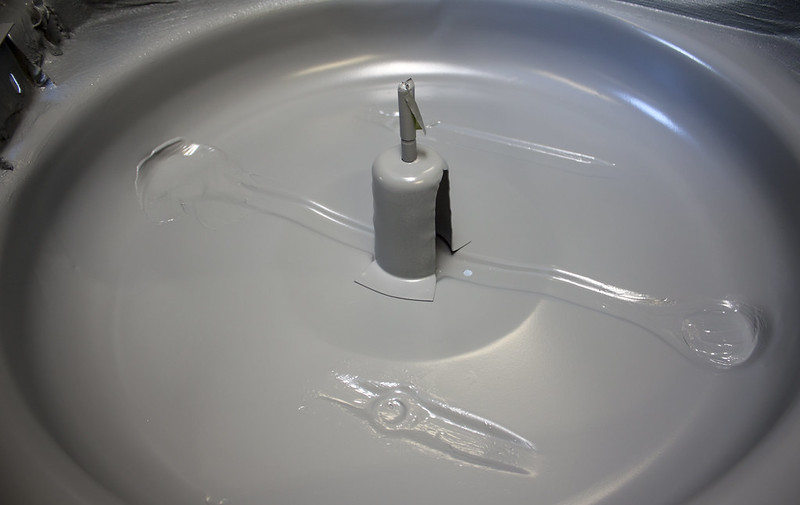
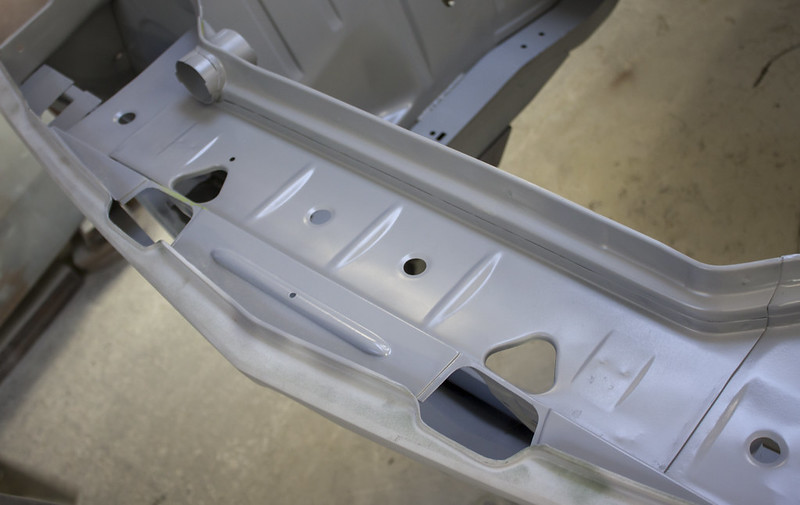
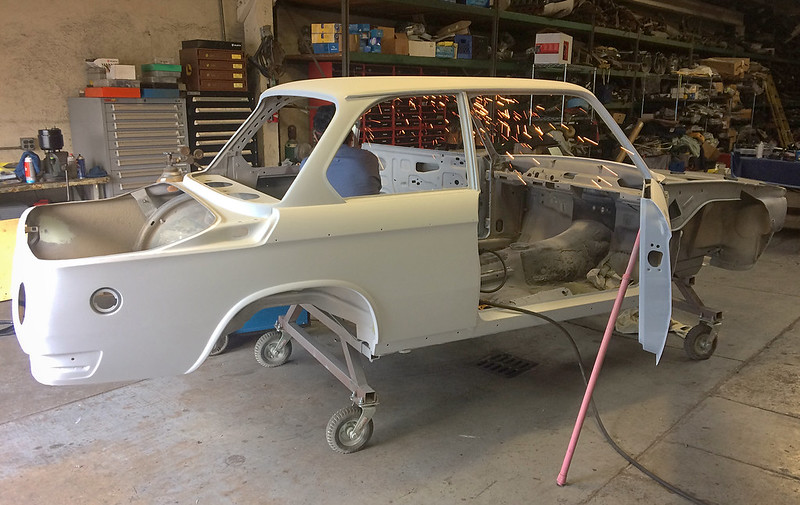
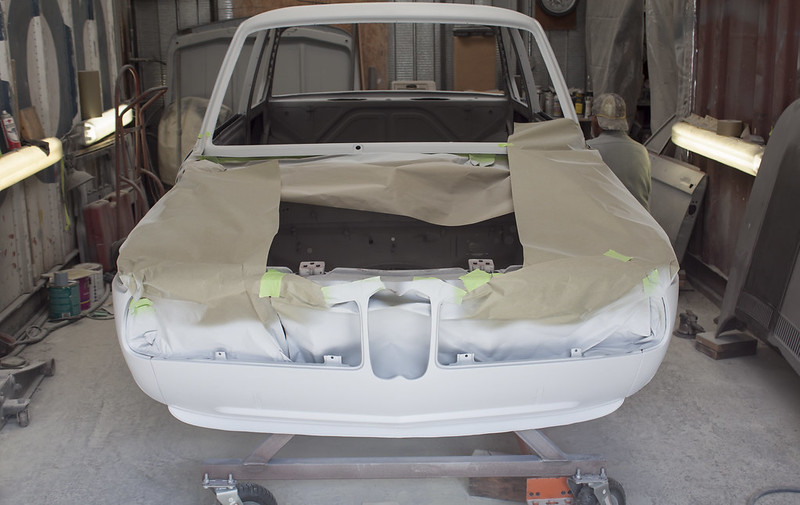
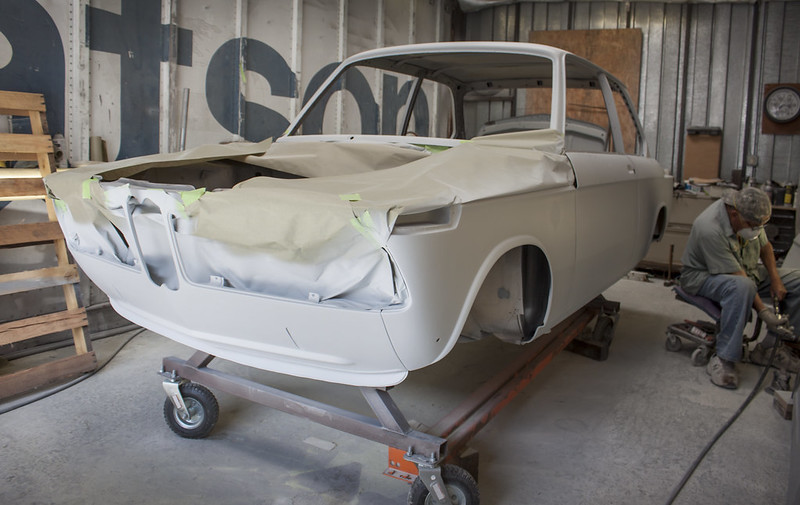
Maestro has just finished the rear wheel wells in the trink, so starting there we masked off the spare tire well and gas tank opening.
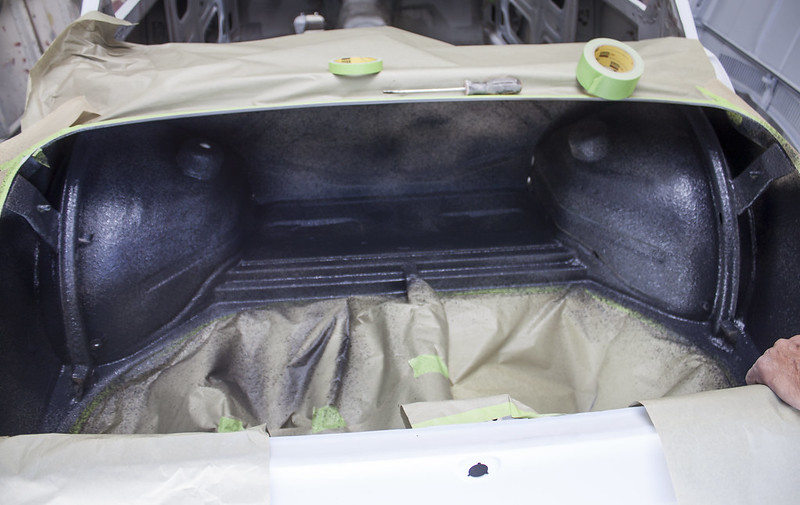
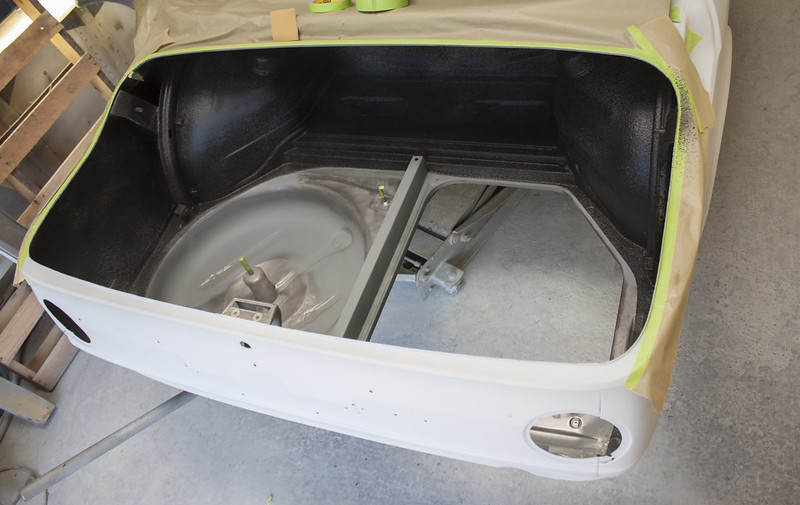
With that finished the final corrections to the trunk were made and then a coating of zinc primer laid over top.
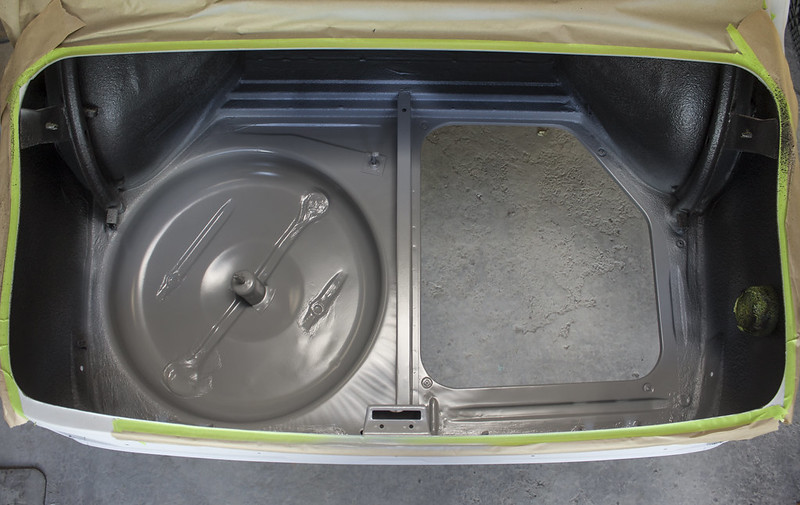
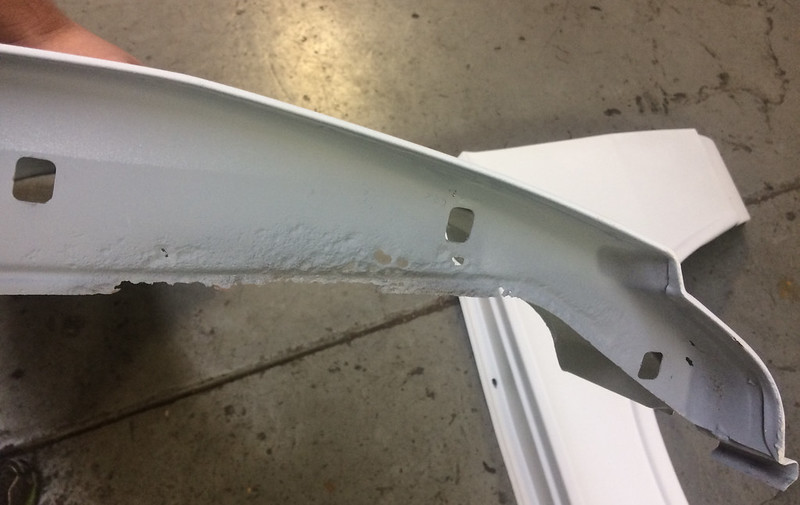
I don’t think the spare wheel well ever looked this good.
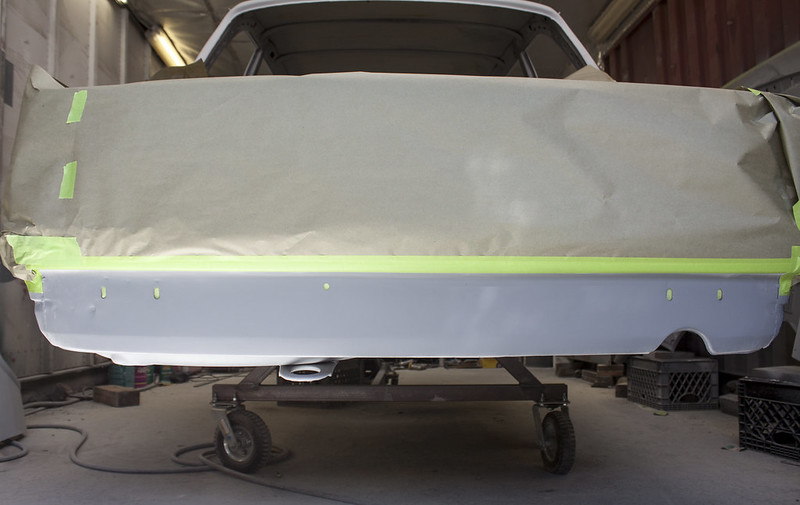
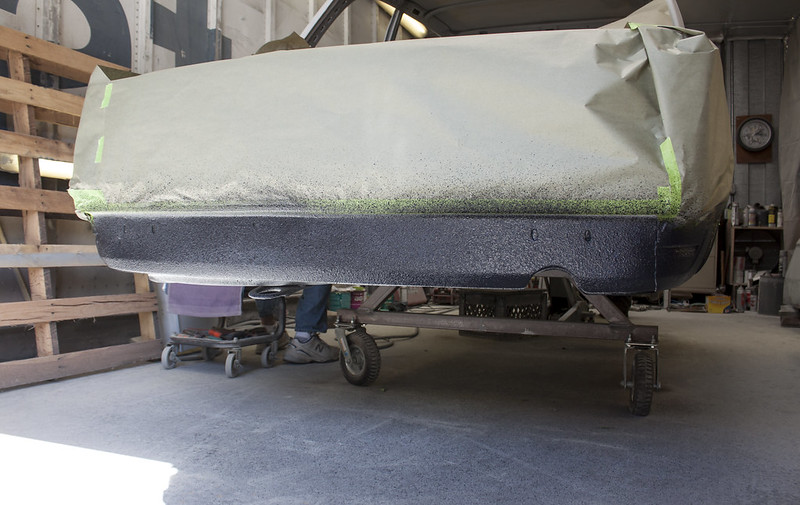
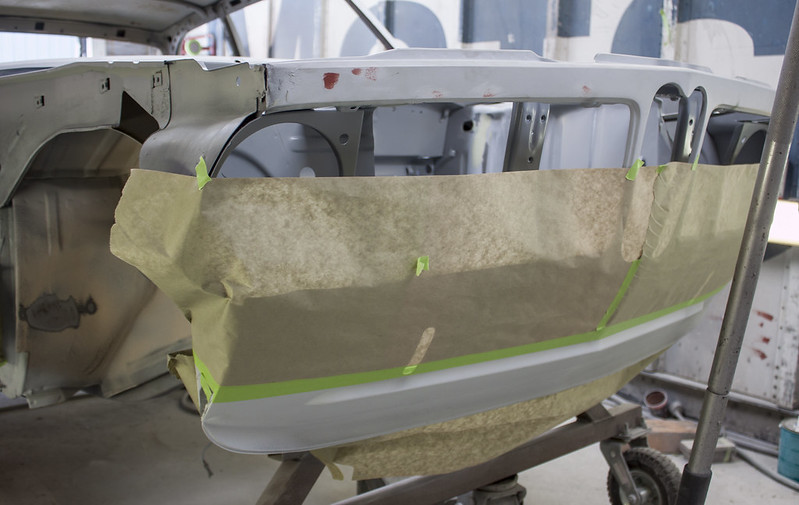
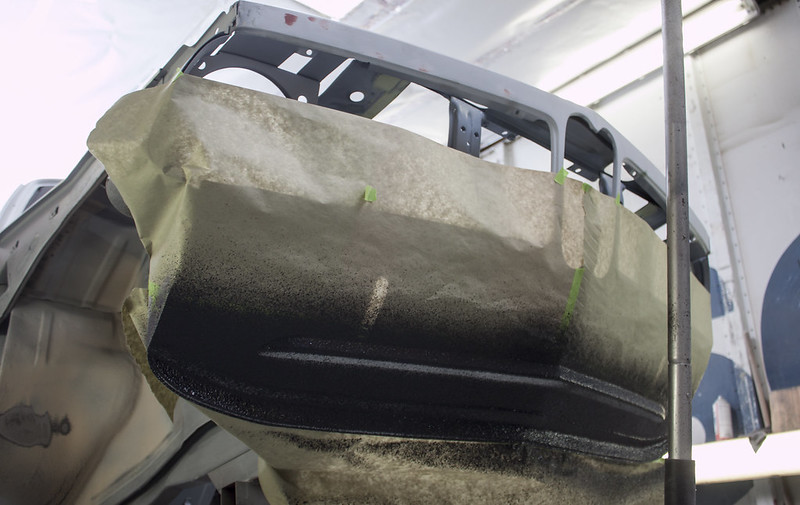
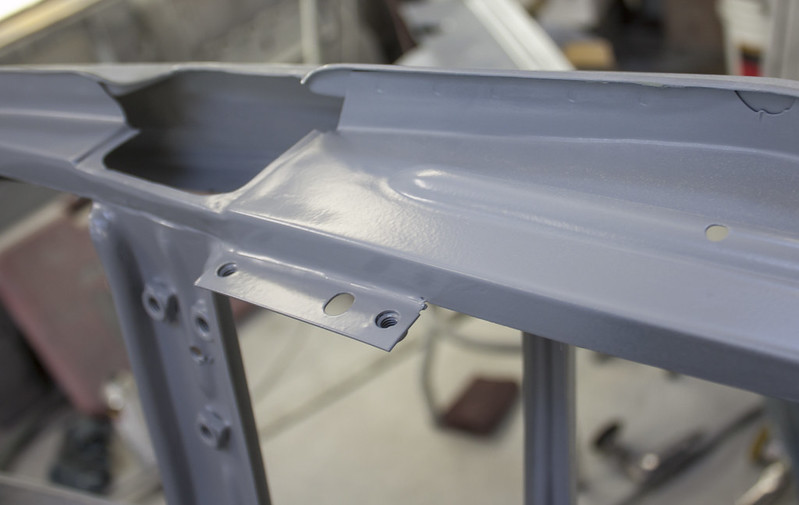
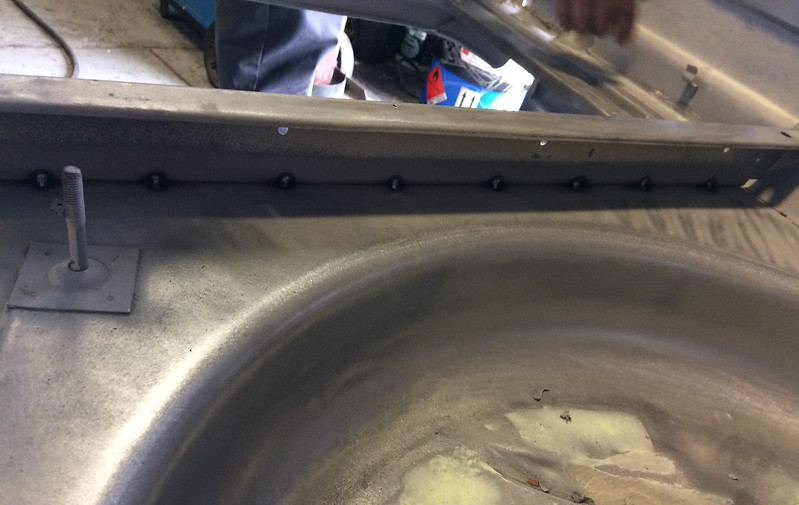
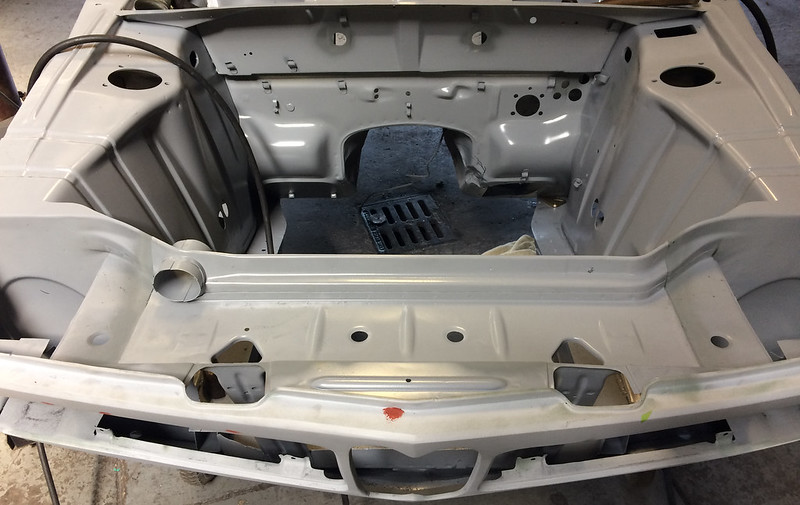
Next to get shot were the rockers and front/rear lower sections.
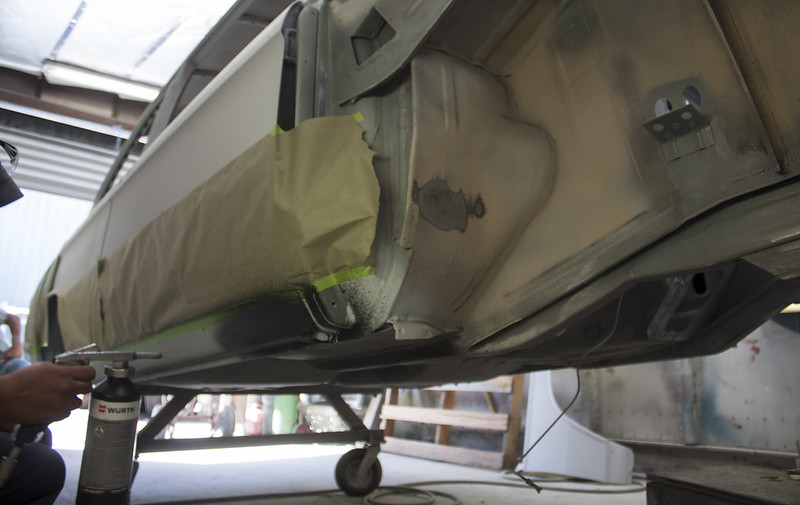
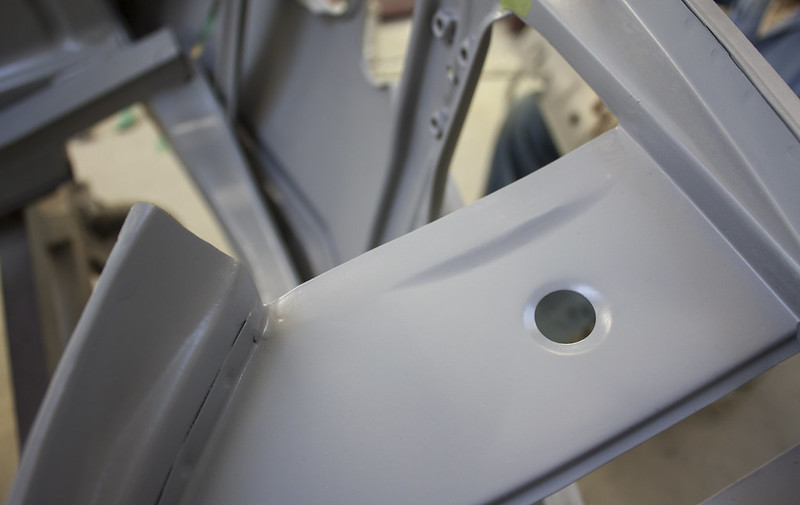
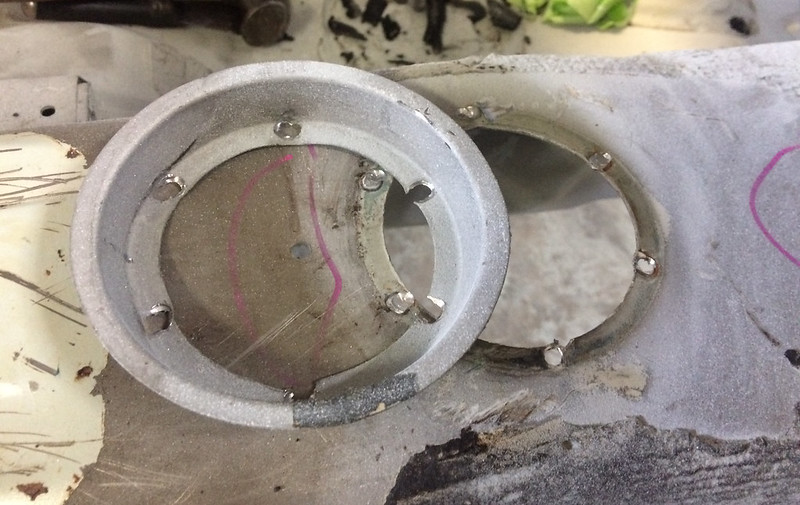
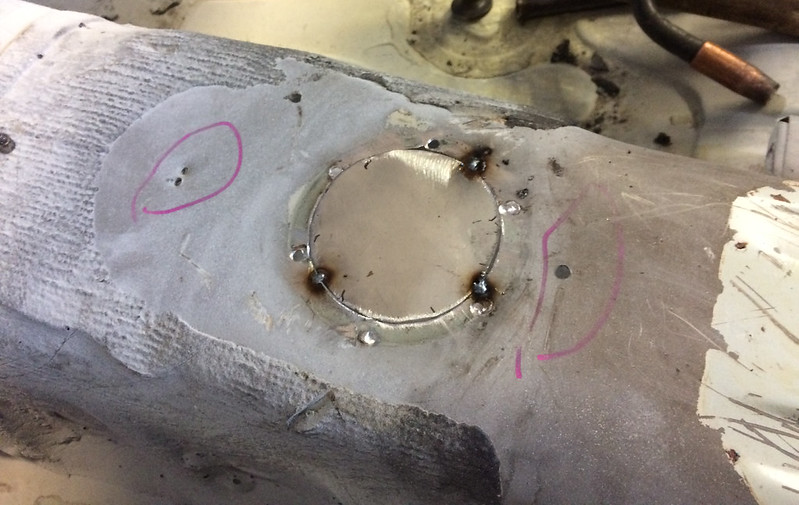
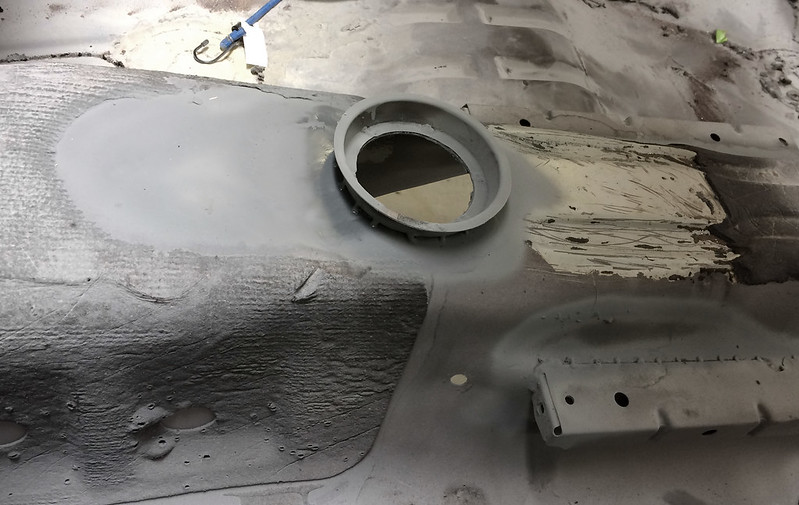
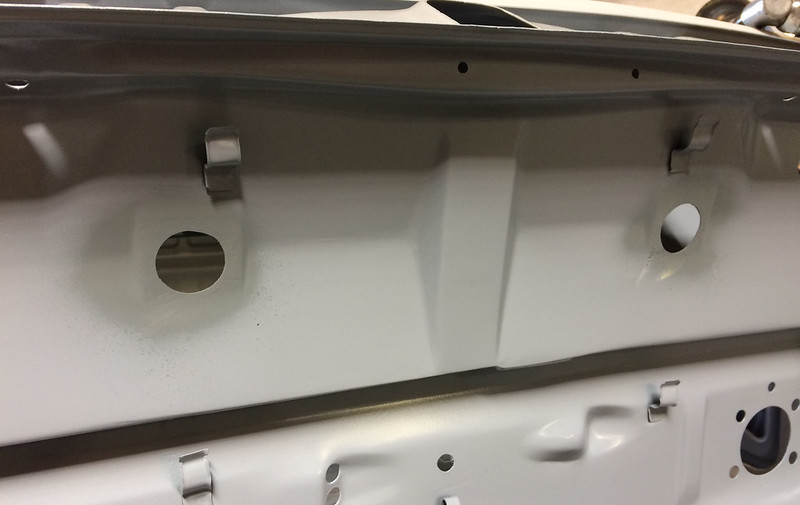
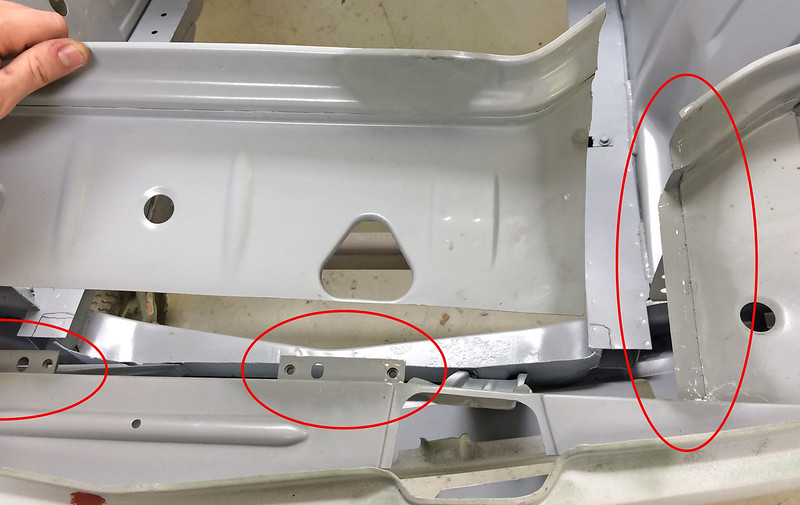
Up in the front Maestro has taken to smoothing out our fabrication work from Saturday. Namely making the small corrections needed to make the removable radiator support look like it could have been that way from the factory.

Looking forward to FabDay #2 this Saturday. We should get that wrapped up, then underbody clean up (and texturing). After that, the paint booth is looking mighty appealing!
If anybody is a bit tired of these “body-centric updates”... we’ve been reassembling “Project Pumpkin” right now. It’s pretty fun.
https://www.flickr.com/photos/152898...h/36809369083/
Also got a call from Momo yesterday, we’ll be doing some fun stuff with them next week.
-Andrew


Leave a comment: