
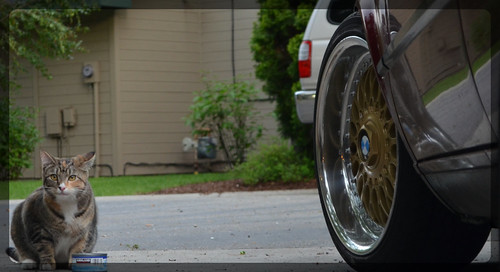
 omg.. so freaking clean...
 omg.. so freaking clean...
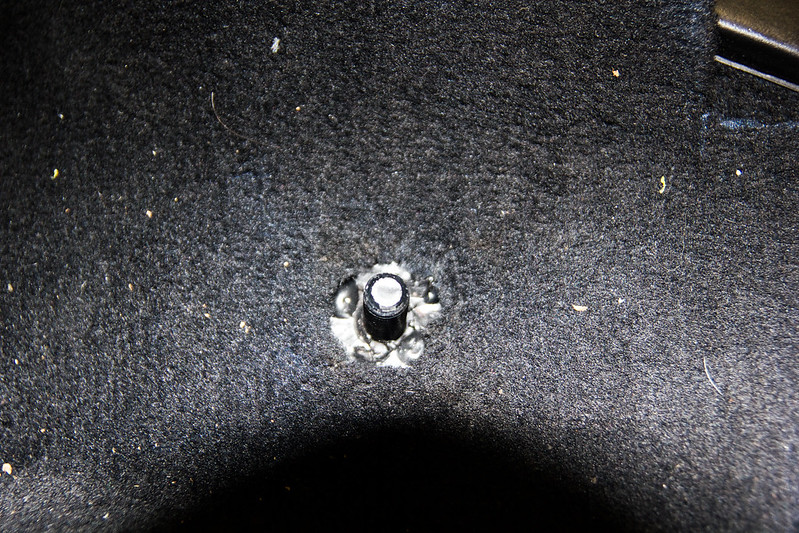 Seat Stud Welded (1 of 1) by Dillon Makar, on Flickr
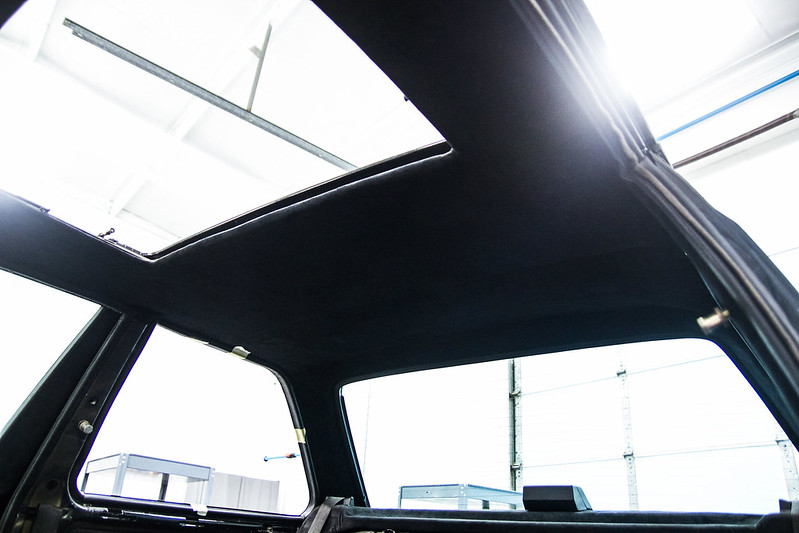 Suede Headliner (1 of 1) by Dillon Makar, on Flickr
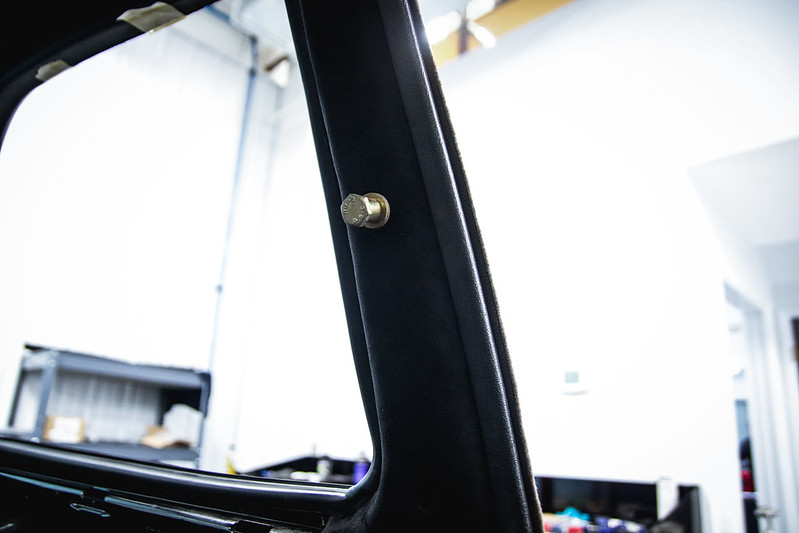 Suede B-Pillar (1 of 1) by Dillon Makar, on Flickr
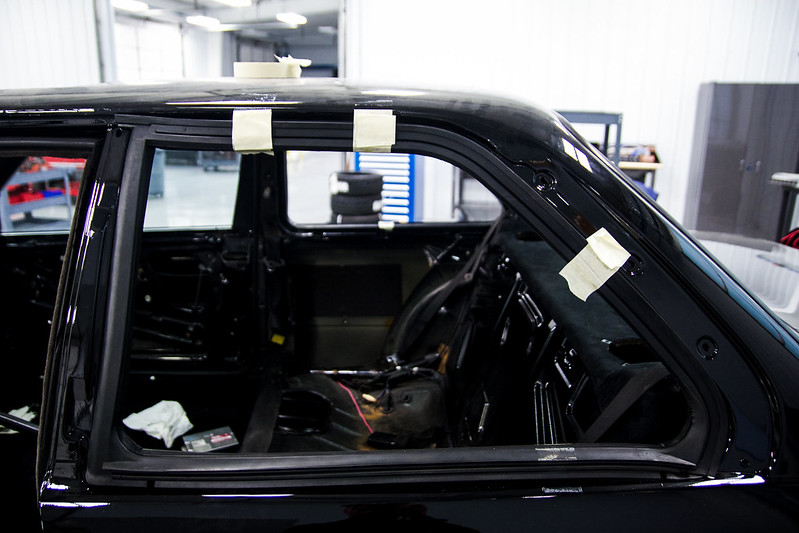 Quarter window gasket installed (1 of 1) by Dillon Makar, on Flickr
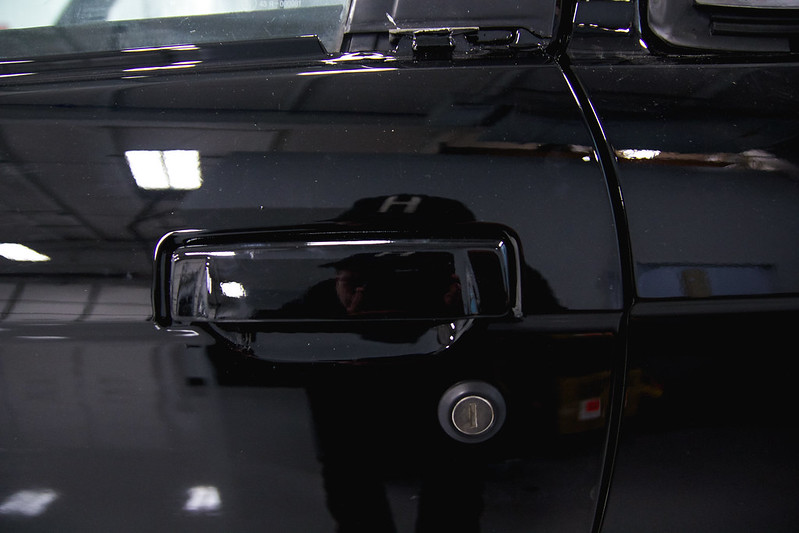 Door handle installed (1 of 1) by Dillon Makar, on Flickr
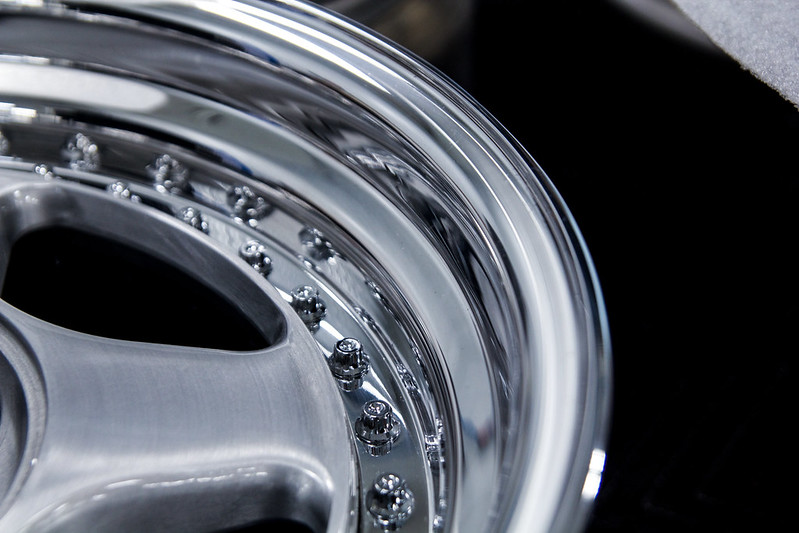 Finished wheels teaser (1 of 1) by Dillon Makar, on Flickr
 Door Card Installed (1 of 1) by Dillon Makar, on Flickr
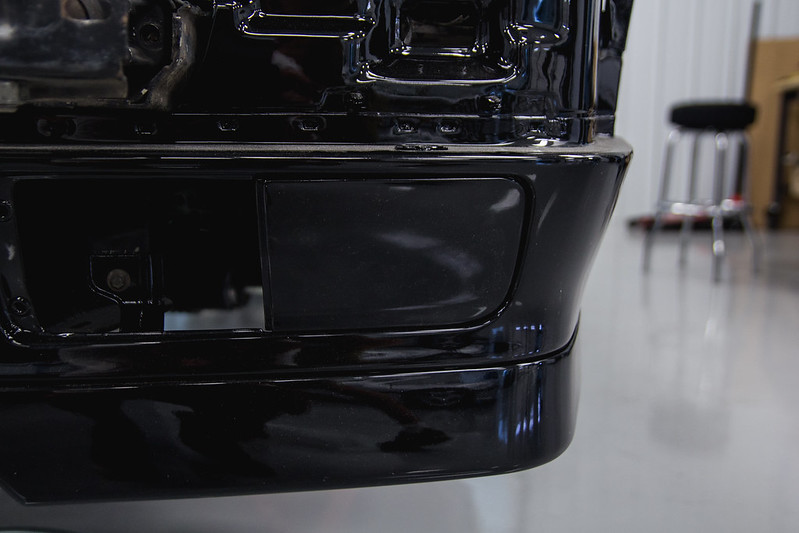 Fog Light Delete Cover (1 of 1) by Dillon Makar, on Flickr
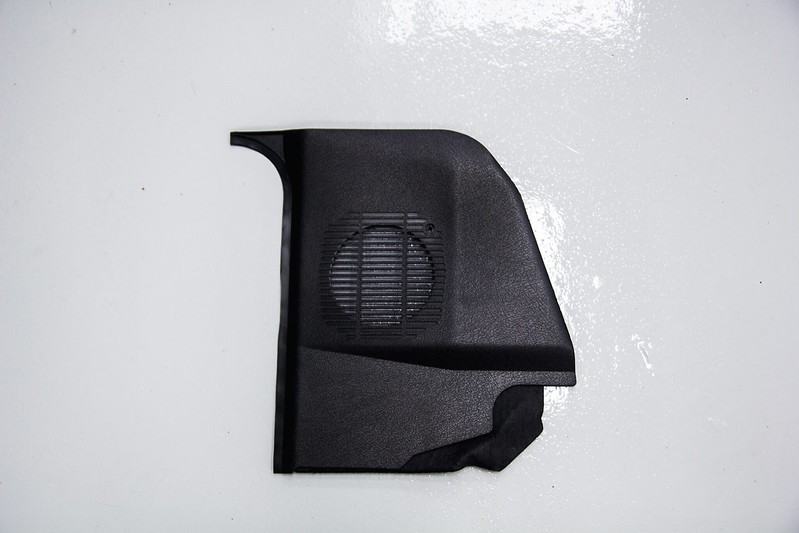 Front speaker cover (1 of 1) by Dillon Makar, on Flickr
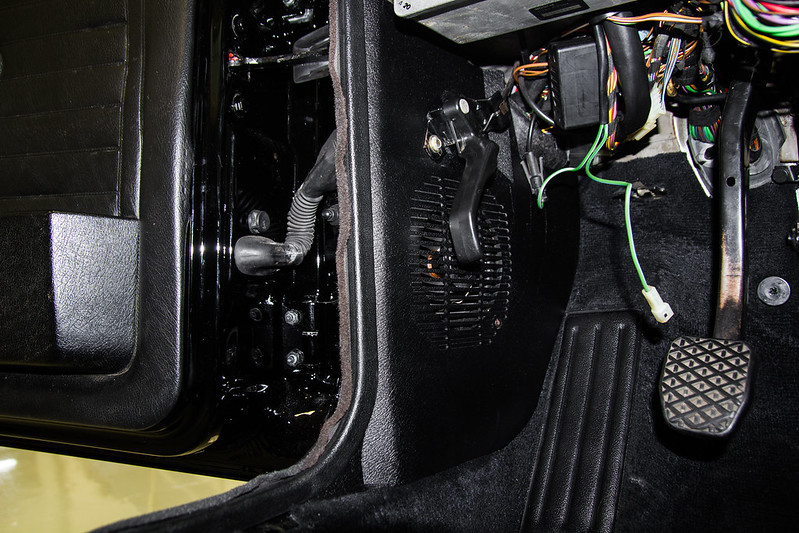 Front Speaker Cover Installed (1 of 1) by Dillon Makar, on Flickr
 Front Bumper Pieces Before (1 of 1) by Dillon Makar, on Flickr
 Front Bumper Pieces Sand Blasted (1 of 1) by Dillon Makar, on Flickr
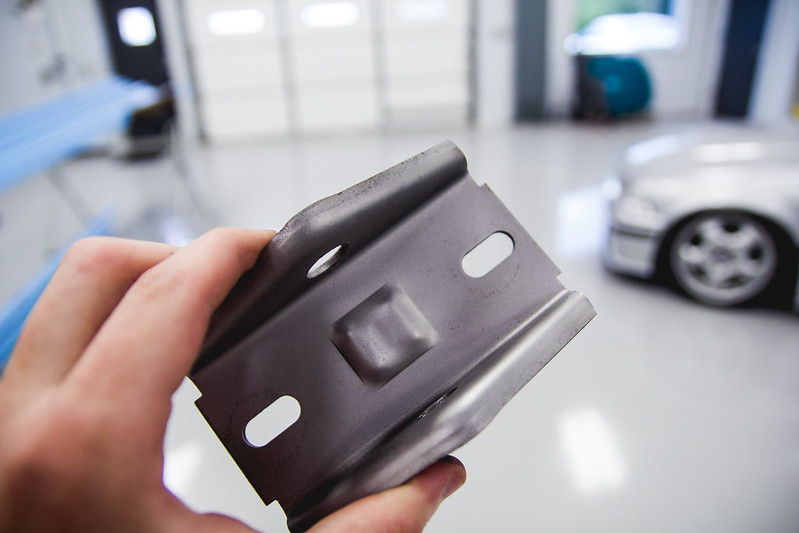 Front Bumper Pieces Sand Blasted 2 (1 of 1) by Dillon Makar, on Flickr
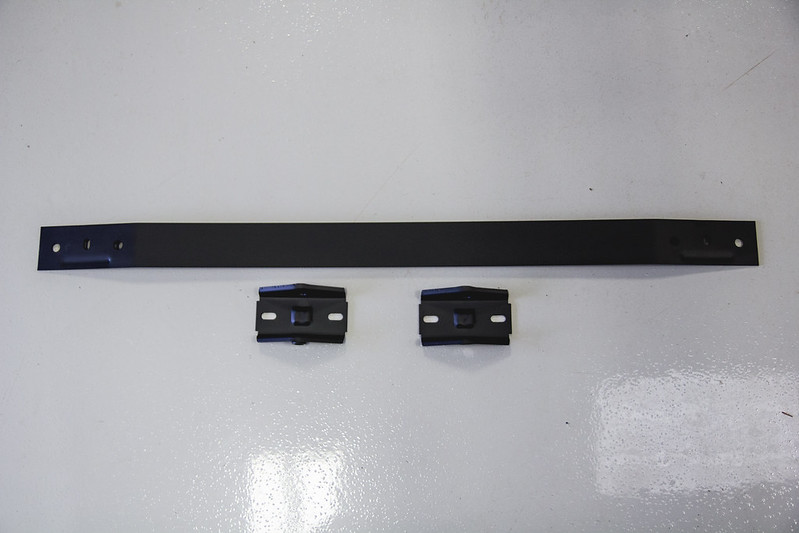 Bumper Brackets Painted (1 of 1) by Dillon Makar, on Flickr
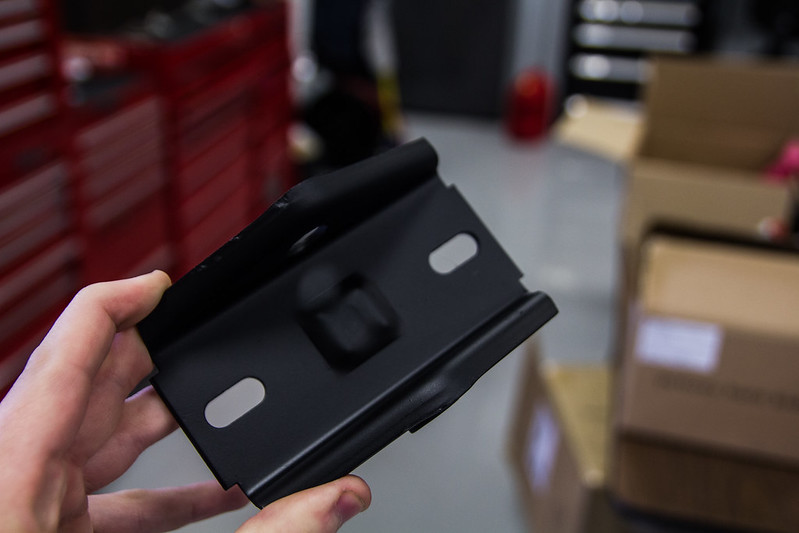 Bumper Brackets Painted 2 (1 of 1) by Dillon Makar, on Flickr
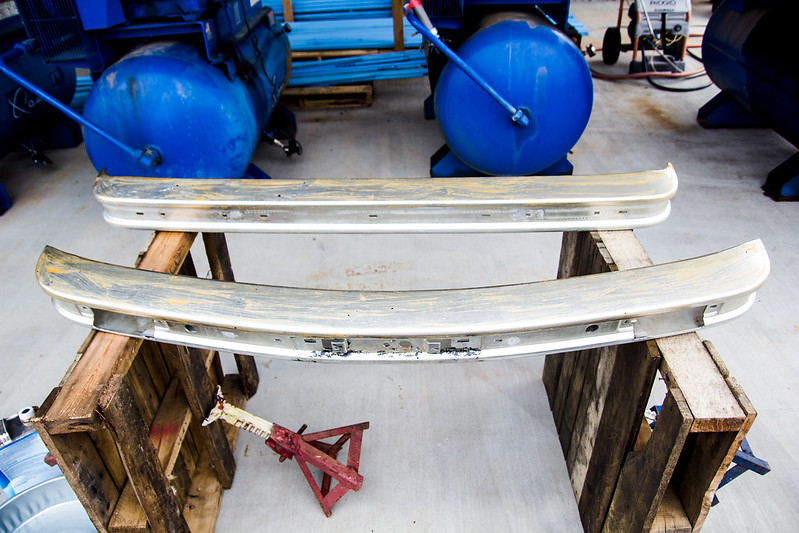 Bumpers with aircraft stripper (1 of 1) by Dillon Makar, on Flickr
 Bumpers with aircraft stripper close up (1 of 1) by Dillon Makar, on Flickr
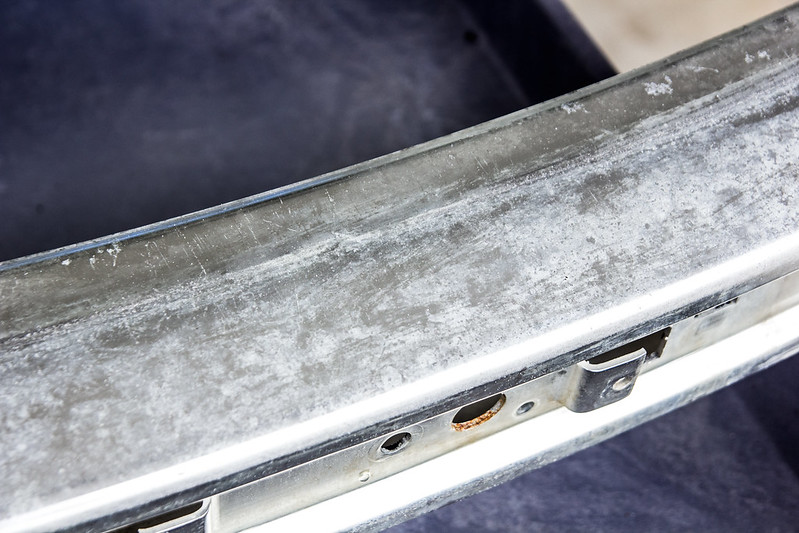 Bumper after stripping (1 of 1) by Dillon Makar, on Flickr
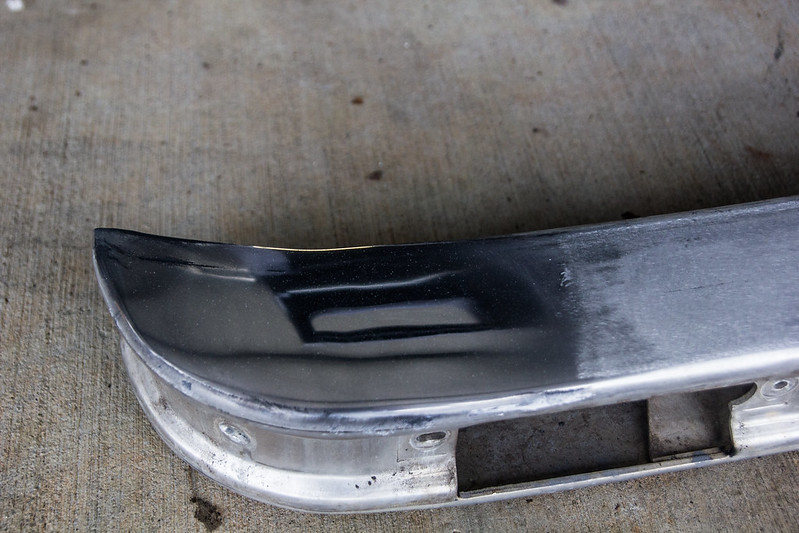 Test Bumper Polish (1 of 1) by Dillon Makar, on Flickr
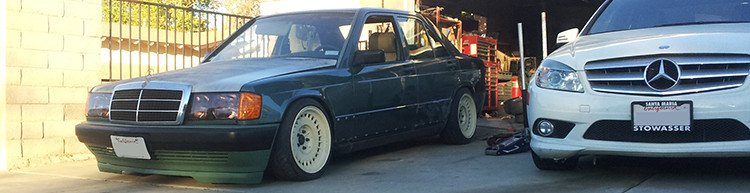
 BMW Packages (1 of 1) by Dillon Makar, on Flickr
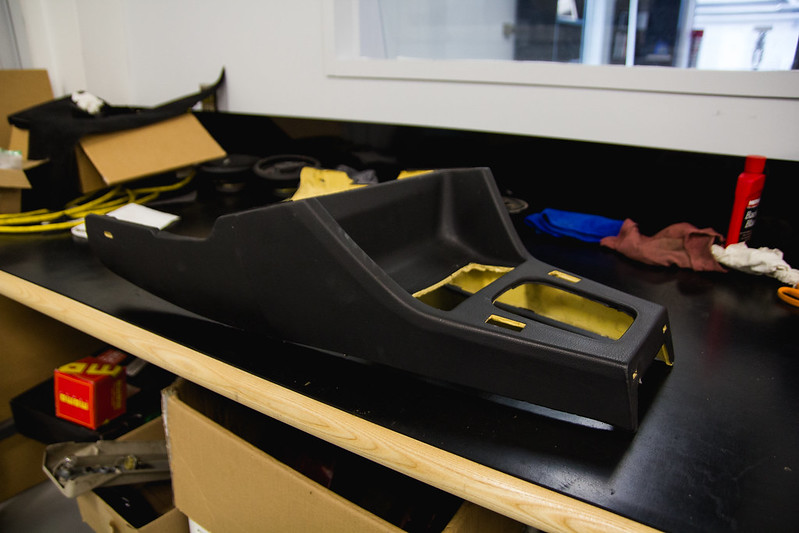 Front Center Console (1 of 1) by Dillon Makar, on Flickr
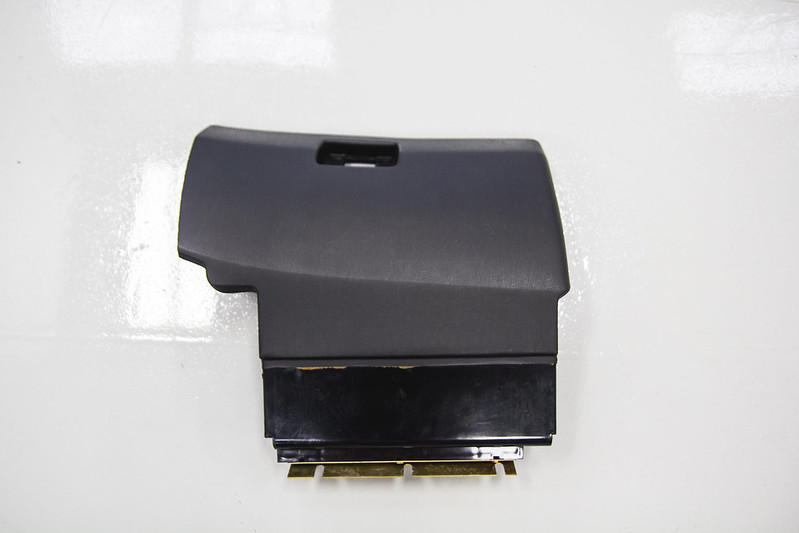 Glove Box (1 of 1) by Dillon Makar, on Flickr
 Knee Bolster (1 of 1) by Dillon Makar, on Flickr
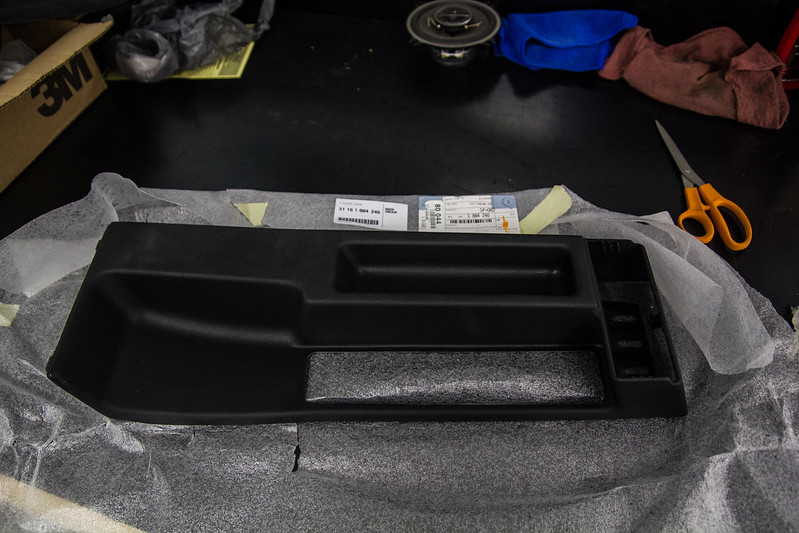 Brand New Center Console (1 of 1) by Dillon Makar, on Flickr
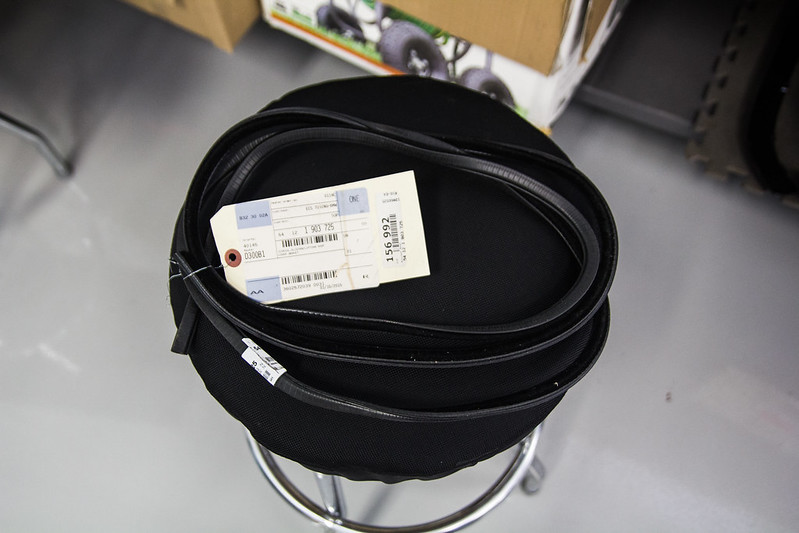 Sun Roof Gasket (1 of 1) by Dillon Makar, on Flickr
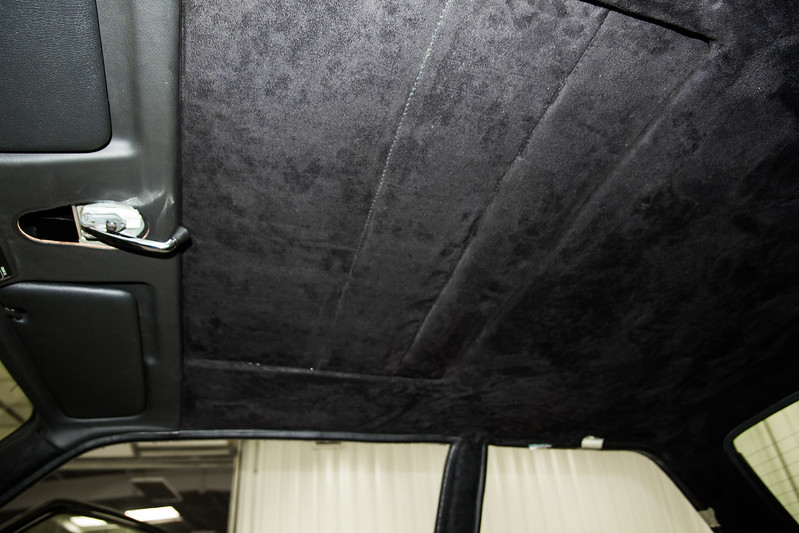 Sun Roof Suede (1 of 1) by Dillon Makar, on Flickr
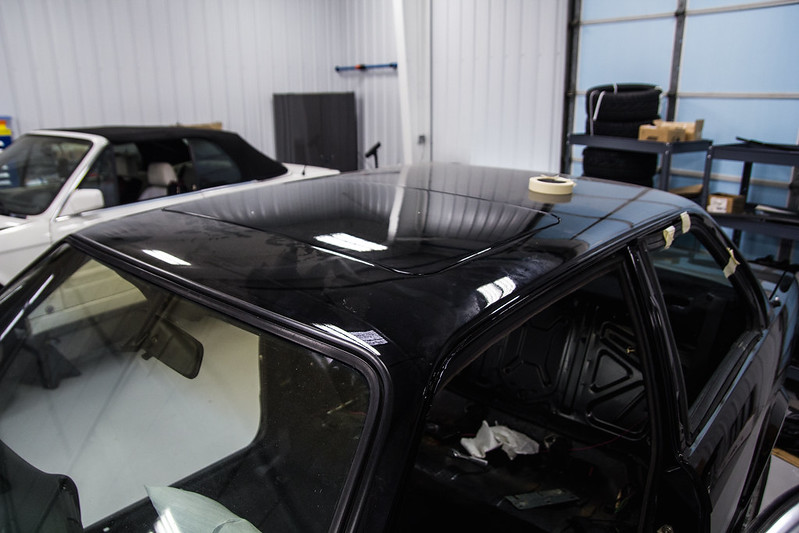 Sun Roof Top View (1 of 1) by Dillon Makar, on Flickr
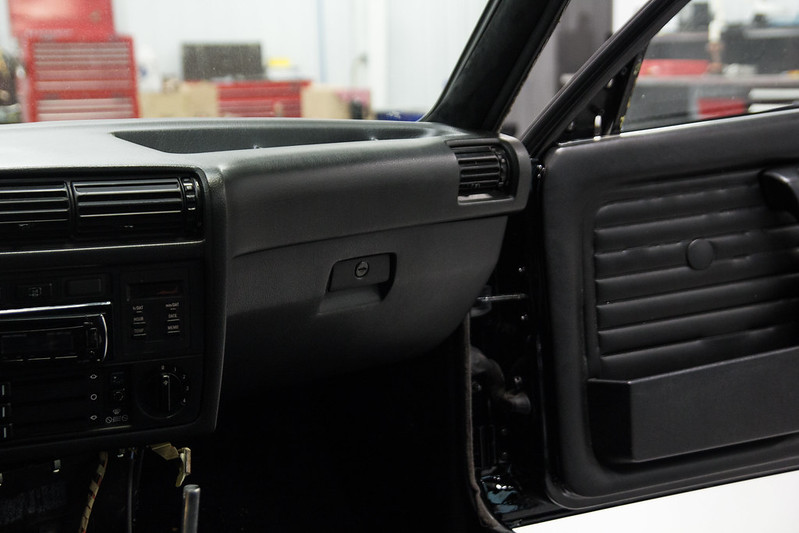 Glove Box Installed (1 of 1) by Dillon Makar, on Flickr
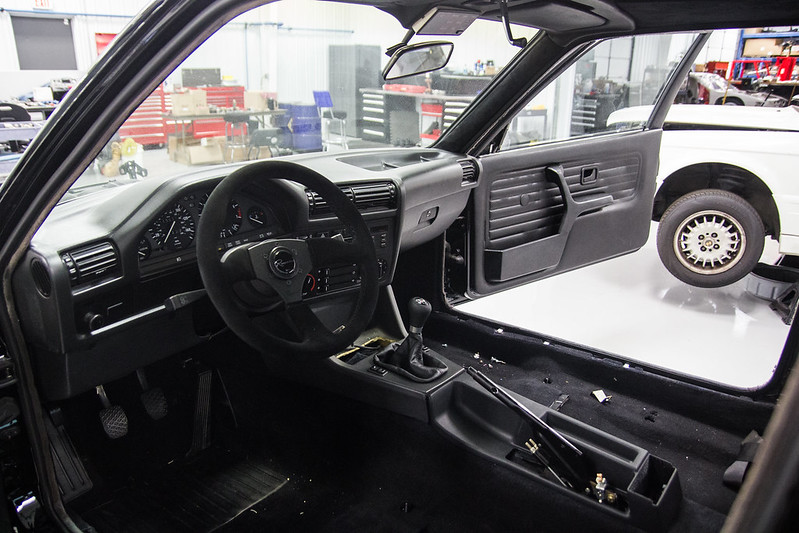 Center Consoles Installed (1 of 1) by Dillon Makar, on Flickr
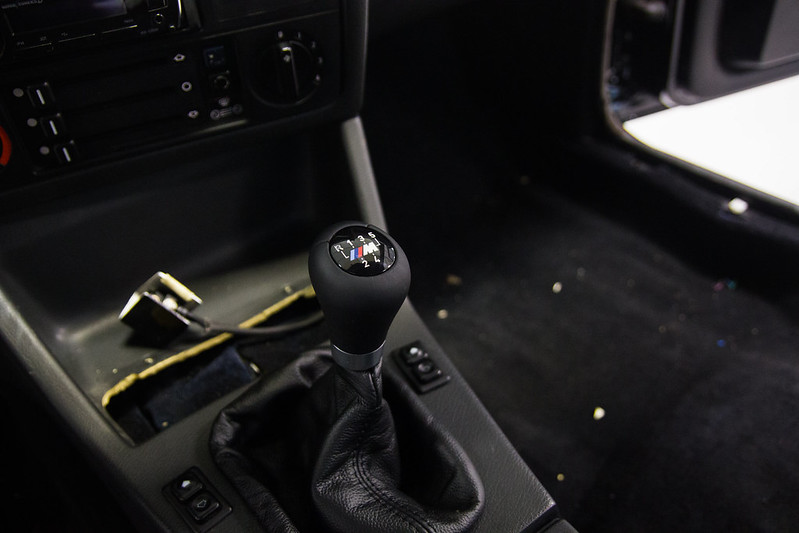 New Shift Knob (1 of 1) by Dillon Makar, on Flickr
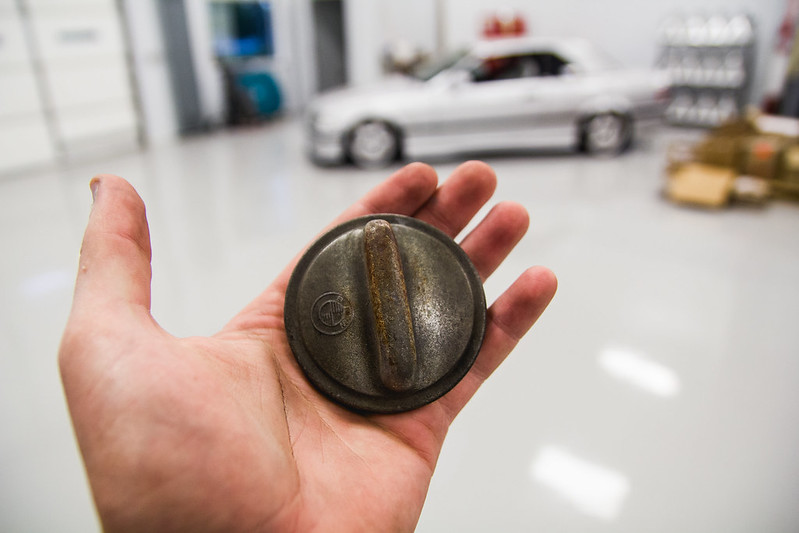 Dirty Gas Cap (1 of 1) by Dillon Makar, on Flickr
 Cleaned Gas Cap (1 of 1) by Dillon Makar, on Flickr


Comment