
June 2019
The rear end cosmetics on my E30 needed some attention.
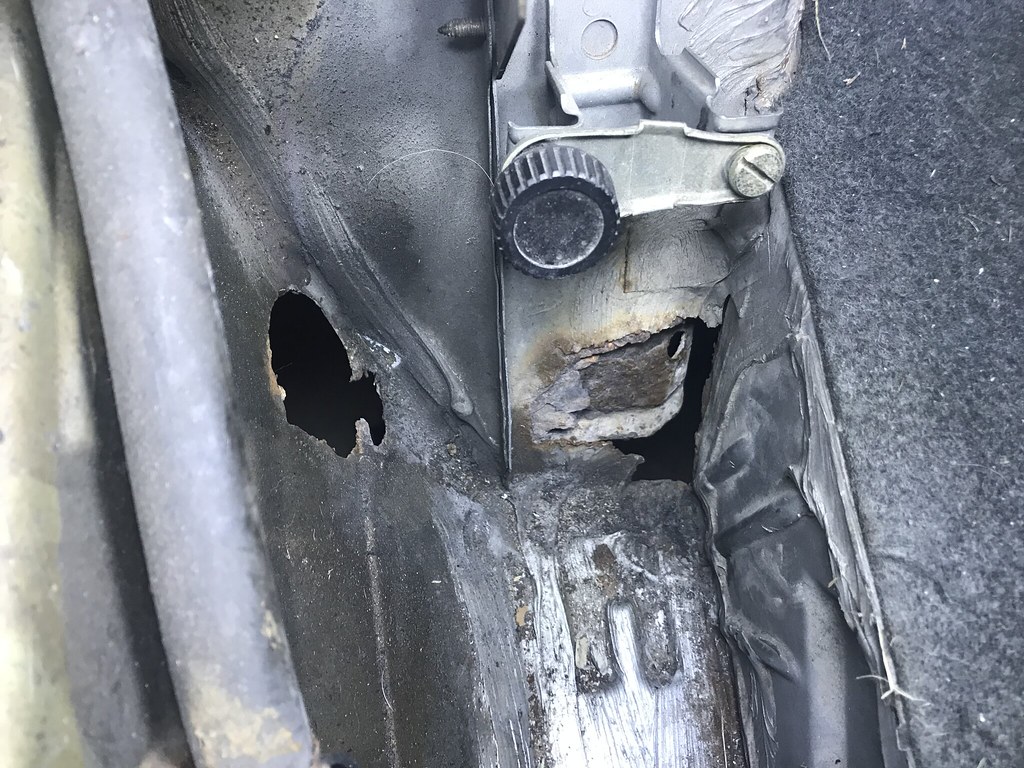
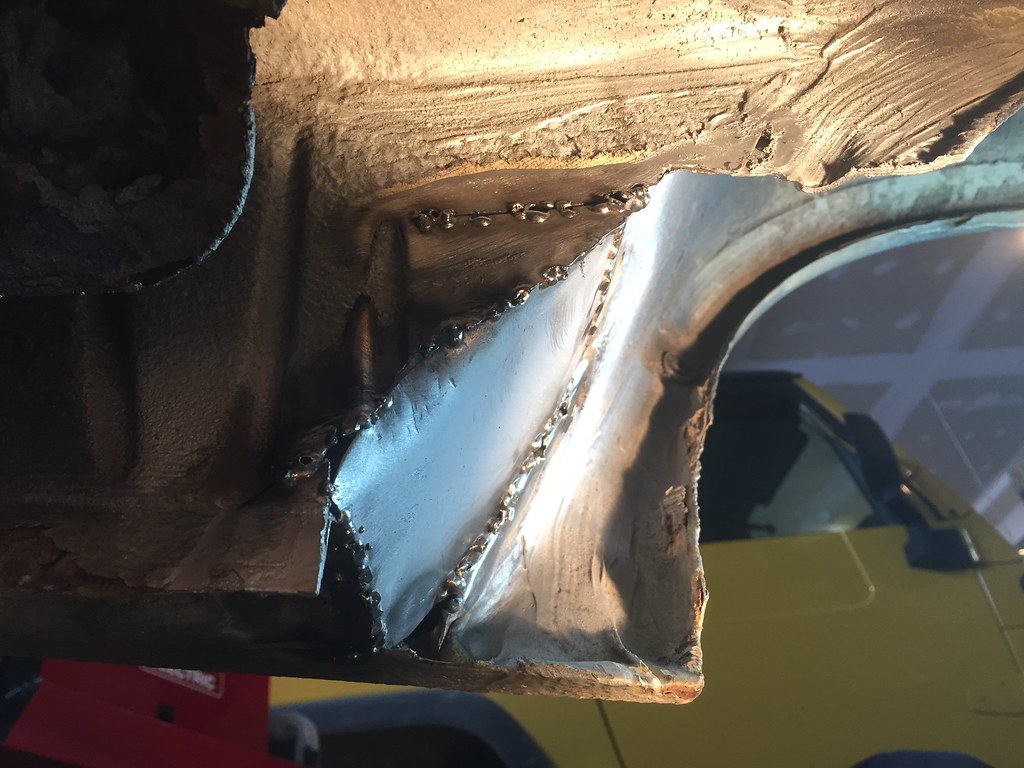
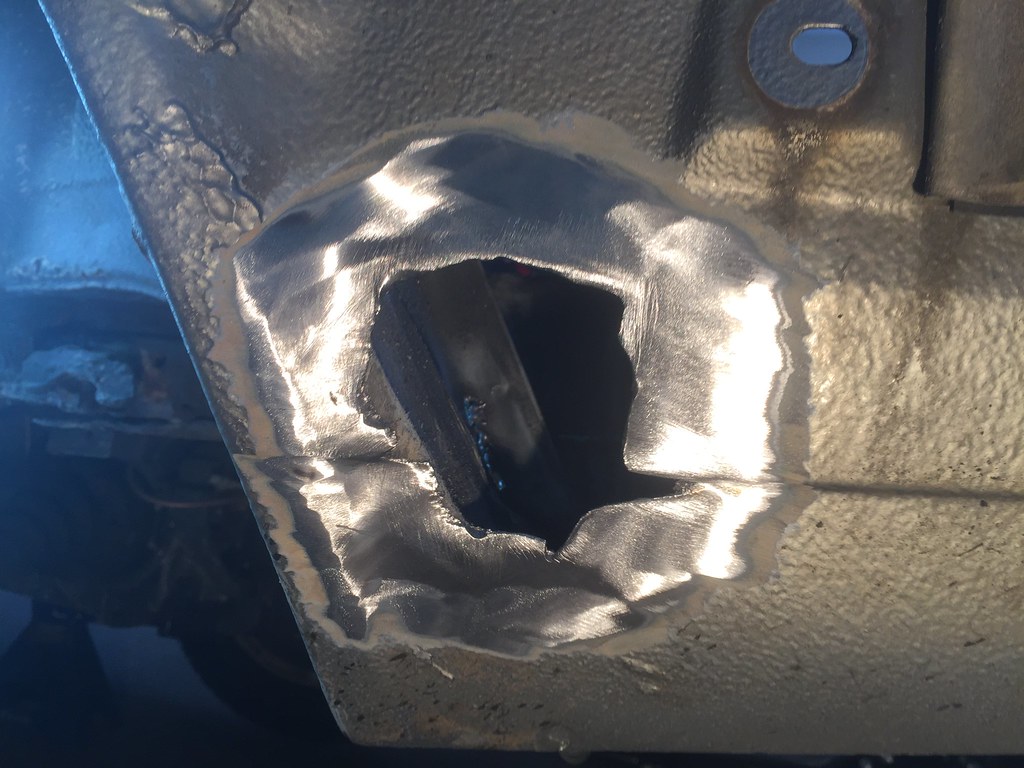
I took off the rear bumper, hoping to polish it up and repaint the trim. Unfortunately I found some structural damage on the left mount, and needed to source a replacement bumper.
It took some time to find a replacement part, so I drove around for a while bumperless!
I had my own yard party while washing up the E30. (I wanted to clean behind the rear bumper & trim before everything went back together.)
My neighbors must love the look of my project/parts cars parked all over the lawn.
The replacement bumper I bought was heavily pitted, I didn't take any pictures of the "before" state.
While I was down in the USA for work, I bought a Harbor Freight buffer/sander. I hit the bumper with a few 7" 240 grit sanding disks to get through the clear and down to raw aluminum.
Unfortunately I didn't have any finer sanding disks, and there are still some visible scratches in the aluminum.
I did polish the bumper up with some HF black polishing compound, but this wasn't enough to remove all the scratches. I may go back with some finer paper in the future to finish the bumper up properly.
All that said, it still looks heaps better then the old bumper, and most importantly is structurally sound.
I hit the trim with some Duplicolor Bumper Coat while it was all apart.


Leave a comment: