-
Awesome job on the rear subframe man, I took mine out like 2 years ago and forgot how the brake lines were routed but your pics helped out! Thanks! Keep up the good job. +1 for another Canadian car. -
Thanks guys! :)
Ah, so those may have been factory lines? Were they all bent by hand on older cars?
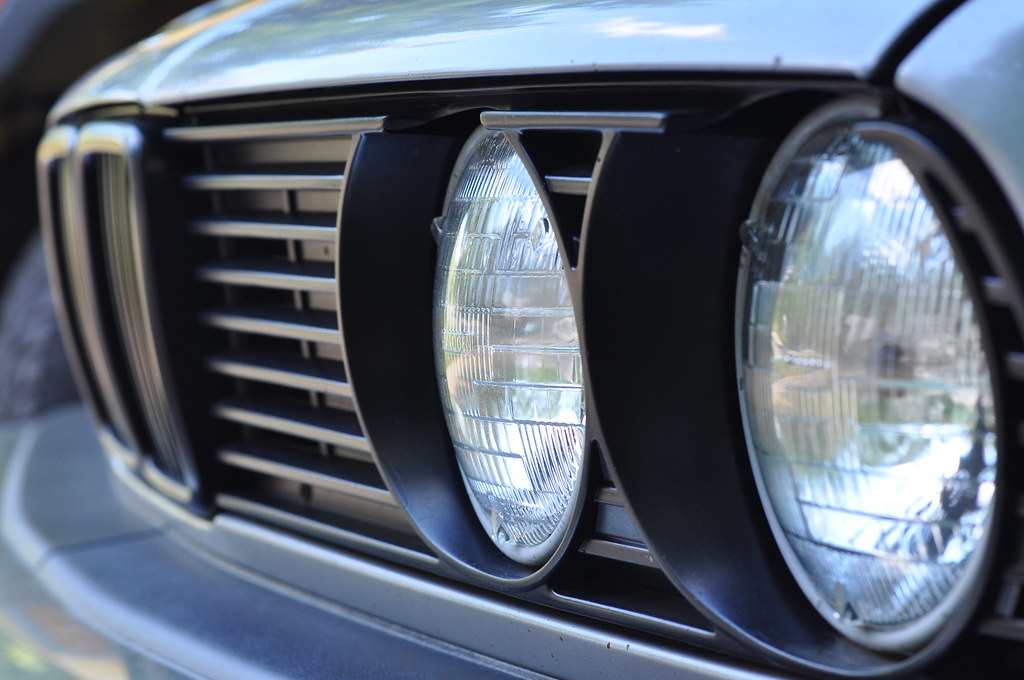
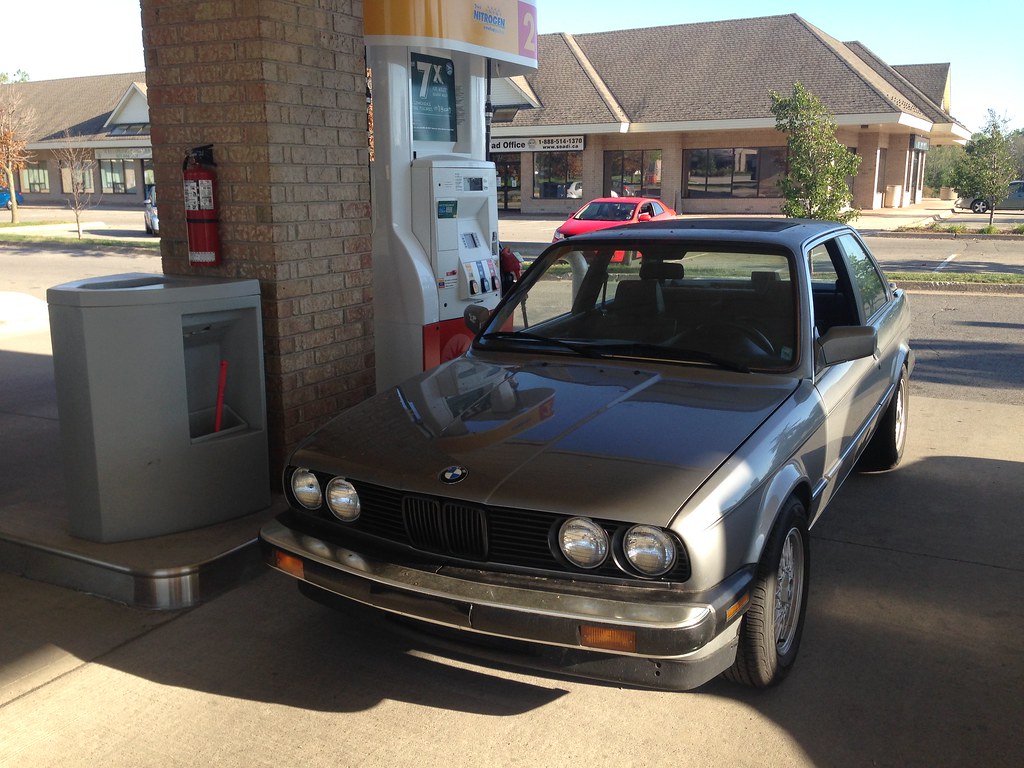
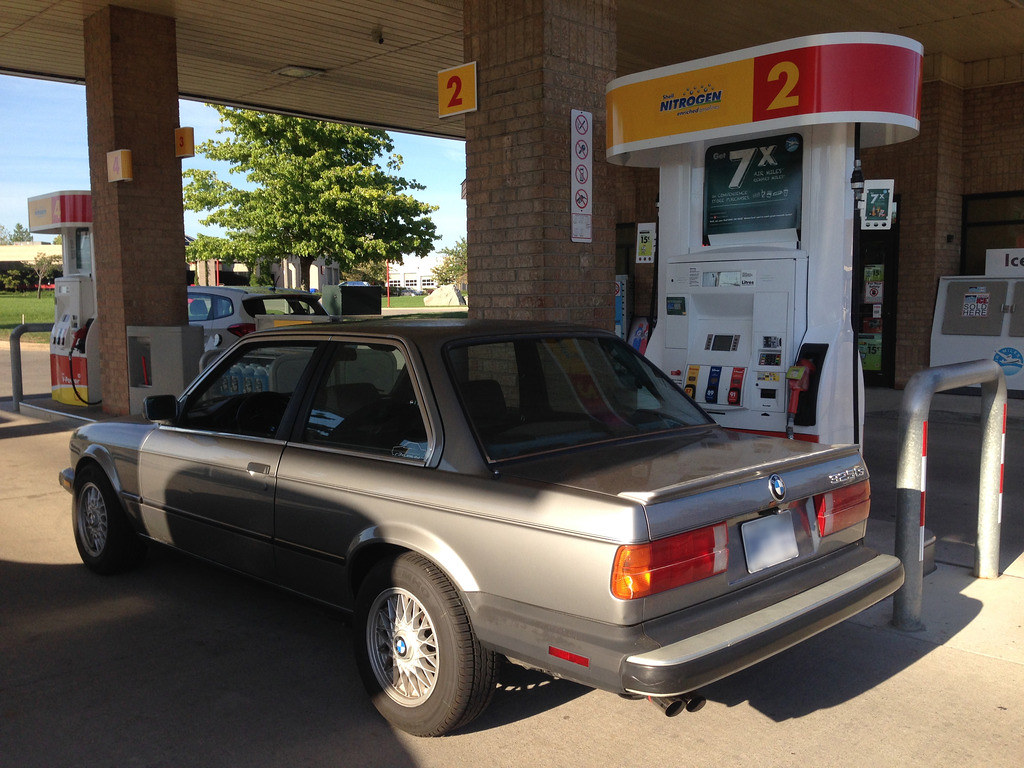
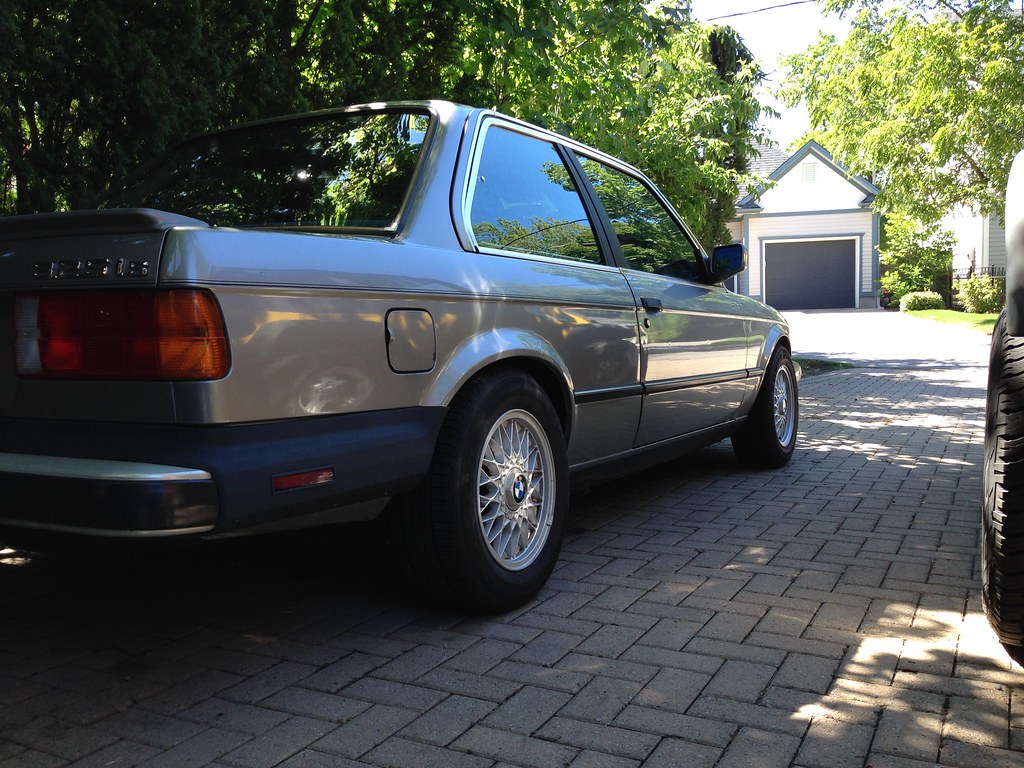
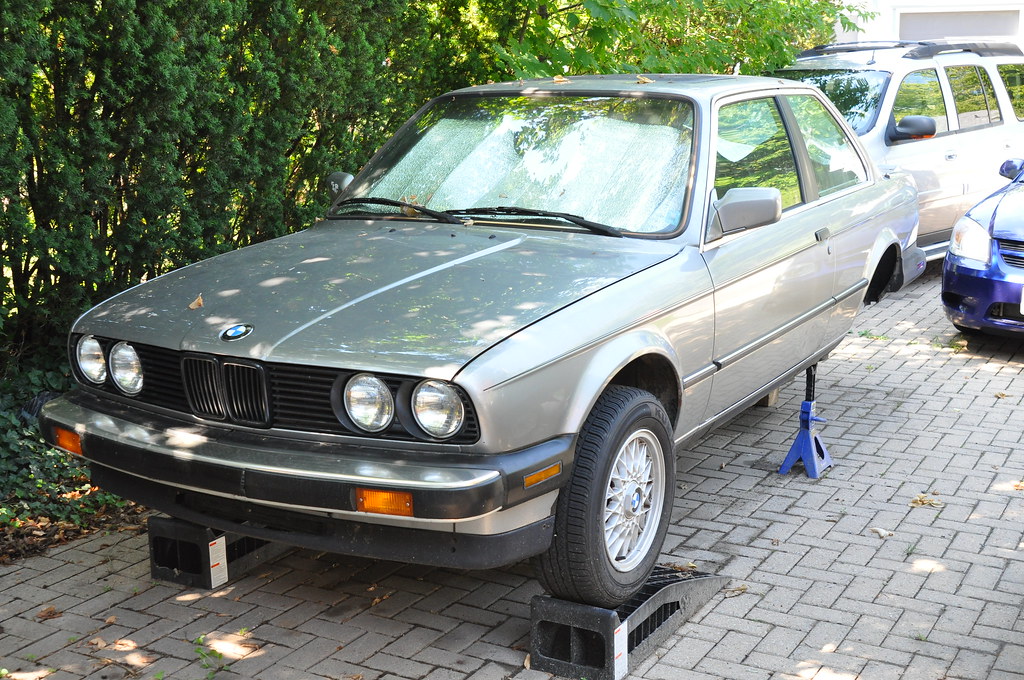
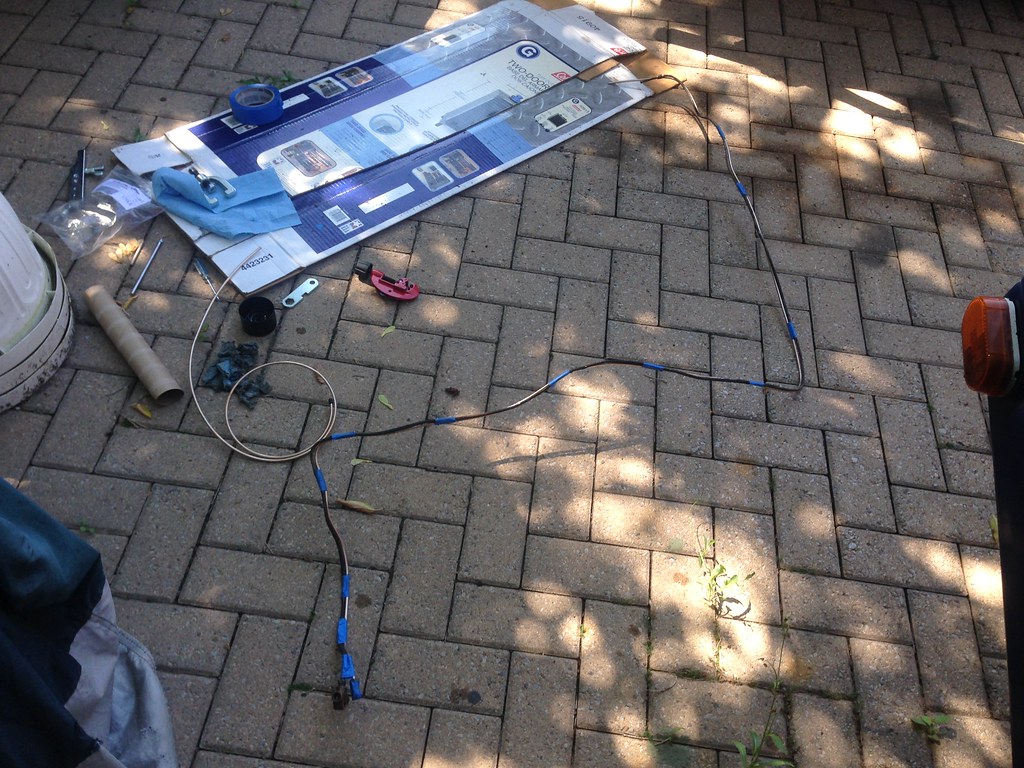
I had my parent's driveway and our SLR camera to myself for once, so I snapped some pictures before I started packing for the school year.
------------------------
Some updates: Went for a long drive yesterday, and am happy to report that the car feels great! No more clunking from the rear when launched or shifted hard, less vibration at highway speeds, and more stability at higher speeds.
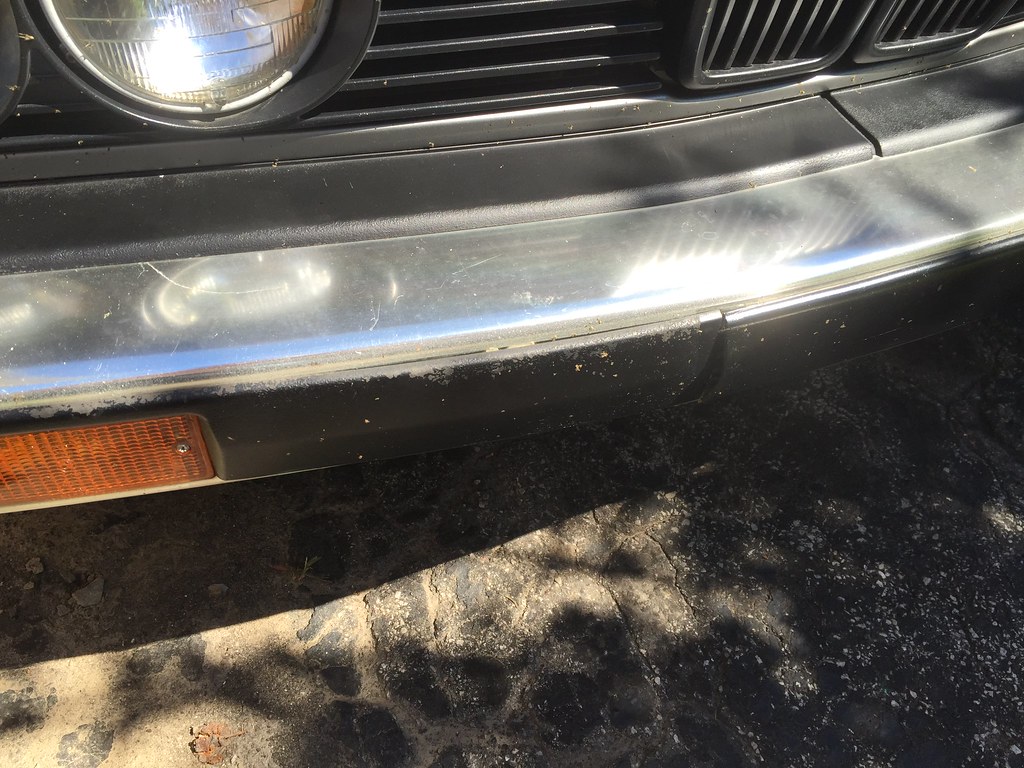
However, I was very disappointed this morning to find my front bumper paint to be flaking off. This is the Duplicolor Bumper coat stuff, of which I laid down 7(!) coats after some proper prep work.
It was on there for less then four months. :(
I hope the Duplicolor trim paint I used for the grilles and kidneys holds up better. :/
I guess I'll need to re-do the front trim when I tackle the rear trim next year. Going to have to find a new product to use as well.
-
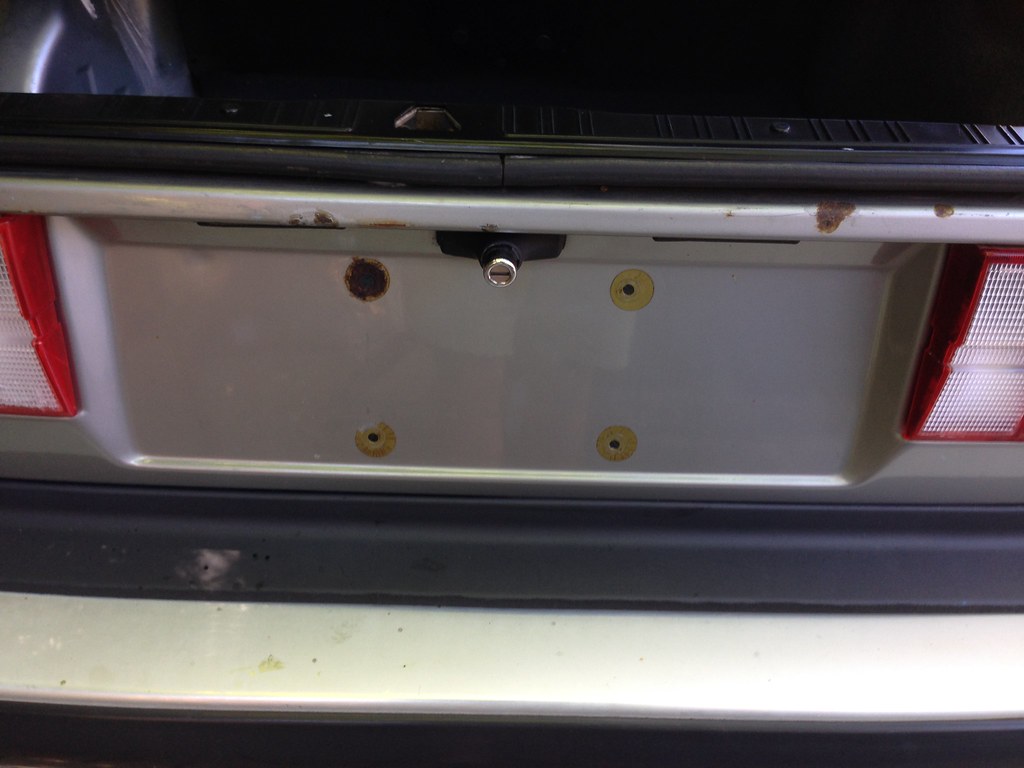
I was going into slight withdrawal from stopping all the E30 work, so I started working on one of the many "party tricks" I have planned for the car.
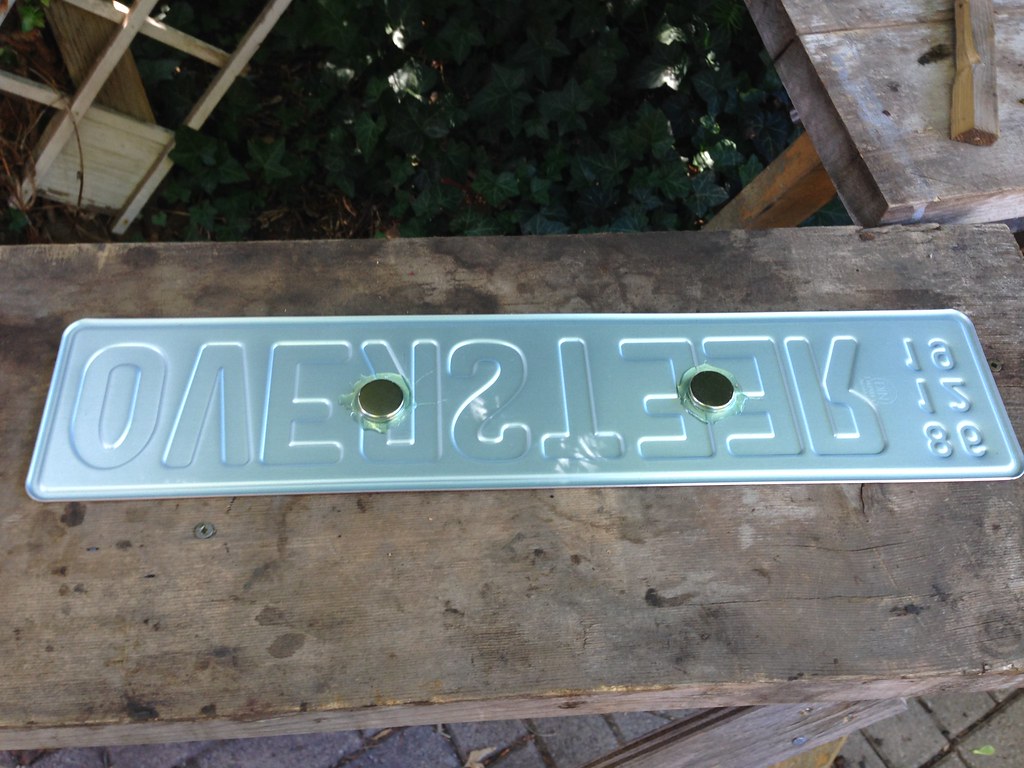
Magnetic rear license plates. The idea is (for pictures, or at a show) to be able to quickly pull off the real plate, and throw on a euro (which looks much better IMO)
Here is my progress thus far. Obviously I have some rust to address, as well as the open holes to the trunk. I used some strong rare earth magnets, 2-part epoxy, and some TESA cloth electrical harness tape for padding.
--Last edited by Panici; 03-08-2018, 11:47 AM.Leave a comment:
-
Nice work. Copper-nickle is great stuff, it does like to be supported a bit more than the stock coated-steel. Also, the bmw-factory hardlines tend to be pretty sloppy on the older cars.Leave a comment:
-
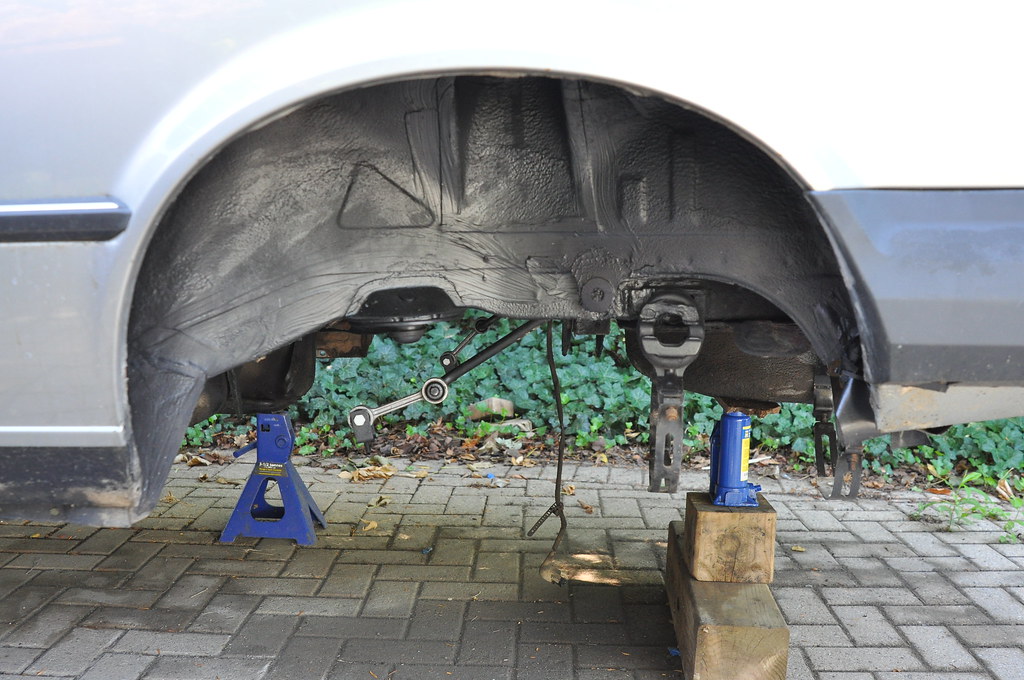
This is my inspiration right now. I'm about to rip out my entire rear suspension as well.
Well done! looks great.Leave a comment:
-
Very happy to have finished up the subframe install today! :)
Went for a short shakedown run, and everything seems good! So far i've noticed less vibration (probably that new driveshaft u-joint), but a highway test tomorrow will be revealing.
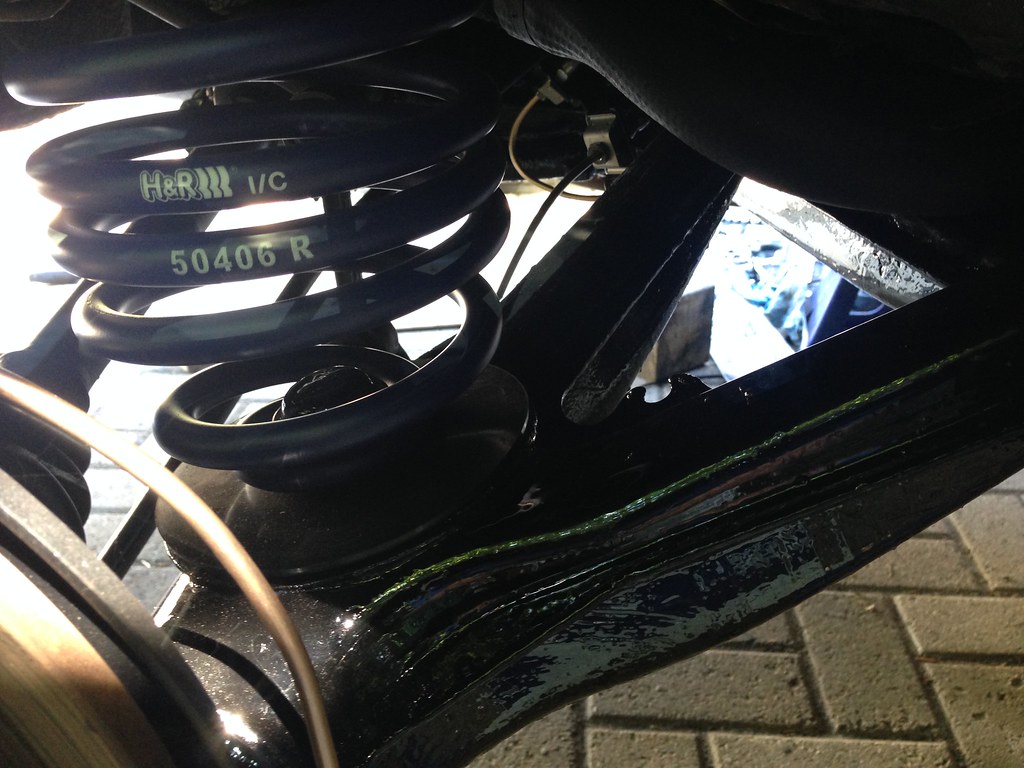
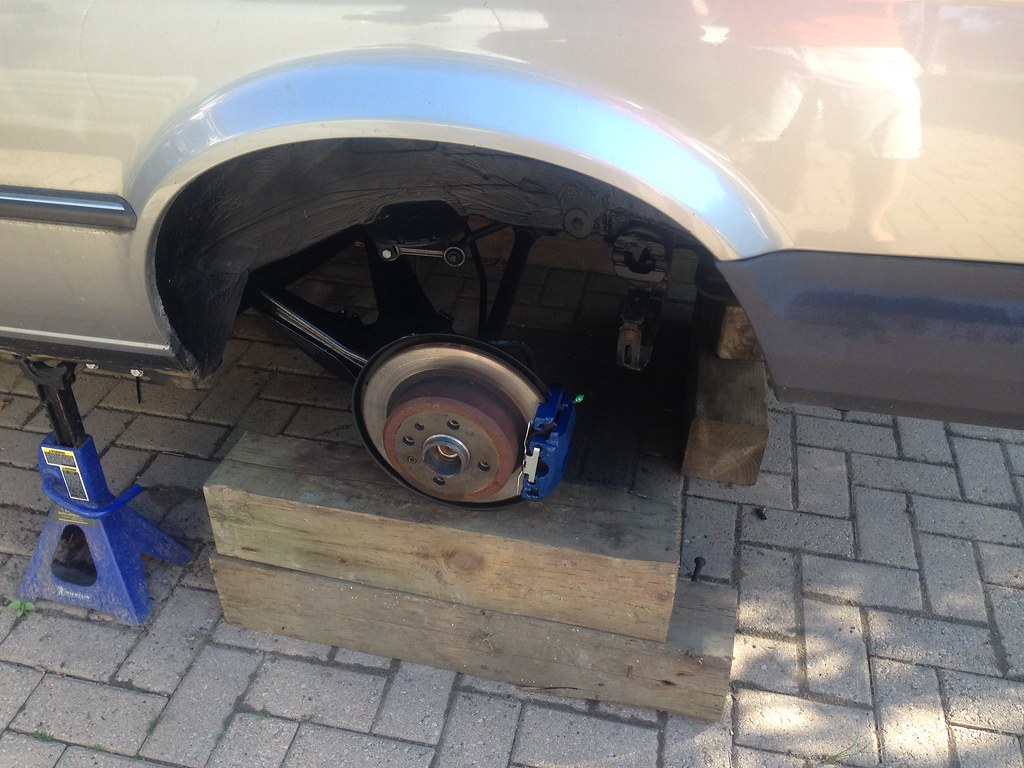
Looks like I got a little drop from those thinner springpads. Car should be sitting almost even when I replace the old (sagging) front tophats.
Visually, both sides at the back have a similar amount of toe-in. Goes to show you how bad the old bushings were, they were throwing out the alignment in the rear.
My pressure bleeder made quick work of bleeding the rear brakes. I used some Lucas Synthetic DOT 4.
I attempted to bleed the fronts as well, but the passenger side front didn't cooperate. Next year I'll put on the rebuilt/painted front calipers.
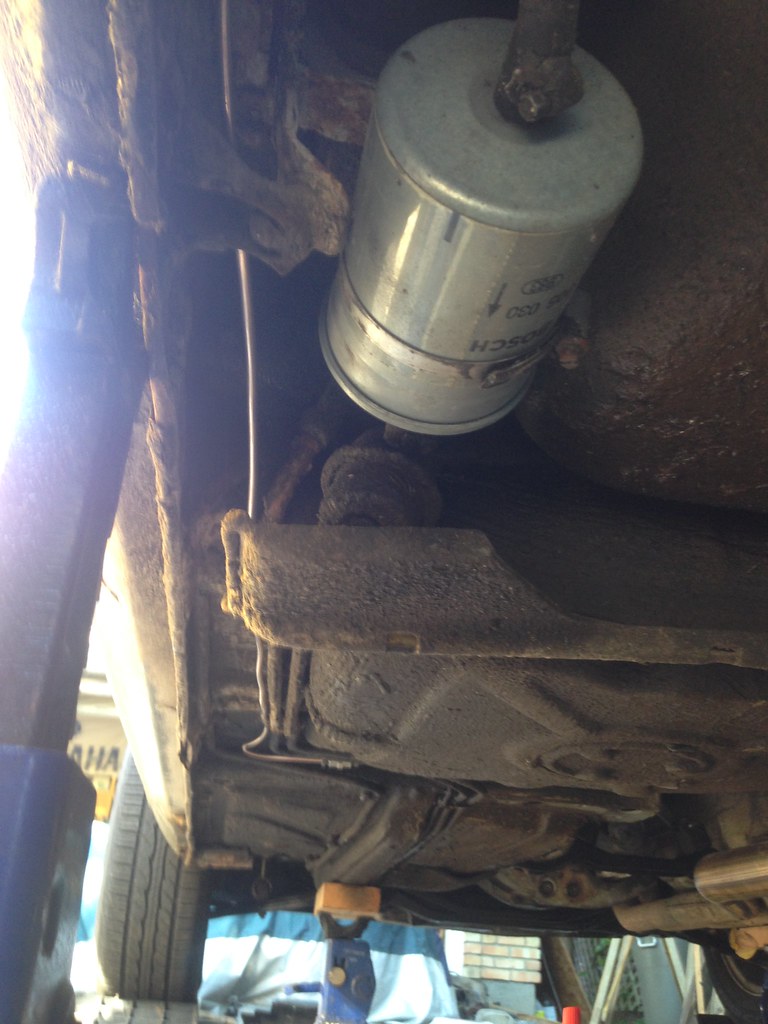
I brimmed the gas tank with Shell 91 to test my new fuel filler hose, and I'm happy to say it no longer leaks from the fill hose. Unfortunately I must also have a leak from the top of the tank, I'll have to drop it next year to investigate further.
-
Stainless shock mount reinforcement plates - Made by r3v member "conway", and Turner Motorsport Rear shock mounts (HP Aluminum/Rubber)

 Last edited by Panici; 03-08-2018, 11:40 AM.
Leave a comment:
-
Good news!
I finally got the subframe assembly bolted back onto the car! :)
Only have about a half day's work to get all the ancillaries back on.
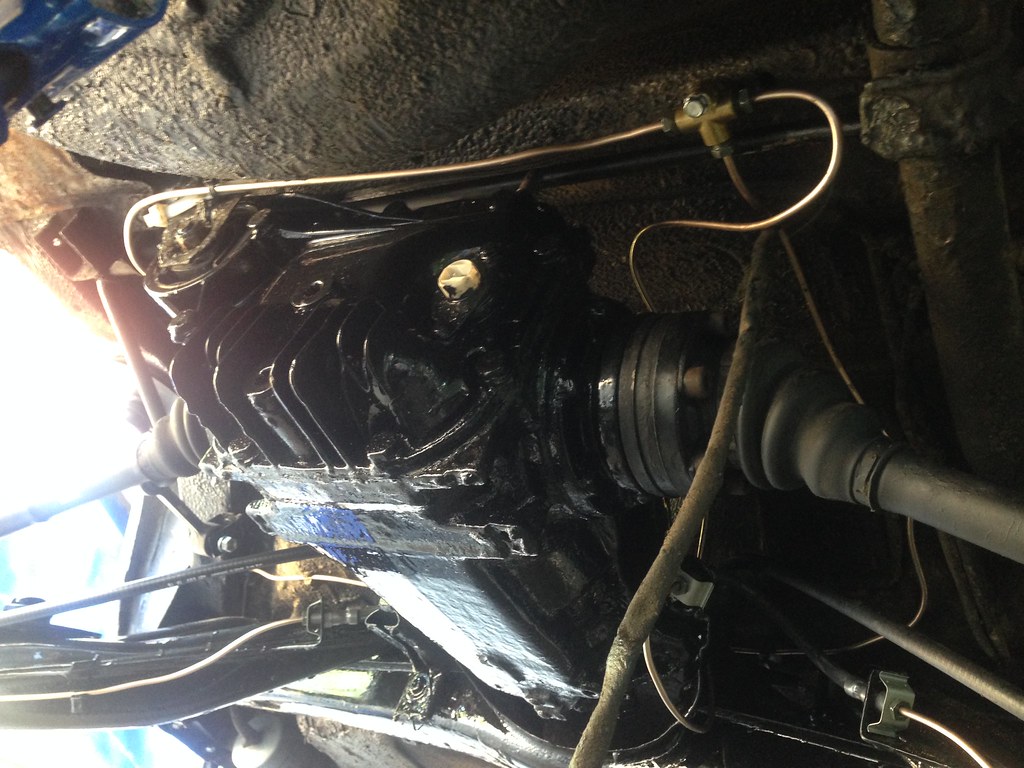
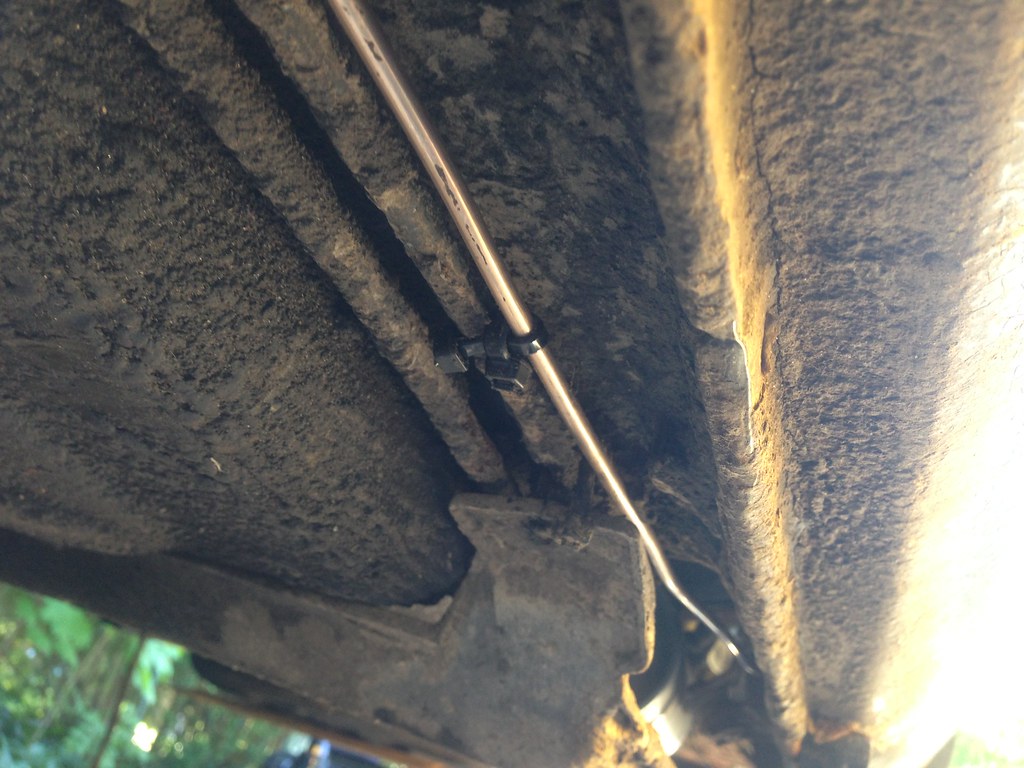
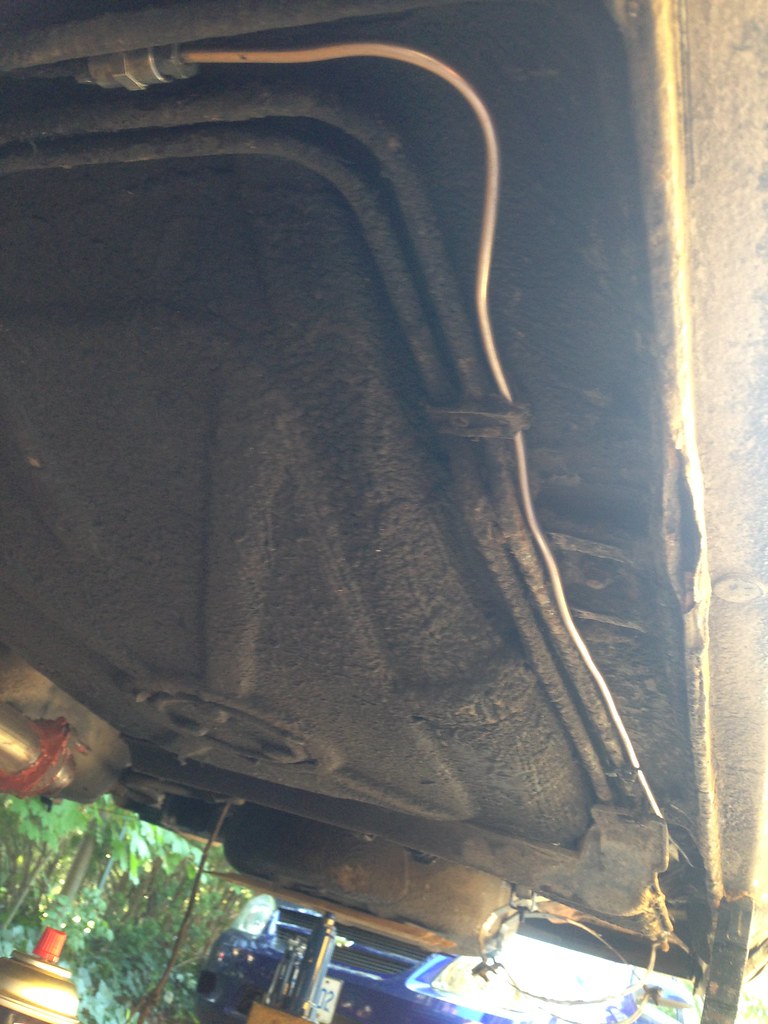
I also tweaked the position of the new hardlines. I don't believe this is how the factory lines are run. I only had the existing lines as templates, and chances are they have been replaced.
I had to use zipties and a piece of clear hose to make sure the hardline above the rear beam wouldn't rub.
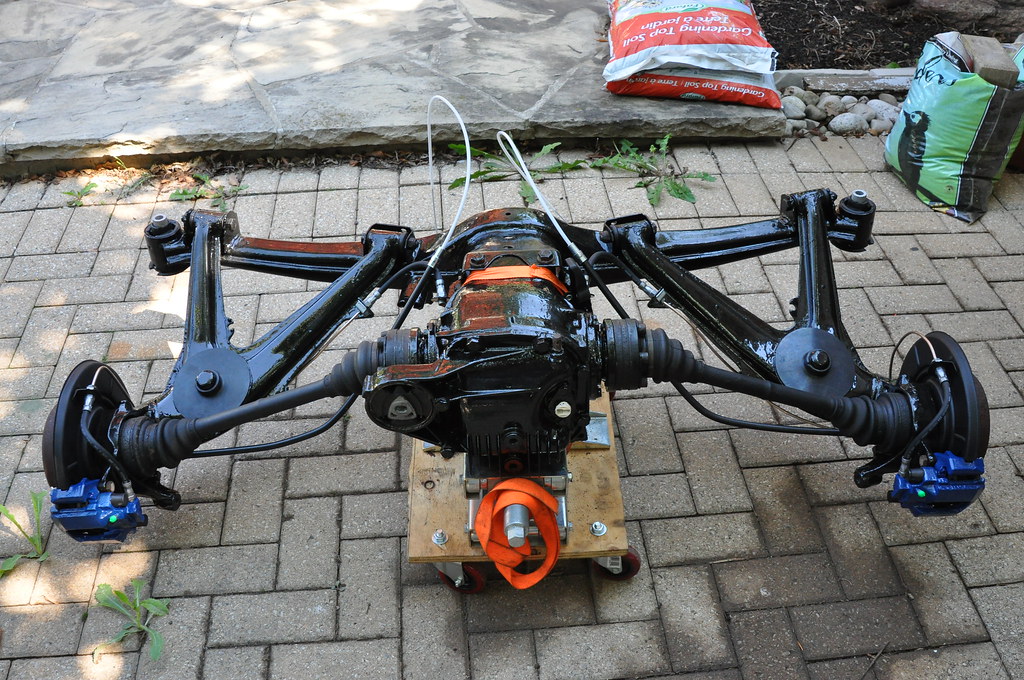
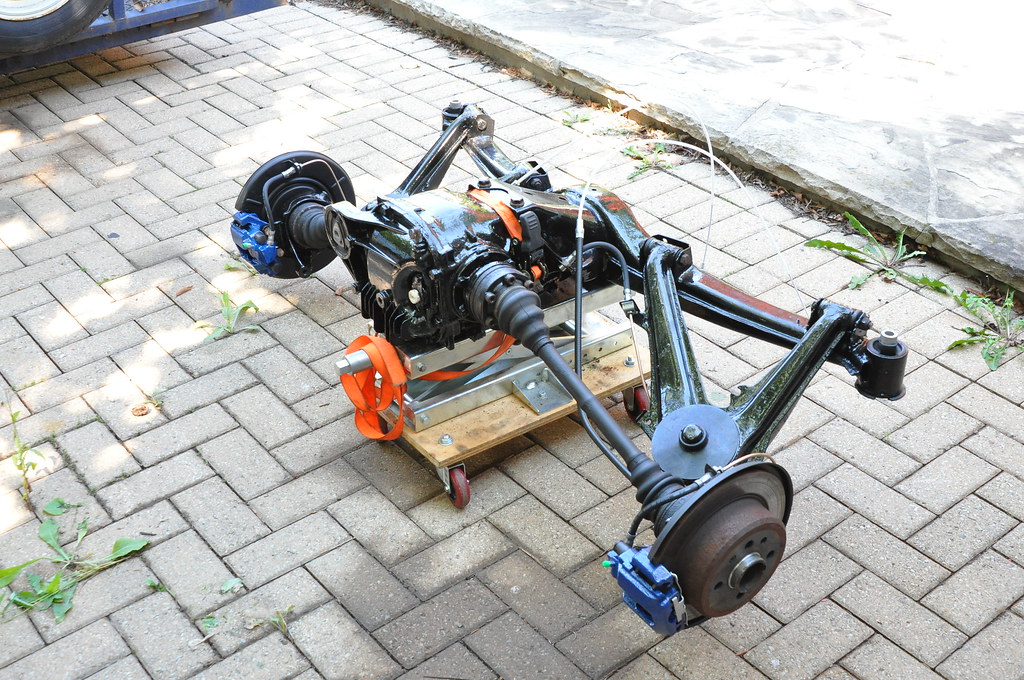
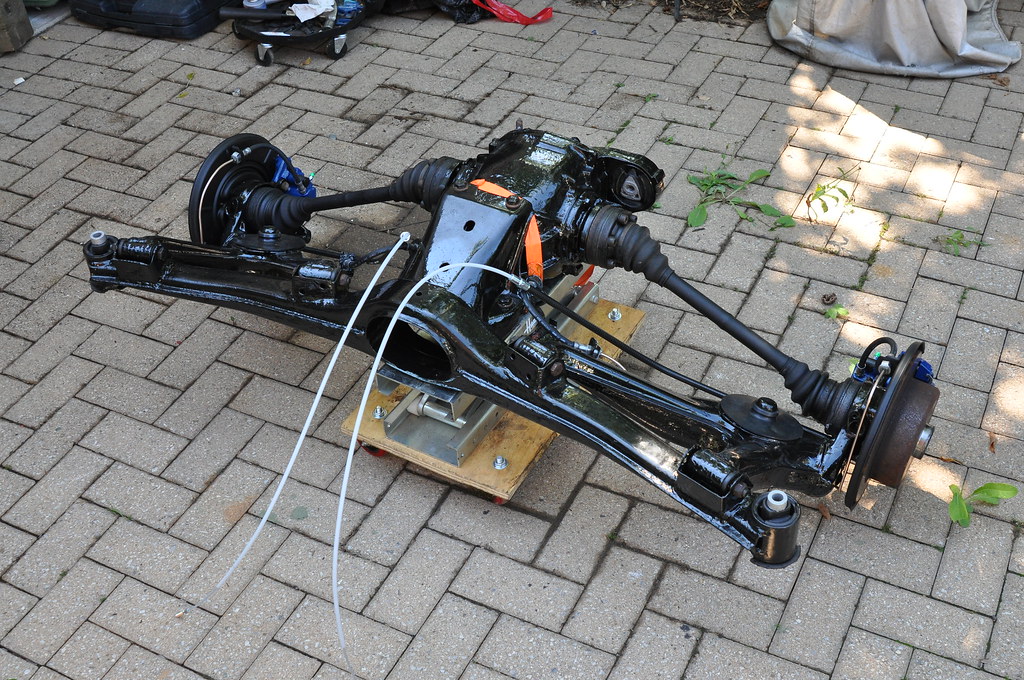
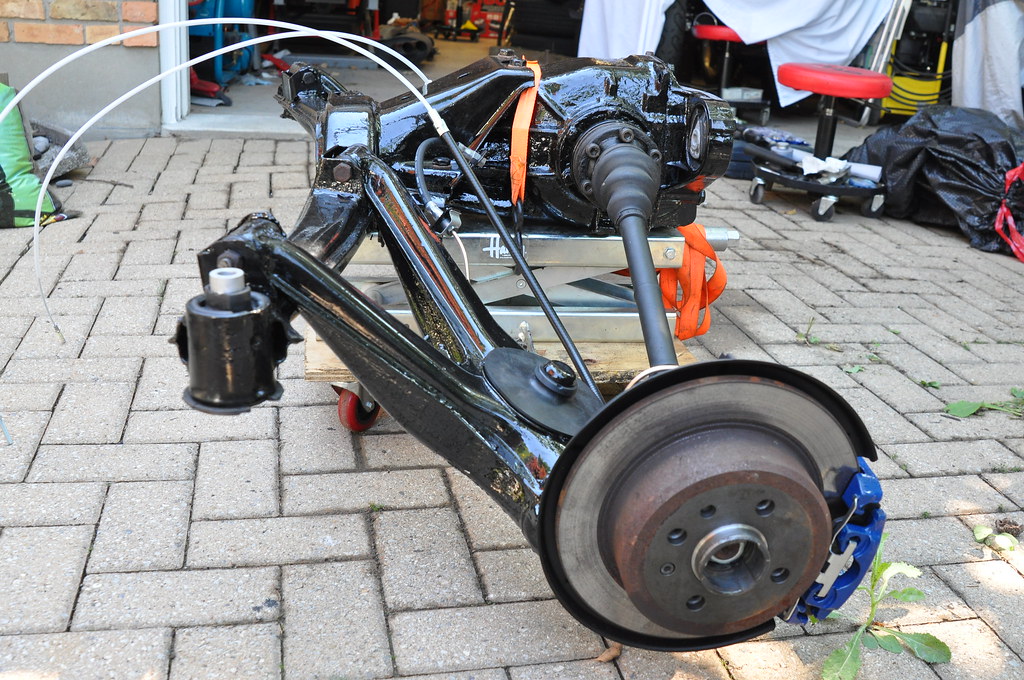
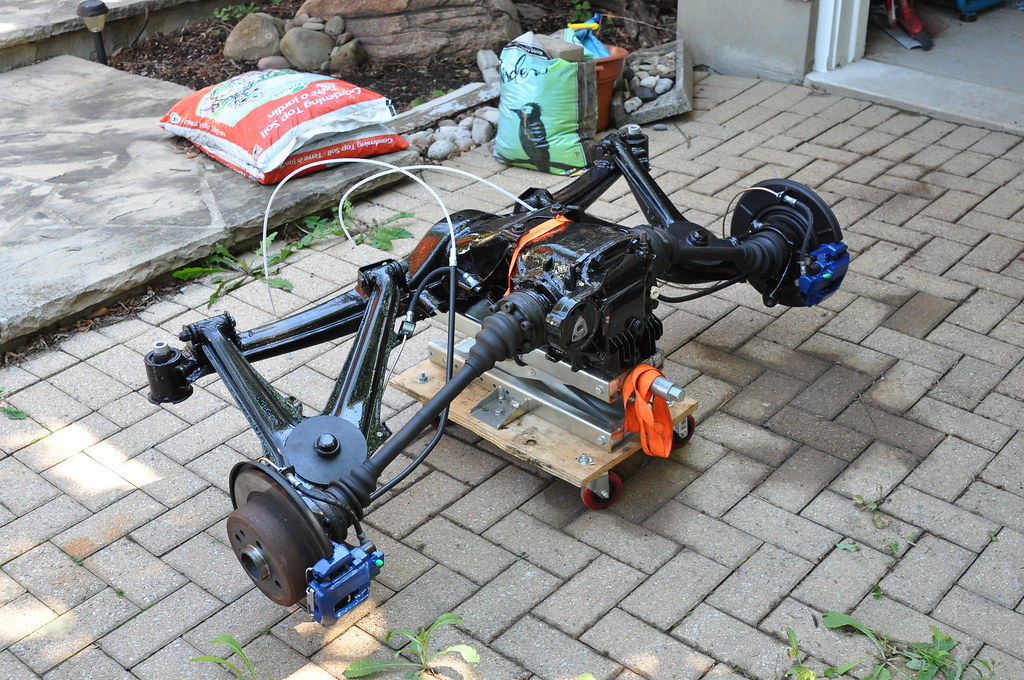
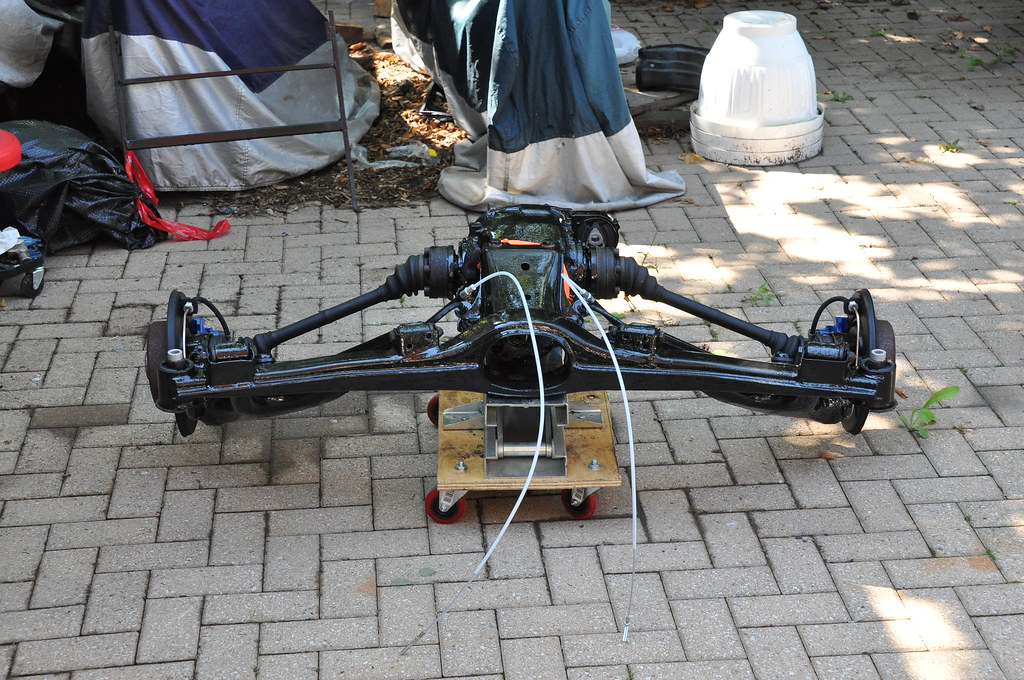
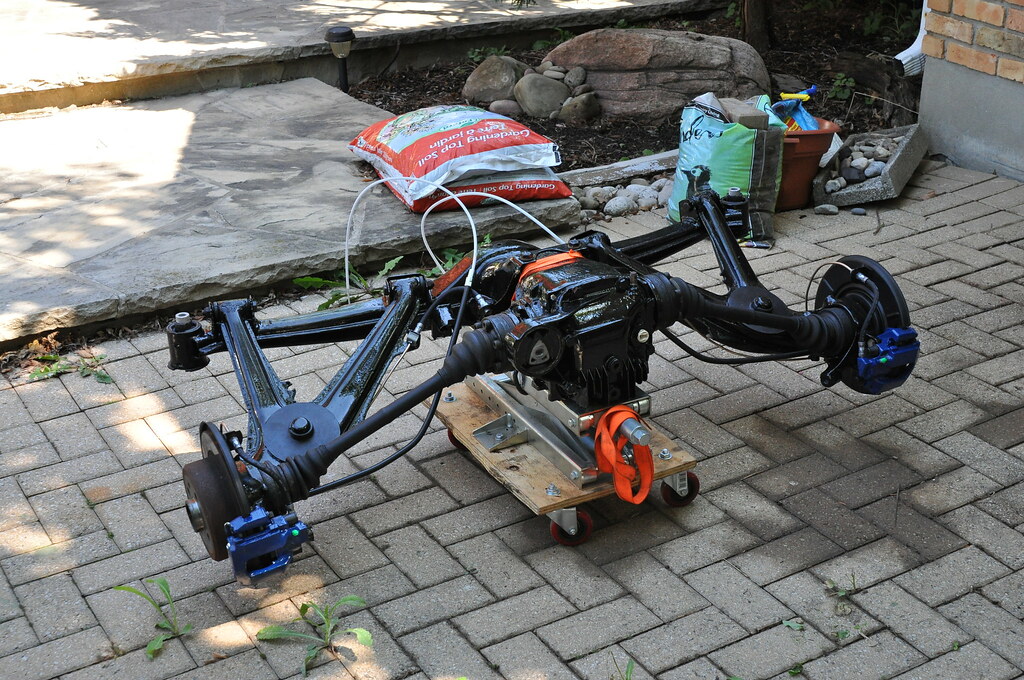
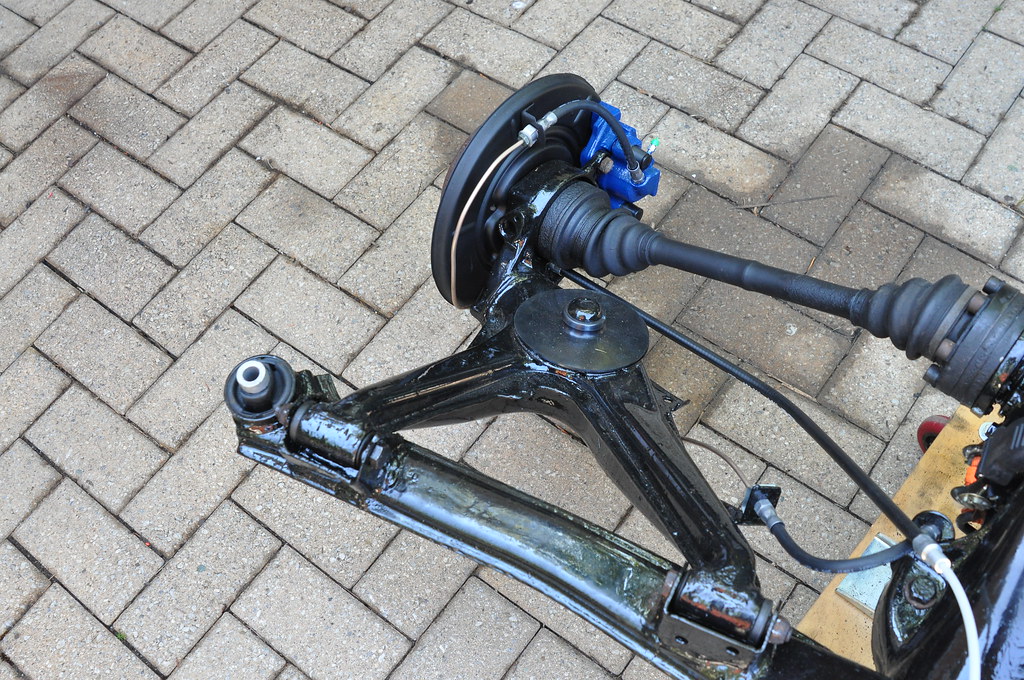
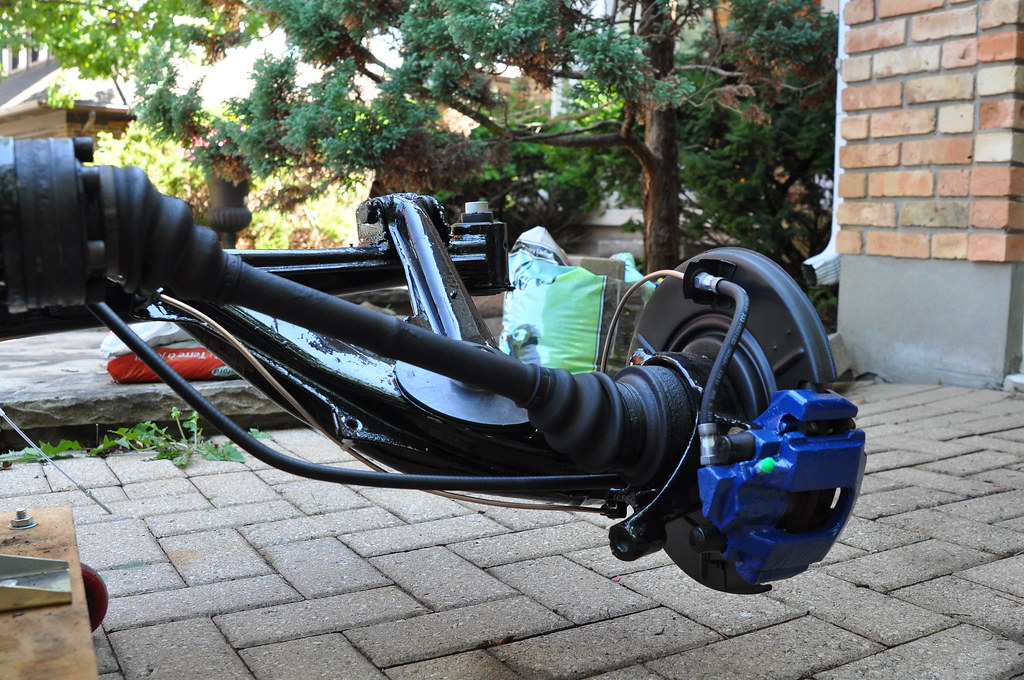
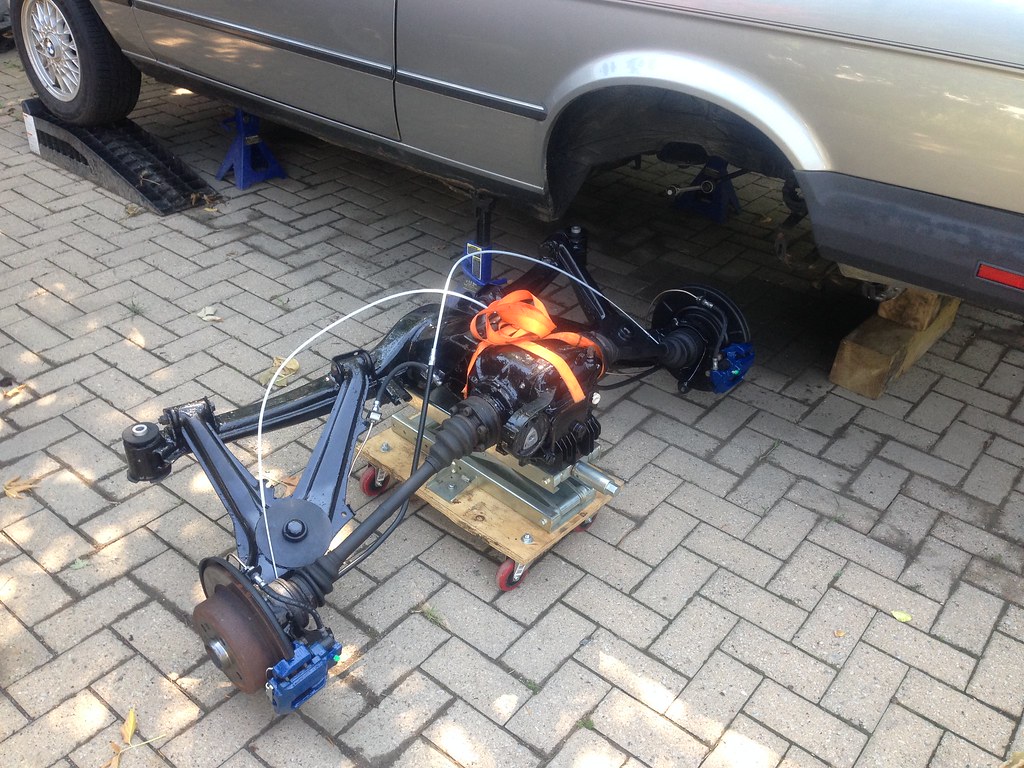
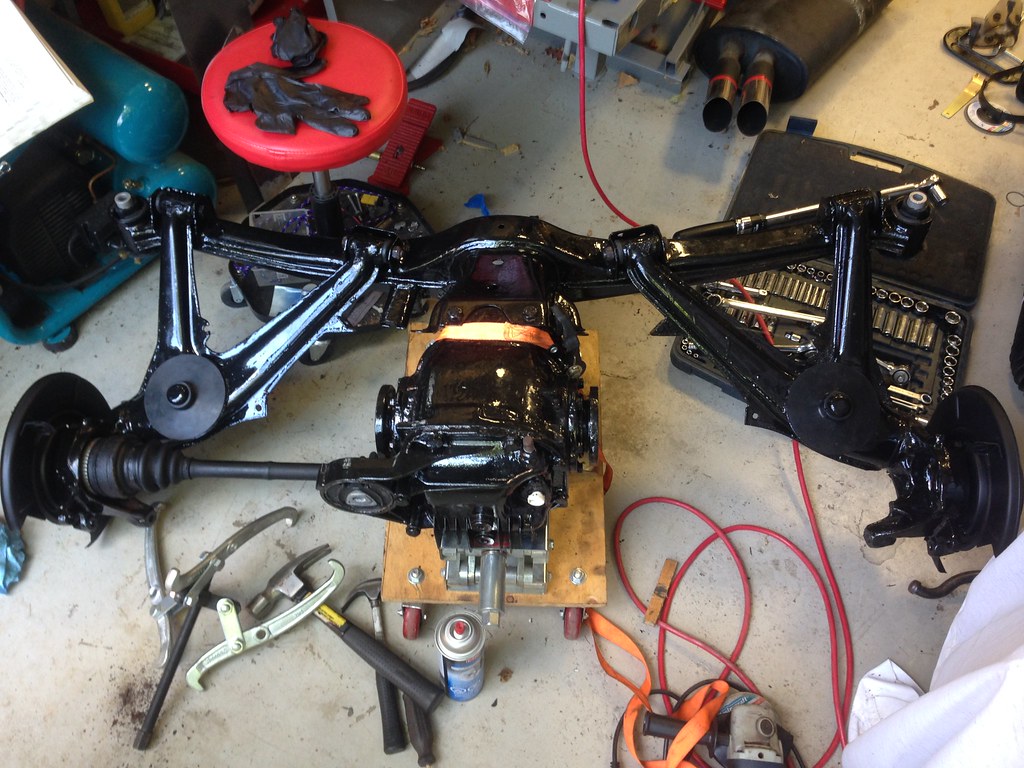
Here are some SLR photos of the completed rear assembly, as promised.
I'll start with two animated Before/After pictures:
-

-
-


-
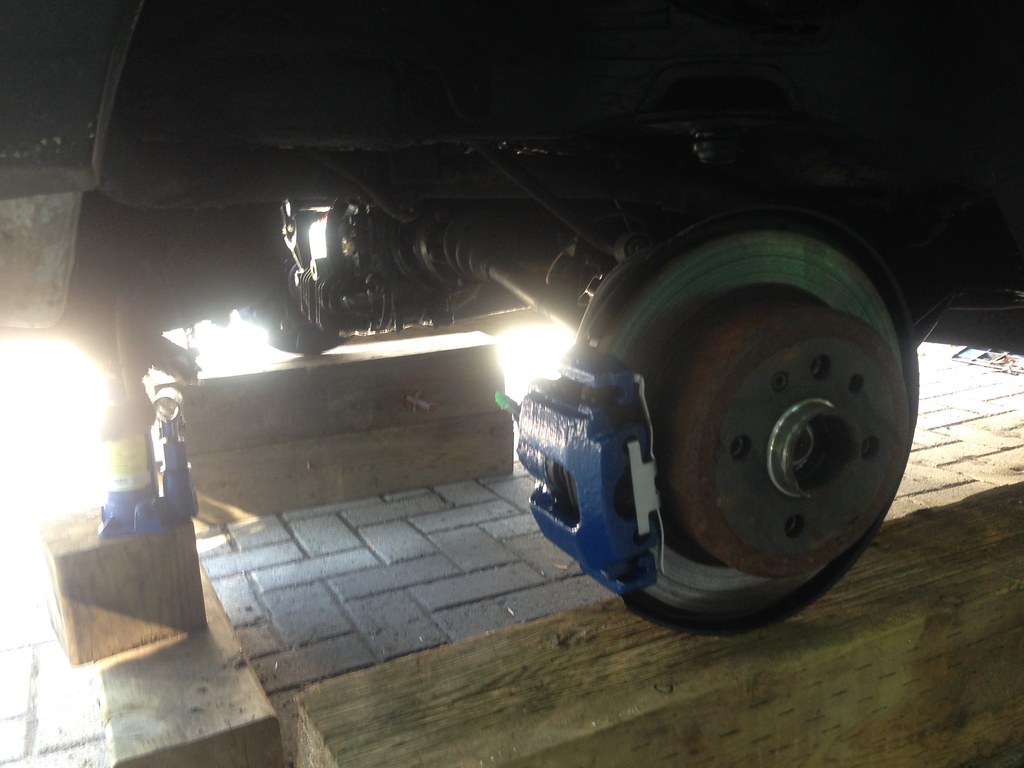
And now a few shots during/after the subframe install.
The wood blocks are to take the stress off the half-shafts, as I probably won't get a chance to finish up for a few days.
-


 Last edited by Panici; 02-23-2018, 09:20 AM.
Leave a comment:
-
For some reason, I was exhausted today. I still pushed myself to work and I got a little done. Heading to bed early tonight.
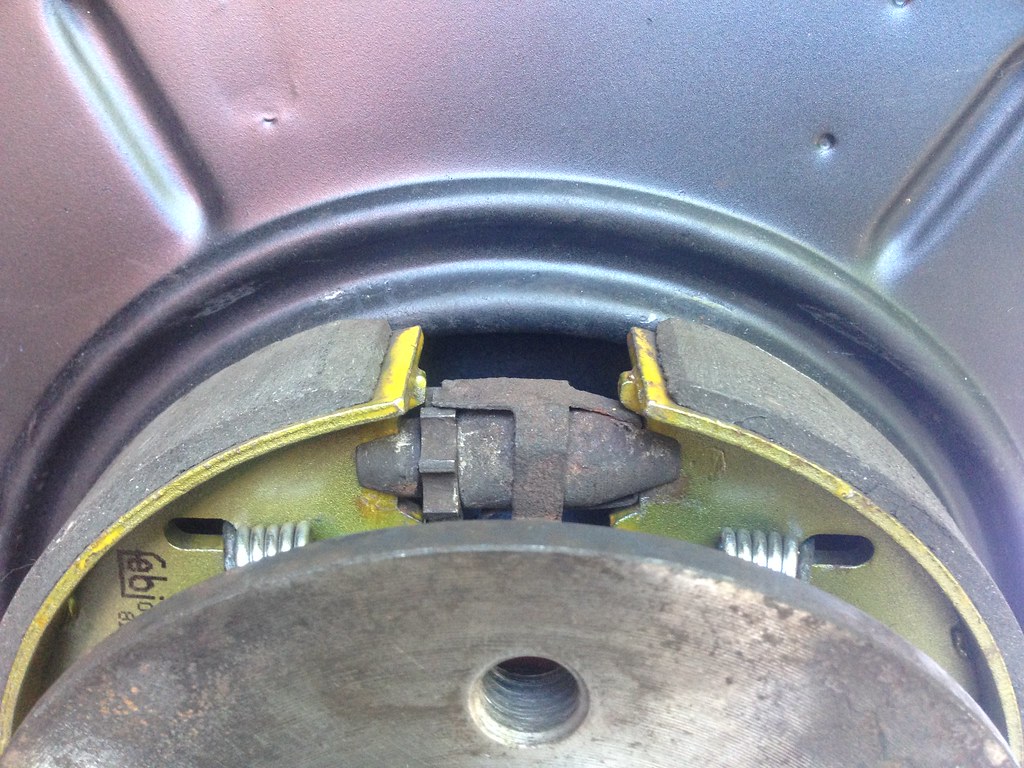
I started by installing the new e-brake cables. I found the trick to install them into the TAs is first some antisieze. Then put a tight fitting wrench over the rubber line, in front of the metal section. Hammer the side of the wrench and it seats the cables nicely.
Then I went about following the e30zone guide for replacing the e-brake hardware (since it's been 2 months since I took it apart, I forgot the finer details). Unfortunately, the instructions said to put the smaller notch of the shoes at the top (near the adjuster), which is incorrect. Once I got one side together I realized the adjuster wouldn't sit properly, and had to take it all apart and do it again (and those springs are a challenge!)
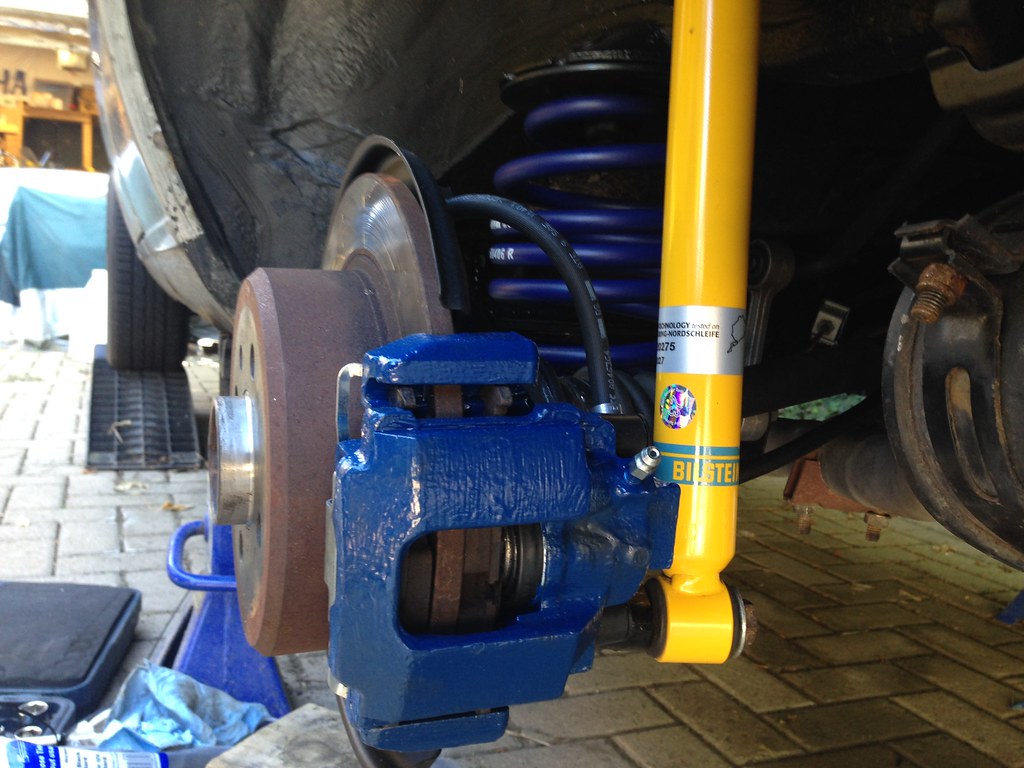
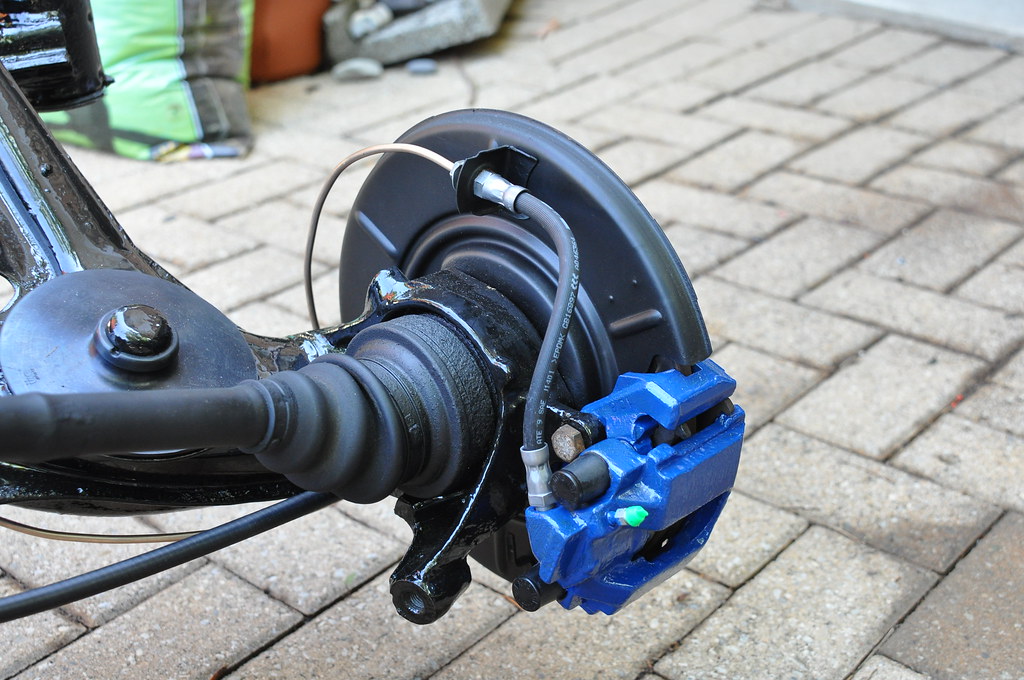
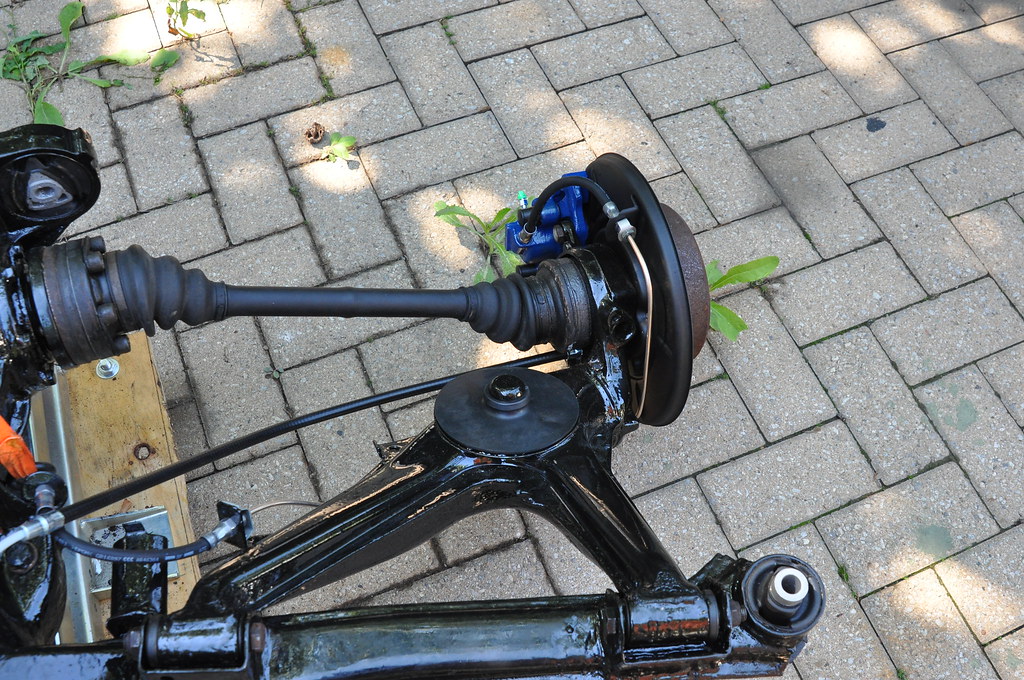
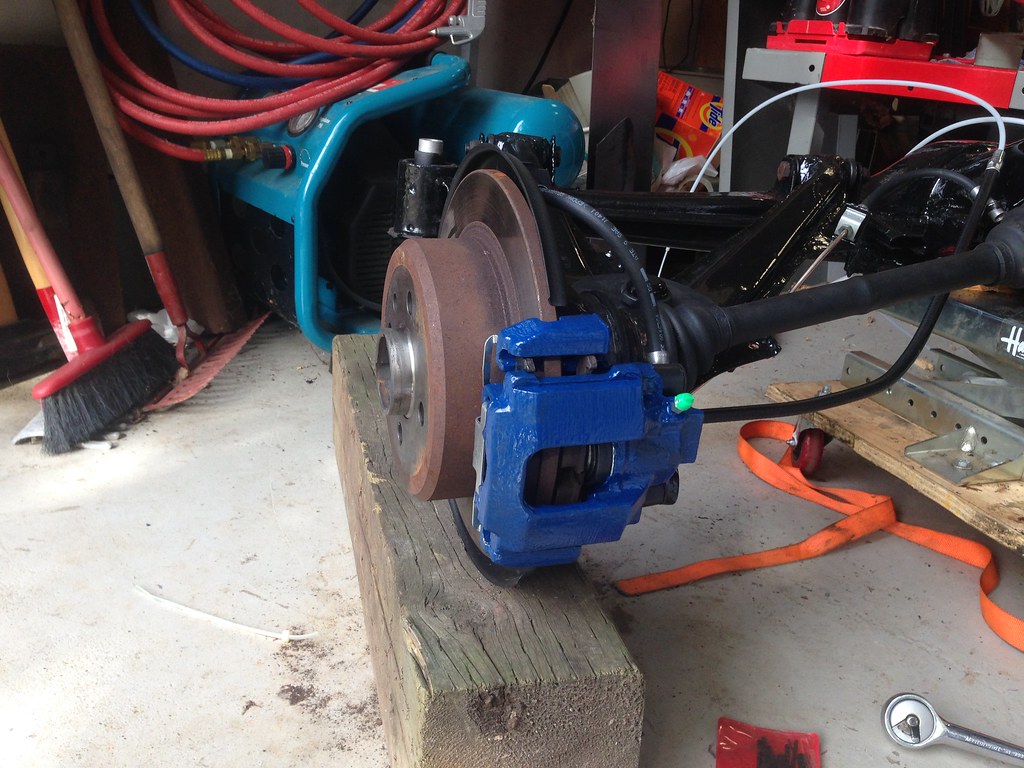
I got the new calipers installed, and was surprised to see my paint is still not dry a few weeks later (after I got brake dust into the paint on one side :( ). I think they will need a few heat cycles of braking to bake the paint.
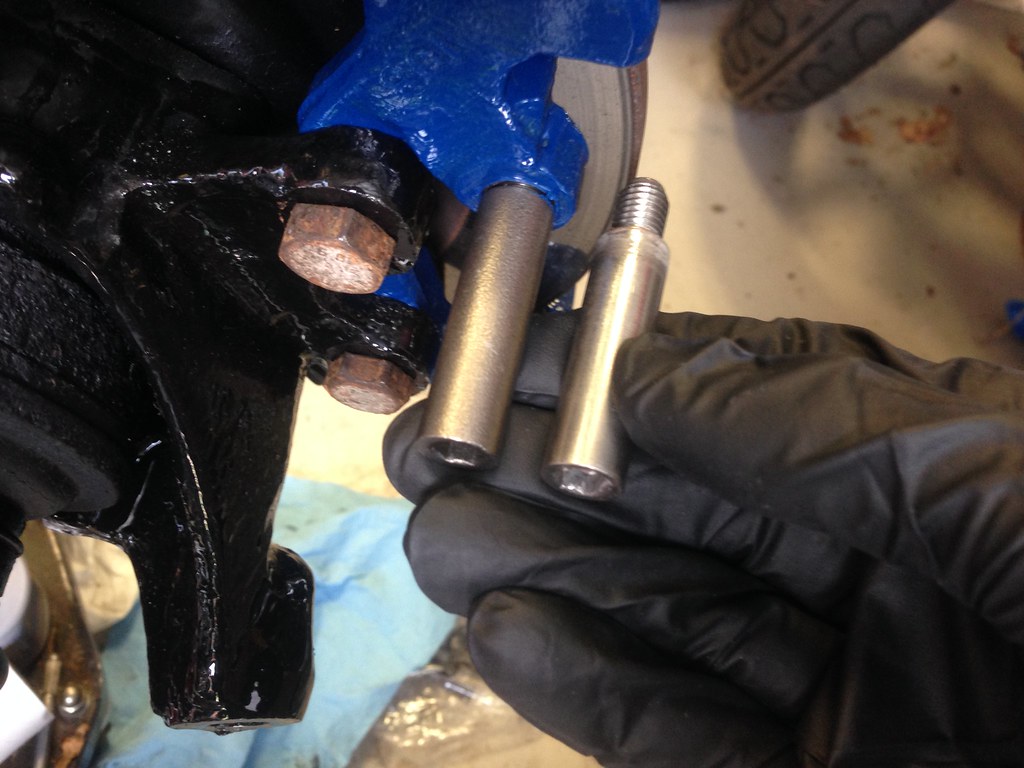
One of the included guide pins was bent, and when I went to get the old pin from my old calipers, I noticed the surface difference. The picture doesn't do it justice, it is quite rough compared to the other (smooth) pin. I may use the smooth pins from my old calipers.
Too bad I didn't paint the rust on the rotors, they really let the look of the assembly down. That can be a future project, I just want the car to be drivable before the end of august.

 Last edited by Panici; 02-23-2018, 08:38 AM.
Leave a comment:
-
Thanks guys :) It means a lot to hear some words of praise after all this.
I'm glad my hard work shows.
My long-term goal is to make this a restoration rather then just making the car functional.
-
Today's progress:
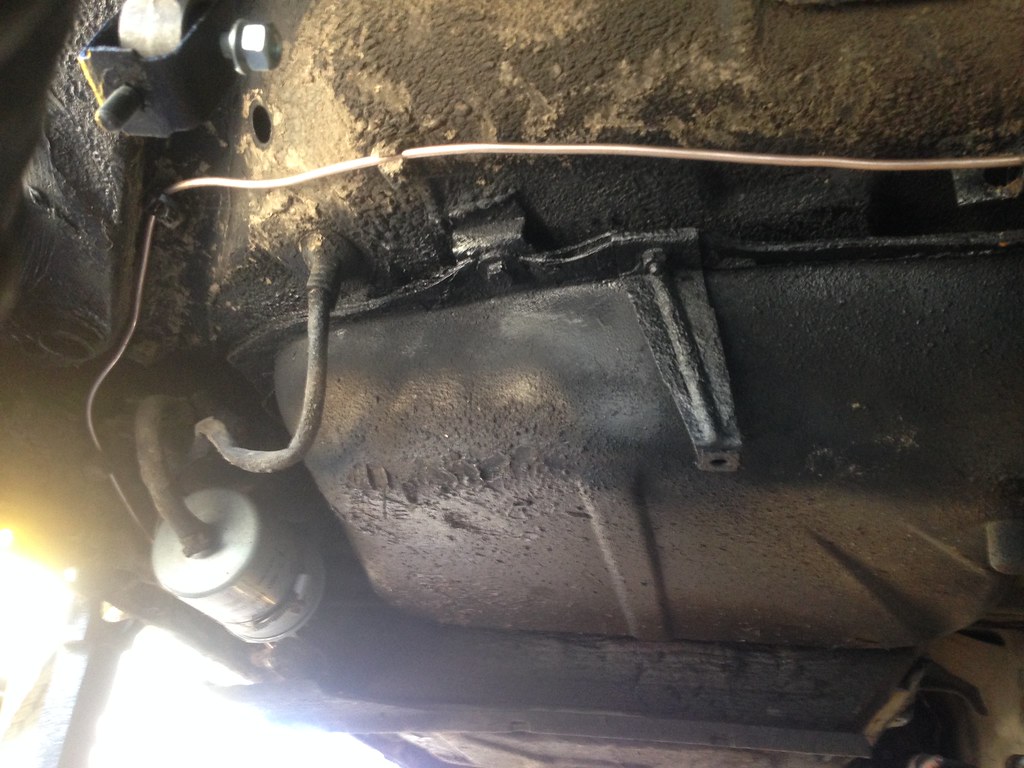
Bent and flared the remaining hardlines on the rear subframe. Had to use some 2-part epoxy to keep one of the old trailing arm clips on the TA, as they are NLA from BMW.
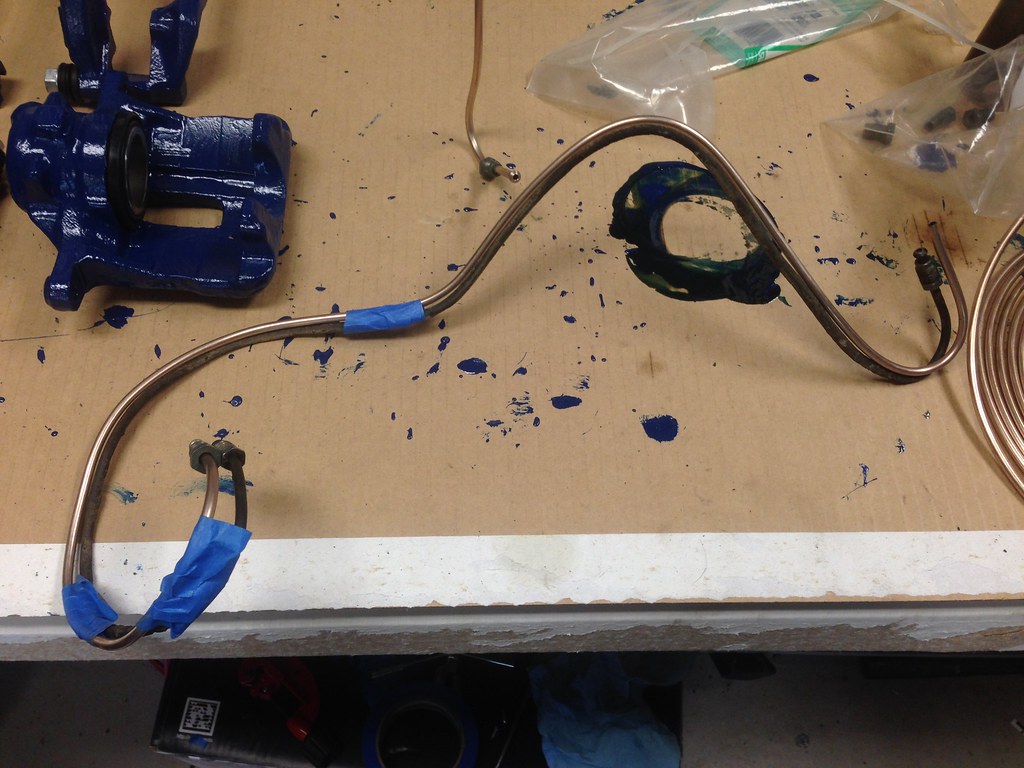
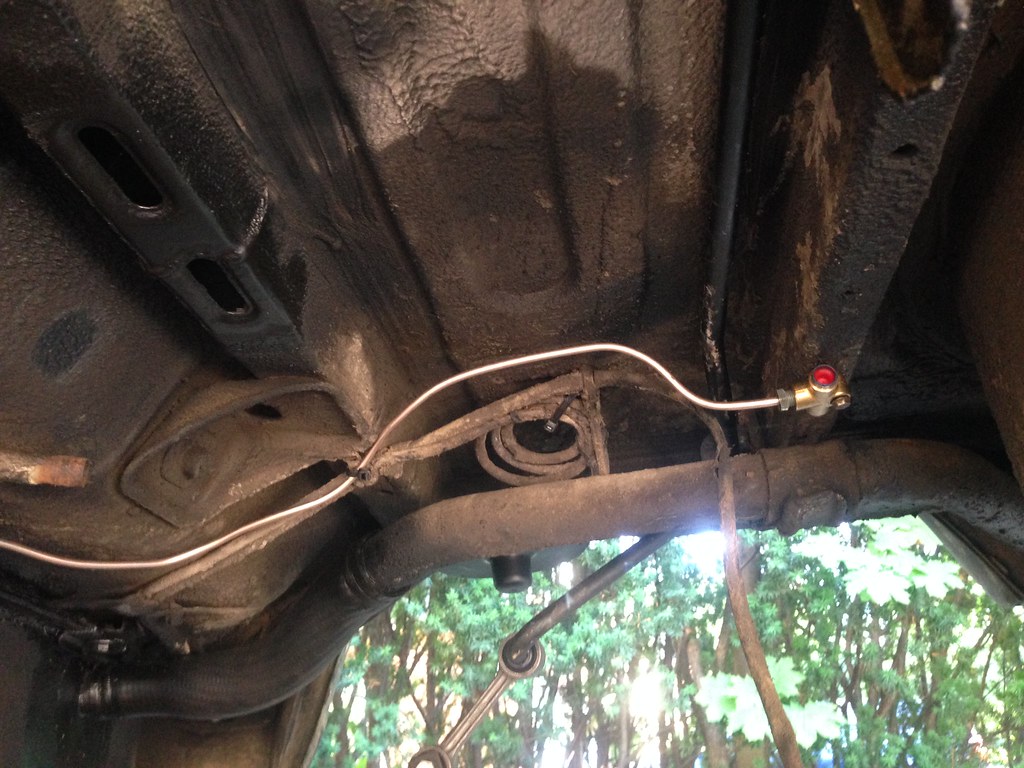
Bent and flared the body side rear hardline. Installed with a new distribution "T" block. Had to get creative with some zipties in order to mount and space the line, as well as to reinforce some of the broken body-side plastic brackets.
I think the rear brakeline may have been previously replaced, because when I copied the bends, my new line wasn't tucked up to the body like it should have been. The copper line came in handy here, as I had to make more then a few changes as I went.
Happy that I went with Nickel-Copper Alloy brakeline. Much easier to work with and bend by hand. Only issues i've had was with the flaring, which is easy to get wrong as the copper is so soft.
 Last edited by Panici; 02-23-2018, 08:36 AM.
Leave a comment:
-
Those little pullers are amazing when you need to install a halfshaft. Looks like you are doing awesome work on this car!Leave a comment:
-
I'm looking forward to seeing your car in person someday soon, hopefully before the snow arrives.
Excellent work so far! ;)Leave a comment:
-
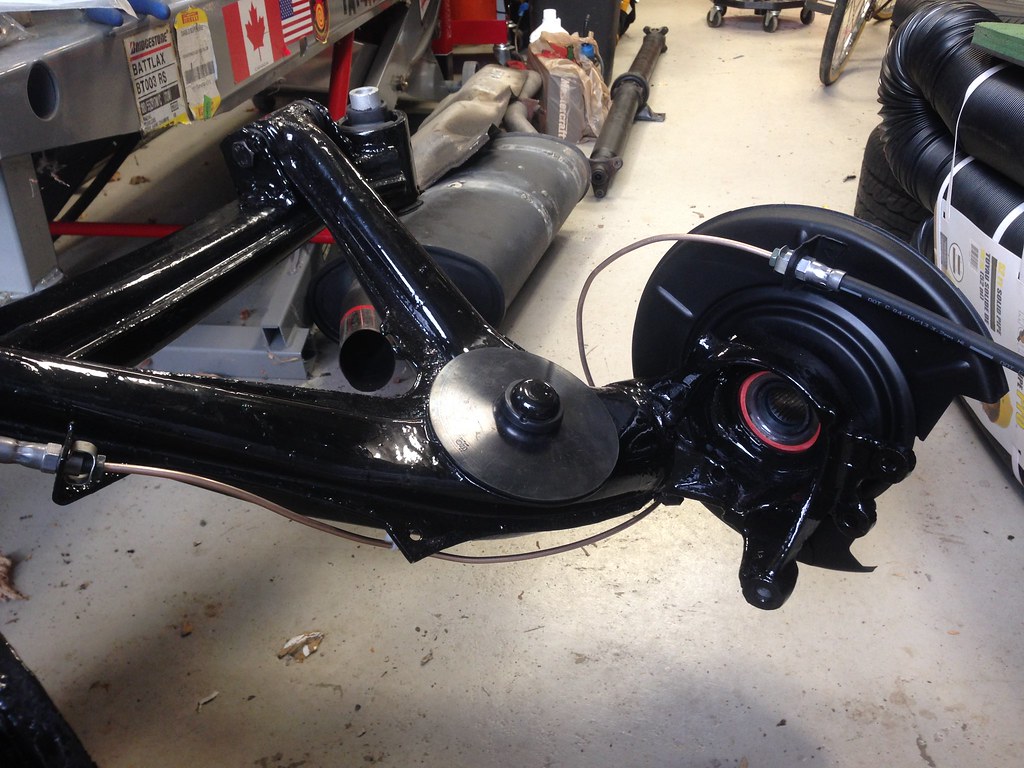
That copper line I made yesterday looked sloppy. Today I shortened it and re-flared, so it tucks nicely behind the brake dust shield.

-
I also used the new axle install tool I bought to install both axles. Works great since my splines aren't 100%.


-
Bent and flared another brakeline as well.
Waiting on some more brake line clips (34341163565) that I had to order from the dealership in a pack of 10. :|
I'm going to attempt to use zipties in place of some of the plastic clips which broke (34301161567 & 34321158467), some of which are NLA.
 Last edited by Panici; 02-23-2018, 08:30 AM.
Leave a comment:
-
More updates. I'm making a final push to finish before the end of the month!
Sorry about the decreasing quality of photos. I think my cellphone camera is on it's way out. I'm going to try to take some SLR photos of my finished subframe assembly before I get it back into the car.
- Mated the rear diff to subframe beam.
- Mated trailing arms to subframe beam. Used longer Class 11.9 bolts for the the reinforced (thicker) brackets.
- Cleaned, masked, and painted my rebuilt set of four calipers.
- Attempted to install the passenger side rear axle.
- Had to order an install tool which should be here early this week.
- Bent and flared the first of four copper hardlines for the subframe.
- Need to shorten (and re-flare) the upper loop so it doesn't stick out so much.
- Removed the rear swaybar. Cleaned, sanded and painted. Installed with new bushings and endlinks


 Last edited by Panici; 02-23-2018, 08:27 AM.
Leave a comment:
-
Believe it or not, I damaged a muscle in my side while painting that subframe and differential. I liken the painting process between those sawhorses to playing "twister", and I did that for three hours in one day.
I couldn't do much of anything for the better part of a week, without my side spasming.
But I'm better now, and back at it.
Today's progress:- Installed new fuel filler hose.
- Old one was split around the clamp.
- Sometimes you could smell gas, and the hose leaked when the tank was full.
- Topcoated the (previously addressed) chassis spots with a high-build fleet paint
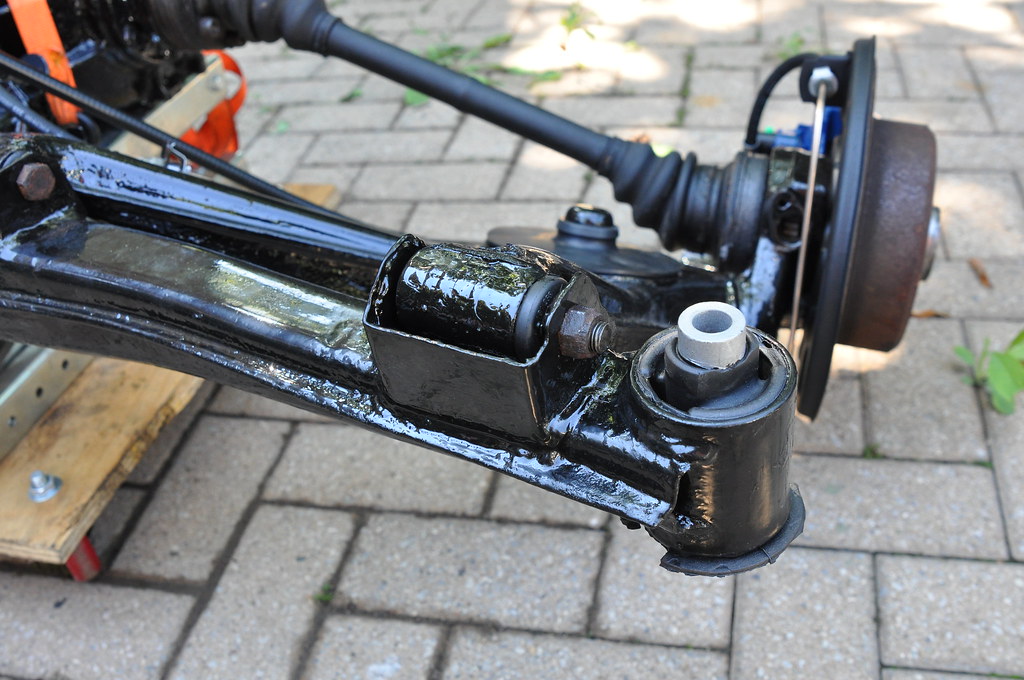
- Pressed in both new Lemfoerder subframe bushings
- Bought and then proceeded to bend an 8" C-clamp in the process.
- Pressed in rear hubs into new wheel bearings
- Touched up subframe and diff POR15 in a couple spots (two coats)
- Painted the driver's side pinch bolt assembly.


 Last edited by Panici; 02-23-2018, 08:21 AM.
Leave a comment:
- Installed new fuel filler hose.


ave")
Leave a comment: