
WOW. I was worried this project was going to disappear but you finished it and from the little hints of pics and video it is awesome. I am looking forward to seeing more.
-
How to remove, install or convert to pop out windows
http://www.r3vlimited.com/board/showthread.php?t=297611
Could be better, could be worse. -
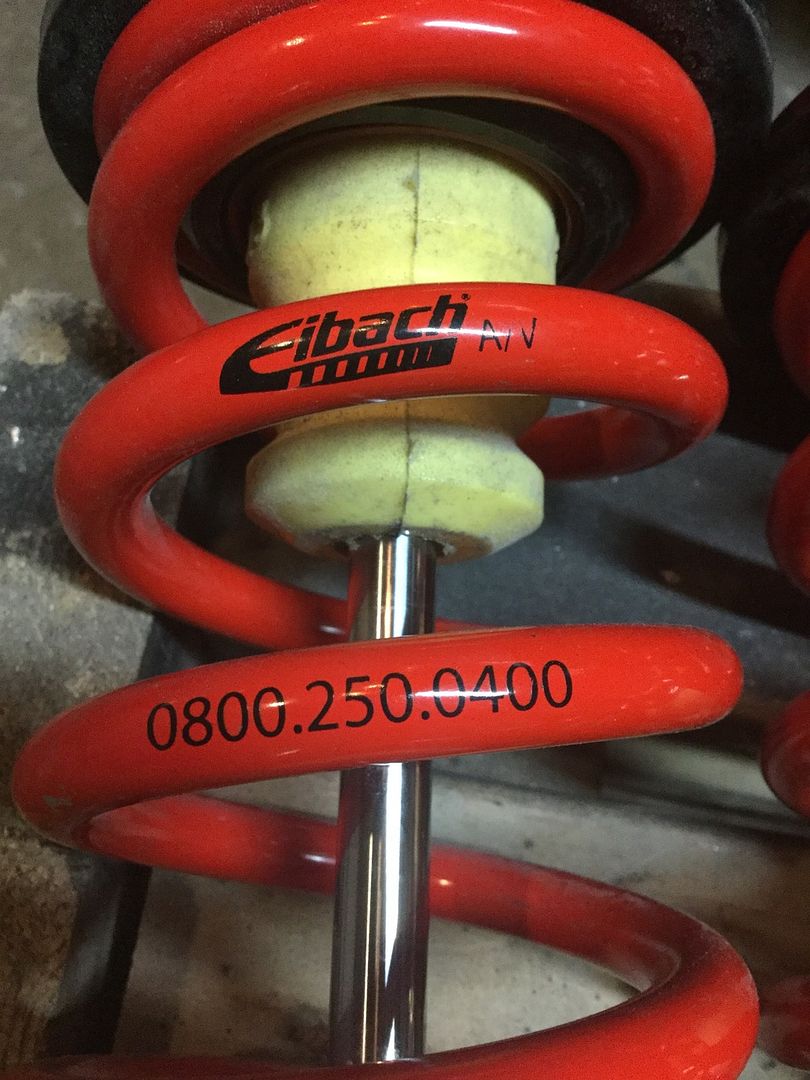
currently I am switching out the front 400 pound spring to the rear and i will be getting a new pair springs that are 500 pound for the front.
this is the old rear spring that is 325 lbs
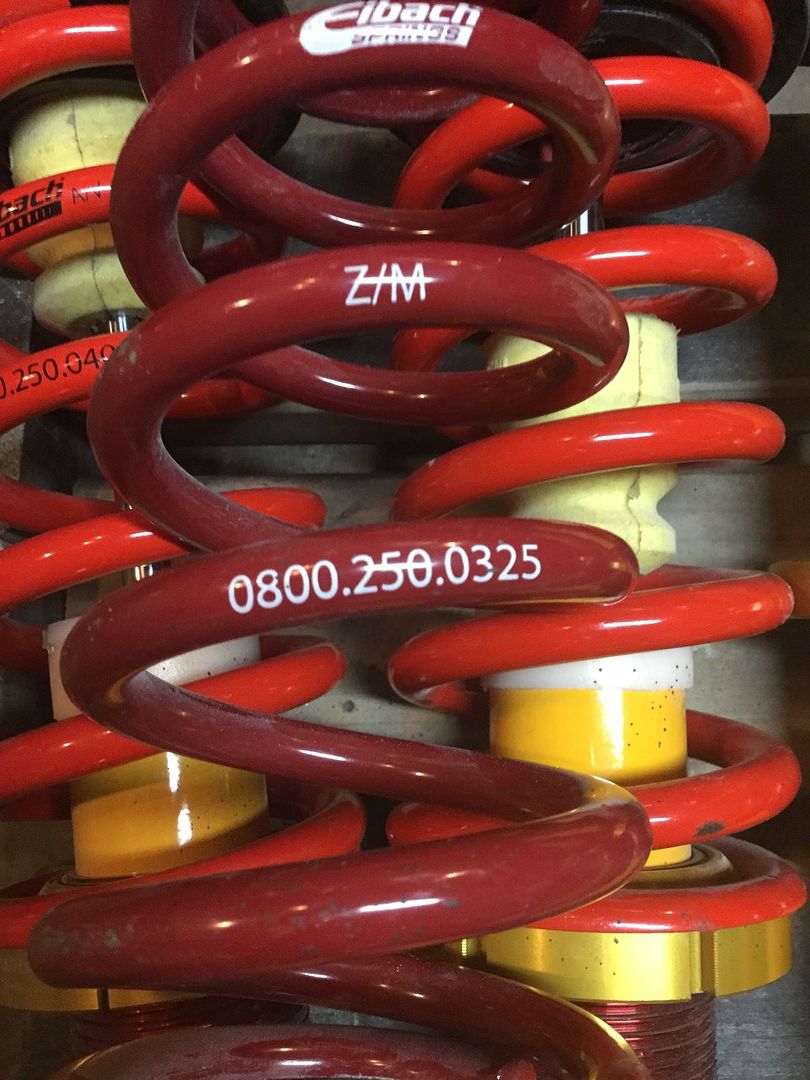
front spring 400lbs to the rear
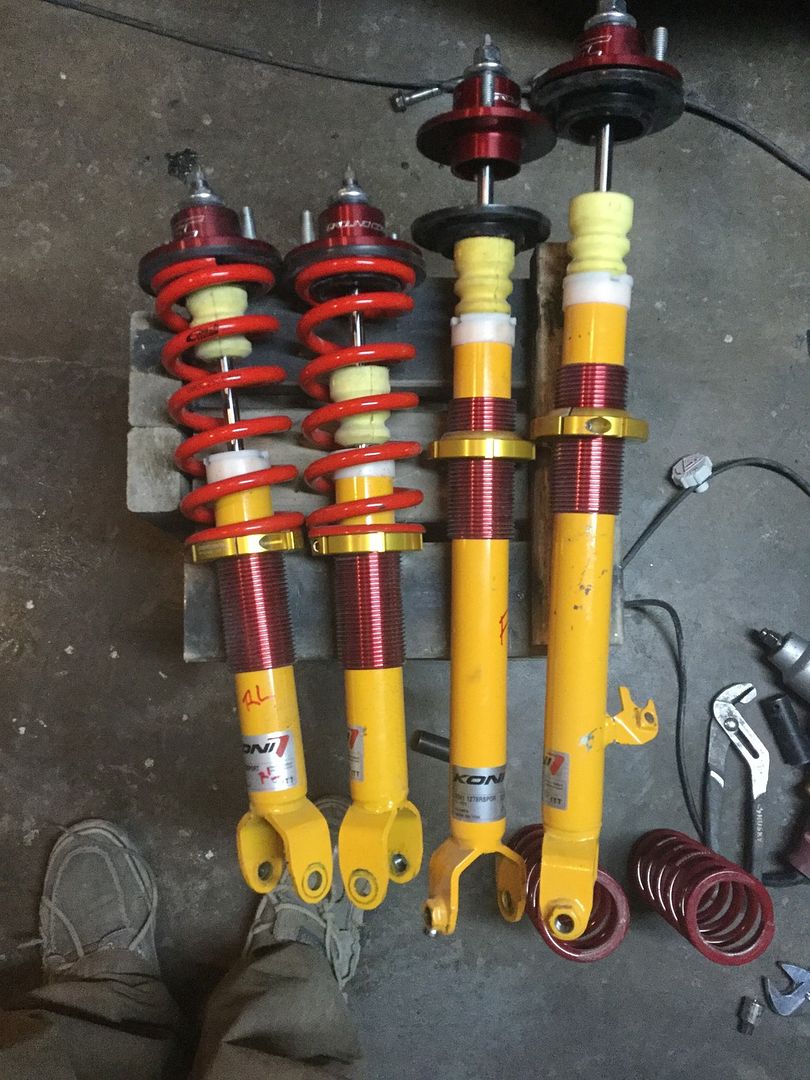
The rear is a little soft and rubbing just a tad.
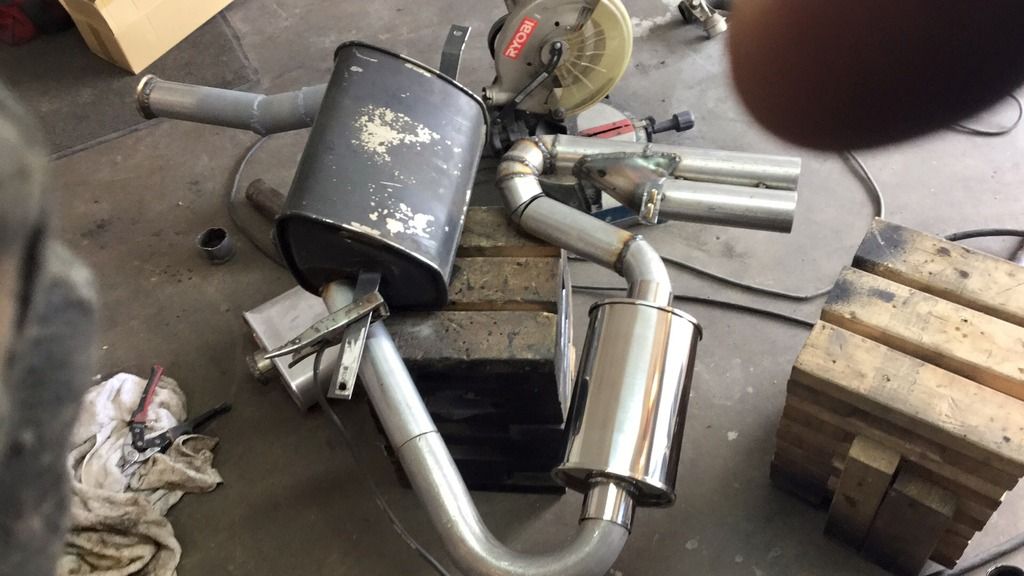
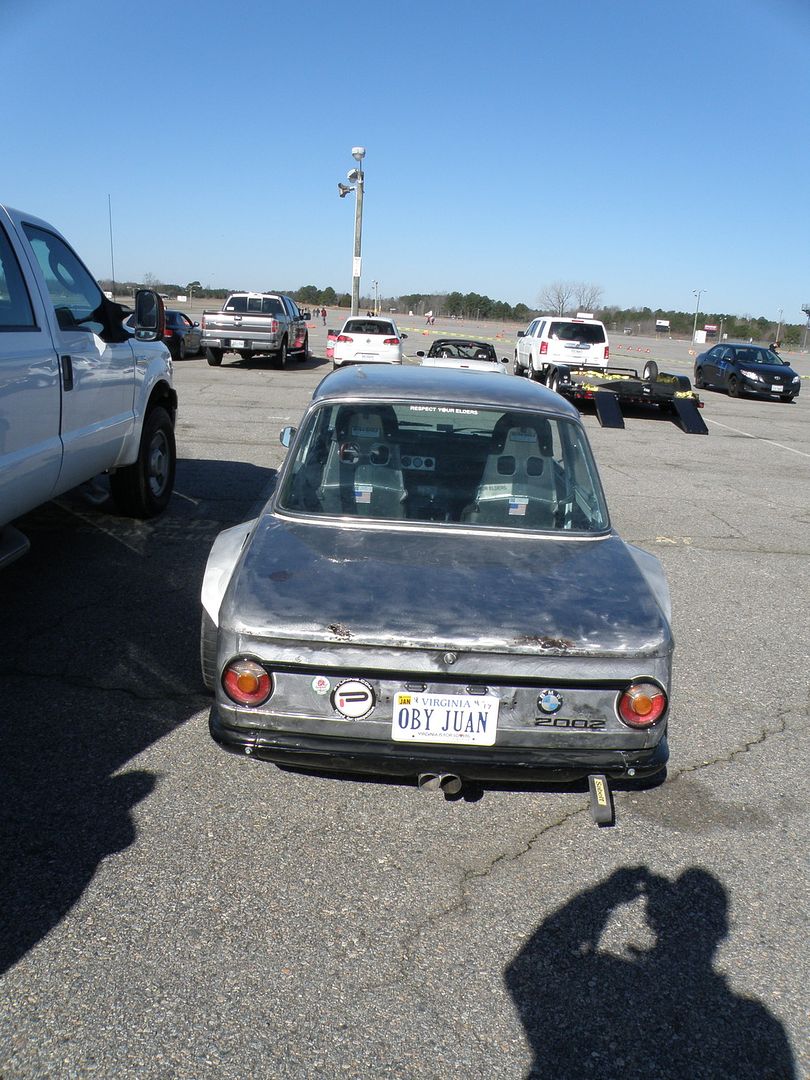
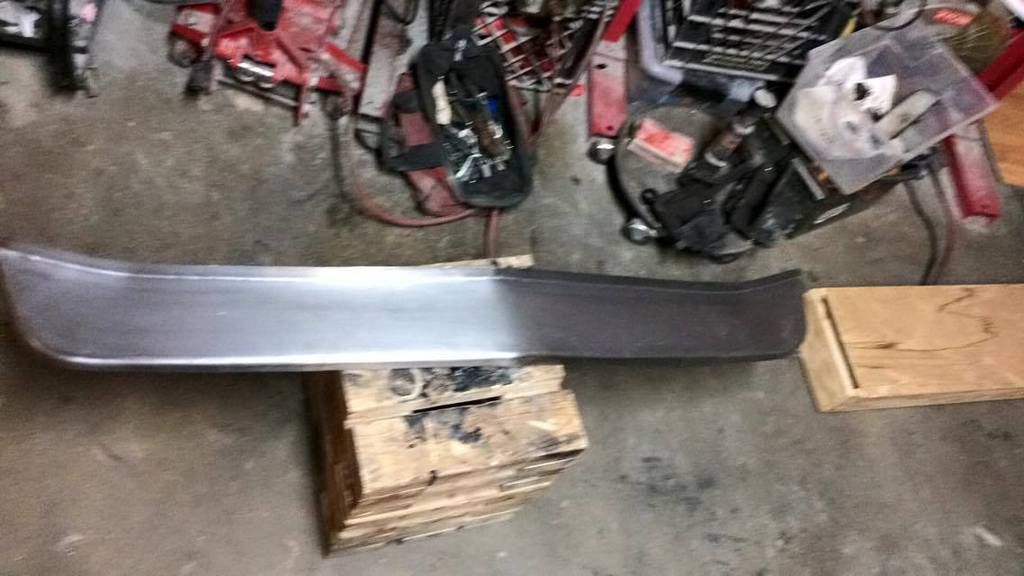
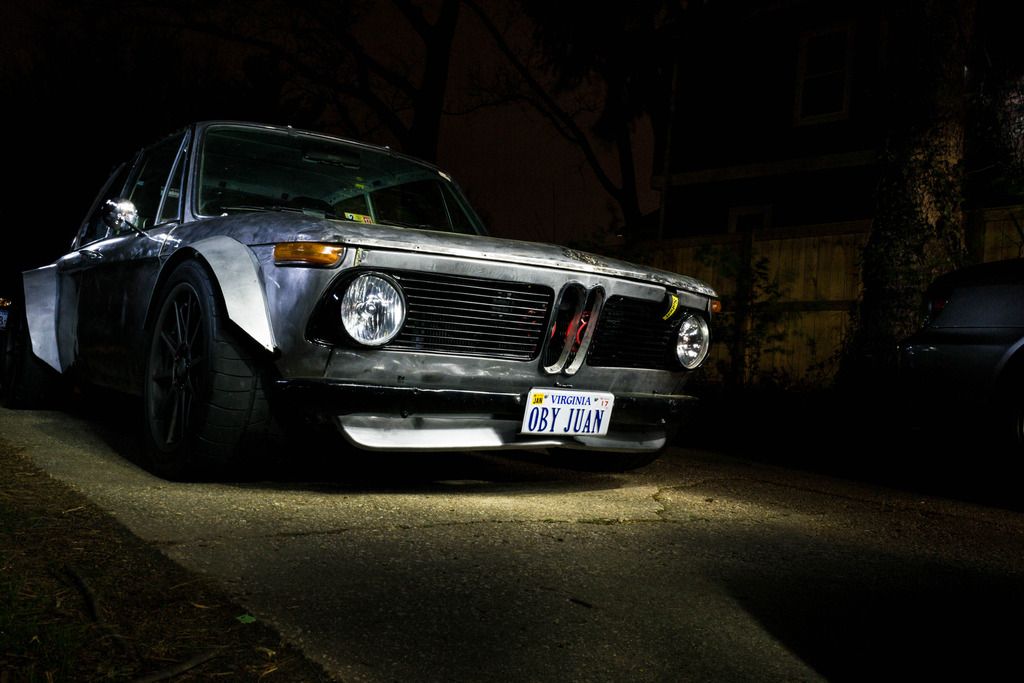
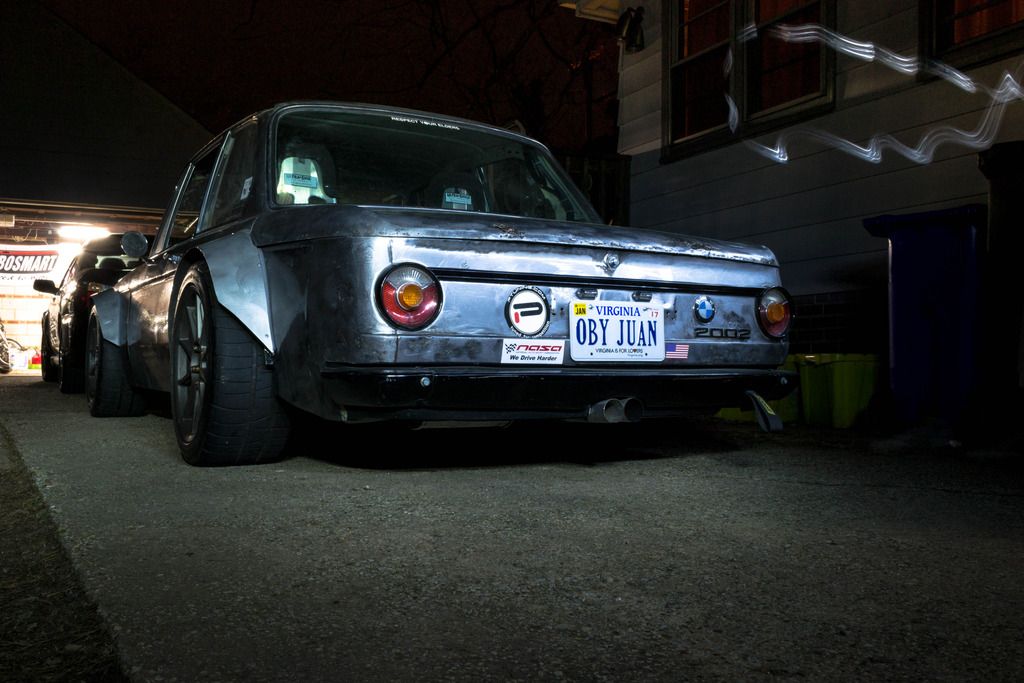
here are some random pics
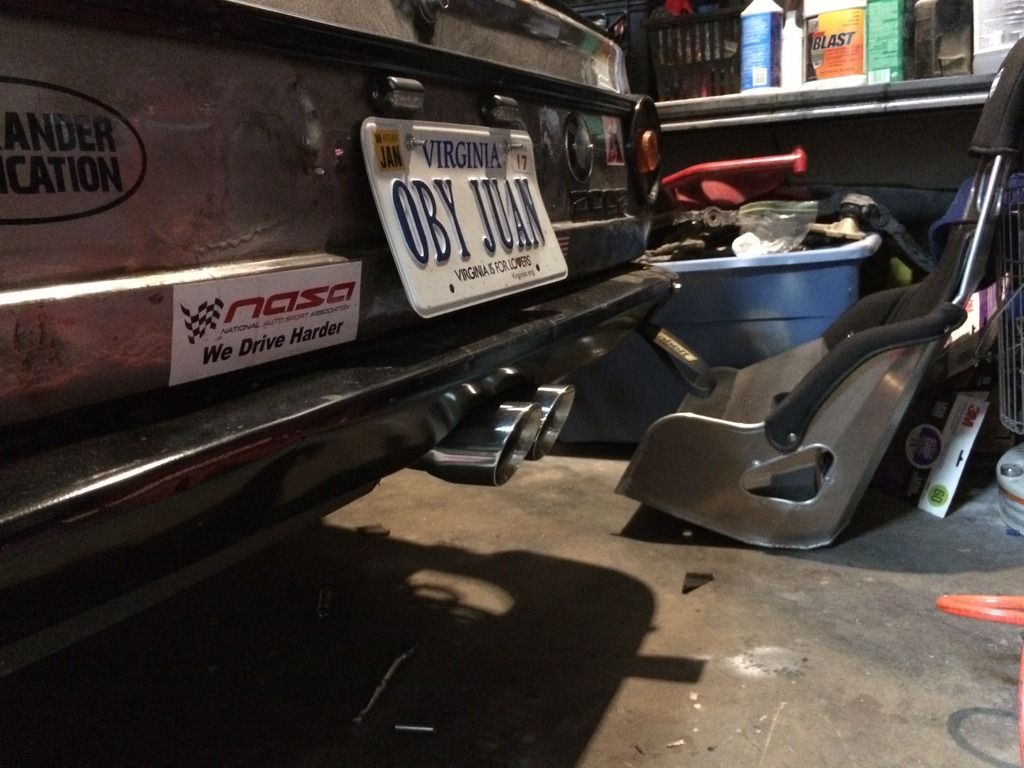
rear exhaust utilizing e60 bmw oem muffler, and vibrant resonator at the end, I really didn't want to make this car super loud.
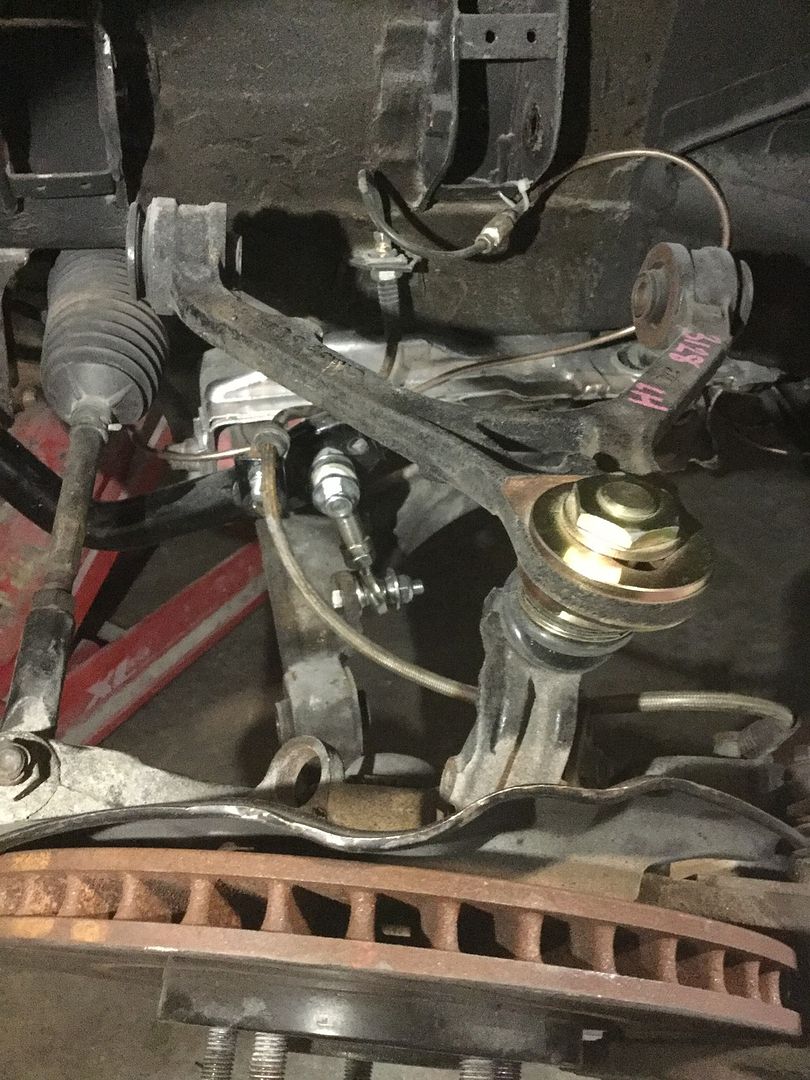
I also installed SPC adjustable camber ball joints on all 4 corners
rear
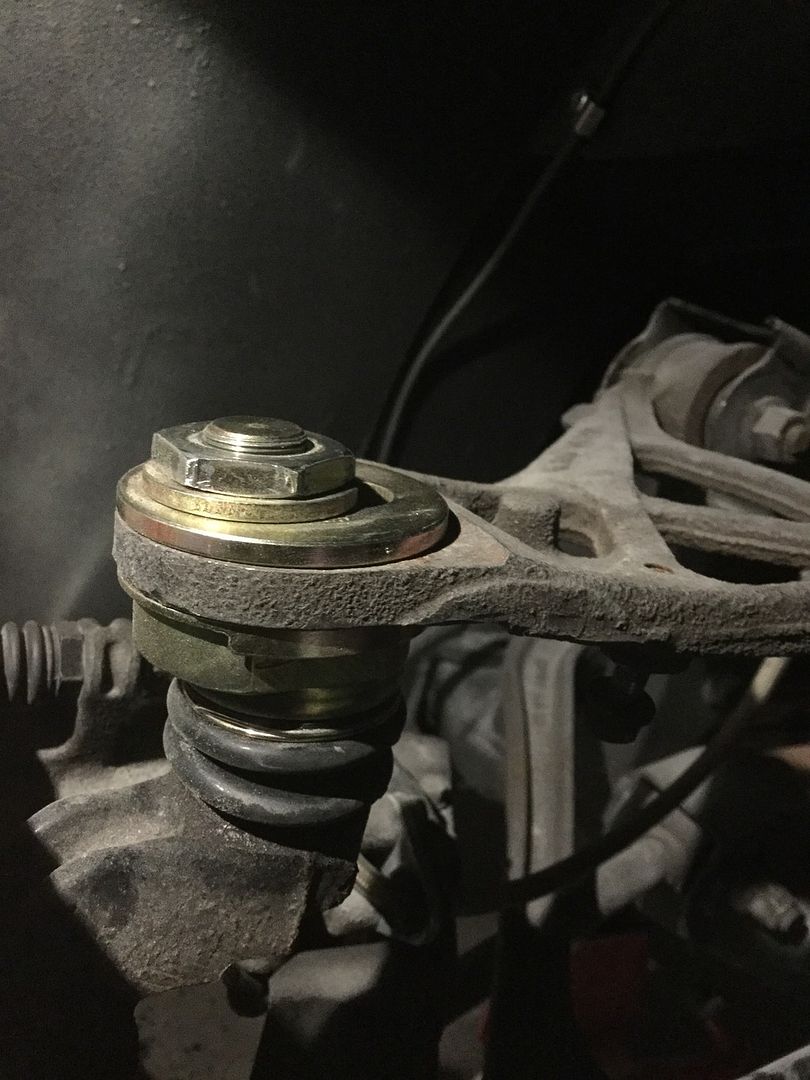
front
you can also see the massive 1.25 solid sway bar. this has three settings
Soft setting. 566 lbs
Middle setting. 644 lbs
Stiff setting. 739 lbs
currently its at the middle setting
pic of the rear brakes
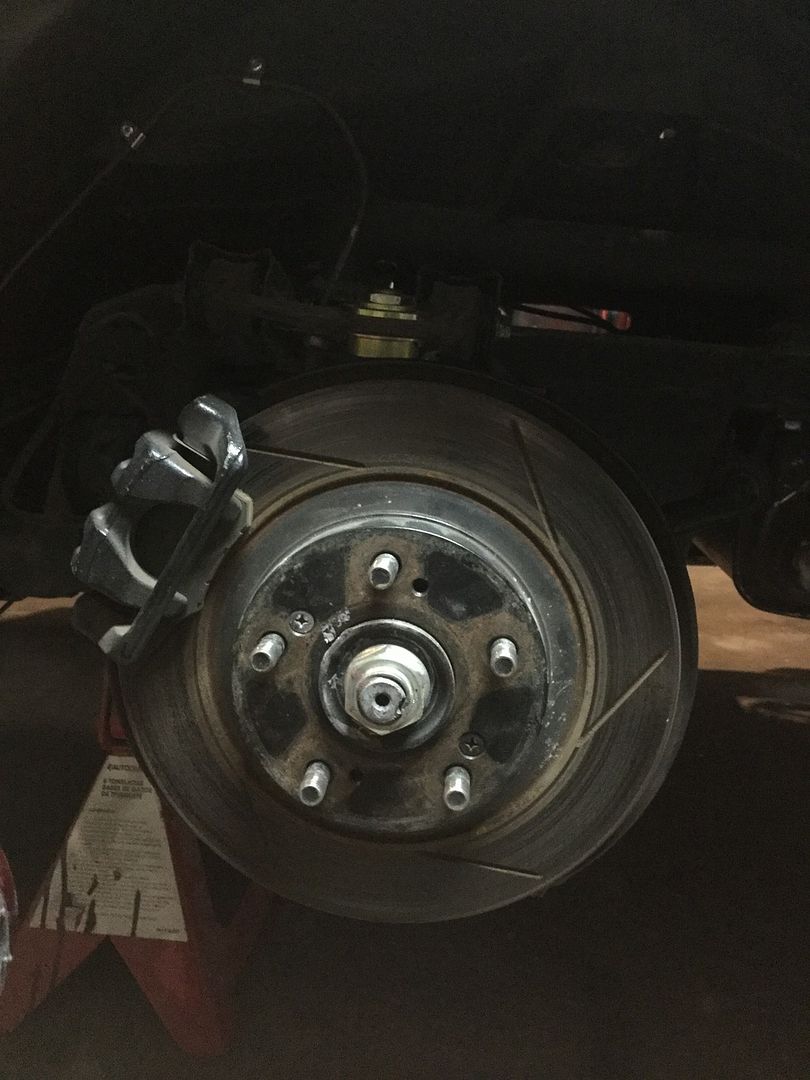
I also got some brake pads on the way tomorrow
Project MU HC 800 street/track pads for front and rearYour signature picture has been removed since it contained the Photobucket "upgrade your account" image.
Trust me it stock :yawn:Comment
-
-
im really bad at updating this shit.
I changed the springs already and put on new pads and man they make worlds difference!
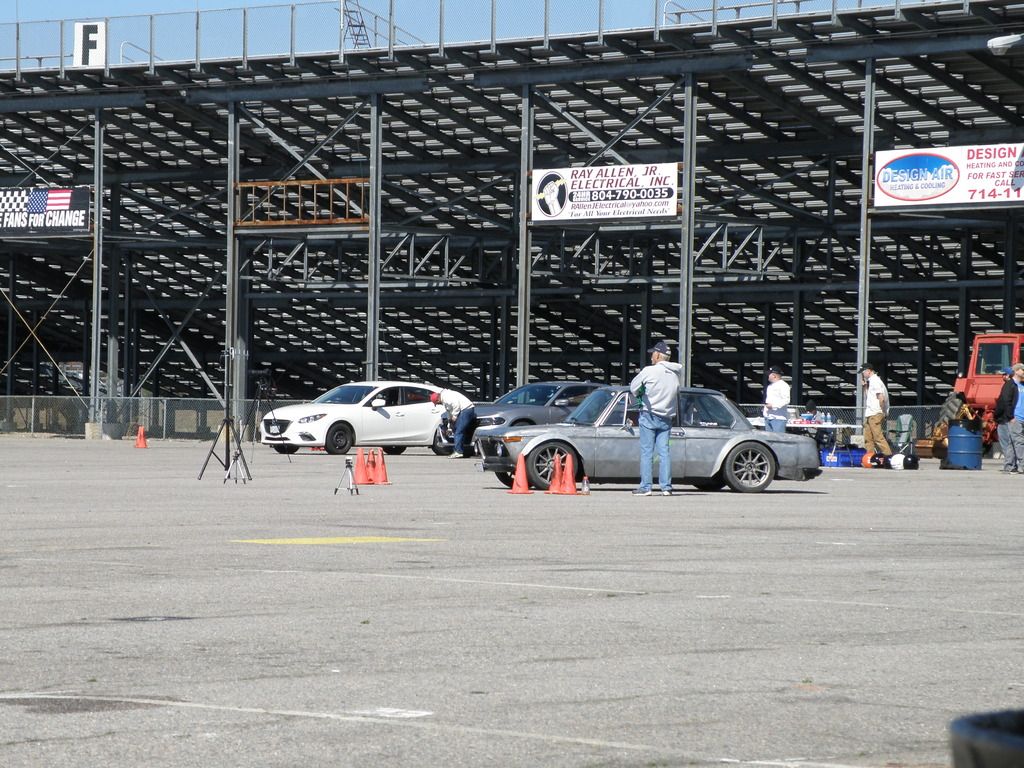
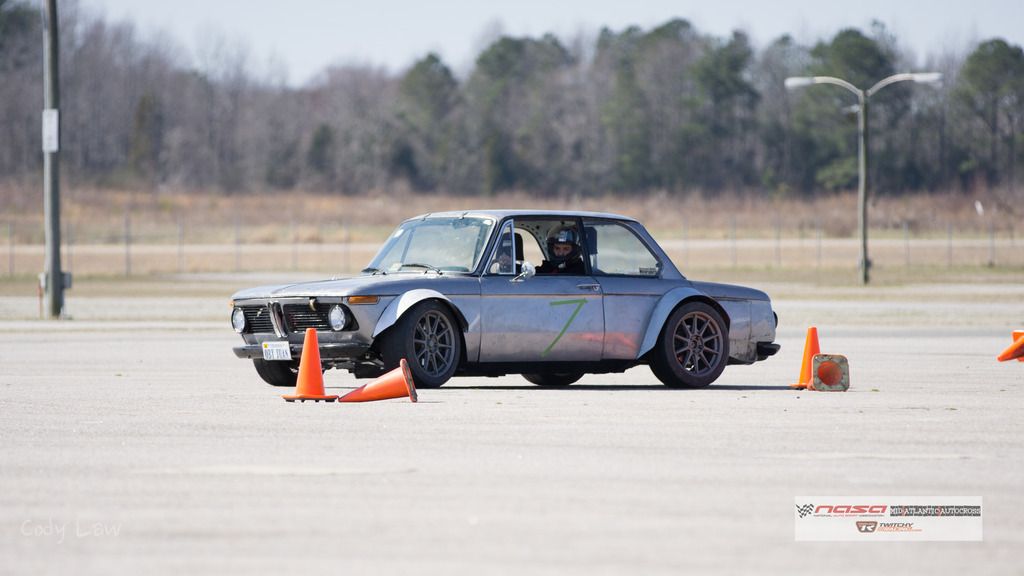
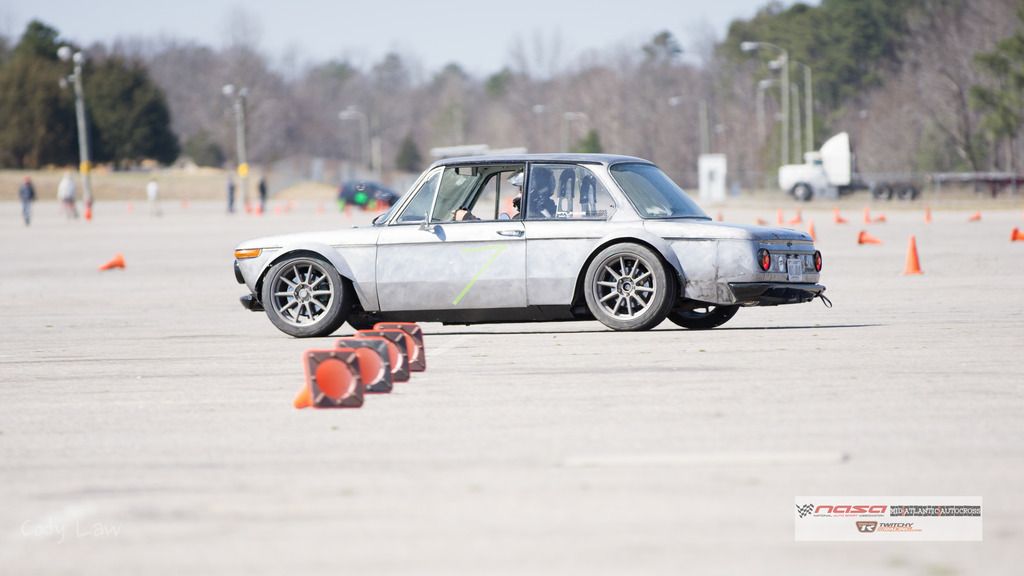
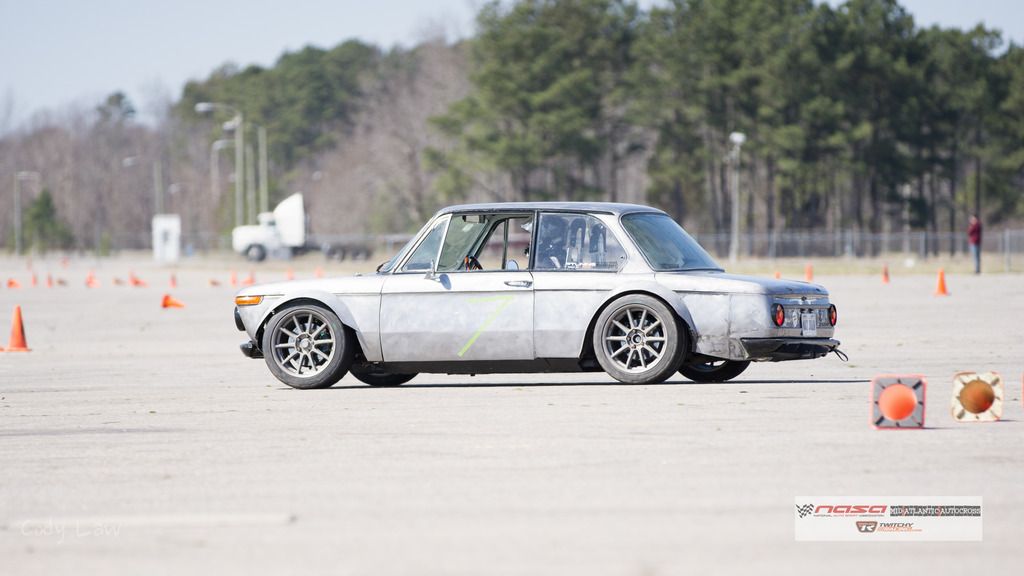
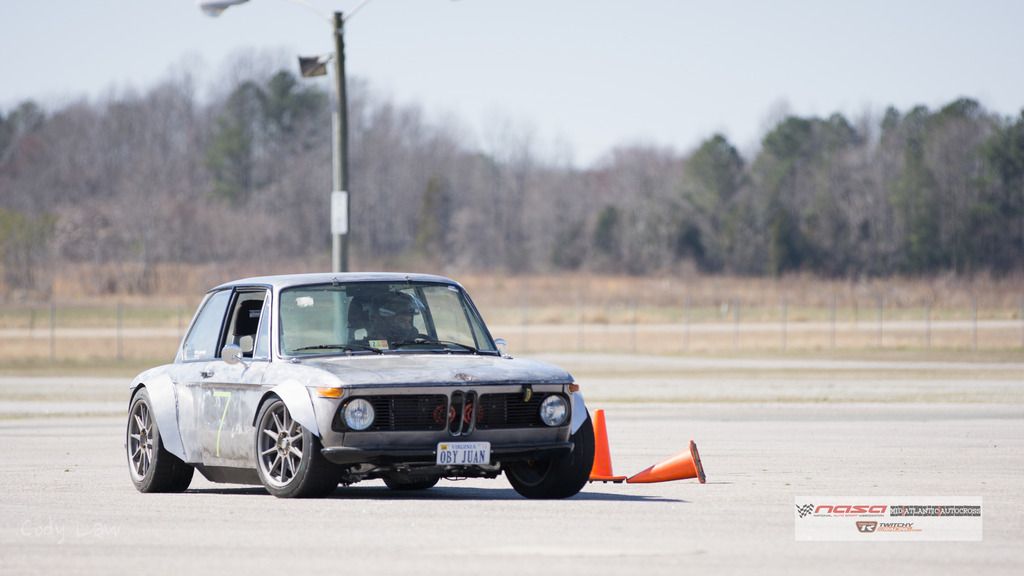
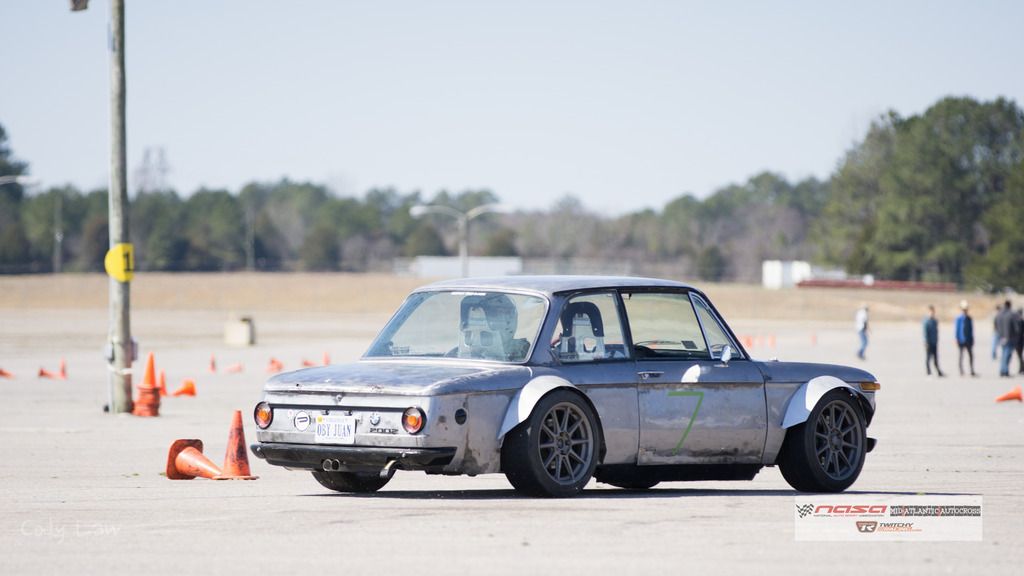
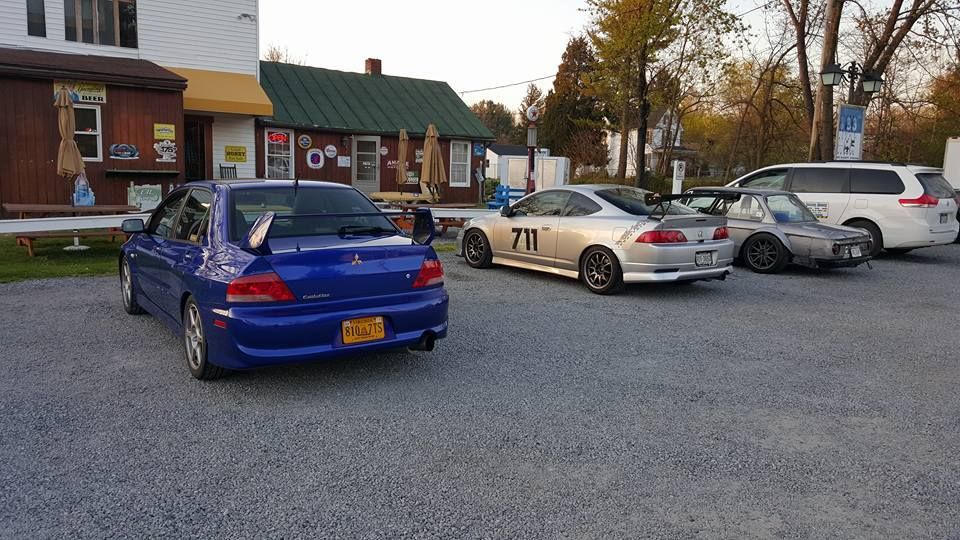
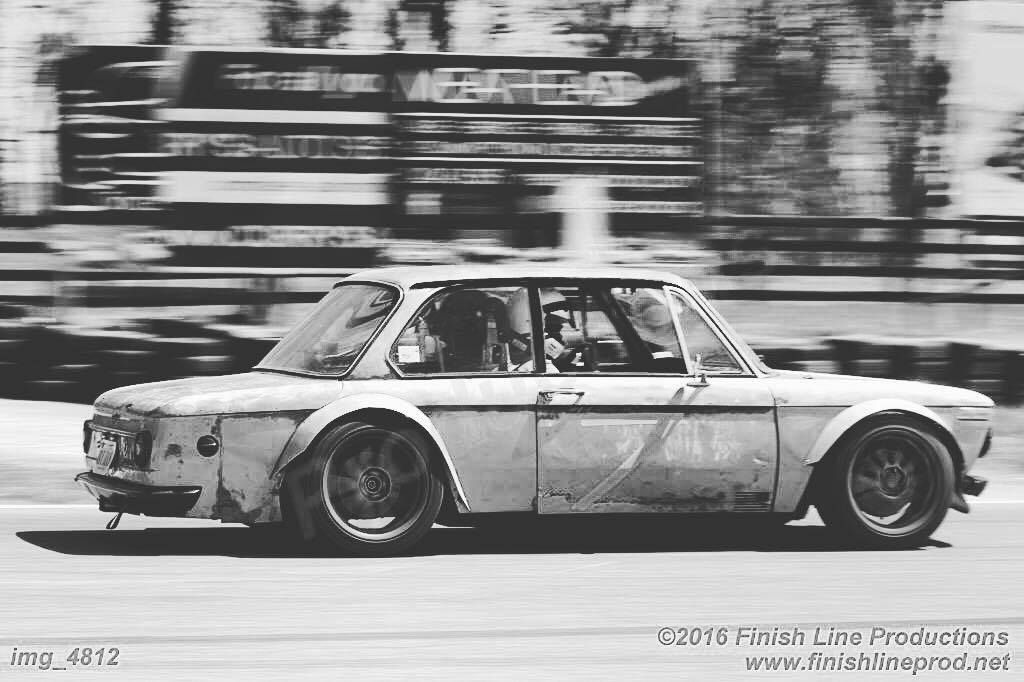
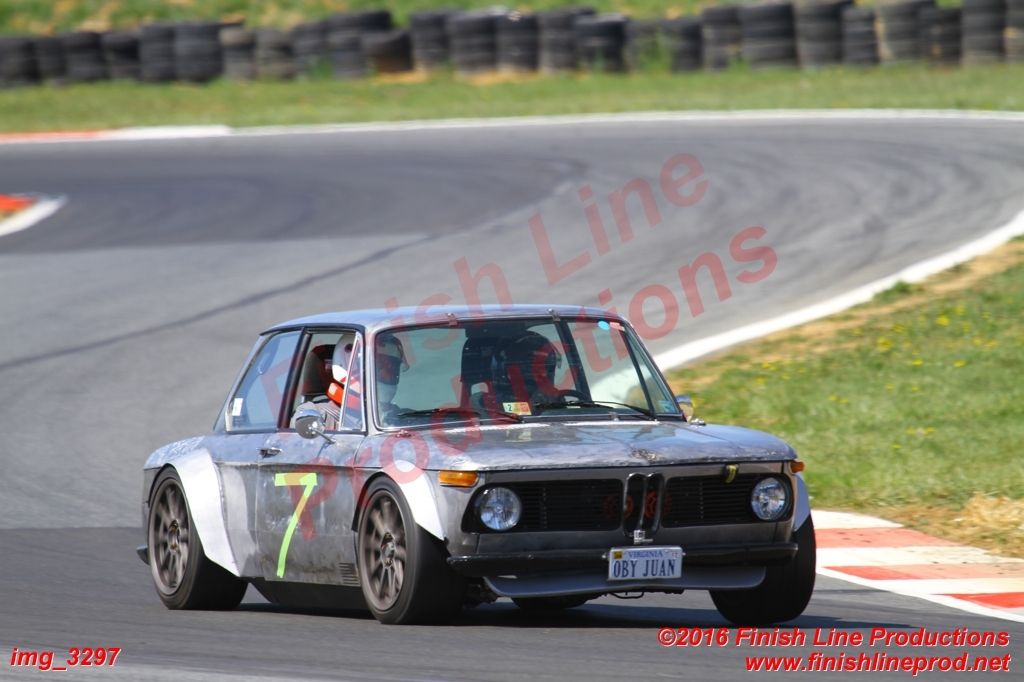
here are some pics from auto x yesterday. I will have more high quality pics as soon as a my friend posts them.
Shot with a potato lol
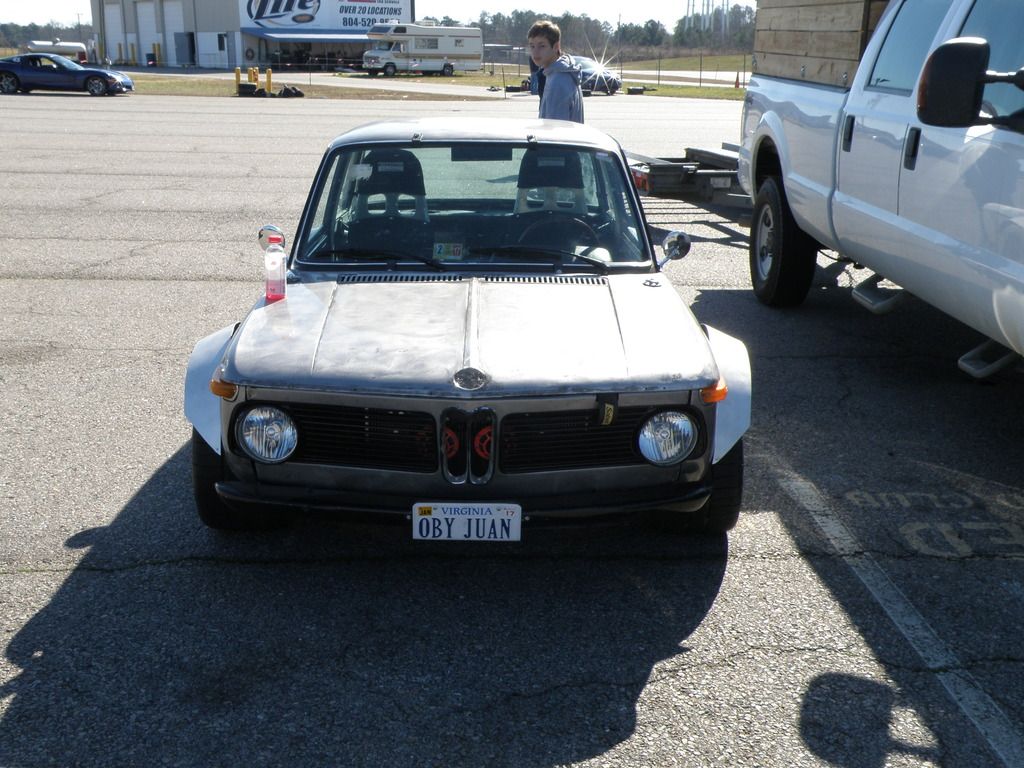
Passed tech easy!

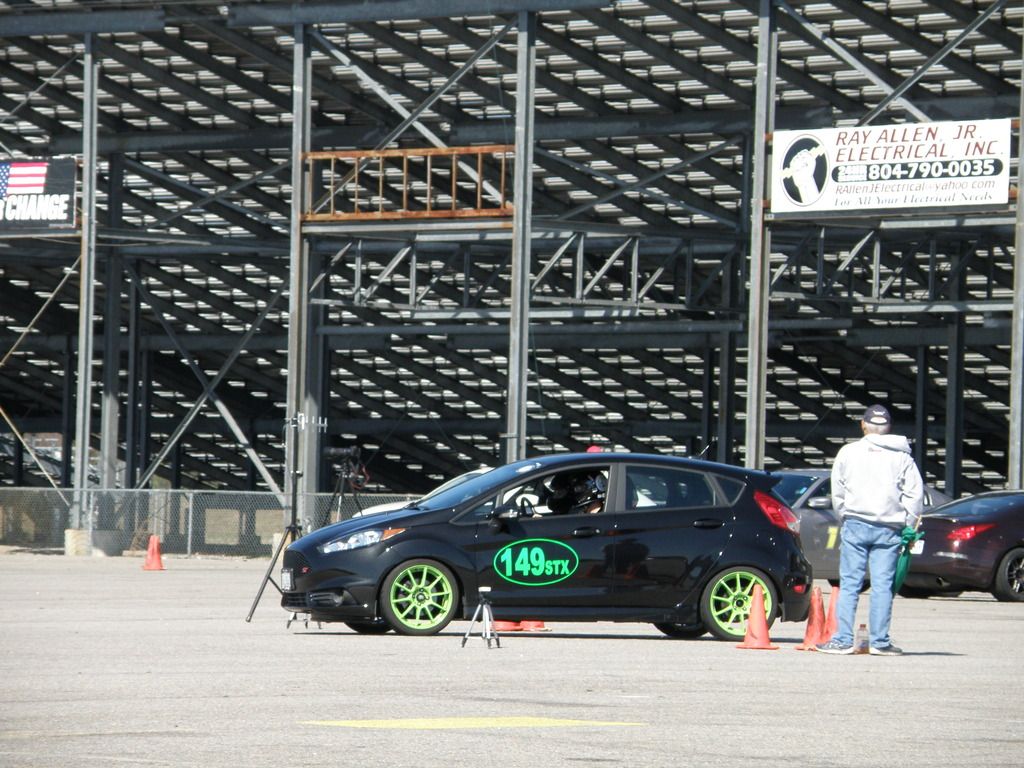
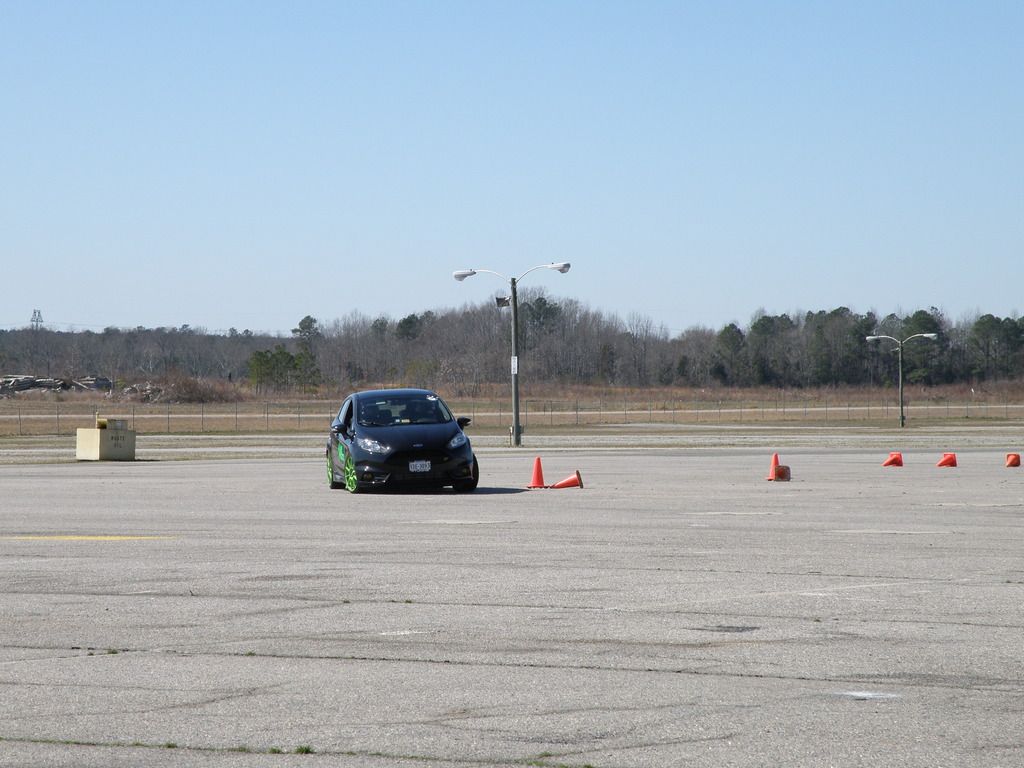
My buddies fiesta st thats str prepped.he is an amazing driver! definitely top of the pack.

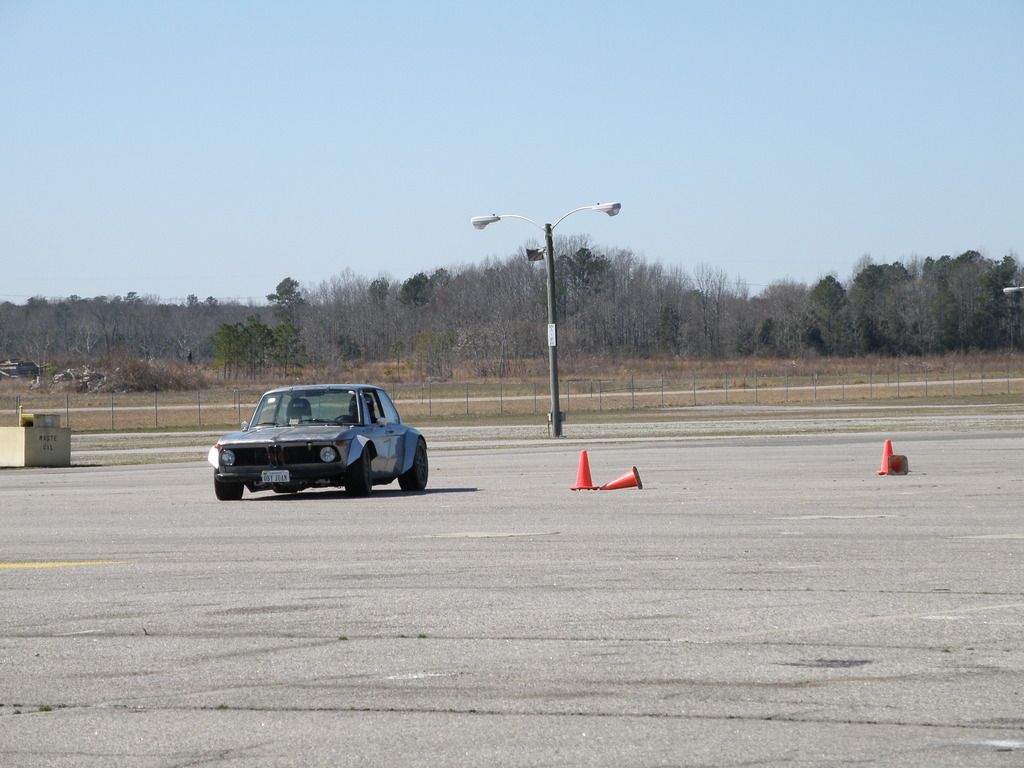
over all the car felt great!. i can def feel the weight in the rear swinging since its 47-53 with me in it.
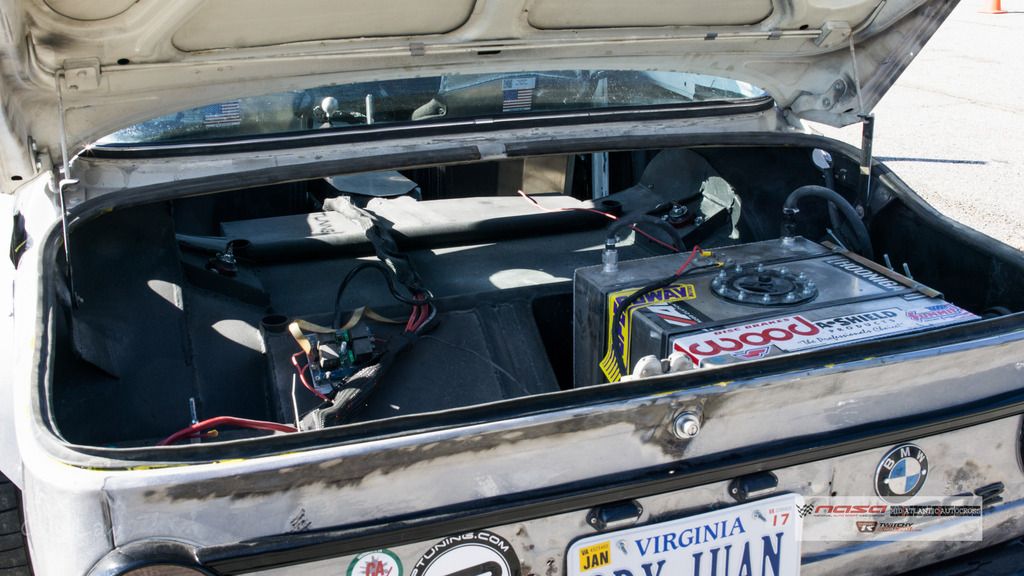
I did have troubles with the gas tank venting and i will re do that.Your signature picture has been removed since it contained the Photobucket "upgrade your account" image.
Trust me it stock :yawn:Comment
-
This is awesome. I think it would look bad ass any color but I would be half tempted if I were you to fix the rust, clear it and be done.How to remove, install or convert to pop out windows
http://www.r3vlimited.com/board/showthread.php?t=297611
Could be better, could be worse.Comment
-
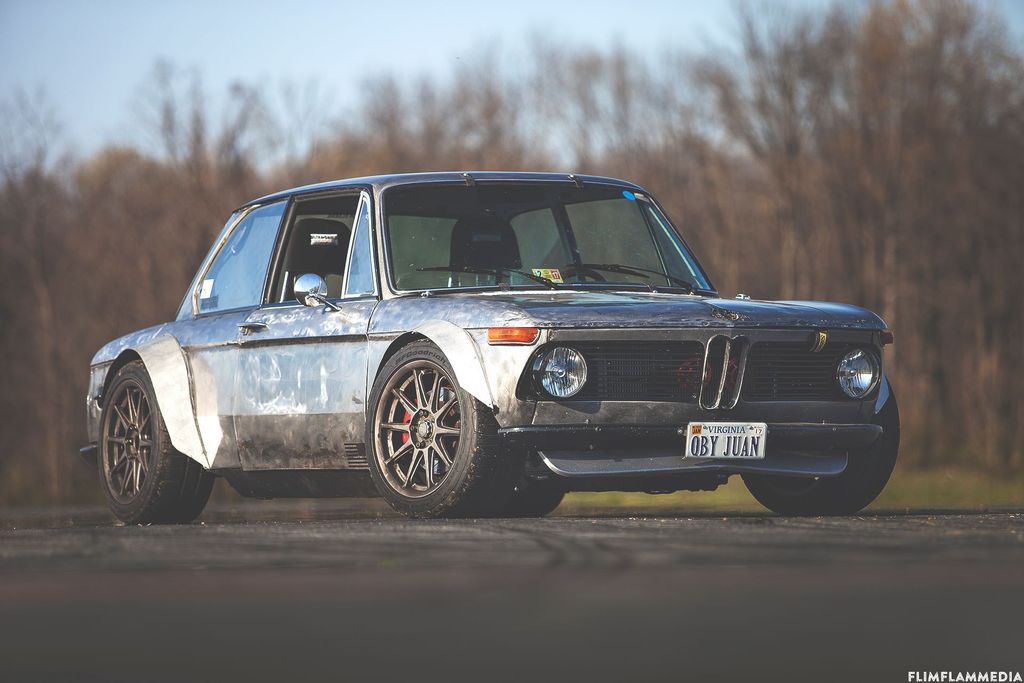
well i did fix all the rust even made my own rear quarters on both sides since it was that bad.
I did clearcoat the car with this product 200 a gallon


Its holding up very well! Very durable. I can even wash the car, with no rust forming under neath but time will tell. It is advertised to work direct to metal.
There are some runs but whatever. I plan on sanding it down and taking it some where to get a professional clear coat paint job. I am very happy with the car so far and wont do this untill maybe next winter. I plan on tracking the shit out of this thing.
I plan on doing hyperfest and gridlife and bunch of auto x/ circuit cross events around the area.Your signature picture has been removed since it contained the Photobucket "upgrade your account" image.
Trust me it stock :yawn:Comment
-
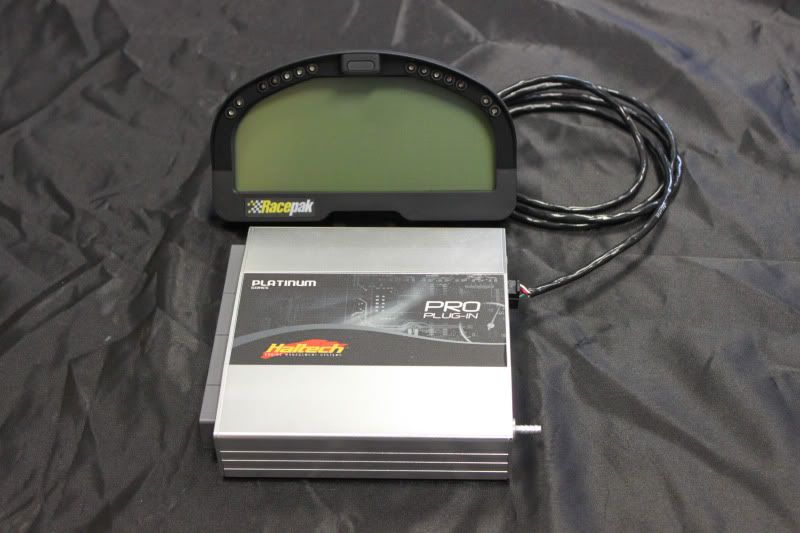
Things I need/want
haltech pnp and racepak / dyno tune
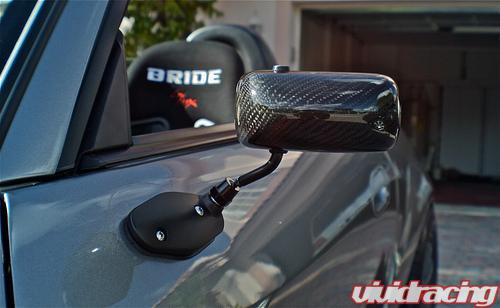
Mirrors, my plastic fake chrome mirrors blow
lower camber ball joints. front is maxed out at -2.7

Another 4 wheel alignment
285 18x10.5 all around tire/wheel setup by ccw
Your signature picture has been removed since it contained the Photobucket "upgrade your account" image.
Trust me it stock :yawn:Comment
-
In the one pic of the trunk, it looked like it had a little bit of rust on the edge of it. I think it is an awesome car and I like the new wheels that are going on. Keep up the great work.How to remove, install or convert to pop out windows
http://www.r3vlimited.com/board/showthread.php?t=297611
Could be better, could be worse.Comment
-
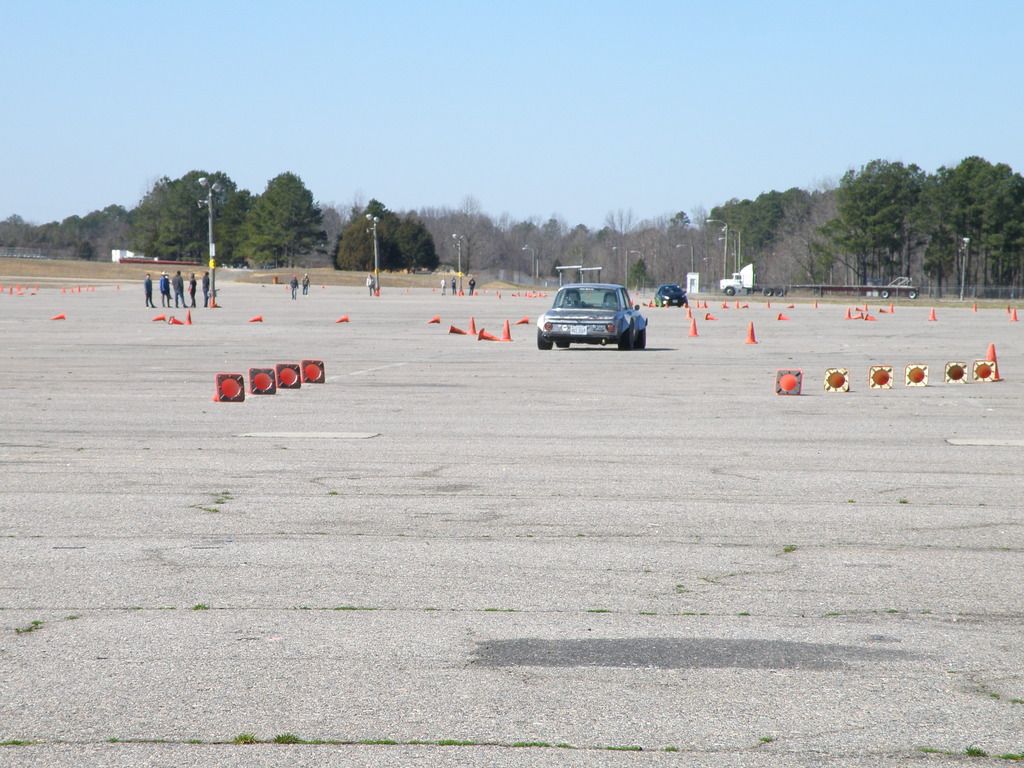
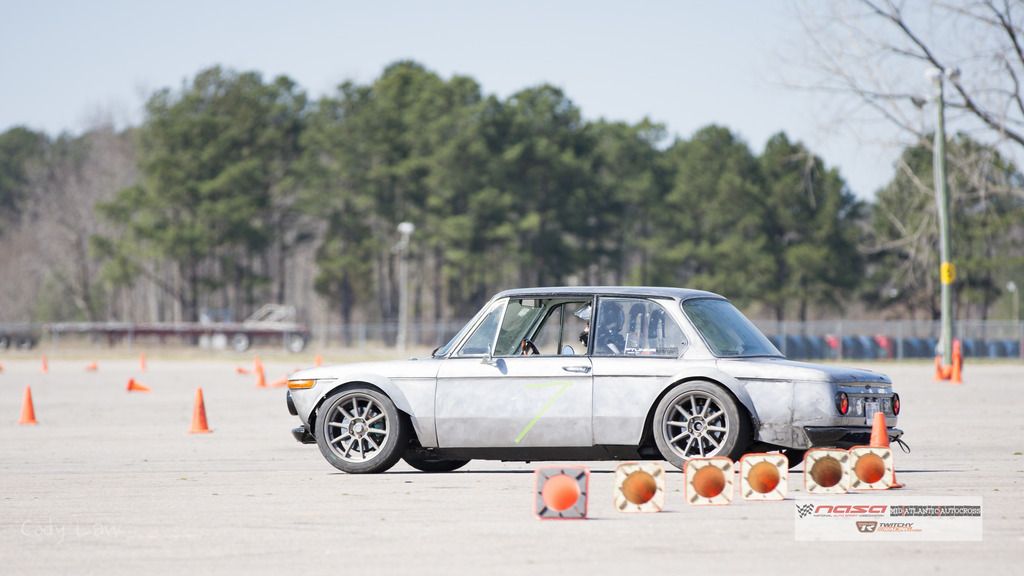
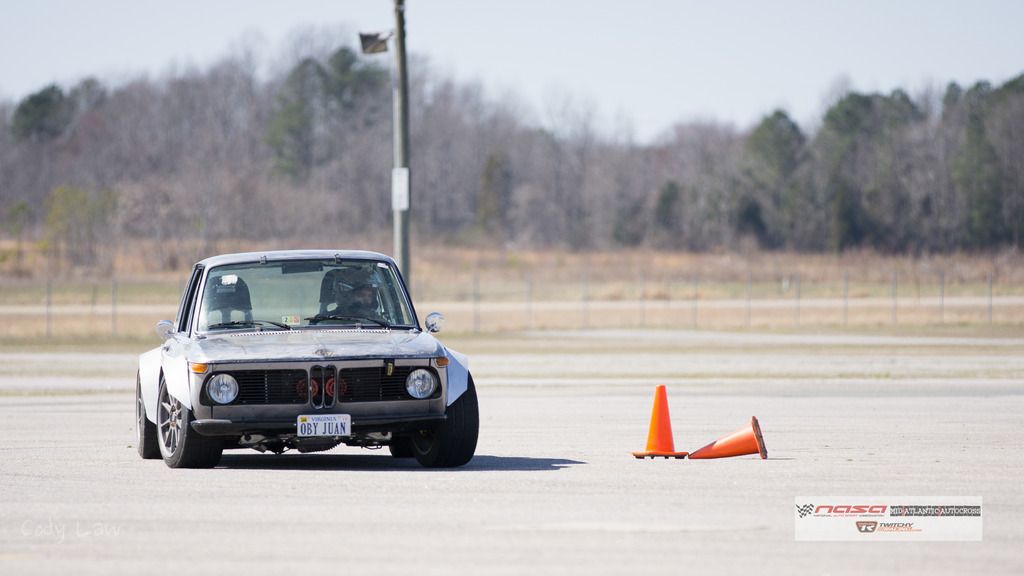
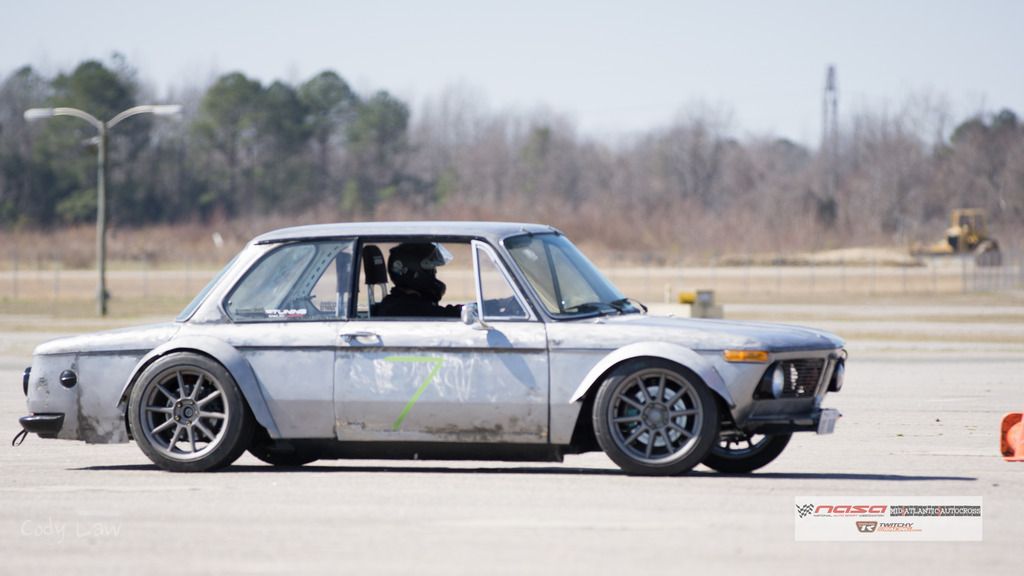
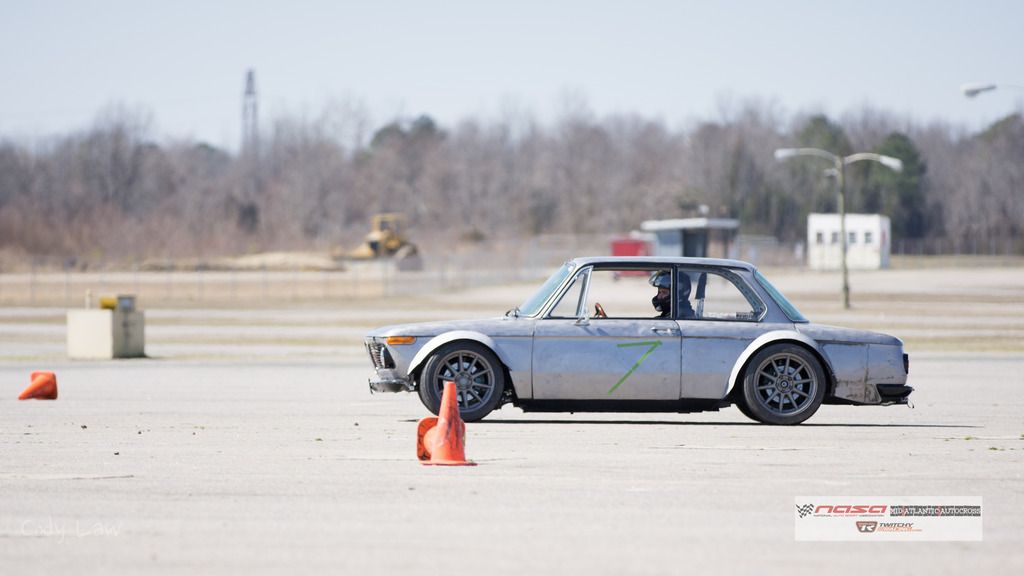
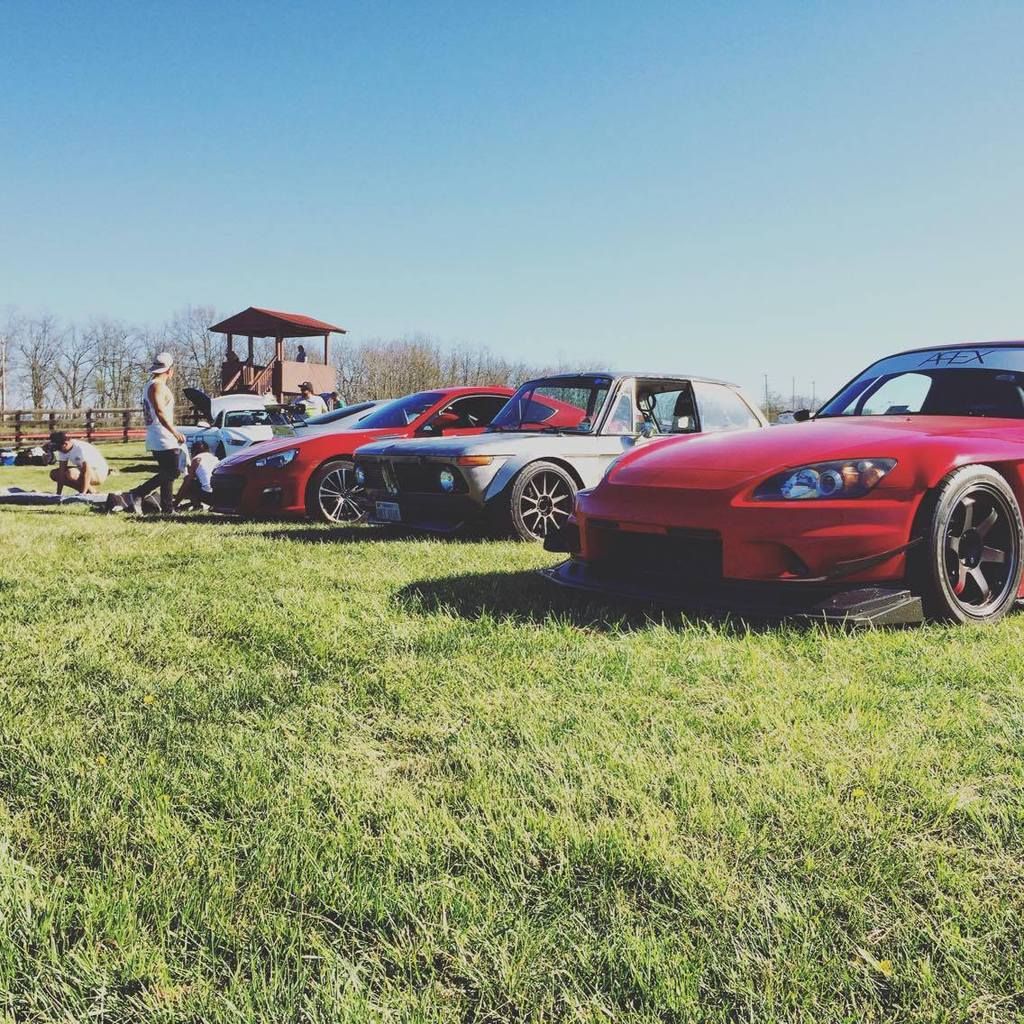
more pics from the event
 Your signature picture has been removed since it contained the Photobucket "upgrade your account" image.
Trust me it stock :yawn:Comment
-
Wow this is rad! Very different, but built for a purpose! Nice work.
1991 LS1 Swapped 318is
Instagram:
https://instagram.com/saltybeast/
LS Build Thread:
https://www.r3vlimited.com/board/for...s-e30-ls1-swapComment
-
Mounted a go pro on my front bumper as a test for future autox and road course events. For some reason it took the video in 960p or 980p, I can't recall the actual format. That vtech tho..... lol
Your signature picture has been removed since it contained the Photobucket "upgrade your account" image.
Trust me it stock :yawn:Comment
-
I did a thing, i did not make that btw.... a buddy did

 Your signature picture has been removed since it contained the Photobucket "upgrade your account" image.
Trust me it stock :yawn:Comment
-
I like it.How to remove, install or convert to pop out windows
http://www.r3vlimited.com/board/showthread.php?t=297611
Could be better, could be worse.Comment
-
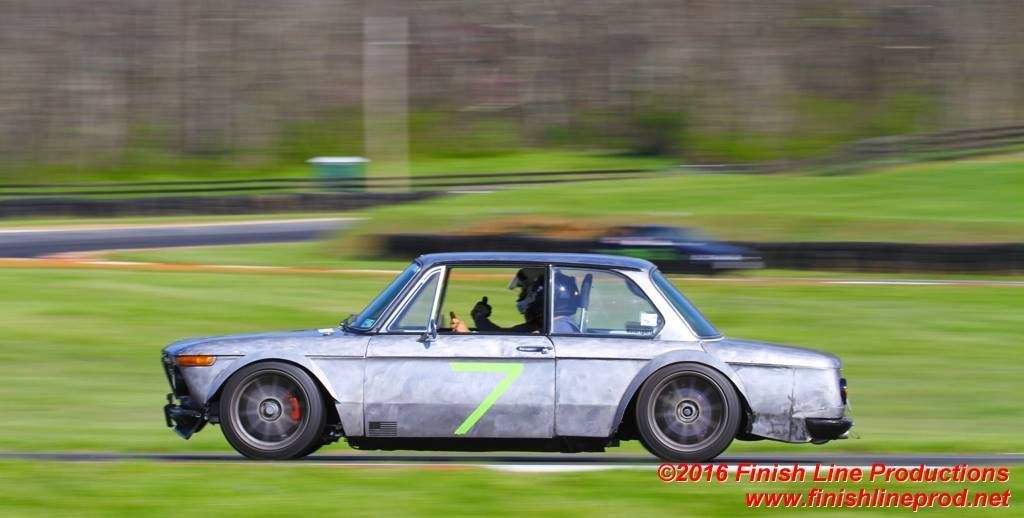
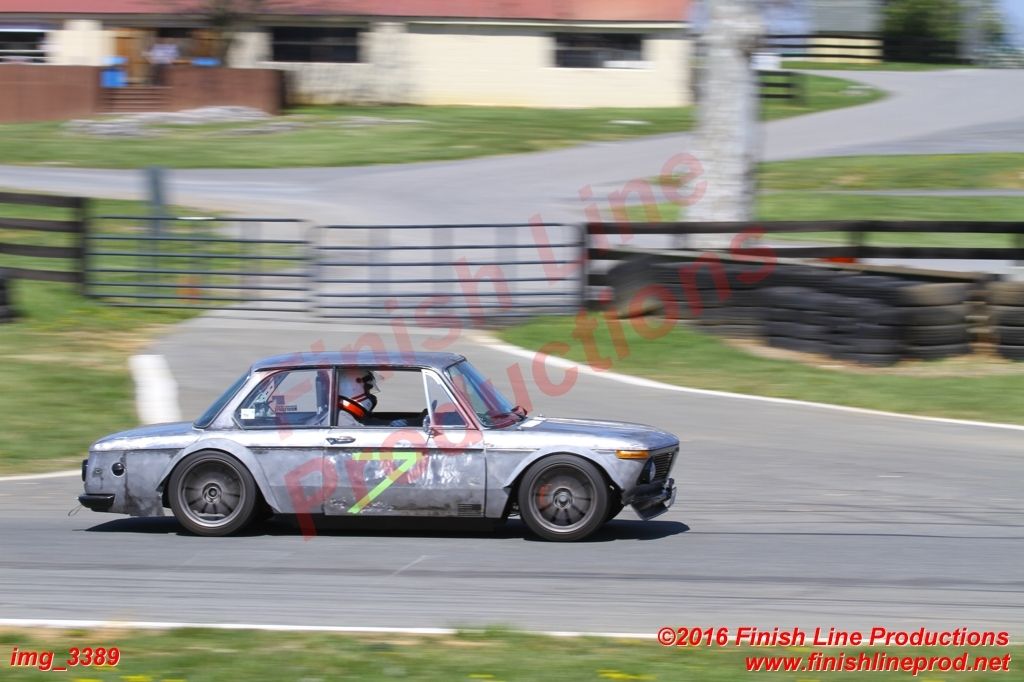
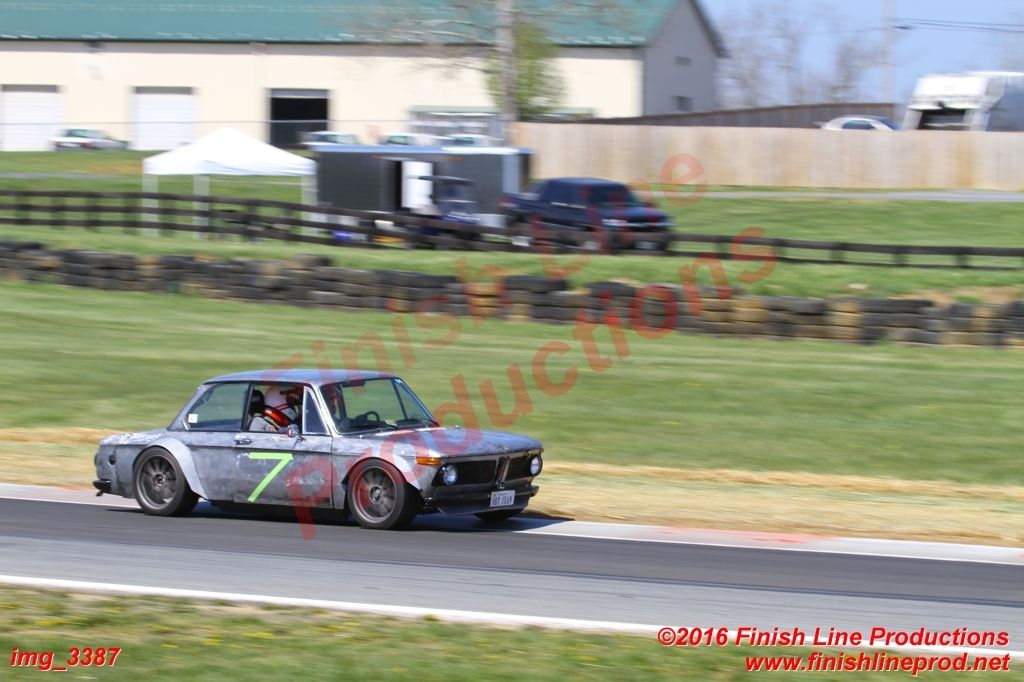
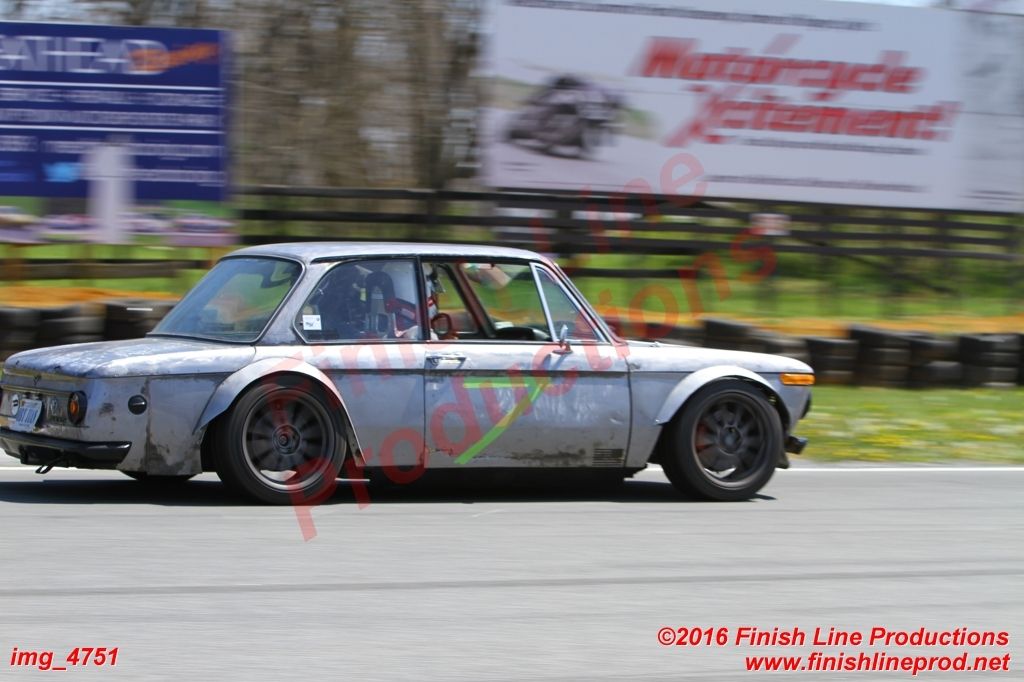
Random Shots (hardparker photos)
Went to a track event a couple week ago, I am happy to say the car performed flawlessly!
Only issue is that my rear was rubbing on high speed sweepers, So I made some spacers because my rear coil over height is maxed out. I will find out next track day if that helps. I will need a new alignment since the rear is messed up because of the height difference.
On tight turns I can feel the car under steer just a little. So I attached a rear sway bar, that should make the rear a little more tail happy for proper rotation.
The Crew...


I also met a photographer from Grassroots Motorsports, we had a photo session at summit point and there will be a feature so keep an eye out ;)
First time on the track at Summit Point, 1:34 nothing impressive, my goal is 1:28 which I think is doable for a newb.
My buddies spin out. hard to see but its there...
Current status
The car is at Alexander Fabrication to get a rear roll bar, I hope to pick it up next week before Hyper Fest @ VIR
I also plan on installing an oil cooler next week. Stay tuned for detailsLast edited by knuklehead92; 05-06-2016, 09:03 AM.Your signature picture has been removed since it contained the Photobucket "upgrade your account" image.
Trust me it stock :yawn:Comment
-
So I got my car back from the fabricator last week and the rear roll bar came out awesome!
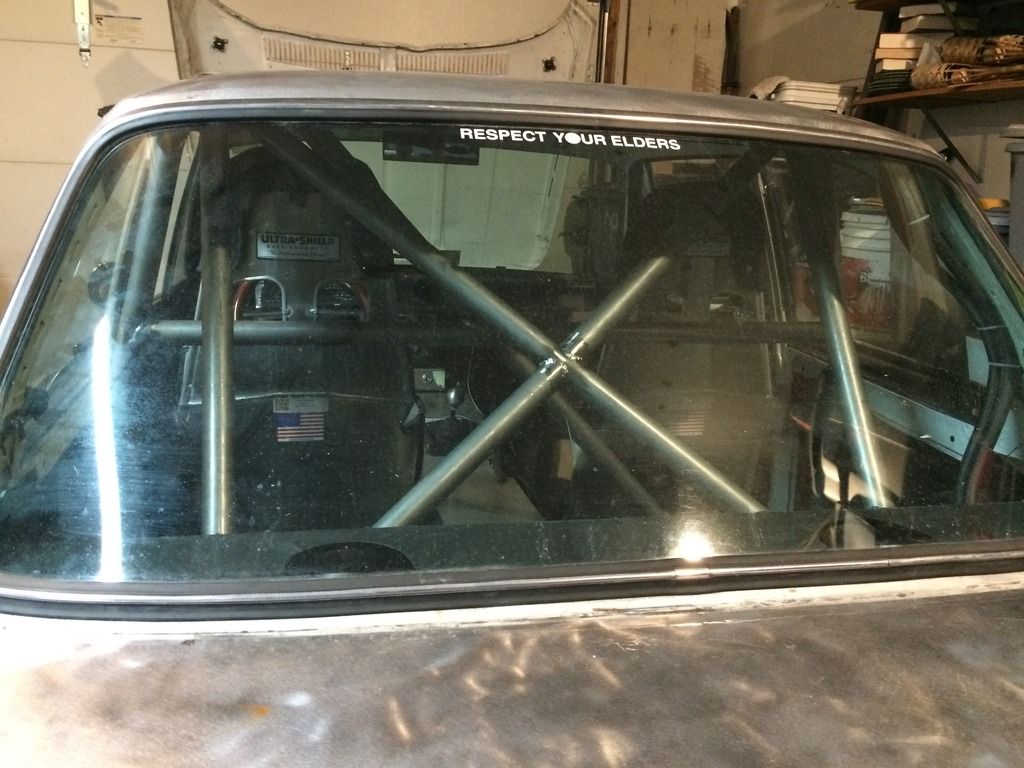
I also made a 3 inch exhuast from the header back..
Ill take more pictures of the roll bar later.
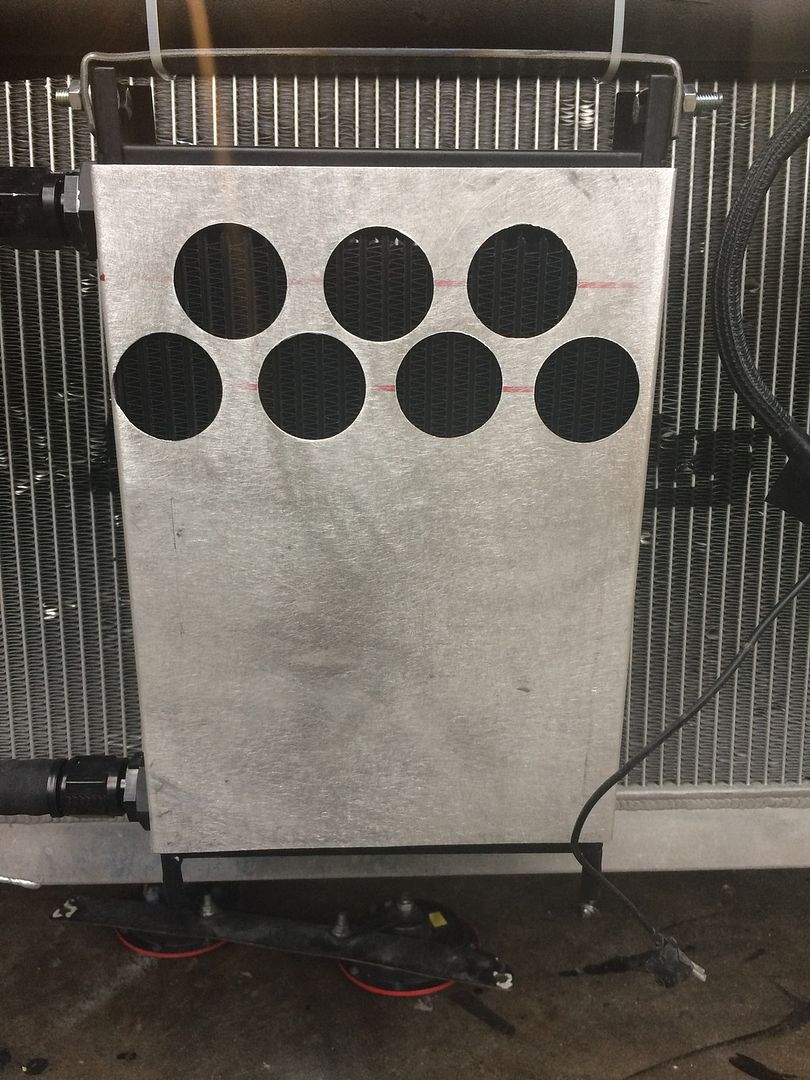
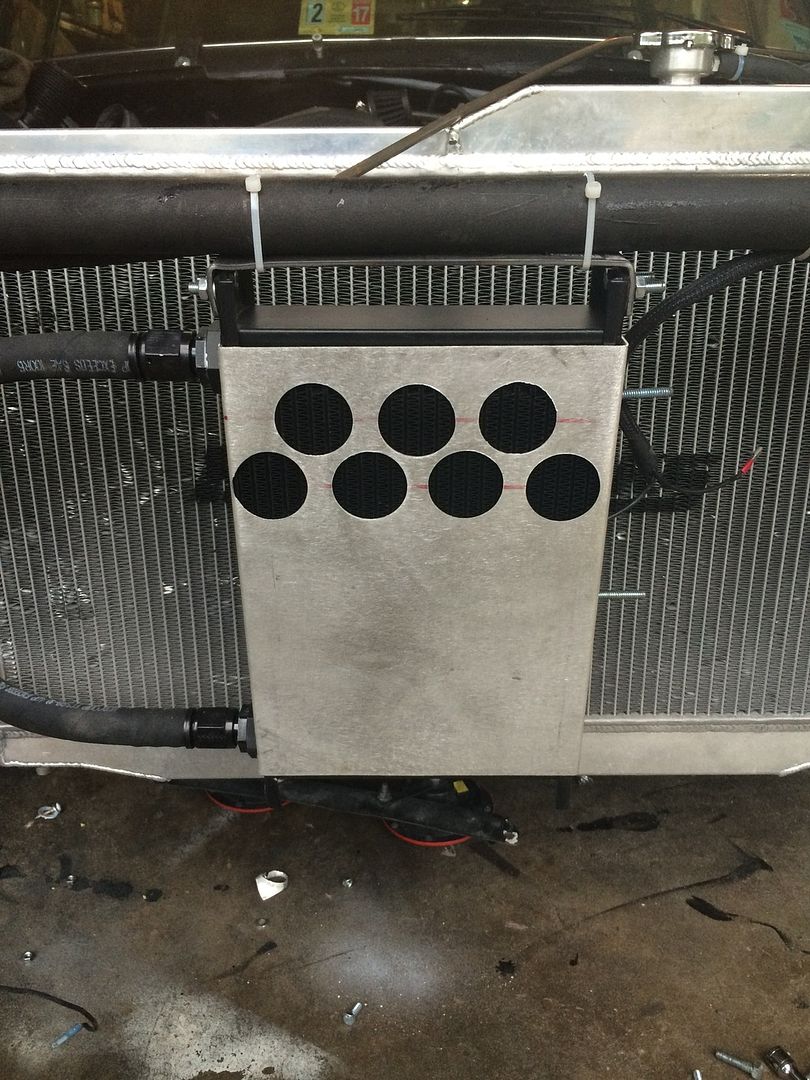
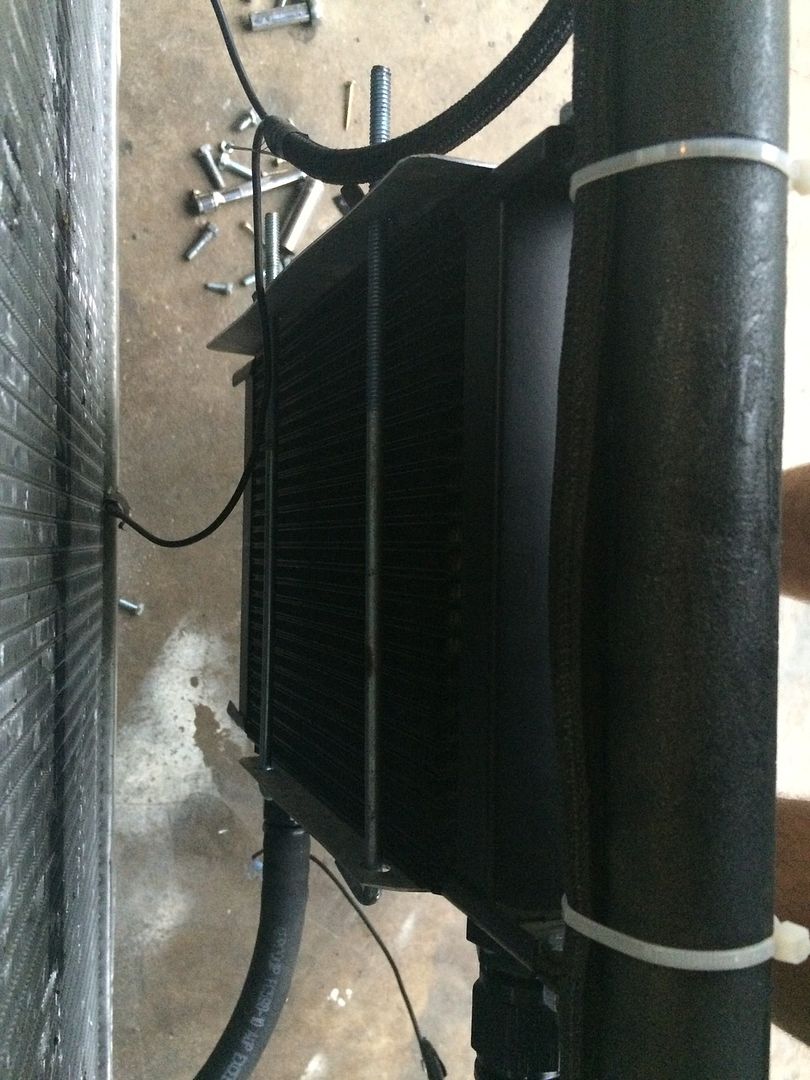
When I got it back, I pieced together a oil cooler setup. Costed me about 450 for everything including the 25 row setrab.
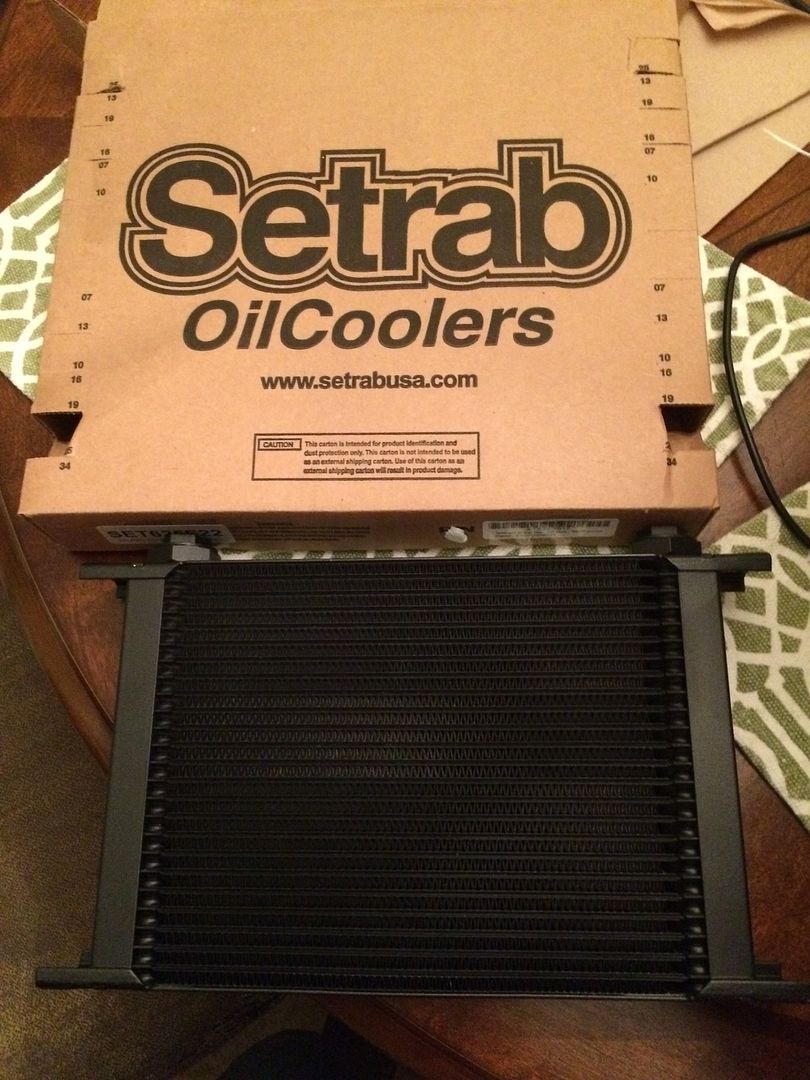
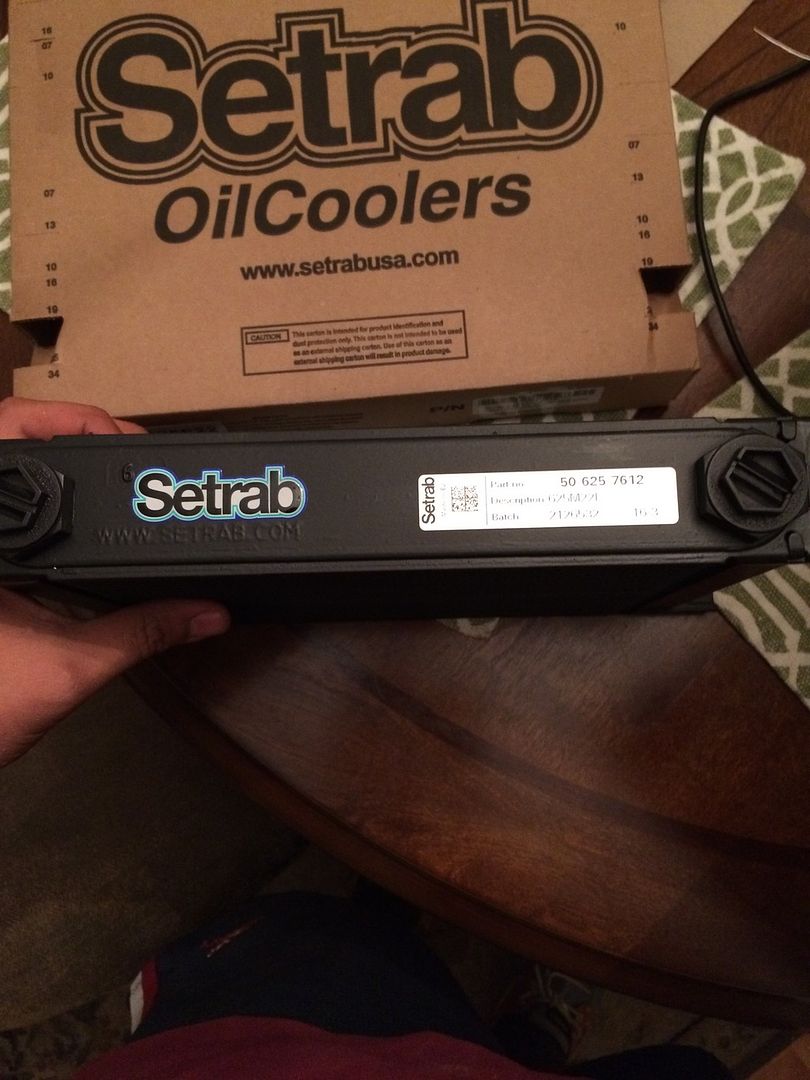
I also went with aeroquip -10 AN socketless hose which i think lowered the cost quit a bit.
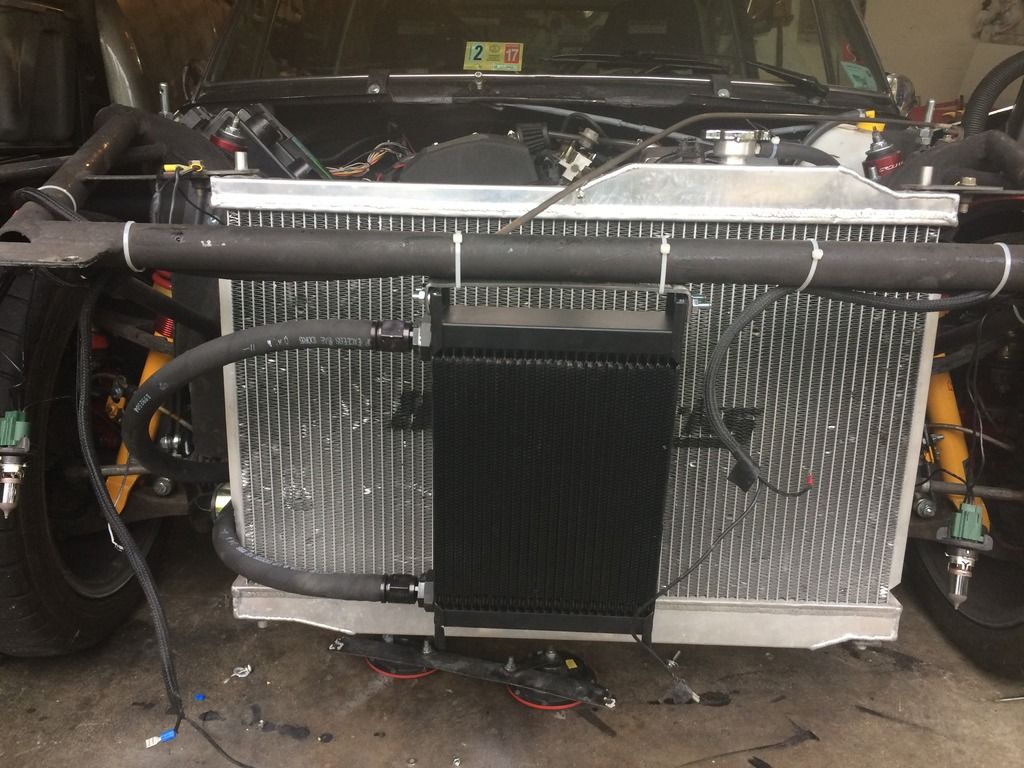
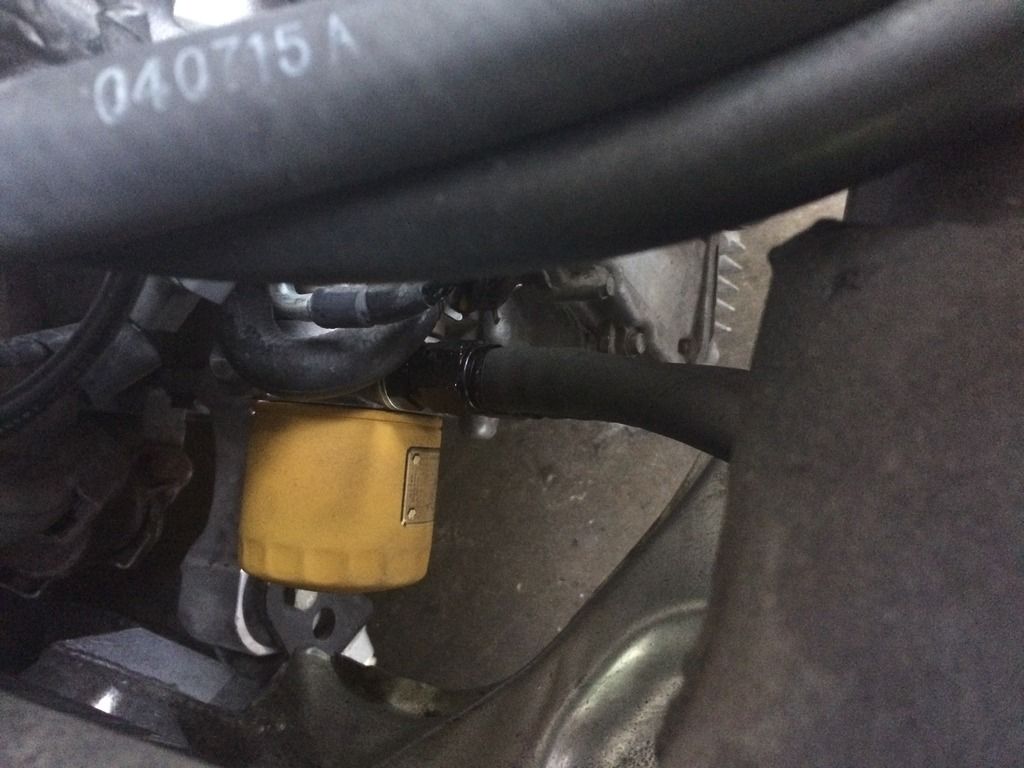
So after installing the 25 row oil cooler, my oil was not getting up to temp... @60 F out side temp, I was seeing a max or 160 in traffic, and 140 cruising... It could also be my oil temp placement reading low... So I ordered a oil drain plug with a bulit in NPT adapter. And if your wondering, I am using a HI temp mocal sandwich plate...
For cold weather I made this oil cooler cover until summer.
Dont worry the bracket is welded onto the bar....
 Your signature picture has been removed since it contained the Photobucket "upgrade your account" image.
Trust me it stock :yawn:Comment


Comment