Big Al's Revenge: an OEM+, MTech1 325e restoration

Collapse
X
 
  • Time
  • Show
Clear All
new posts

  • Albie325
    replied
    Some more progress, and another snag (sigh).

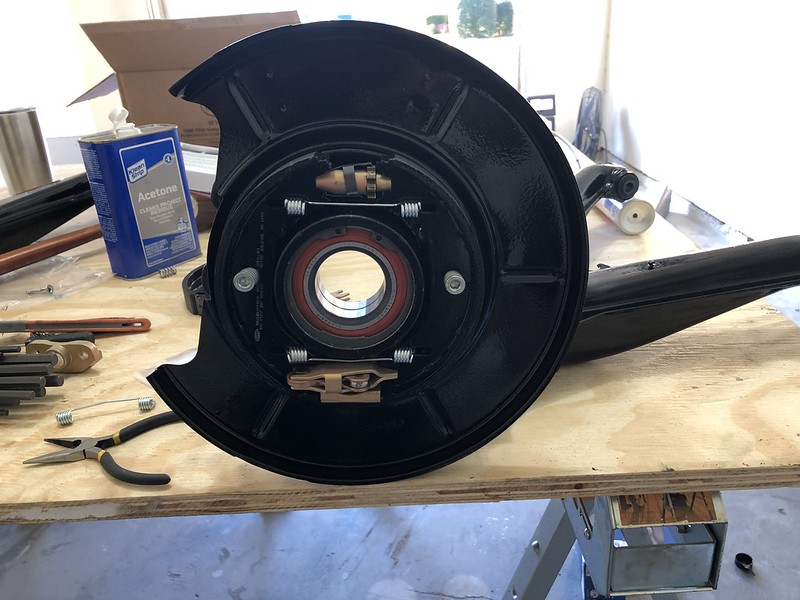
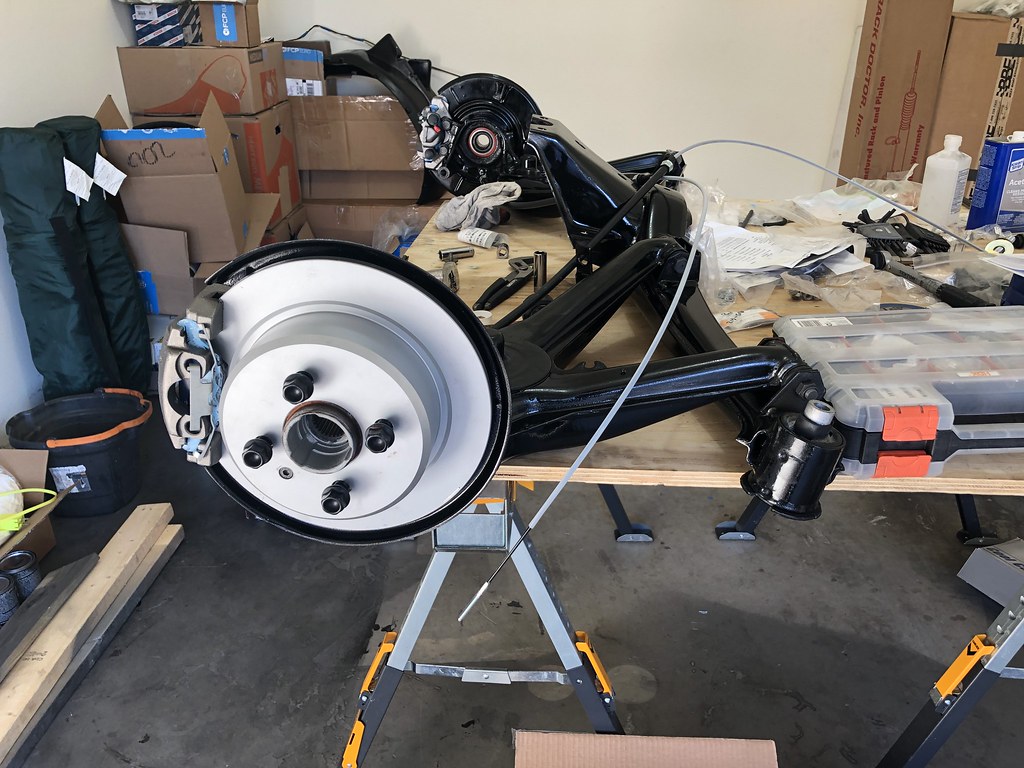
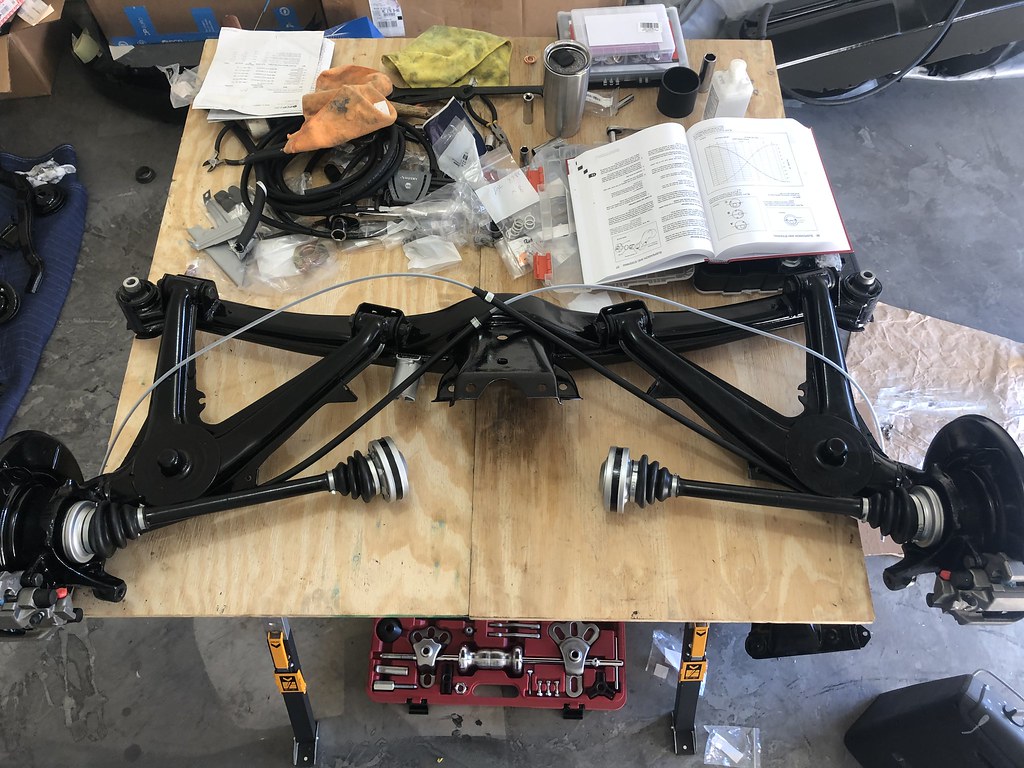
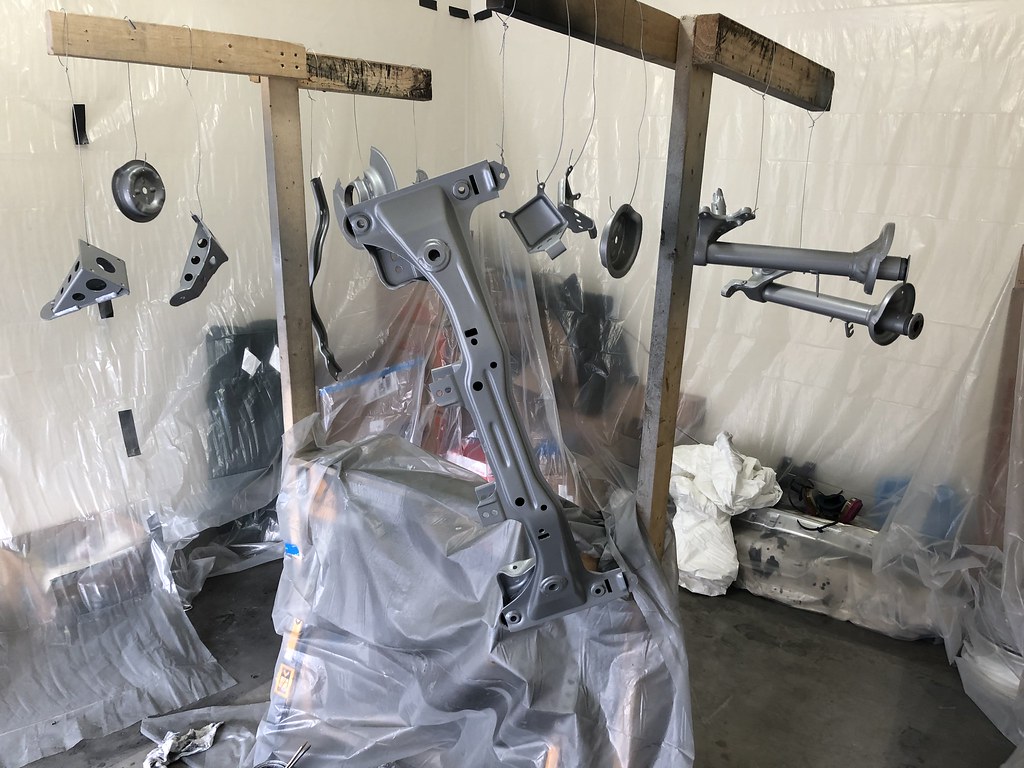
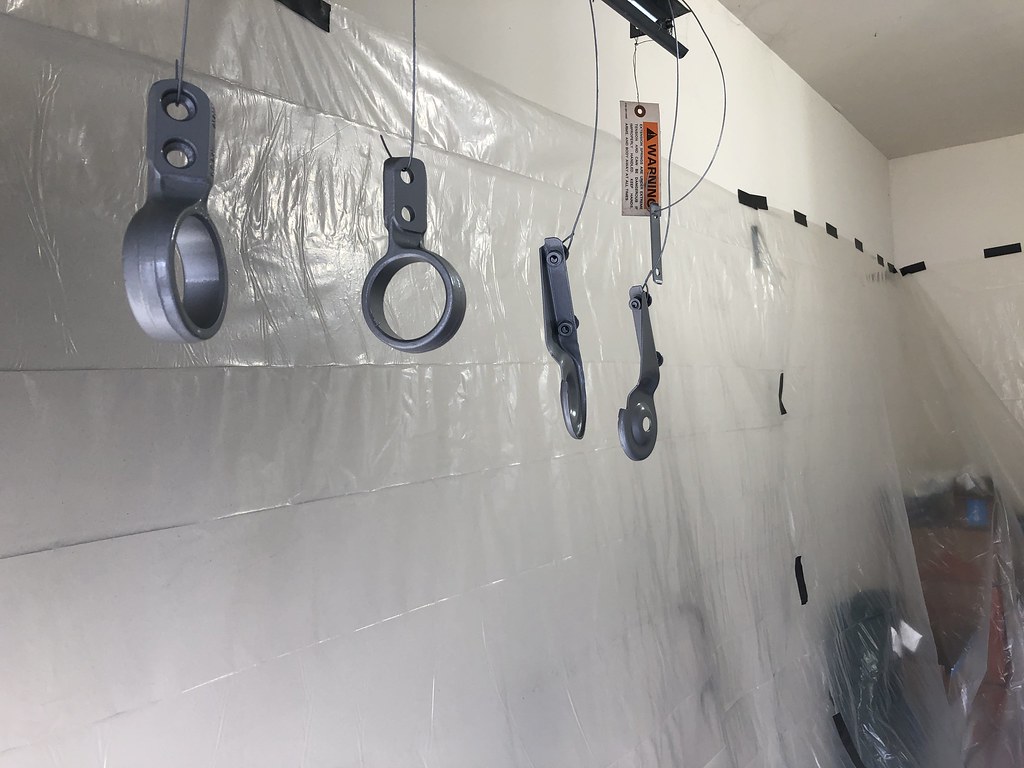
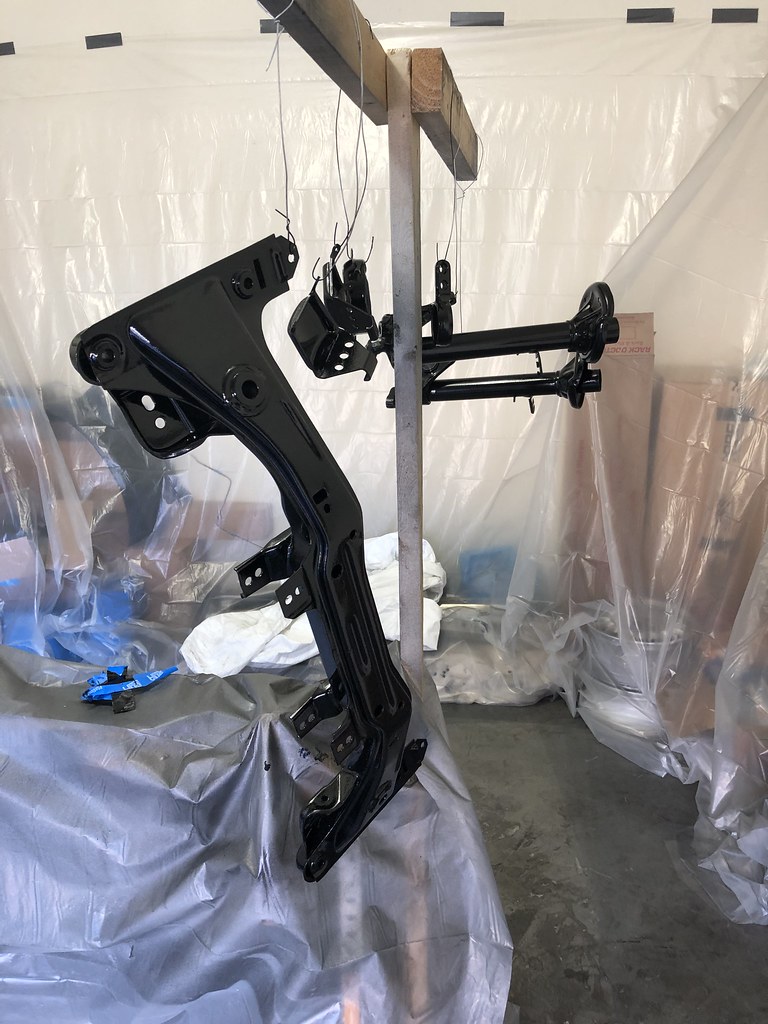
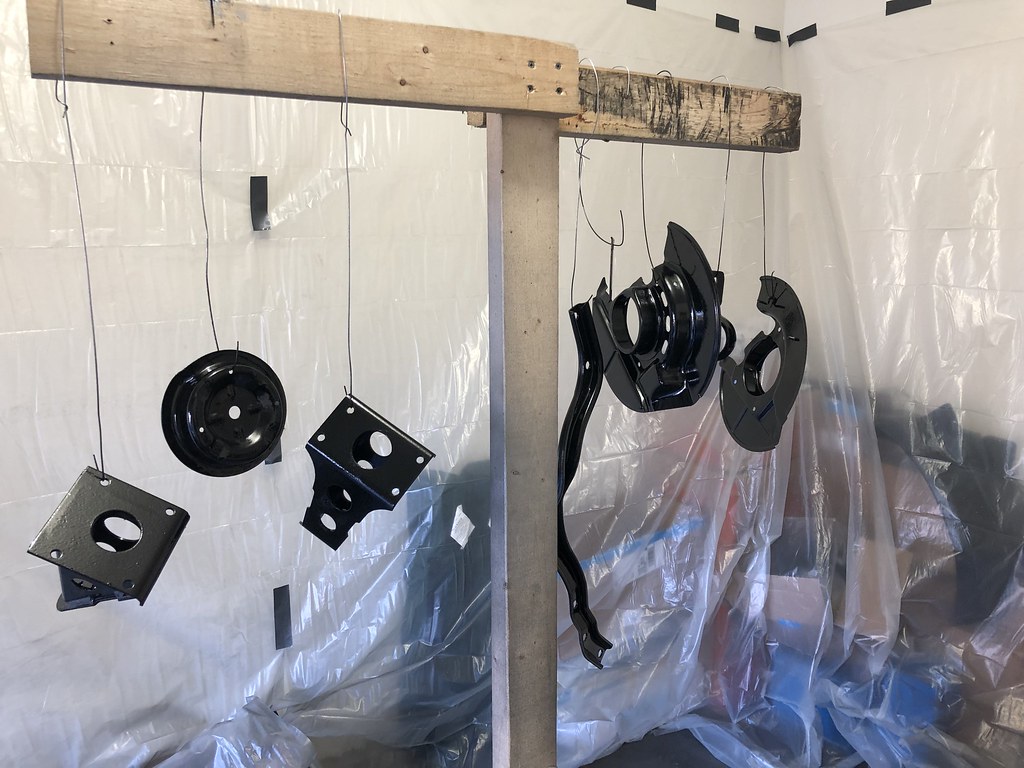
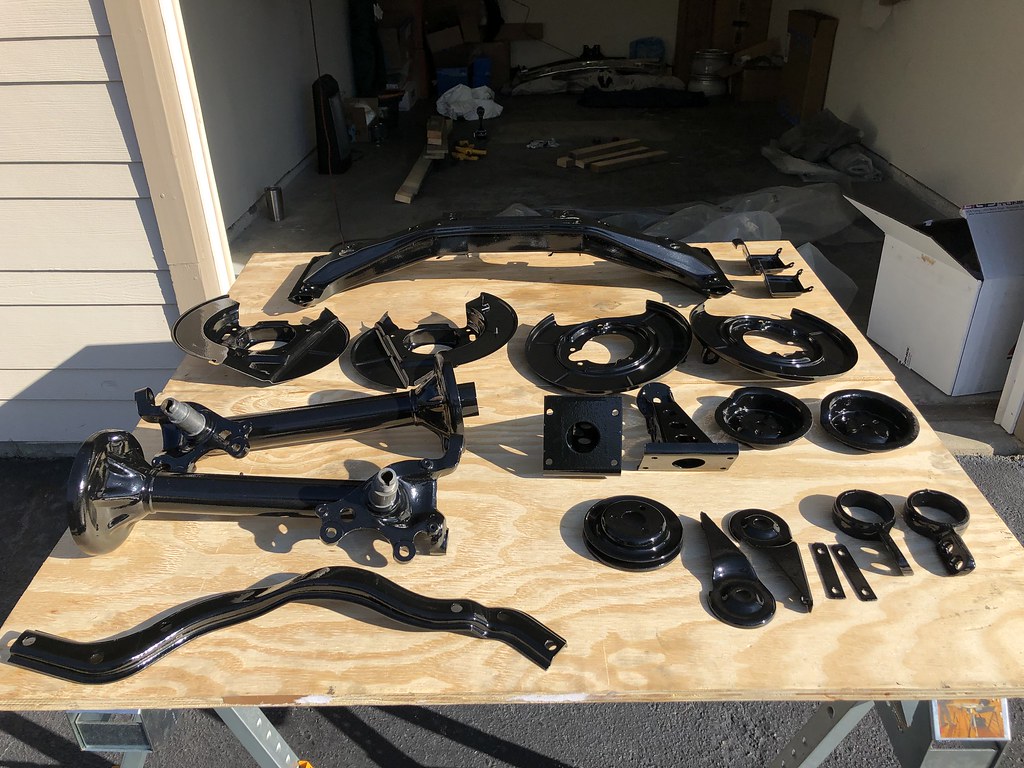
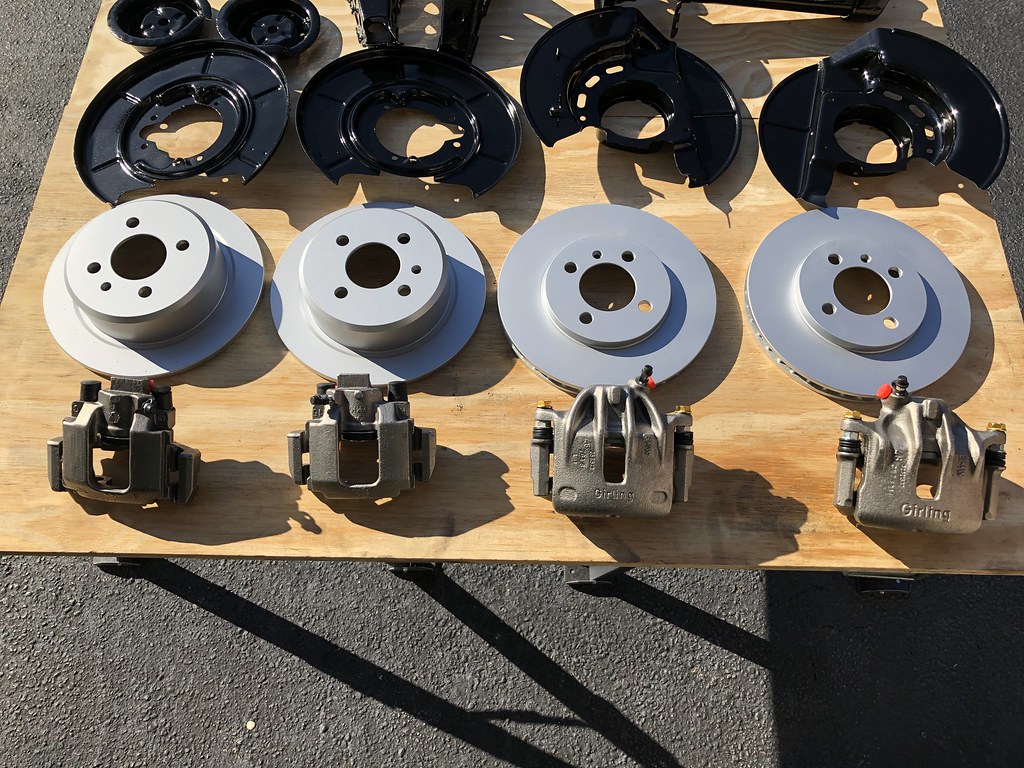
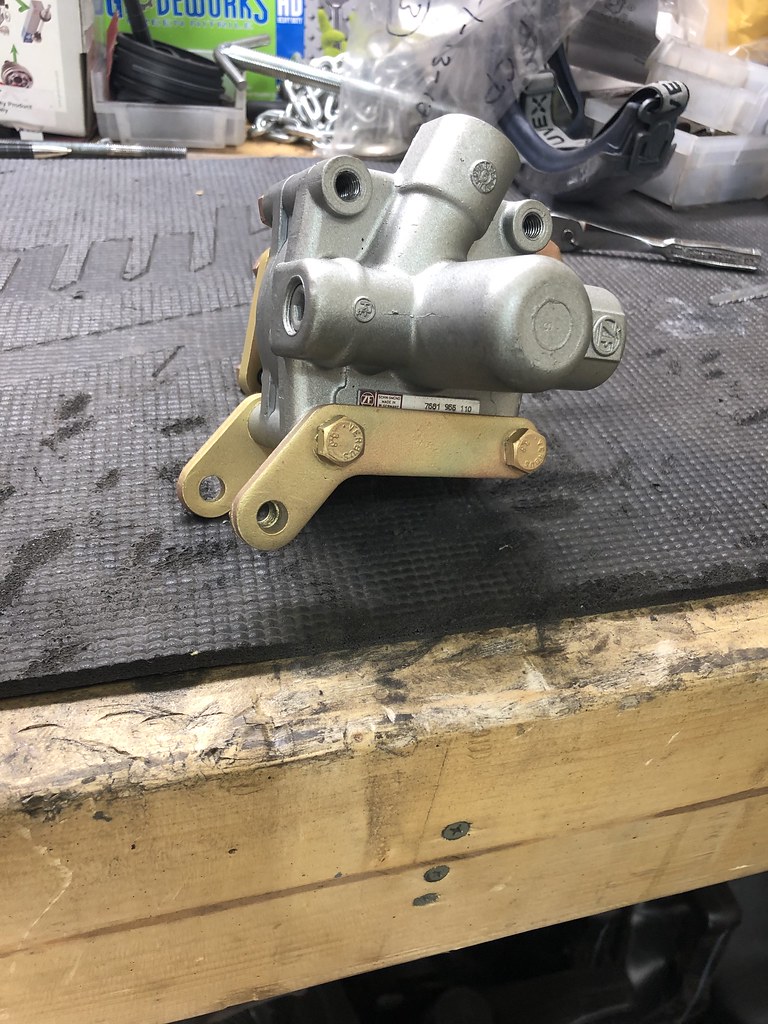
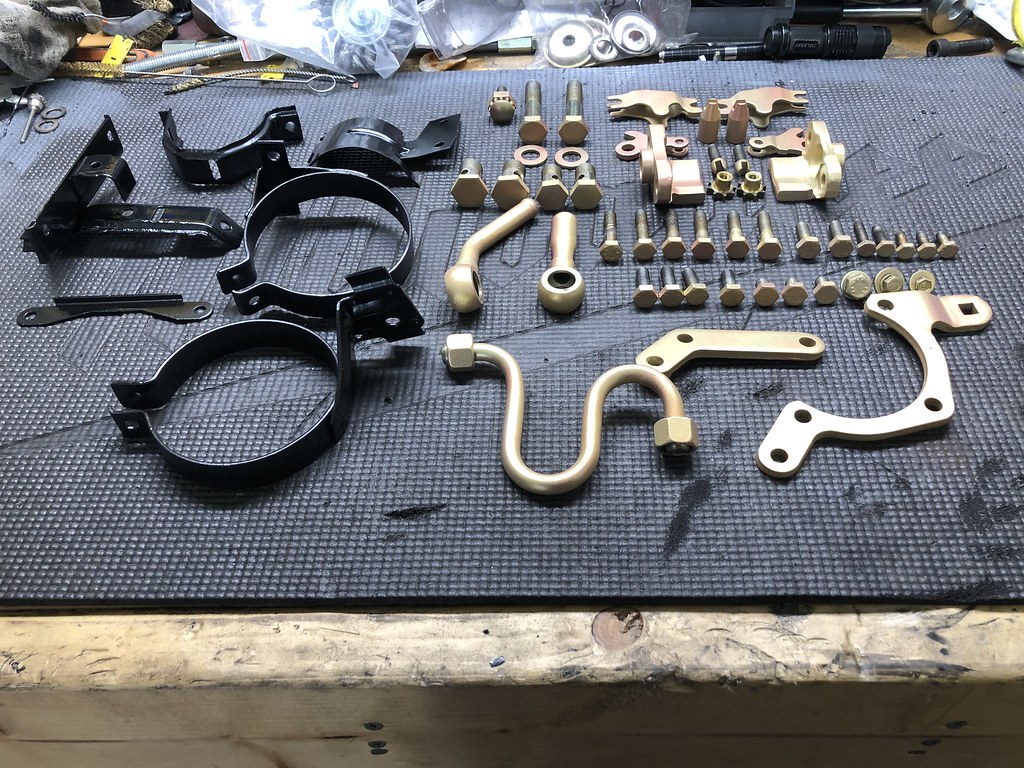
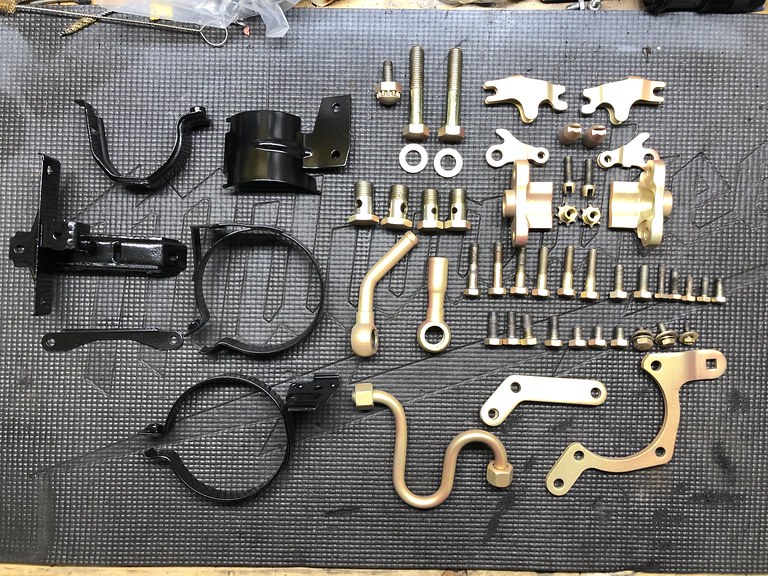
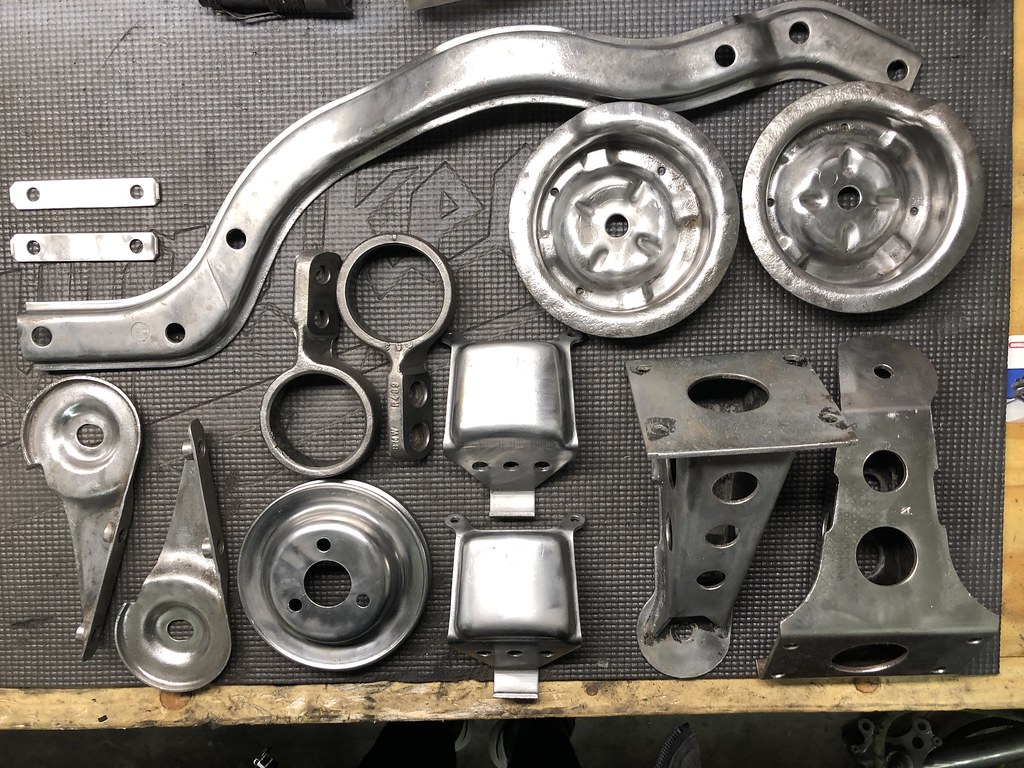
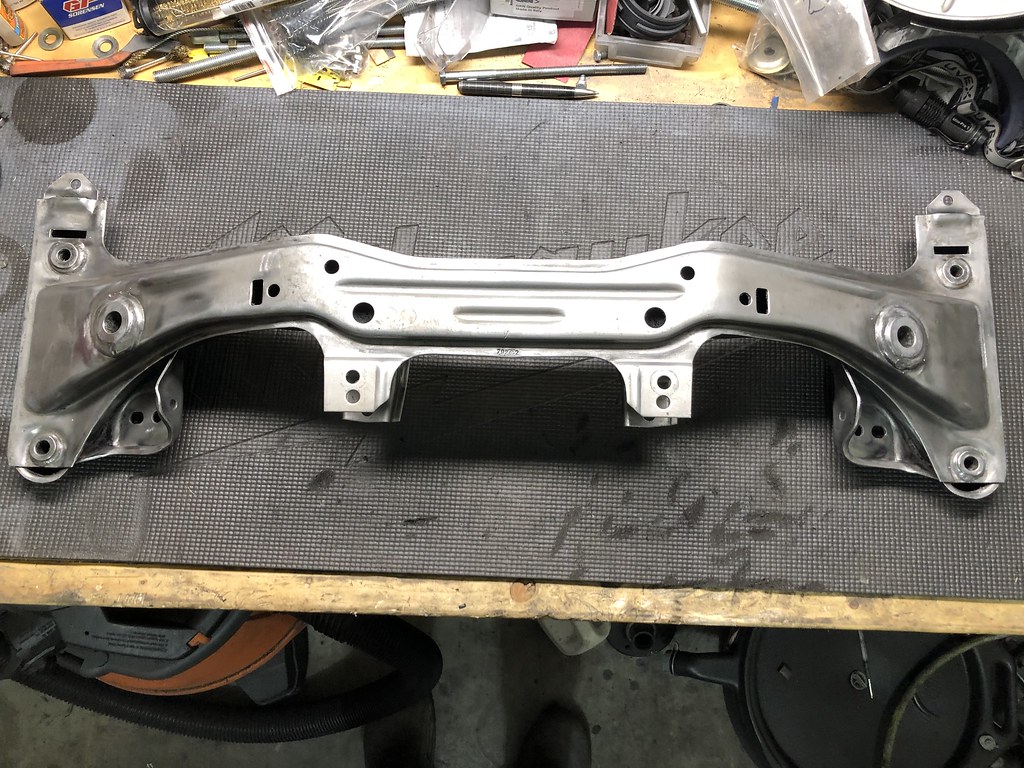
    Got the rear subframe pretty much completely assembled, starting with the parking brakes:


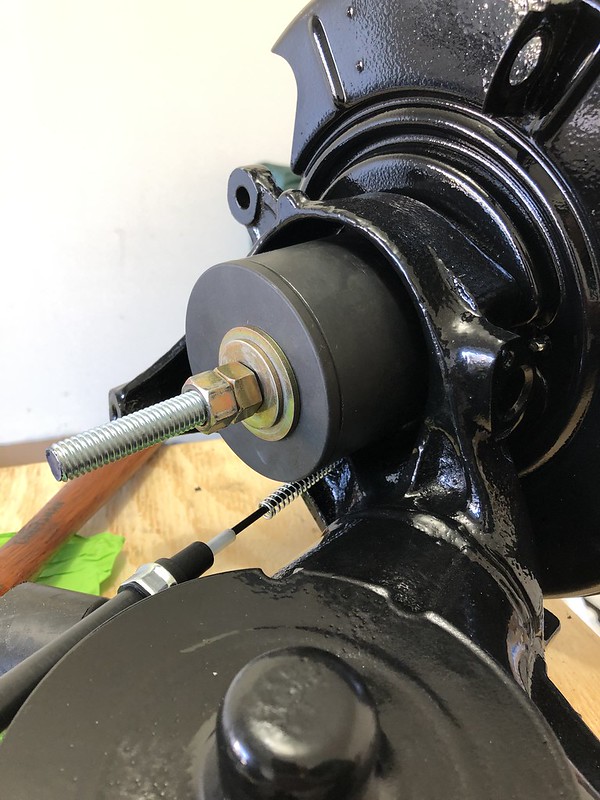
    Pressed the hub in using the old tricks (I'm telling you that Astro kit was invaluable):


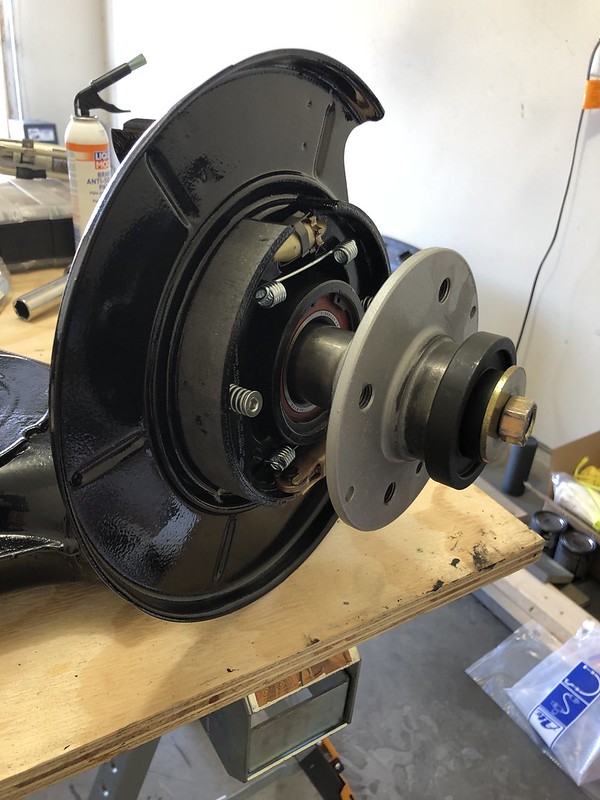
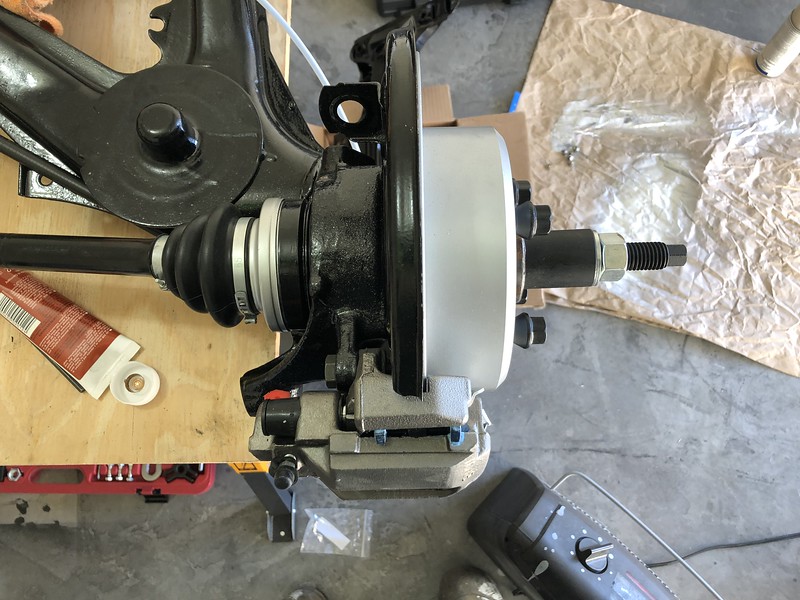
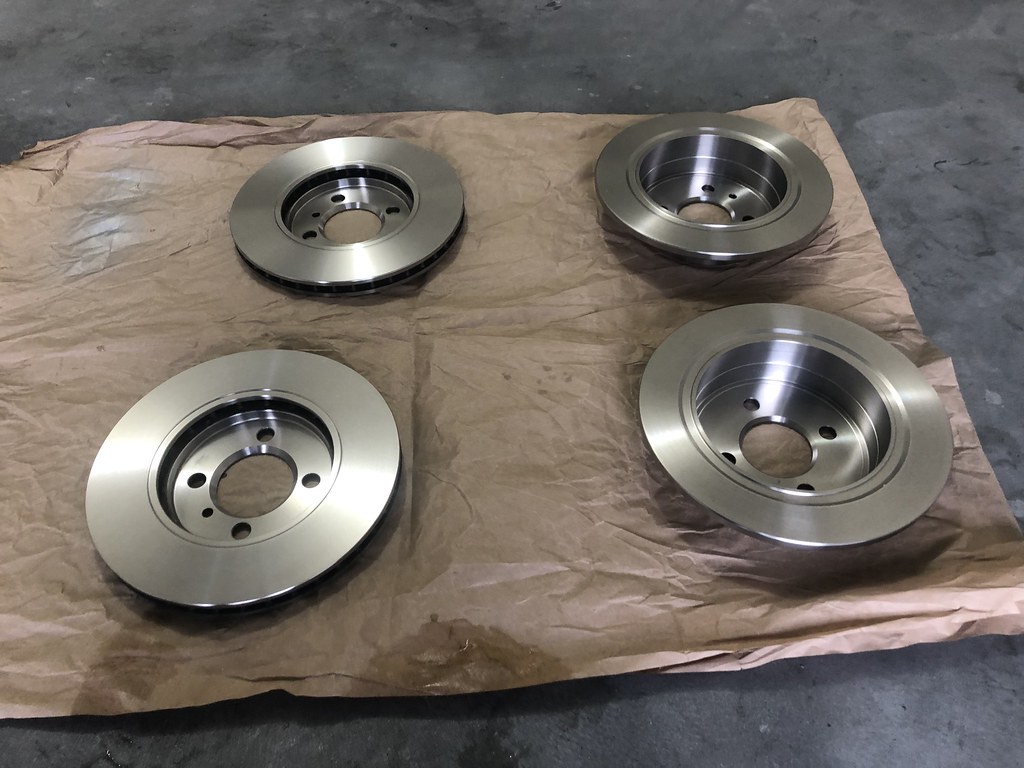
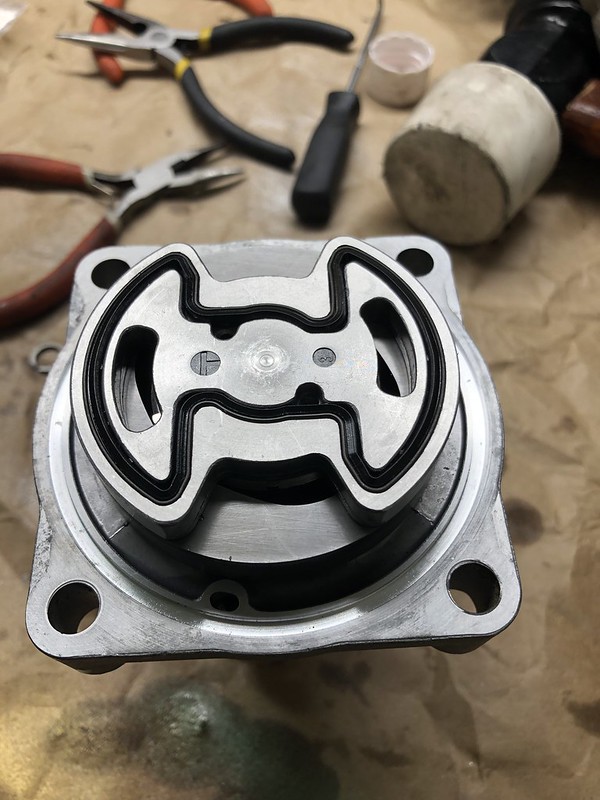
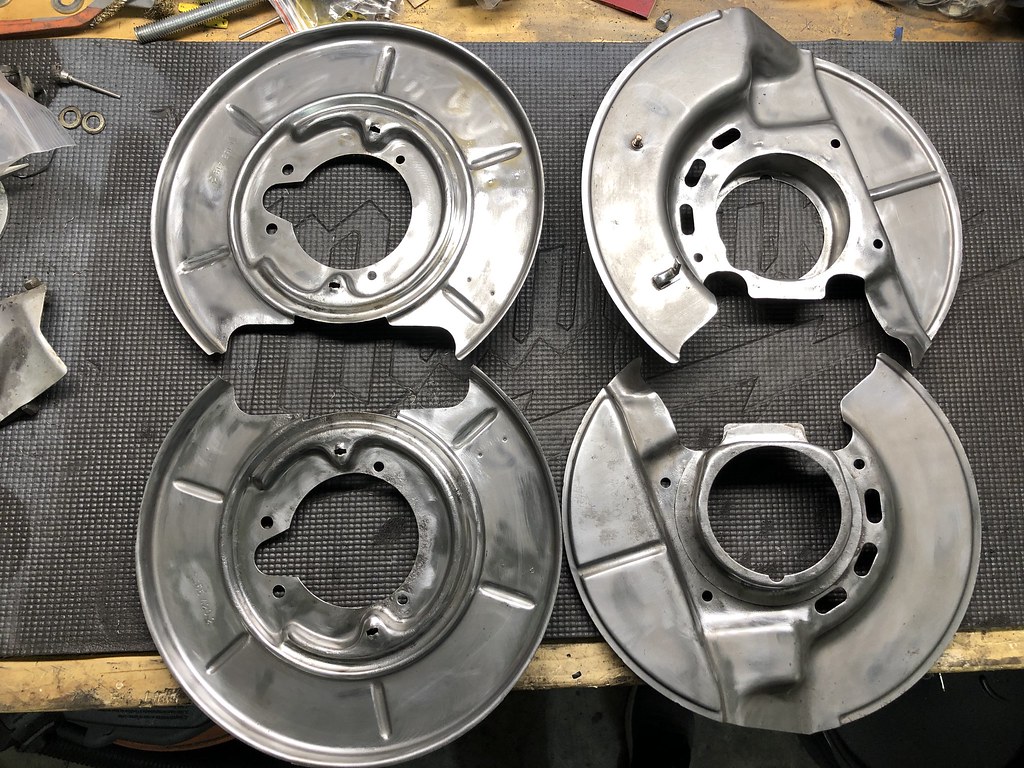
    Rotors, pads, and calipers in, and adjusted the parking brake per the Bentley:


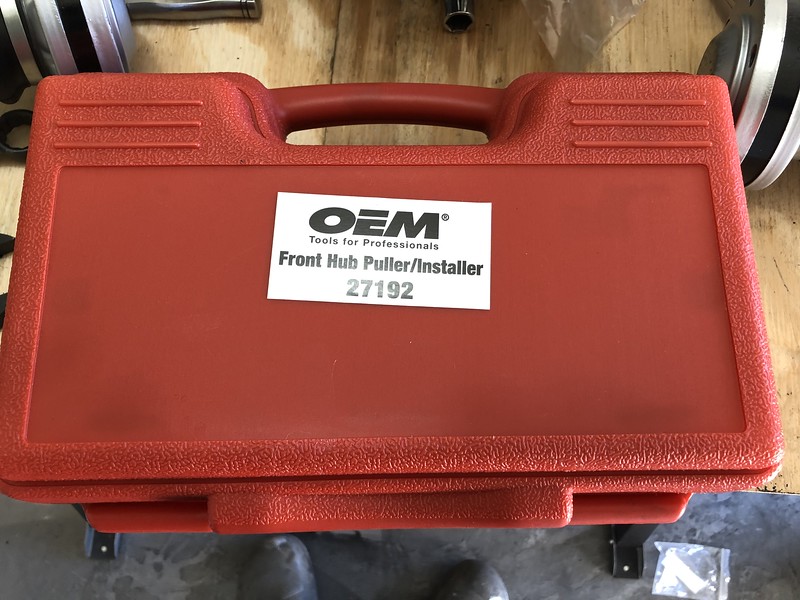
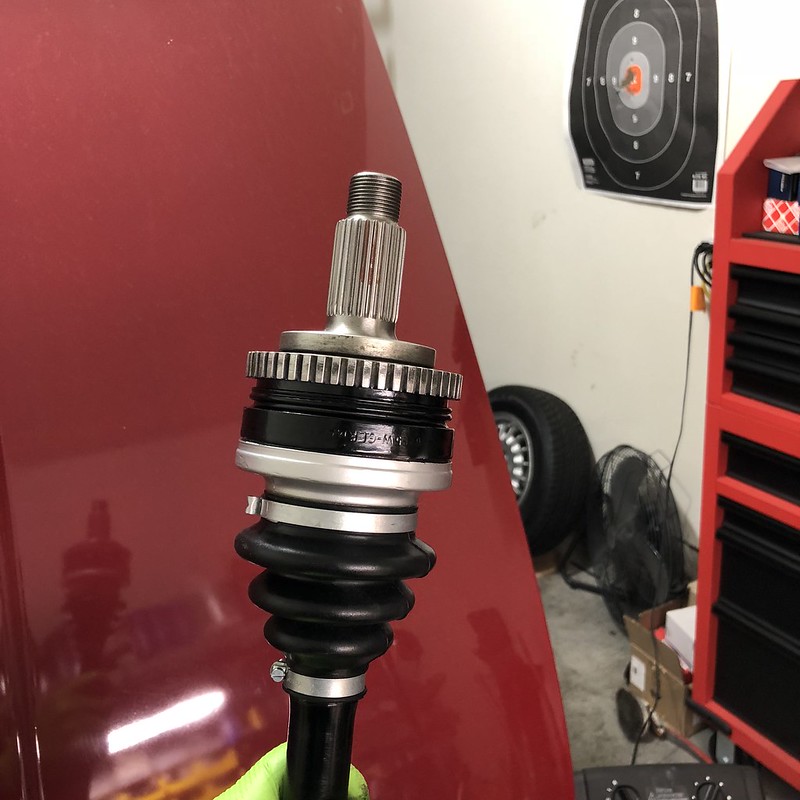
    Had tried a few days earlier to tap the half shafts into the hubs but I had to hit them a little harder than I liked and didn't make a ton of progress. Ended up picking up this kit which has been mentioned in various DIY's that proved to work as well as advertised:


    Pretty self explanatory, you get the half shaft spines aligned with the hub and tap it on just enough to get it started. I lubed the splines with some liquimoly LM508 antiseize. You then thread the tool onto the half shaft thread and then tighten, I could almost do it with just my hand it worked so easily:


    All done:


    Almost a shame to buy something and then use it for all of about 30 seconds, but it definitely saved me a nice chunk of time and potential damage to the half shafts.

    I was going to just mount the dif as well until I realized how damn heavy that would be to pick back up off the work table. I'll end up getting the complete subframe under the car and get the diff on a jack, mount it all up and lift into place when I'm ready for it.

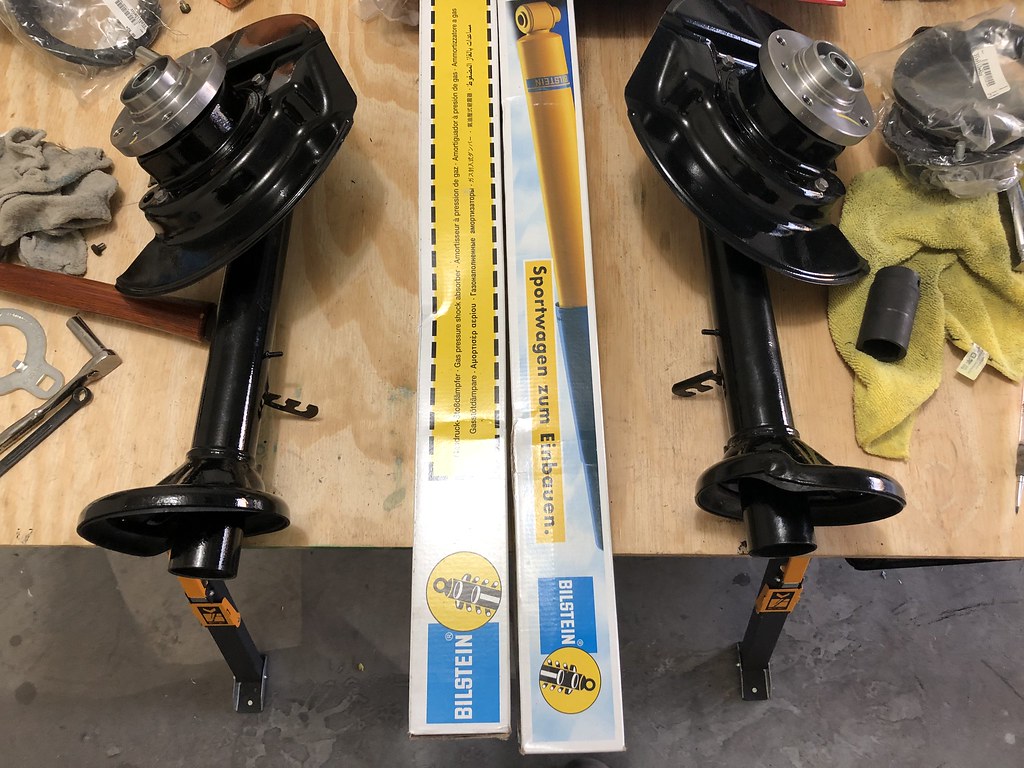
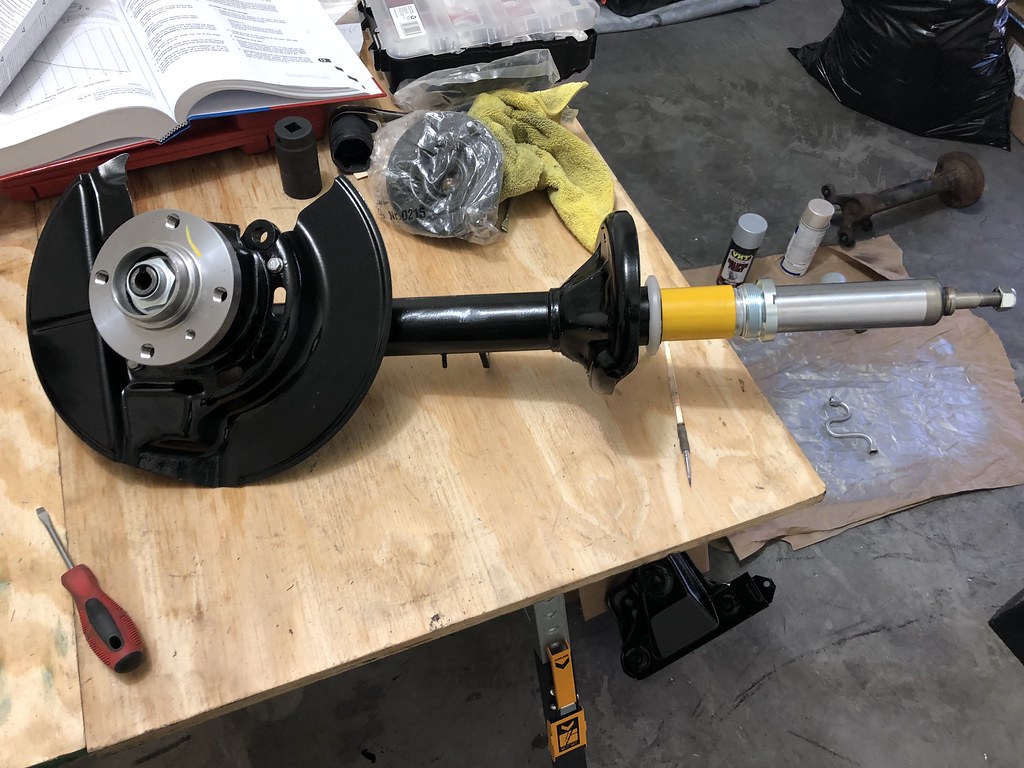
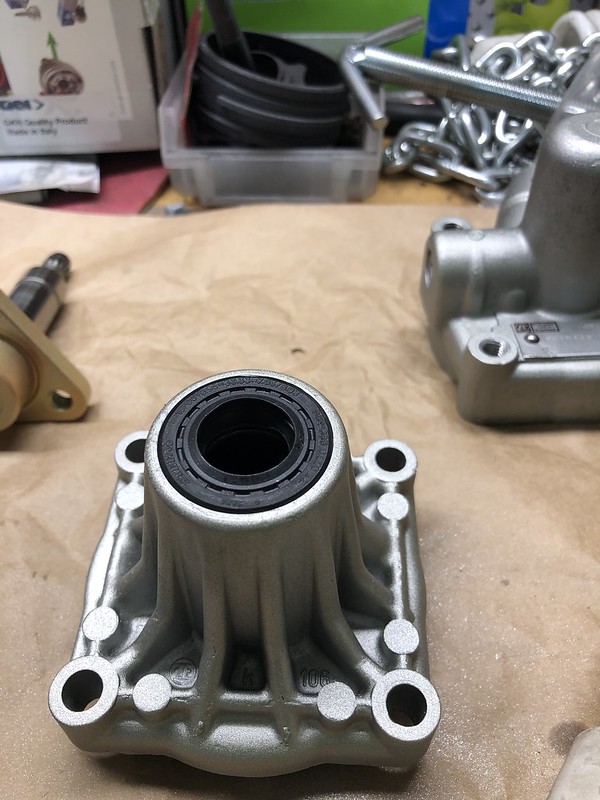
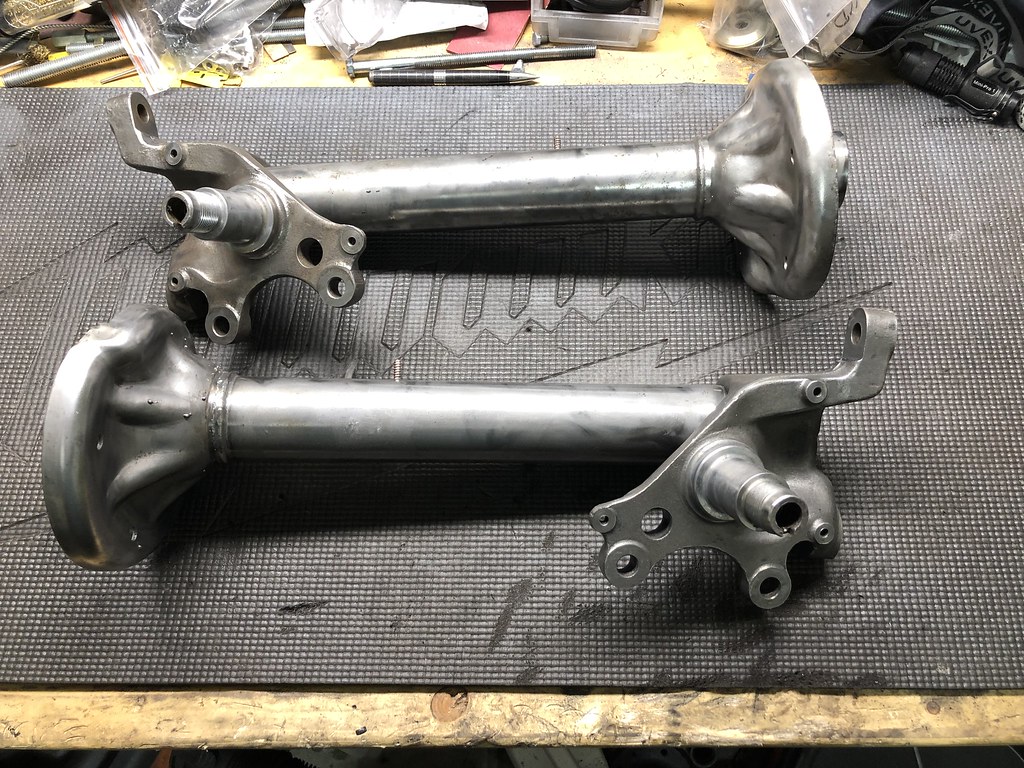
    I started on the front strut tubes and was flying along. Got the dust shields and hubs pressed on in no time. Thought I'd pause for some shots with my sparkly new goodies, that hubris must have got me...


    The left strut slid in no problem, I hand tightened the gland nut then went to slide the strut into the right strut tube...

    and only made it in this far:


    I immediately knew the tube must be bent. Sure enough:


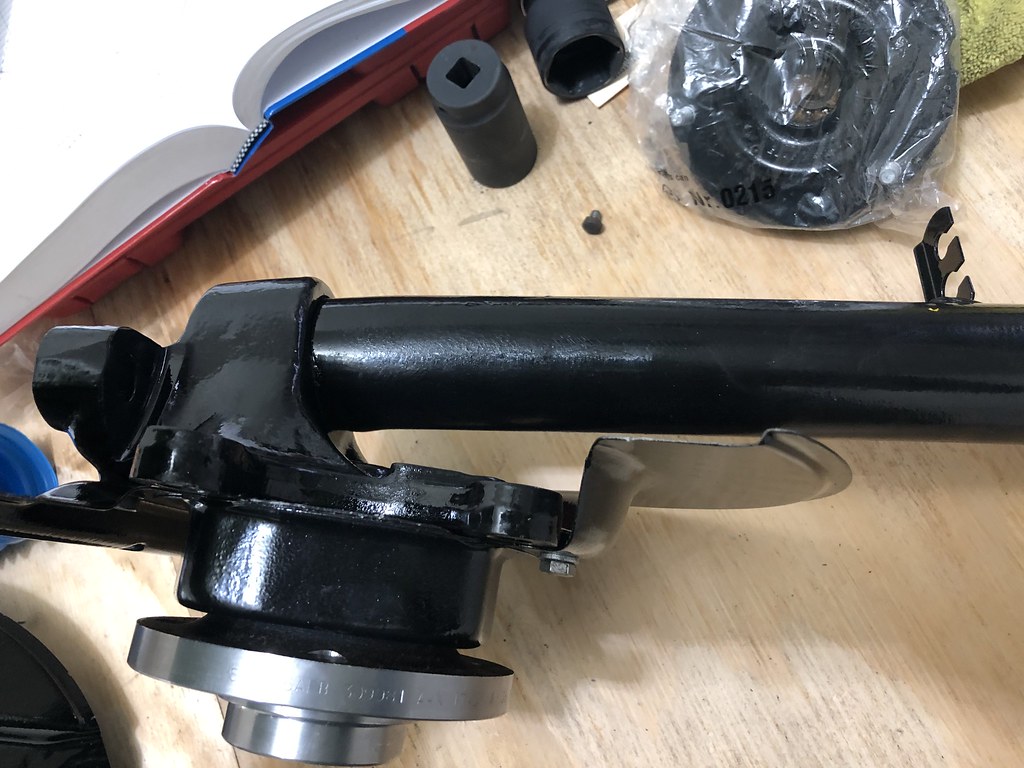
    Ever so slight of a bend, but the tube won't go in. It's barely noticeable but I wish I had caught it sooner. I'm more pissed about all the prep work to get the damn thing painted, now I'll either have to refinish mine or buy another and risk the same thing happening. I contacted the guy on ebay I bought it from and he's sending a replacement, so we'll see.

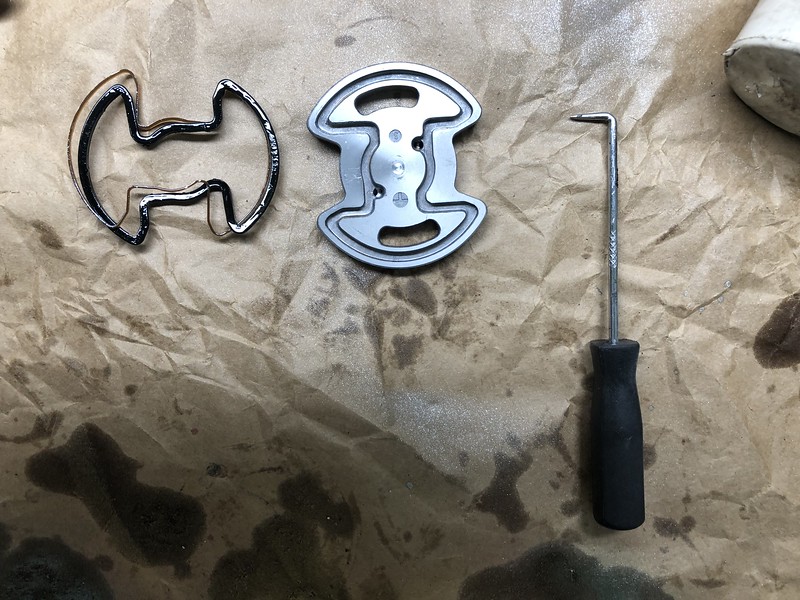
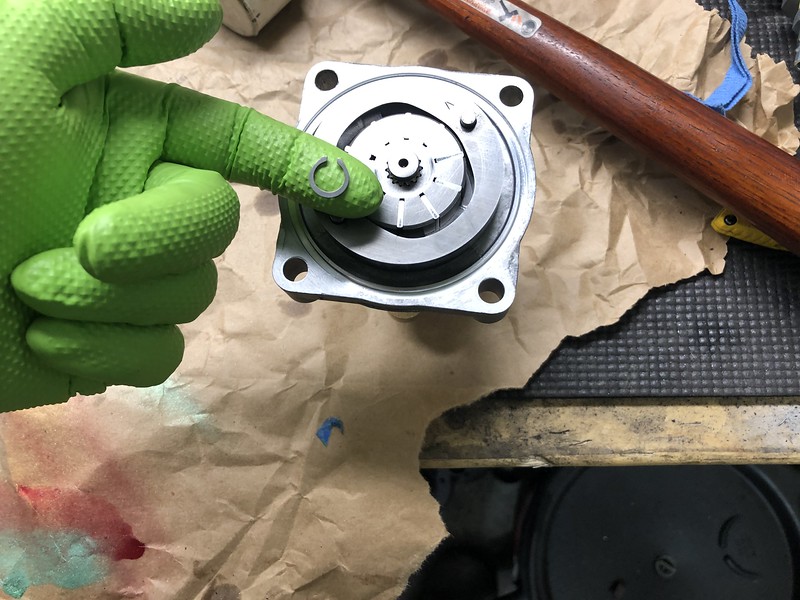
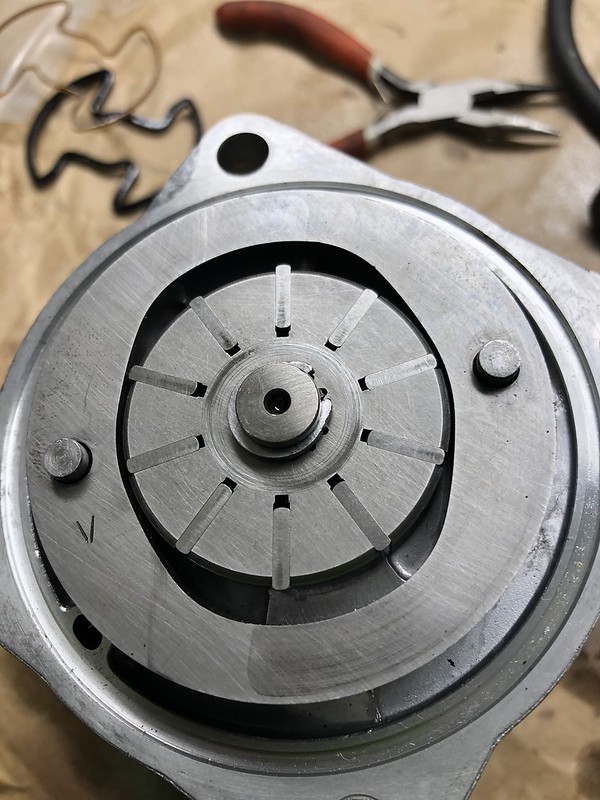
    Then I remembered I have to get the front hub back off without ruining it or else this would really be an expensive screw up. It came off no problem but obviously the inner race and ball bearings stayed behind. I got the race off very gently so as not to mess it up and it came off just fine. I put it all back together and it seems to still spin smoothly:


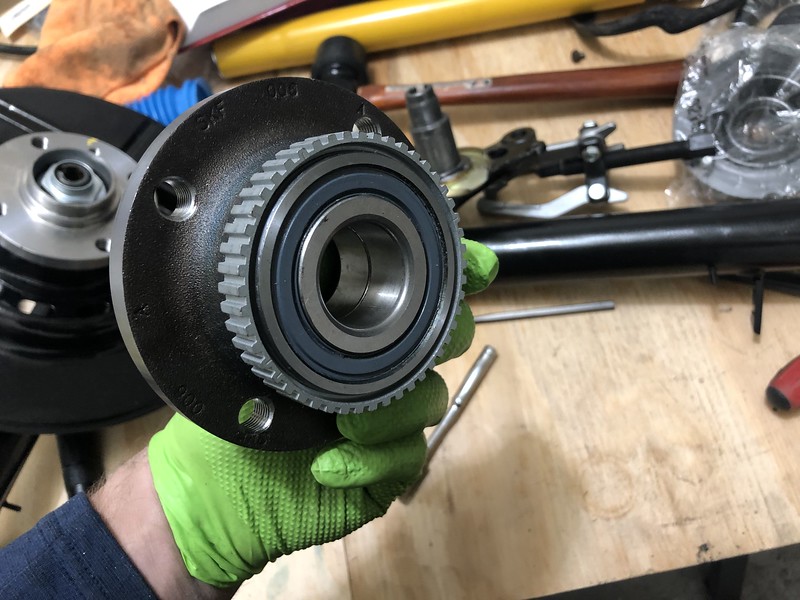
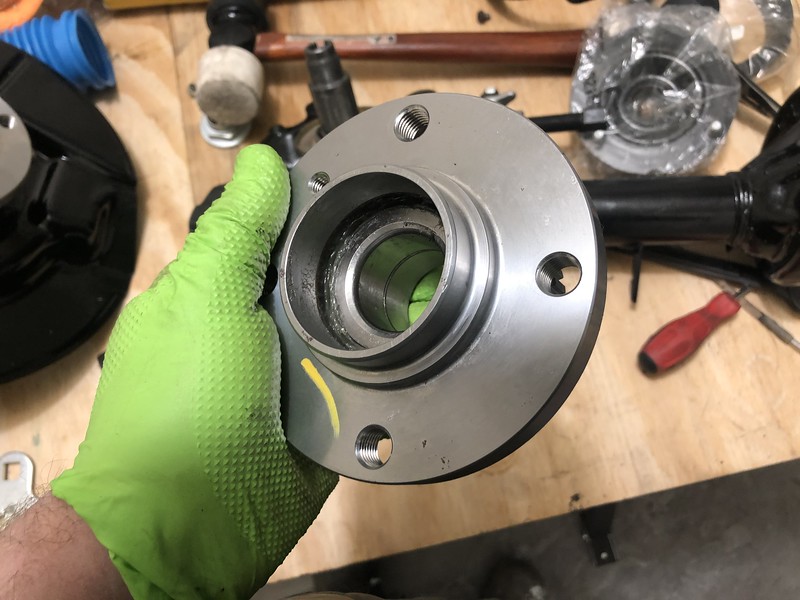
    I don't think there's a reason not to use it, the race basically came off and I popped it back on without issue. Any apprehension to using it? What do you guys think???

    Dammit, I was almost going to be able to get at least some of this stuff mounted back up today. C'est la vie.

    Leave a comment:


  • Albie325
    replied
    Had some warm weather and got some painting done this week:


    I increased the gun pressure and thinned the undercoating a bit and the finish was much better than my first batch of parts. I also painted the Brembo rotors and was going to paint the refurb'd callipers, however was pleasantly surprised that they were already painted.

    Almost too pretty to paint, however I know the second they see some moisture they'll rust:


    So happy to have that done and really glad with how everything came out. Now I can finally look forward to reassembly!!! Hope I took enough pictures of everything, it's been longer than anticipated since i took everything apart :-?

    Leave a comment:


  • Albie325
    replied
    Originally posted by Rob
    Nice shootin, Tex!
    Ha thanks man, not too bad for a concealed carry .45 at 10 yards. Keeps the nosy neighbors out of my hair at least

    Leave a comment:


  • Rob
    replied
    Awesome Build!


    Originally posted by Albie325
    Outer CV joint done!


    Nice shootin, Tex!

    Leave a comment:


  • Melon
    replied
    Love it man!

    I used Eastwood's Alumablast, it's excellent. I read nothing but bad reviews about the zinc look-alike.coating, but man, it looks pretty damn good!

    Look forward to more updates!

    Leave a comment:


  • Albie325
    replied
    Didn't get as much done today as I'd hoped. Took longer than expected to get my paint setup ready to go and by then it was too late in the day to get started on paint.

    I did end up replacing the seals on the power steering pump and getting in all put back together:


    Contents of the new kit:


    Start by removing the BatMan shaped plate, I just gently pried it up using a screwdriver. Next, you'll have to remove the circlip on the end of the pulley shaft which will allow you to remove the circular rotor with the 10 metal fins in it:


    The hardest part of this whole project was removing the circlip and getting the new one back on.

    Remove the pulley shaft and then remove the rear seal:


    While everything was apart I painted the body with alumablast and the pulley shaft using the Eastwood kit from the last post:


    A 1 in socket was perfect to replace the rear seal:


    Remove the old seals for the BatMan plate. When replacing with the new seals, the black rubber seal goes in first, I coated it with some ATF. Then the thinner more rigid seal goes around the outside and locks in the inner rubber seal.:


    Replace the pulley shaft and slide the round finned plate and get the circlip back on:


    The entire project probably took an hour, painting included. 30 mins of it was replacing the circlip. I finally used a really small flat head screwdriver to wedge it on.


    Make sure the fins on the circular metal plate are aligned so that the rounded edges face outward and the flat edges face upward. The way the pump works is the fins slide out into the gap in the above picture to pump fluid forward/backward, and then recess back into the plate as it rotates towards the narrower sides.

    Place the BatMan plate back on, there are two holes in the plate that align with the two studs in the pump:


    Last, replace the large circular outer seal after coating with some ATF and scew back together along with the mounting brackets. I ended up using some non-permanent LocTite on the screws, probably not necessary but I'd rather not have them vibrate their way out.

    Admire your work:


    Originally posted by Nick_S
    How you going to leave us hanging? WHATS IN THE BOX?!
    Oh yah, I almost forgot about that big ass box...

    Here's what was inside:


    Some nice euro bumpers and all the trimmings...


    And a complete MTech 1 kit, correct euro 772 valance, fogs, and all mounting hardware included!!!!

    Ended up getting a few more packages:


    The contents of boxes 2, 3, and 4:


    Another MTech1, talk about a change of plans.

    For awhile now I've been searching for the best front/side/rear combo for the cowcatcher/diving board cars. After a ton of googling, I settled on ES/IS cowcatcher, IS side skirts, and a Zender rear apron. I haven't been able to source the Zender apron for US models, but was able to find a really nice Kamei rear apron instead which is very similar in appearance. I kept looking into other people's finished examples and while the cars would look great, I always felt like they were also very choppy. Nothing matched perfectly since none of the components were made for the others, and the cars could look like 3 different cars depending on which direction you were looking at them.

    I was in Germany this past summer and this beautiful MTech1 pulled up and parked while I was walking into the Lowenbraukeller in Munich:


    The car flowed perfectly and looked like what the early model E30 was always intended to be. I fell in love and started looking into the kits. I quickly found out how rare and difficult to find they were in the good 'ol US of A.

    A few months later I saw an ad for a guy selling all things MTech in Indonesia and he happened to have an MTech1 kit on hand which I ordered. While awaiting shipping, another R3V'er who started my now favorite thread on this forum was selling not only a complete bodykit, but all mounting hardware and euro bumpers. A lot of these parts are NLA, and although I already had a kit incoming I would have been a fool not to jump at the chance to have everything I needed from one source.

    MTech1 thread:


    Anyway, both kits are in excellent shape. One of the rear aprons is for cars with straight exhaust, the other for slanted exhaust. I checked my Billy Boat exhaust and it's the slanted variety so that's the rear apron I'll be keeping. As for the other bits, I'll keep the nicest examples and likely list the spares for sale at some point. I'll also have my ES/IS air dams, mounting hardware, fogs, brake ducts, and Kamei rear apron for sale soon as well, keep an eye out for a for sale thread soon.
    Last edited by Albie325; 01-20-2019, 06:14 PM.

    Leave a comment:


  • Supadave
    replied
    Bumper maybe?

    Leave a comment:


  • Nick_S
    replied
    How you going to leave us hanging? WHATS IN THE BOX?!

    Leave a comment:


  • Albie325
    replied
    Alright, some progress (finally).

    The last few weeks have been spent cleaning, stripping, and de-rusting various parts to get ready for paint. In this time, I've also realized my newest least favorite activity: cleaning, stripping, and de-rusting various parts to get ready for paint.

    Got the exhaust manifolds cleaned and painted in high-temp:

    Before:


    After:


    All rust was removed prior to paint, and they looked similar to how that one little clean patch on the manifold on the right looks after cleaning. Not sure how long that'll last, but it looks really good for now.

    Also got the other side of the engine block painted:


    I had been painting a lot of the random small hardware using caliper paint or black engine enamel, however while searching for some plastic resurfacer I came upon this kit from Eastwood:


    As I wanted the zinc plated look but didn't have the time, money, or knowledge of a local plater, I decided to give it a try and was pretty pleased with how things came out.

    Most parts starting out looking about like this or worse:


    After some cleaning:


    And ended up like this:


    With a few other parts:


    I only painted the bolt heads for obvious reasons, the threads were simply cleaned with a wire brush.

    I also purchased these, which I should have done long ago. Would have saved me hours, nay, DAYS of hand cleaning parts:


    Ended up finally getting the dust shields and a bunch of other parts down to bare metal:


    My front strut tubes would have taken FOREVER to completely clean and I didn't want that holding up the project. I found some CA grown examples for cheap so opted for those instead:


    I was going to paint everything last weekend however it was a little too cold and I didn't want to have to wait hours in between coats. This weekend is supposed to be warmer and I hope to knock it all out on Sunday.

    Also, I got a large package (that's what she said) today:


    Hmmmm... must be Italian...


    Stay tuned...

    Leave a comment:


  • Albie325
    replied
    Originally posted by Jamie H
    If it hasn't been mentioned already you should join the NCE30 facebook group.
    I'm on the NCE30 FB site, just haven't been super active while the car is inoperable. I hope to make it to some Third Thursdays soon, and hopefully some bigger events in the Va/NC area

    Originally posted by agent
    I'm really looking forward to seeing this car in person! Oh, and of course you too Al.
    For sure, once it's finally up and running I need to start making some appearances at some of the meets

    Originally posted by htseng
    I bought the same engine support bar with only one goal and intent. Fixing the oil pan gasket. My gasket was in pieces and definitely seemed to be a major source of a vacuum leak. Seemed to tighten up my idle. Great job on the car.
    Yah that's the exact reason I bought it, another reason I was so bummed I won't get to do the oil pan this time around. I guess I'll get more usage out of the support bar, and it's a reason to get to that 5 speed swap a little sooner

    Leave a comment:


  • Melon
    replied
    I just pulled my rear, and plan to do all the difference seals. Good to know to use a sealer on the case, instead of the gasket .

    Leave a comment:


  • Staszek
    replied
    Really nice work! Also great job on the half shafts. I considered doing that but in the end I bought new ones. Yours came out amazing, and after looking at all that work I am glad I bought mine and didnt mess it up lol!!

    Leave a comment:


  • htseng
    replied
    I bought the same engine support bar with only one goal and intent. Fixing the oil pan gasket. My gasket was in pieces and definitely seemed to be a major source of a vacuum leak. Seemed to tighten up my idle. Great job on the car.


    Sent from my iPhone using Tapatalk

    Leave a comment:


  • Jamie H
    replied
    Beautiful E30 and good work. If it hasn't been mentioned already you should join the NCE30 facebook group. Some of the Raleigh guys and also most of the Triad people will be at Backyard Bavarian Jan 4th-5th for our New Years Party. Feel free to come hang and enjoy great free food.

    Leave a comment:


  • agent
    replied
    This thread continues to deliver. I'm really looking forward to seeing this car in person! Oh, and of course you too Al. [emoji16]

    Leave a comment:

Working...