Big Al's Revenge: an OEM+, MTech1 325e restoration

Collapse
X
 
  • Time
  • Show
Clear All
new posts

  • Albie325
    replied
    Alright, we're in the home stretch for phase one of the project...

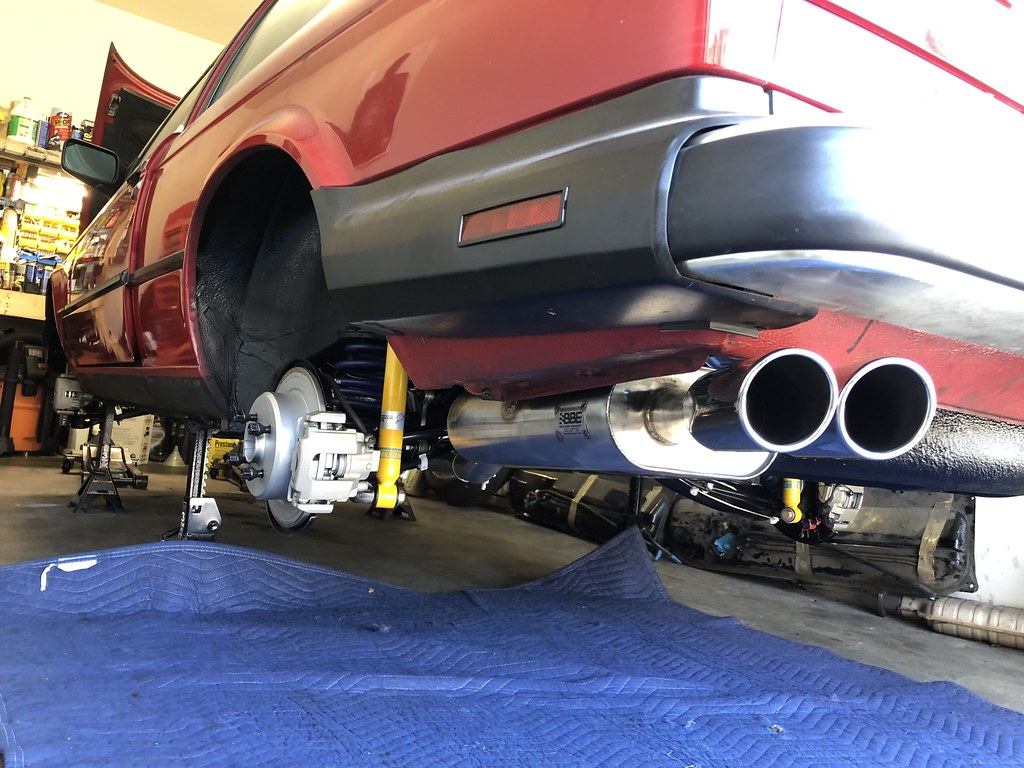
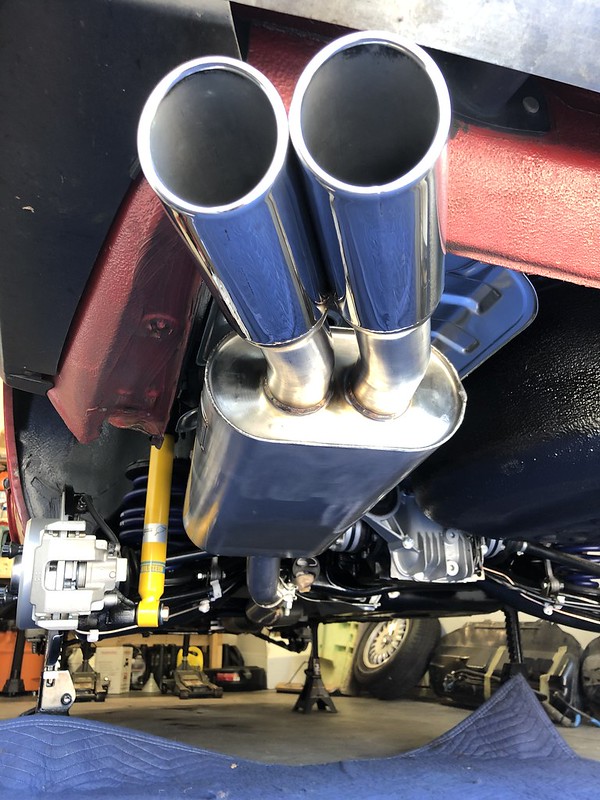
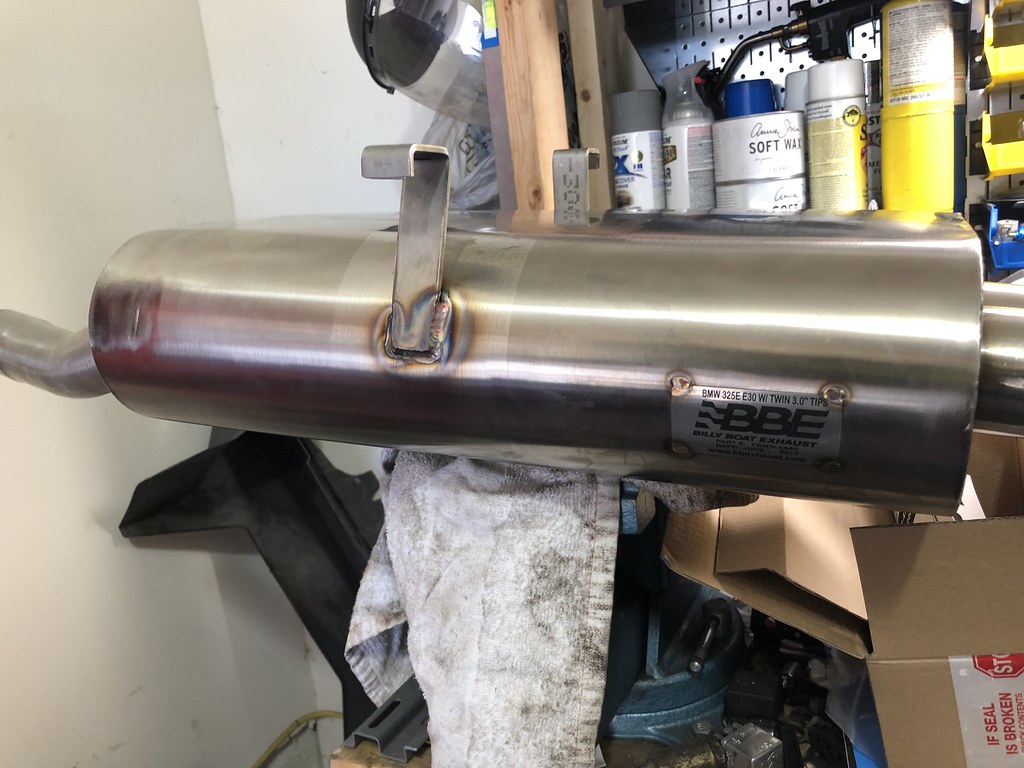
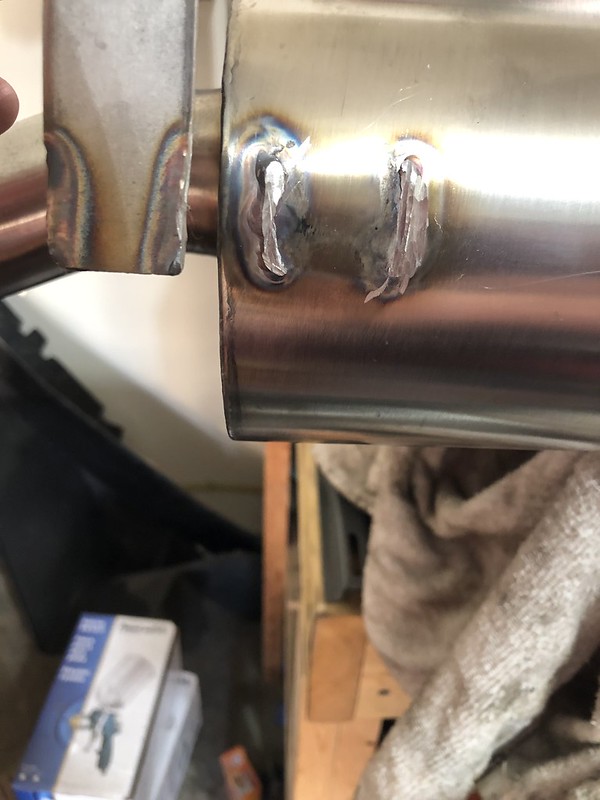
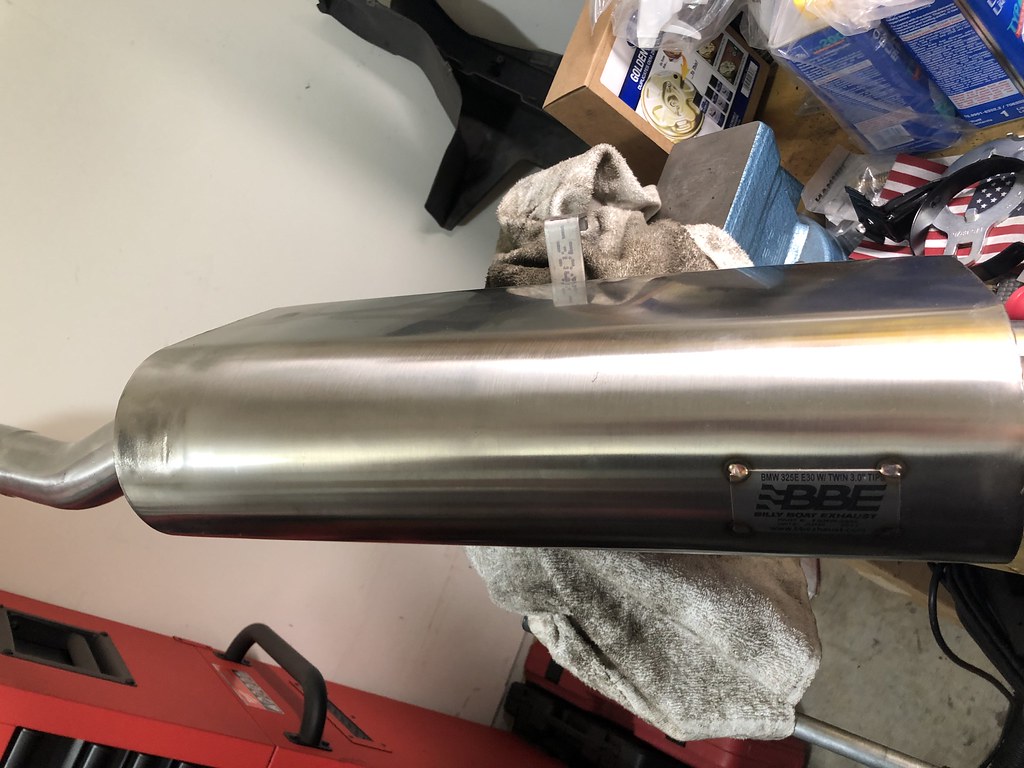
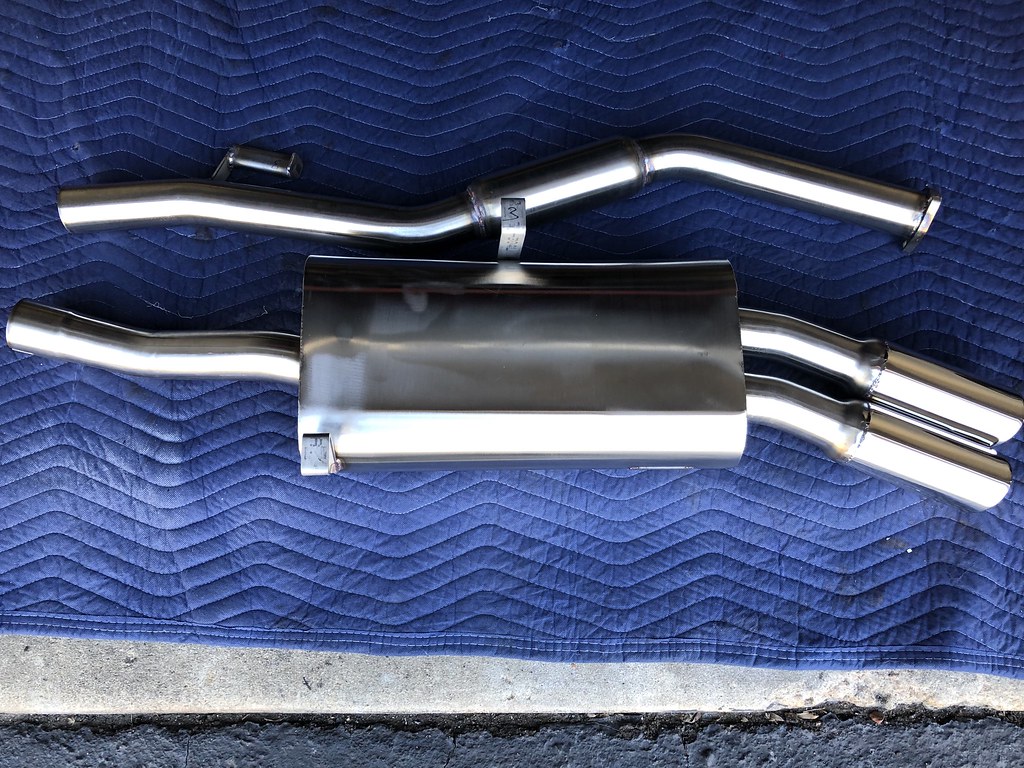
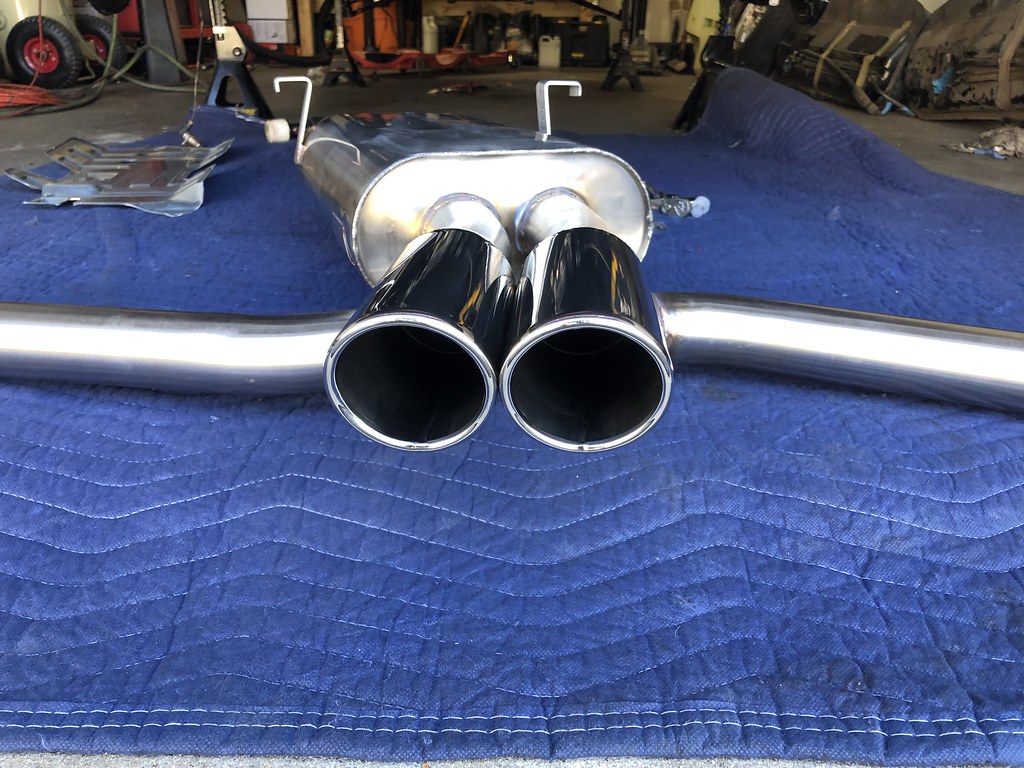
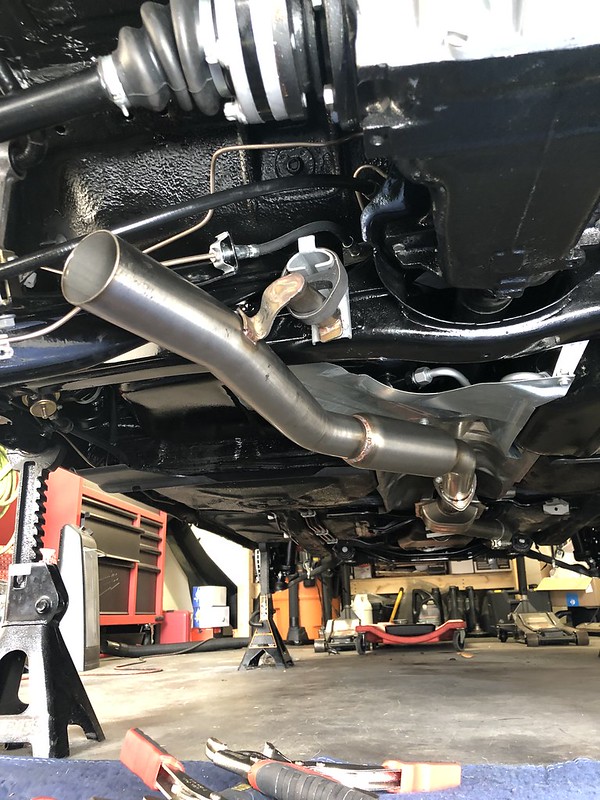
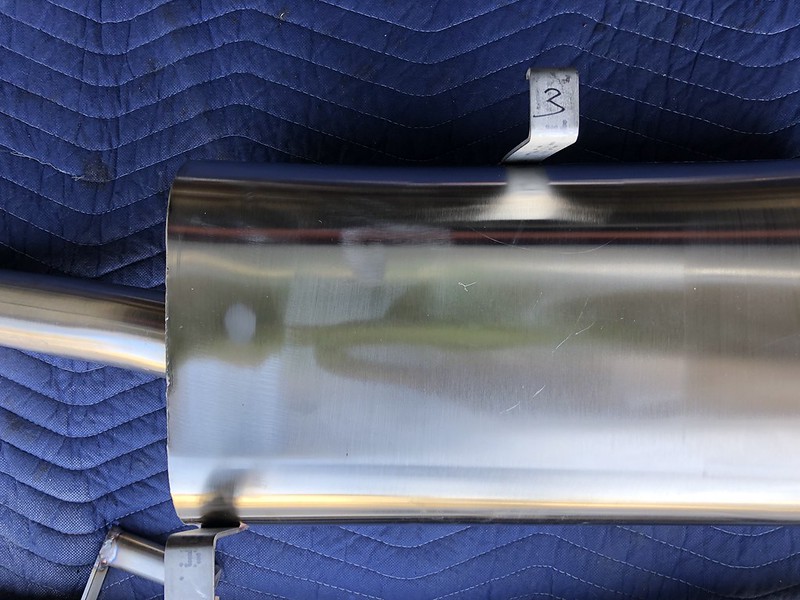
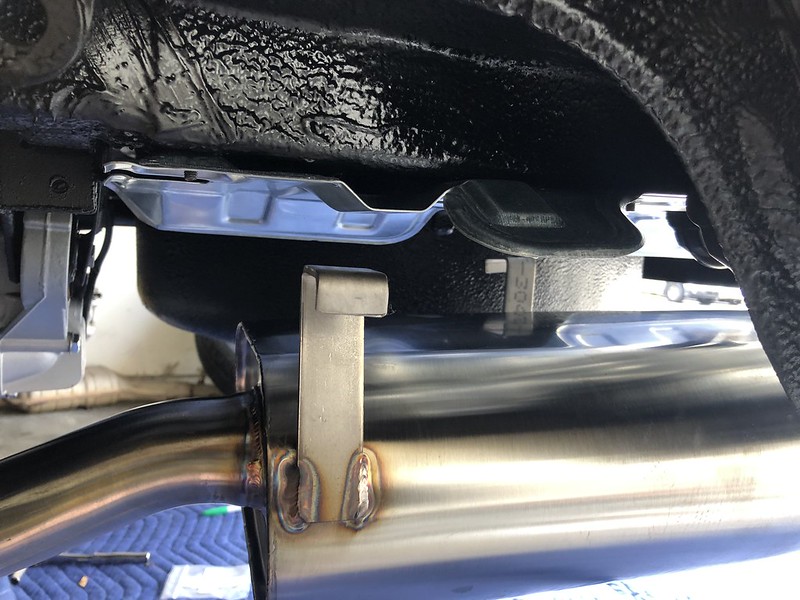
    Got the muffler installed, it looks pretty damn good!

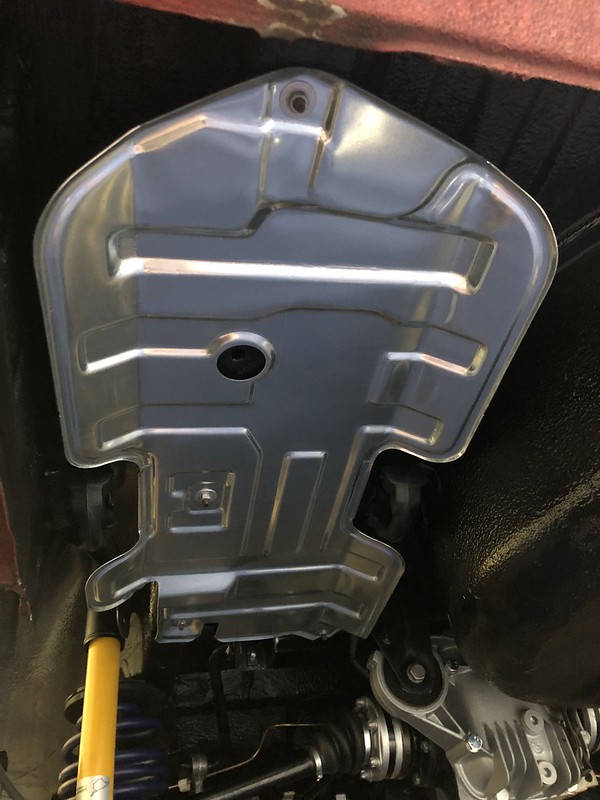
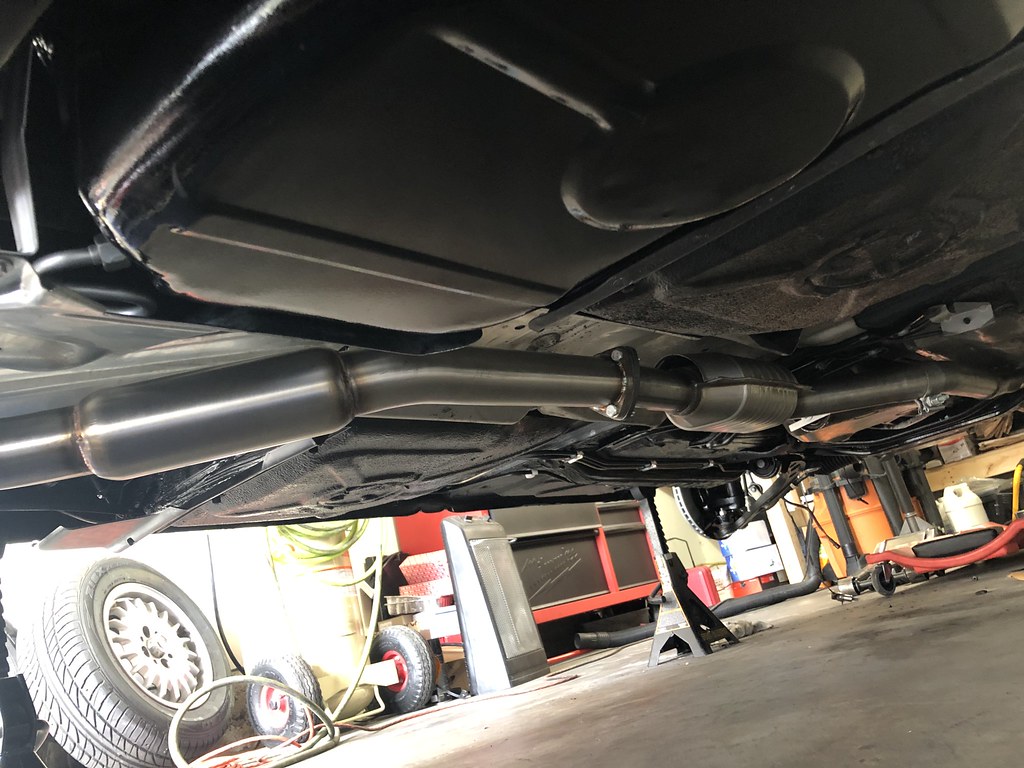
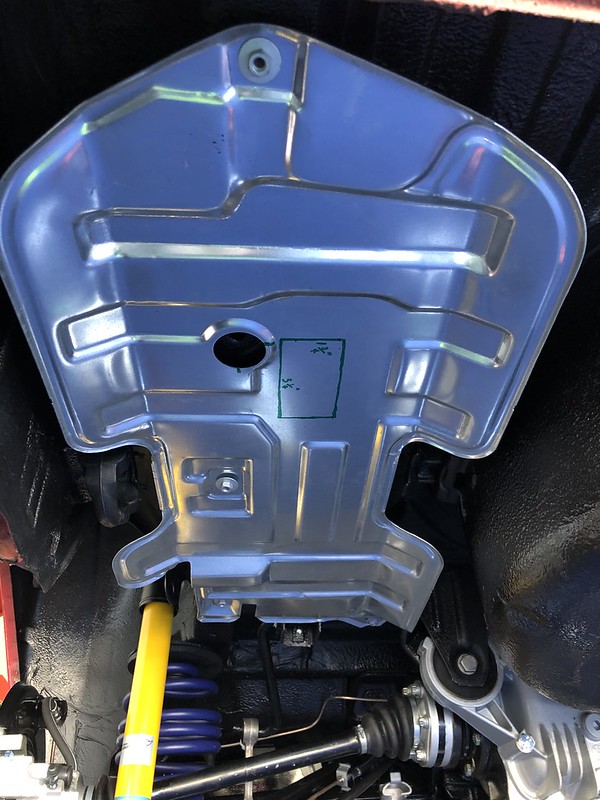
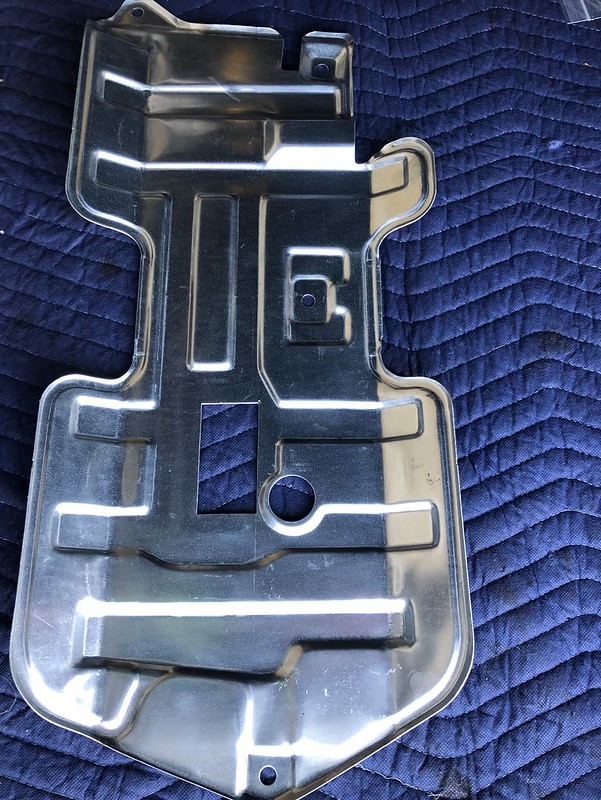
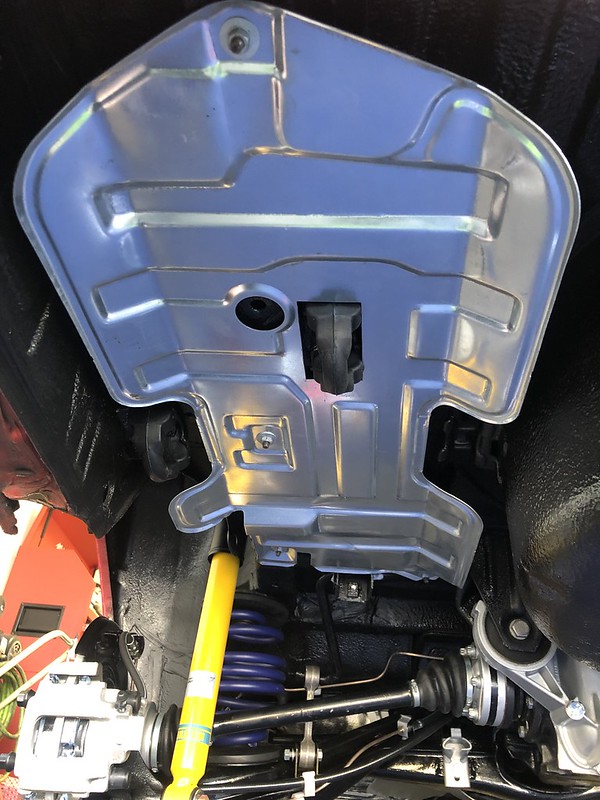
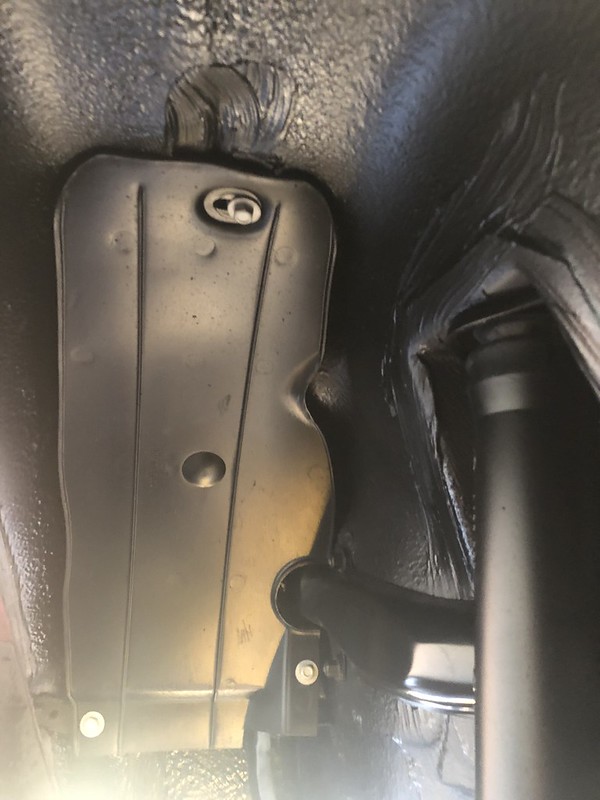
    My OCD is much happier with the uncut heat shield:


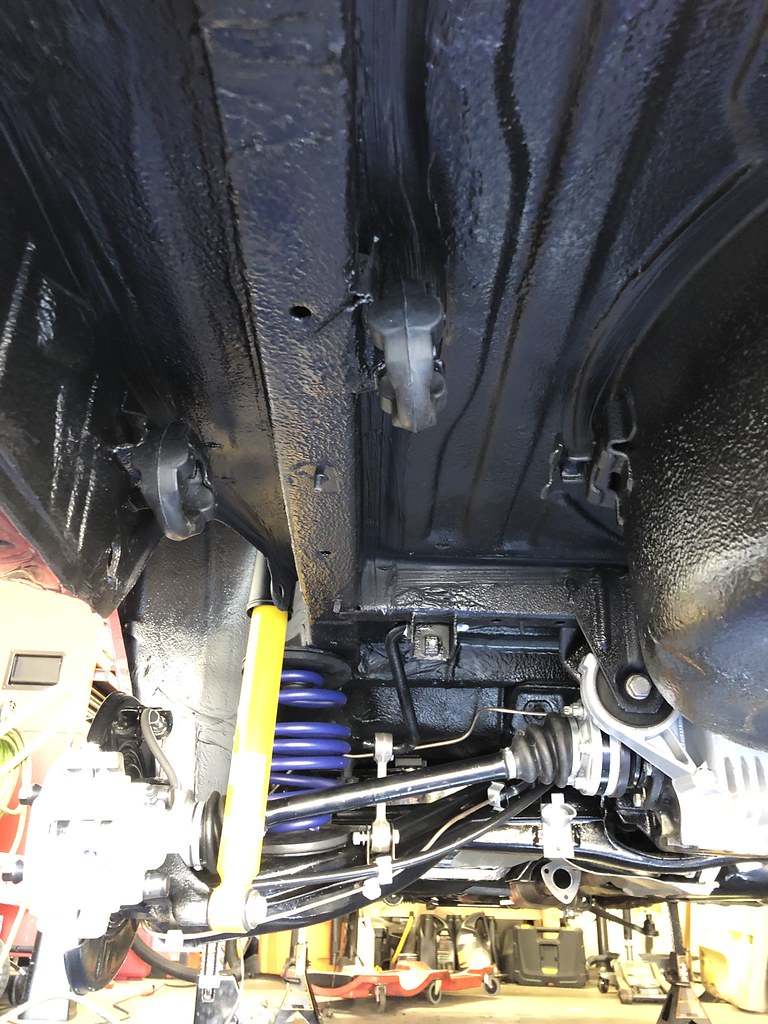
    Can't notice the old hanger position much, and definitely not with the wheels on:


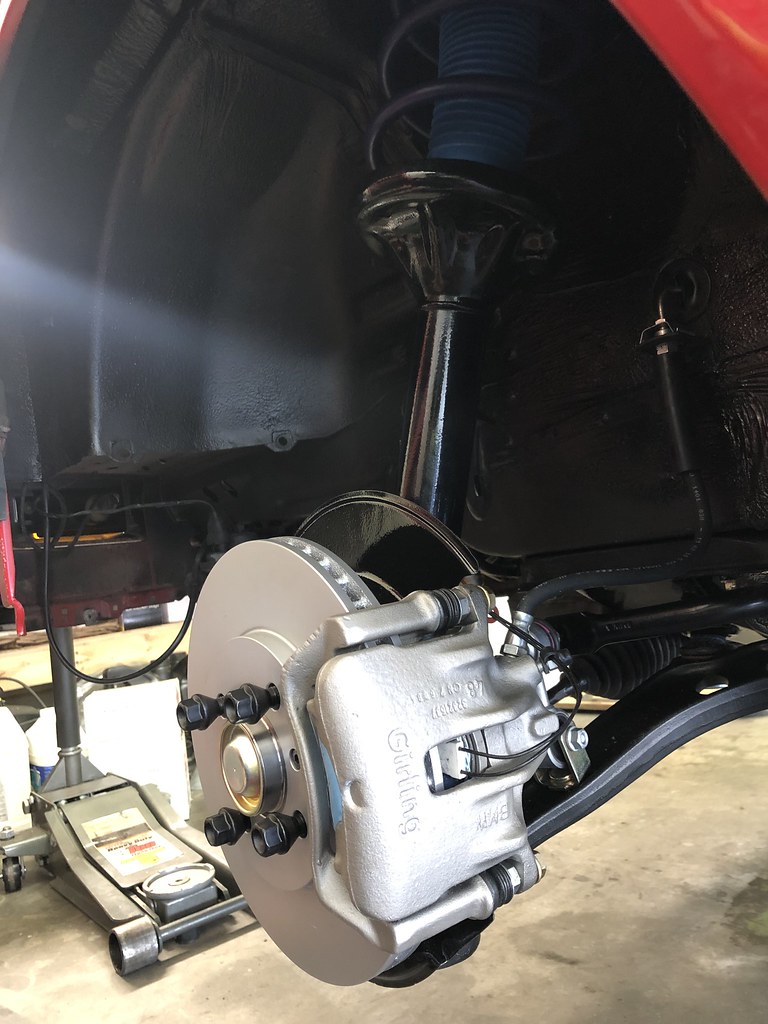
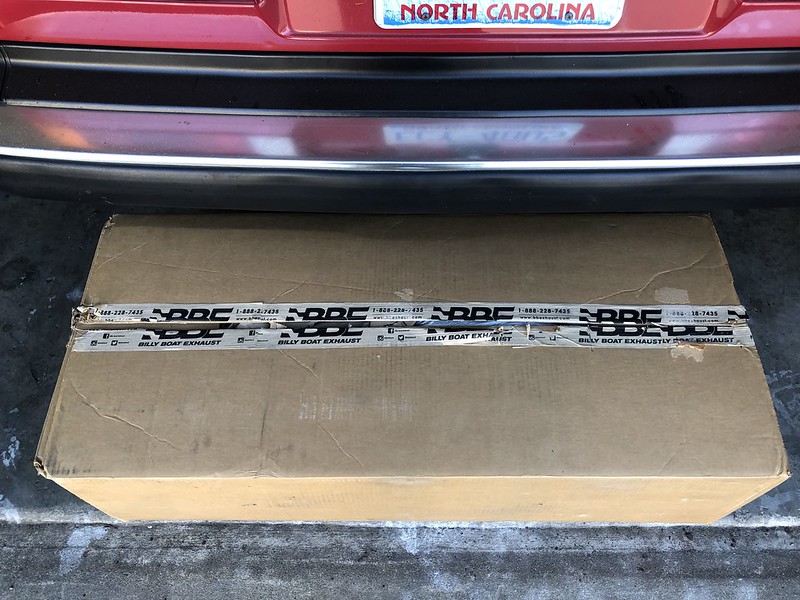
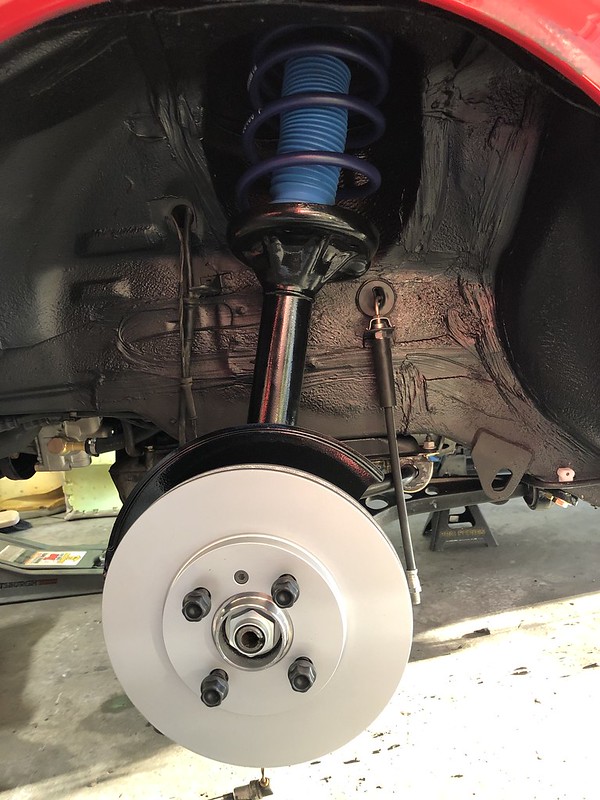
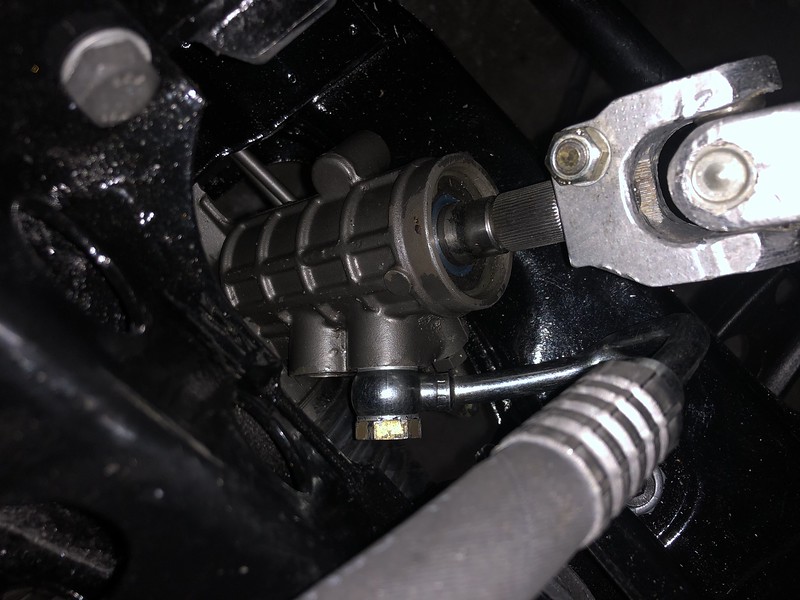
    Next I had to finish up the remainder of the brakes, starting with about the most unexciting $300 you can spend on your car:


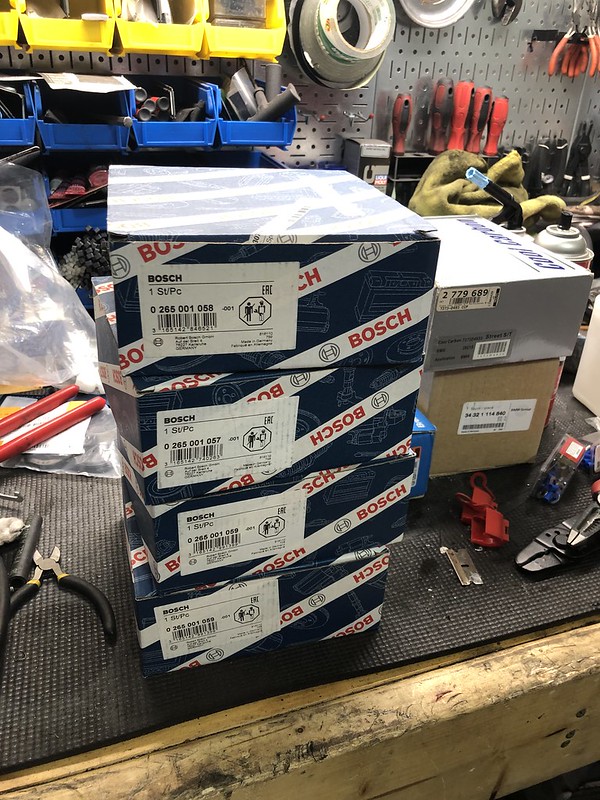
    Needed to be done though, the old ABS sensors were crumbling


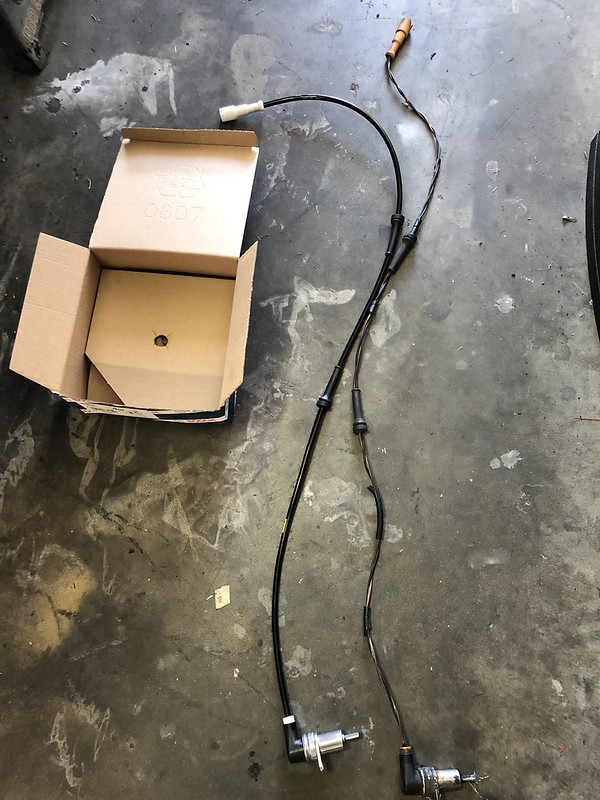
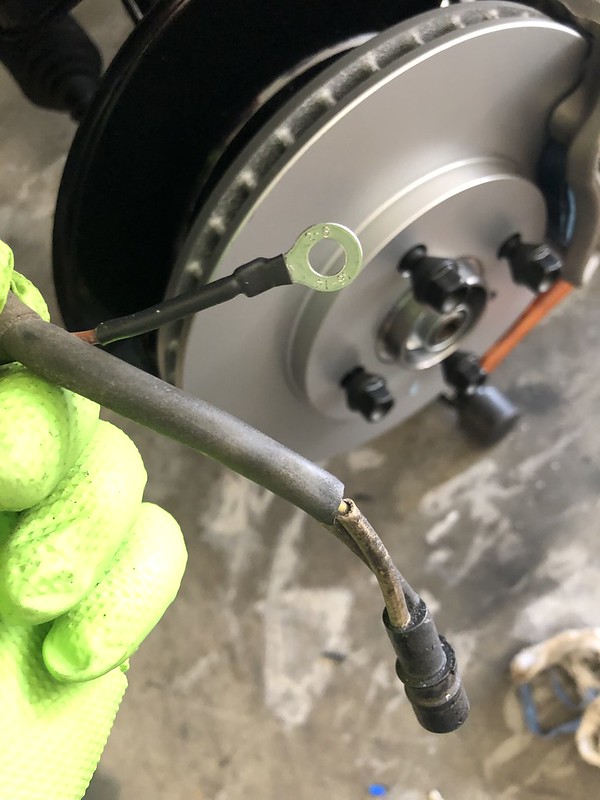
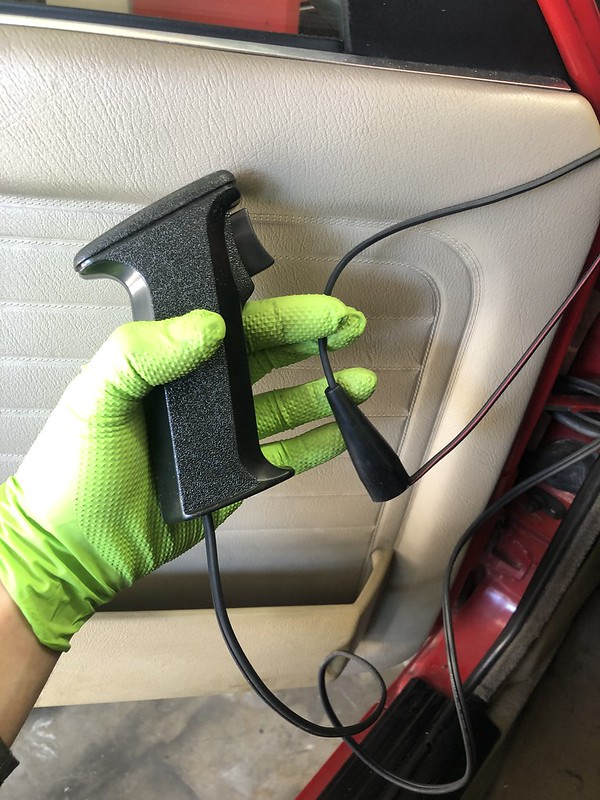
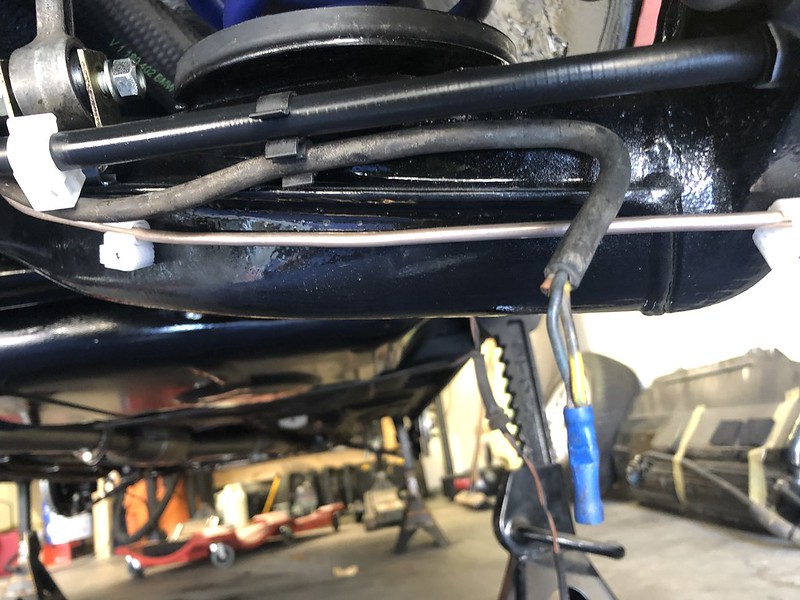
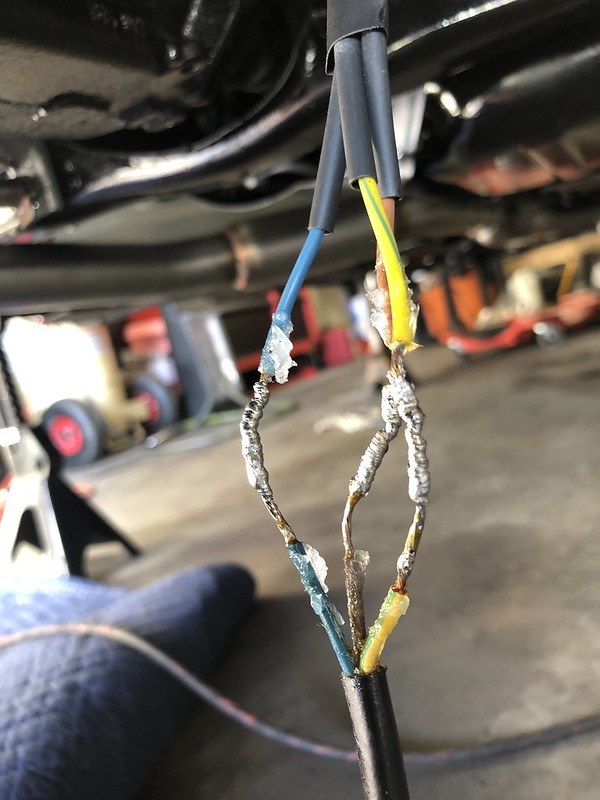
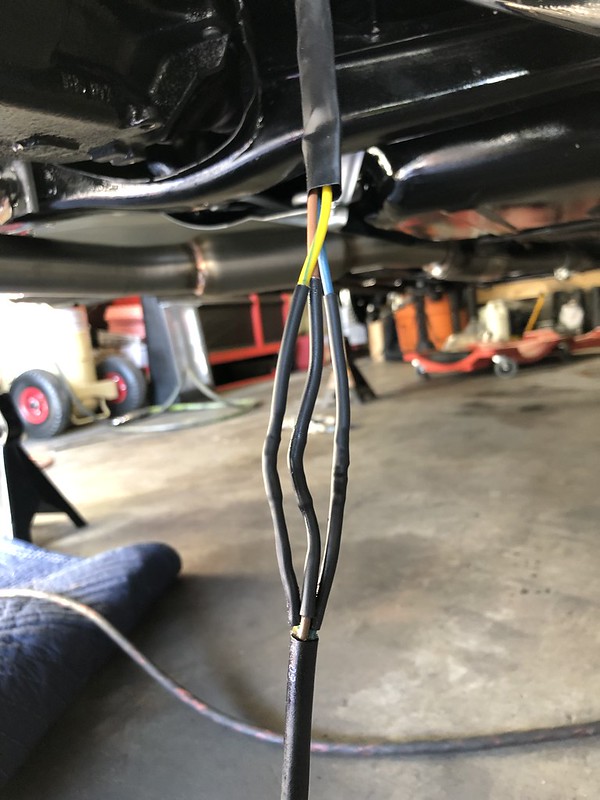
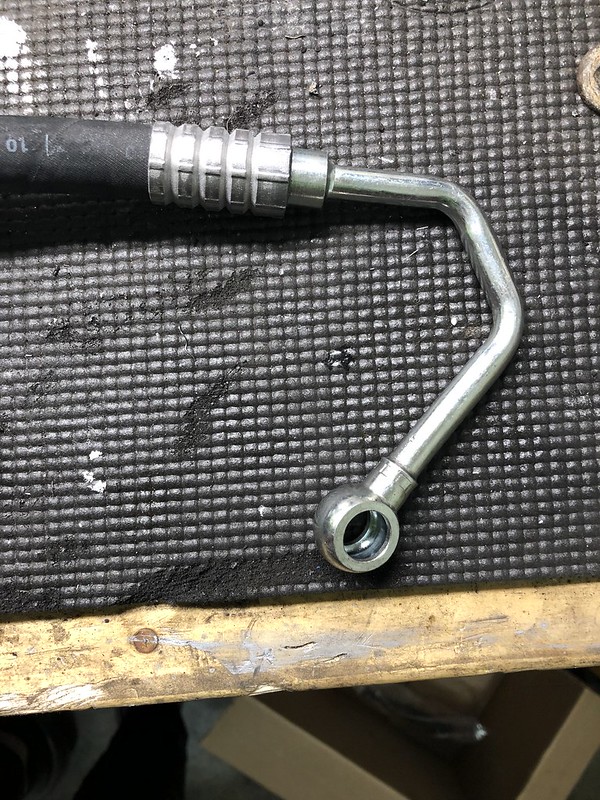
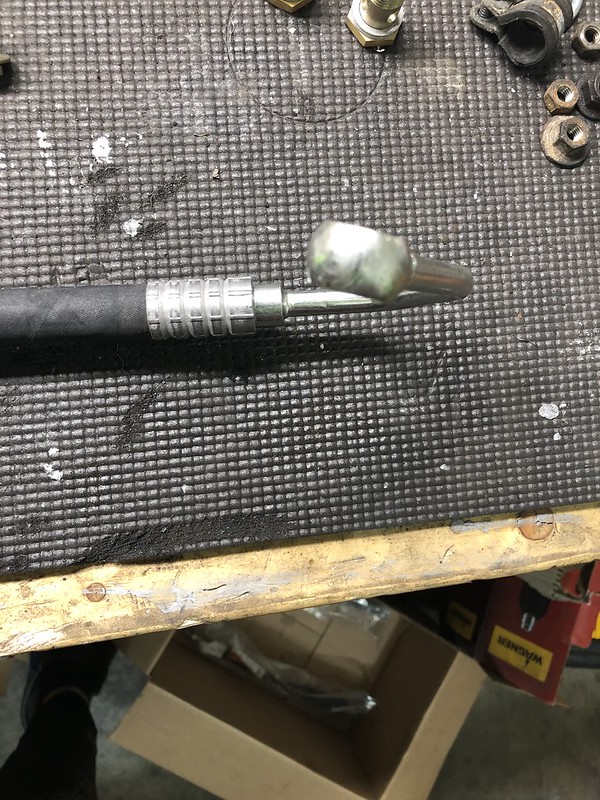
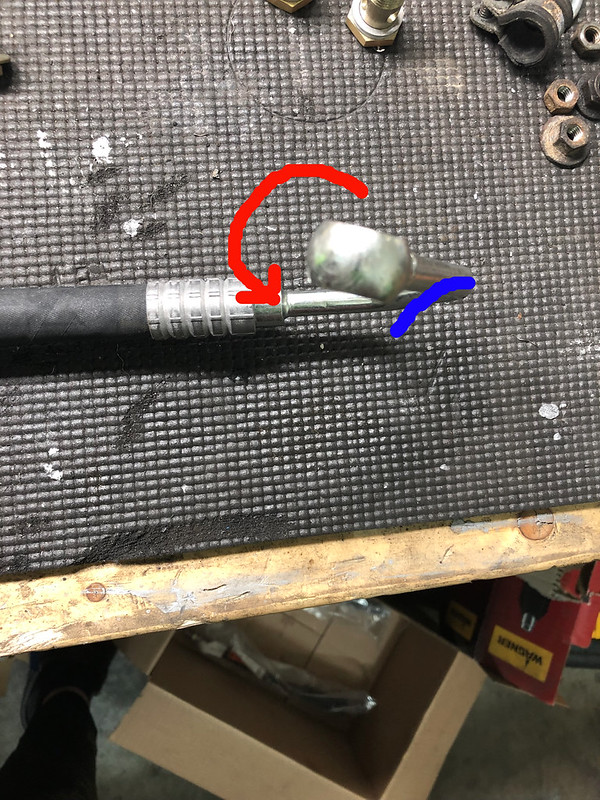
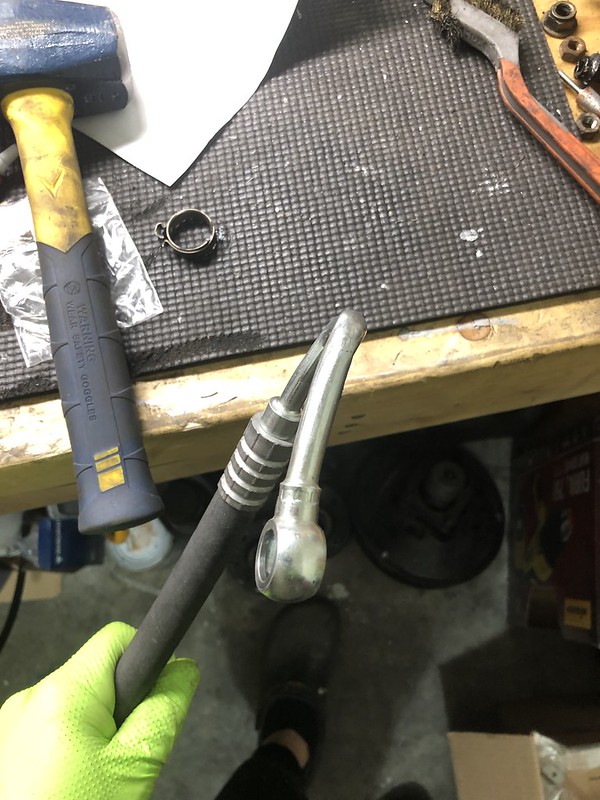
    Also realized my front brake pad sensor harness was missing the ground ring so crimped on a new one:


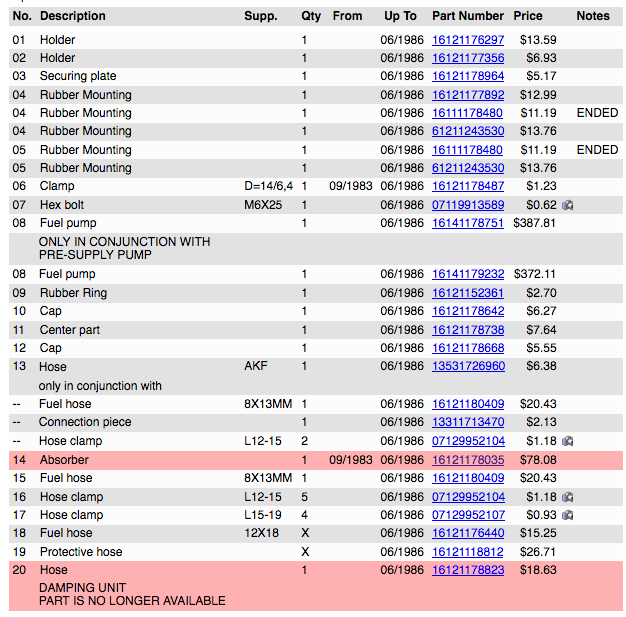
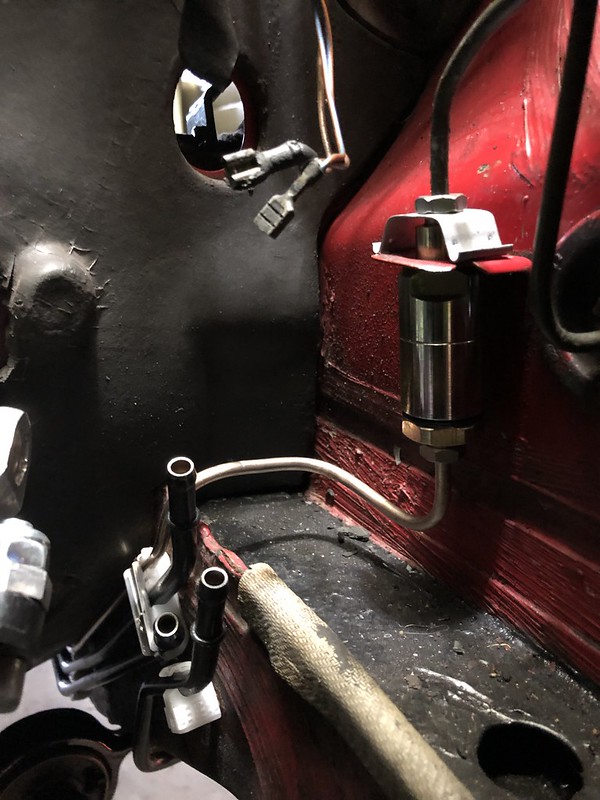
    Not too far behind in the expensive yet yawn-worthy parts:


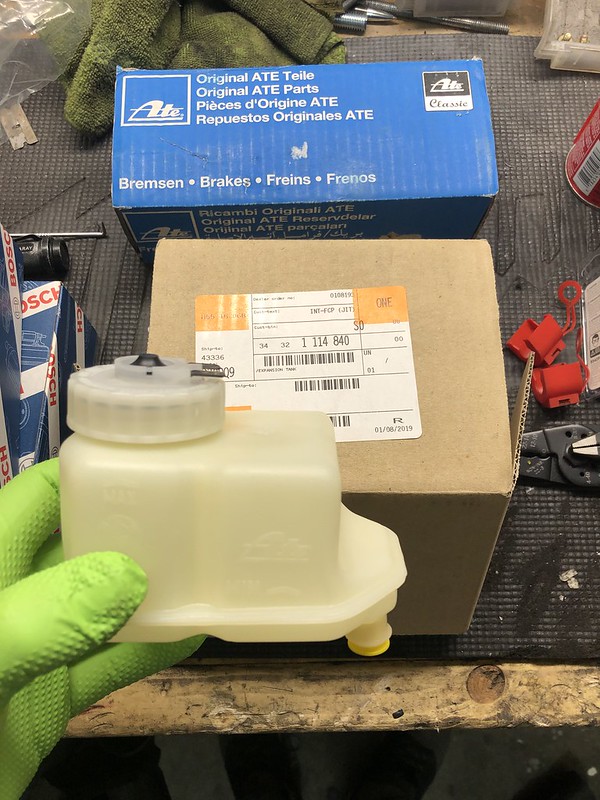
    Bought a brake master cylinder bleed kit only to find out that the MC I bought came with one:


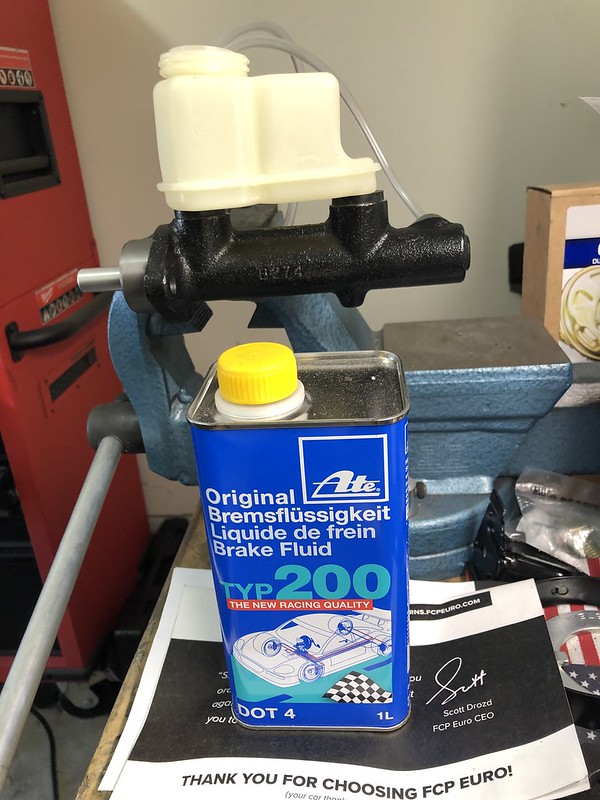
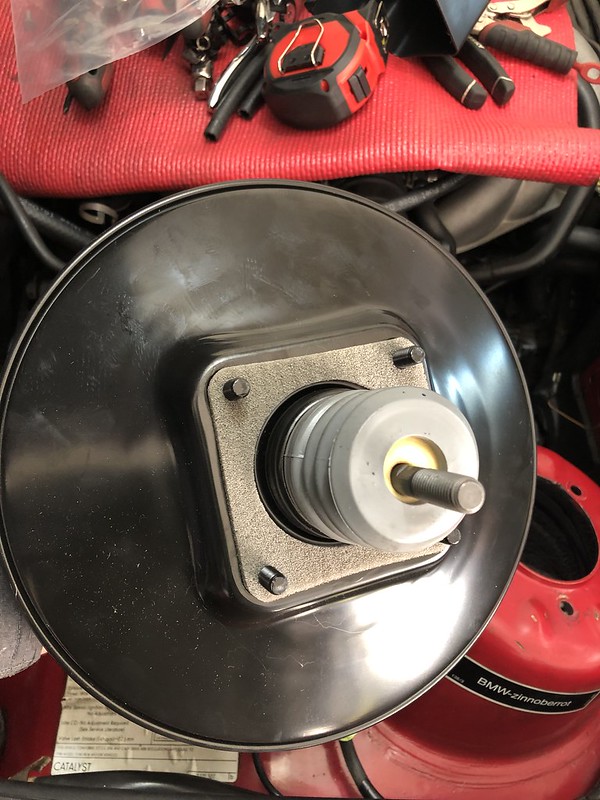
    Removing all the bubbles:


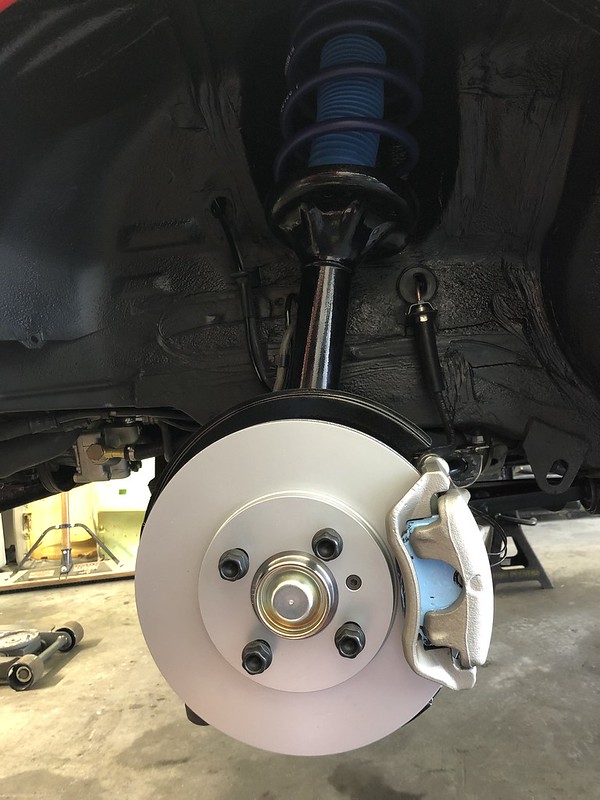
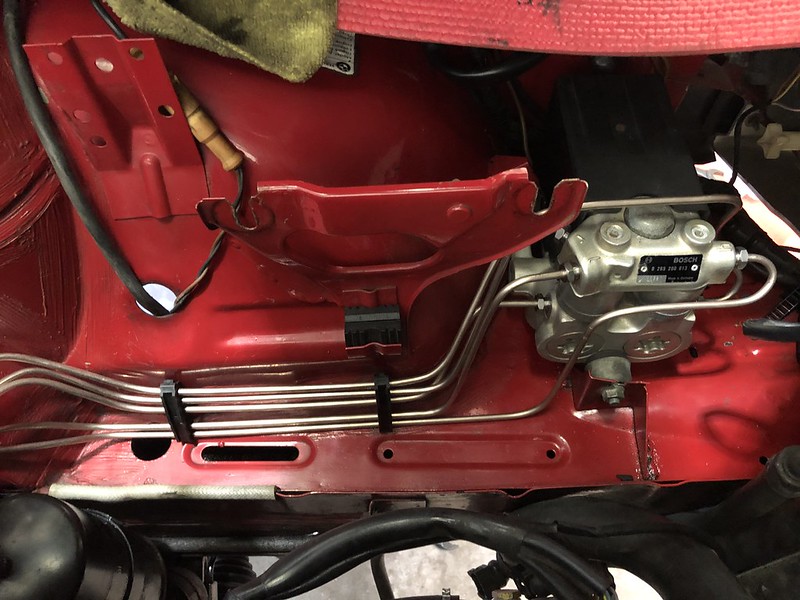
    Got the MC installed and all the remaining hard lines hooked up. Now came time to bleed the system, including the ABS pump.

    Since I previously removed, cleaned, and pumped the ABS pump full of compressed air I wanted to do a thorough job of flushing the ABS module. I found this thread which was helpful:


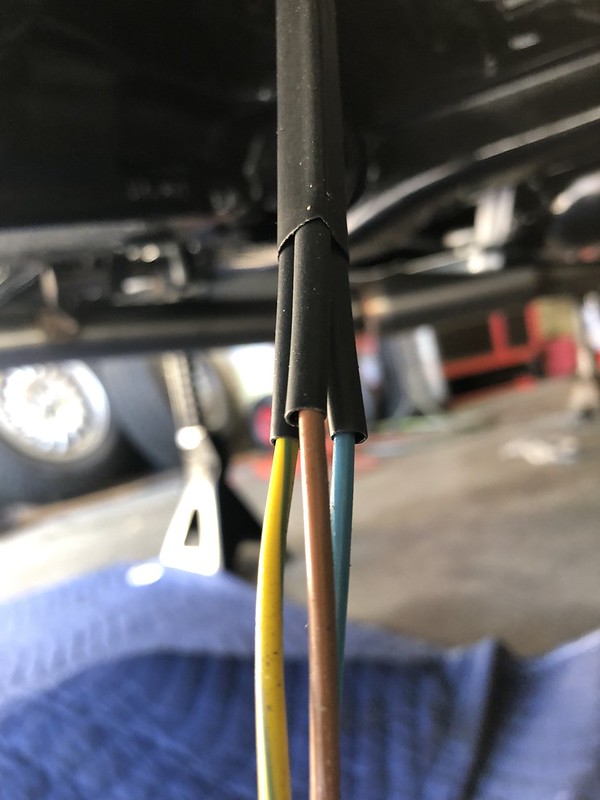
    So I removed the cover and the two relays on the ABS module as well as the plastic cover for the harness plug. As you can read in the above mentioned thread, the pin positions you need to worry about are pins 87 and 30 from the relay on the left, 87 and 30 from the relay on the right, and pin positions 1, 3, and 5 from the harness plug.

    The harness plug pins are individually removable using some small needle nose pliers as you'll notice here with pin 5:


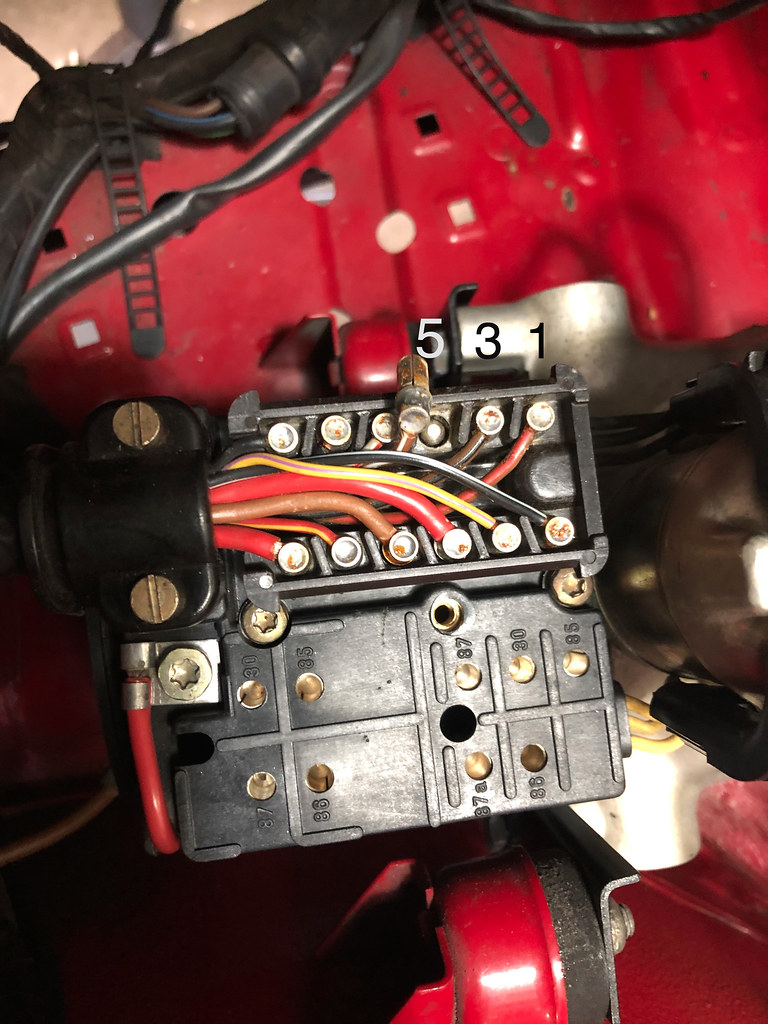
    • Pins 87 and 30 from the left relay supply power to the ABS pump itself.
    • Pins 87 and 30 from the right relay supply power to the solenoid valves of the ABS module that open and close to selectively provide pressure to the different brake calipers
    • Position 5 on the harness plug supplies the rear caliper solenoid, one solenoid for BOTH rear brakes
    • Position 3 on the harness plug supplies the passenger front caliper solenoid
    • Position 1 on the harness plug supplies the driver front caliper solenoid.


    What you'll need to do is jumper pin 87 and 30 on the left to run the ABS pump. Keep only one of the pins plugged in until you are ready to actually bleed to prevent the ABS pump from running too long.

    Jumper pins 87 and 30 on the right relay to get power to the solenoids. Using a remote starter switch (purchased for $15 at Advance Auto), you'll need to attach one end of the starter switch to the individual solenoid pins (Positions 5, 3, and 1 on the harness plug) and the other end to ground, I used one of the strut mount bolts.

    Here's the setup I used:


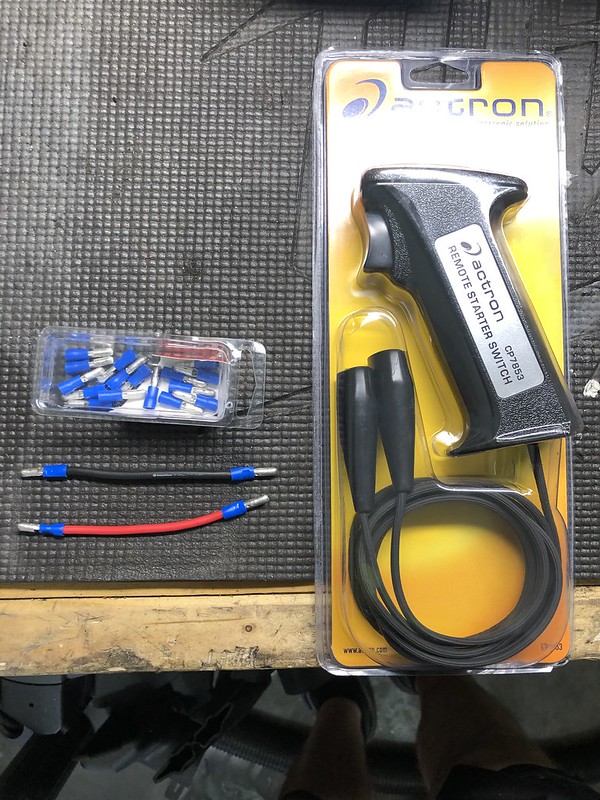
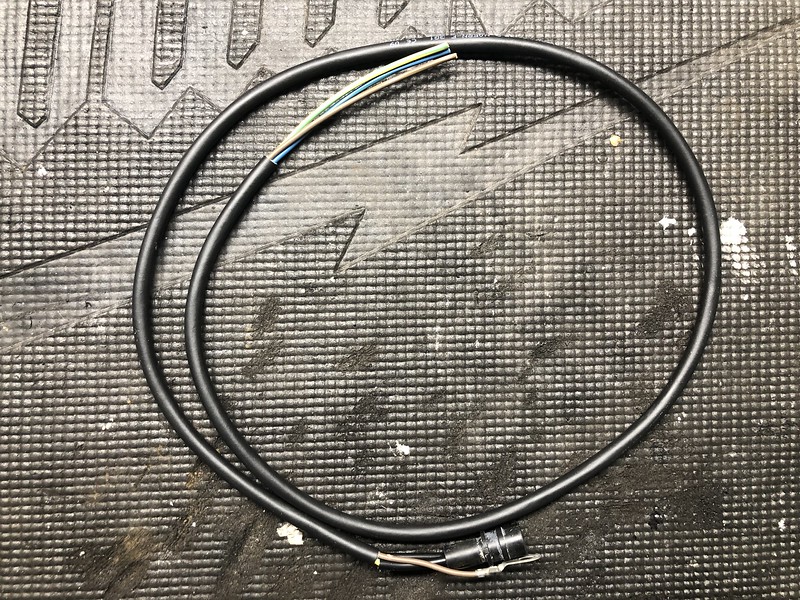
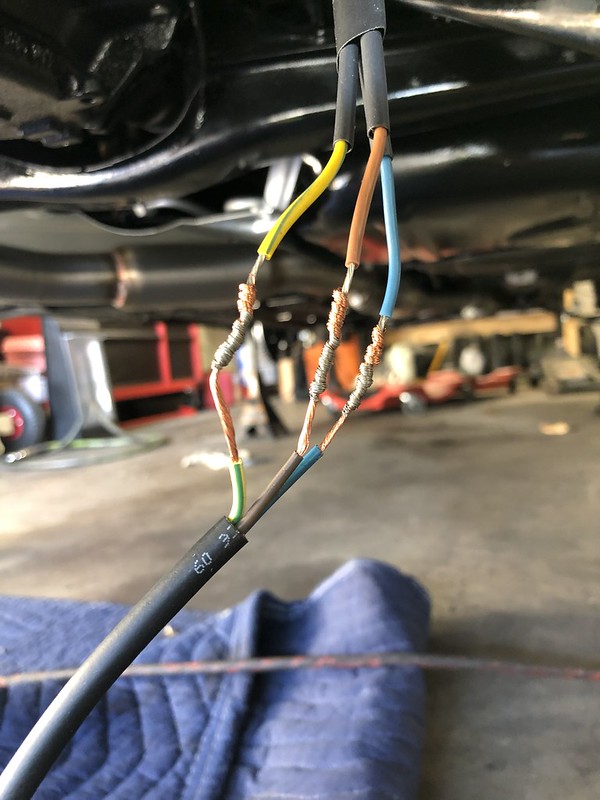
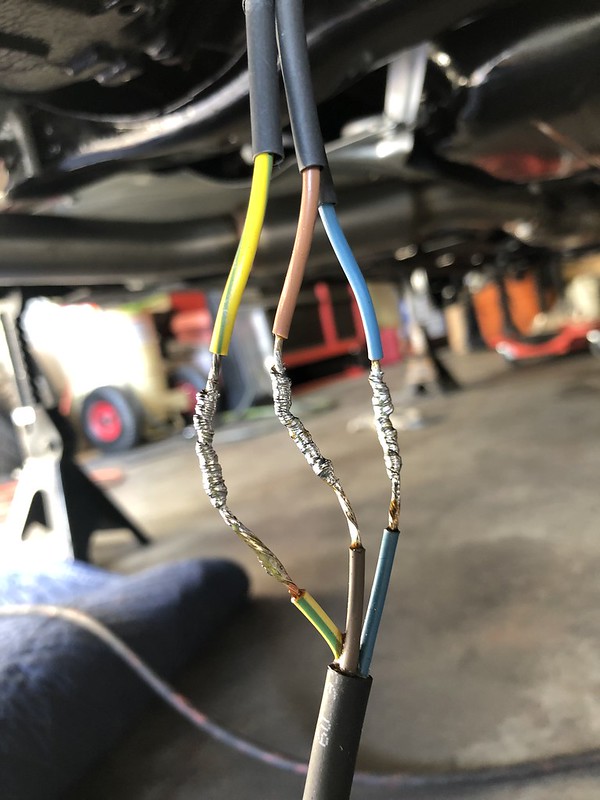
    In order to connect the starter switch to the individual solenoid pins, I rigged up a "female" adapter from the male bullet plugs on the other jumpers:


    I used a fairly long length of wire for this as you'll need to be sitting in the driver's seat while cycling the solenoid valves.


    As I said before keep one of the jumpers for the relay on the left unplugged until ready to start bleeding otherwise your ABS pump will be running the whole time.

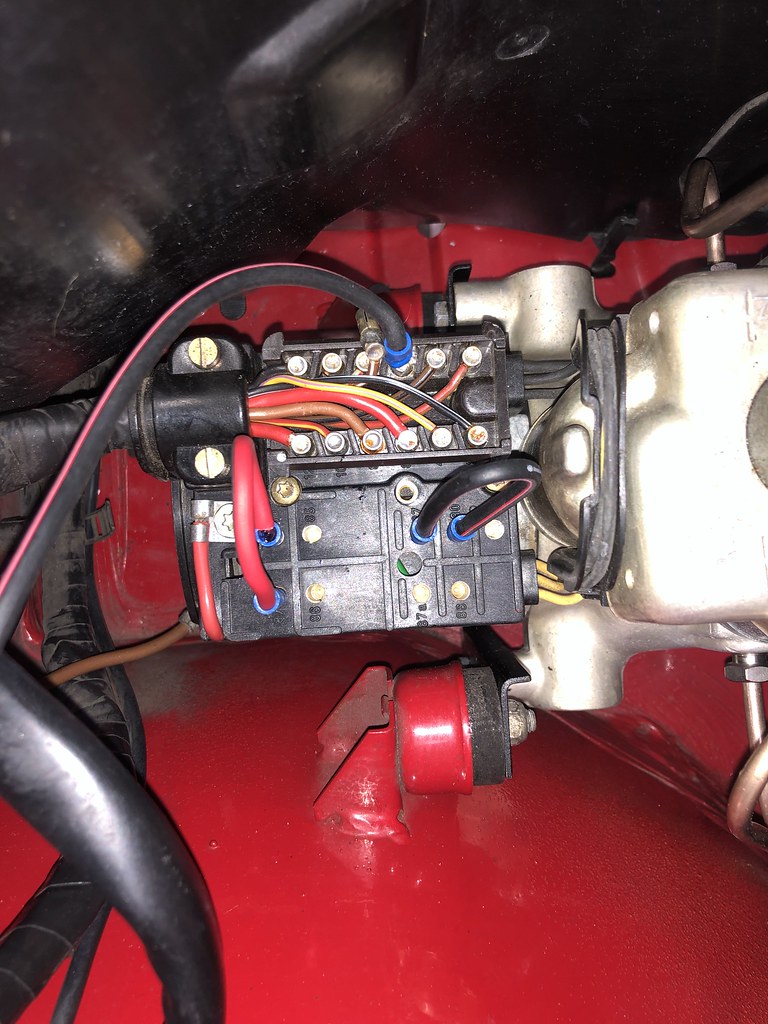
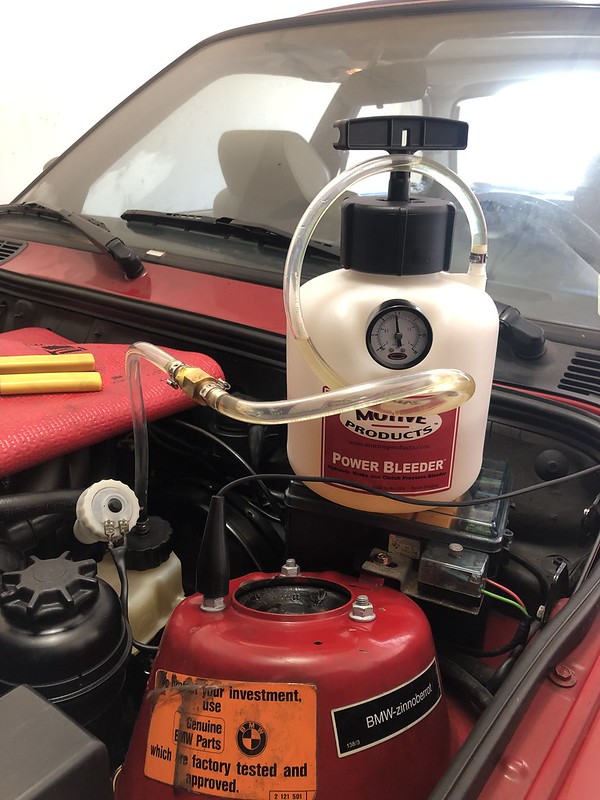
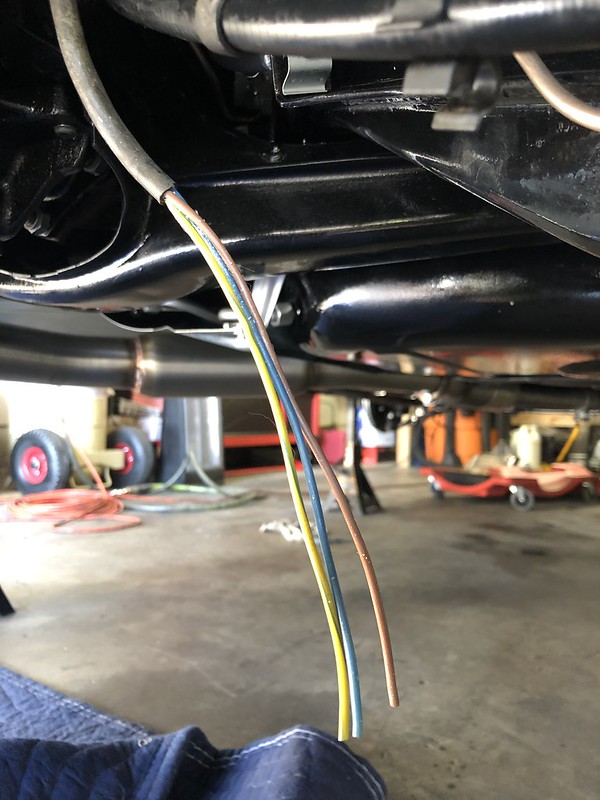
    Get your pressure bleeder hooked up, one end of the starter switch grounded on the strut screw:


    And the other end attached to the long wire that is plugged into solenoid position 5 (rear wheel solenoid) on the harness plug:


    So for the individual solenoids, it will correspond to the proper way of bleeding the brakes: Passenger rear, driver rear (solenoid position 5), Passenger front (solenoid position 3), and finally driver front (solenoid position 1).

    At the start, you should have:
    Right ABS relay positions 87 and 30 jumpered
    Starter switch connected to pin 5 and to ground
    Left ABS relay HALF jumpered (remove either the end in pin 87 or 30, it doesn't matter which).

    Make sure to fill the pressure bleeder with plenty of fluid as you'll go through a fair amount. I filled it with two liters of brake fluid and was getting pretty low by the end of the whole process.

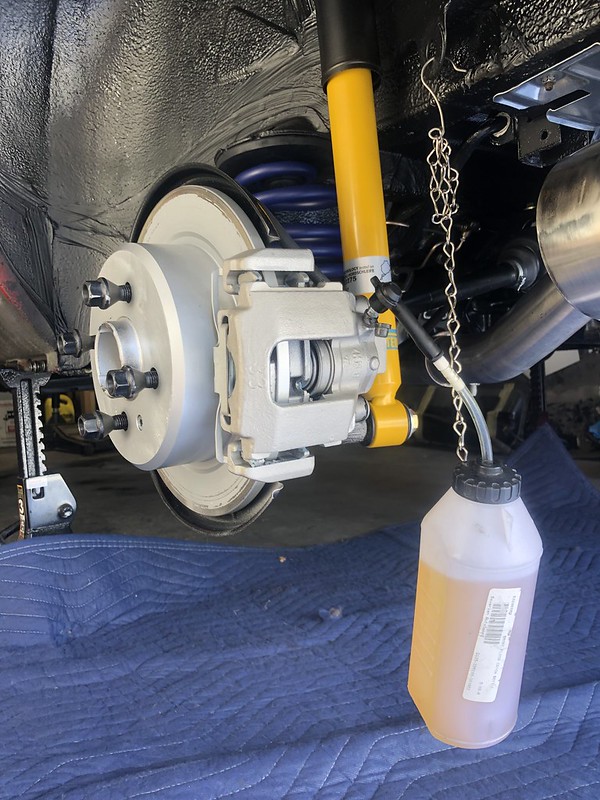
    Start by bleeding the passenger rear caliper until the line is essentially free of air. You want enough fluid to drain into the catch can until the drain hose is submerged to prevent air from re-entering. Once you're happy, put your key in the ignition and turn to position 2 (but don't start the car). Now, plug in the free end of the left relay jumper, you should hear your ABS pump turn on. Now, get in the car, and slowly depress the brake pedal while flipping the starter switch, you can hear the solenoid click on and off as you flip the switch. Flip the switch rapidly as you depress the pedal, you can actually feel it in the pedal as the solenoid opens and closes. As you release the brake pedal, release the trigger on the switch and slowly allow the pedal to return to the starting position. Do this 5 or so times. Now go back and check on you caliper and ensure no further air is coming out. When satisfied, turn the ignition switch off, unjumper the jumper to the ABS pump, and close the bleeder valve on the caliper.


    Move on to the driver rear caliper and do the same, keeping the starter switch connected to pin 5 (this solenoid controls both rear calipers).

    Then move on to the passenger front, and now connect the starter switch to position 3.

    Then move on the driver front, starter switch to position 1, you get the idea.

    As the pump turns on, you can actually see some air coming into the system that had previously been absent when just bleeding the caliper. I was happy with the results, we'll see how the brakes feel upon driving.

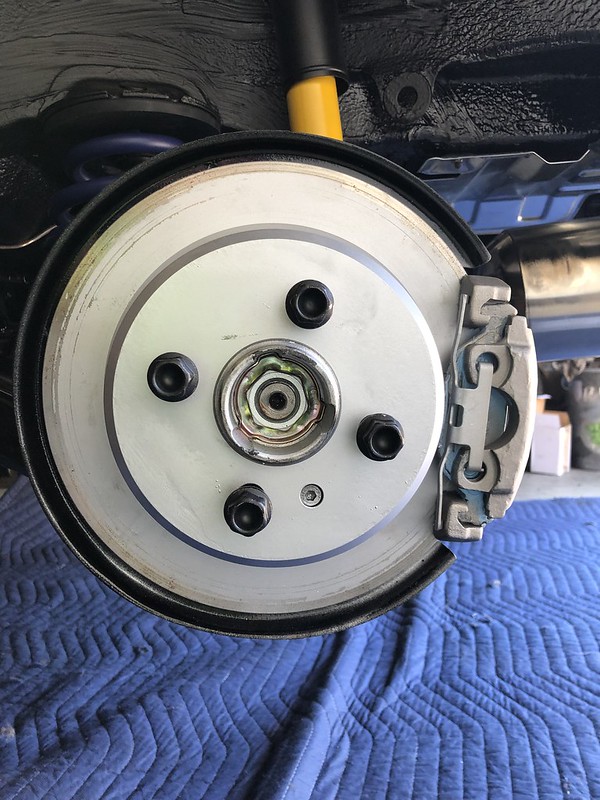
    Last project of the day, got all the wheel hub collar nuts torqued with new lock plates and covers:


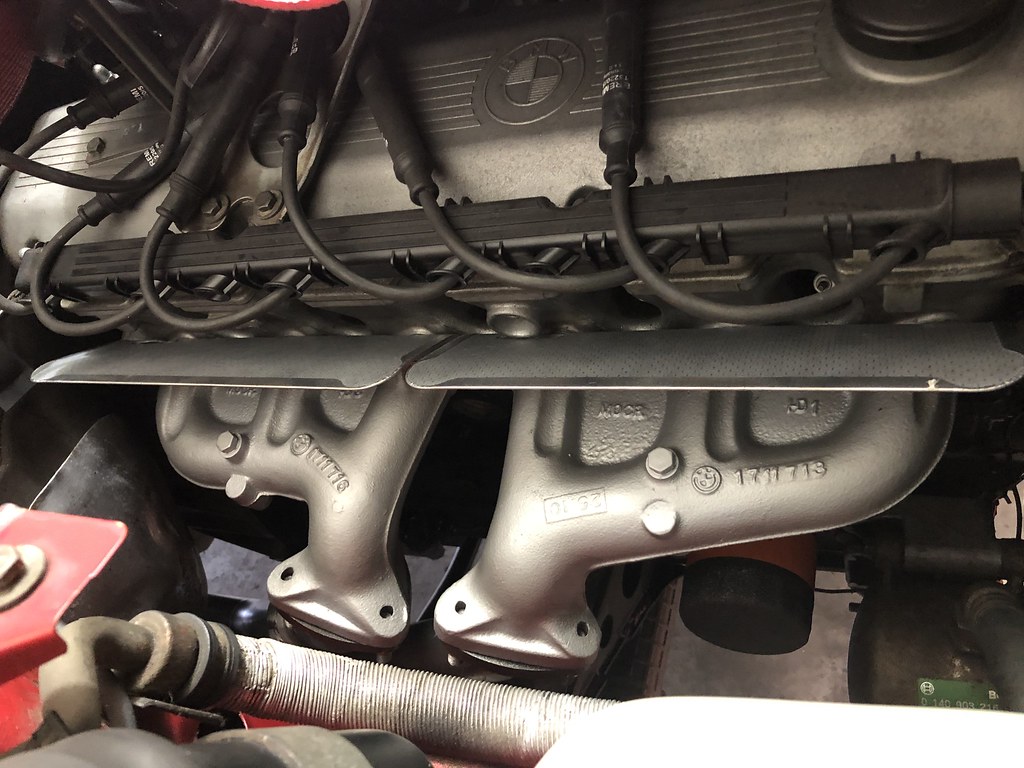
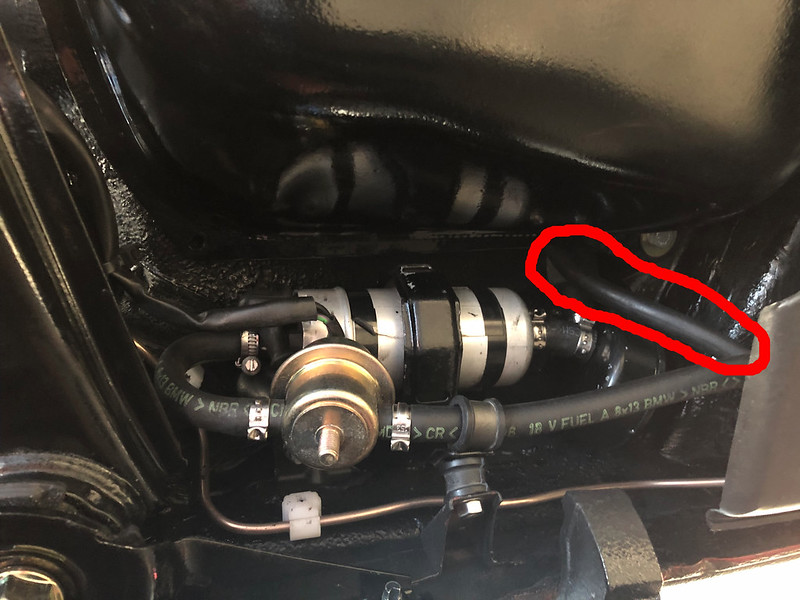
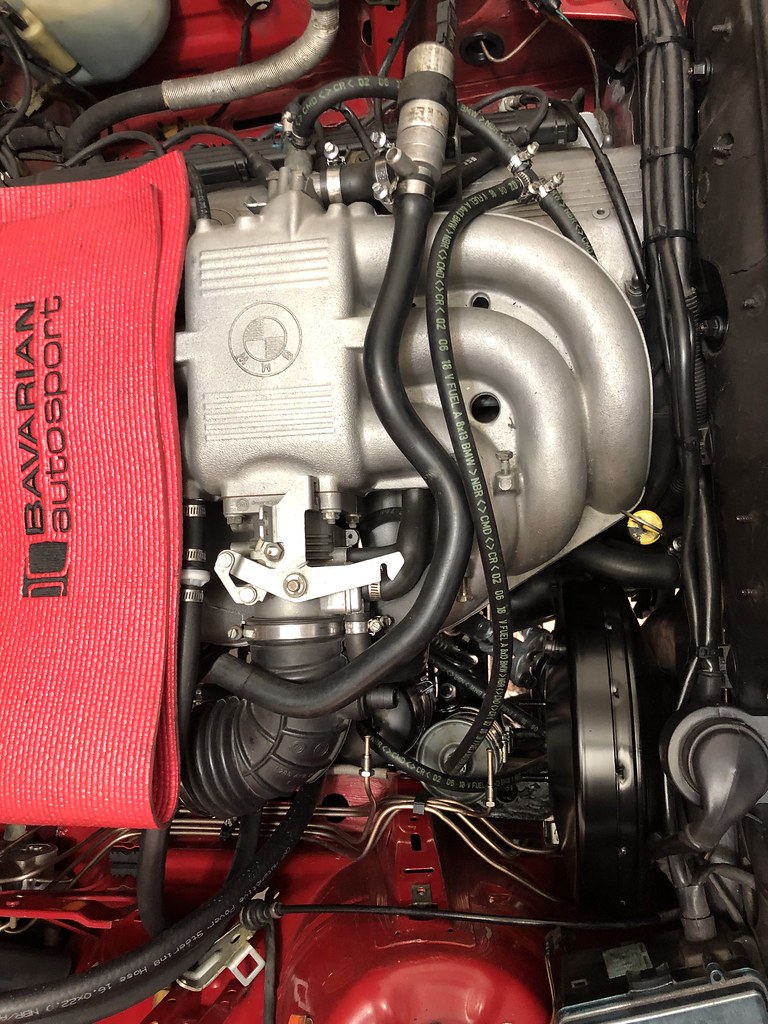
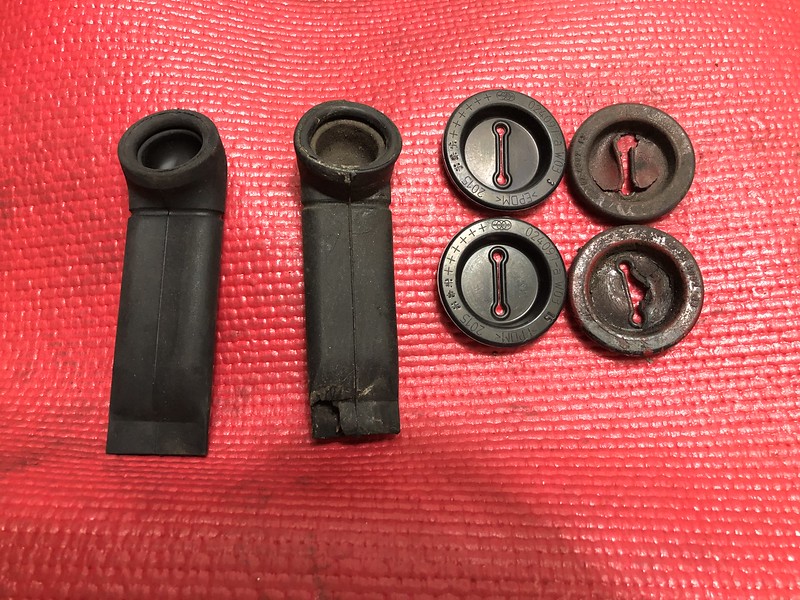
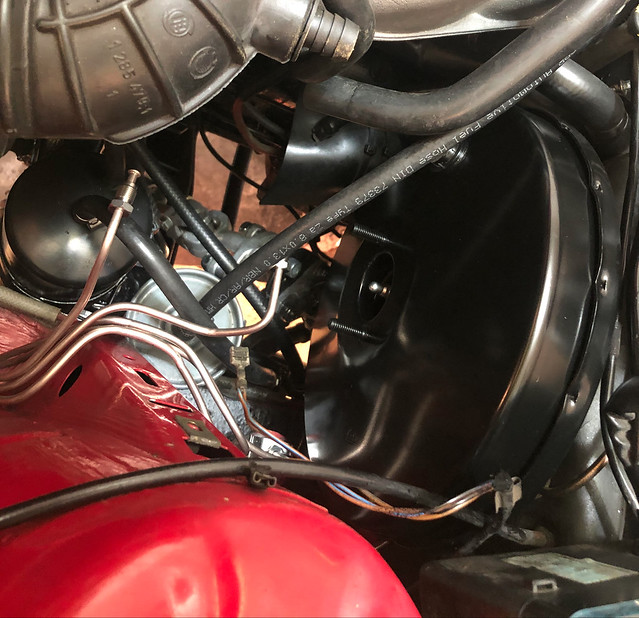
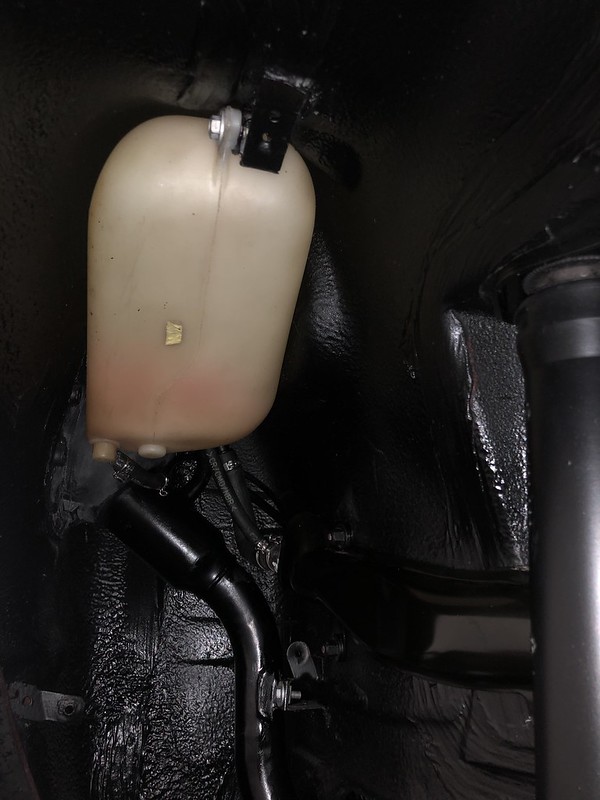
    Got the engine bay cleaned up, amazing what some new plastic parts can do for the look of things. Also awesome to actually be able to see the fluid level in the coolant expansion tank:


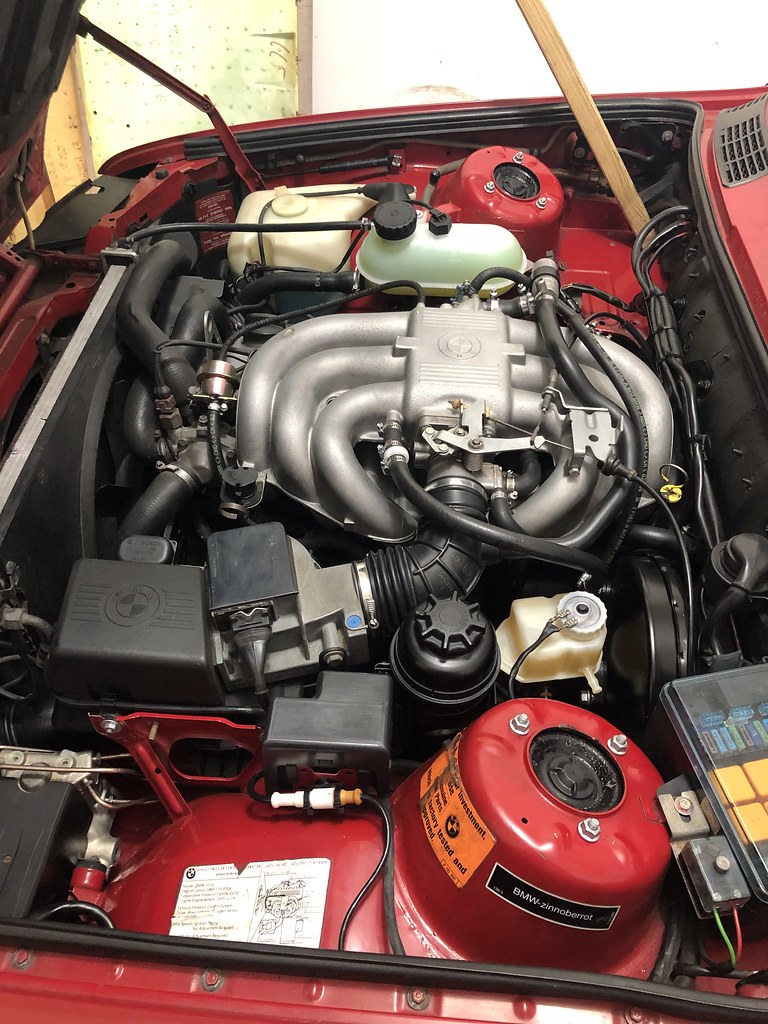
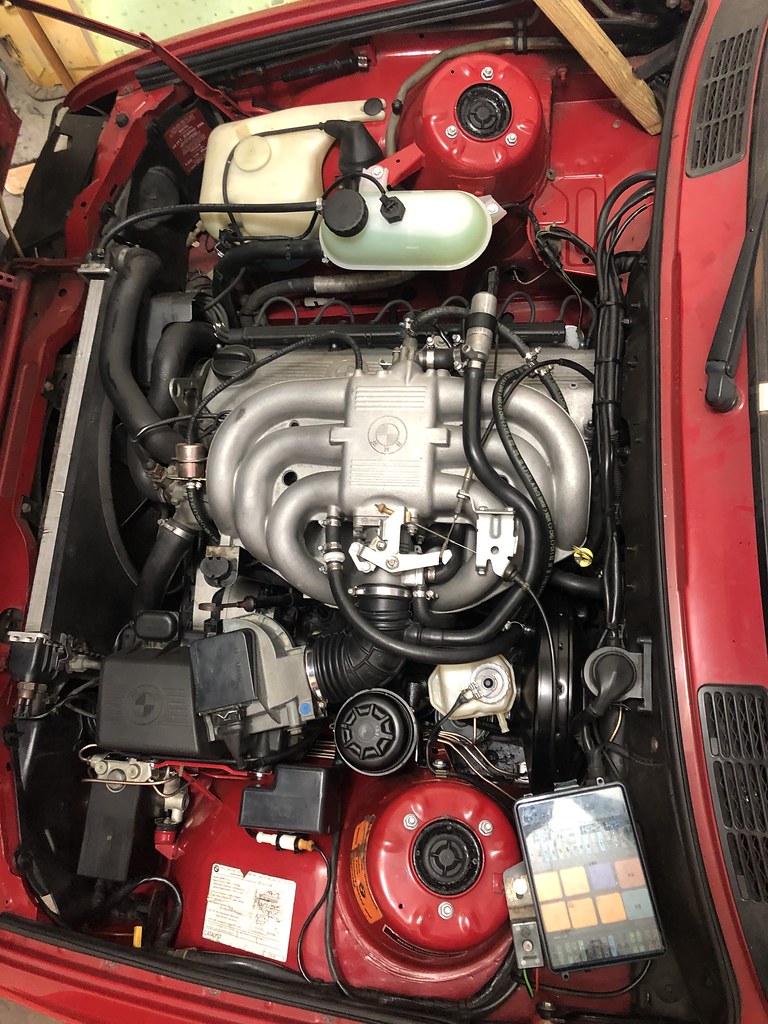
    Filled the PS reservoir with new LiqiuMoly ATF fluid. Waiting on some decals from Pukar Designs to complete the engine bay.

    Last I ended up mounting and torquing the tires, and torqued all the swaybar connections per the Bentley with the car on the ground. Unfortunately, I misread one of the torque values for the rear swaybar link to trailing arm (Supposed to be 16 ft/lb, ended up torquing to 30ft/lb as the rest of the bolts were all 30) and snapped the bracket bolt off. Those rear trailing arm brackets are currently back ordered everywhere, and I threw my old rusted one away. If anyone has an extra (preferably new) laying around I'd be very interested.

    I couldn't help myself but throw a couple gallons of gas in there and start her up. Took about 3-4 turns for the fuel to pump through and... she ran!!! Had some surging idle that I'll now have to track down (again, ugh) but the exhaust sounded good. My battery had died by the time I tried to start it up again today after work to try and sort thing out. It wouldn't hold a charge when I tried to jump it so I'm stuck until I can go get another one on Wednesday. Stay tuned...

    Leave a comment:


  • Albie325
    replied
    Got another project done today that I had been putting off.

    Somewhere along the line, some jamoke cut and capped the rear brake pad sensor harness:


    I've never soldered before, so this was going to be a trial by fire soldering under the car rather than on a work bench. I've been reading up on the proper techniques so gathered all the necessary items:


    I really liked this soldering iron, it has a dial that allows you to choose the exact iron temp:


    I was surprised to find out the a replacement harness is actually available for purchase:


    I did a few practice runs on the bench using the speaker wire until I was happy with how things looked. First couple were pretty ugly, but after I got the hang of it I felt pretty good. Was gonna be a whole nother animal doing it under the car.

    Got the old harness cut and stripped leaving enough room for some heat shrink tubing.


    I used a Western Union splice for the connection:


    Fluxed the wire, heated the wire from the bottom (with the wire horizontal) and once hot enough, touched the solder to the top of the wire and allowed it to flow down and through the splice. Overall, I was very pleased with how my first solder job came out:


    Put some dielectric grease on each end and slid the heat shrink tubing over the top for a nice water proof seal:


    Did the same with the larger tubing, good as new:


    Makes me feel a little more confident for when it's time to wire up the euro smileys.

    Also got the new hanger welded up this morning. I dropped it off and 20 mins later they had already called me back that they had gotten to it. Paid a little more than I was expecting but they did a nice job. Probably the fastest $50 they ever made.


    When I got home I mocked it up to make sure everything looked right, it fit like a glove. Now just waiting on the new heat shield to show up and we can check another thing off the list

    Leave a comment:


  • Albie325
    replied
    Originally posted by Melon
    Also, I have a 2.5 bar fuel pressure regulator.
    I bought the 2.5 by mistake, it's yours if you want it.
    Sure man, could always use a spare, I'll send you a PM

    Leave a comment:


  • Melon
    replied
    Ah ok, my car came from Arizona, maybe that was a hot weather feature.

    Also, I have a 2.5 bar fuel pressure regulator.
    I bought the 2.5 by mistake, it's yours if you want it.

    Leave a comment:


  • Albie325
    replied
    Originally posted by e30RS
    Great work! Awesome dog and car!
    Thanks! I love them both

    Originally posted by LateFan
    Thanks for all the good documentation.

    Your brake line bending is tidy!
    That CuNi brake line was awesome to work with, easy to bend and made me look like I actually knew what I was doing.

    Originally posted by Melon
    Looking awesome man!

    Is that a pressure regulator by the external fuel pump?
    Also, does your car route the fuel line around the low side A/C line?
    Mine had that routing stock, but was deleted when the fuel tank and pump was swapped to a late model system.
    So the NiCad piece to the bottom left (#14 in the diagram) is the in-line fuel pressure regulator, the black piece to the upper right (#20 in the diagram) is indeed the fuel line dampener as efficient said. 14 is widely available, but 20 has been NLA for awhile, mine was in good shape and nice and clean inside so I just repainted it. As for the fuel line, no it isn't routed around the low-side AC line, it T's off from the filter and connects to the cold start valve (on the intake manifold) and to the fuel rail. All the AC lines are pretty much tucked away behind the passenger headlight and run along the inside of the passenger fender into the cabin.


    So I ended up cutting the hanger bracket off when I got home from work today. I was super nervous to cut into the muffler but it came out way better than I hoped:


    After some filing, grinding, and wire-wheeling:


    You can obviously tell where the welds were, but much less noticeable than I was anticipating. And I didn't make any holes in the muffler, the ultimate goal. Once it's mounted I doubt you'll even be able to see that spot behind the rear wheel.

    I got in touch with that shop my buddy recommended and am going to swing by tomorrow morning. Should be able to get everything mounted up tomorrow!

    Leave a comment:


  • Melon
    replied
    Originally posted by efficient
    thats a dampner, so the fuel pump doesnt humm all that loud.
    Good to know, thanks!

    Leave a comment:


  • efficient
    replied
    Originally posted by Melon
    Looking awesome man!

    Is that a pressure regulator by the external fuel pump?
    Also, does your car route the fuel line around the low side A/C line?
    Mine had that routing stock, but was deleted when the fuel tank and pump was swapped to a late model system.
    thats a dampner, so the fuel pump doesnt humm all that loud.

    Leave a comment:


  • LateFan
    replied
    Thanks for all the good documentation.

    Your brake line bending is tidy!

    Leave a comment:


  • Melon
    replied
    Looking awesome man!

    Is that a pressure regulator by the external fuel pump?
    Also, does your car route the fuel line around the low side A/C line?
    Mine had that routing stock, but was deleted when the fuel tank and pump was swapped to a late model system.

    Leave a comment:


  • e30RS
    replied
    Great work! Awesome dog and car!

    Leave a comment:


  • Albie325
    replied
    Got a few more things knocked out over the last two weeks. Been putting in a ton of OT at work so garage time has been a little scarce.

    Ended up getting the new exhaust manifold studs, headers, and new Magnaflow 23553 catalytic converter bolted up with a new Bosch O2 sensor.


    I ended up mounting the catalytic converter to the headers first, then bolted the headers to the block as I remembered it being difficult to get to the cat-header bolts during removal. It worked well and the overall fit of the catalytic converter was pretty good, however did require some tweaking to get all the header studs to line up correctly.

    Then I finally got to tear into this box, something I had been waiting some time for. I had peaked inside just to see whether the tips were slanted or straight to decide which MTech 1 rear apron I would need, but hadn't yet seen it in all its glory:


    The build quality appears exceptional, the welds are really nice and the muffler has a nice heft to it.

    I got the midpipe mounted, had to bend the hanger a bit to fit but ended up bolting up no problem without any rattles or contact points:


    I started to line up the muffler and noticed that the hangers were staggered. Upon looking under the car, there were three sets of hanger mount points:


    It initially looked like the muffler was going to align with the far left and middle hanger support, and so I thought I needed to cut the heat shield to allow the hanger bushing to fit through:


    It came out great, I cut it out and filed down the edges so they were nice and smooth. Only one problem: once I had the midpipe installed, there was about 8 inches of gap between it and the muffler if it had mounted to the above hanger points. Turns out, the driver's side hanger on the muffler needed to move back to be parallel with the passenger side mount. These would then align with the outermost hanger brackets on the car. Otherwise, the driver's side hanger was flapping in the breeze in the rear wheel well:


    Ugh. I could probably still use the heat shield, but that's gonna bother me knowing I cut it needlessly. I ended up ordering a(nother) new one. I guess I'll list this one for sale, it's otherwise brand new. I'm sure someone will have an exhaust with different mount points, if you need/want it let me know.

    As for the muffler, I spoke with Billy (of Billy Boat fame) and he said he's only ever mounted the hangers staggered and never had an issue. He offered to ship the muffler back and re-weld the hanger, but I figured that was too much work and turnover time, although I appreciated the offer. I'll just cut the hanger off myself and plan to call a local shop a buddy of mine recommended tomorrow to weld it in the proper place. Shouldn't take them more than about 5 mins.


    Recently on the R3V Facebook page, someone posted about their CRP fuel line cracking after only a short time. All the smaller 6x11 fuel hose I had already replaced with OEM BMW line, however the 8x13mm hose I replaced with CRP as no one had any of the OEM BMW line in stock at the time (about a year ago). All of the CRP fuel line I had been running looked to be in good shape, however seeing that post kindof freaked me out. I figured I'd rather swap out all the fuel line now while there's no fuel in it to leak all over me while I'm under the car. I (re)replaced all the 8x13mm fuel line with new OEM BMW hose. The only fuel hoses I wasn't able to get to were the 12x18mm line running along the top of the fuel tank and a really short section of 8x13 connecting the driver's side of the fuel tank breather hose to one of the hard fuel lines running along the driver's side of the car. I'll get to those when I do the 5 speed swap as I'm in no mood to remove the driveshaft again.


    Now that BavAuto is out of business, I'll have to get their fender mats in as many pics as possible to pay homage :(.

    Replaced a few rubber bits that had turned to stone while I was poking around the engine bay:


    Last, I got the front struts mounted (and torqued!).


    Went to mount the front brakes and realized I hadn't ordered new mounting bolts for the calipers so I'll have to wait on those to come in. Once I get those mounted up and the last of the brake lines connected, I can bench bleed the master cylinder and bleed the brake system. Then it's just fill and bleed the power steering system, connect all the new ABS and brake wear sensors, and we're golden! (I hope).
    Last edited by Albie325; 03-18-2019, 02:00 AM.

    Leave a comment:


  • Albie325
    replied
    Quick update, not a ton of pics as the working spaces were a bit tight and the projects were a bit tedious.

    To put a bow on the whole rack swap since a few of you guys seemed interested, the only change regarding the power steering hoses is to bend to hose connecting the PS pump to the rack. Here's the stock angle of the connector end for the rack:


    In order for it to fit, you have to bend it backwards and also rotate the connection end:


    Doesn't have to be a ton, ends up like this:


    Plenty of clearance for the steering knuckle. Route the line over the motor mount support rather than under otherwise the hose will be too kinked and will protrude into the wheel well.


    Got the rear pressure regulator hooked up and realized I didn't like the way the new lines looked next to the old ones. Also figured with all the gunk i cleaned out of the ABS module that the old lines were full of the same stuff so decided to just bend all new front lines as well.


    The most difficult one was the line running from the ABS module around the back of the motor and to the passenger front wheel well. Had to pull the harness up and weave the line in there, thankfully I didn't break any of the clips as I'm pretty sure they're NLA. Now that all the lines were done I decided to get the new booster and gasket put in as well as a new brake light switch installed:


    My fiancee must have thought I seemed a little perplexed when trying to figure out the brake pedal and brake light switch adjustment...


    No real pics of the brake pedal stuff, it was pretty tight in there (and it was also kindof a bitch).

    Last, I got the expansion tank connected with all new lines:


    New gas tank grommet, and we're on to some more projects for another day...

    Last edited by Albie325; 08-25-2019, 04:48 PM.

    Leave a comment:


  • econti
    replied
    I did find (please don't crucify me) that my impact driver would dugga the nut on nicely, then an offset box spanner and allen key took care of the final nip up

    Leave a comment:


  • Albie325
    replied
    Melon Yah a set of pass through sockets are next on my list, I’ve had a few situations now when they would have been useful. My issue was that no one had a set with a 19mm in stock and I wanted to get the struts assembled without having to wait on shipping.

    mike.bmw I’ll definitely torque down once mounted, should have a pass through ratchet set by then!

    ATL_E30 The swap wasn’t bad at all, hardest part was getting the knuckle disassembled. Glad to help

    Staszek I’m glad to hear you like the “stock” upgrade, wasn’t sure if it’d even be noticeable. My whole reasoning for it was because I didn’t want to have to weld up any reinforcements for big aftermarket sways or risk tearing the mounts.

    Leave a comment:


  • Melon
    replied
    For the struts I used an offset wrench from Harbor Freight, mike.bmw's suggestion of doing it on the car works too.

    Great progress man! I put mine in there without the diff, using a Harbor Freight ATV jack. Worked really well.

    Also, 5/7 pupper, would toss ball to.

    Leave a comment:

Working...